Step-by-step tutorial
Step 1
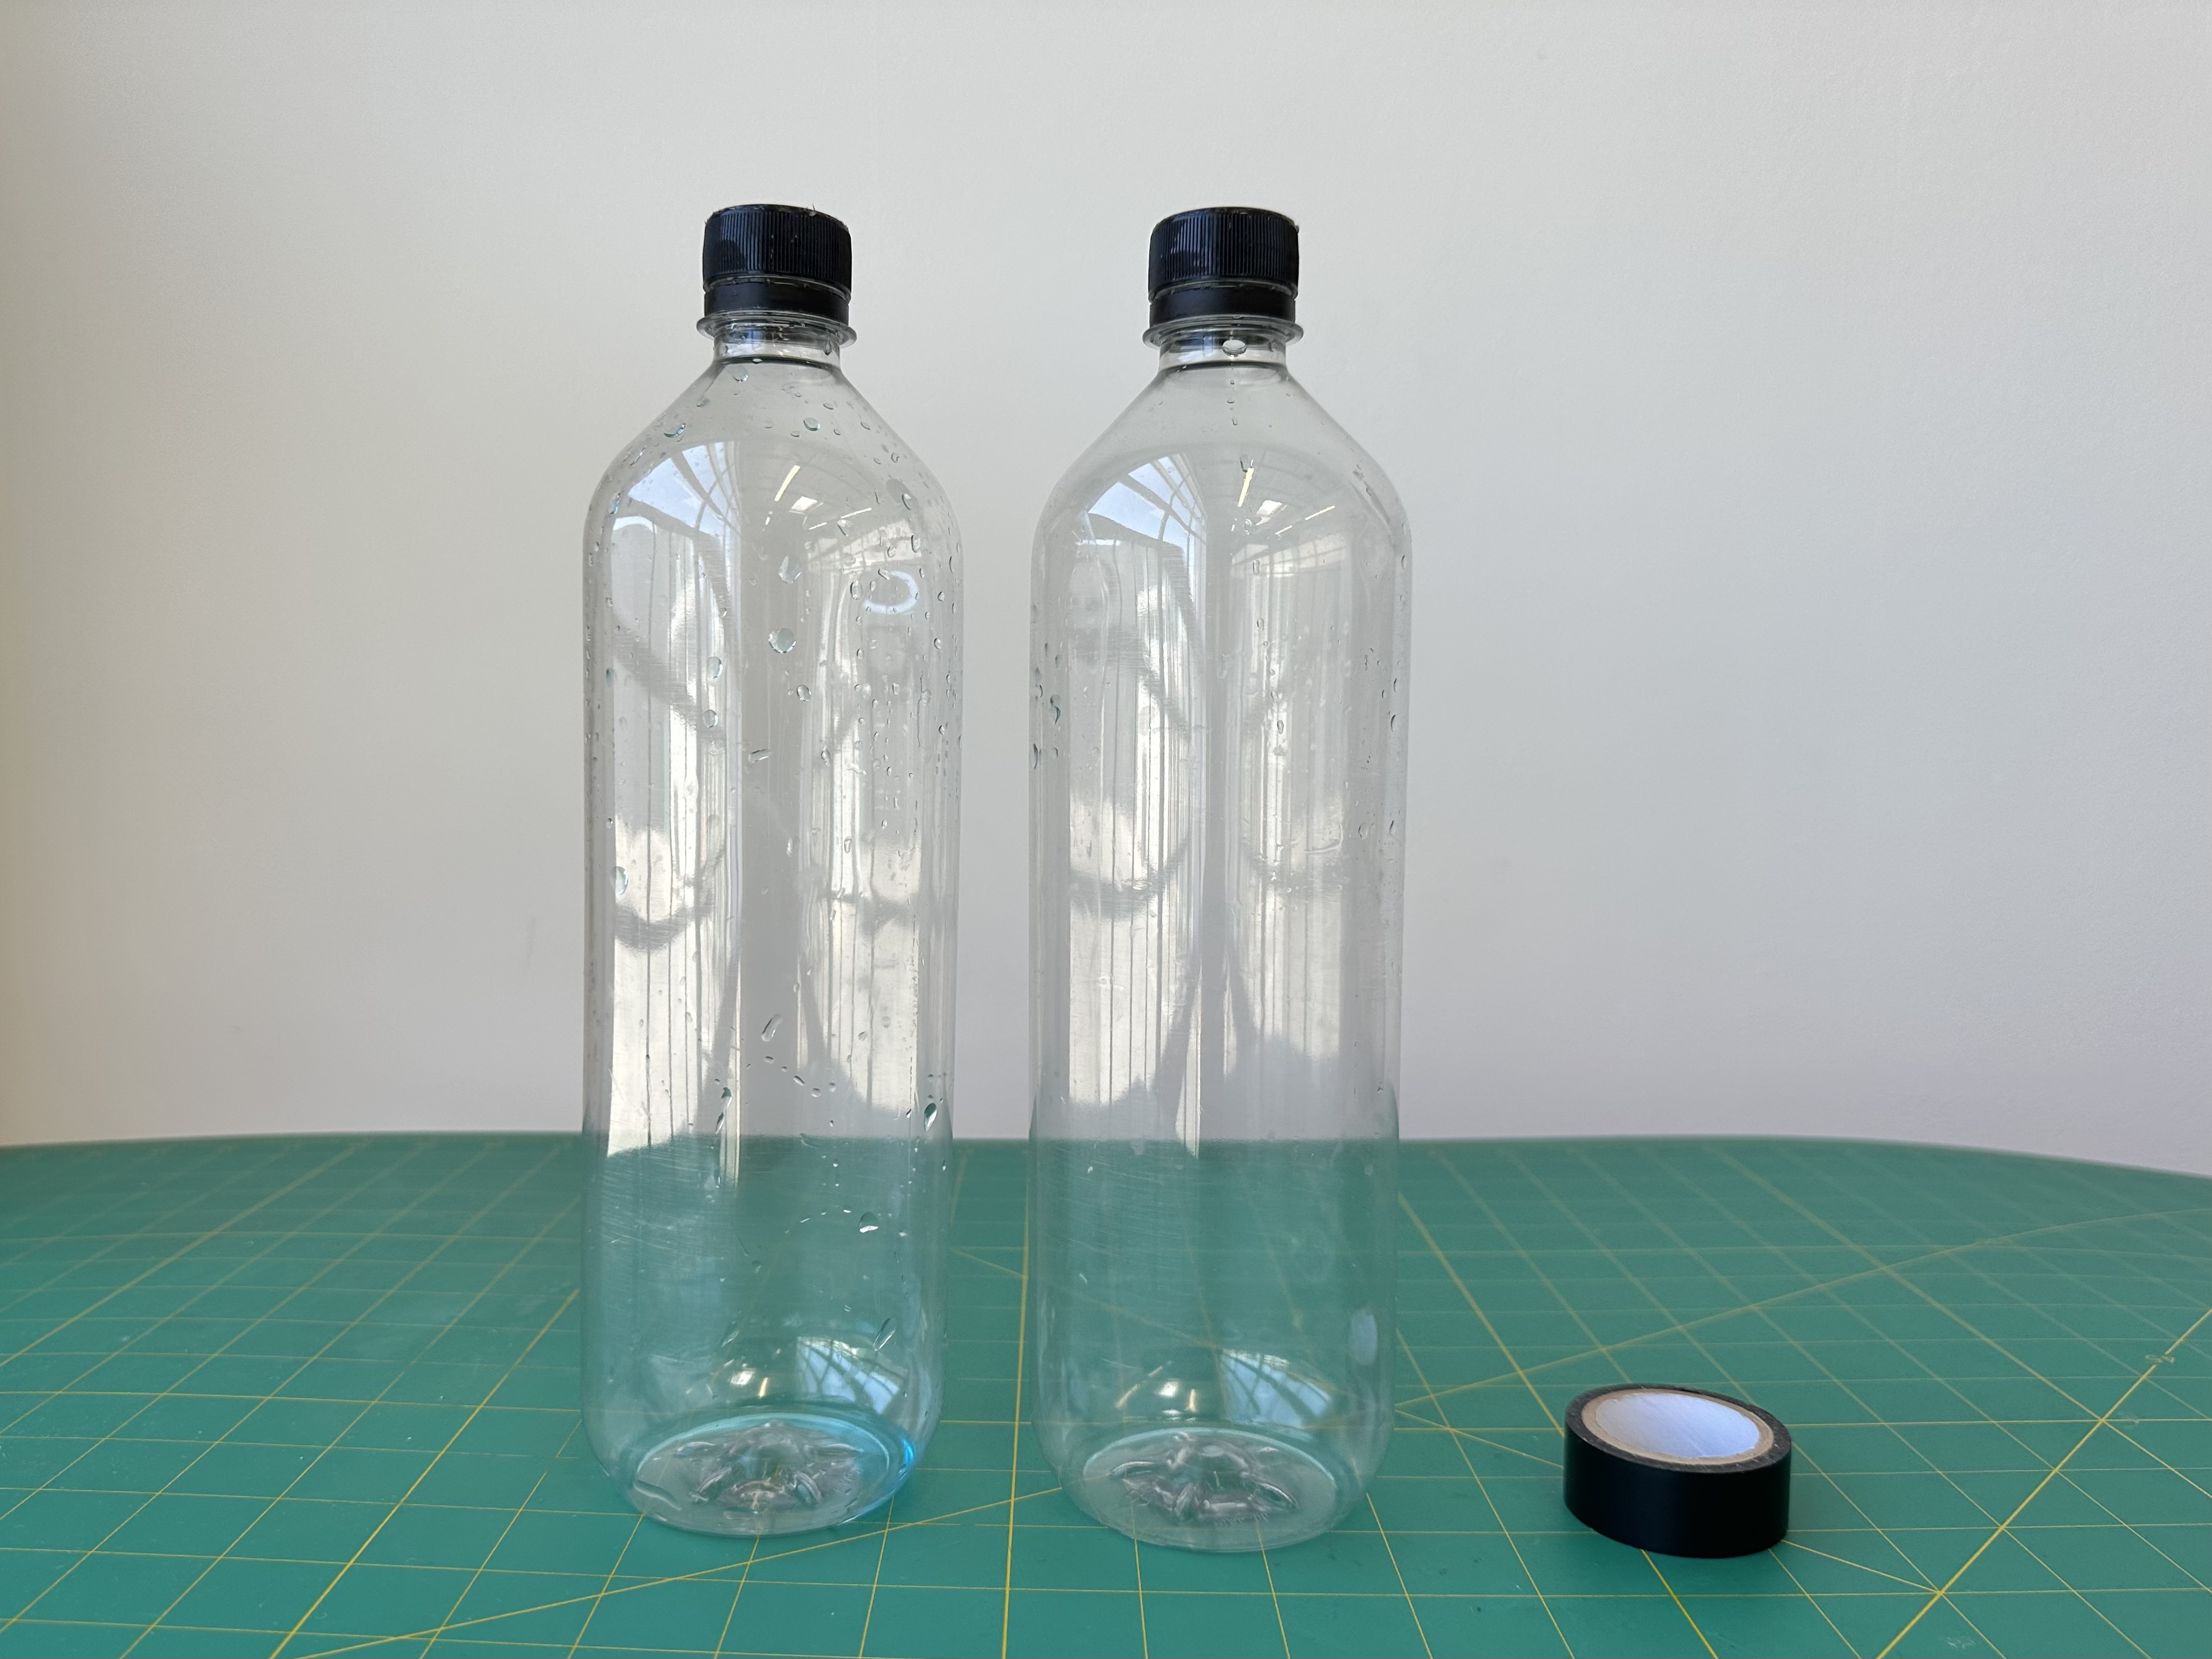
Gather your materials.

Step 2
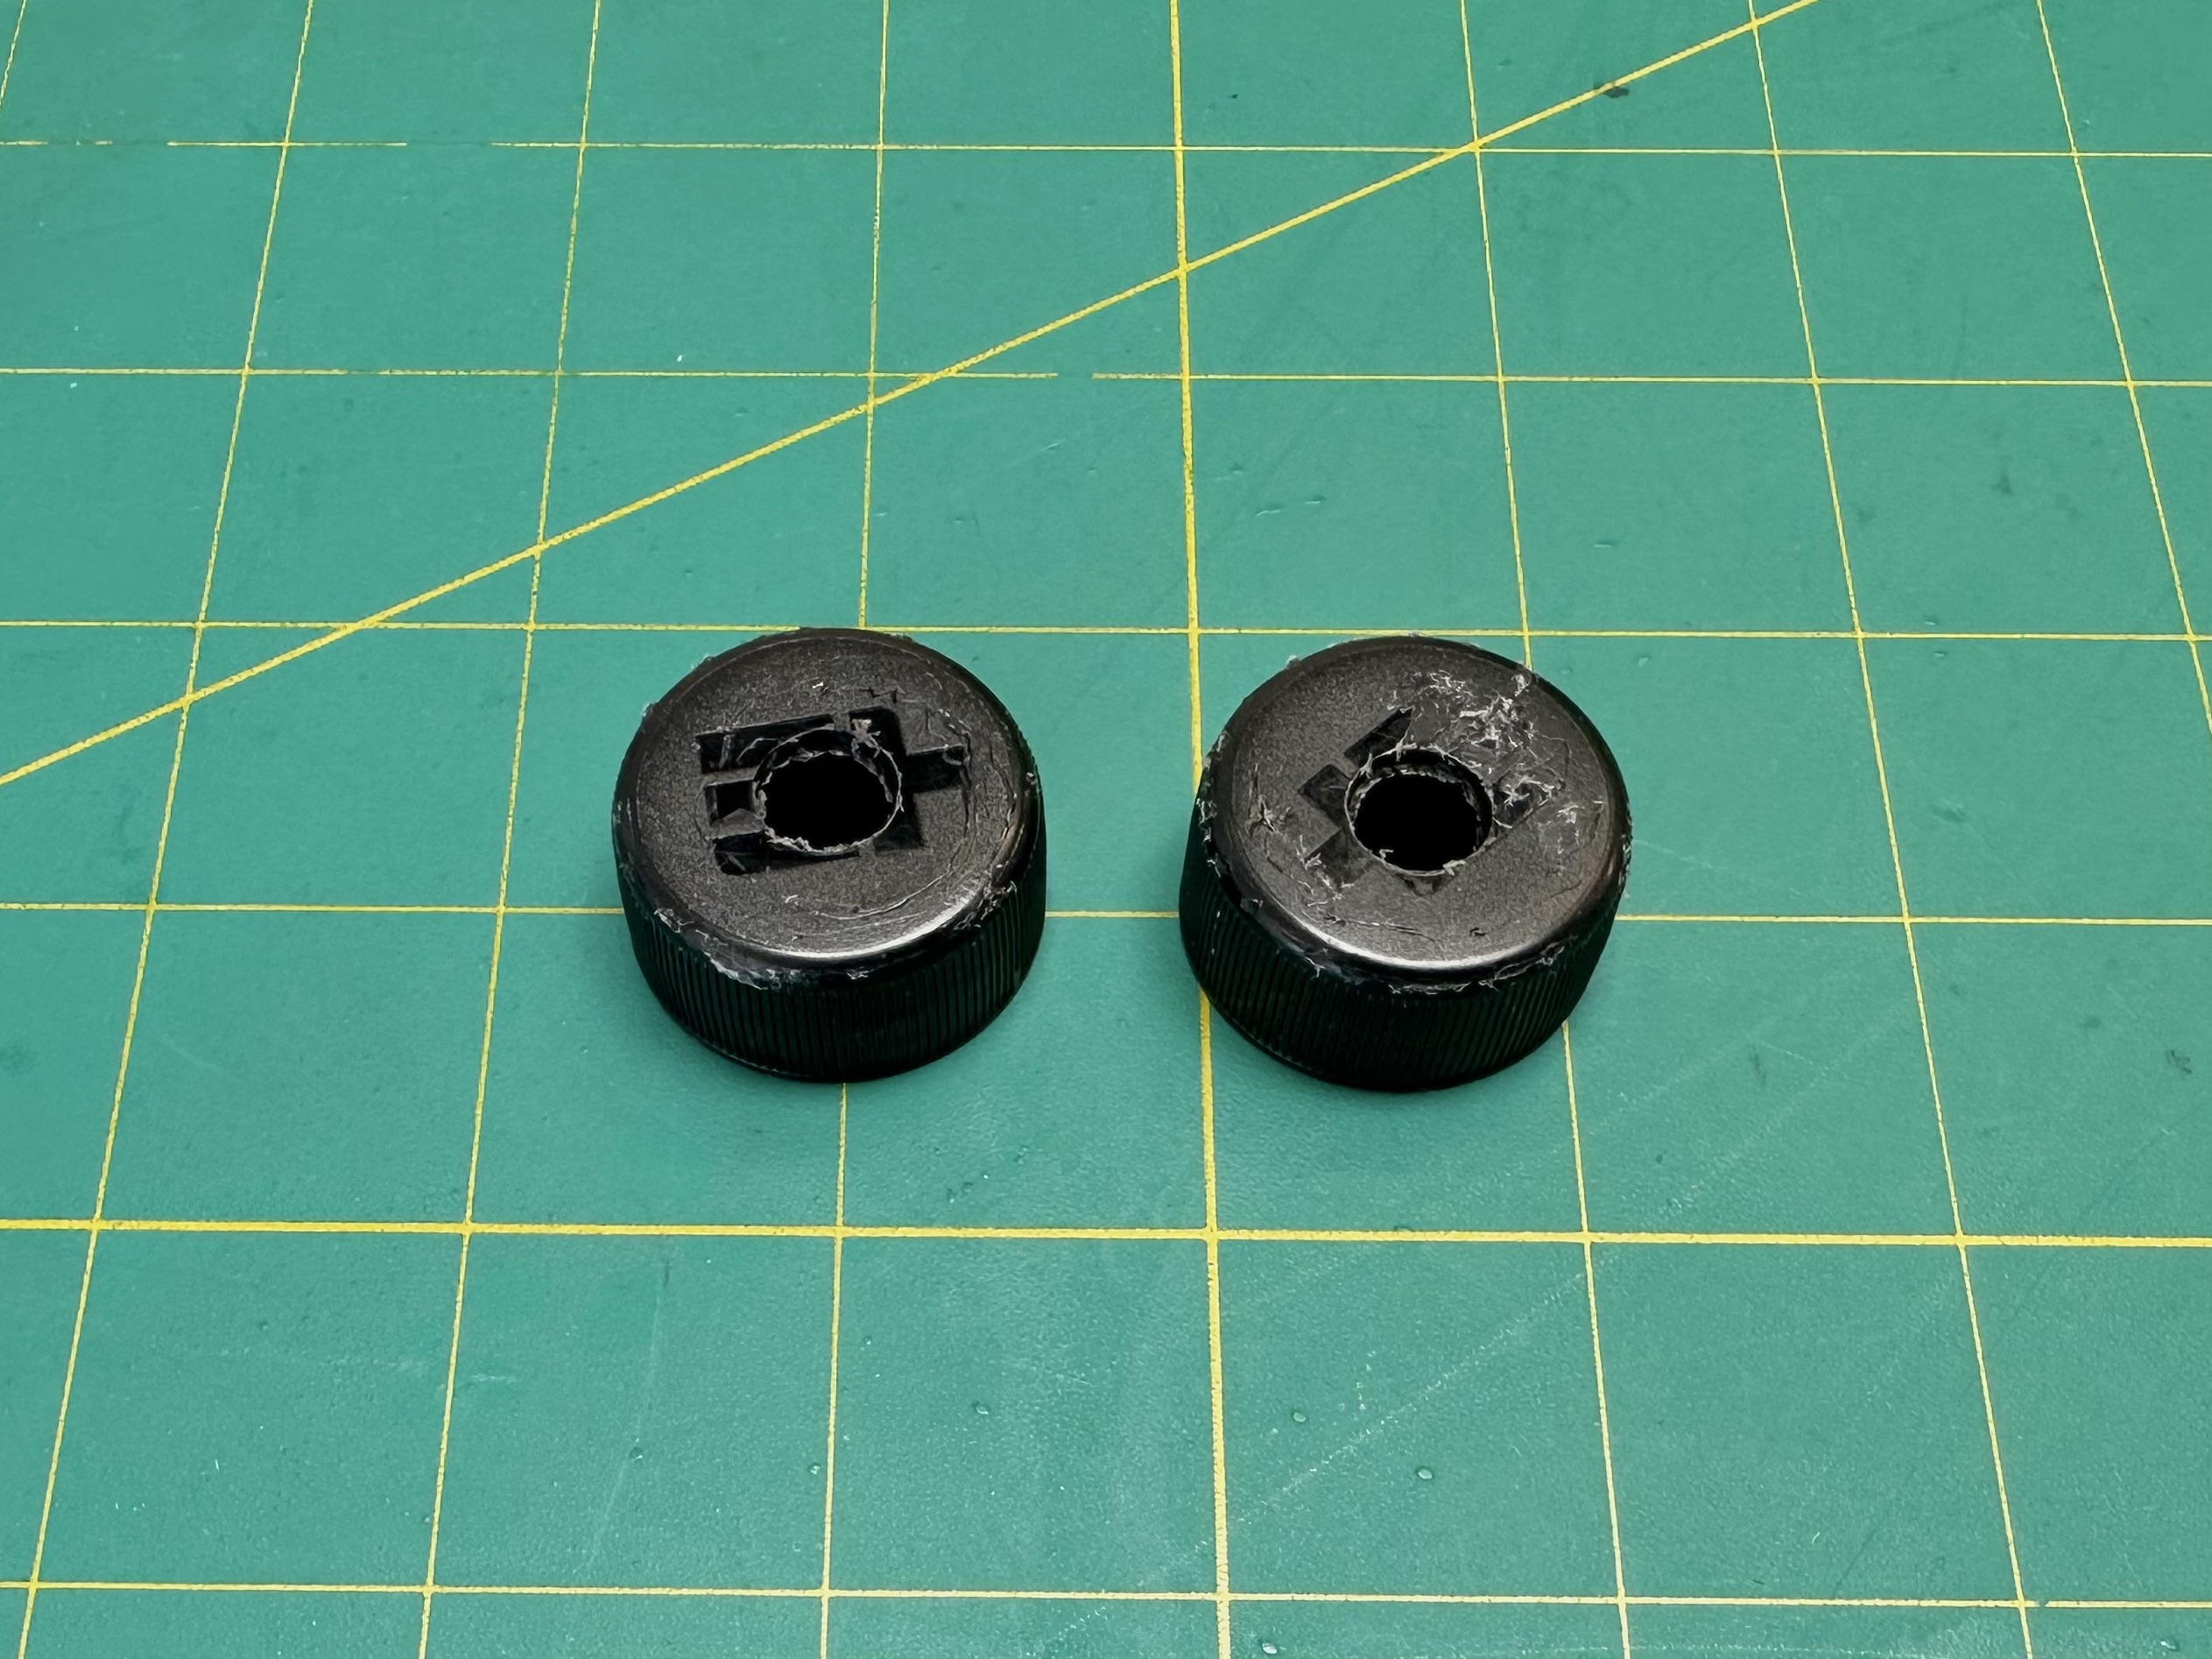
Take the caps off the bottles and poke holes through them. You can do this with a pencil, scissors or with a drill.
Step 3
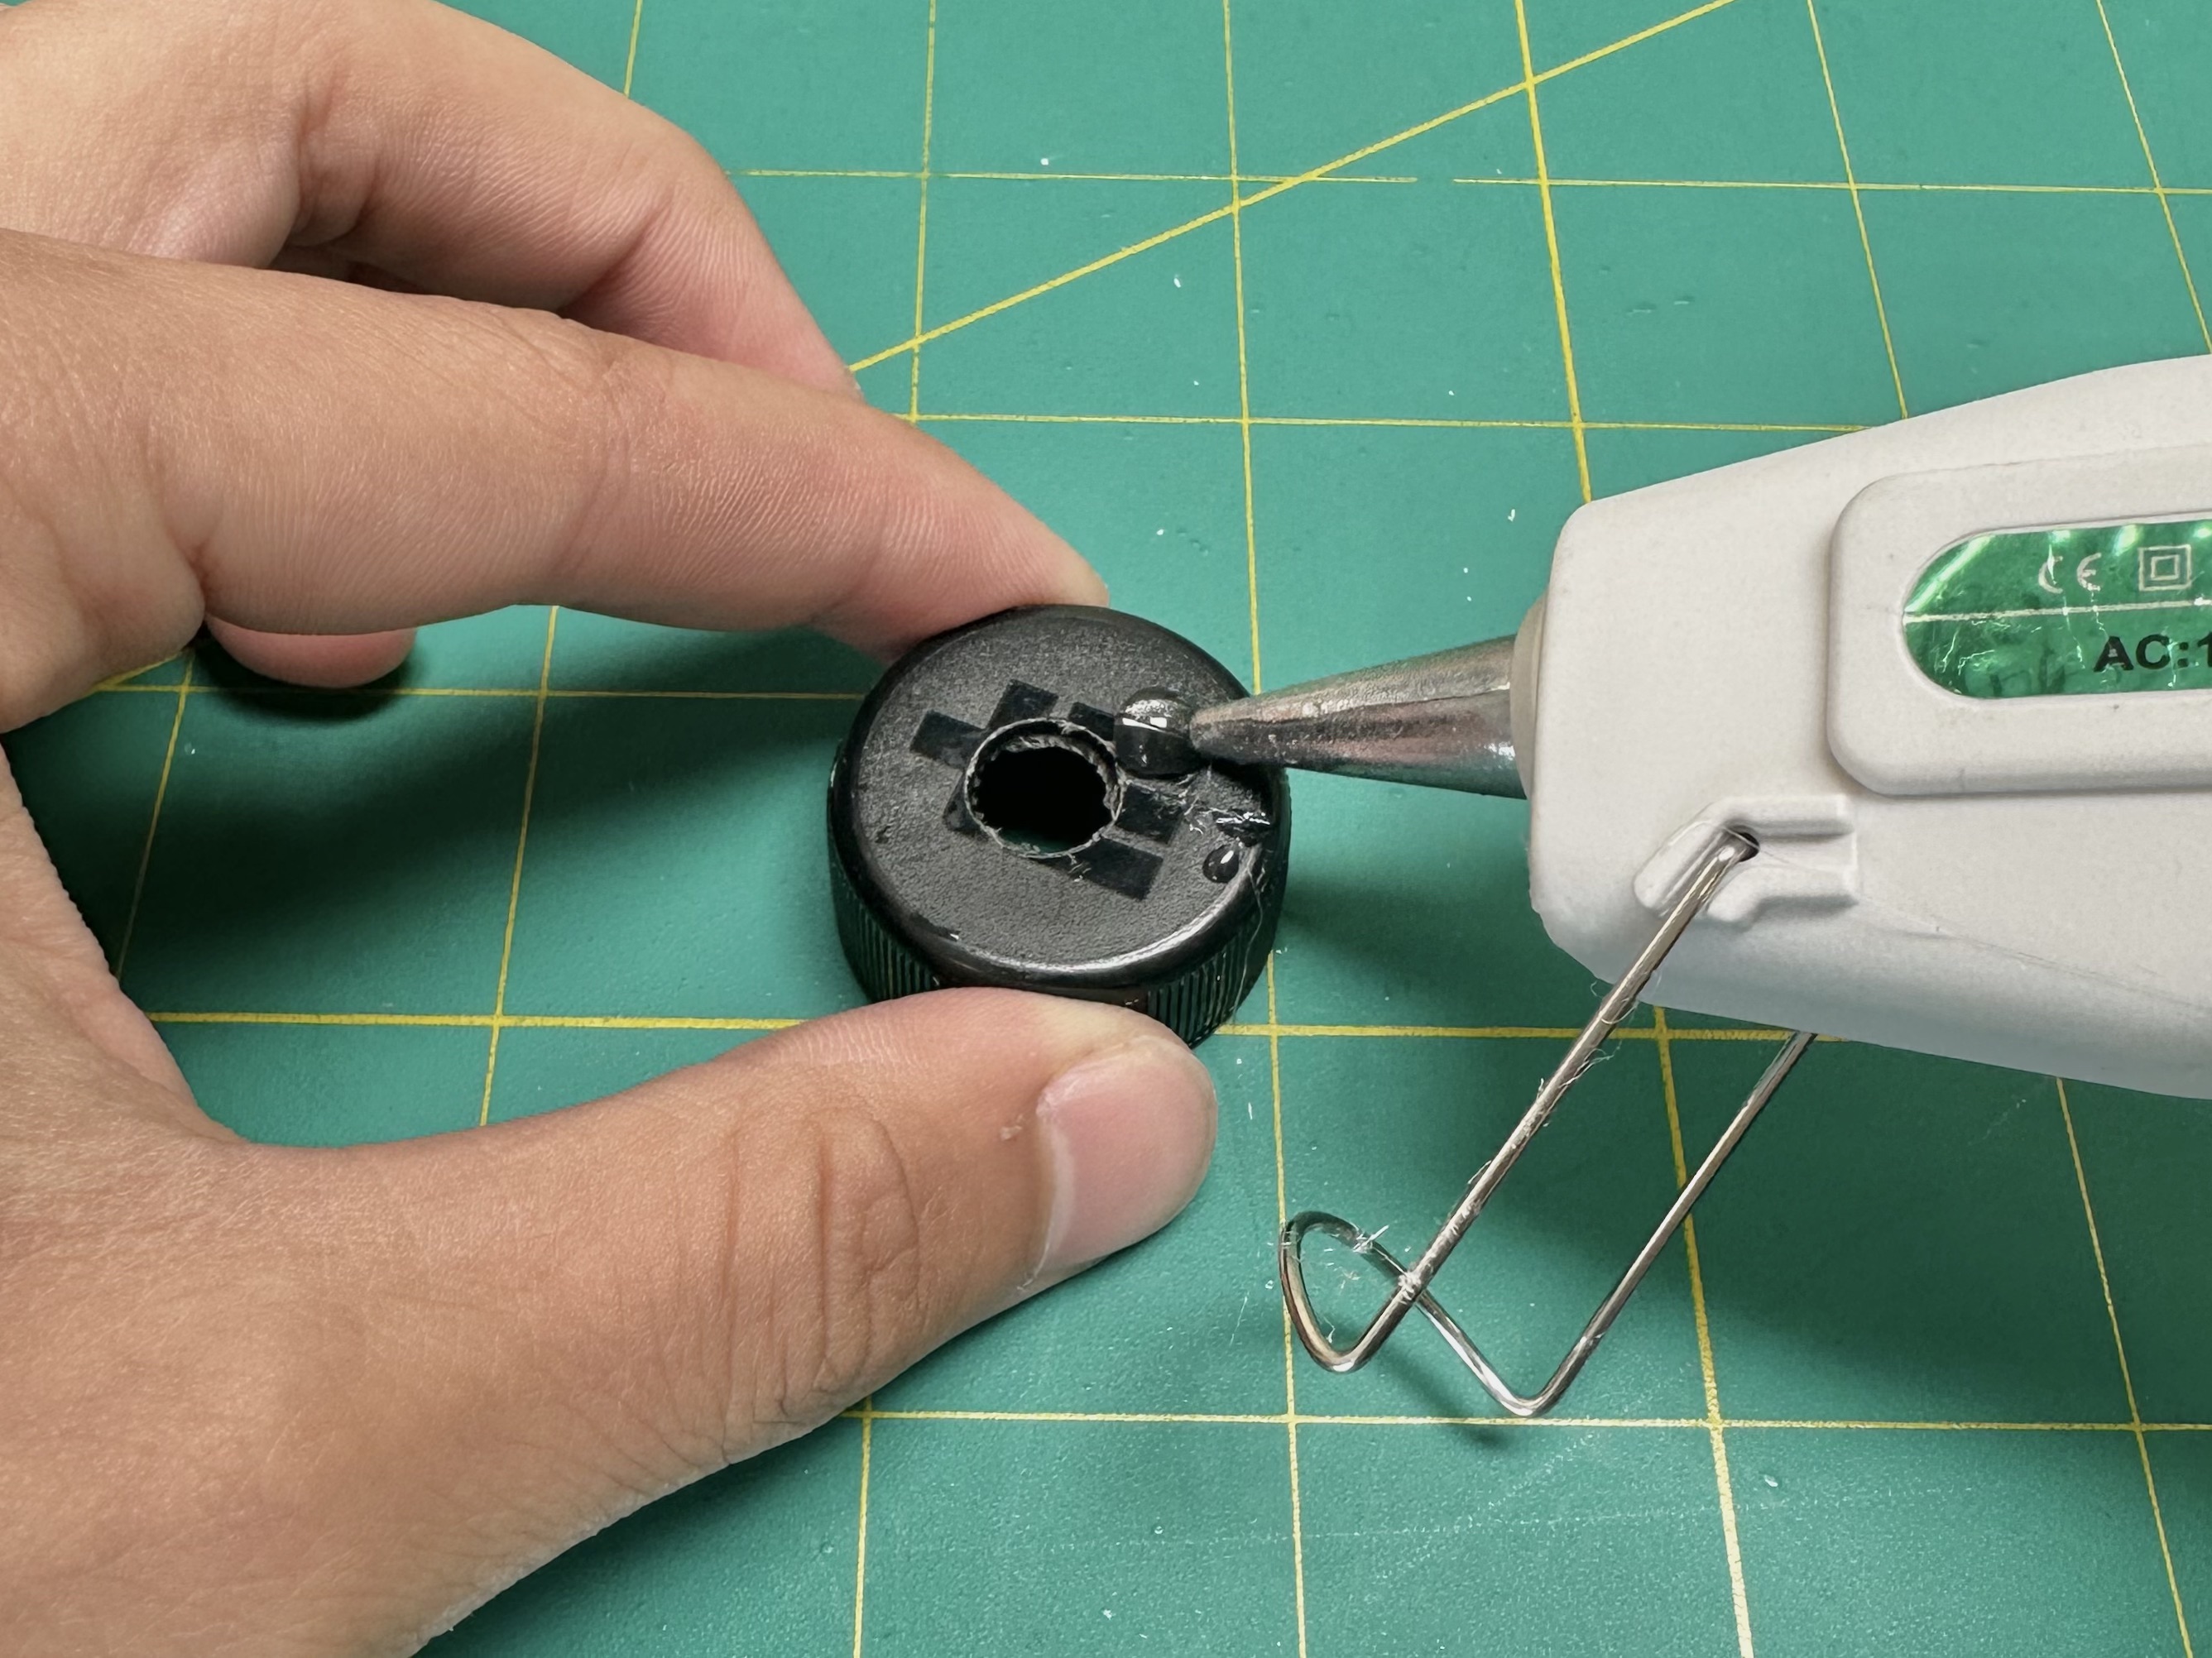
Use hot glue to connect the two caps together, face to face.
Tip
Make sure the two cap faces are placed flat against each other and not at an angle. Add the hot glue all the way around the cap to prevent water leakage.
Step 4
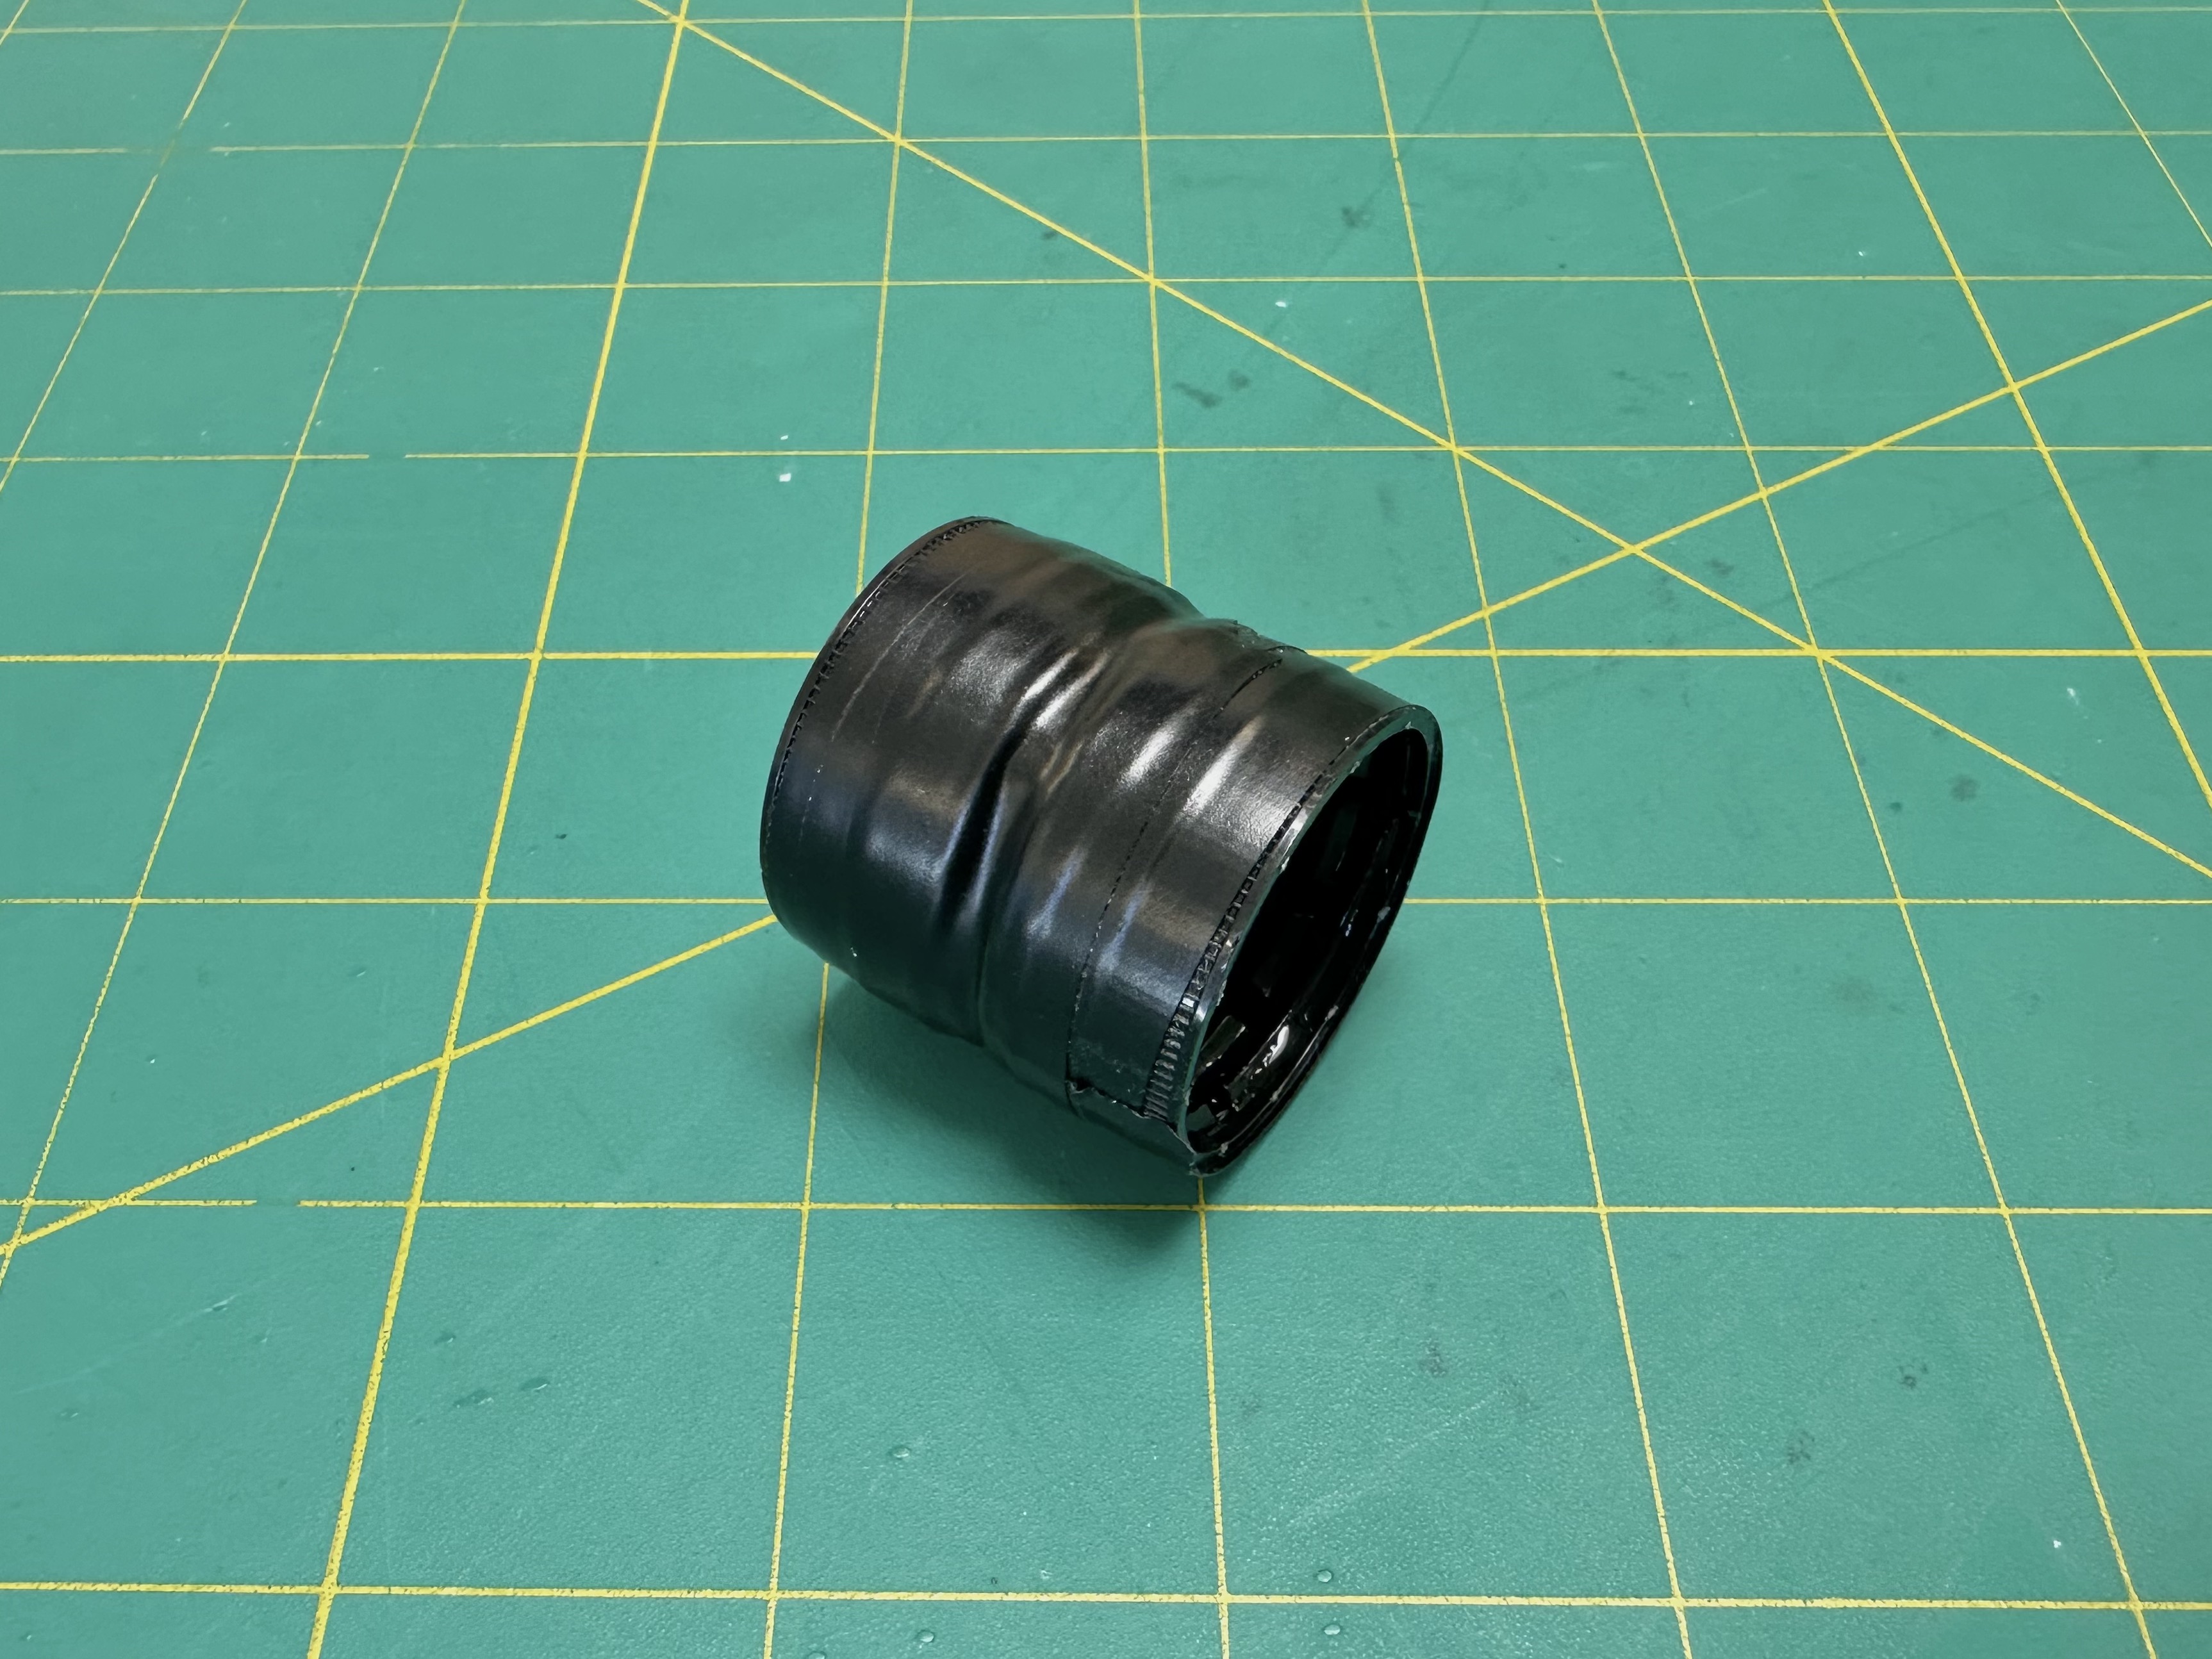
Wrap both caps in electrical tape.
Step 5
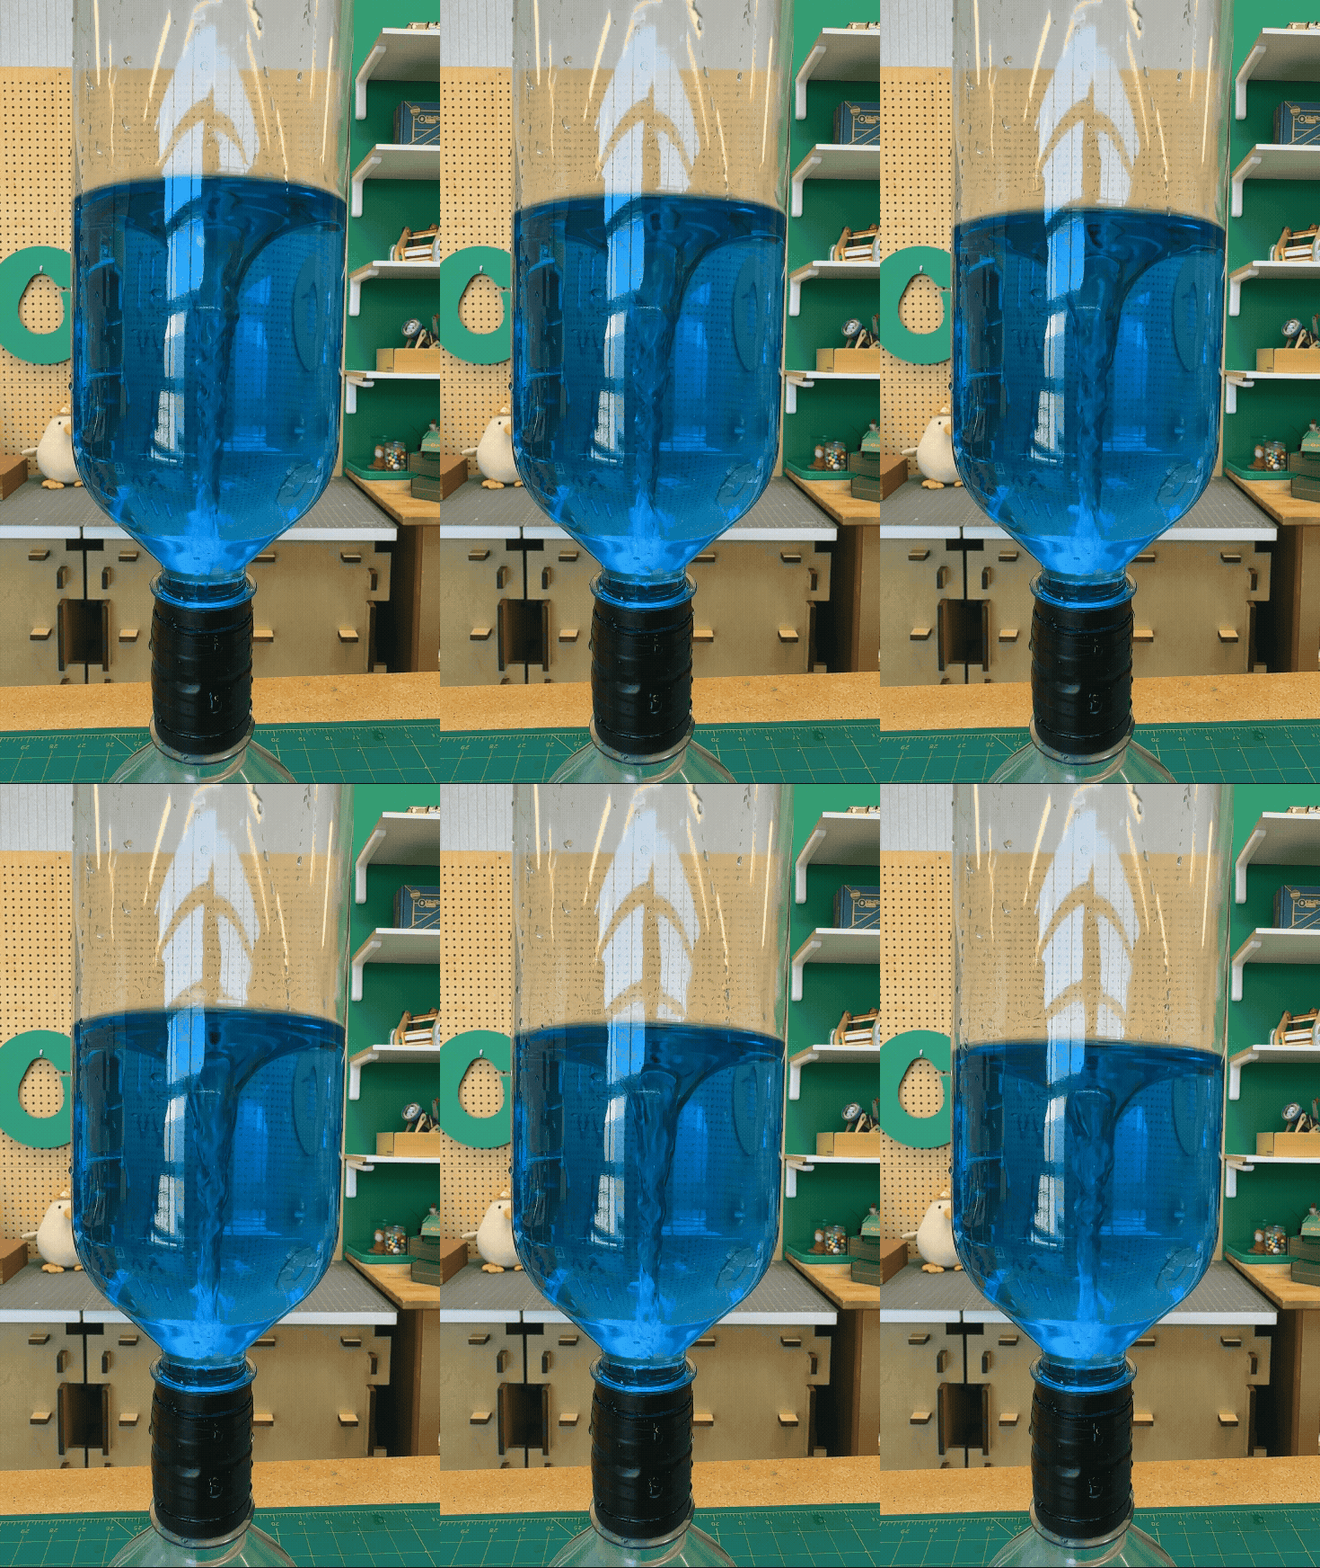
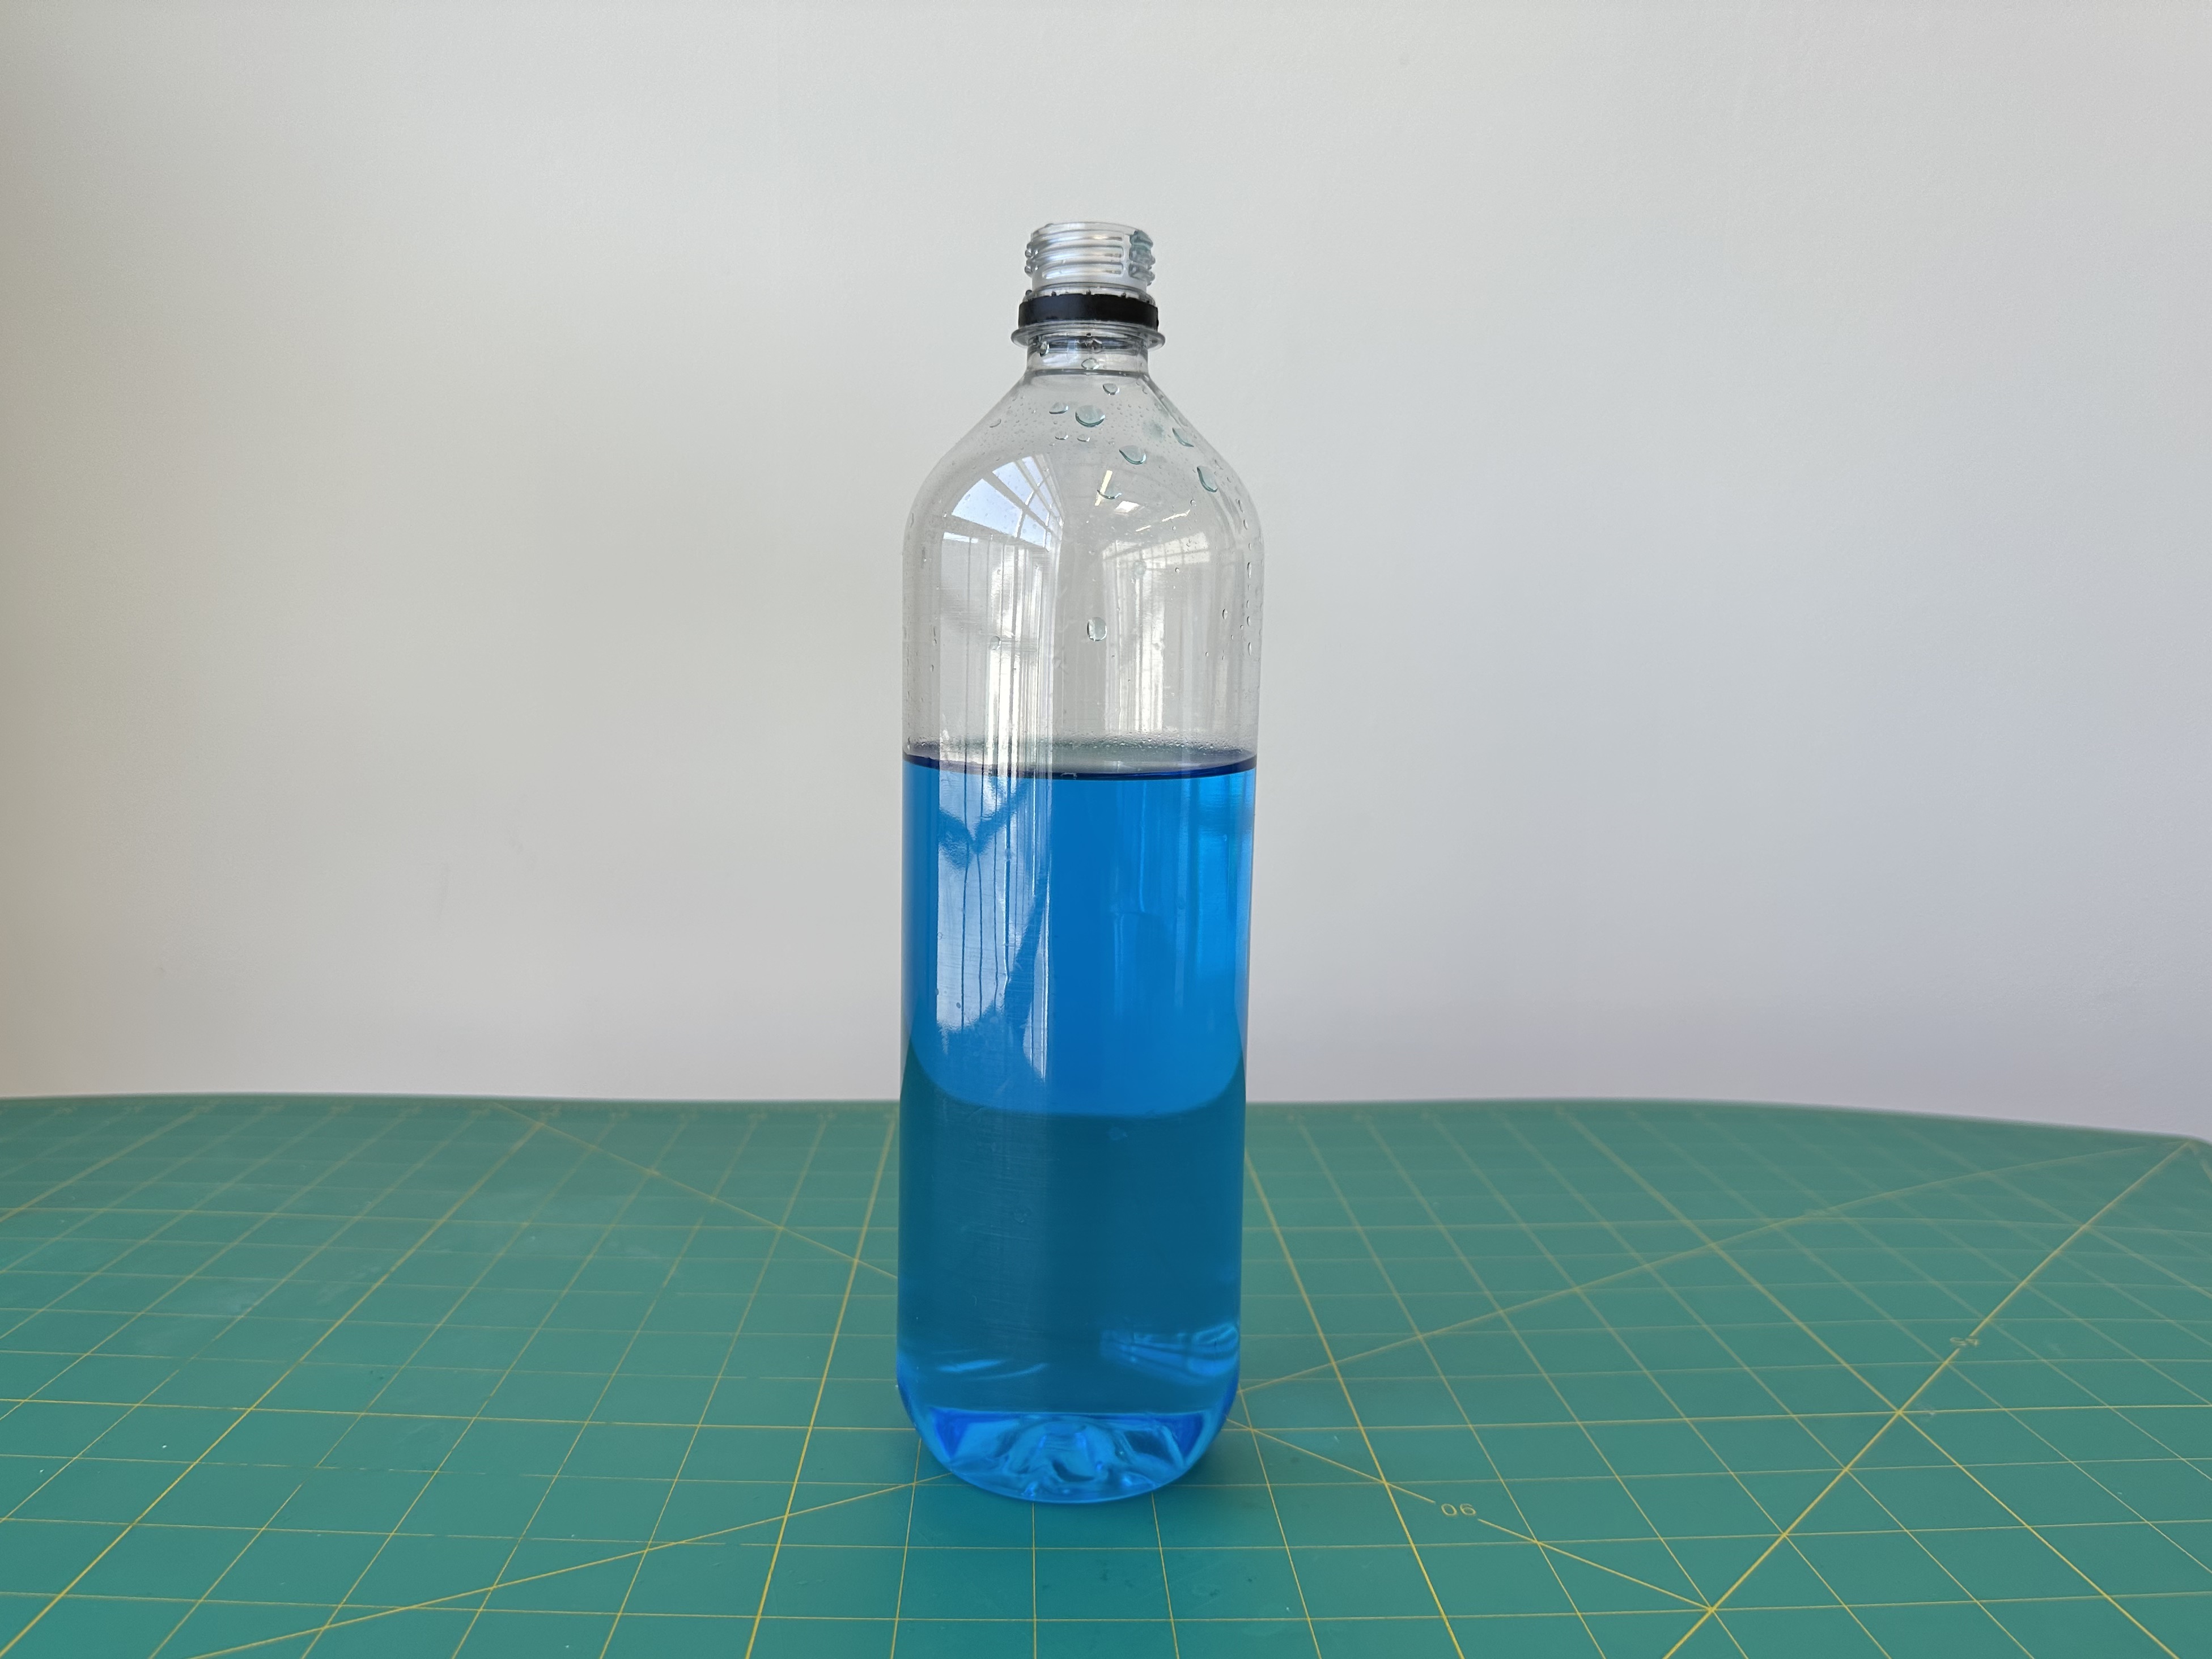
Fill one bottle about 70% with water. Adding food coloring is optional, but it helps you see the vortex better.
Step 6
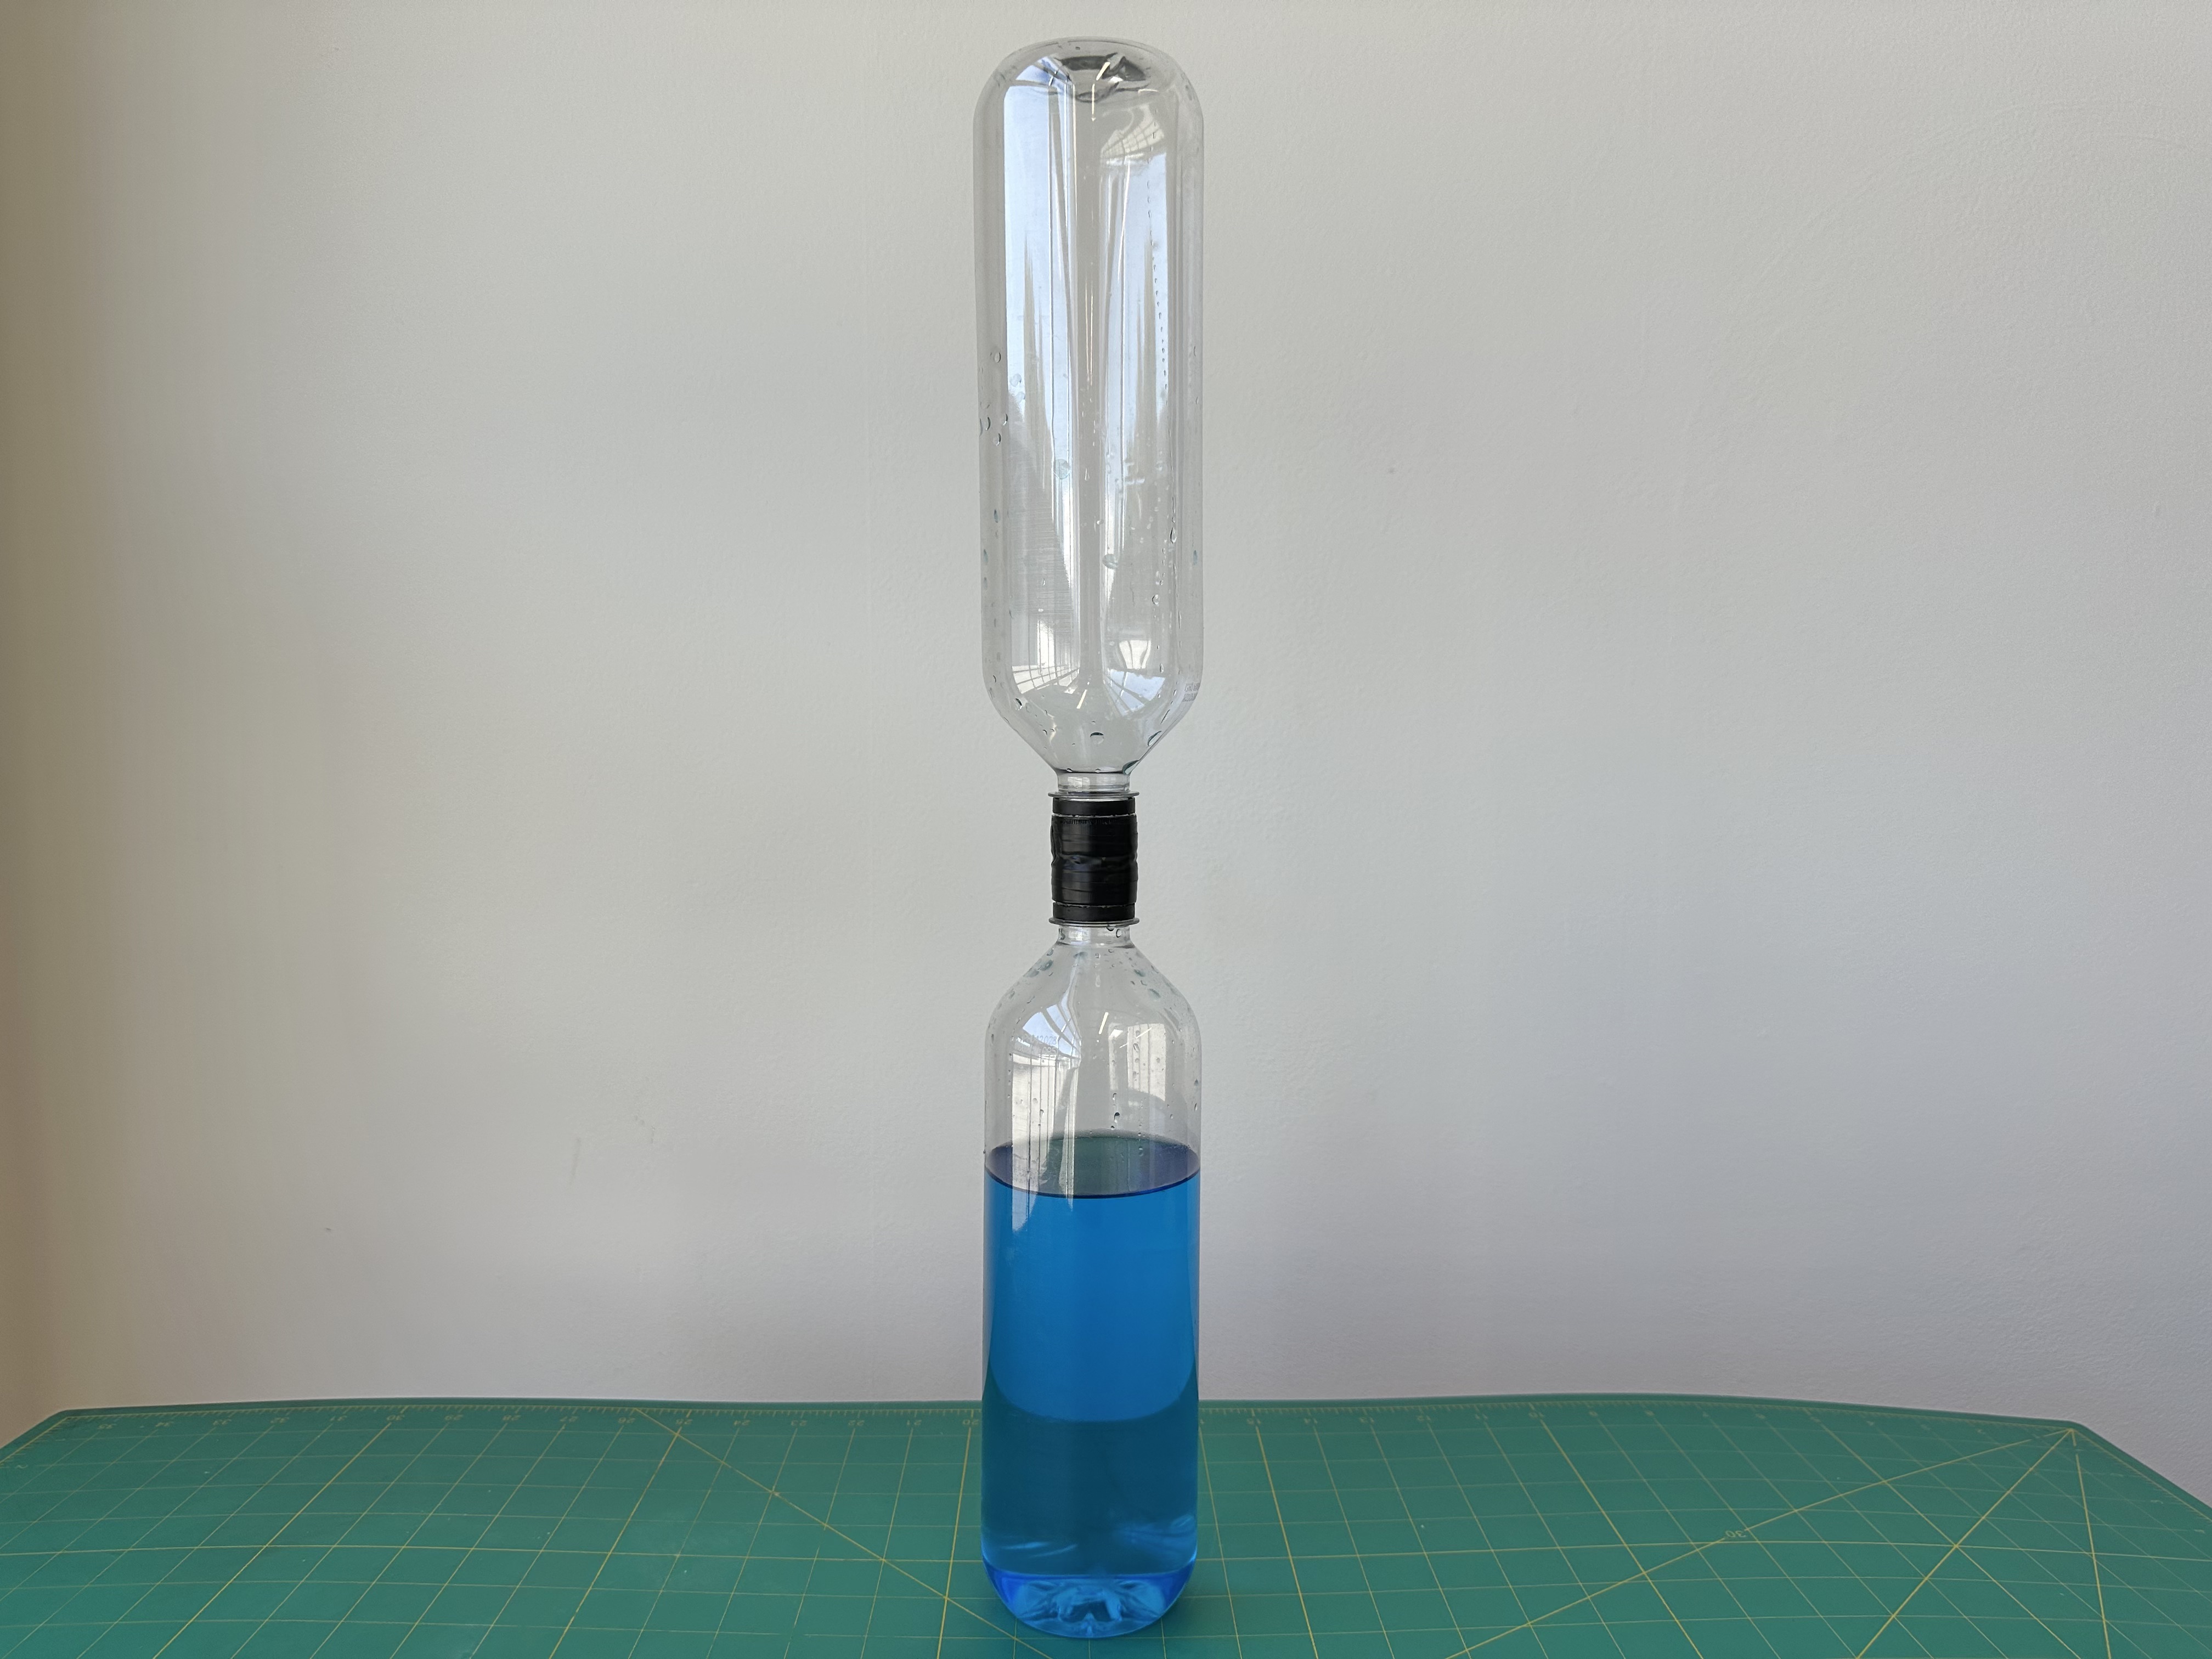
Screw the bottles together, the one with water on the bottom.
Step 7
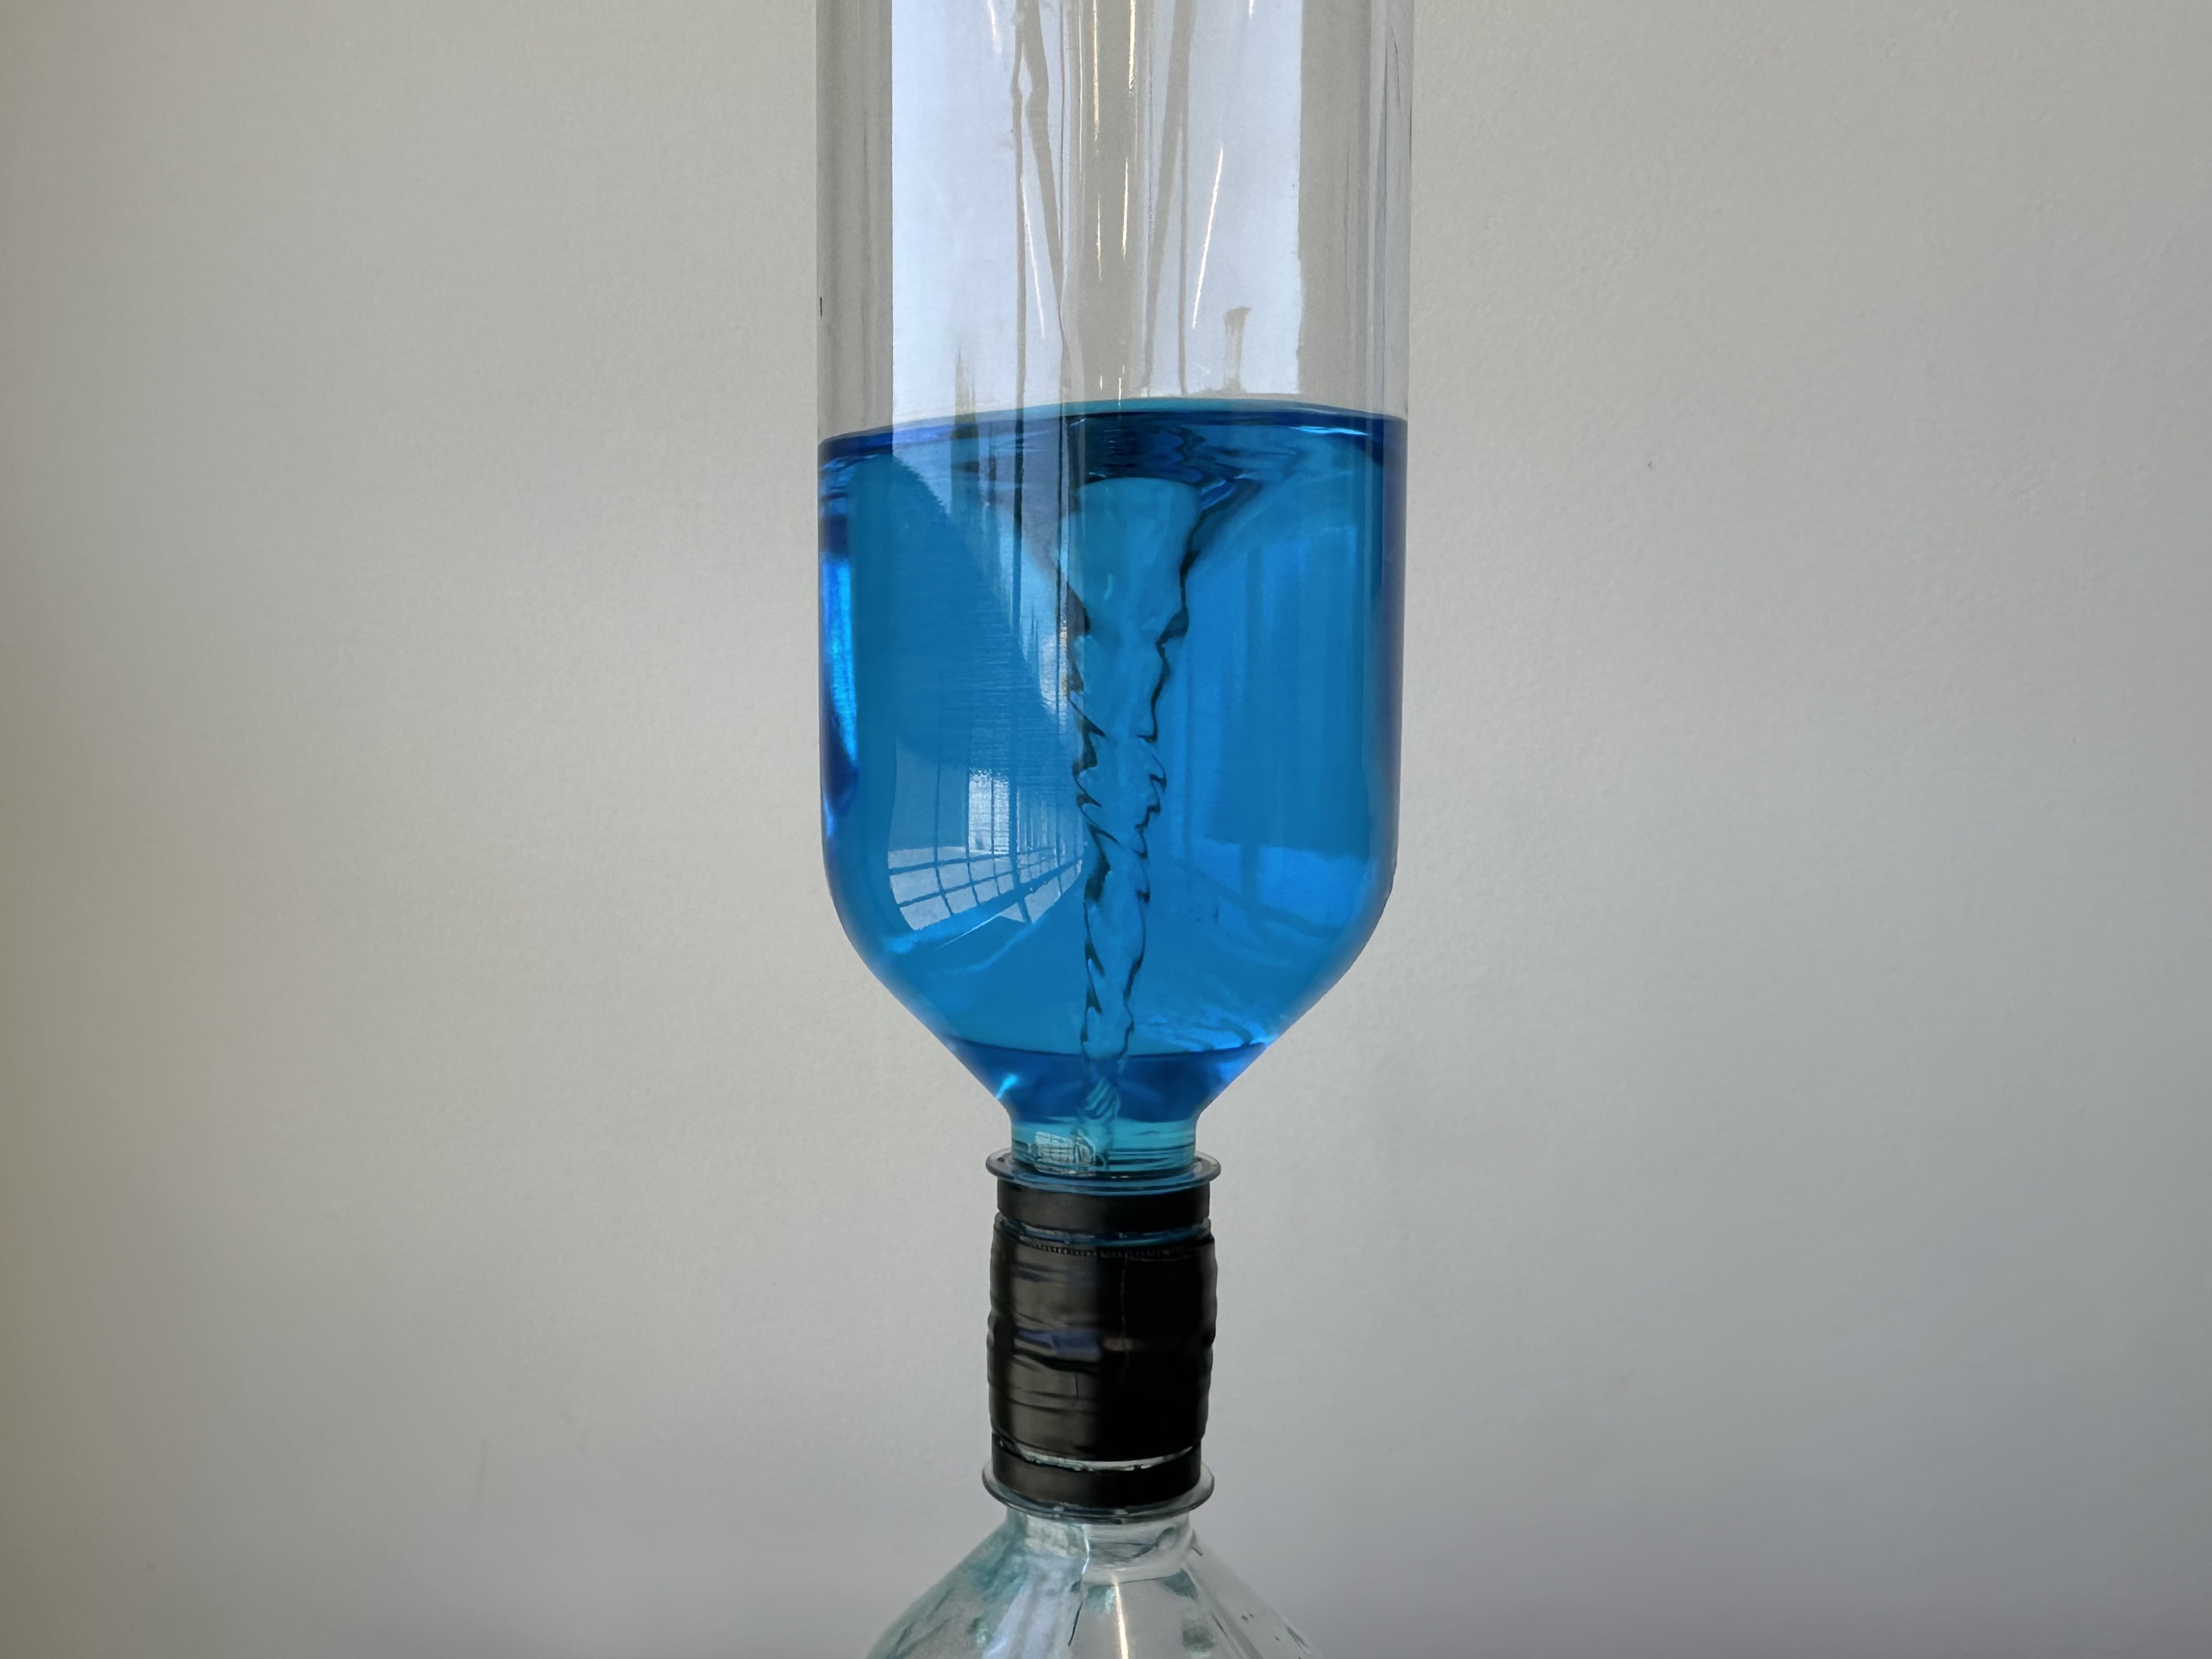
Flip the bottles, shake in a circular motion, and watch the vortex! This may take a couple tries, so don’t give up.
Learn more

When you swirl the bottle, the water spins in a circle and gets pushed out toward the walls — leaving a hollow center filled with air. That air channel lets air from the lower bottle travel upward through the middle while water spirals down, so the whole bottle drains smoothly instead of glugging out in bursts. Vortices can be found all over. Tornadoes, hurricanes, whirlpools, and even the water circling down a sink drain create the same spinning patterns as your bottle.