.gif)
Step-by-step tutorial
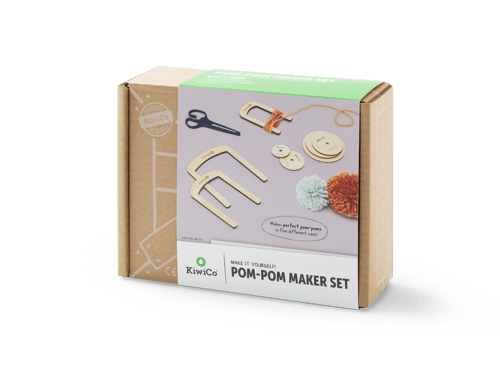
Step 1
Gather your materials.

.jpg)
Tip
Missing any of these supplies? Get them from the KiwiCo Store!
Step 2
With scissors, cut a piece of yarn about 5 inches (12.7 cm) long. Set it aside– you'll use it later to finish the pom-pom creature.
.jpg)
Step 3
Hold the pom-pom maker in one hand. Using your other hand, start winding the yarn around and around. Don't wrap it too tightly or it may be difficult to remove from the winder later. Use about 25 yards (22.9 meters) of yarn to create one big, fluffy pom-pom creature.
.jpg)
Step 4
If you are making an animal with stripes (like a tiger!) add the second color now but do not cut the first color yet! To make tiger stripes, wrap your black yarn around the center of the orange yarn. Leave a border of orange yarn. Cut the black yarn.
.jpg)
Step 5
Add one more layer of orange yarn to completely cover the black layer. Cut your orange yarn.
.jpg)
Step 6
Take the cut piece of yarn and tie it around the middle of the yarn between the arms of the pom-pom maker.
.jpg)
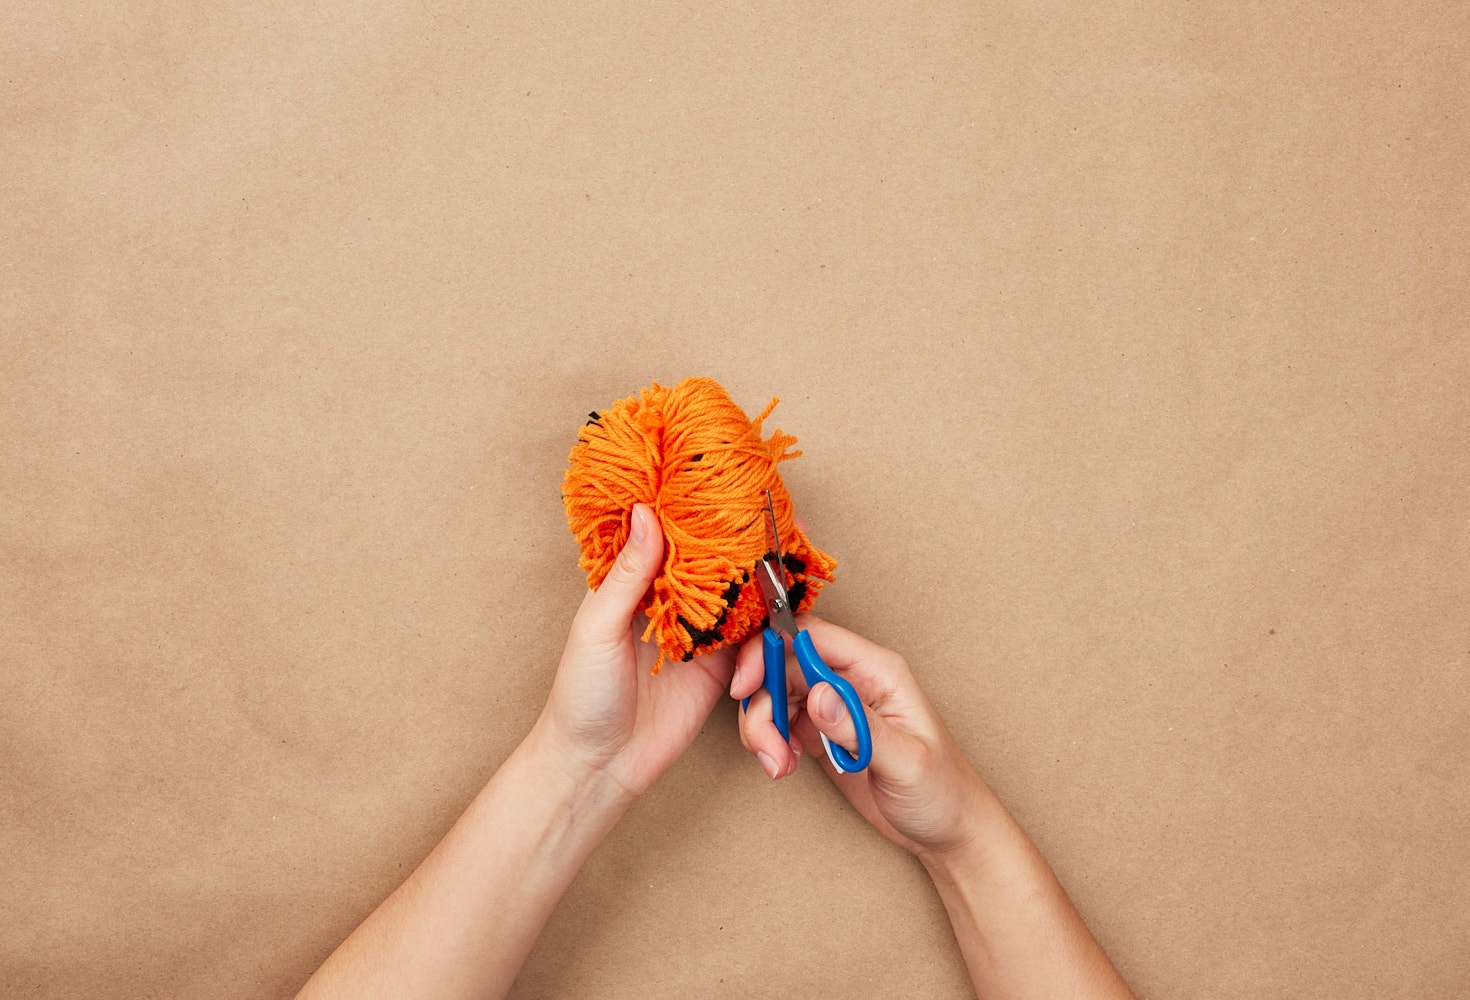
Step 7
Pull the yarn off the pom-pom maker. Take the scissors and cut both ends of the looped yarn. You may need to ask an adult for help with this. As you cut, make sure not to cut the piece of yarn that was used to tie the middle.
Step 8
Use the pom-pom trim guide and shape your pom-pom.
.jpg)
Step 9
Use your sticky felt to create ears and a nose!
.jpg)
Step 10
Add wiggle eyes!
.jpg)
Done!
Rawr!
.jpg)