Step-by-step tutorial
Learn more

Dragons may be mythical, but this dragon bellows is based off something real — a tool called a bellows. And interestingly enough, bellows are used to get fires going, kind of like how this model gets the flames going in the dragon’s mouth!
Fire needs three things to burn: heat, a fuel source, and oxygen. Oxygen is all around you in the air, so air is an easy source of oxygen for a fire. But a fire on its own, with a normal amount of air around it, will only burn so hot. What if you need it to burn hotter? It turns out, you just add more air! Instead of blowing out the fire, the added air brings extra oxygen, which increases the fire’s intensity and temperature.
A bellows has been the way to add extra air (and oxygen) to a fire since ancient times. When you open a bellows, it sucks in air to fill itself up. Then when you squeeze it, it shoots that air out like a pump. By pumping a bellows over and over, ancient people could make fires hot enough to smelt iron out of ore, weld metals together, and craft strong metal alloys. Bellows are still used to this day.
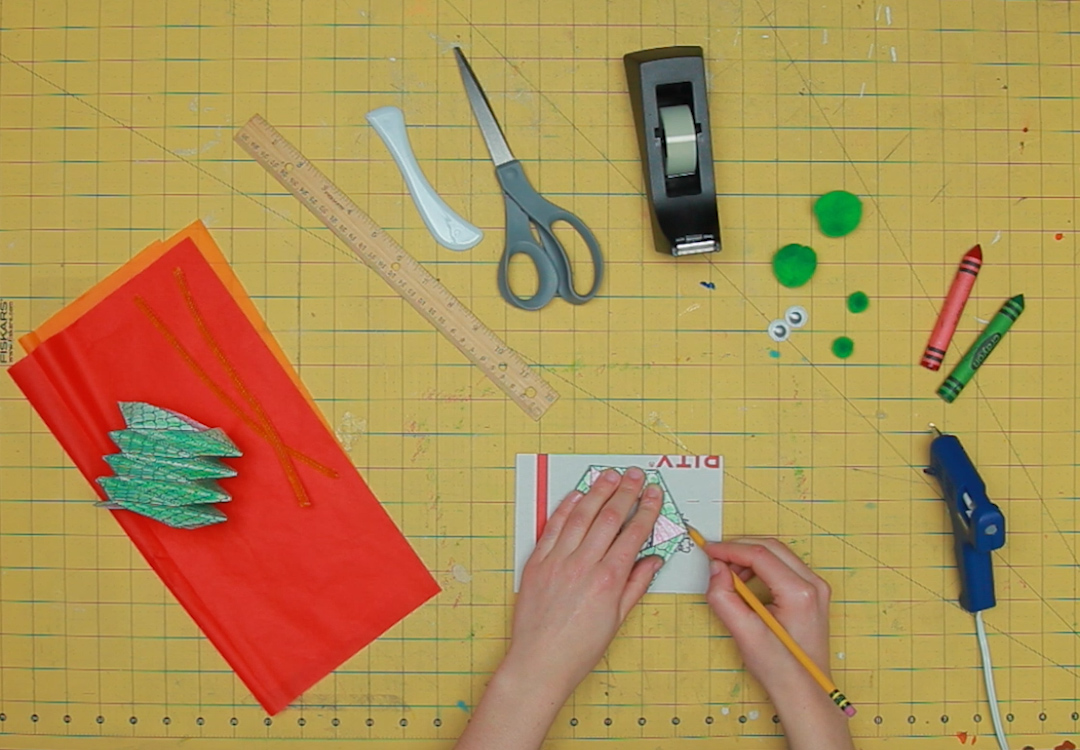
Get ready to pump some air and stoke your dragon’s flames with this fire-breathing project!Step 1
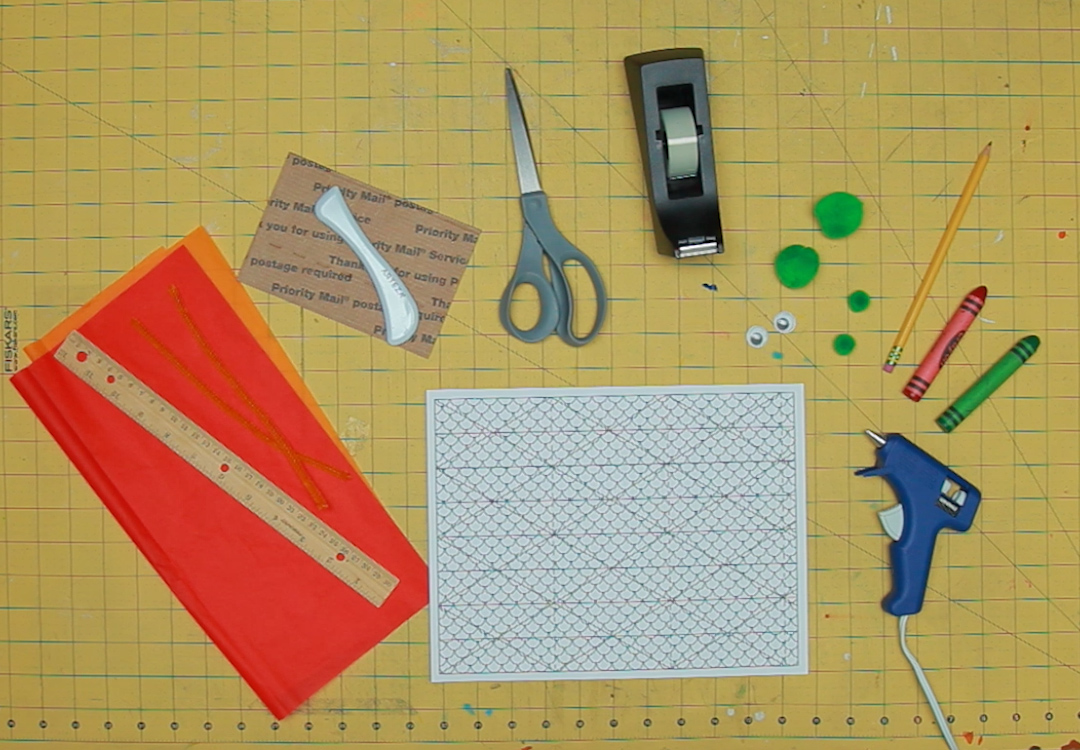
Gather your materials.

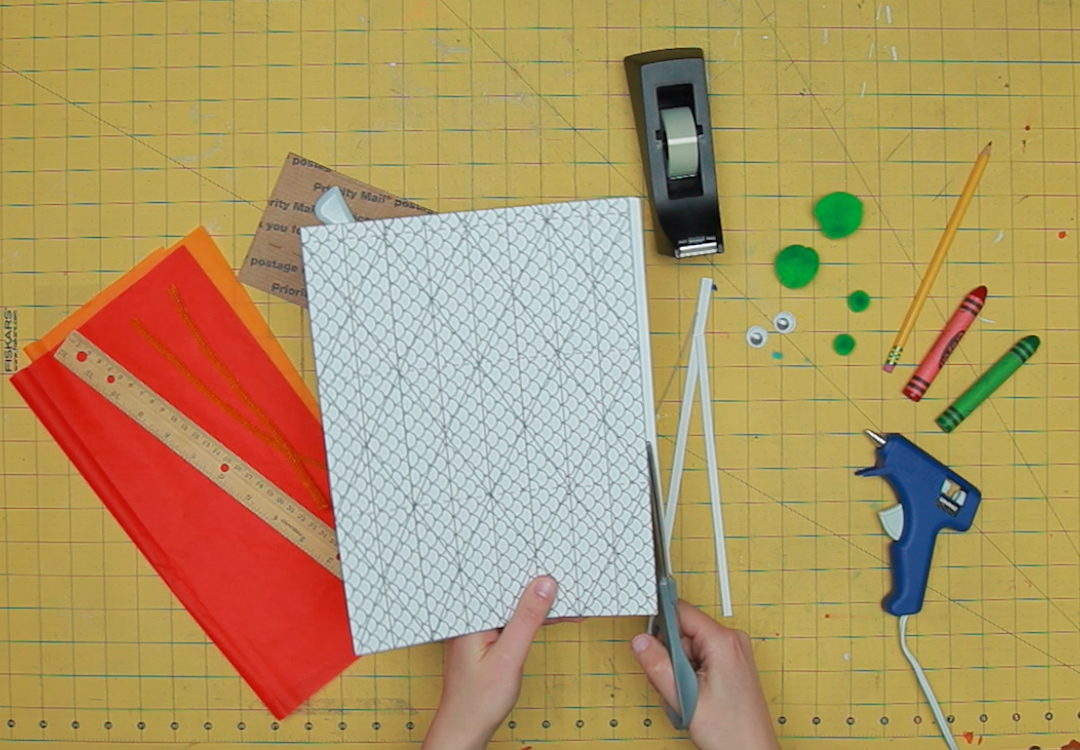
Step 2
Cut the border off of the printable.
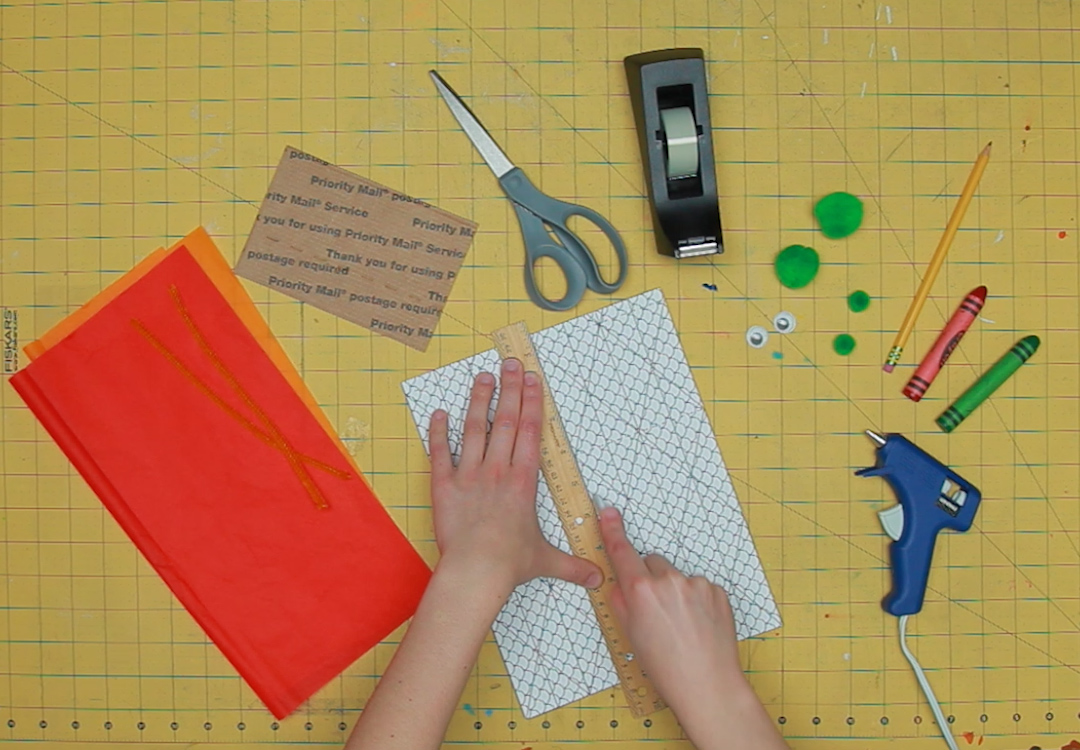
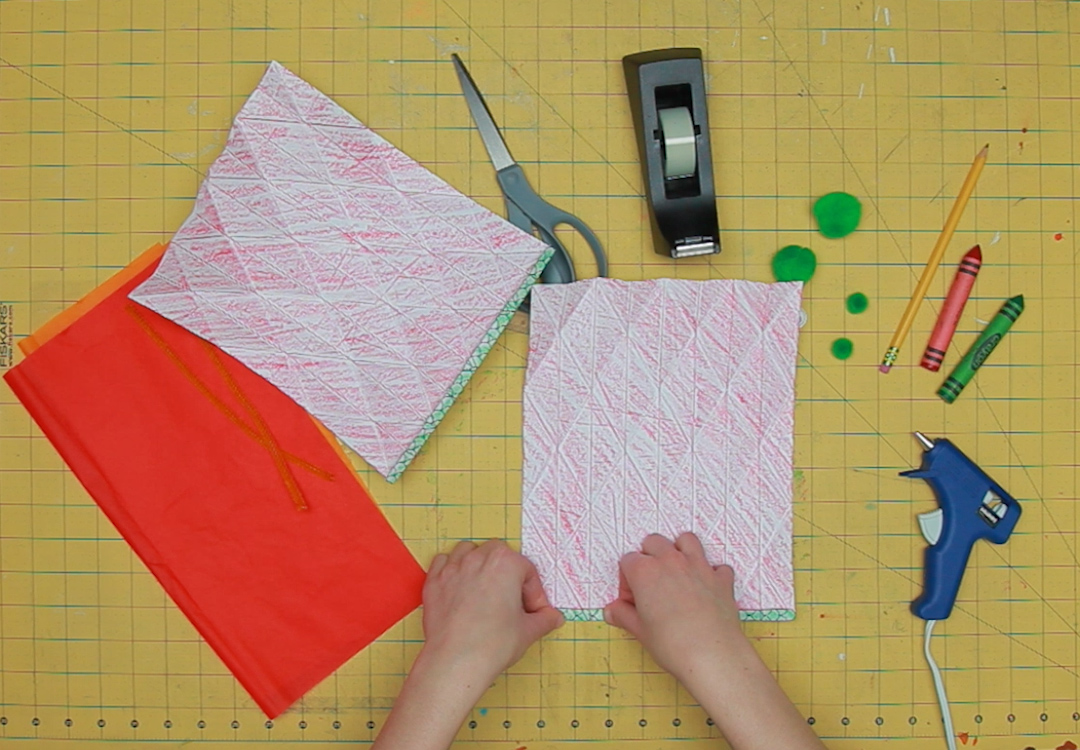
Step 3
Crease the solid horizontal lines.
Step 4
Then, fold and crease them towards the printed side of the paper.

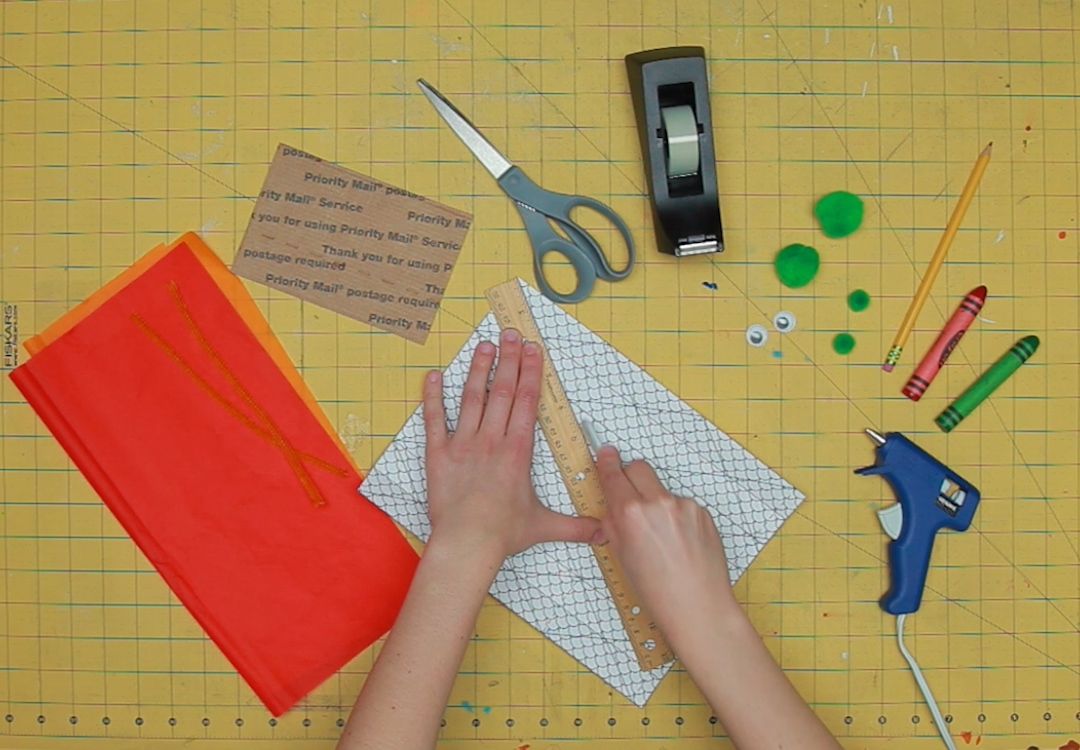
Step 5
Crease the solid diagonal lines.
Step 6
Then, fold and crease them towards the blank side of the paper.
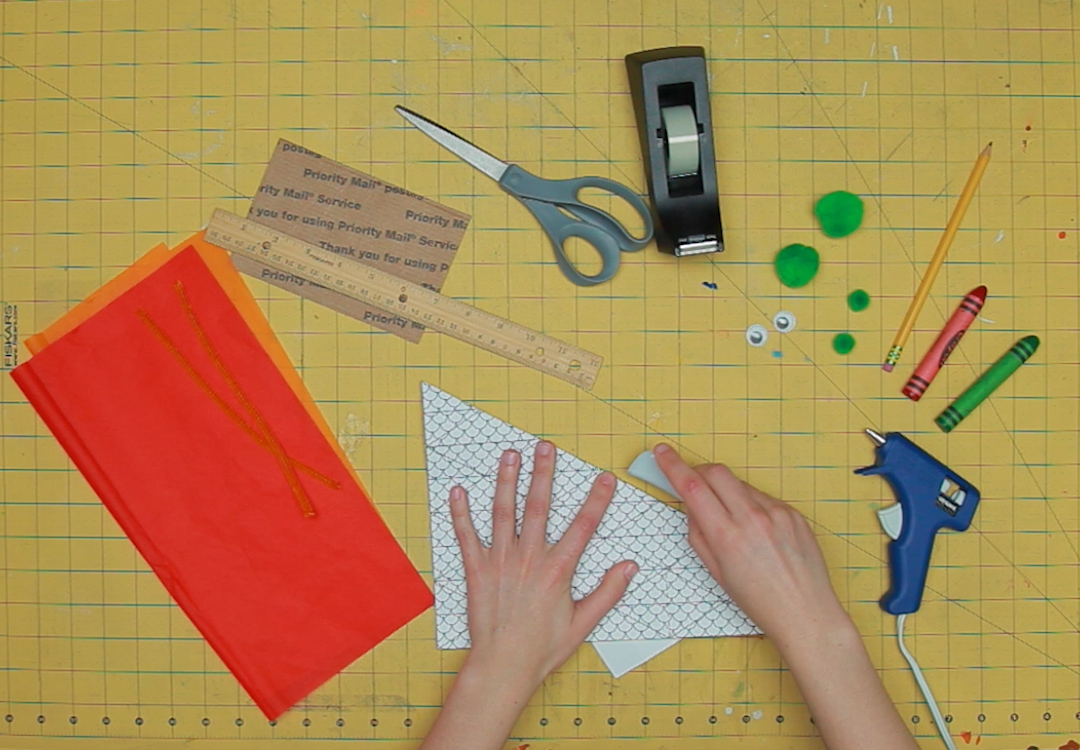
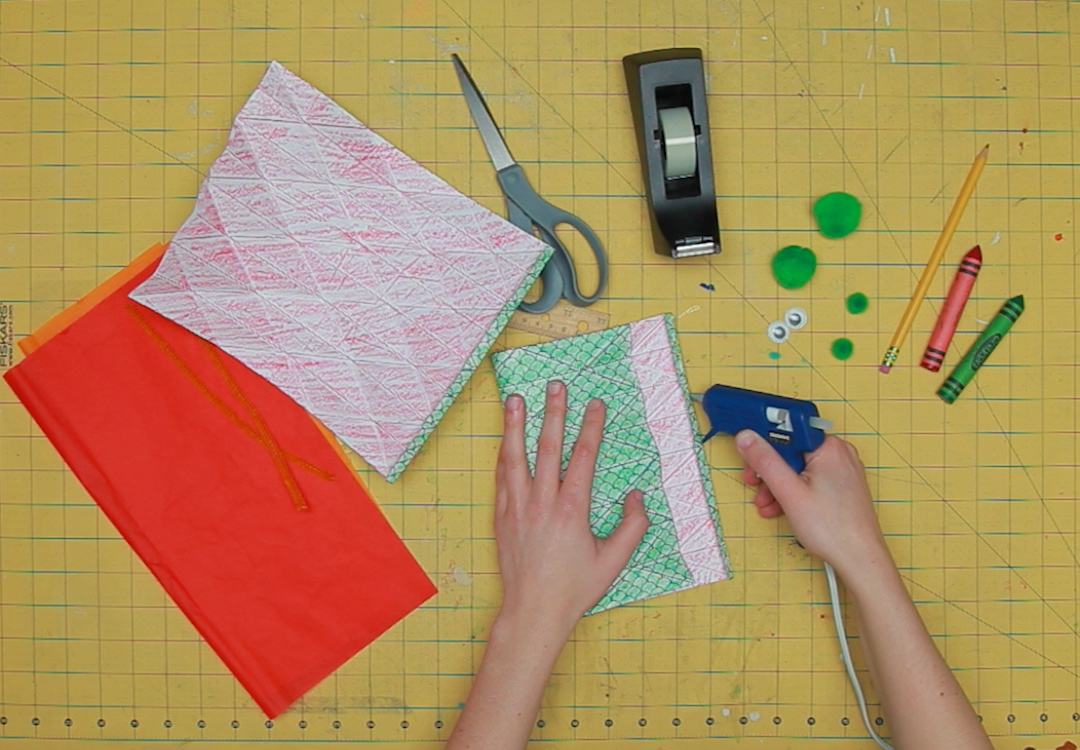
Step 7
Push the middle of the triangles on the short sides of the paper down and squeeze them together.
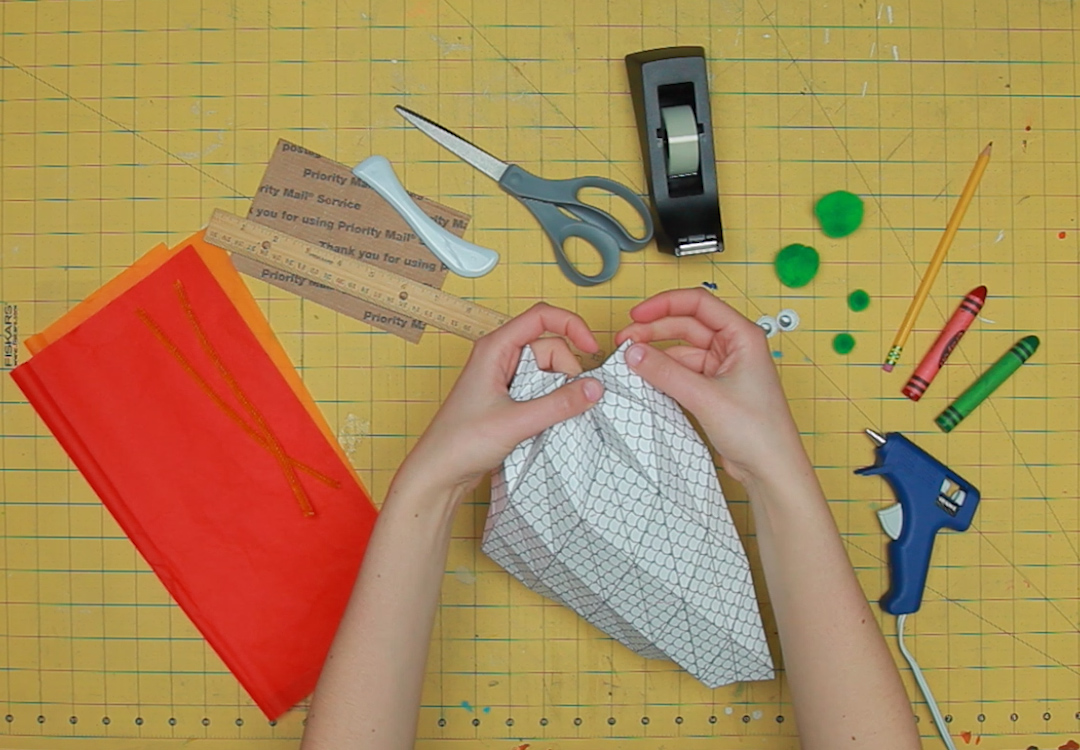
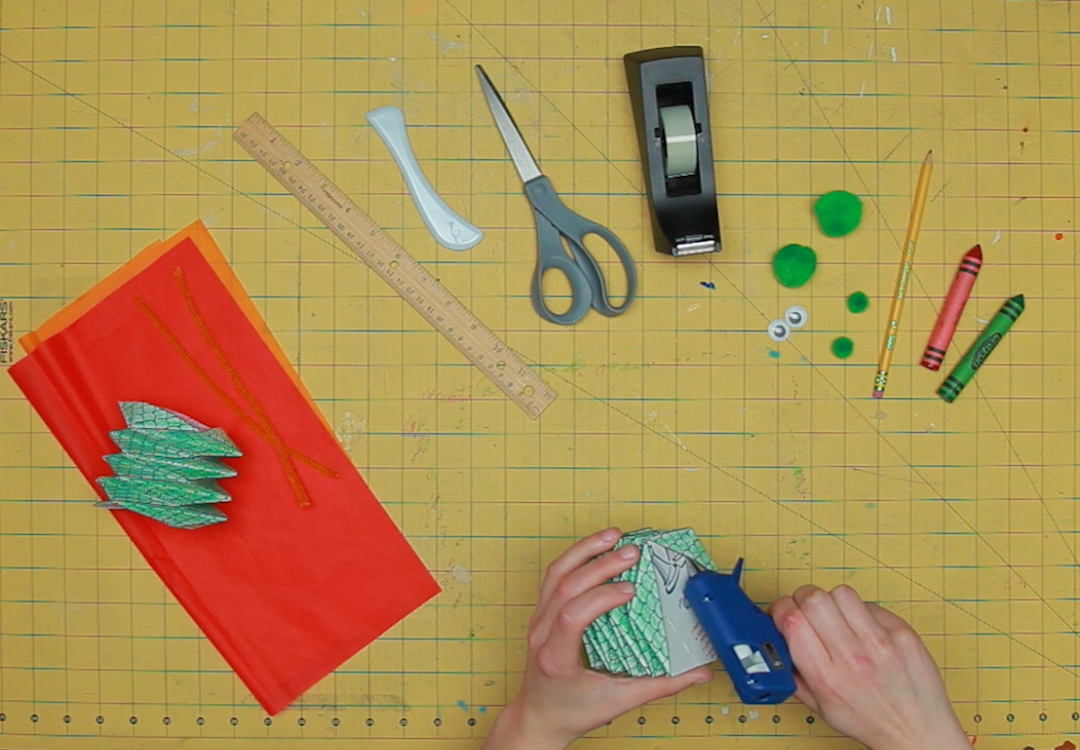
Step 8
Continue doing this until you have a flat hexagonal shape.
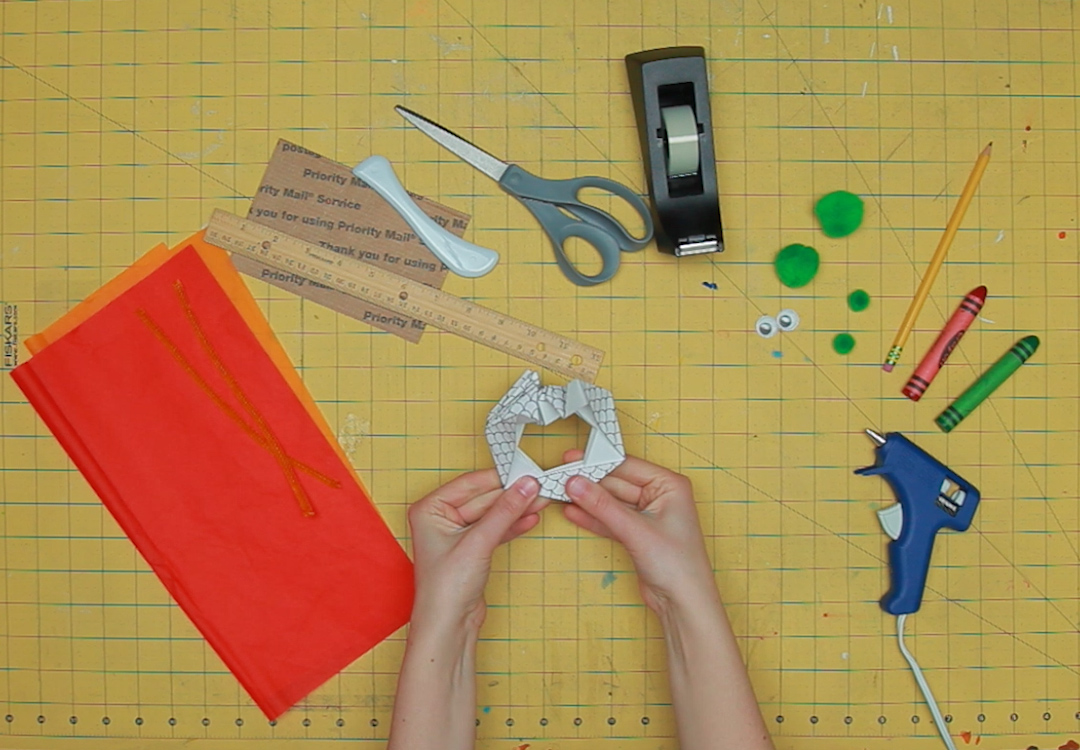
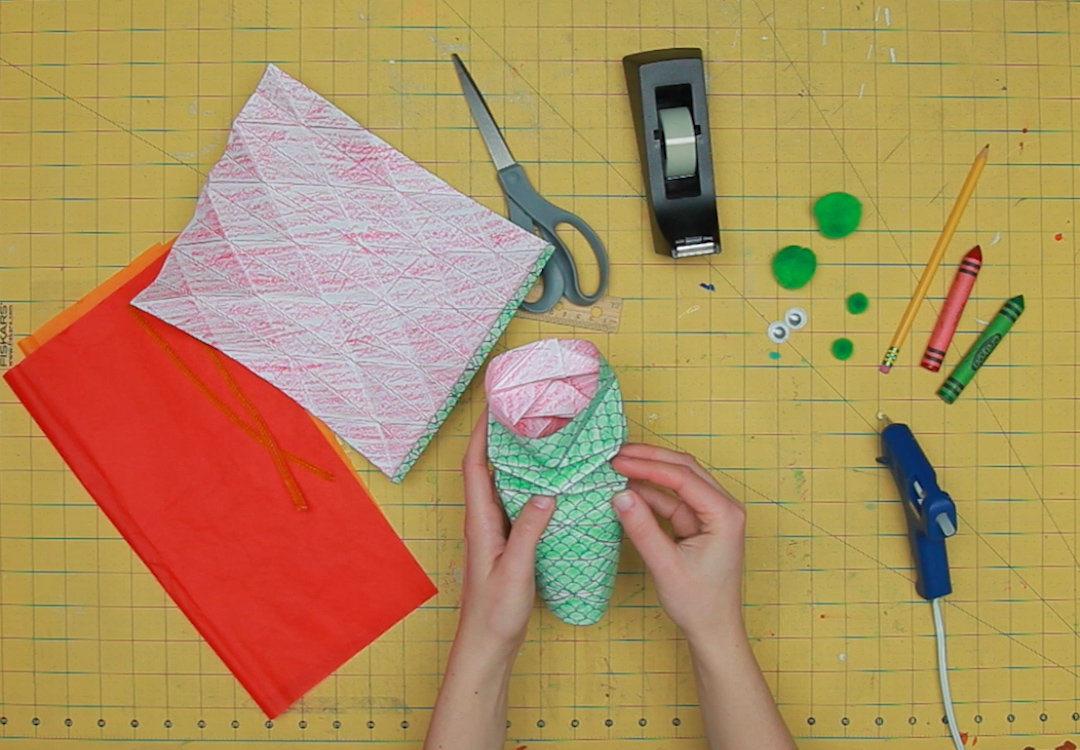
Step 9
Repeat with the other printable.
Step 10
Flatten out the printables and color them in. These will be your dragon’s scales.
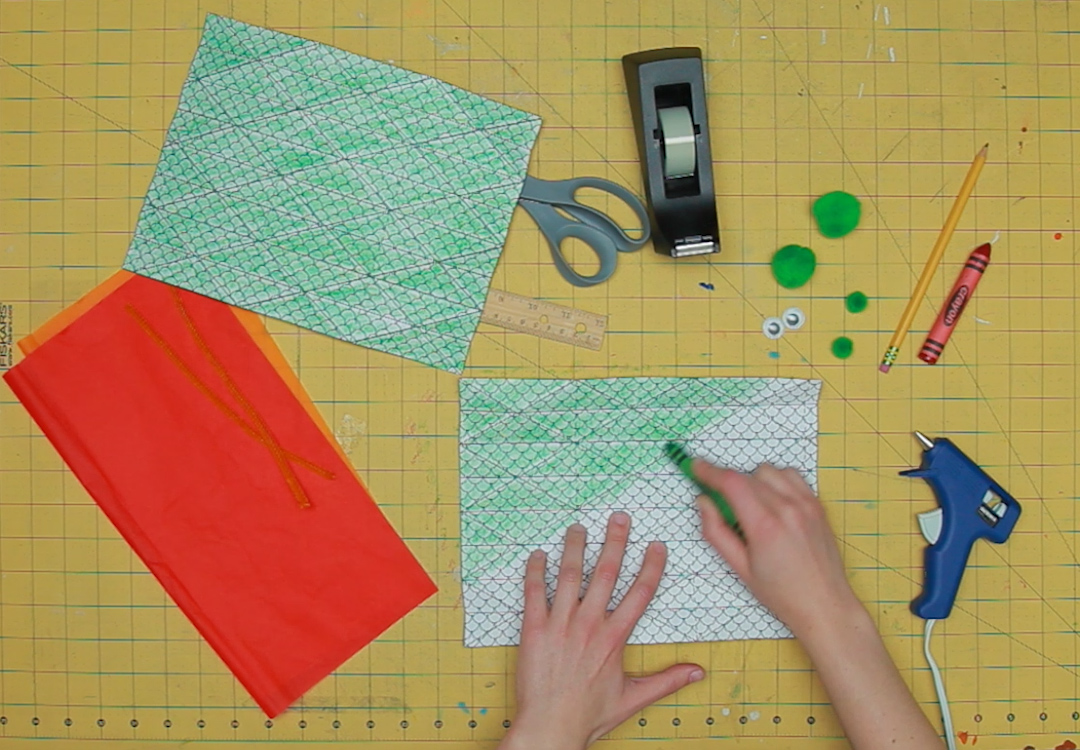
Tip
Flip the printables over and color them! This will be the inside of your dragon’s mouth - make it look fire-y!
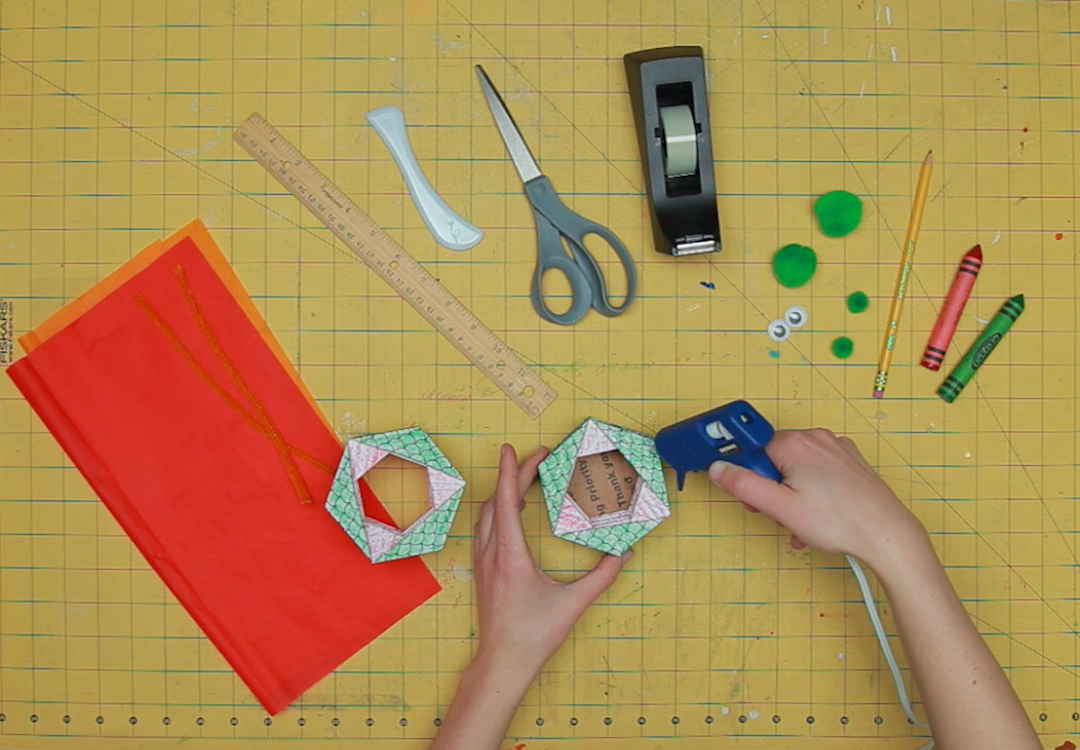
Step 11
Fold along the dotted line towards the inside of the mouth. This is a tab.
Step 12
Then, glue the tab to the other short side of the printable, connecting them and closing the circle.
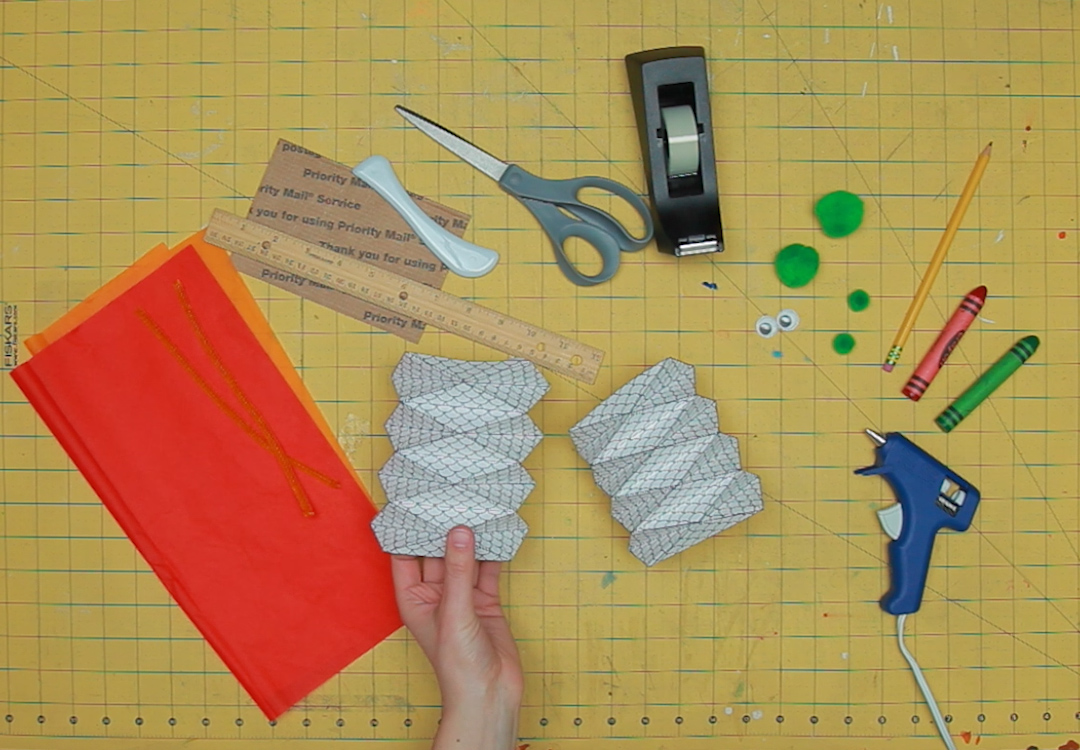
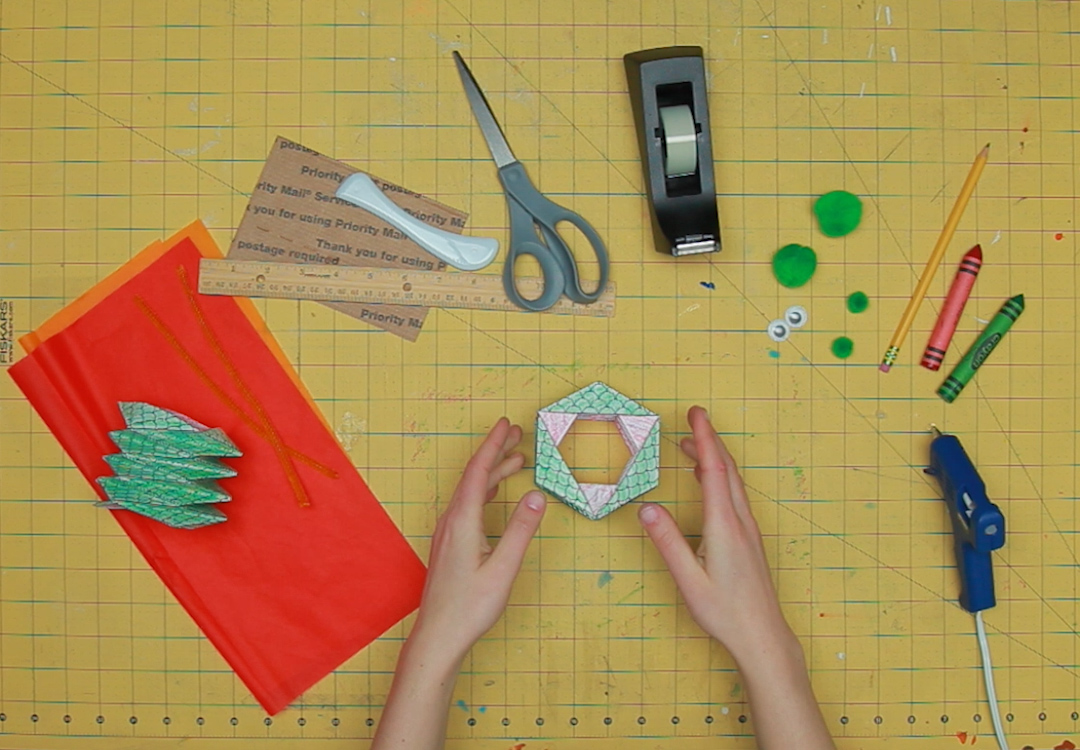
Step 13
Refold the printable again so that it looks like a flat hexagon. You made a bellow!
Learn more
Bellows produce strong currents of air through a chamber. When you expand the chamber, it draws in air. When you compress the chamber, it expels air.
Step 14
Repeat with the other printable.
Step 15
Trace the bottom of one of the bellows onto a piece of cardboard. Then, cut it out.
Step 16
Glue the cardboard to one end of one of the bellows.
Step 17
Then, glue the other bellow to the open end of the first bellow.
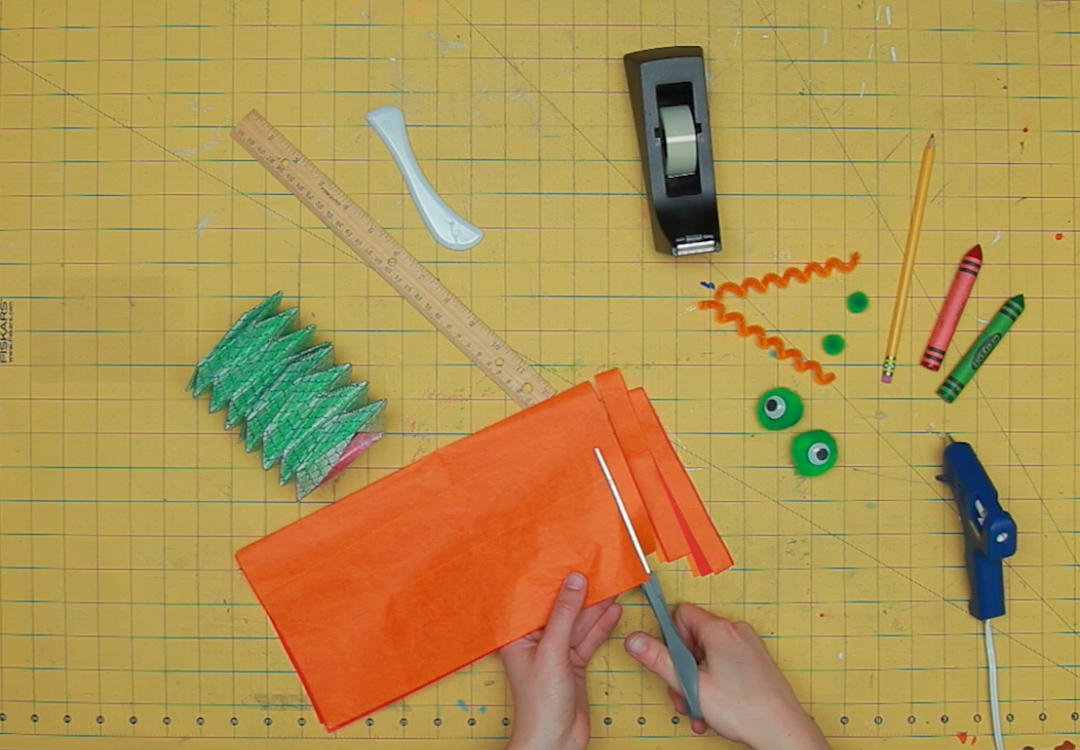
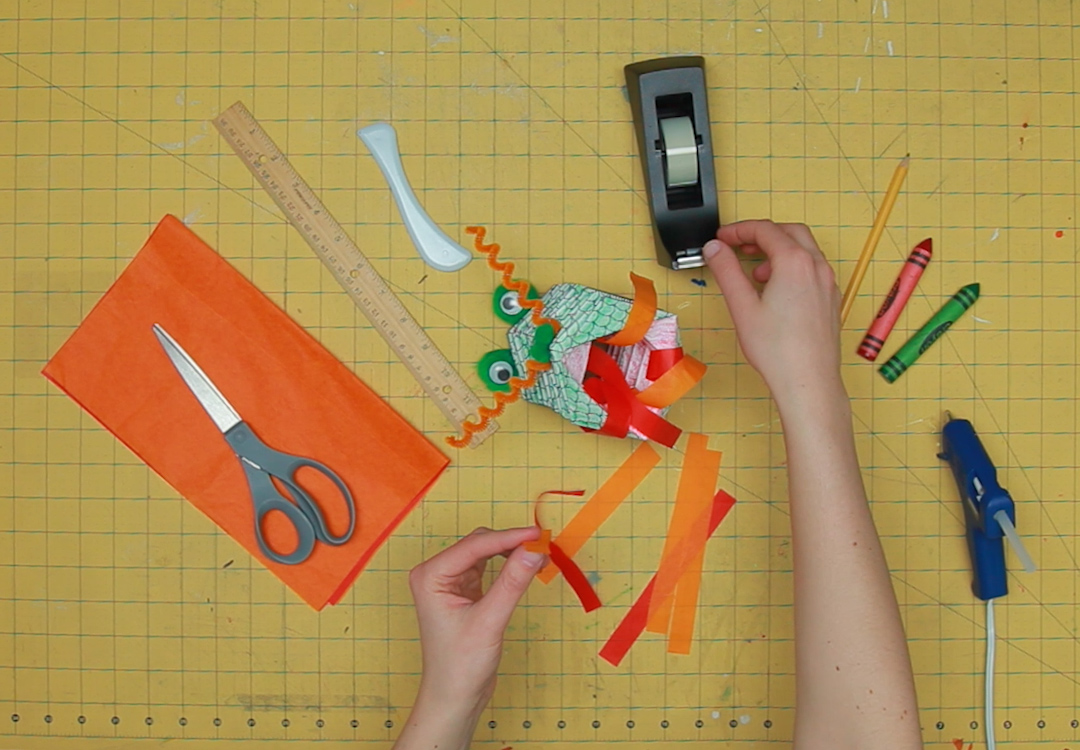
Step 18
Cut some ½-inch wide strips of tissue paper.
Step 19
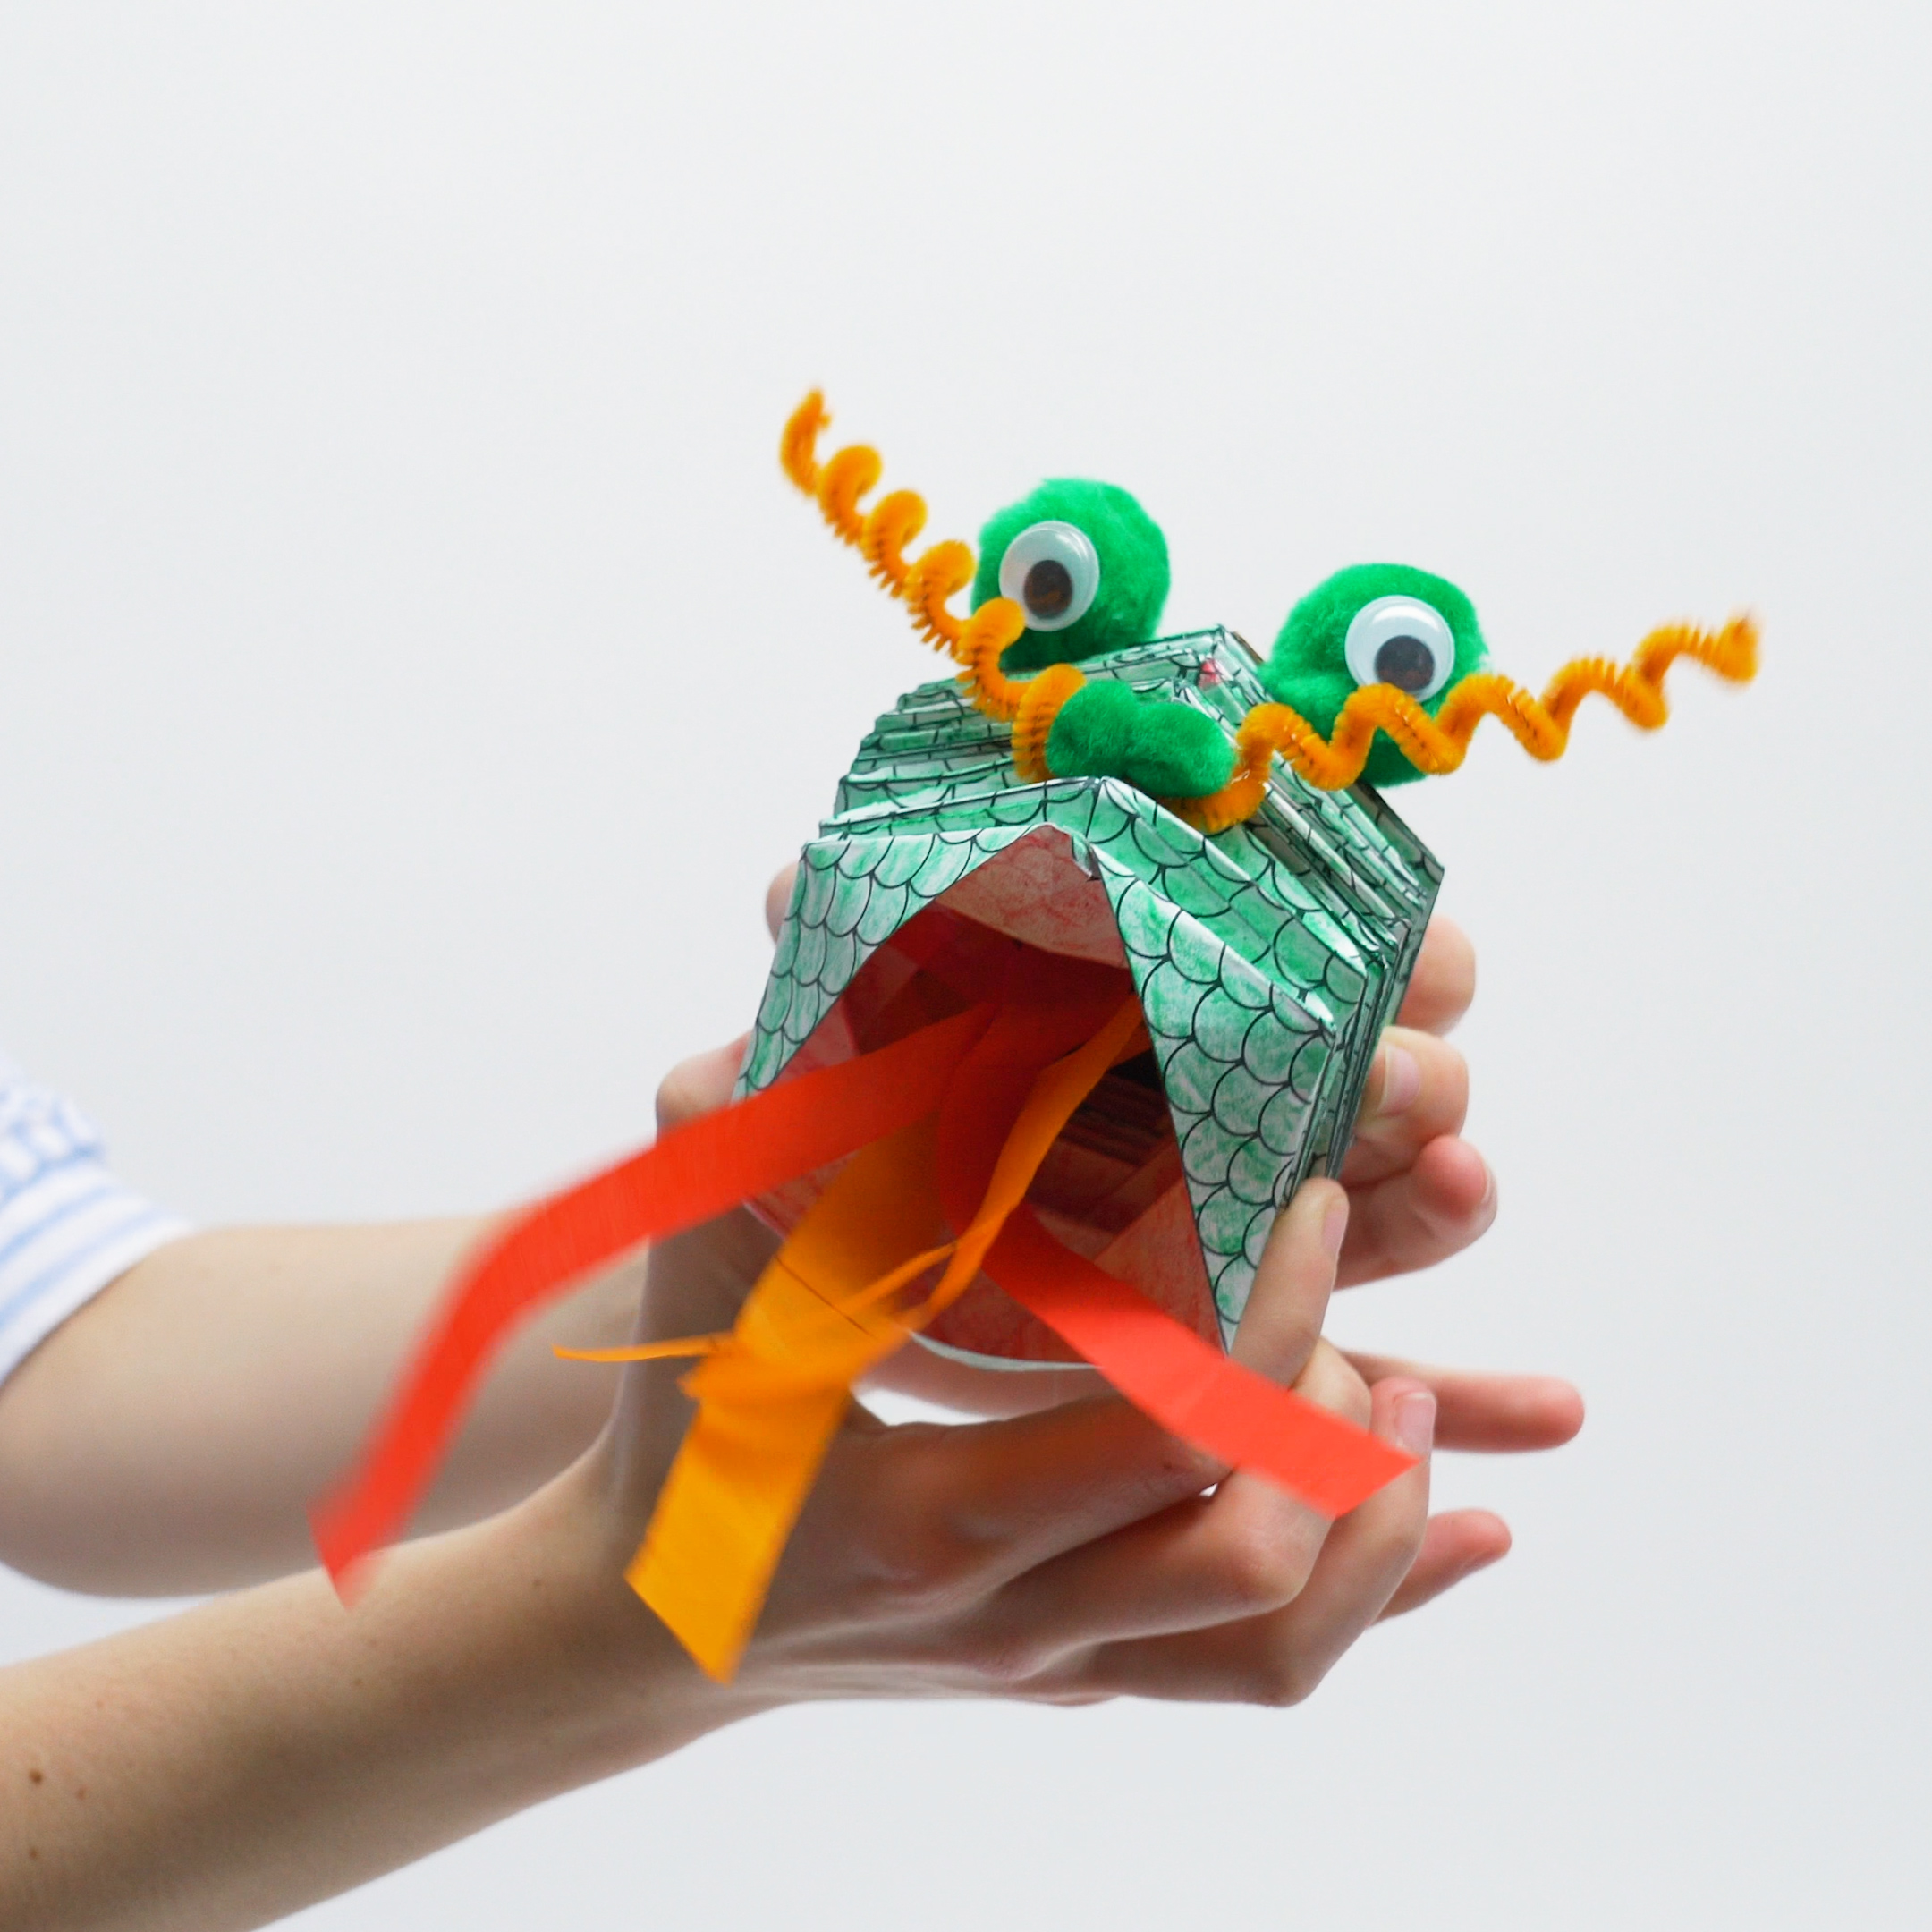
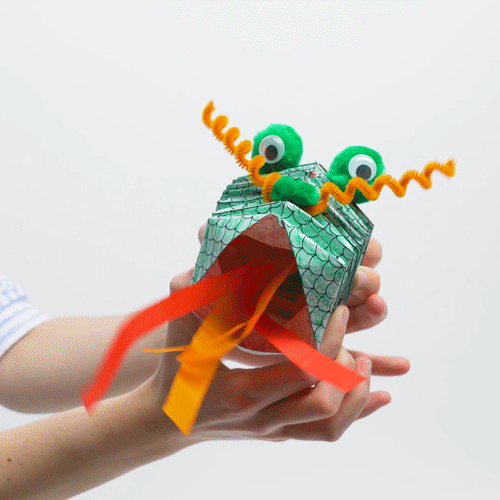
Decorate your dragon! We decorated our dragon with two eyes, a nostril, and some nostril flares.
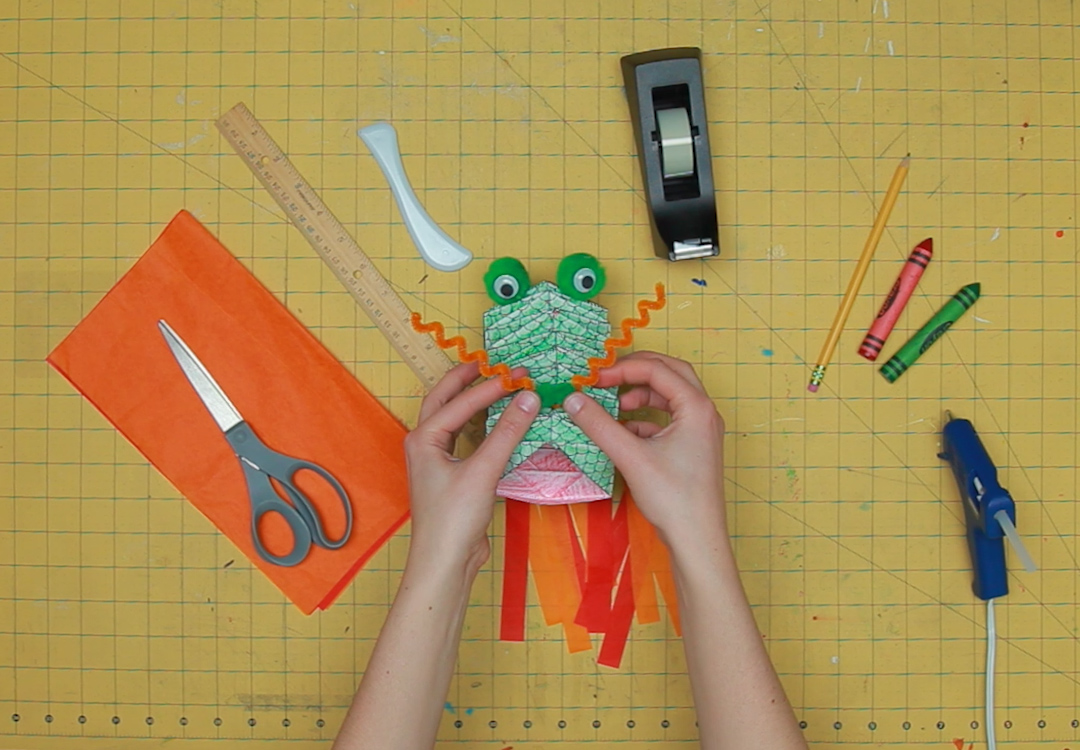
Step 20
Tape the strips of tissue paper to the inside of the dragon’s mouth.
Done!
Now, your dragon is ready to breathe fire! To make it breathe fire, just compress the bellows!