Step-by-step tutorial
Step 1
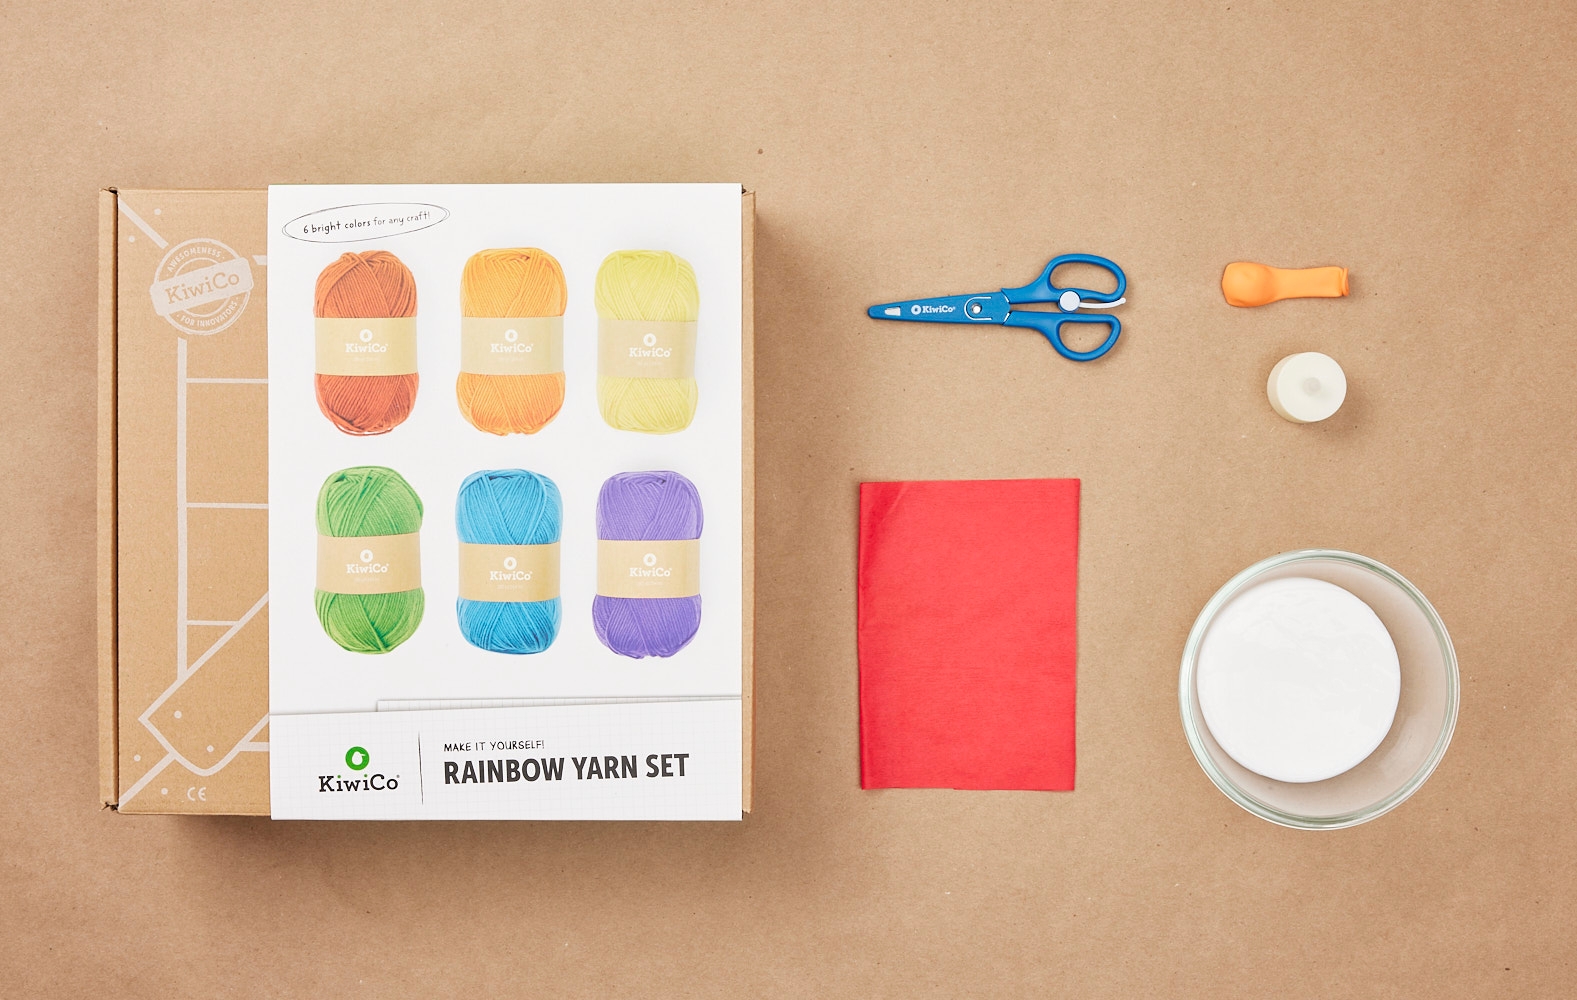
Gather your materials.

Tip
Missing any of these supplies? Get them from the KiwiCo Store!
Step 2
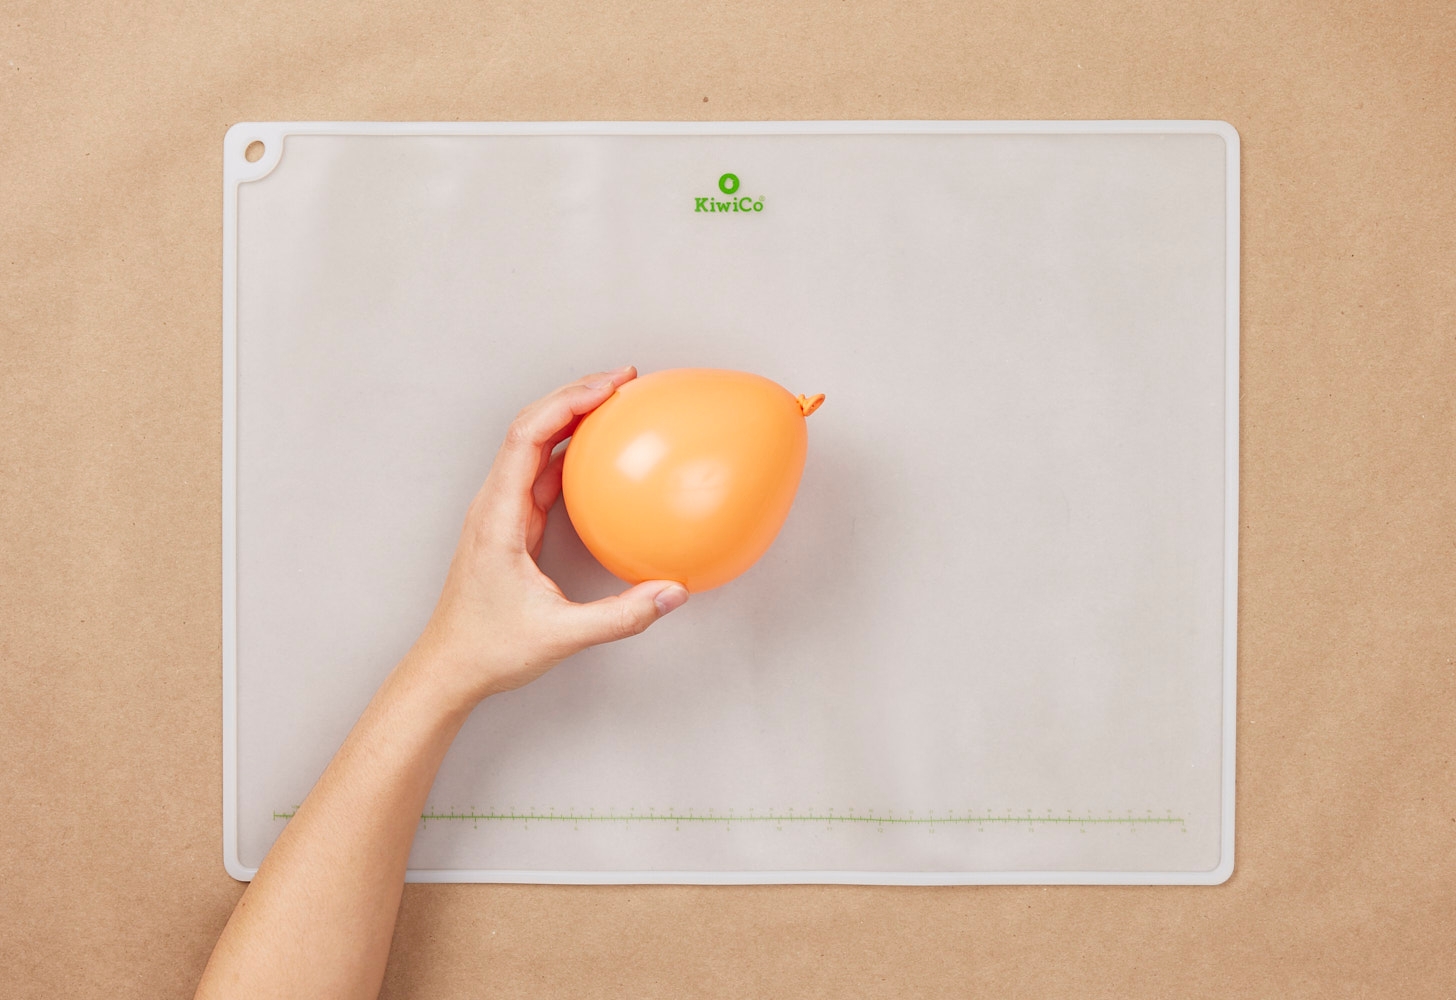
Inflate your balloon to the size you want your lantern to be - we made ours about the size of two fists.
Step 3
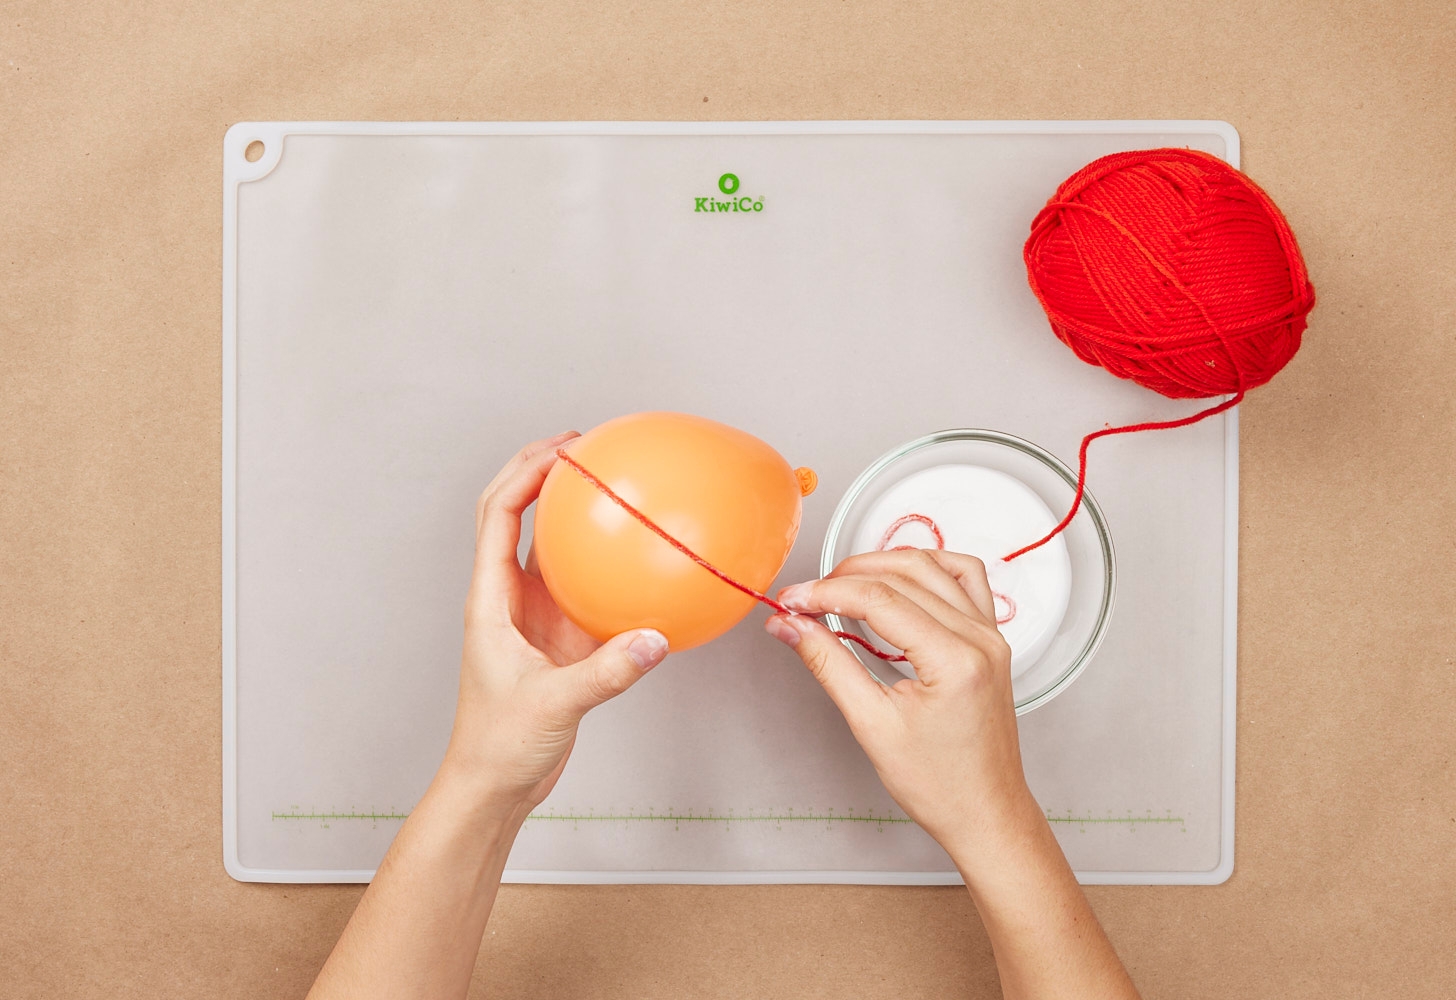
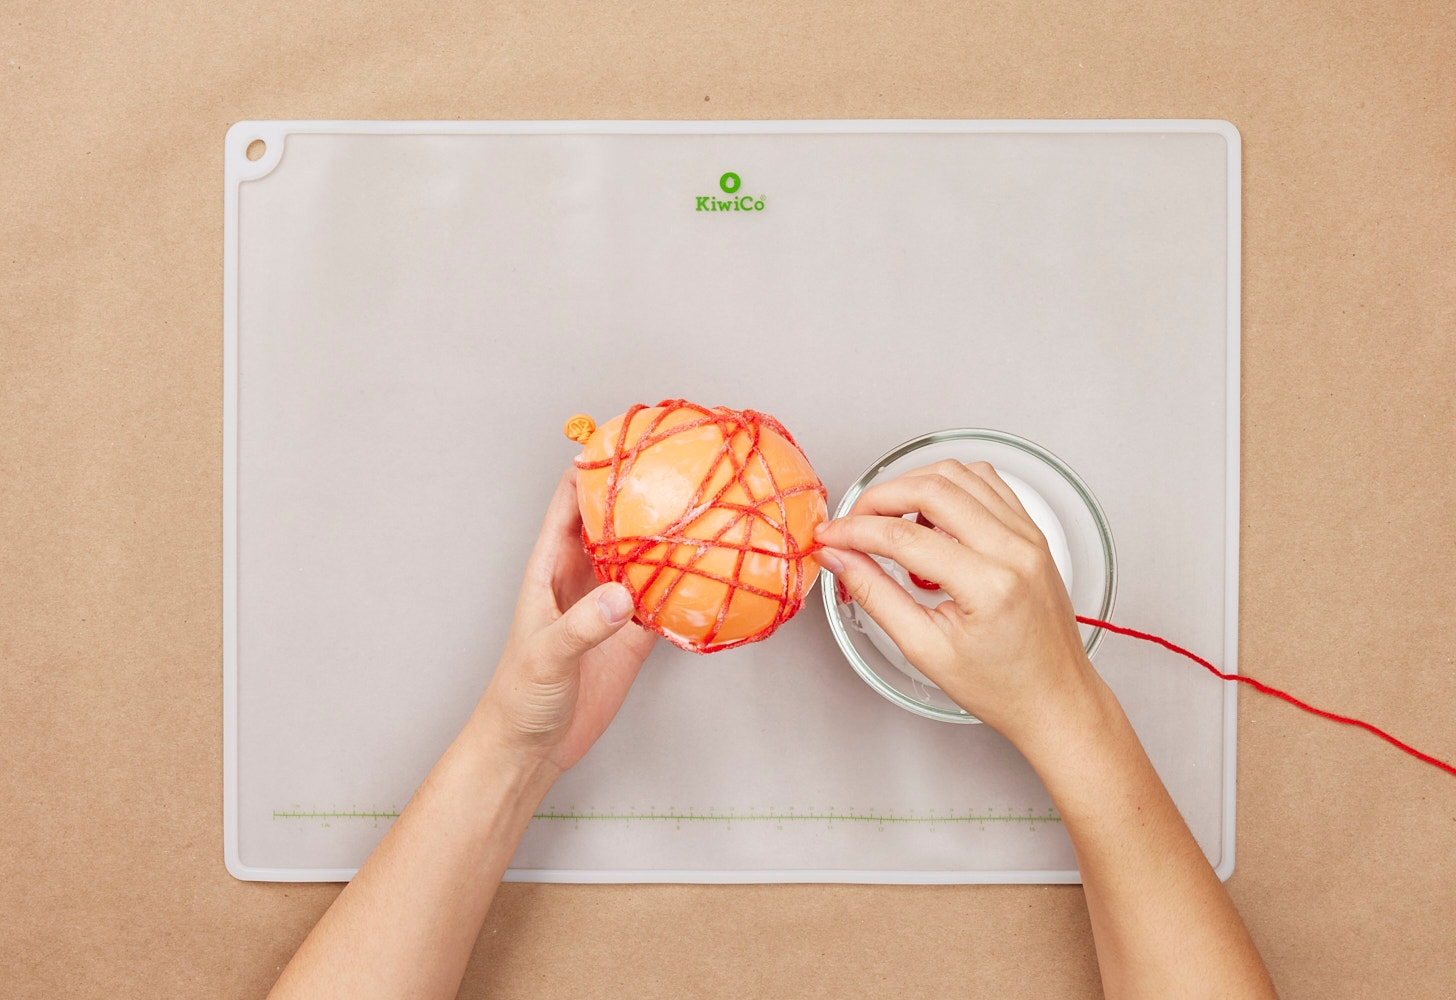
Fill a bowl with some glue. Then, dip the yarn in the glue and begin wrapping it around the balloon.
Tip
Make sure to leave an opening at the top of the balloon so you can put your tea candle in later.
Step 4
Wrap the yarn around the balloon in a criss-cross fashion. Try to cover it evenly but leave a small opening around the knot of the balloon. We wrapped ours around 60 times.
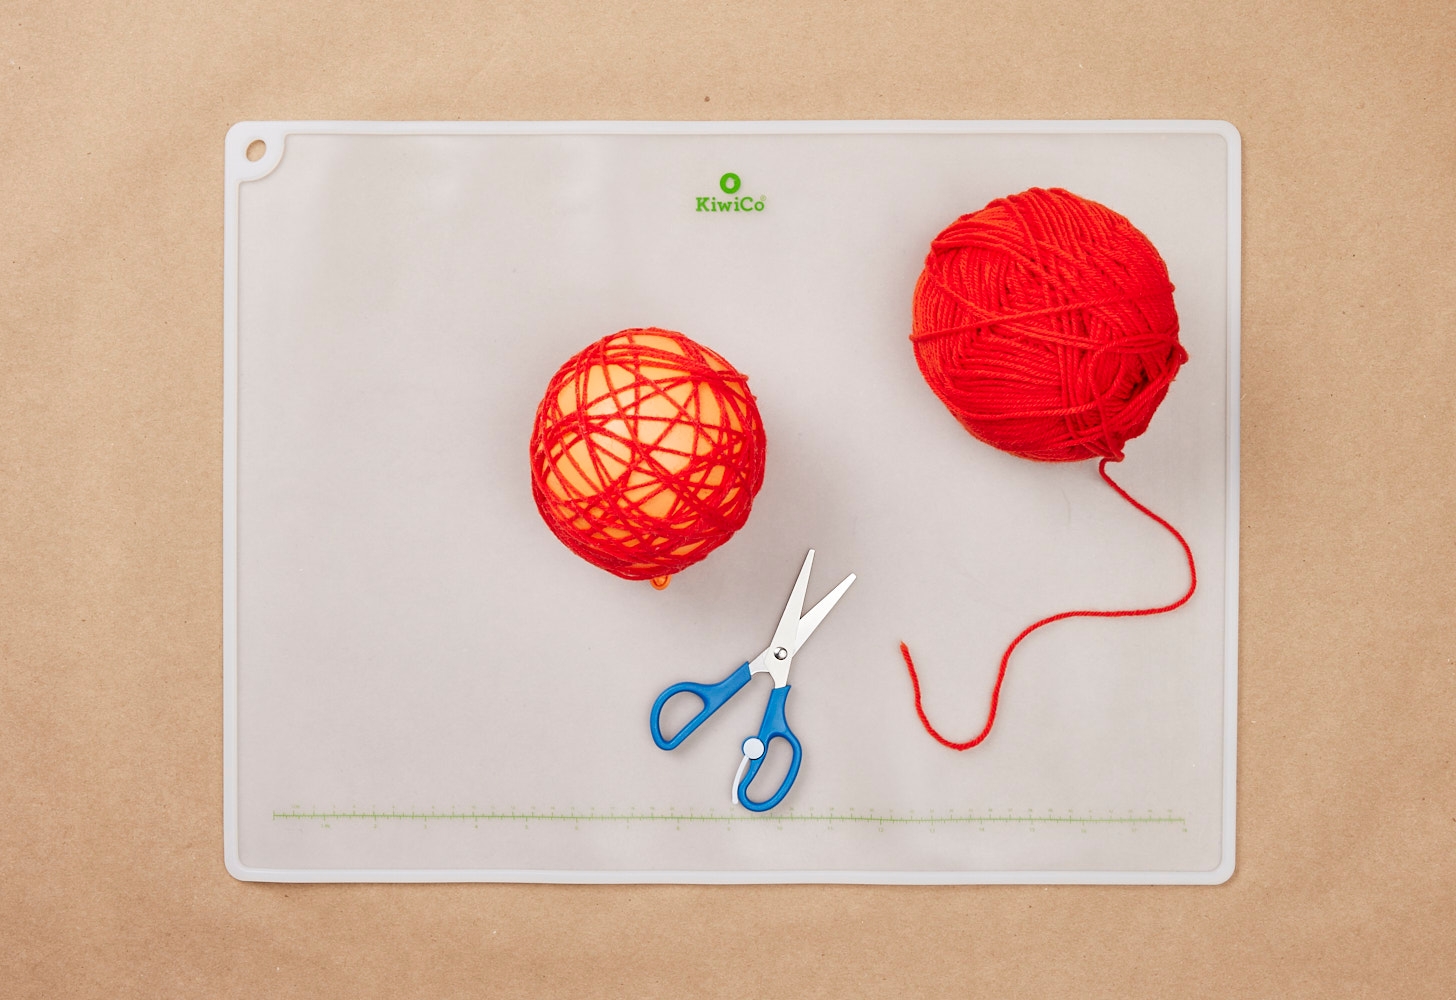
Step 5
Once you like the look of your balloon, cut the yarn and leave the balloon to dry. It needs about 10 hours to dry.
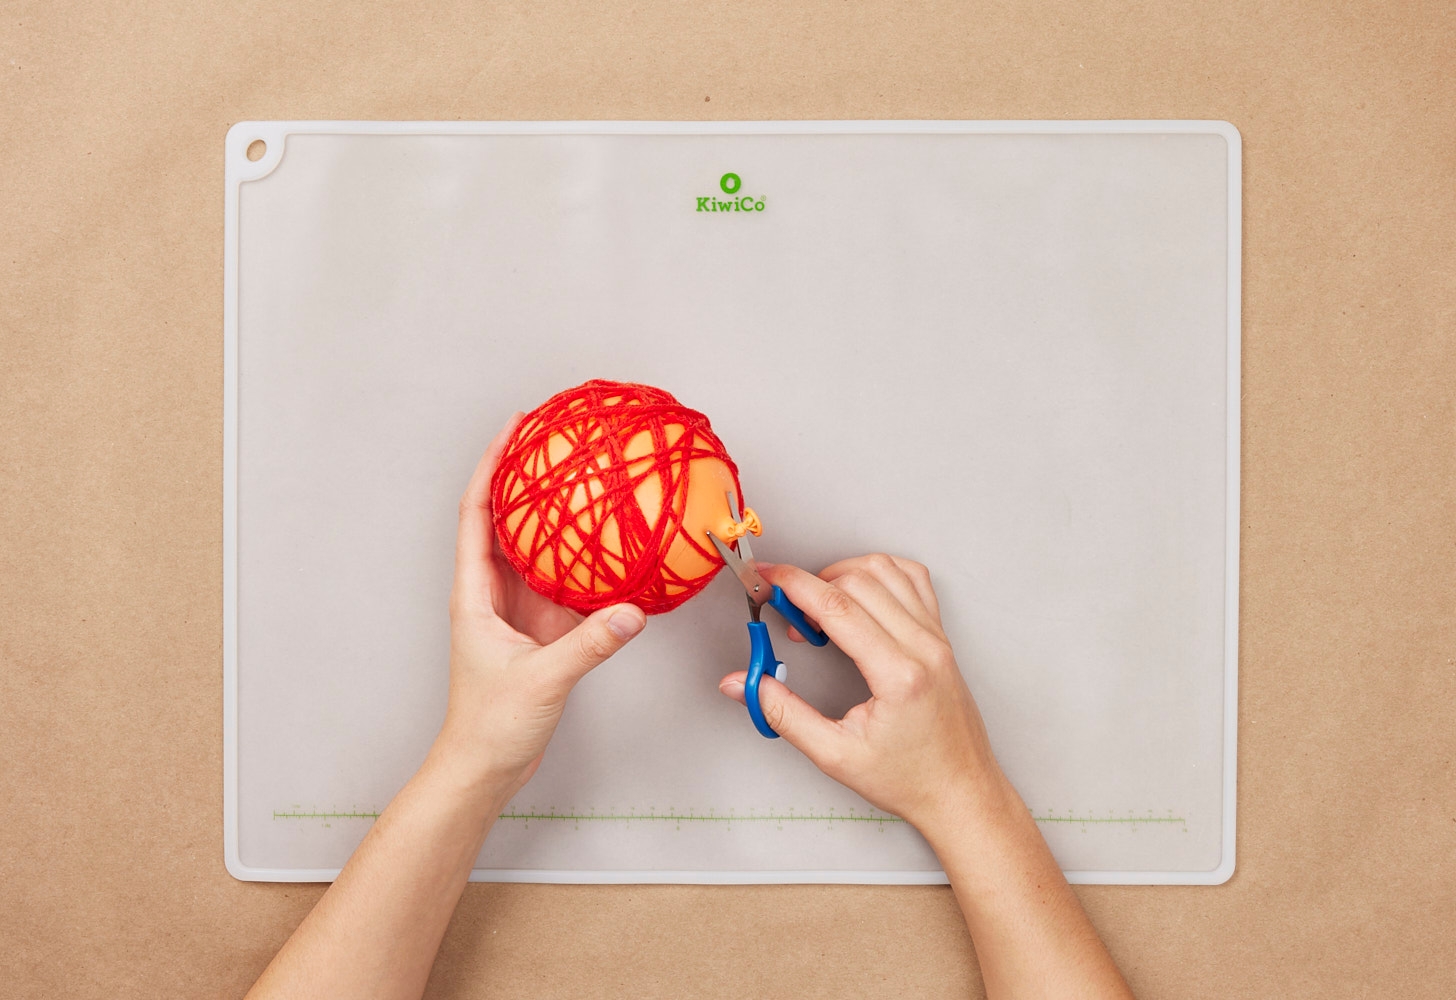
Step 6
Now it's time to unveil your masterpiece! Use scissors to carefully cut the balloon.
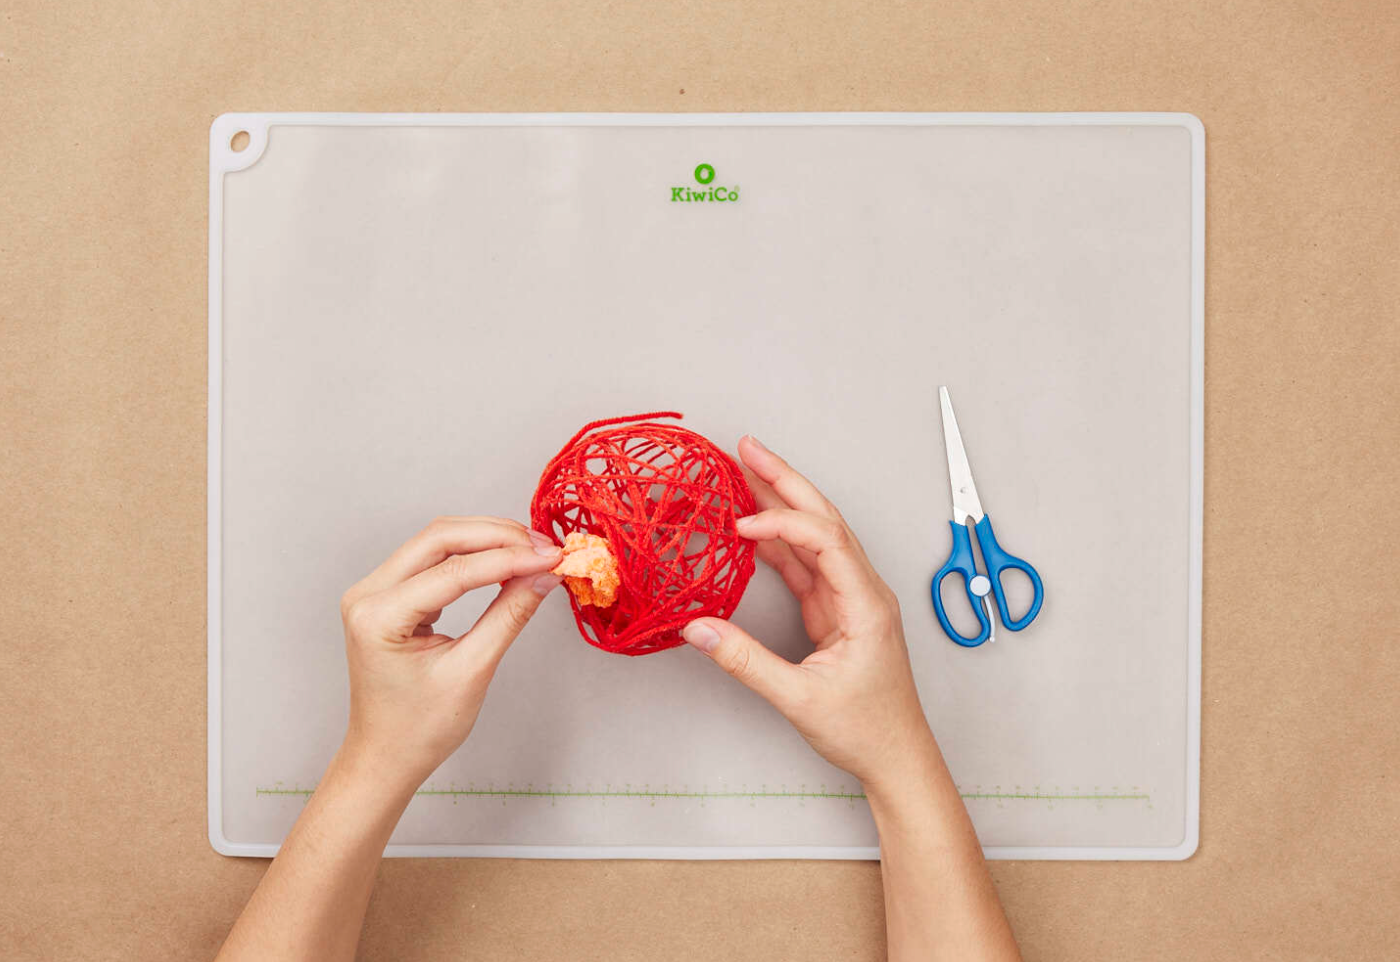
Step 7
Gently peel the balloon off of the yarn until it is completely removed. The yarn may lose its shape a bit during this process, but you can mold it back once the balloon is out!
Step 8
Add some colorful tissue paper to the inside of your yarn lantern.

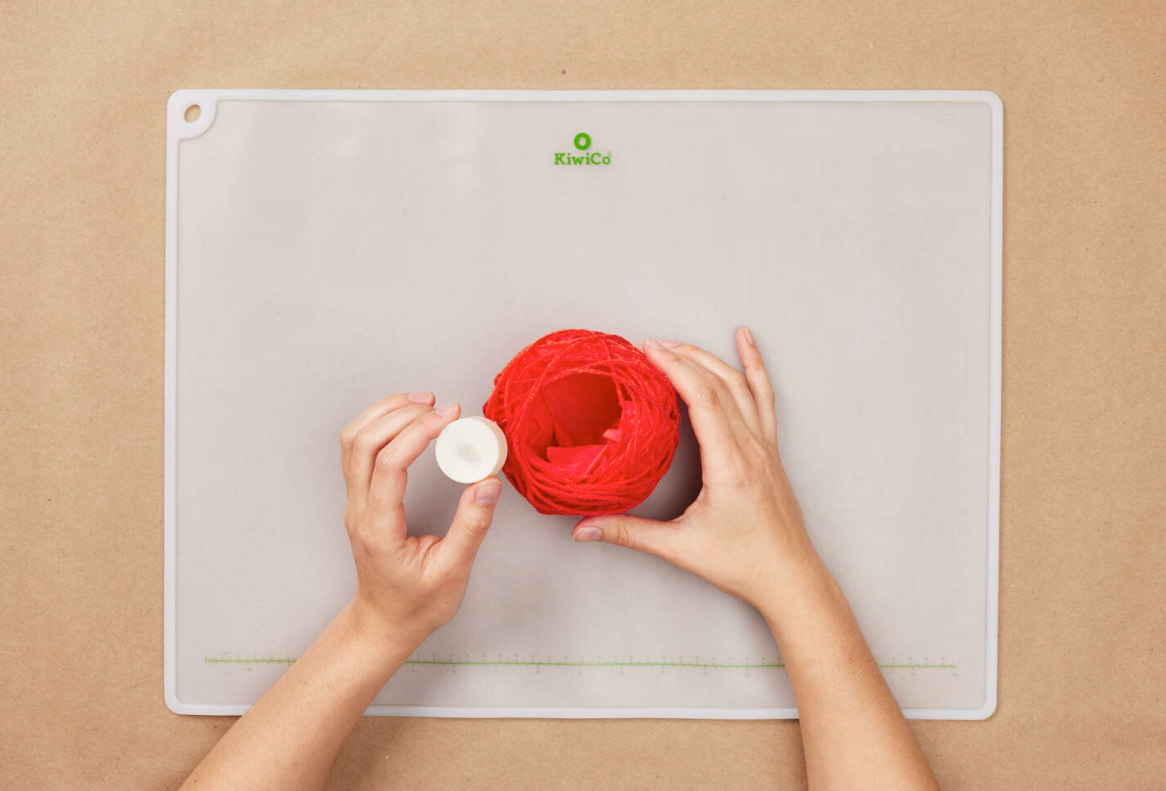
Step 9
Add a tea light to light up your lantern and put it in a special spot!
Done!