Step-by-step tutorial
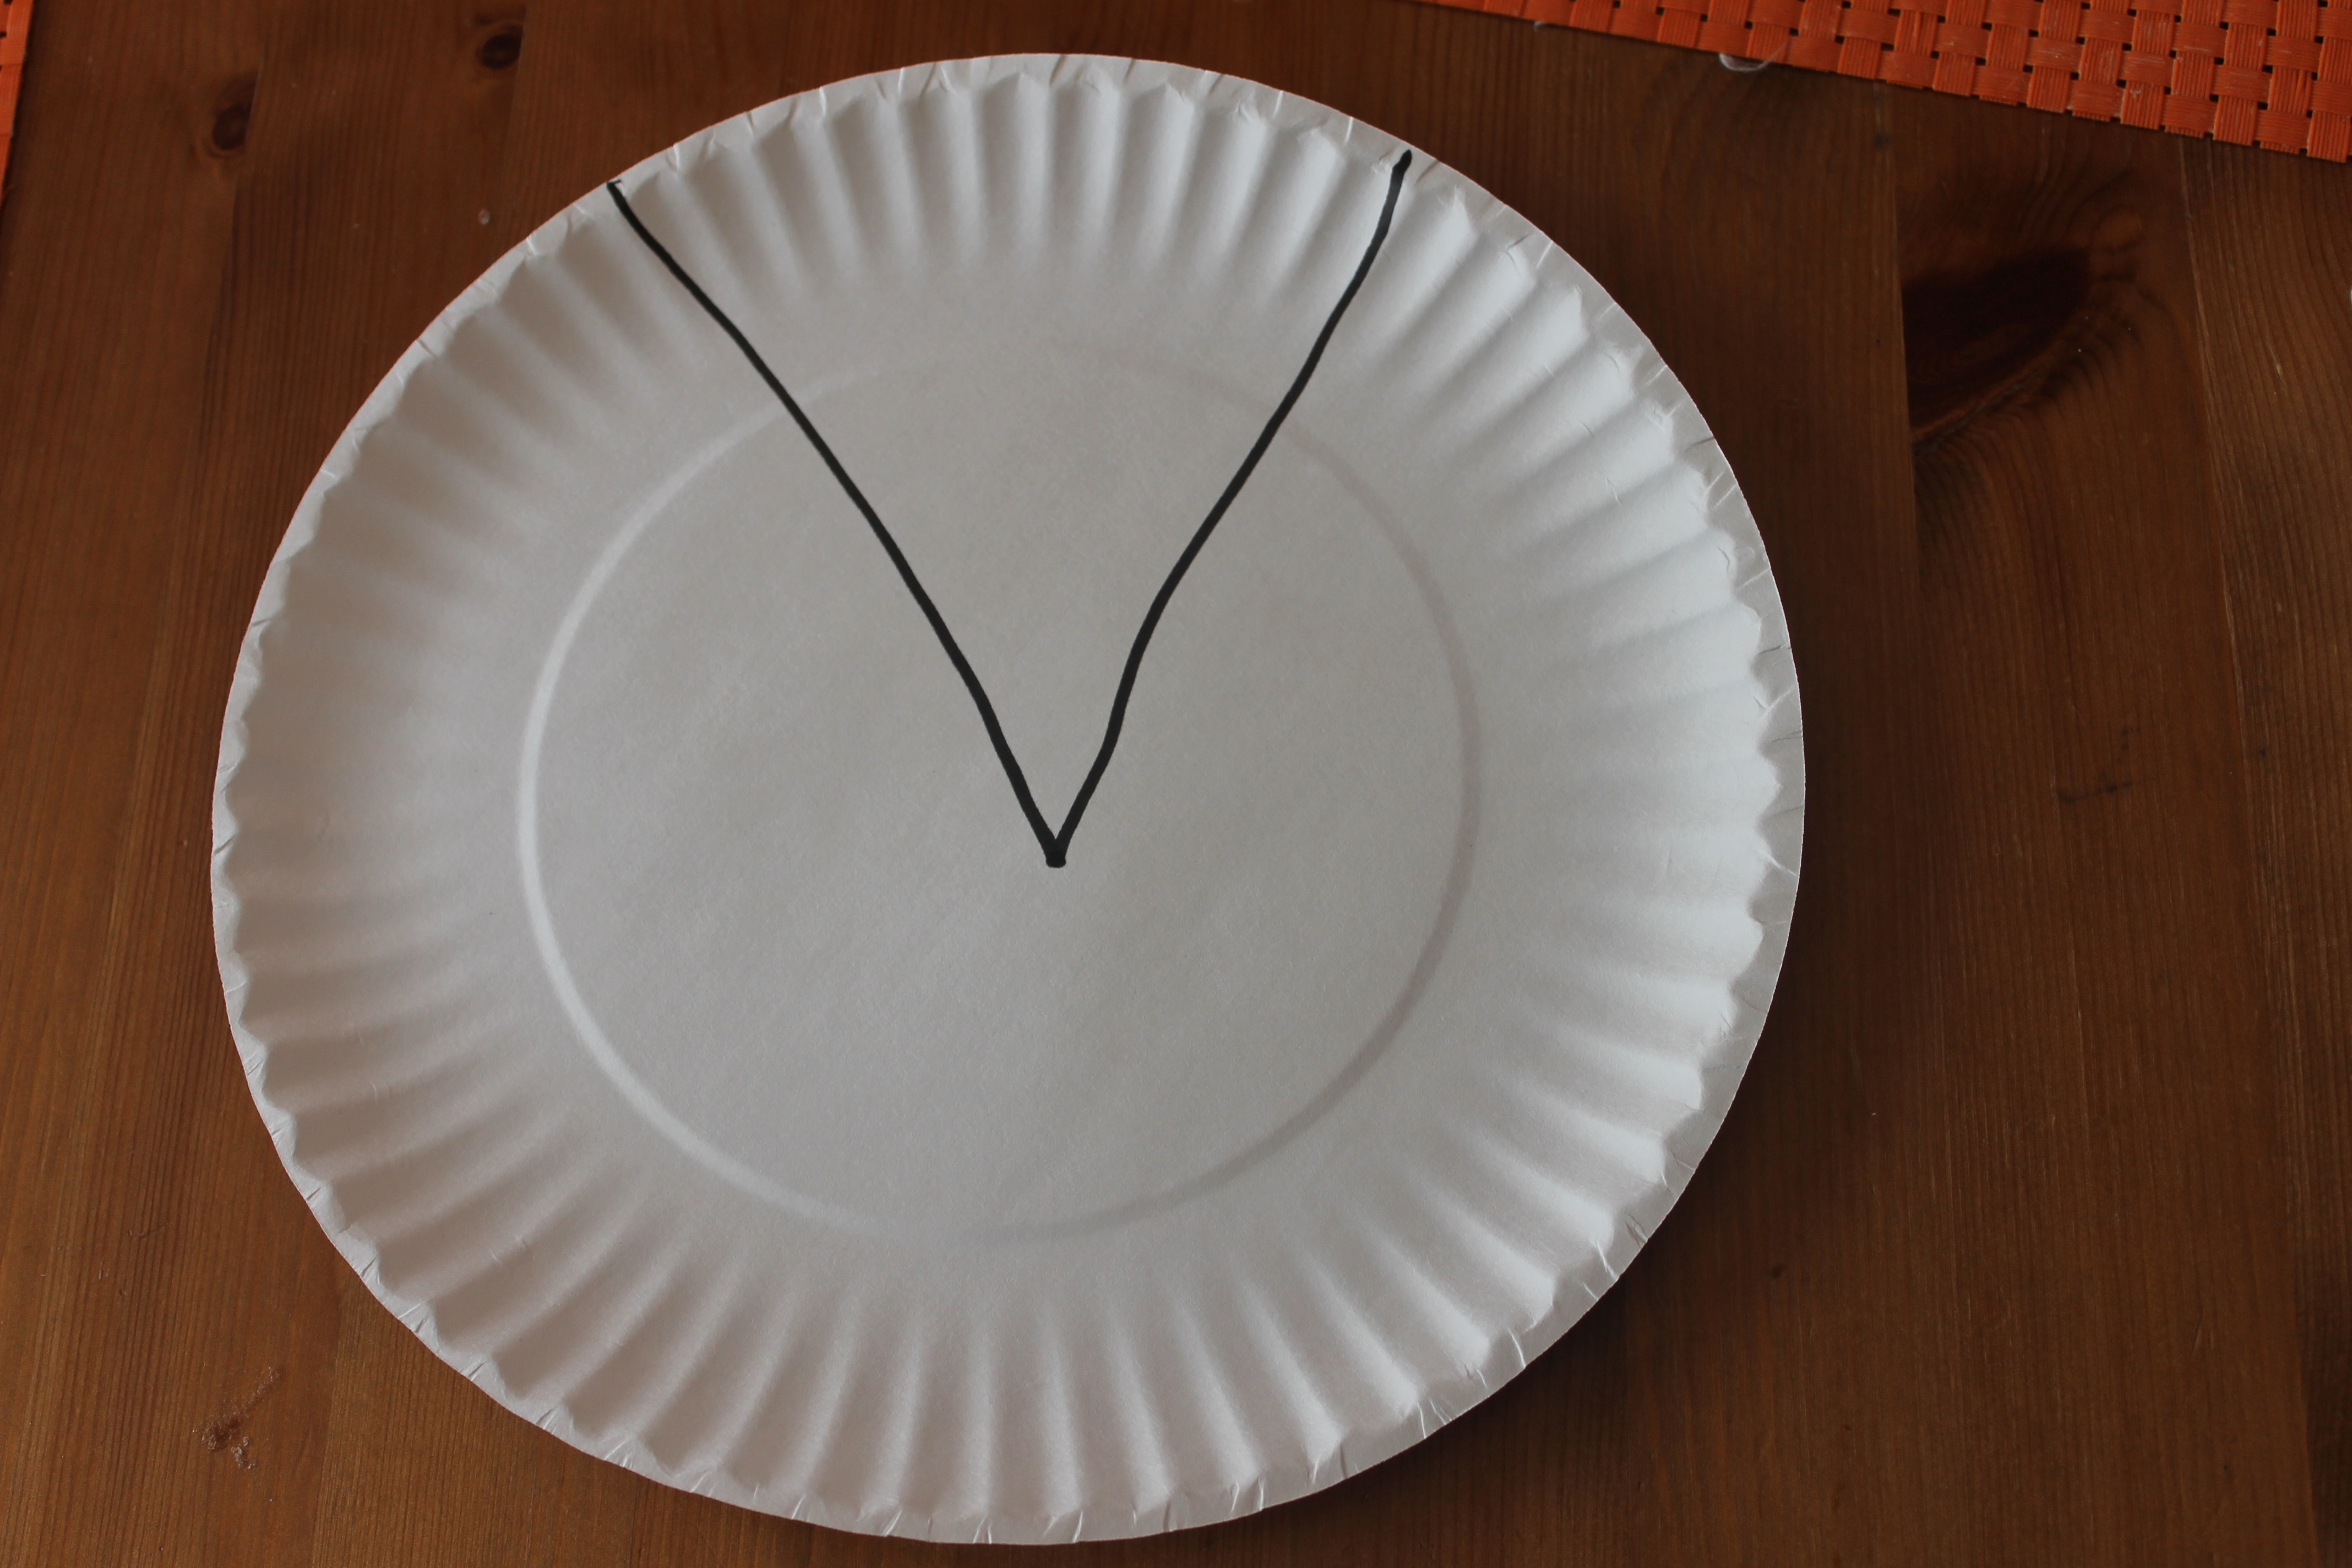
Step 1
Start by using a marker on the first paper plate and draw a triangle. I did this for my 3-year-old daughter and she thought it looked like a pizza slice!

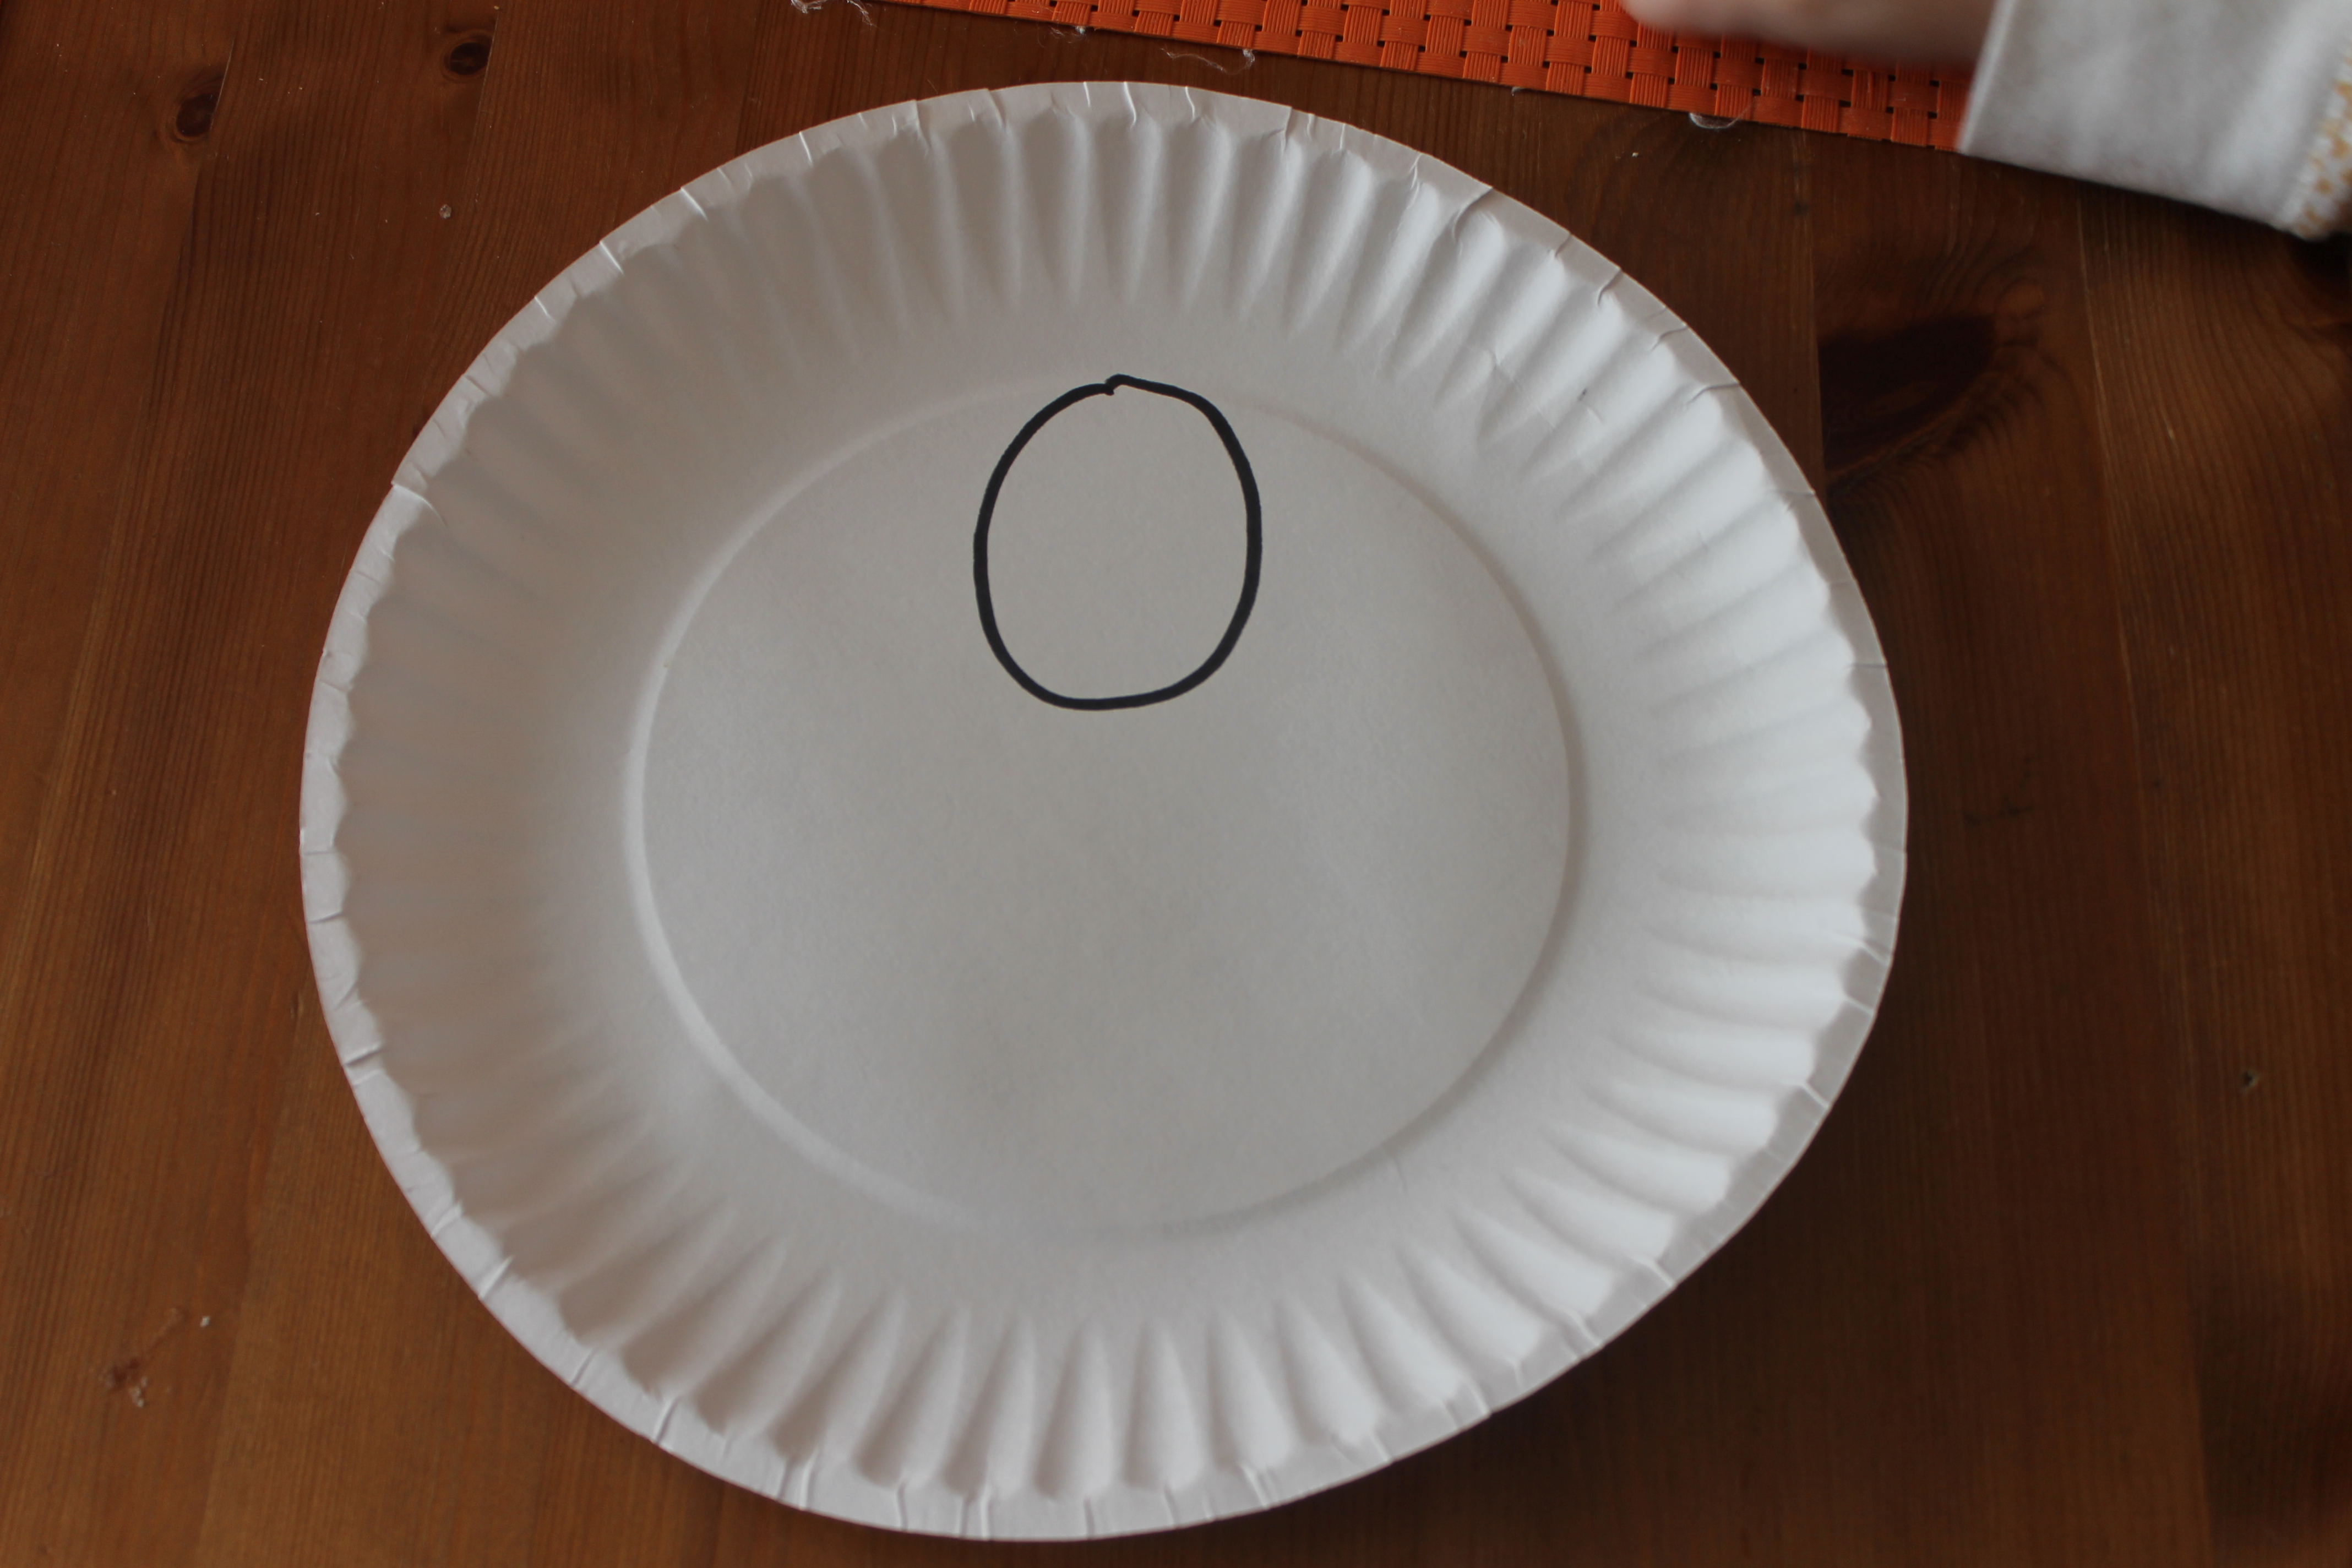
Step 2
On the second paper plate, make an oval just under the edge/rim as in the photo. I helped my daughter do this step but she had fun saying "circle" and "oval" as we pointed to the different shapes.
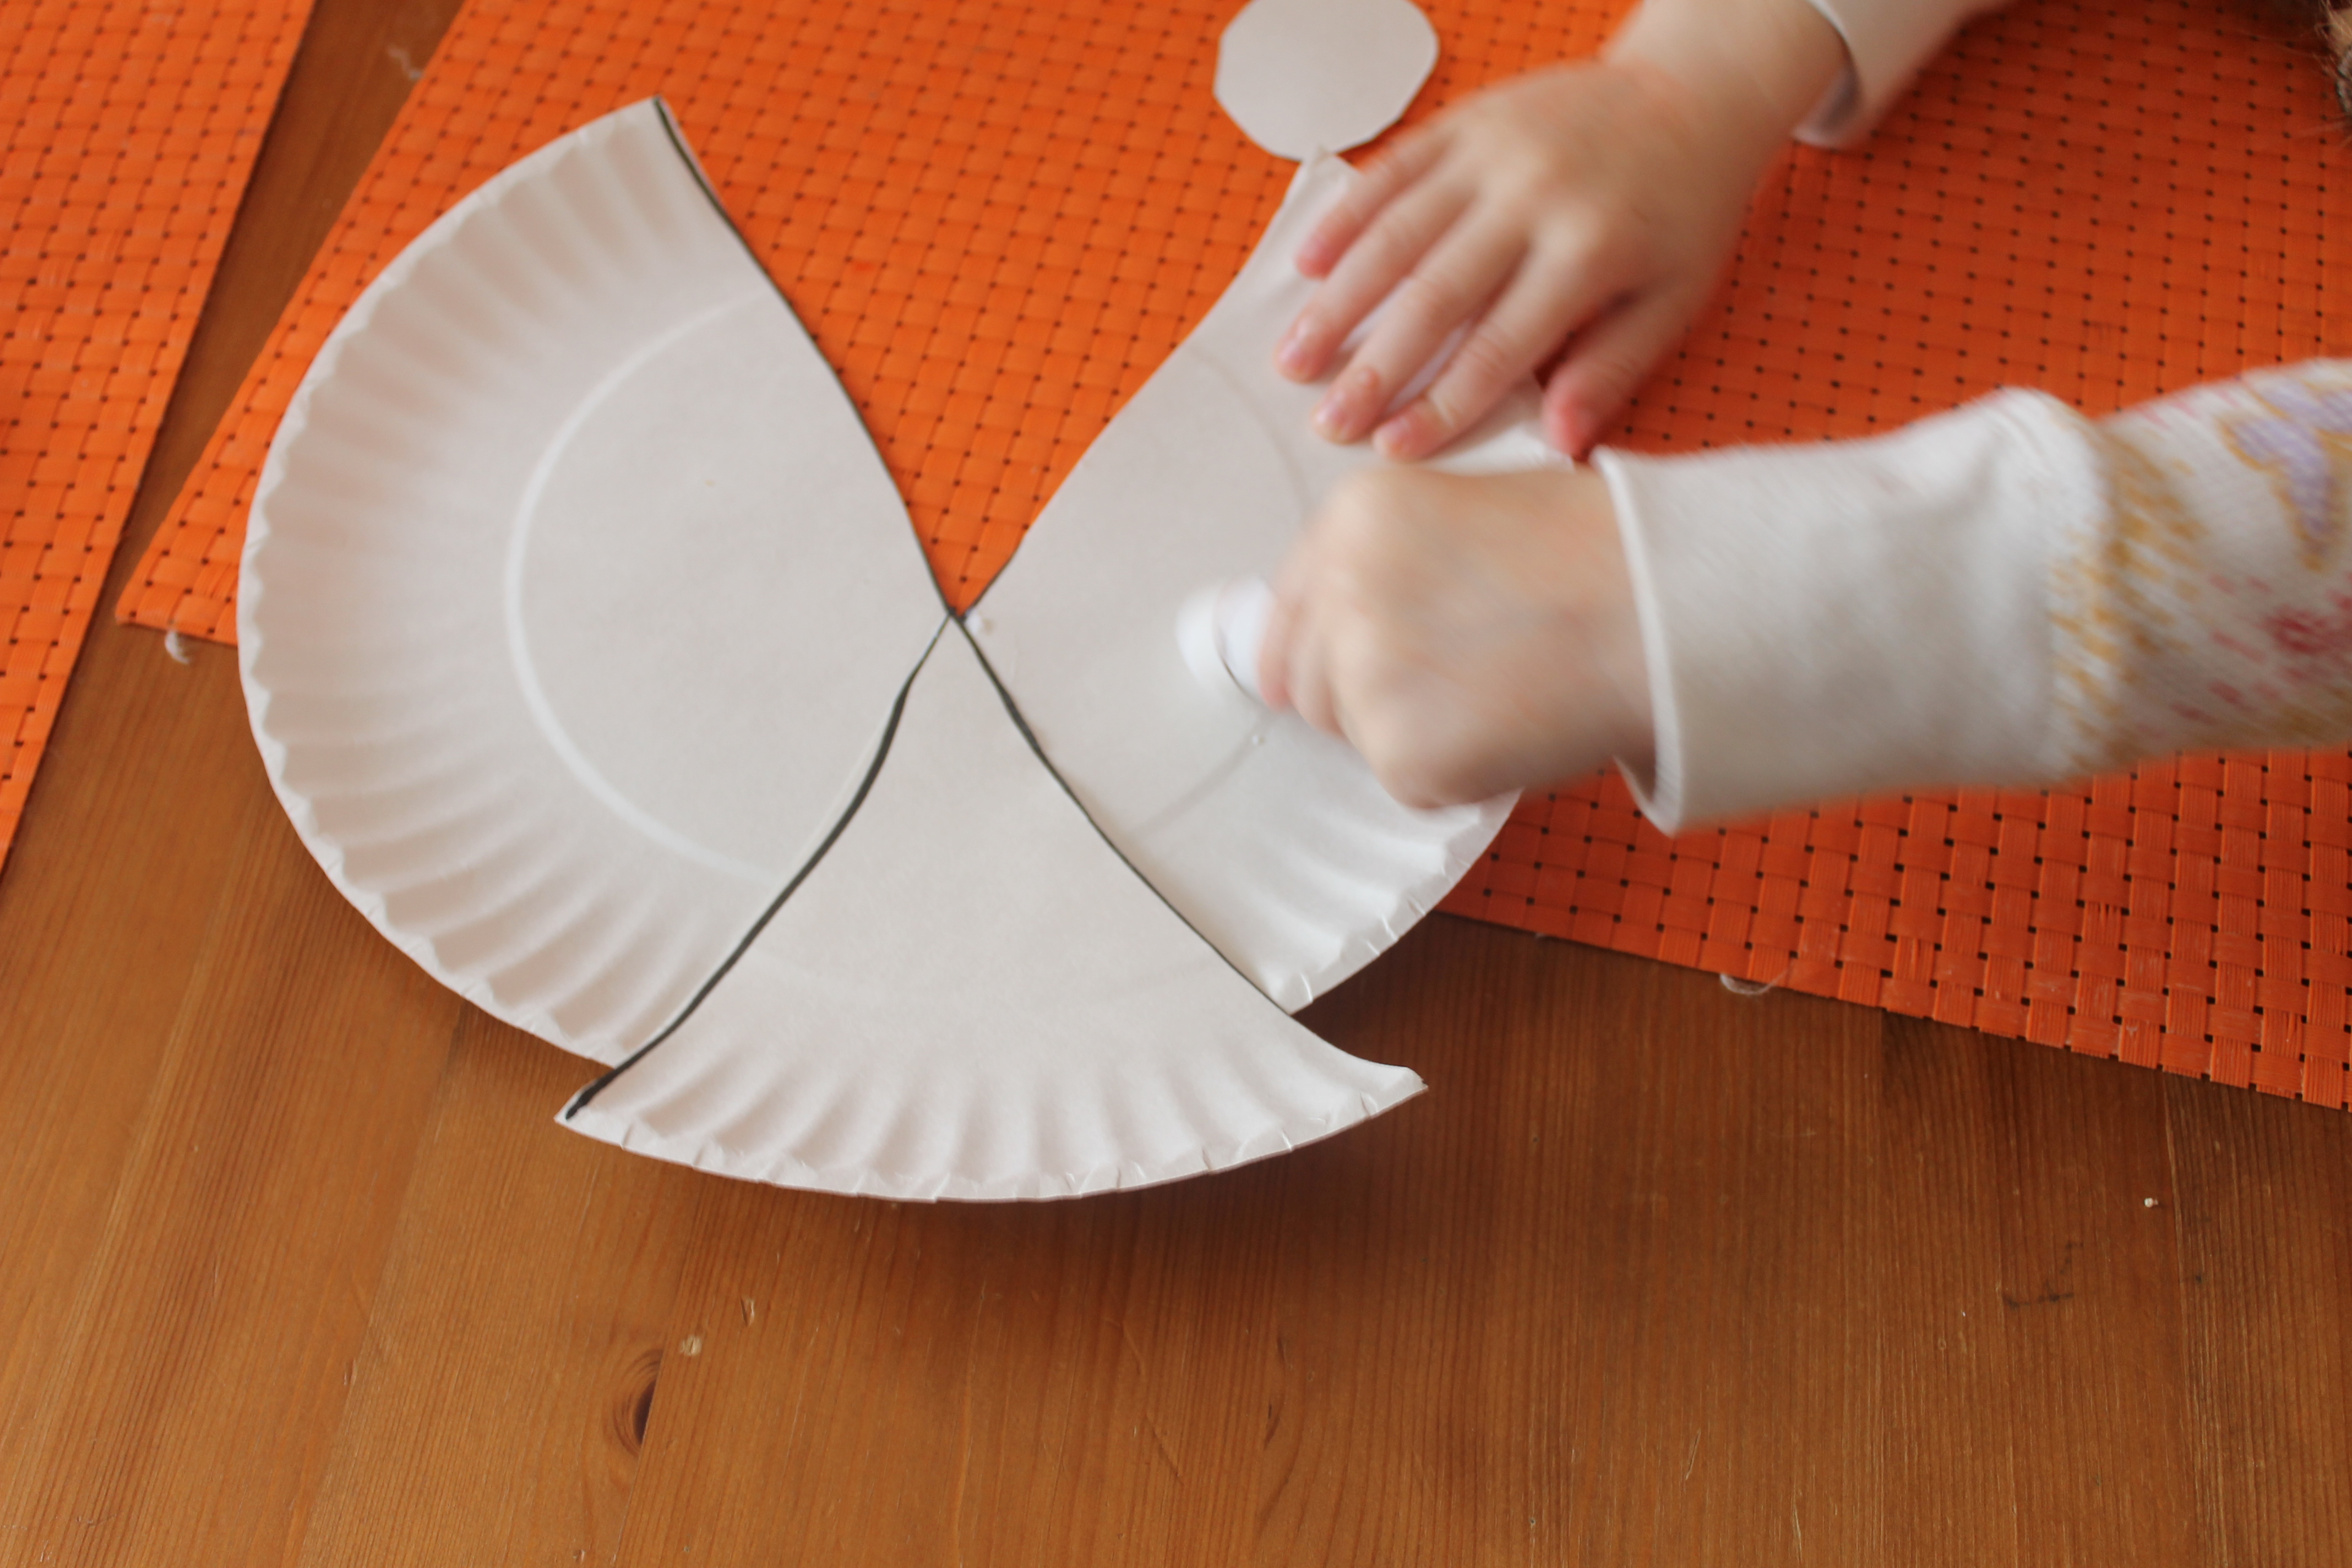
Step 3
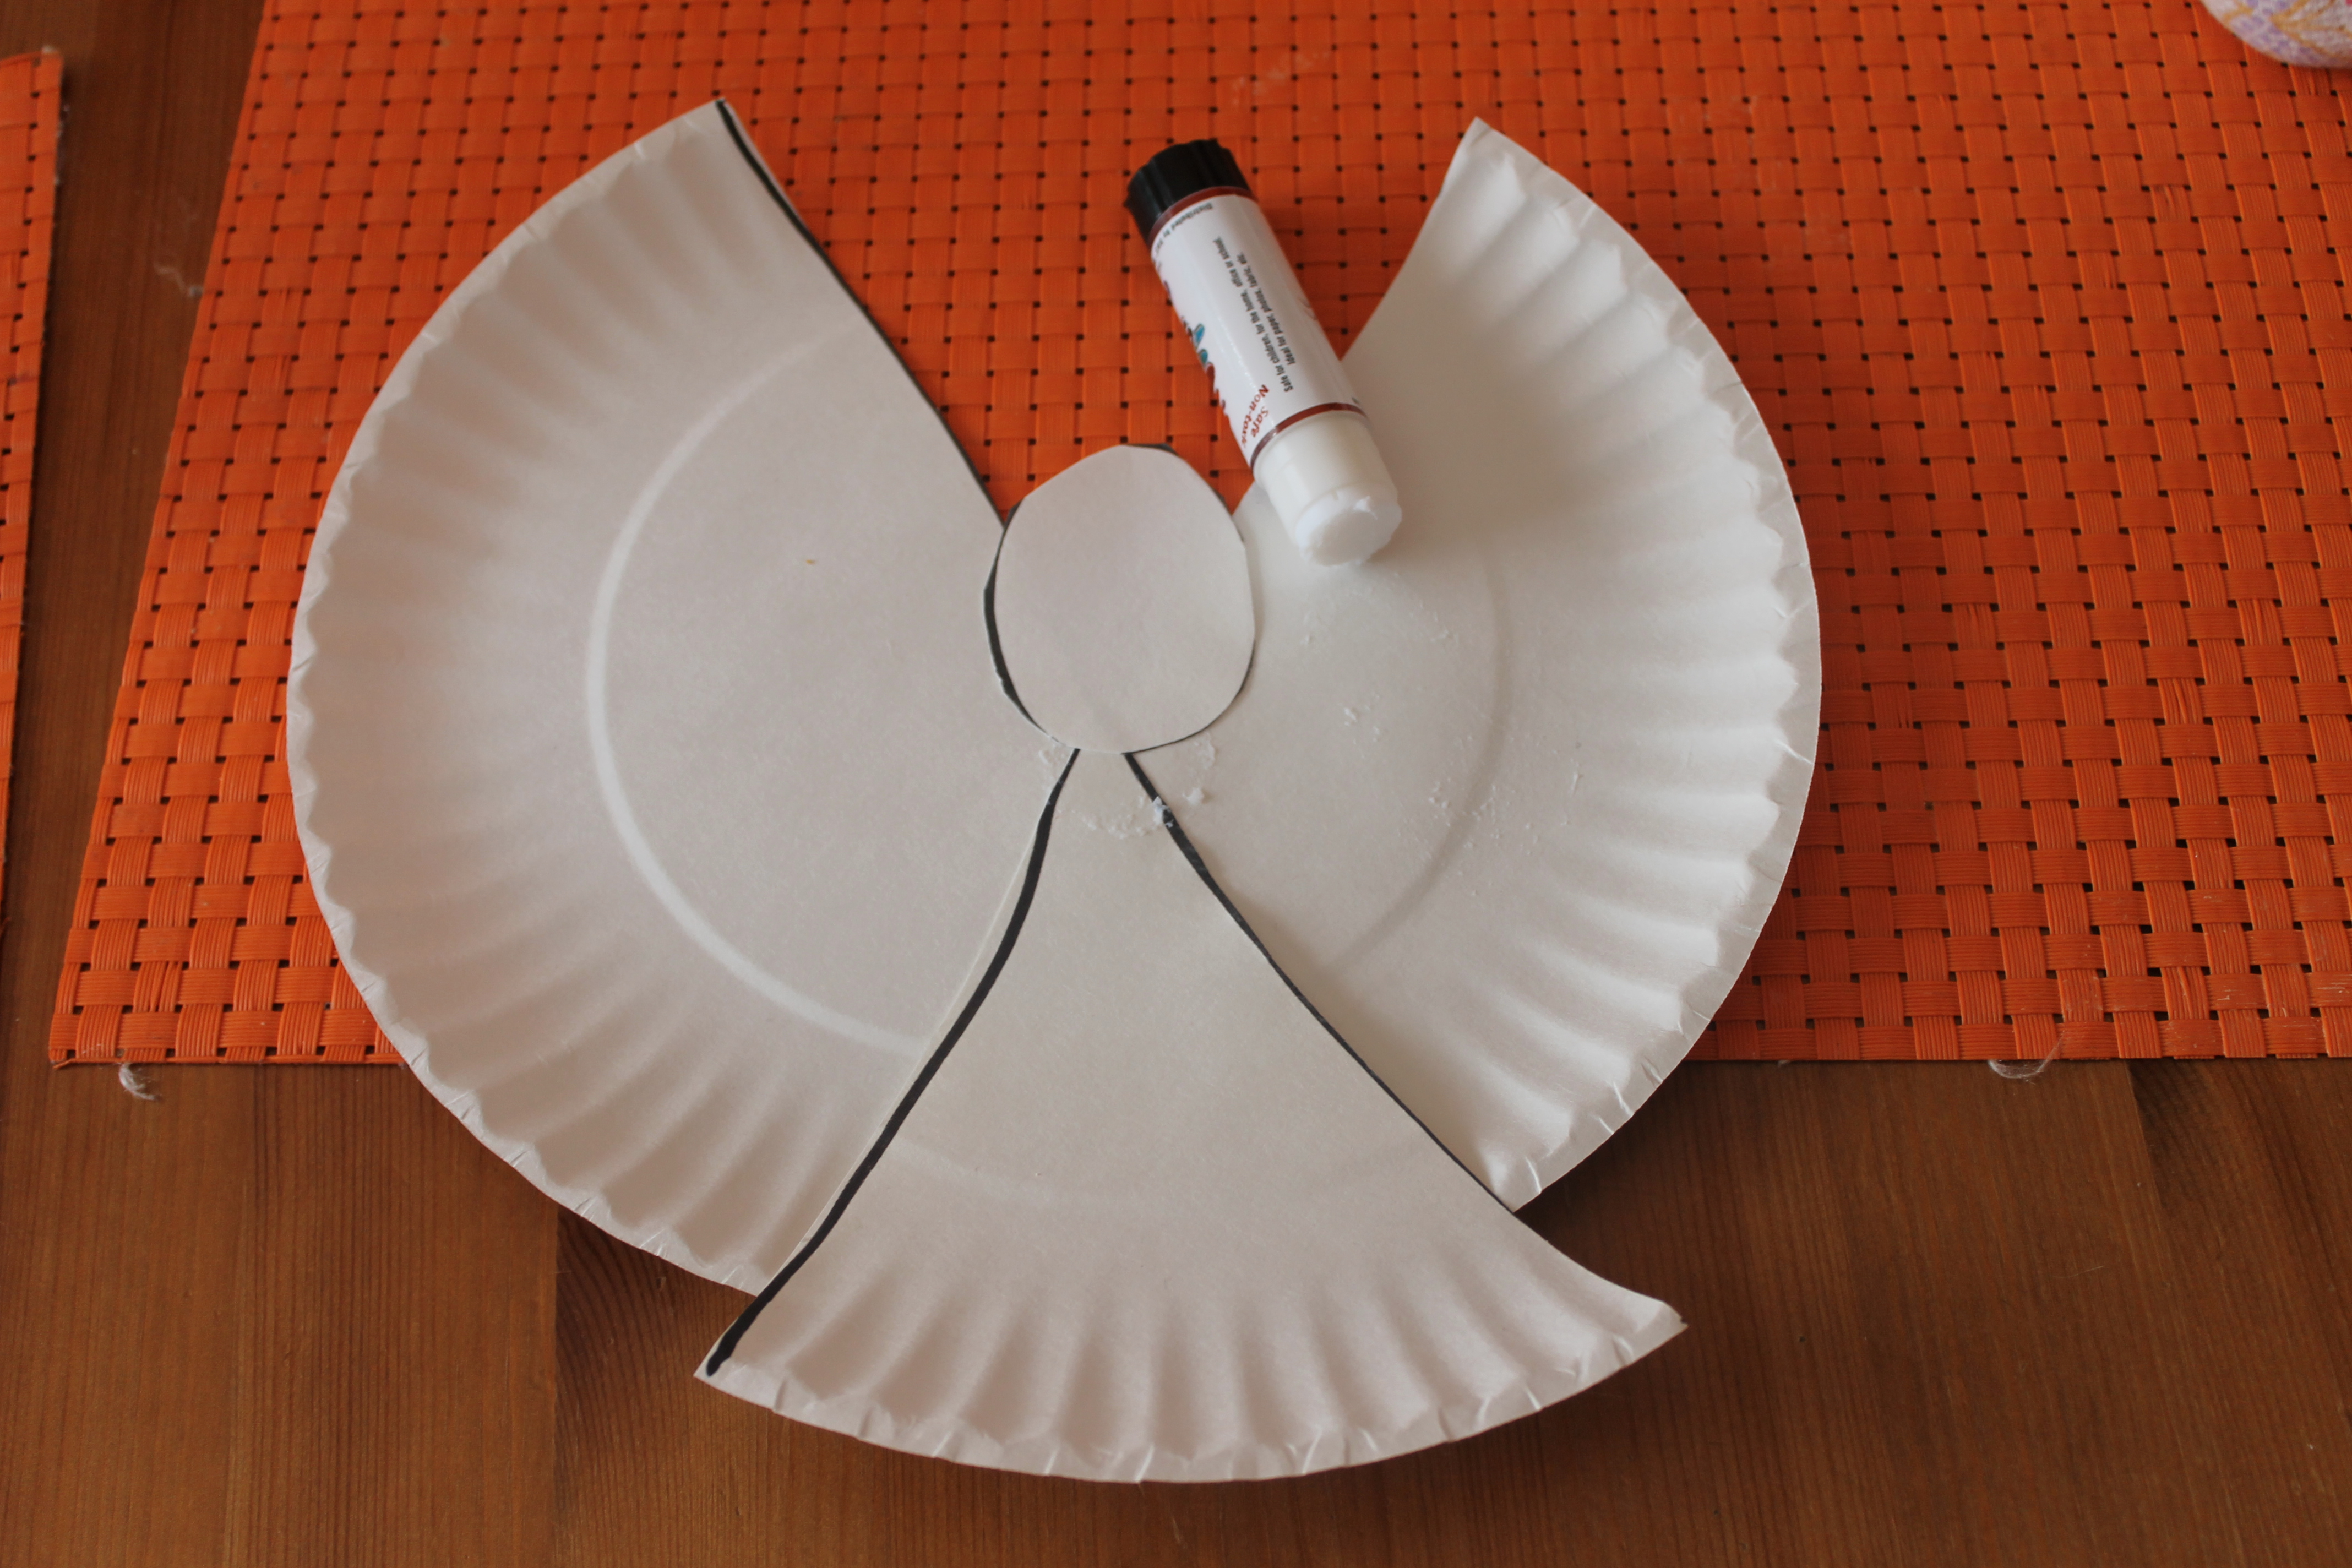
Go back to the first paper plate that you cut the triangle out of and have your kiddo glue the cut-out triangle as shown in the photo for the angel's body. My daughter immediately pointed to the sides and said, "wings"! She was right!
Step 4
Next, glue the cut-out oval on the top of the body for the head. My daughter knew this was an angel for sure by now!
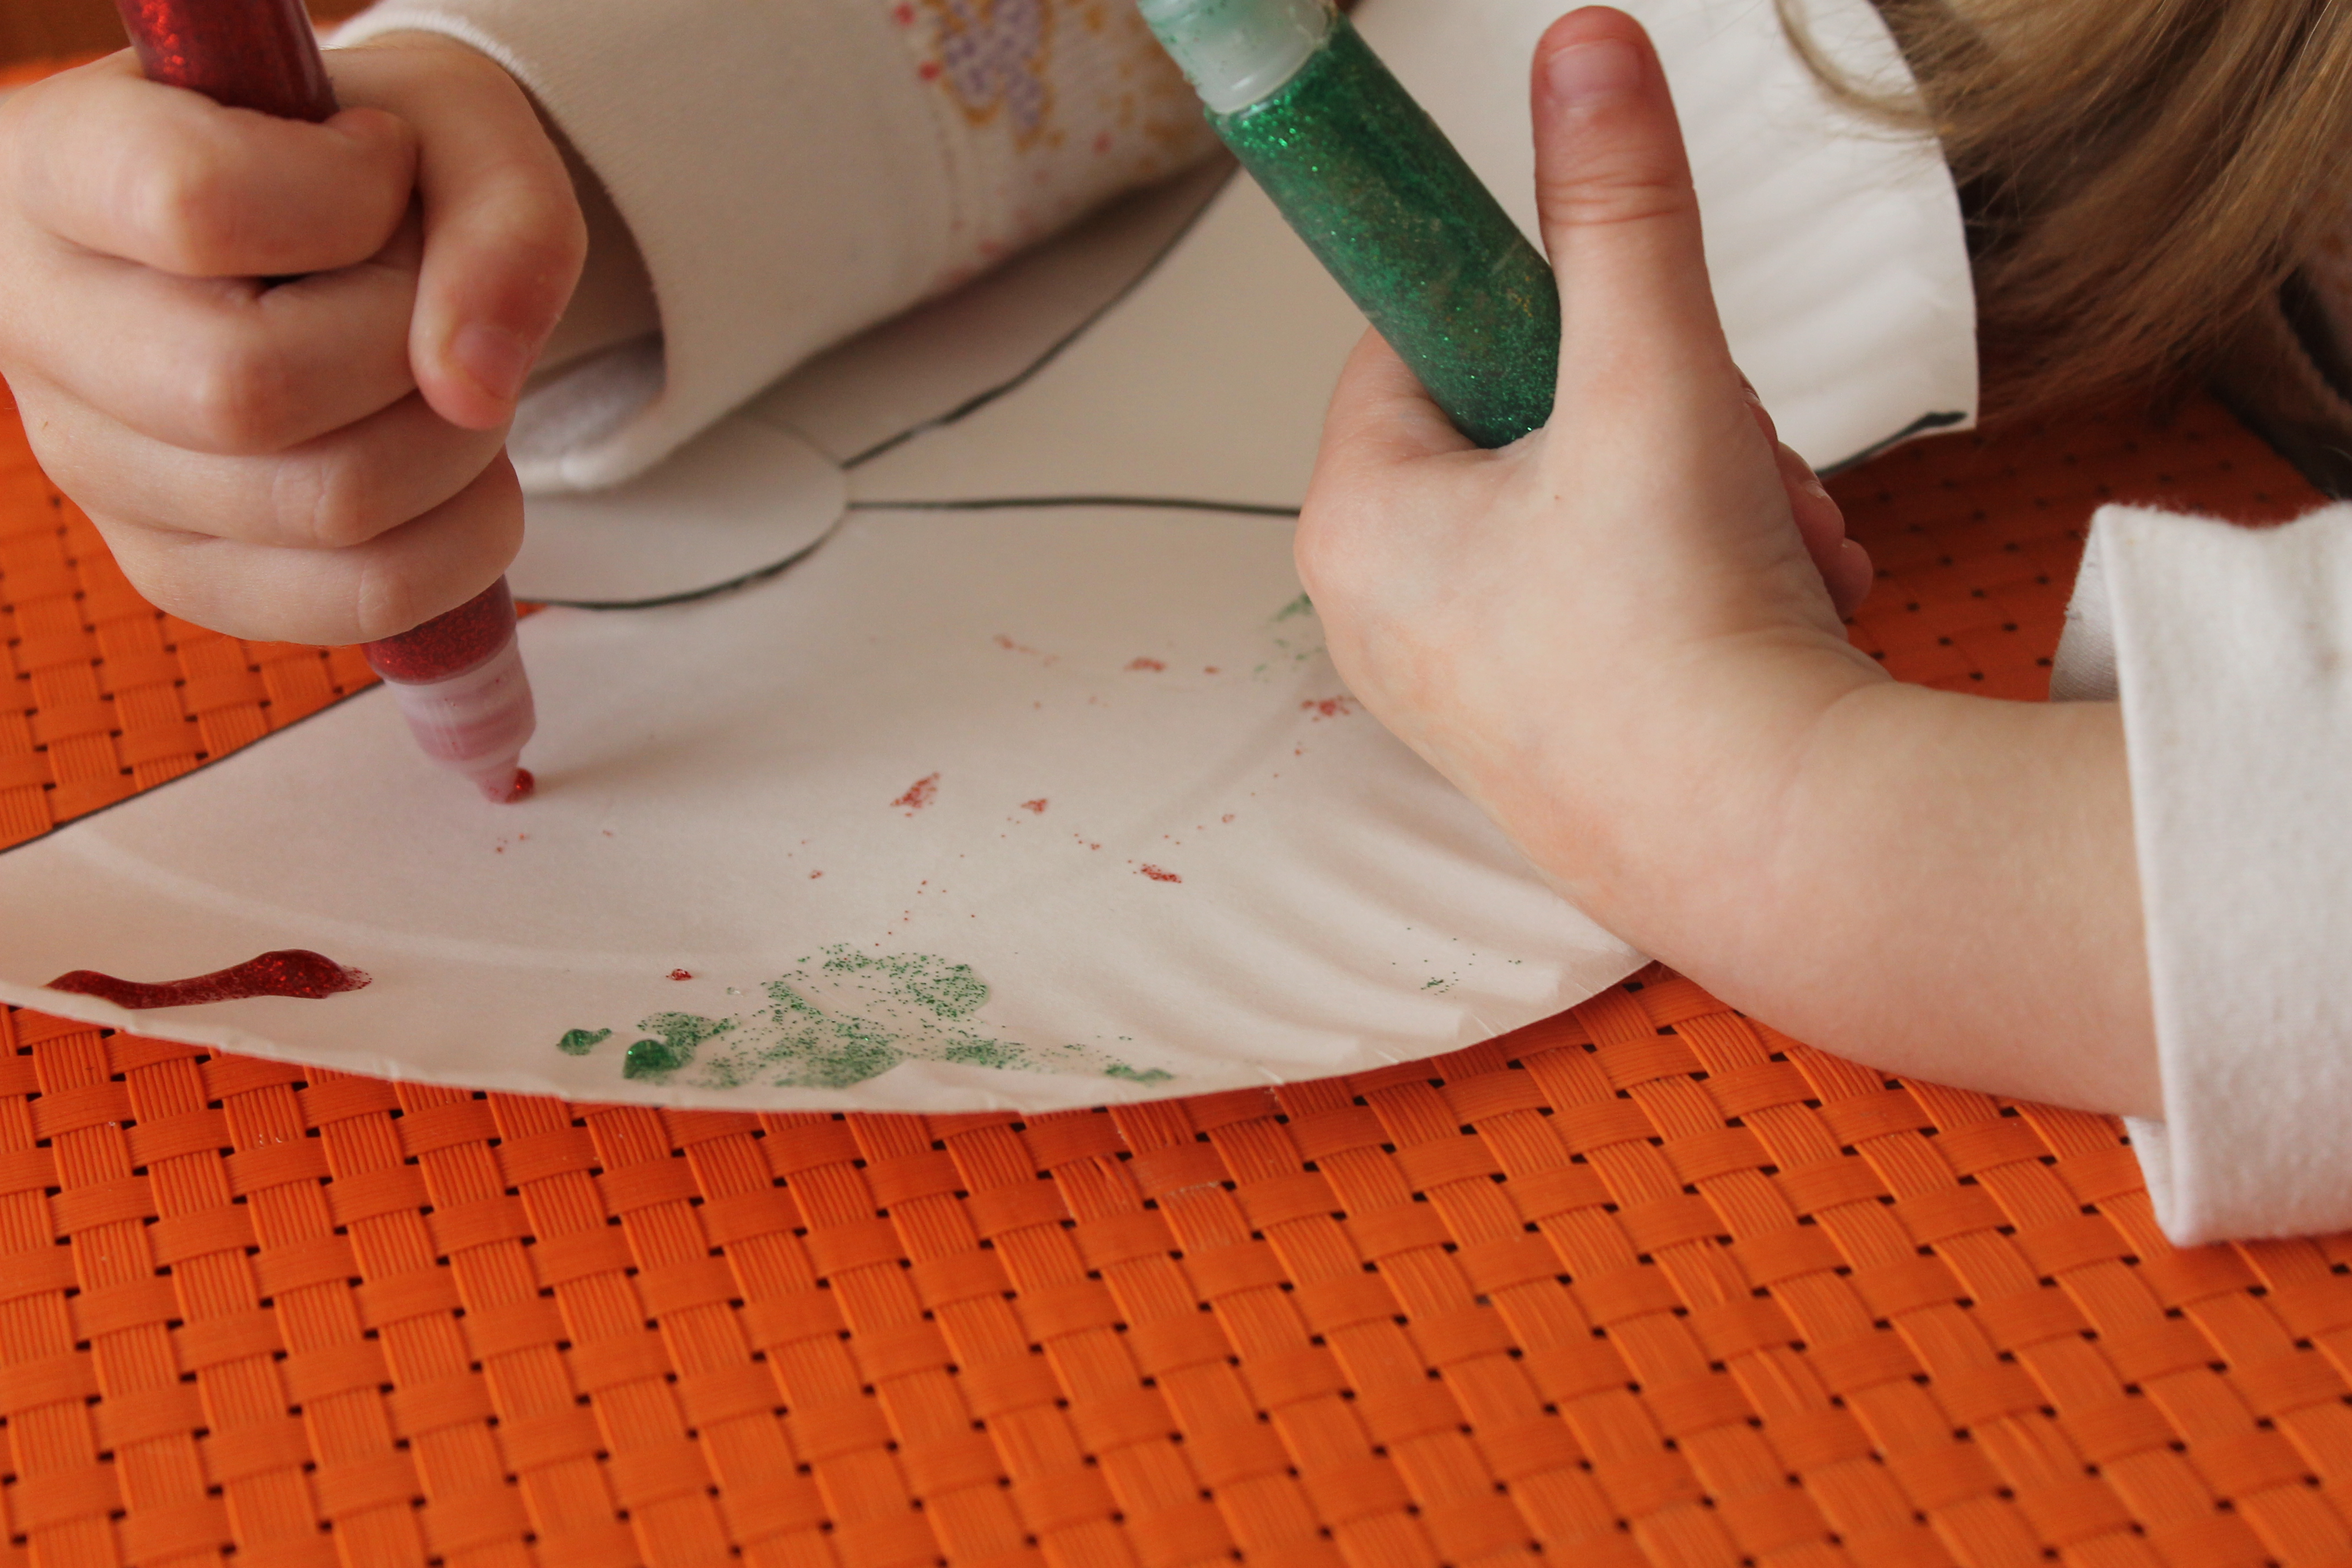
Step 5
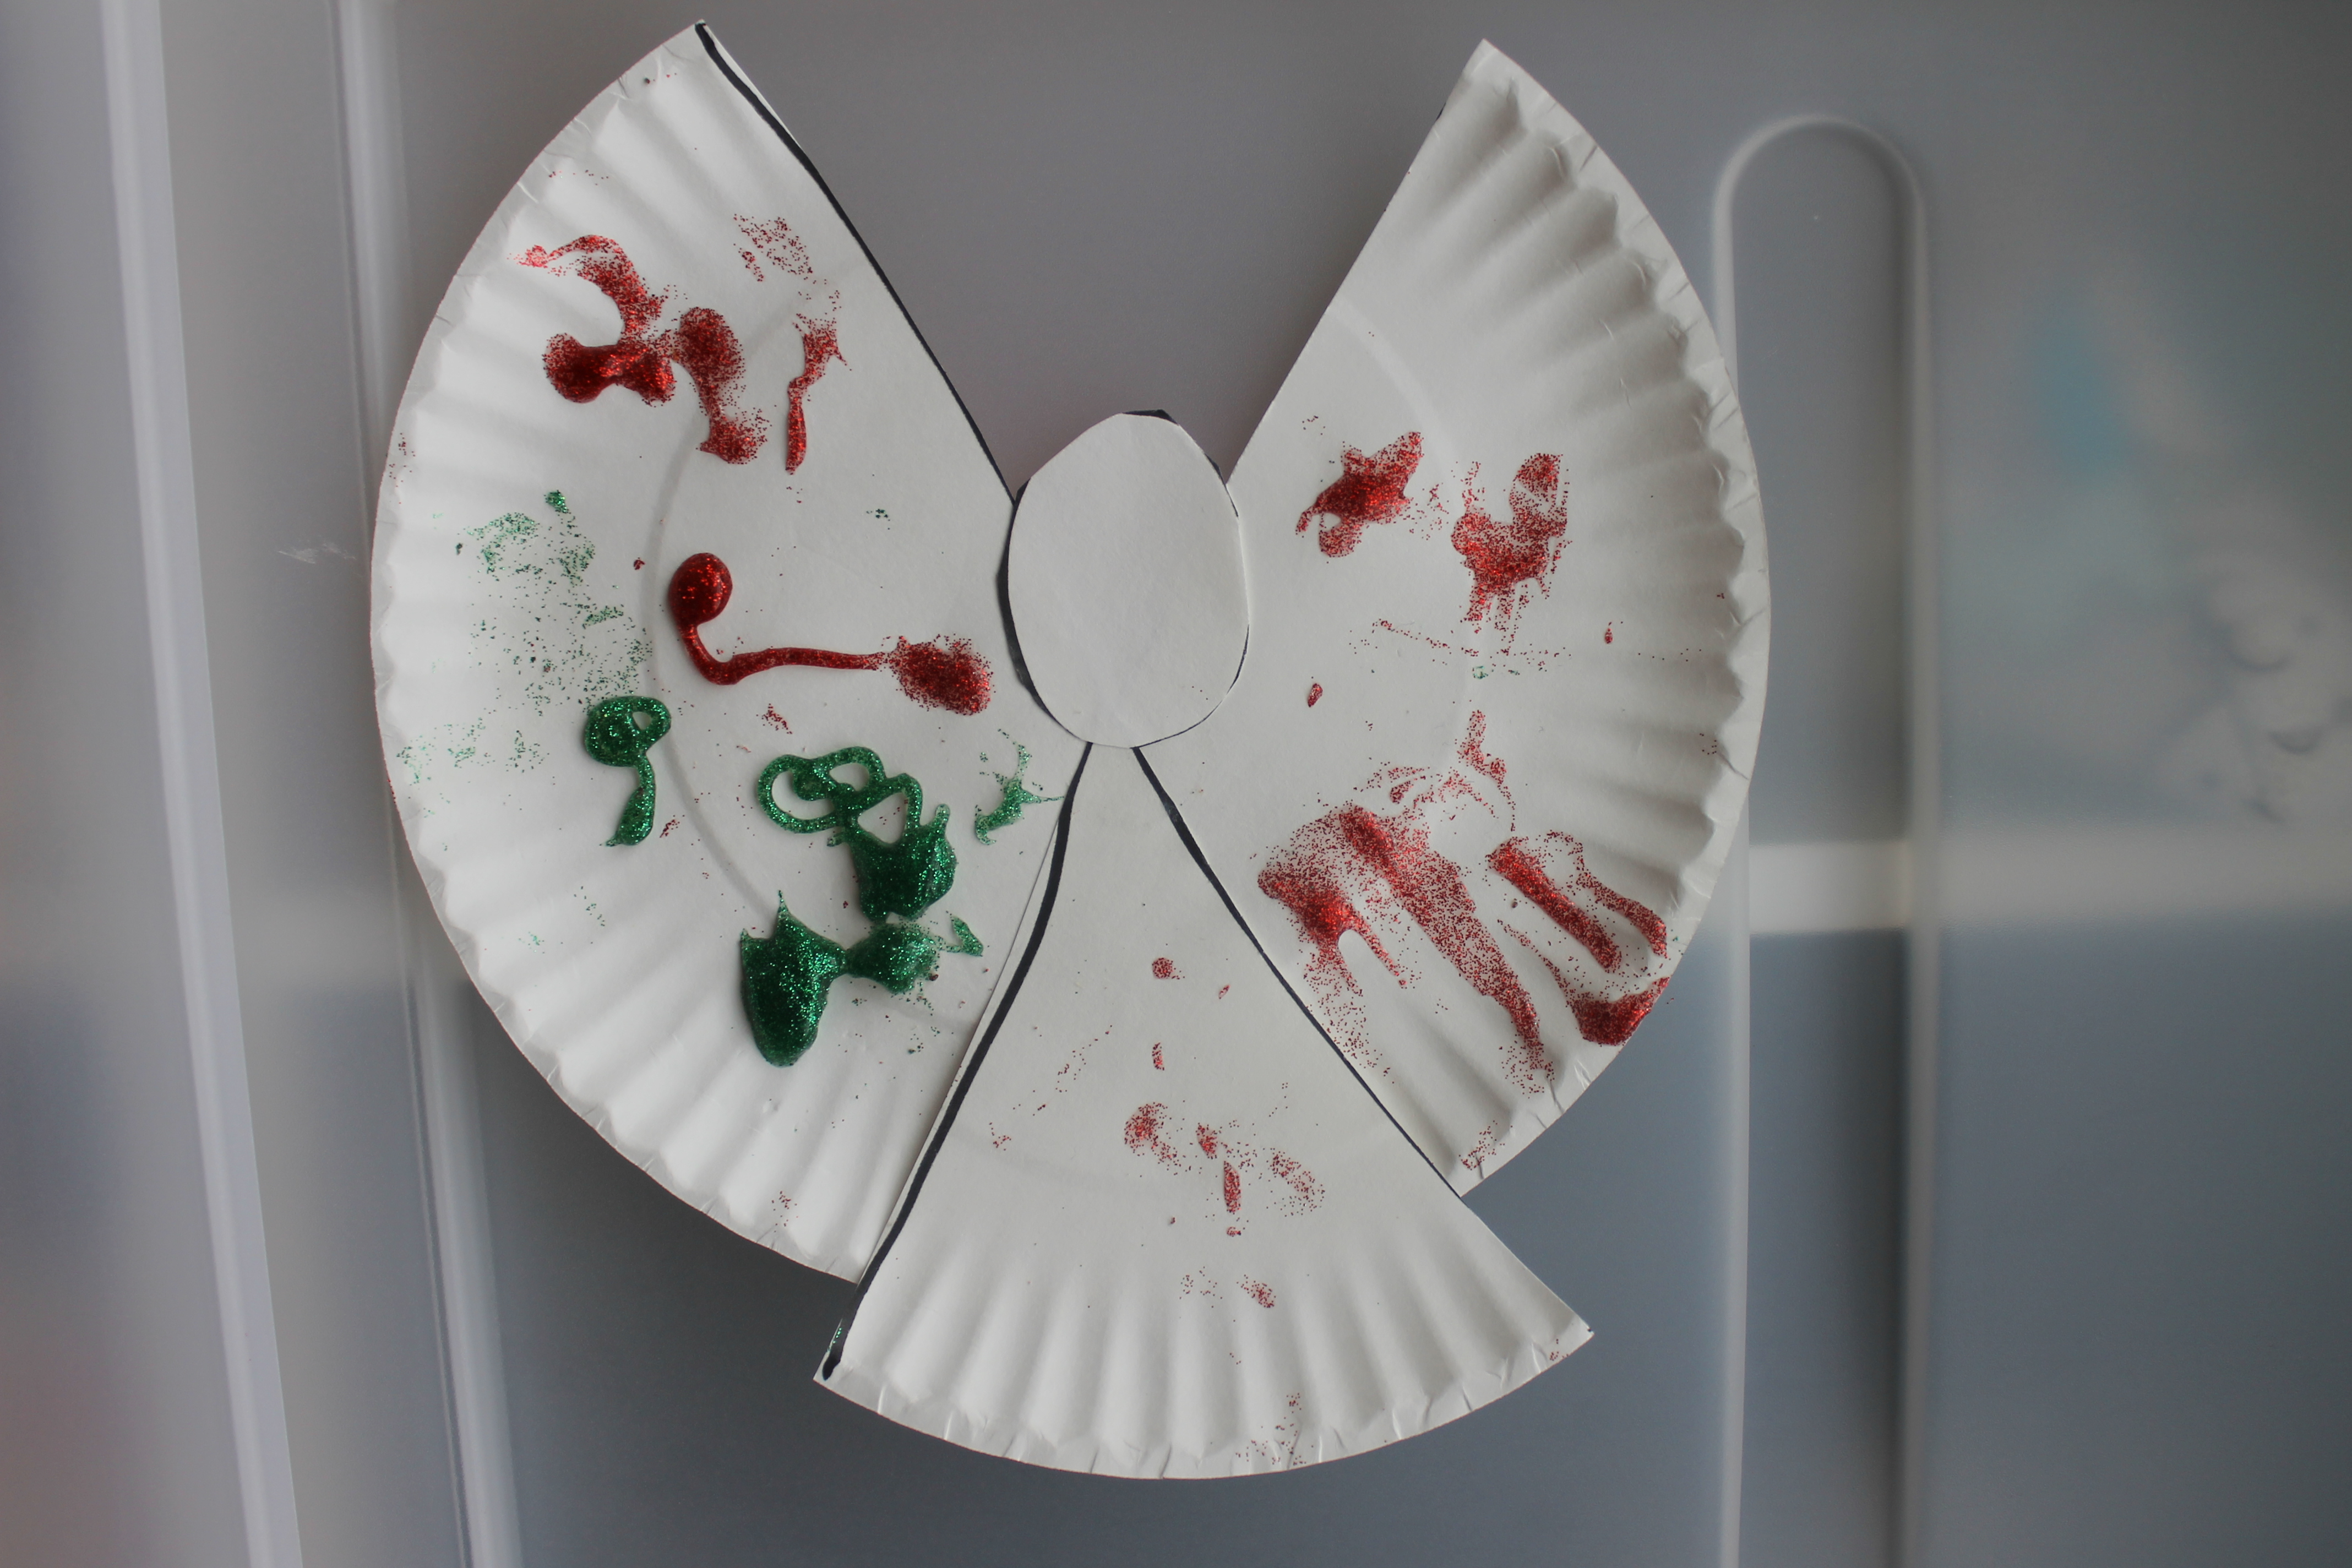
What's an angel without some glitter? We used red and green glitter glue tubes to decorate but you could shake glitter on some white glue too. Your kiddos can have fun with this and be creative!
Done!
An angel for an angel! My daughter hung it up right after we were finished.