Step-by-step tutorial
Step 1
We knew we wanted lots of space in this book, so we used sheets of 12x12 paper.


Step 2
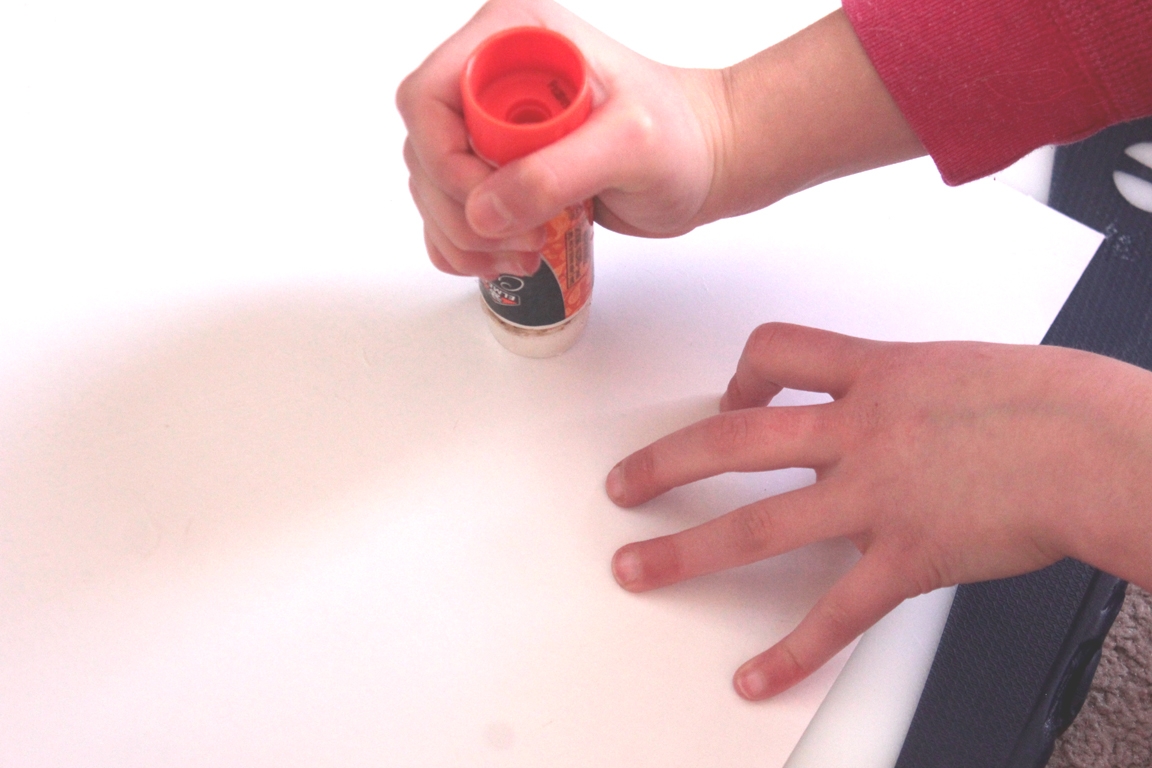
Maddie looked through a pad of paper that I had recently picked up for her (I knew she'd love the designs and colors!) and found four favorites. Then she rubbed glue all over the first side of the cardboard,
Step 3
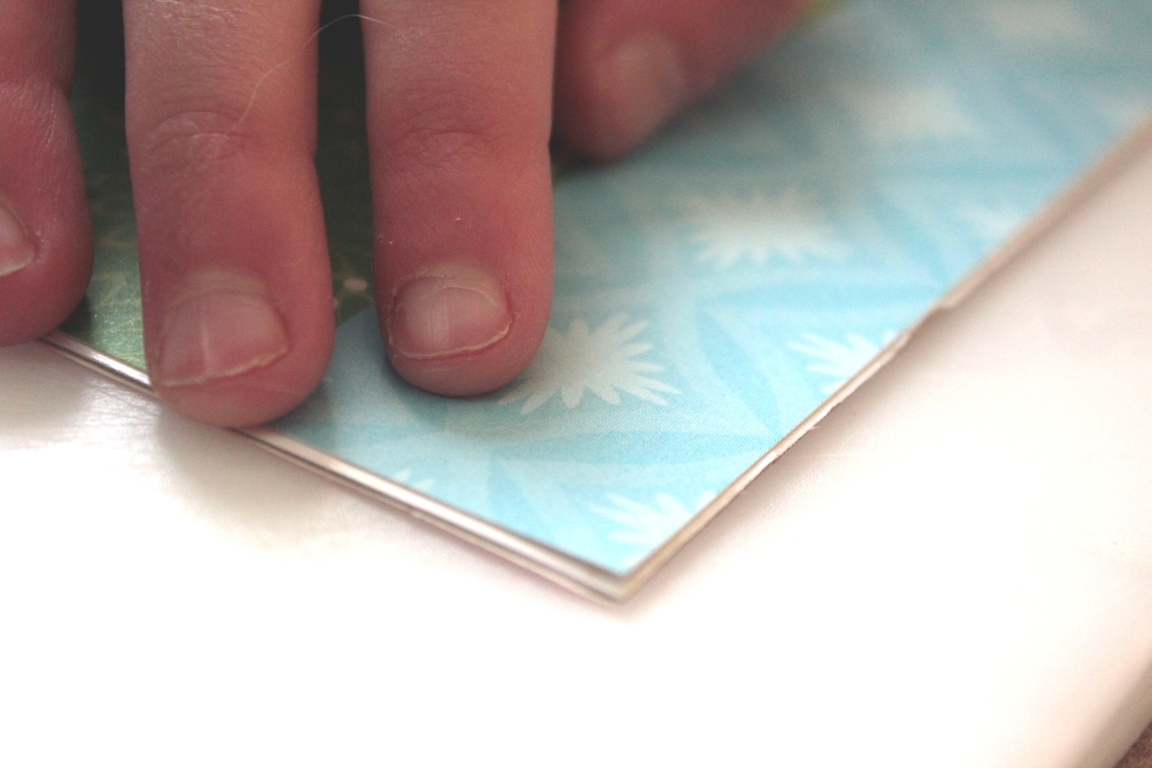
and ever-so-carefully placed the first sheet of decorative paper onto the 12x12 cardboard. She did a fine job making sure the edges matched exactly!
Step 4
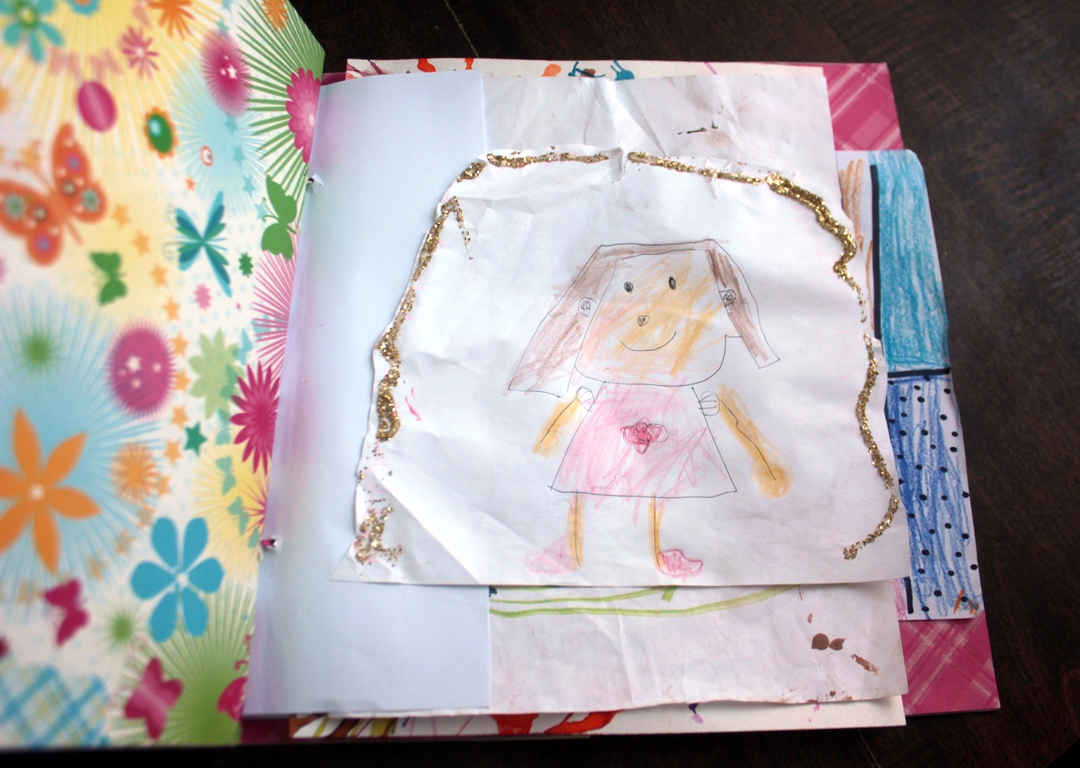
After doing this to both sides of the front and back cover, we talked about how she wanted to store them. Instead of wasting paper (and space), we thought it best to cut plain paper into thirds length-wise. We could use these for an 'edge' to paste the artwork to. This would allow for minimal damage to the art - no holes or paste over the entire back, and none of the art would be hidden or folded.
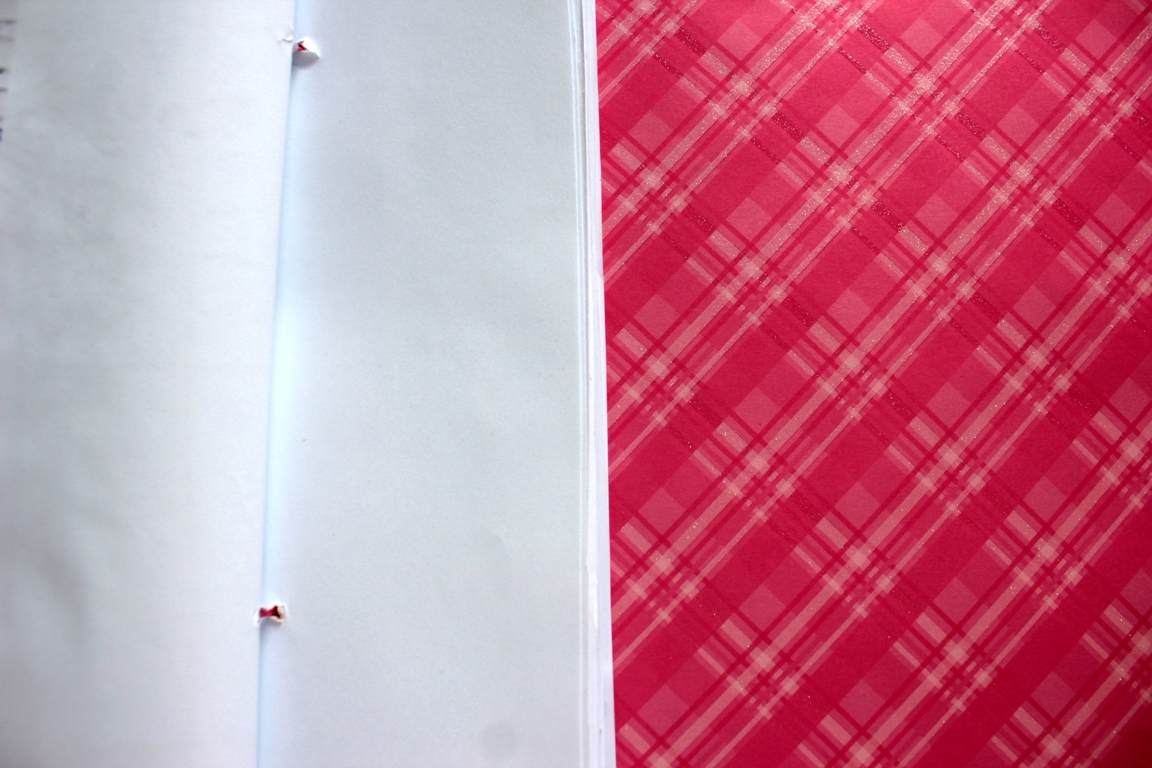
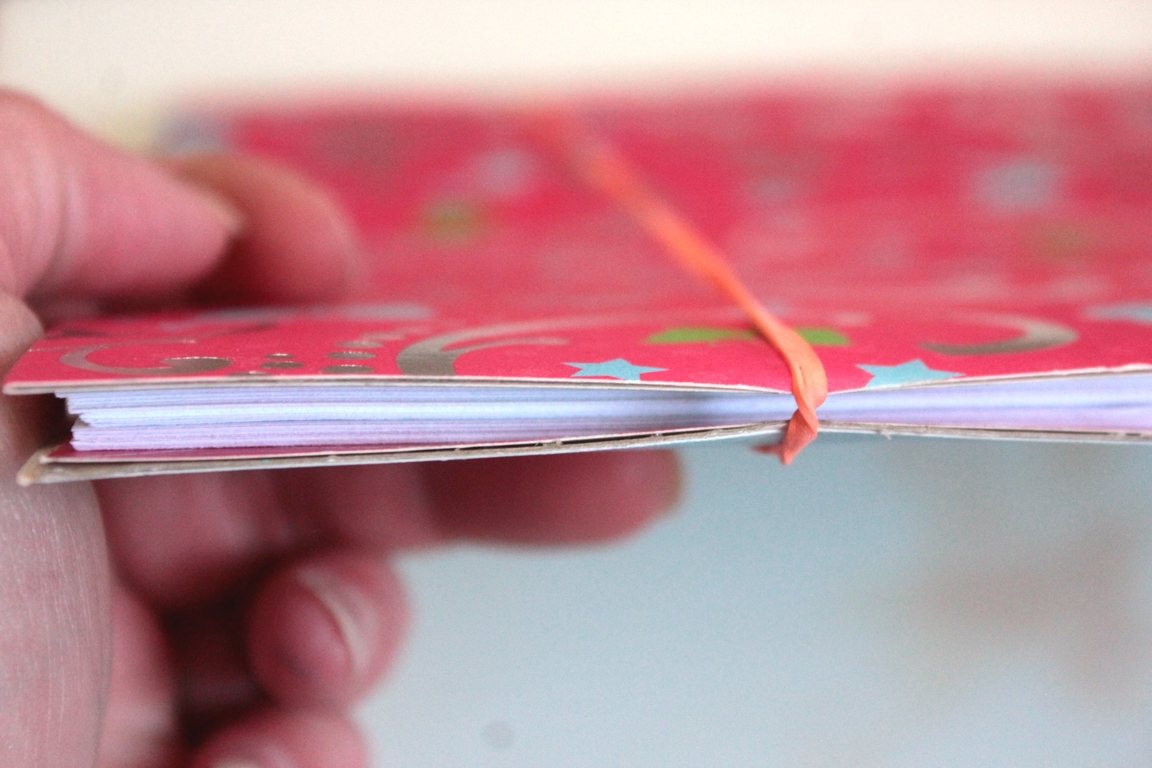
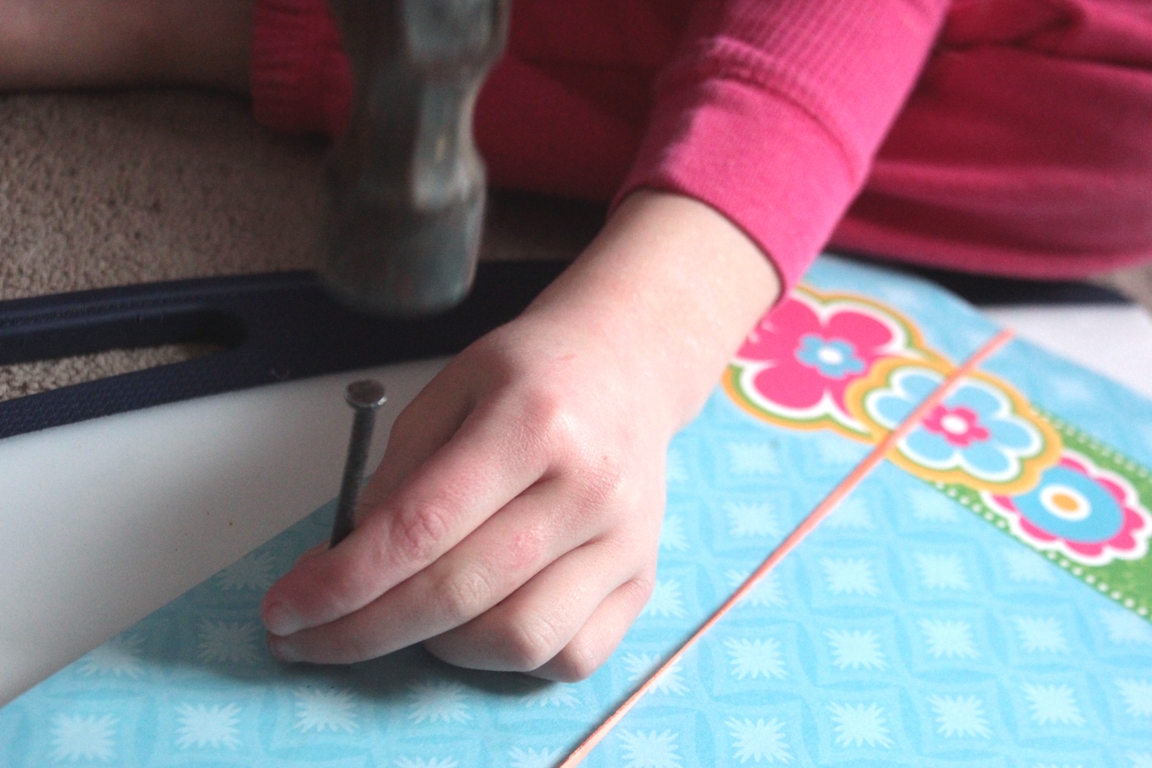
Step 5
We opted for a hammer and nails. You'll probably prefer to use a hole punch for making two holes in the cover and paper. We lined everything up, and I put a rubber band carefully around the covers and trimmed paper,
Step 6
then Madeleine hammered the holes. The last bit was hammered outside on the ground so the nail could pierce properly without damaging anything underneath it.
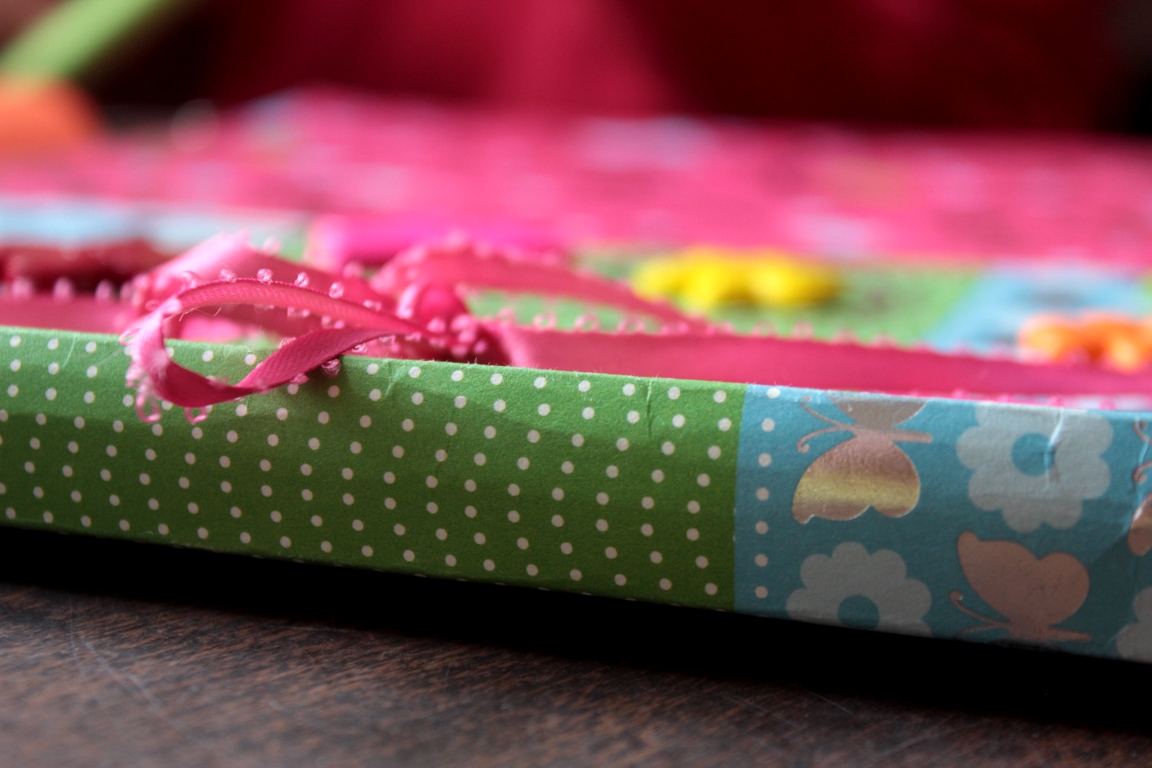
Step 7
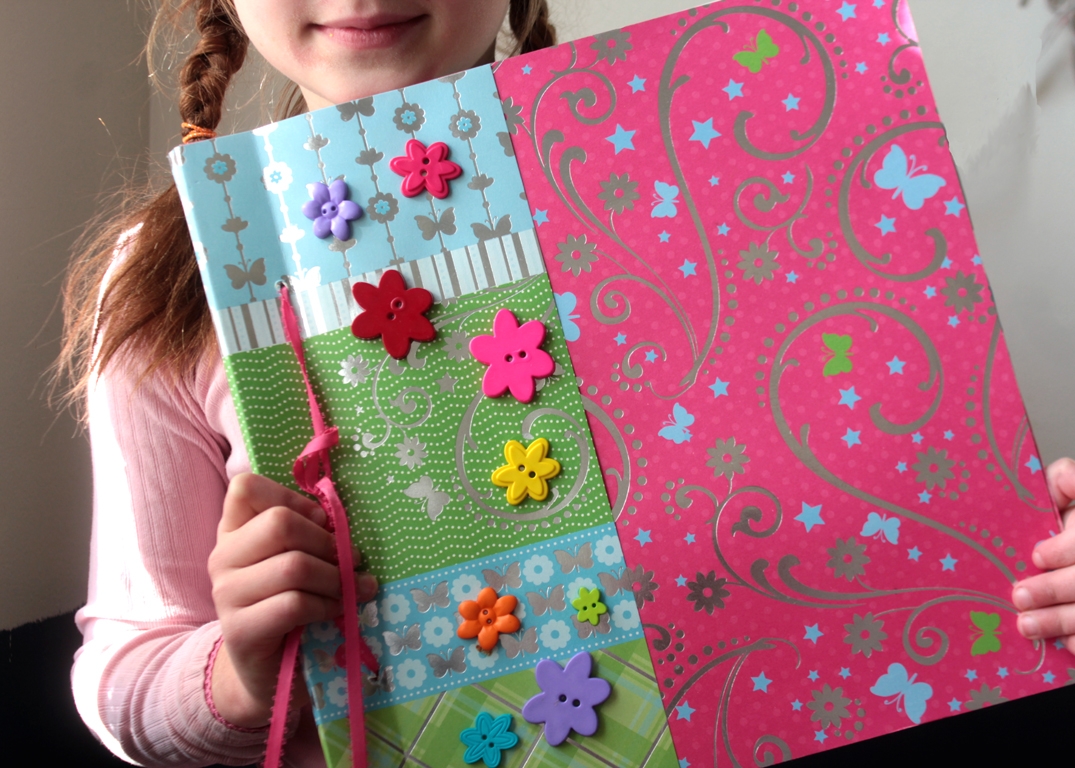
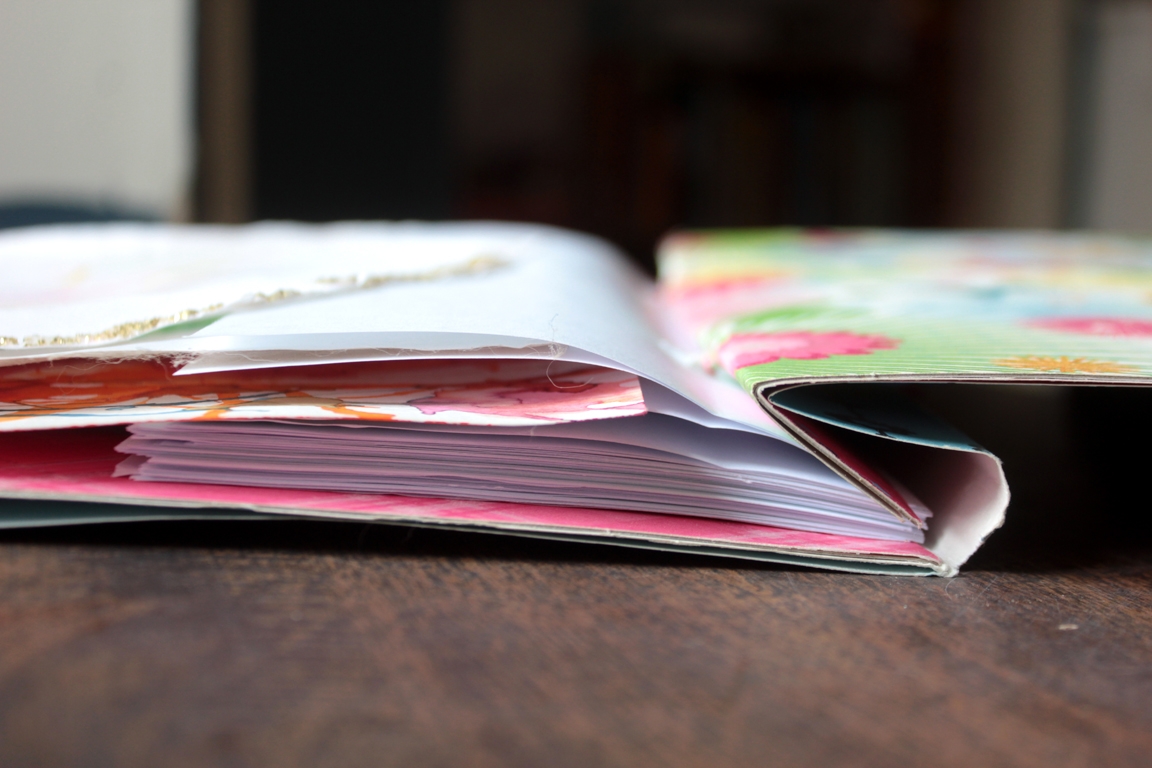
Maddie chose her ribbon and one more pretty sheet of paper. We took the paper, and I showed her how to fold it, leaving about an inch of space between two folds, to act as the bookbinding. She glued it onto the front cover, She left it free on the back so that we could add more pages if we needed to at some point. She made the holes where the others were and strung them all with the ribbon.
Step 8
When it was all bound, we carefully bent back the cardboard cover, just past the ribbon, to allow for the book to be opened easily.
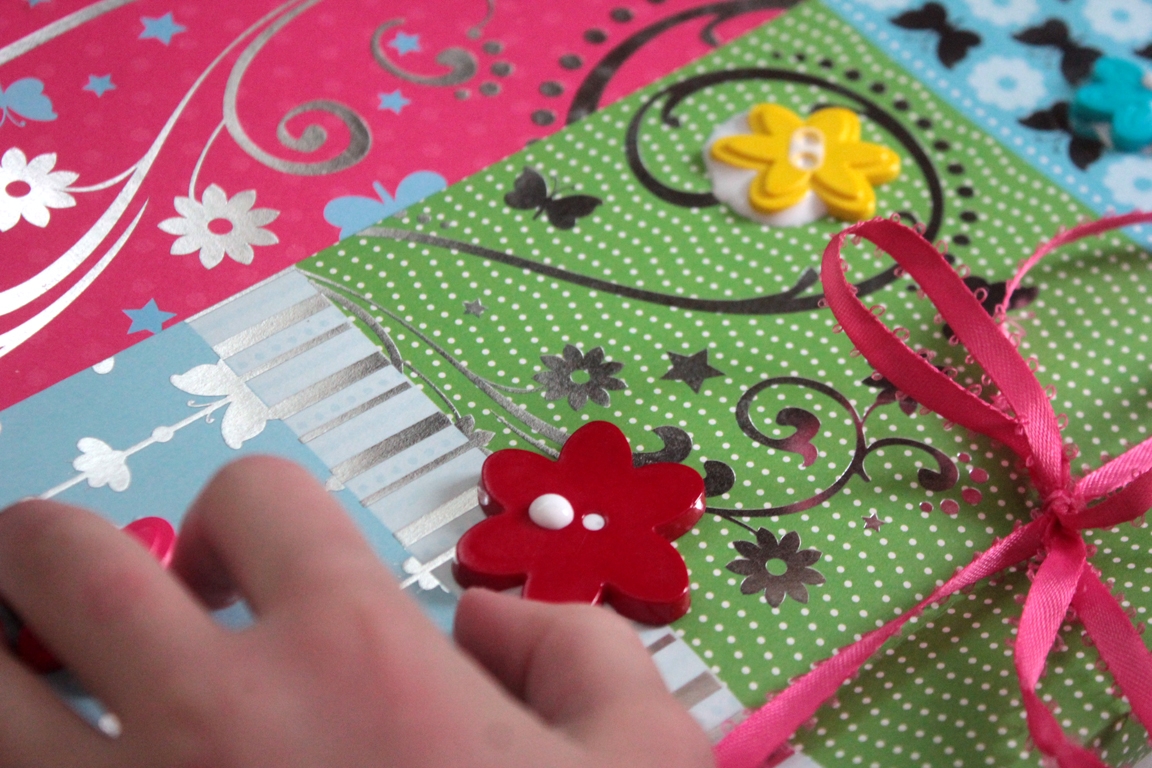
Step 9
All that was left now was the decorating!
Done!
All finished, and we have a lovely place to put her (and her Mama's!) favorite, keep-forever pieces.