Step-by-step tutorial
Step 1
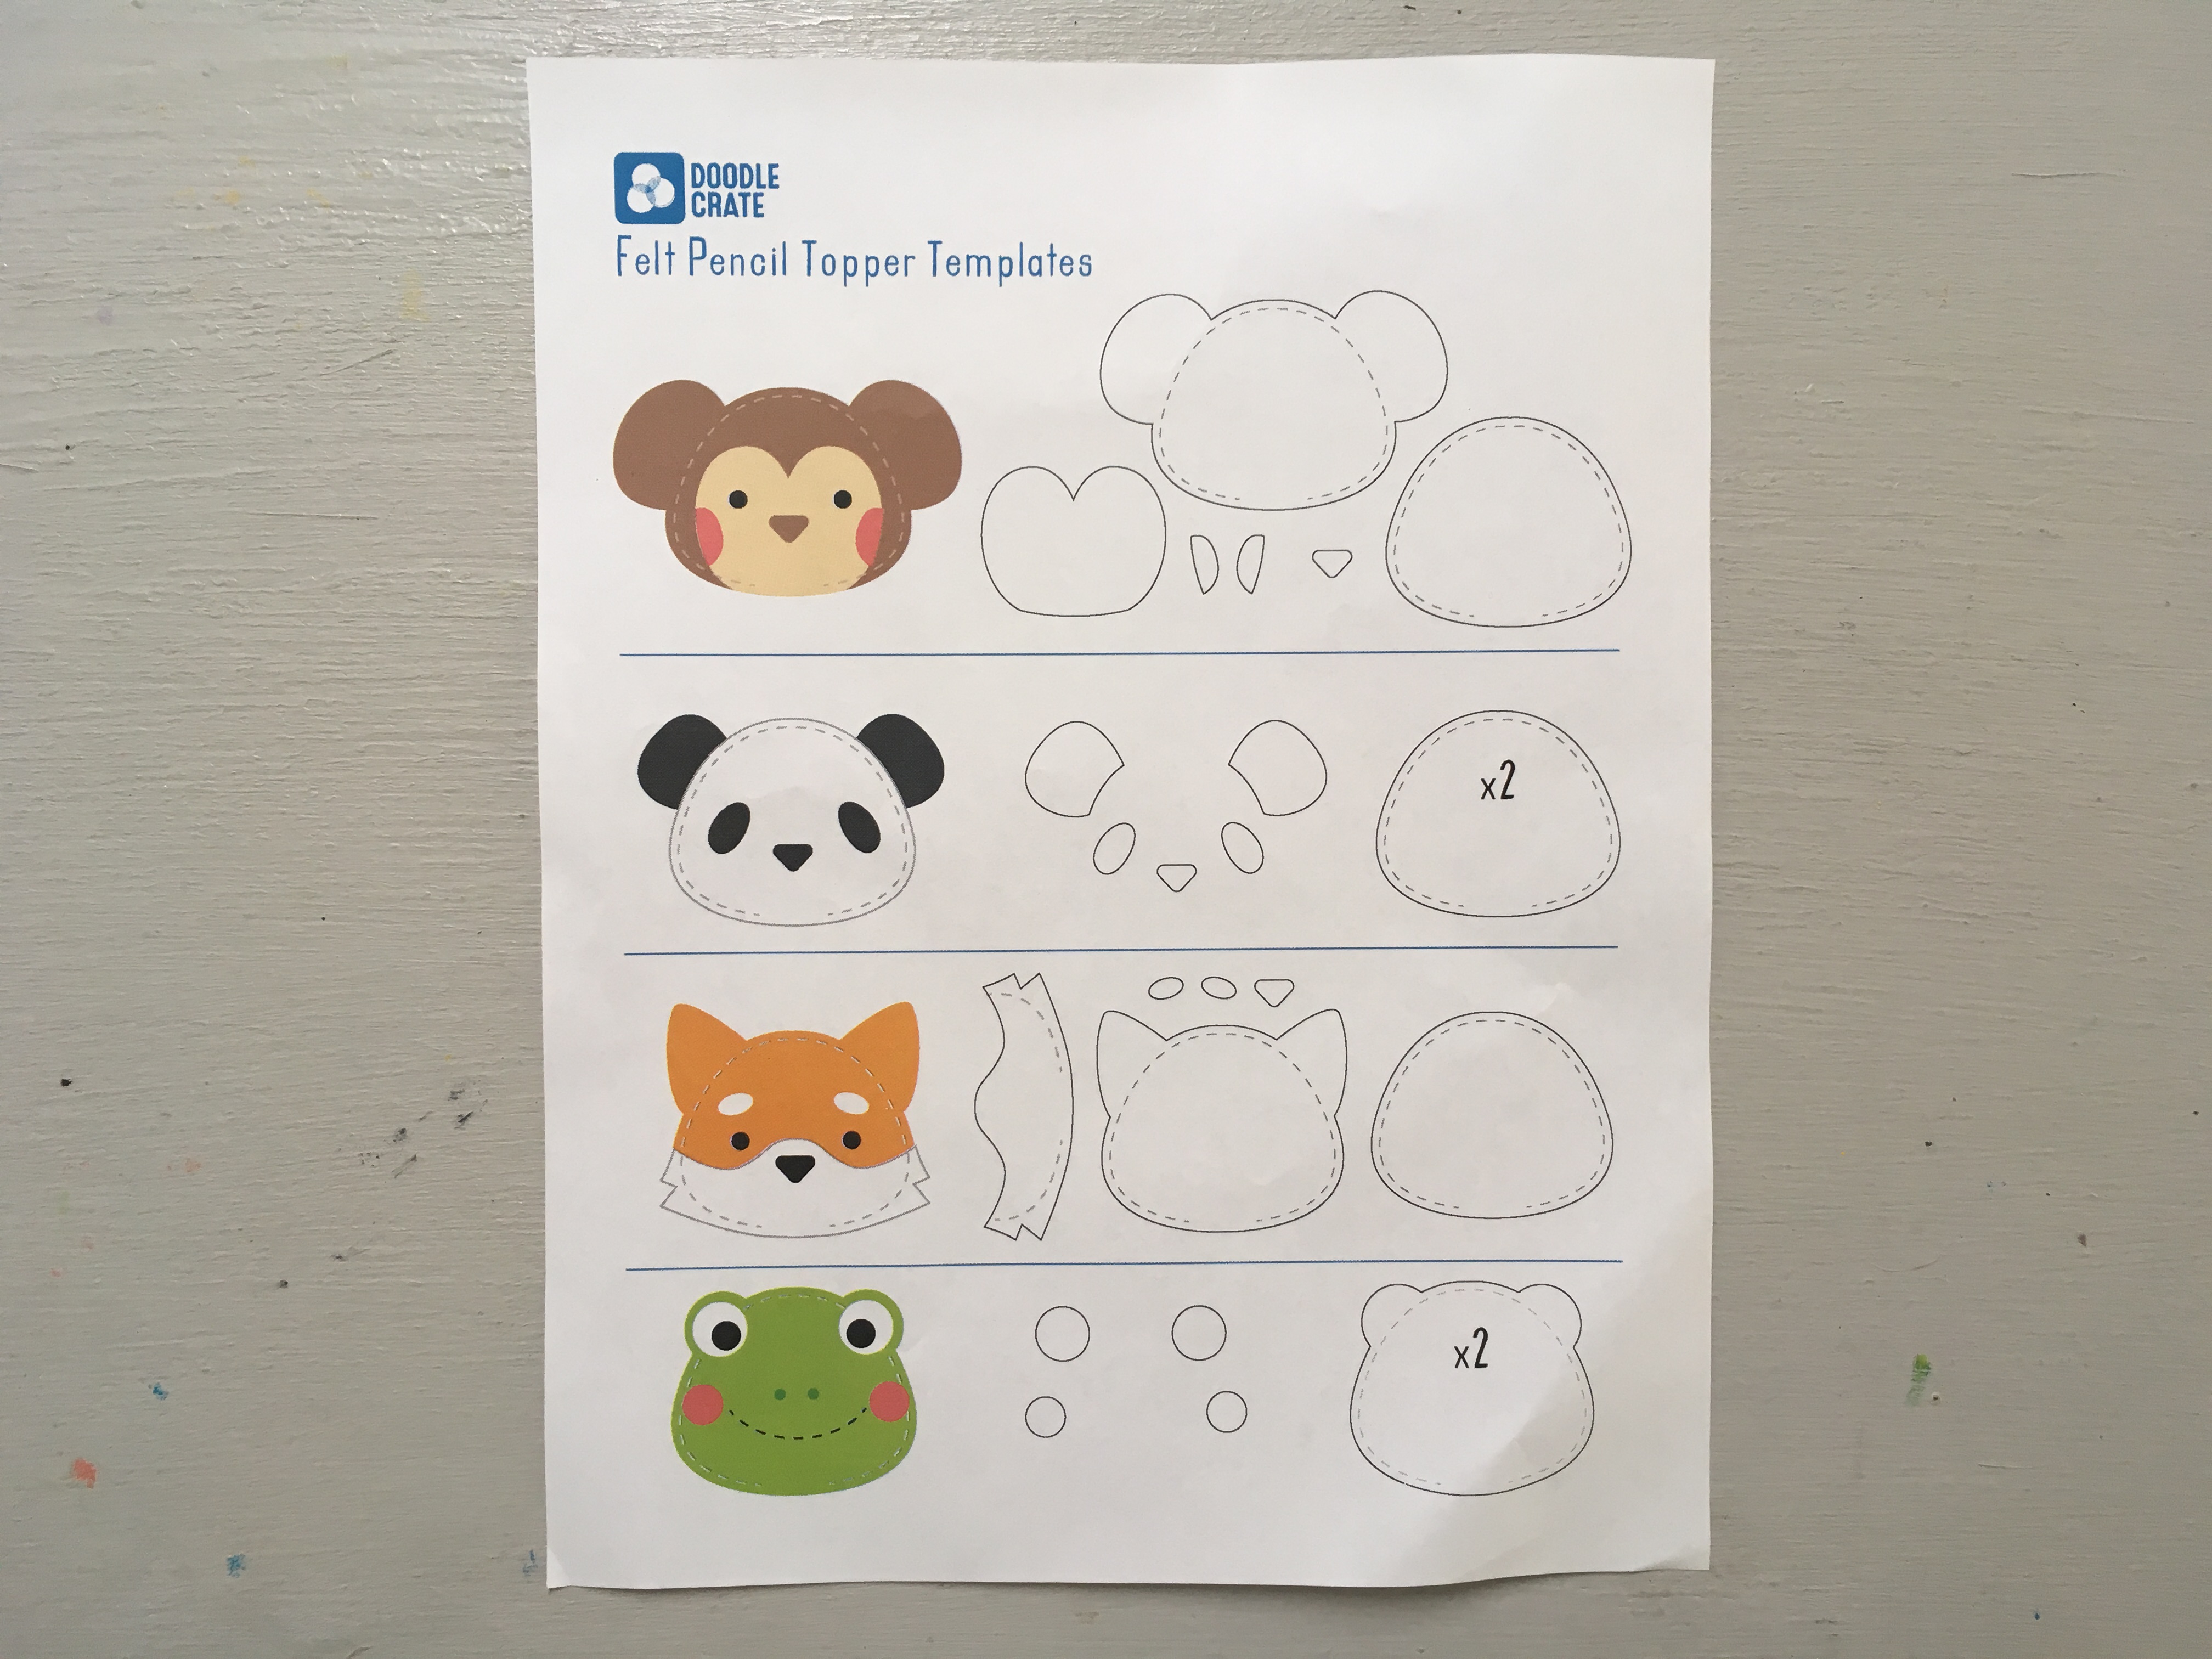
Print the template and choose which topper you would like to make. Gather the felt colors you'd like to use for your design.

Step 2
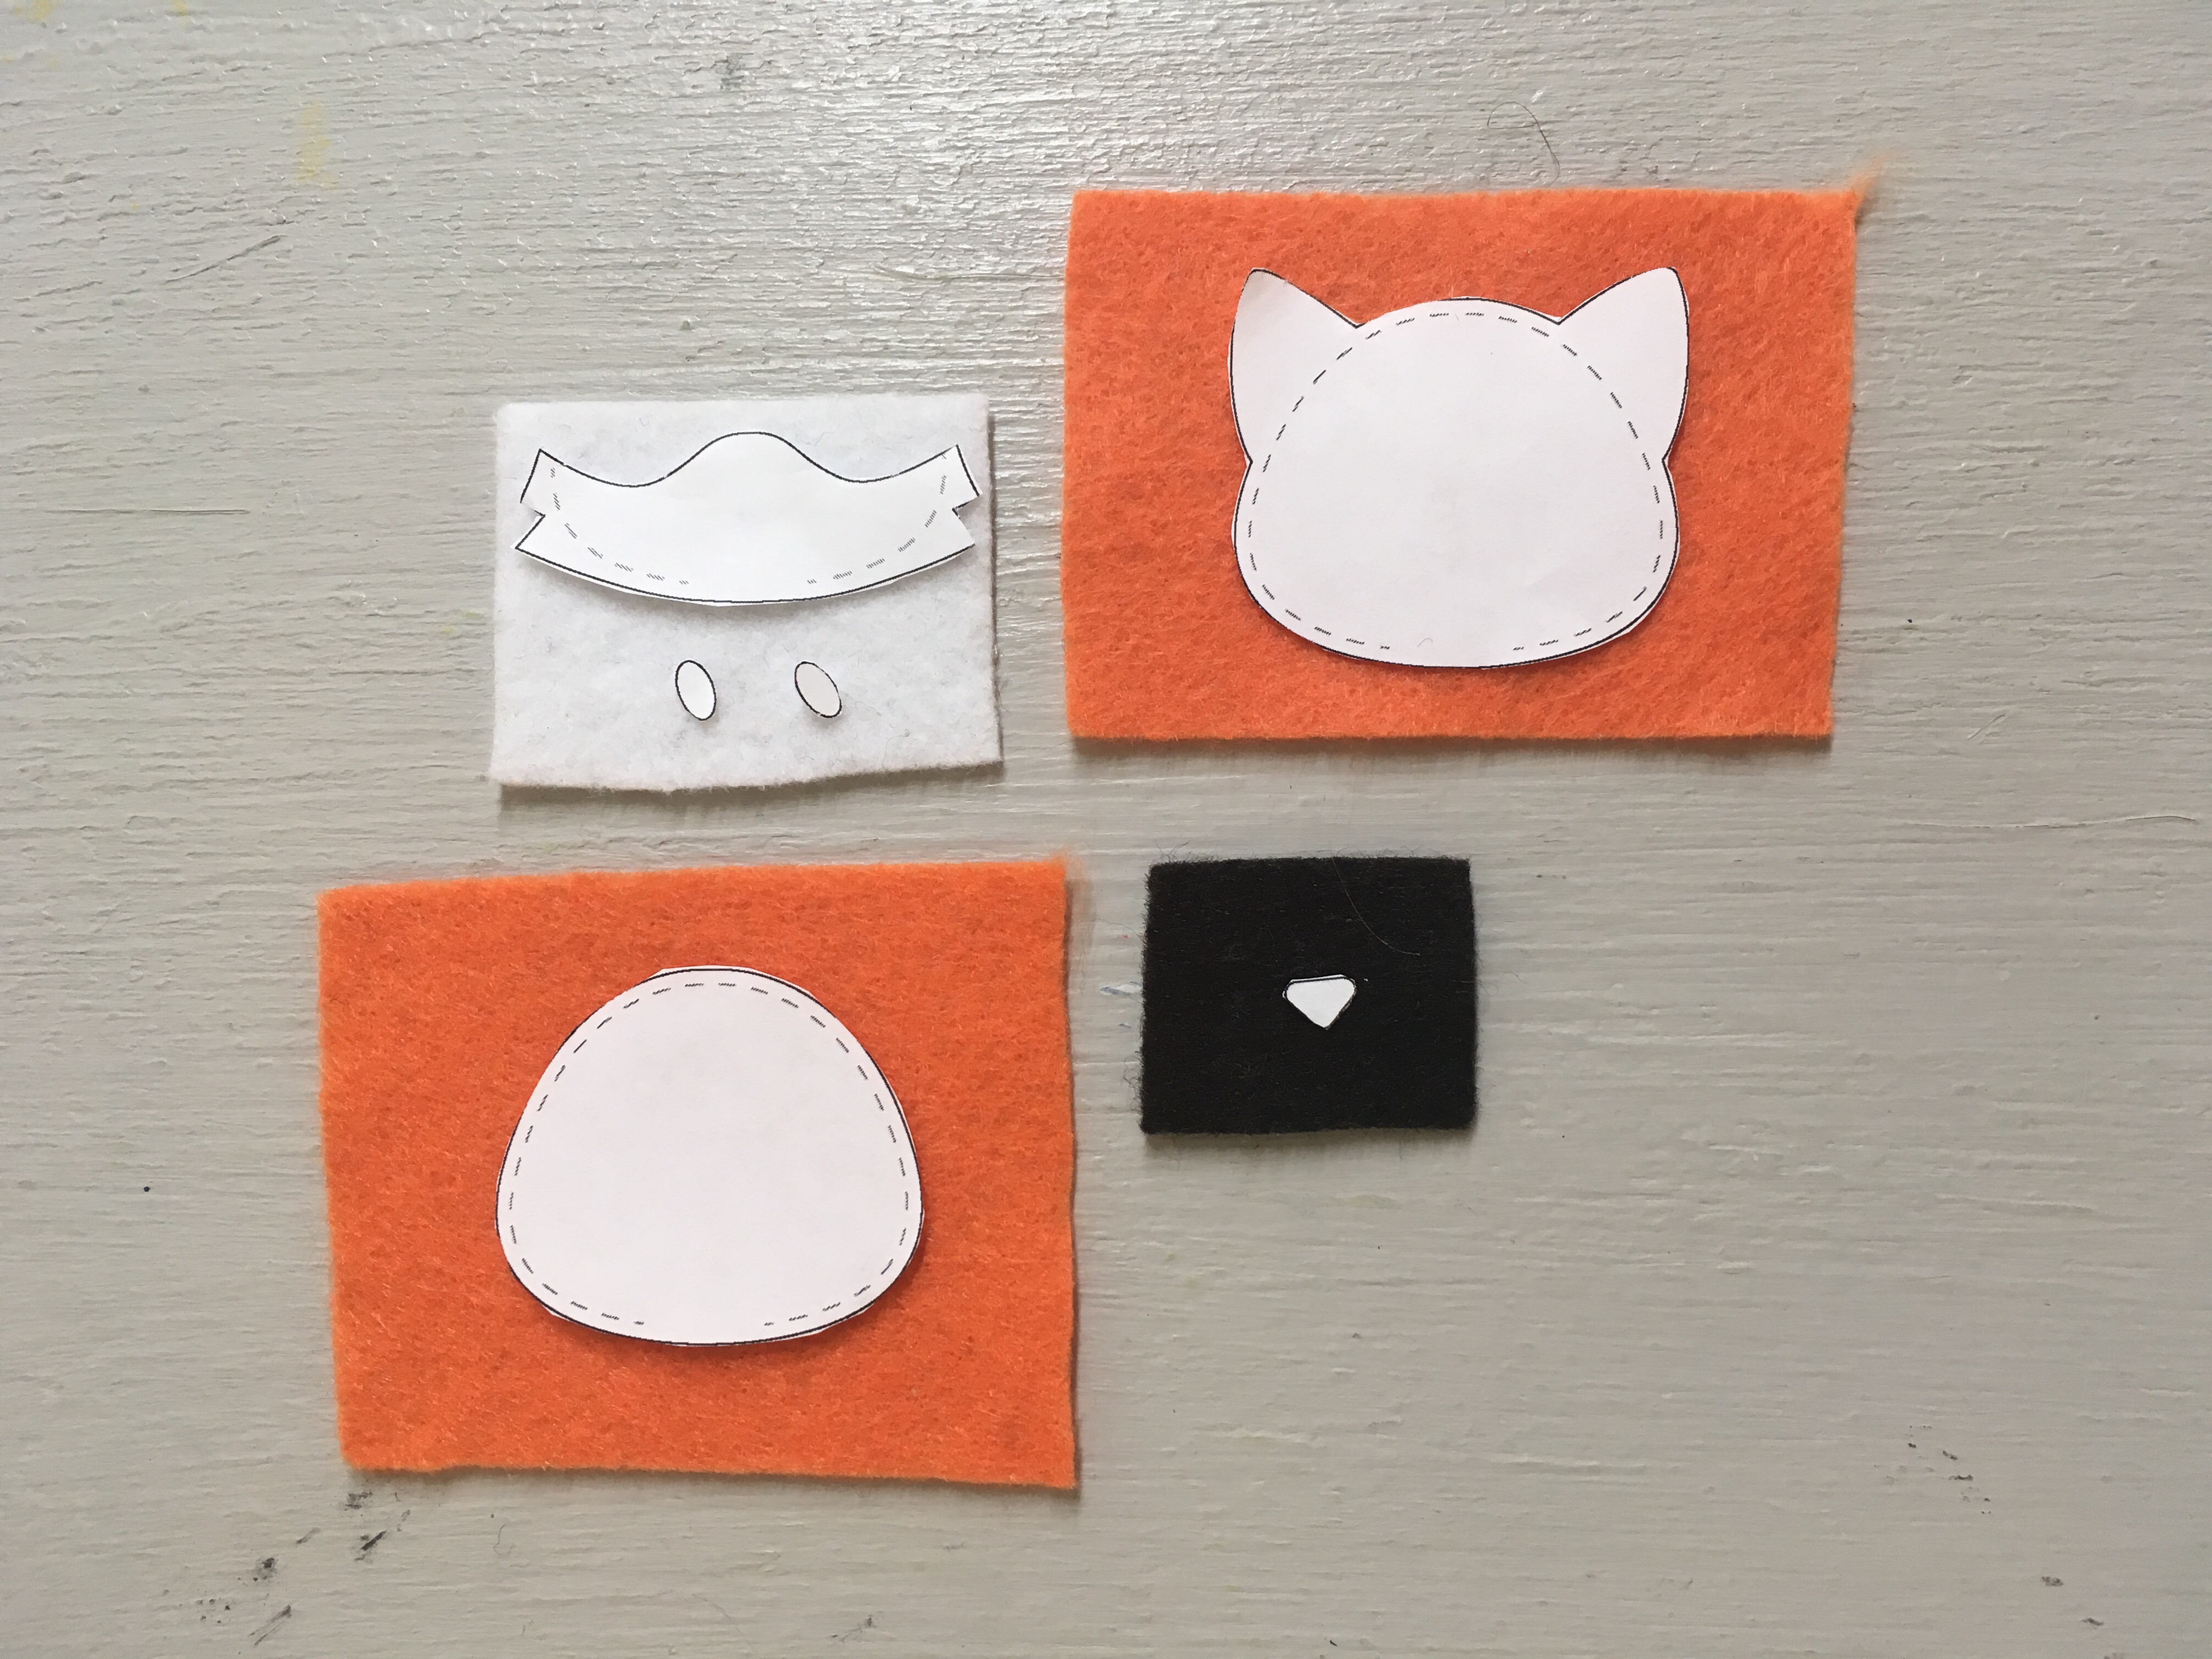
Cut out the template pieces for your pattern. Tape the pieces onto the corresponding felt colors.
Step 3
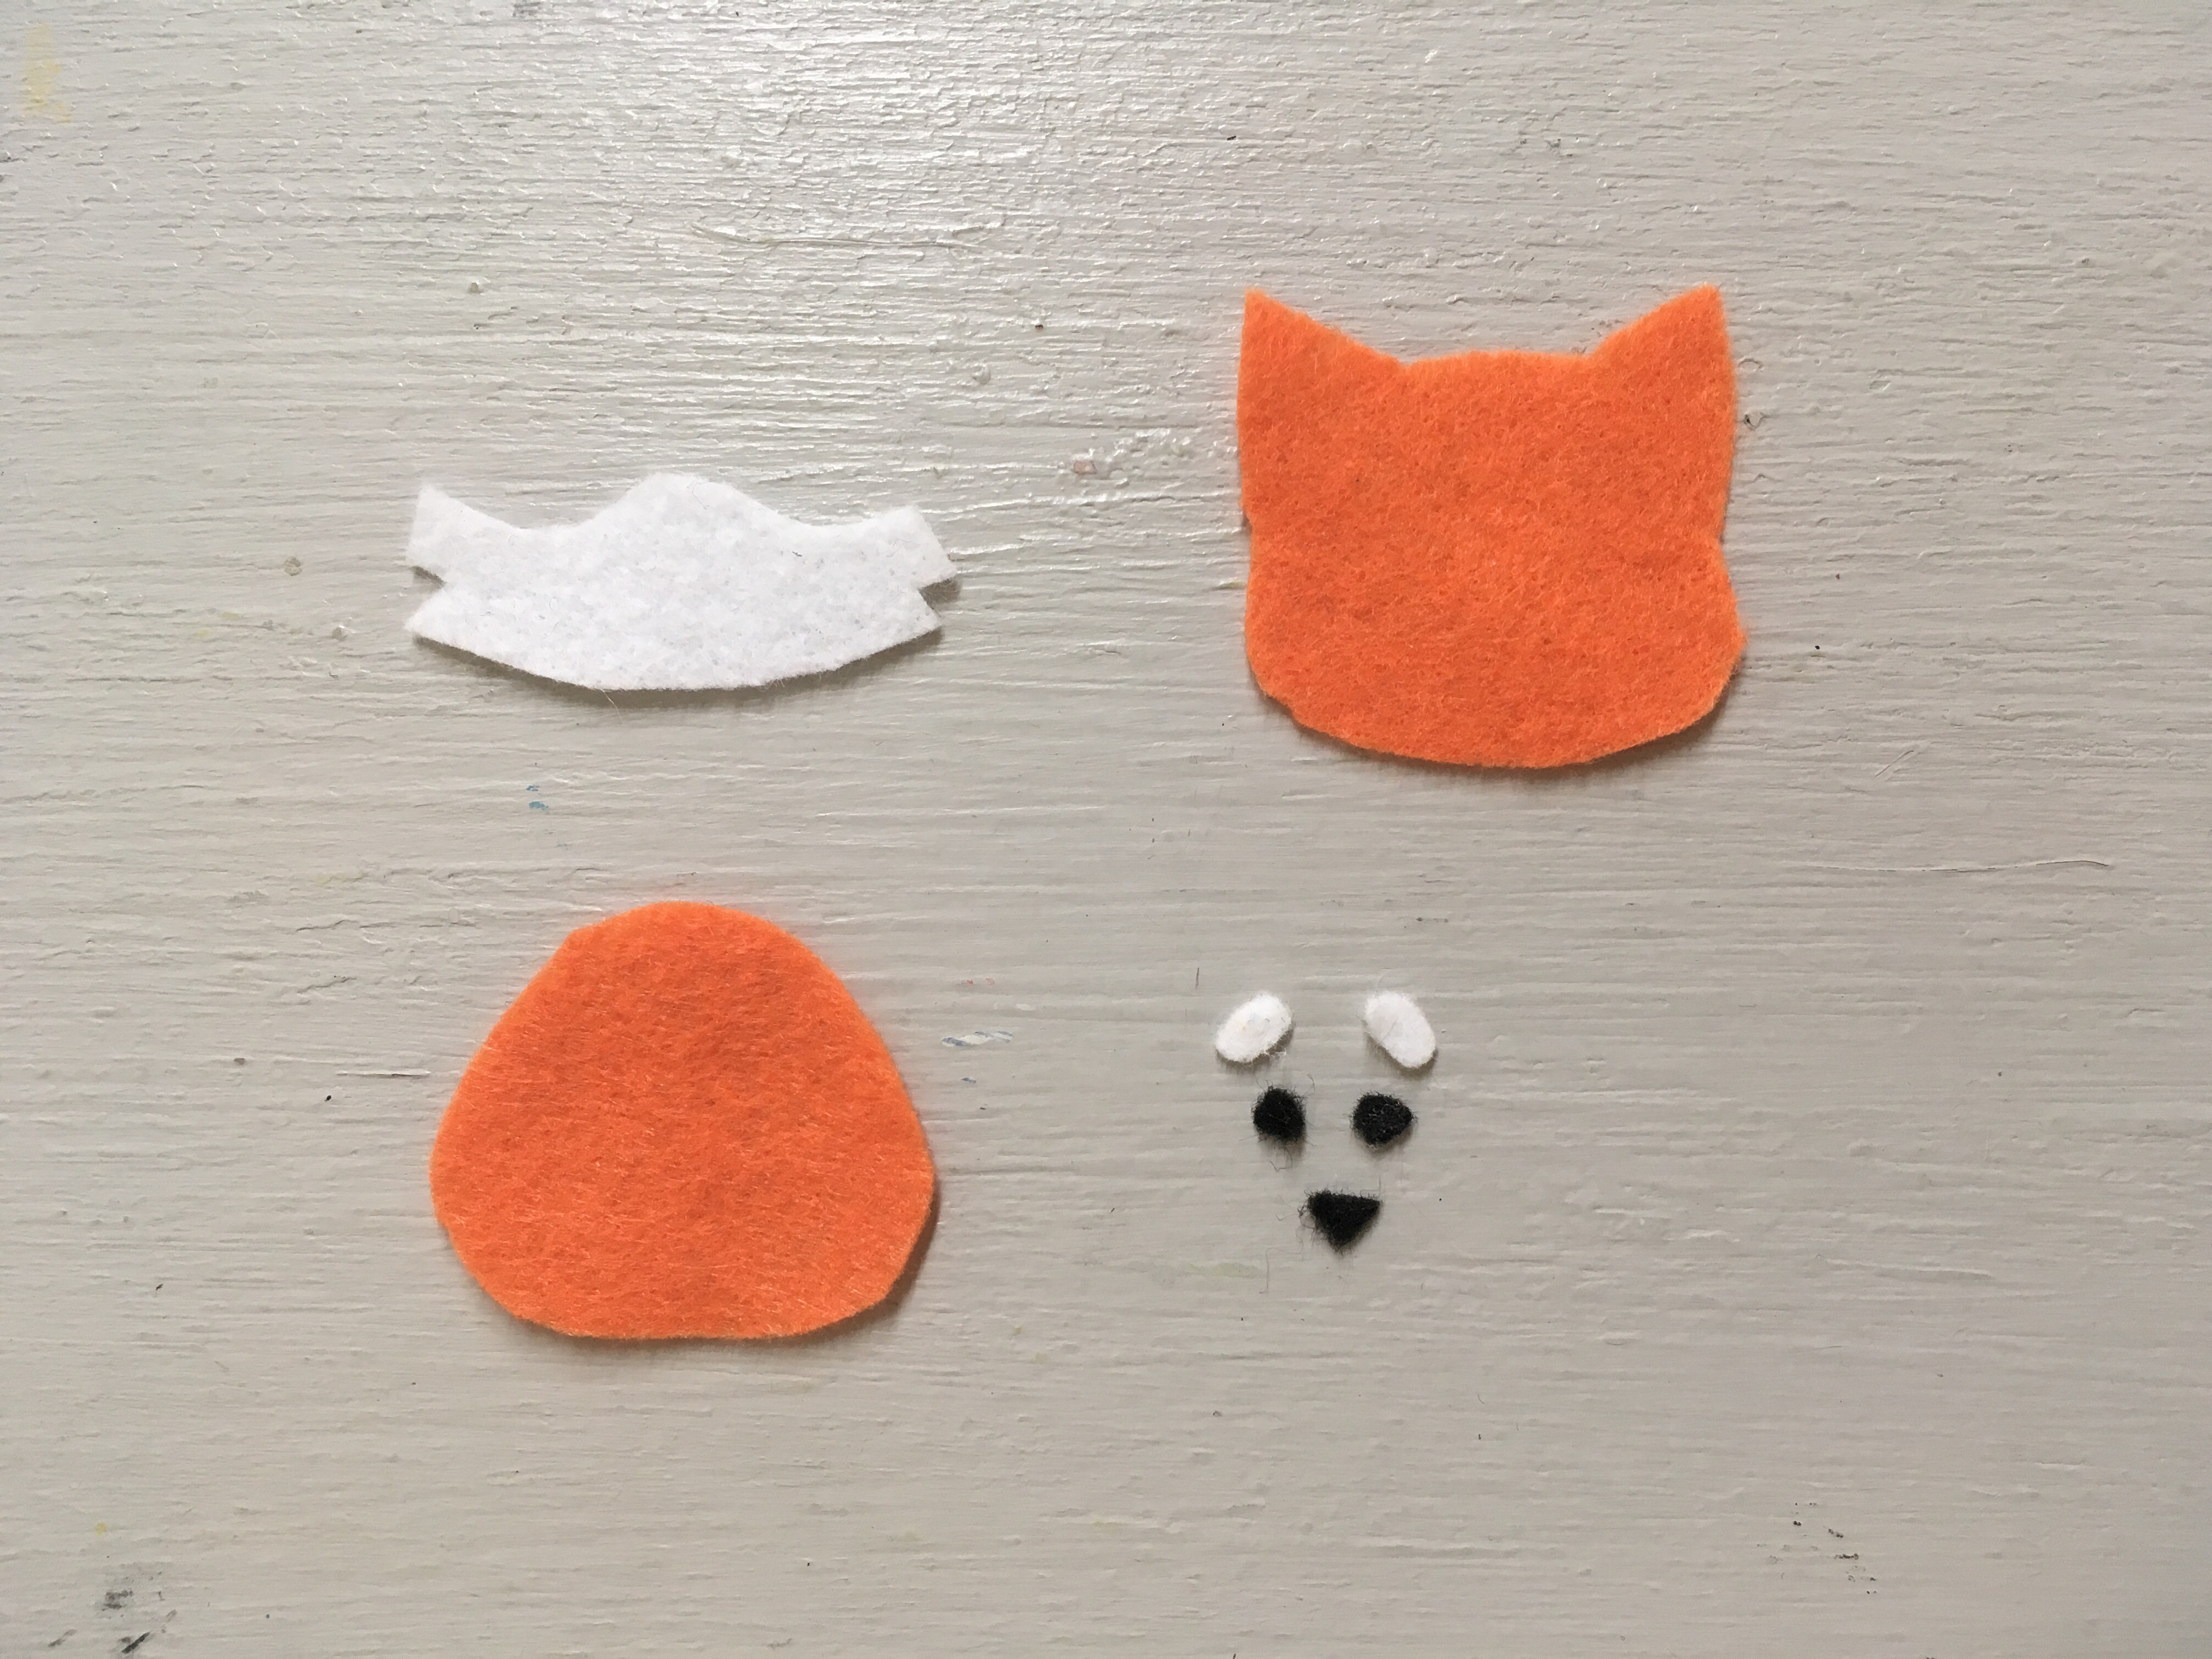
Cut out the felt and collect any other embellishments you want to add. Beads and sequins would also add nice detail to these toppers.
Tip
For the smaller details like eyes and noses, you can also use a permanent marker to draw the features on the topper’s face.
Step 4
Assemble and glue your felt pieces to make your animal topper. Add as much detail as you would like using materials you have on hand. Let it dry. This will be the top layer of the pencil topper.
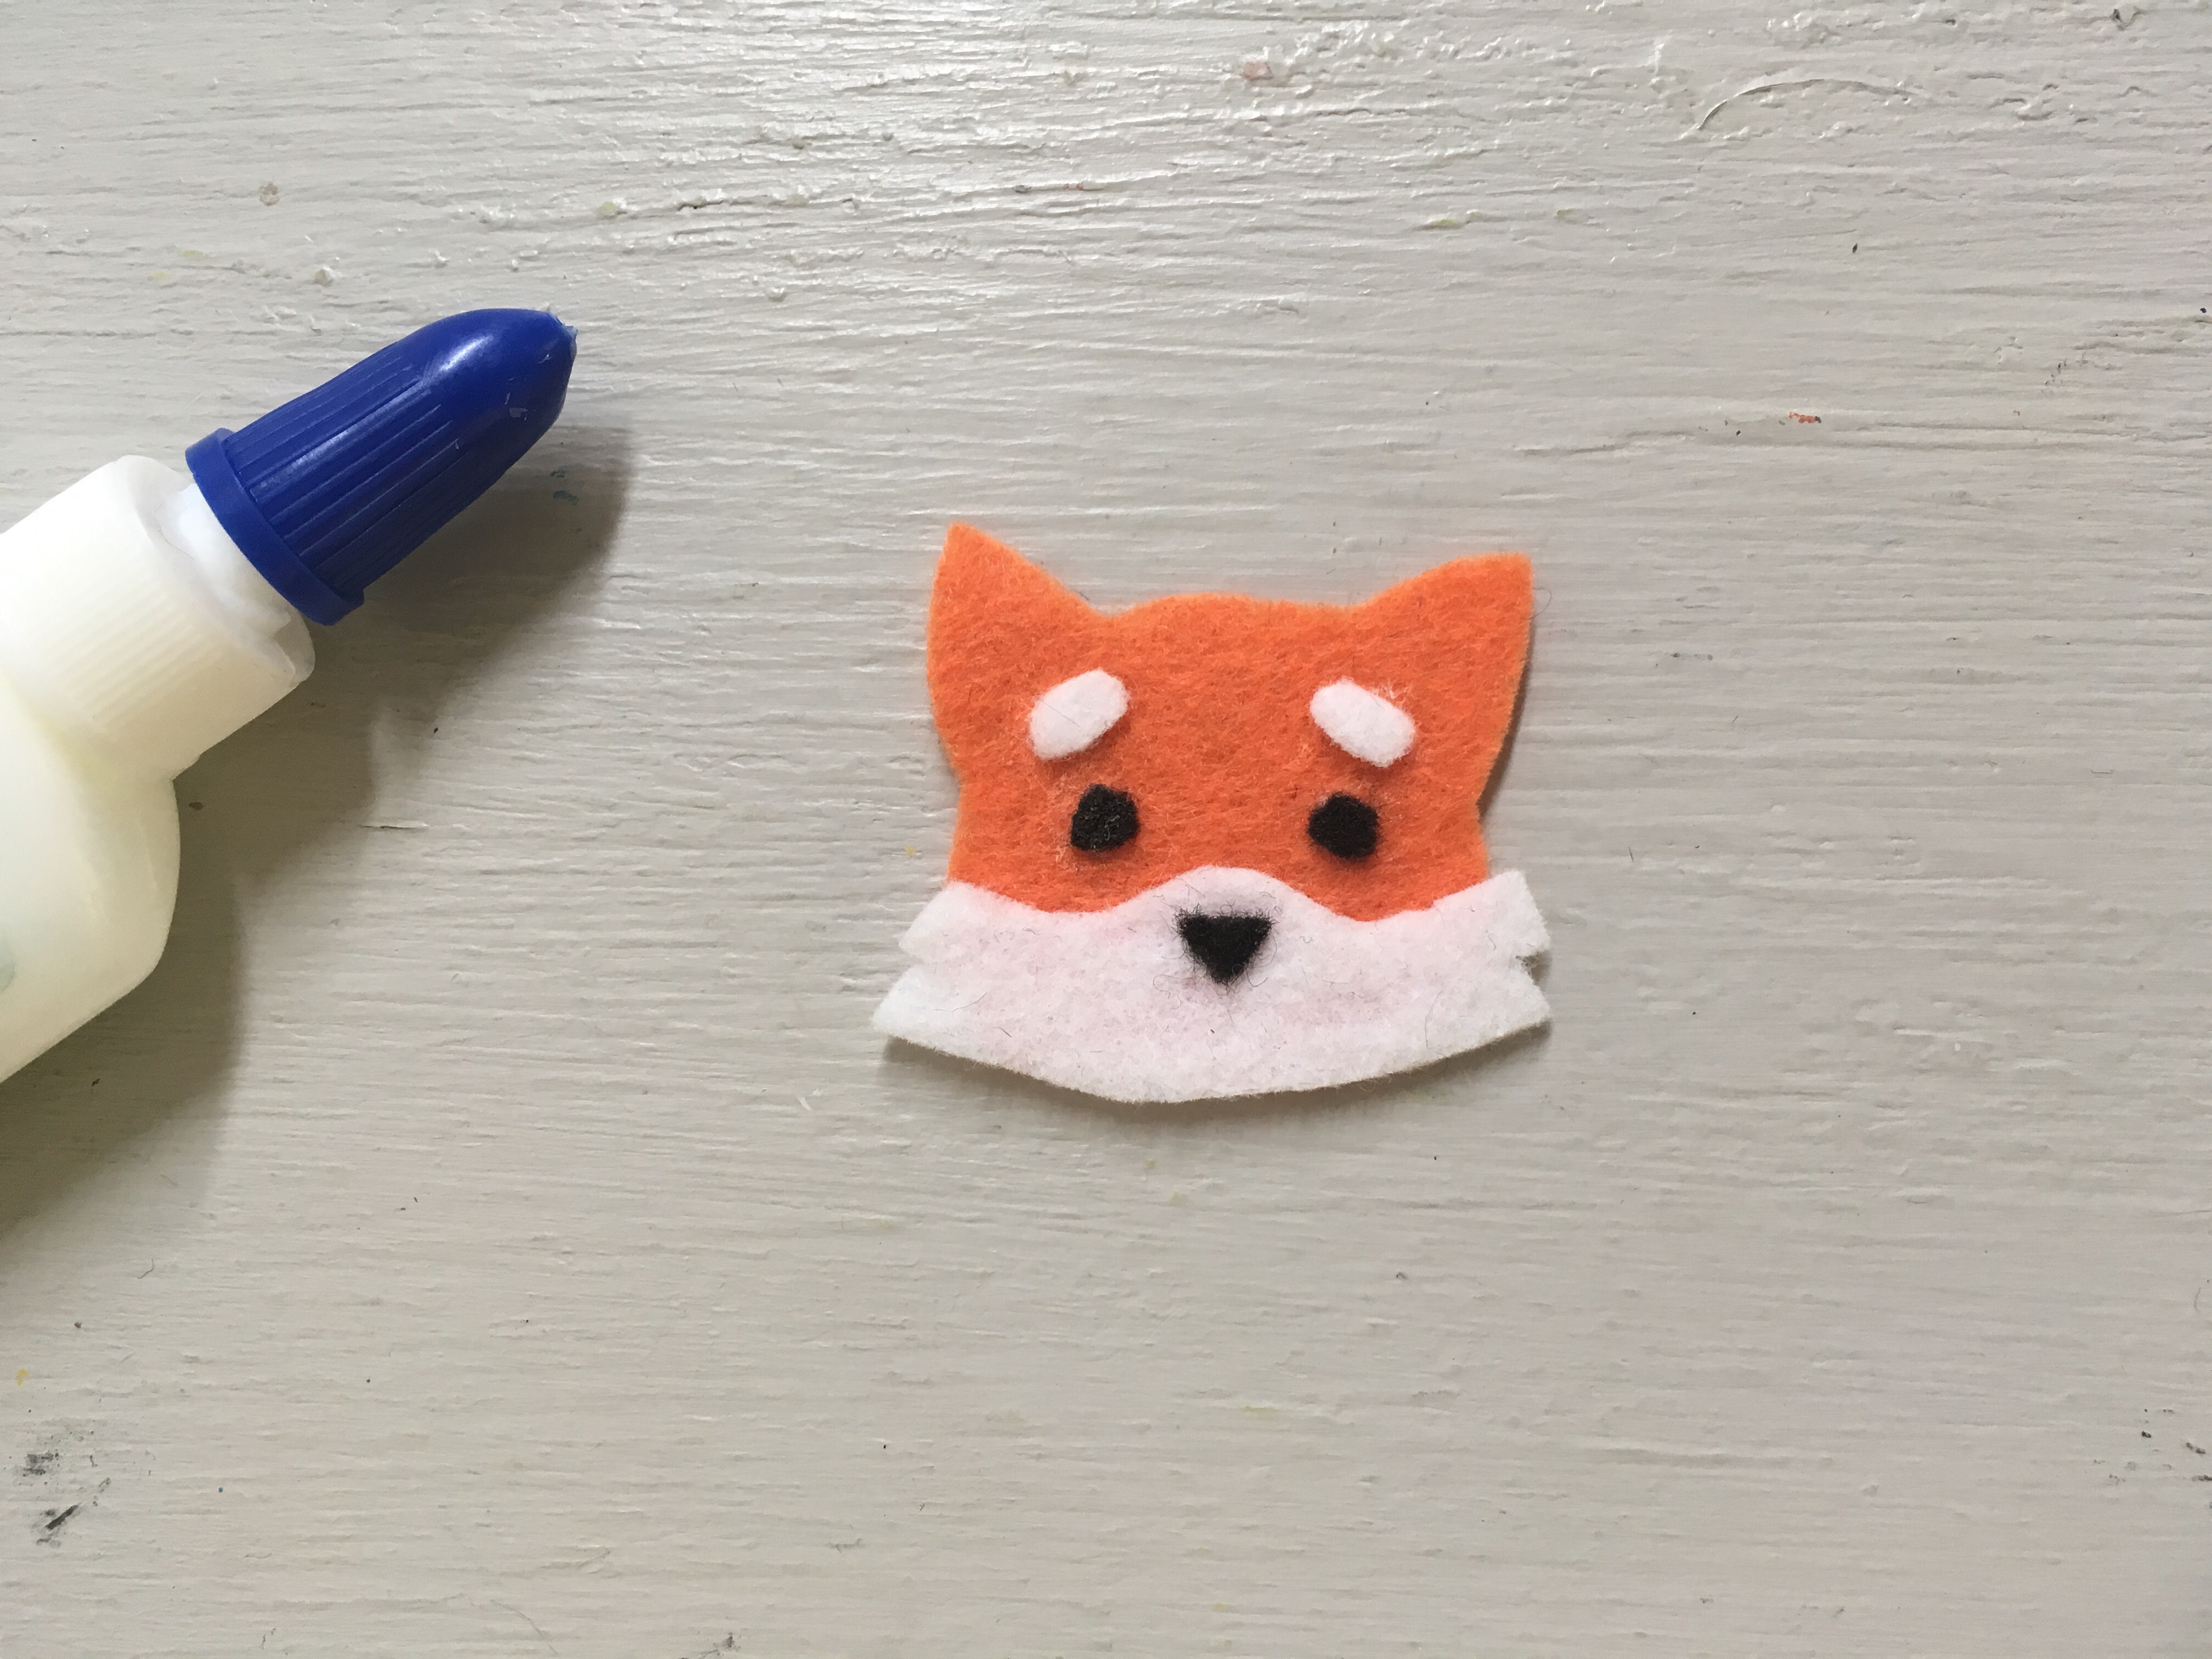
Tip
Remember to set aside the bottom felt shape as this will act as the back of the topper.
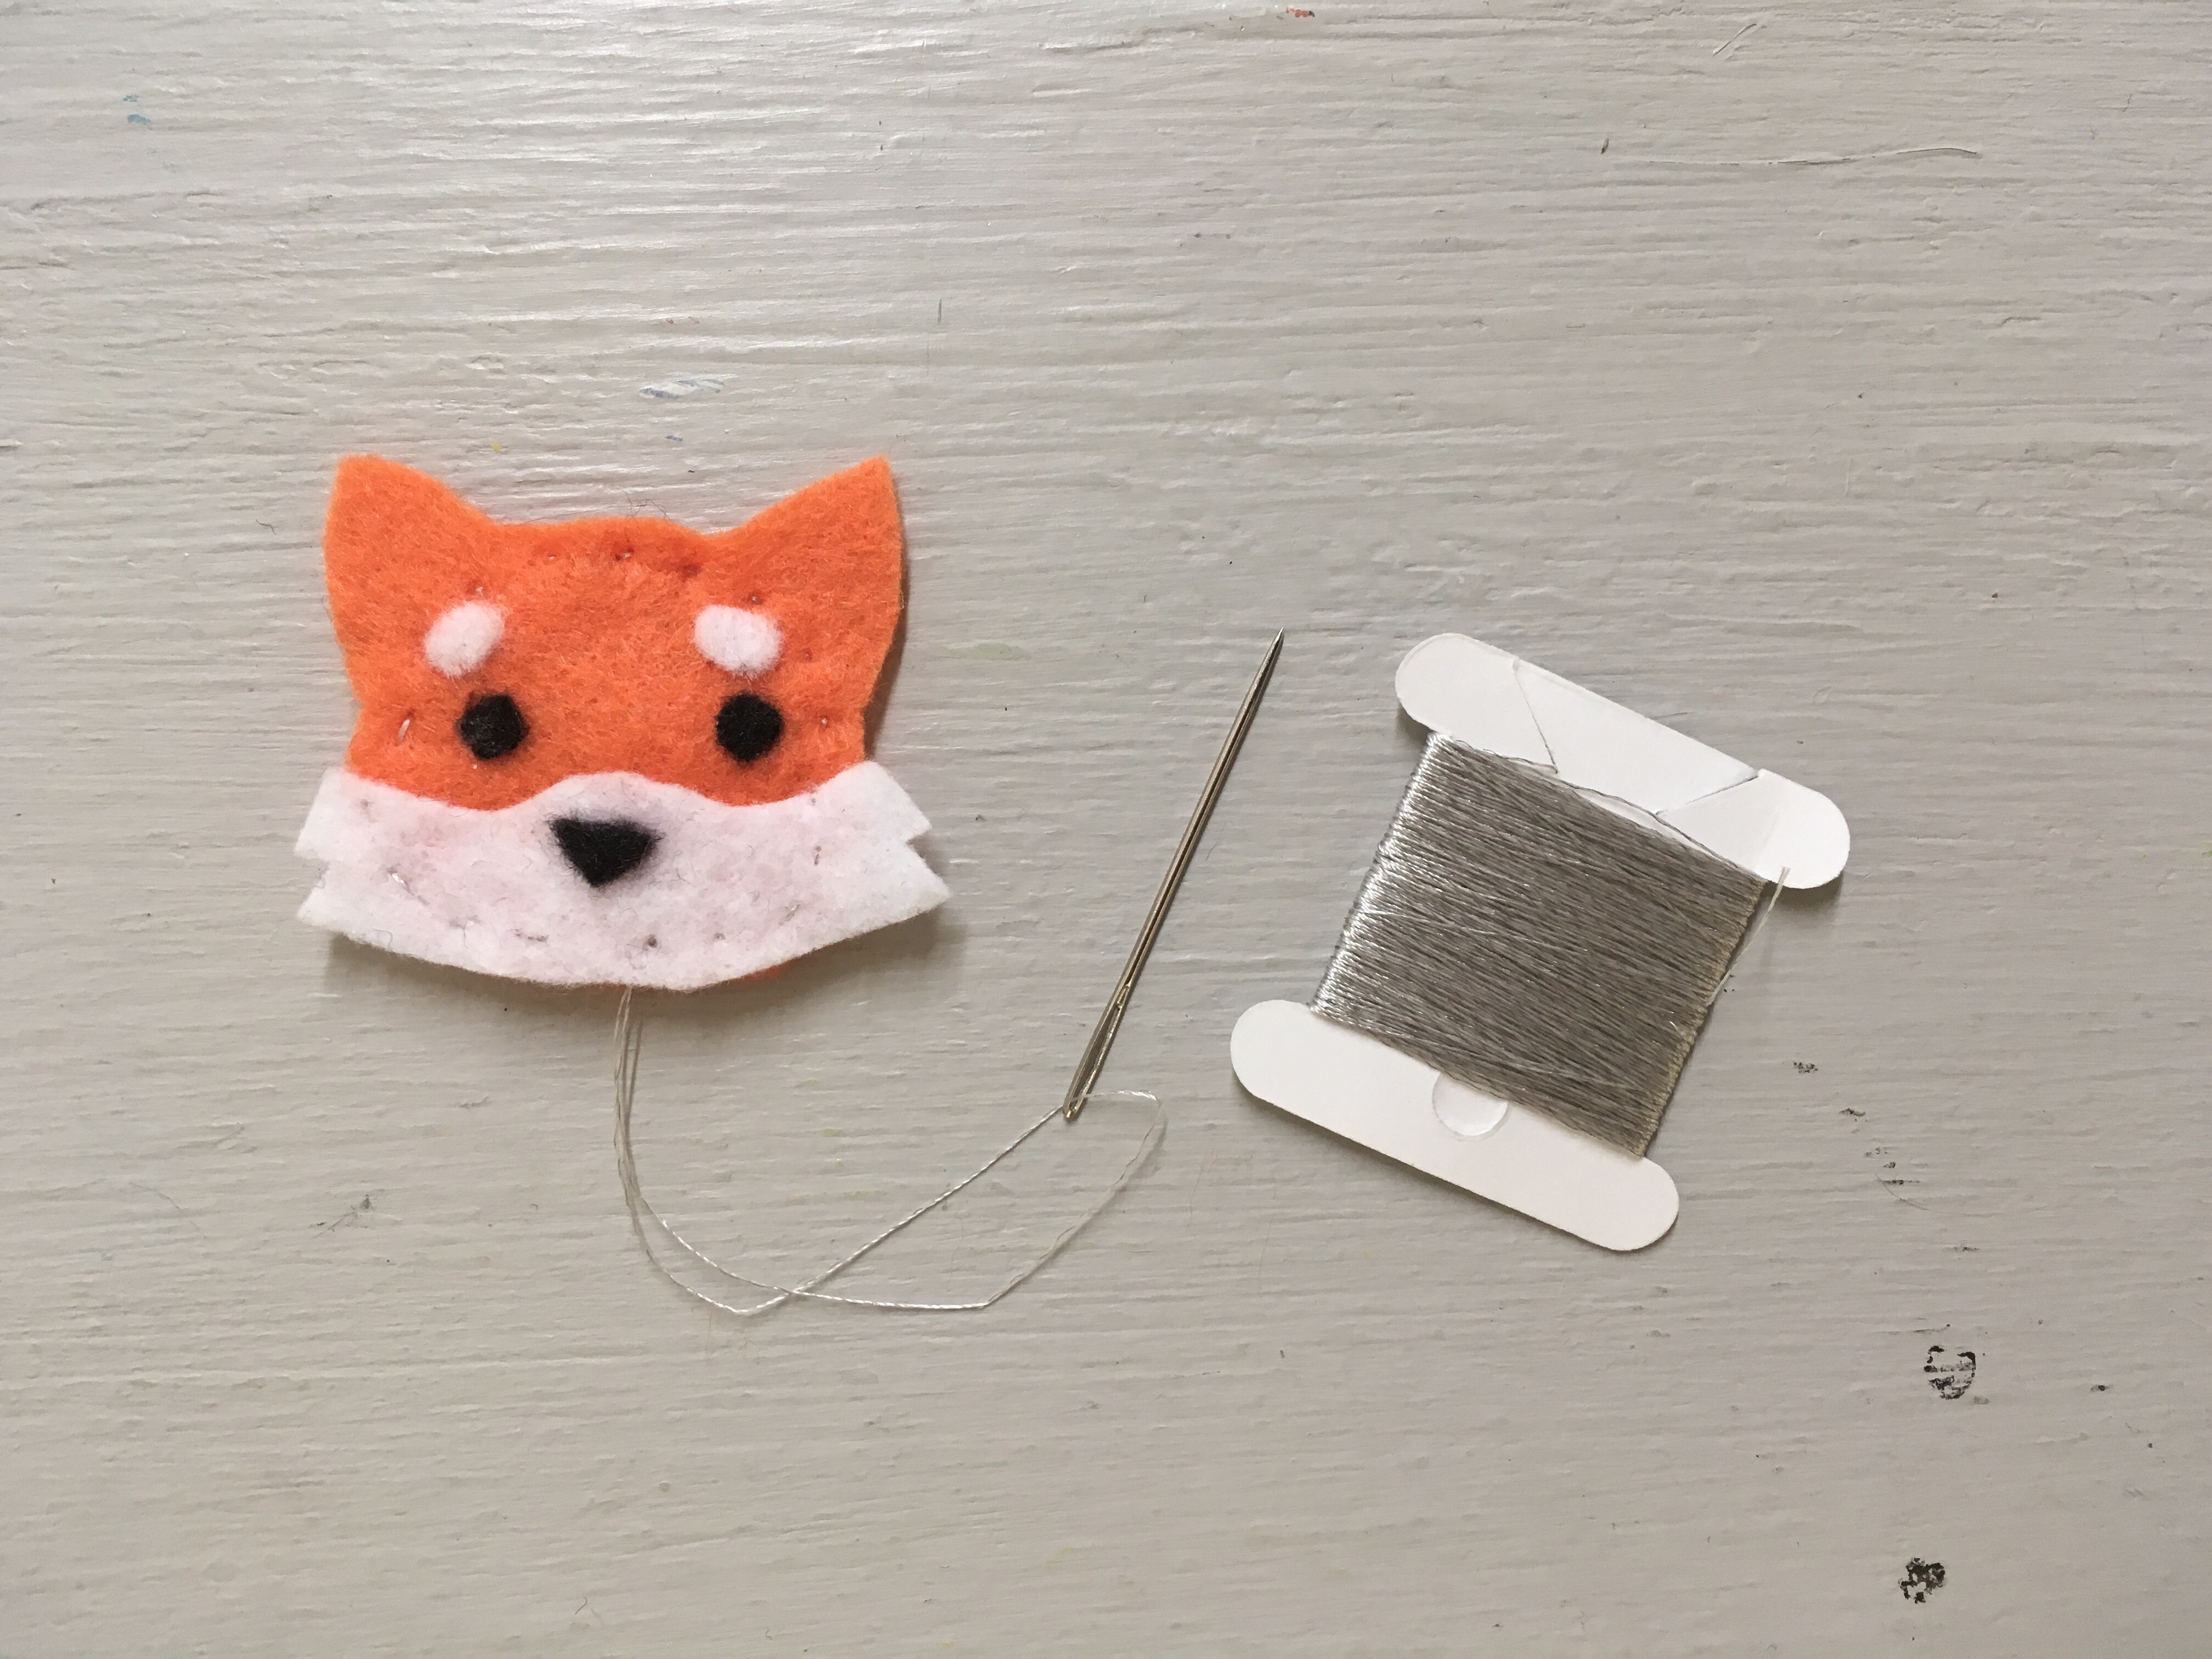
Step 5
Using your needle and thread, sew the bottom and top (with the face) felt layers together. Make sure to leave a gap in your stitches at the base of the face for your pencil. If you are using a larger non standard size pencil, make sure to leave extra space for your pencil to fit.
Done!
Place your topper on a pencil and you’re done!