Step-by-step tutorial
Step 1
Using rubber bands (instead of twine, a more traditional material) makes it easier for little hands to make dolls that won't fall apart during the creation process.
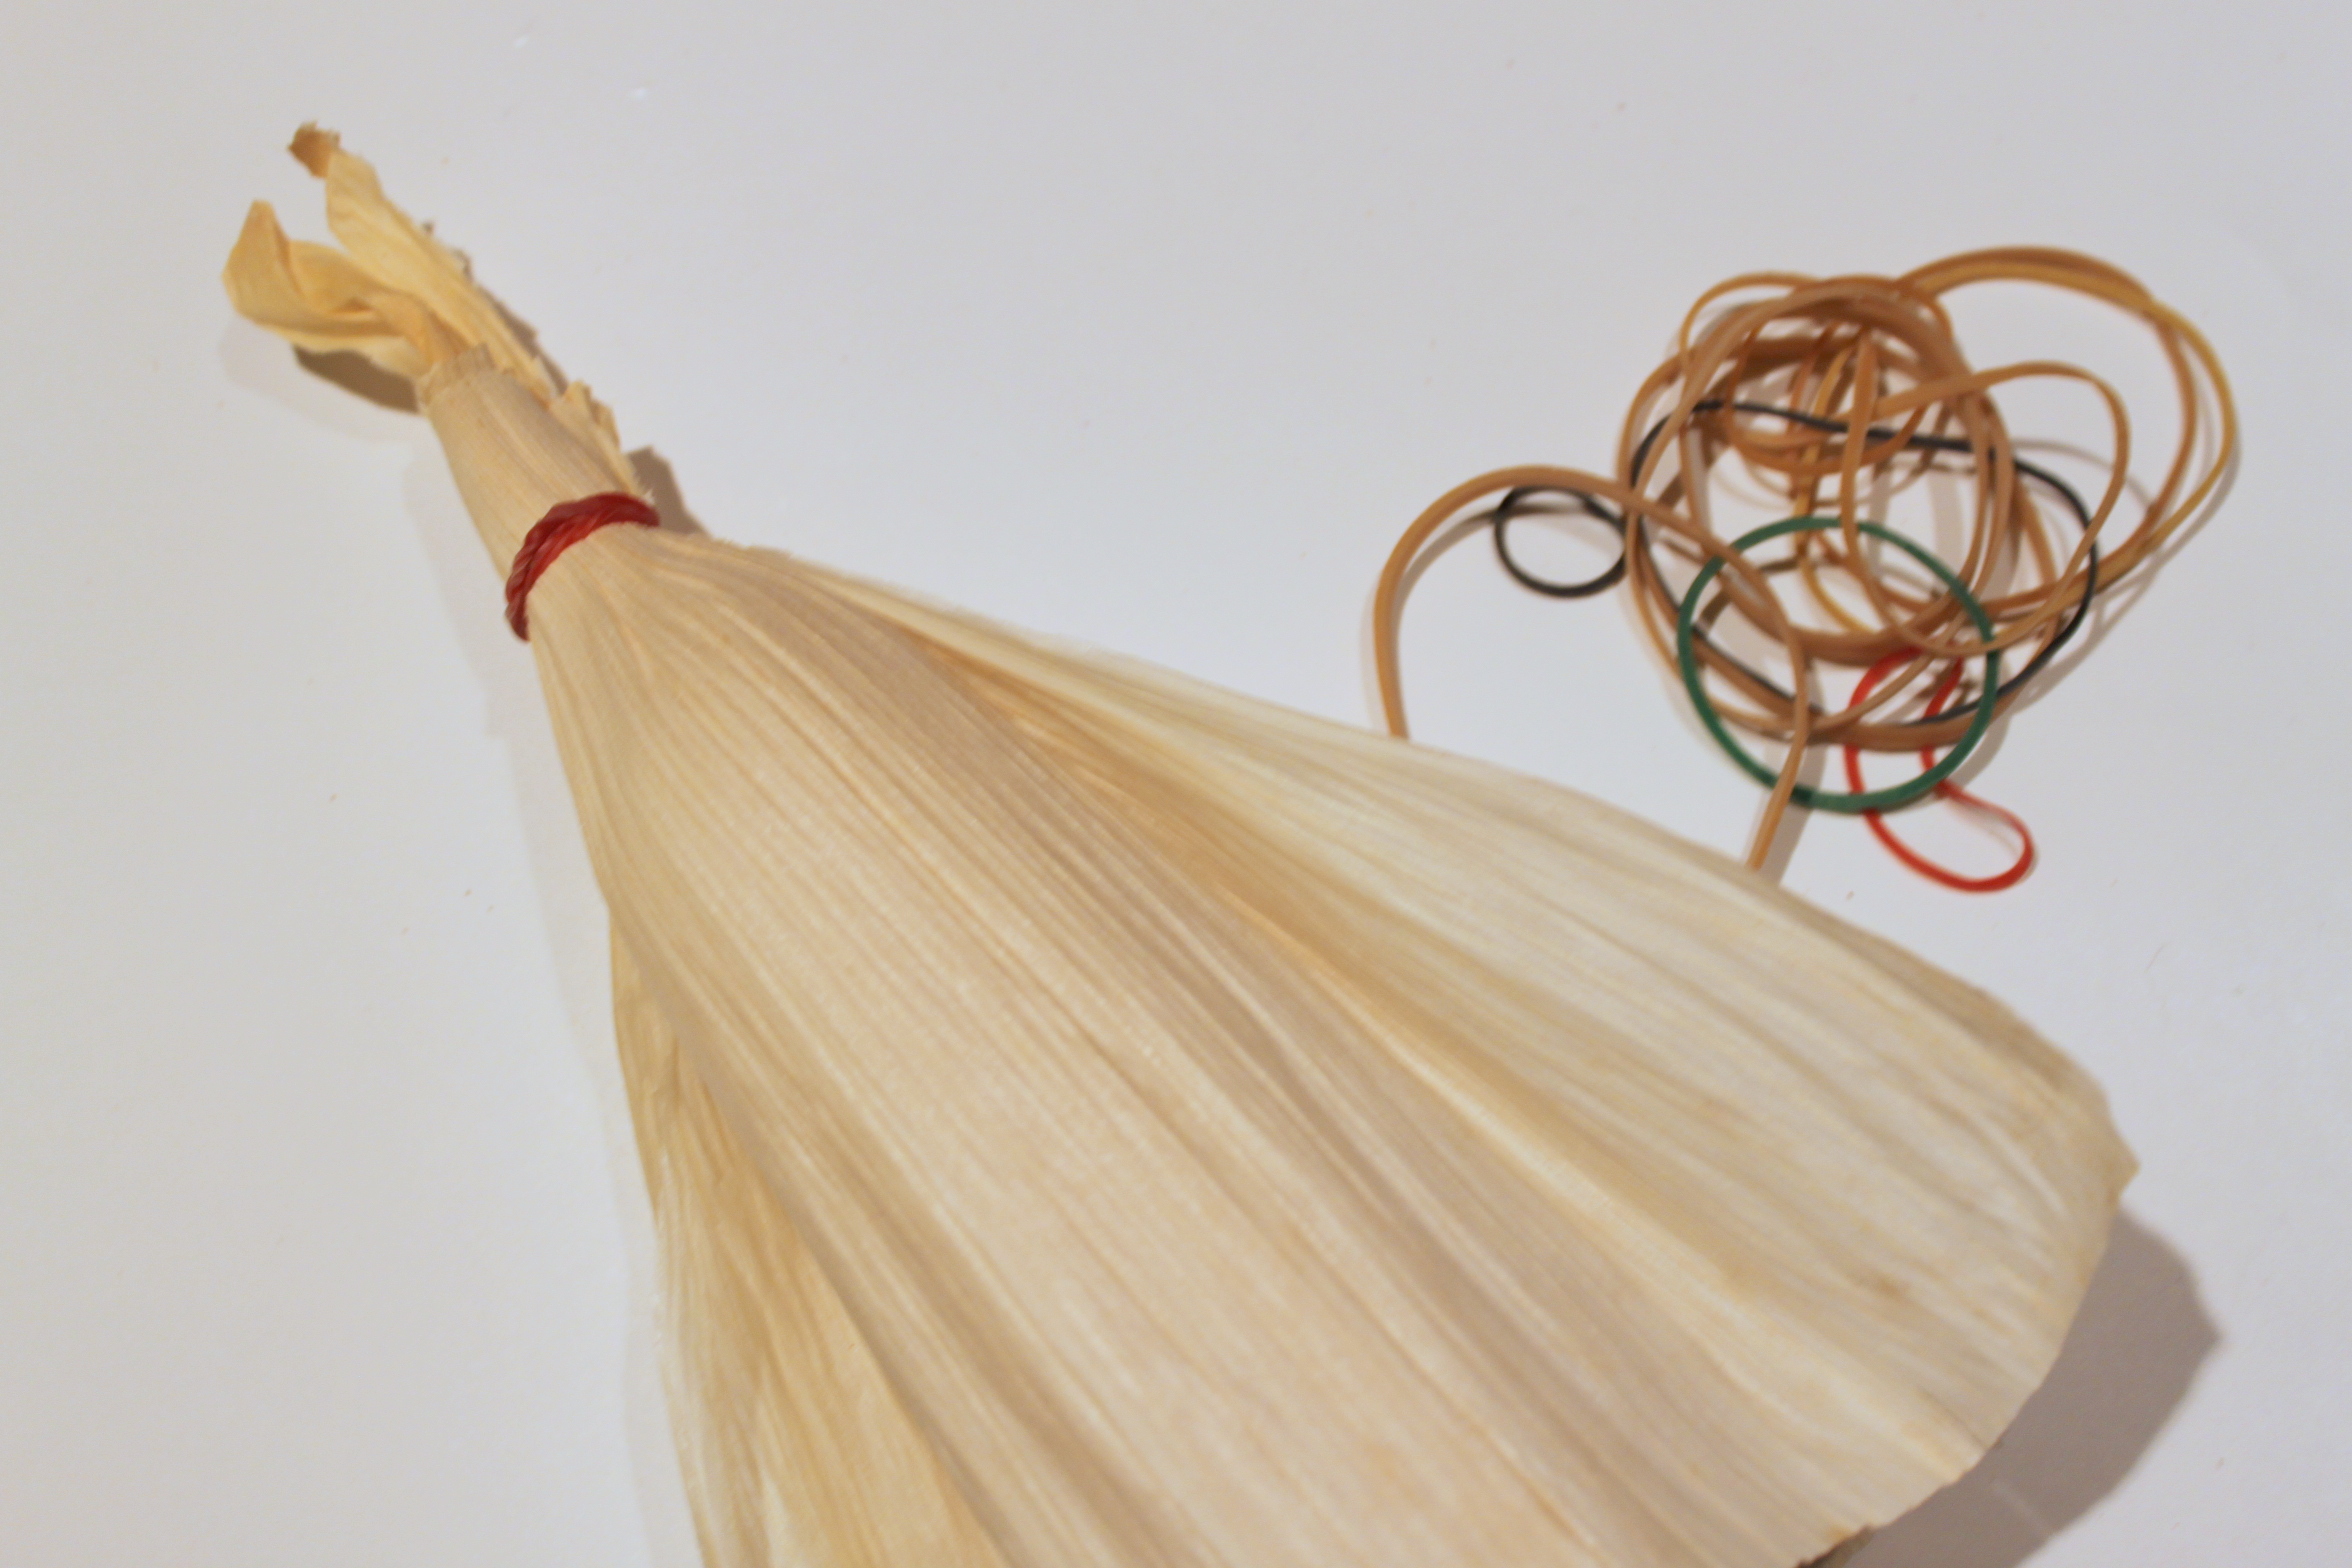
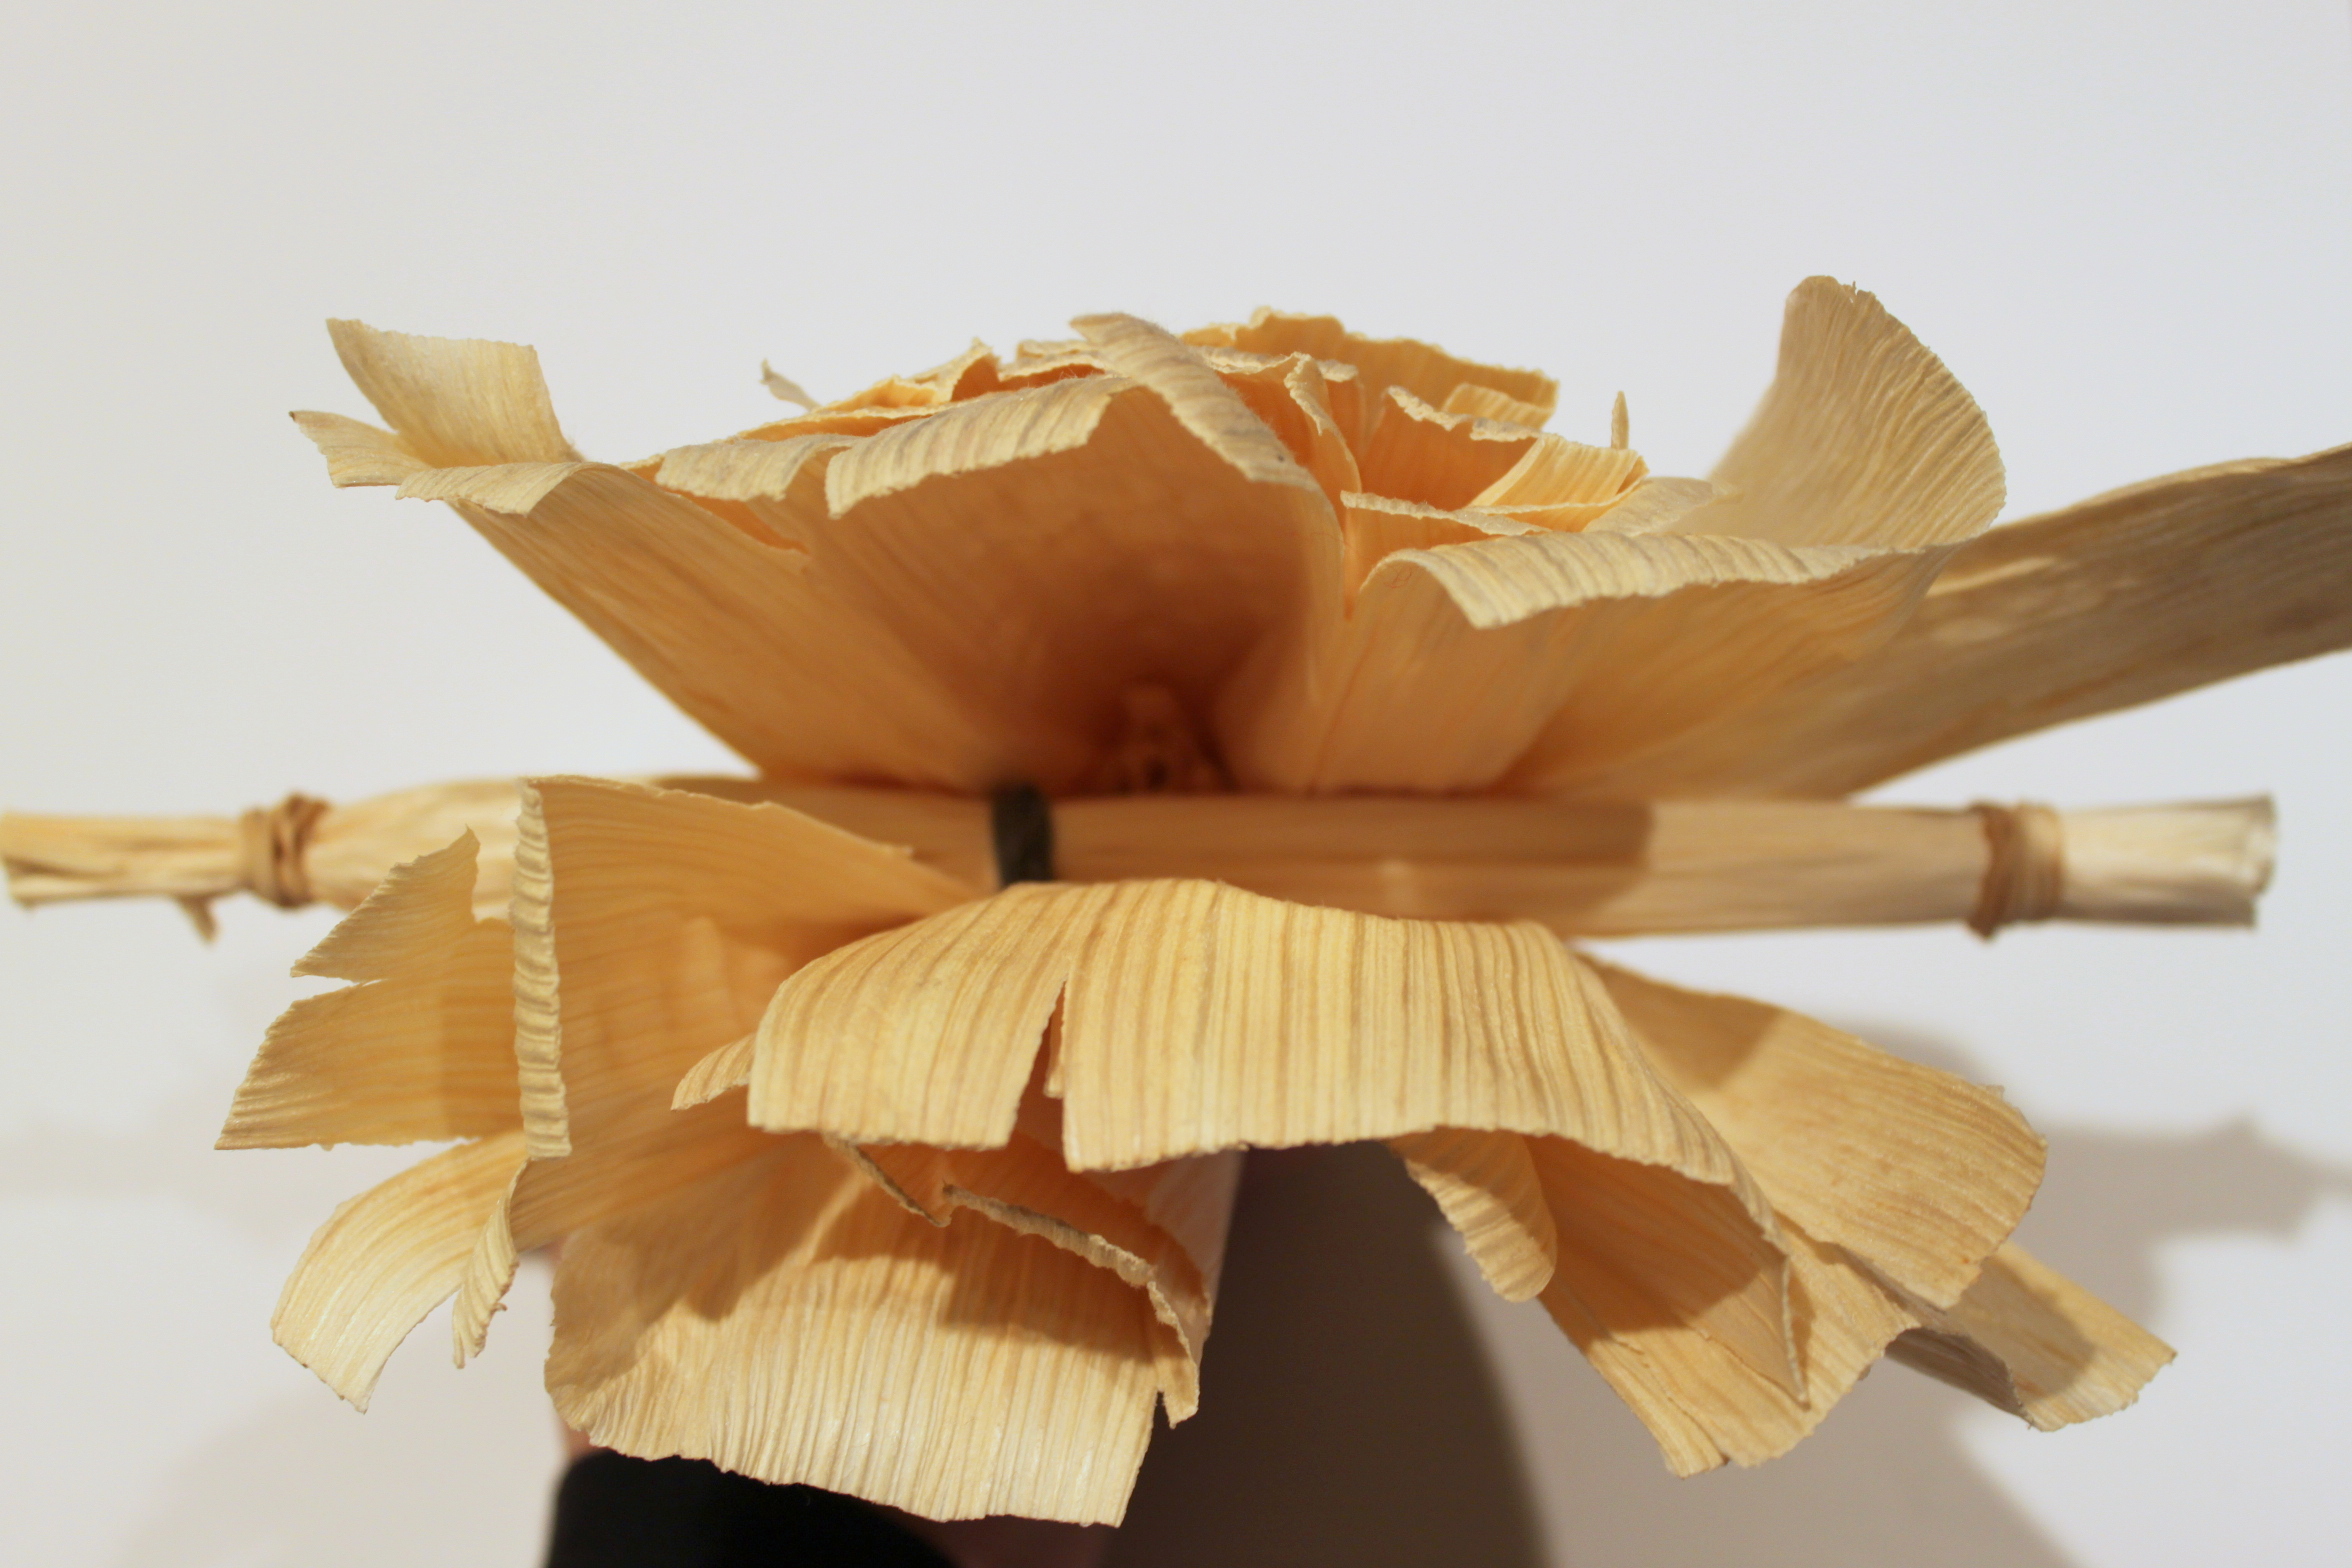
First, my kids each made stacks of dry corn husks (about 4 to 6 husks). Once they counted out their husk,s I wrapped a rubber band around the top.
Step 2
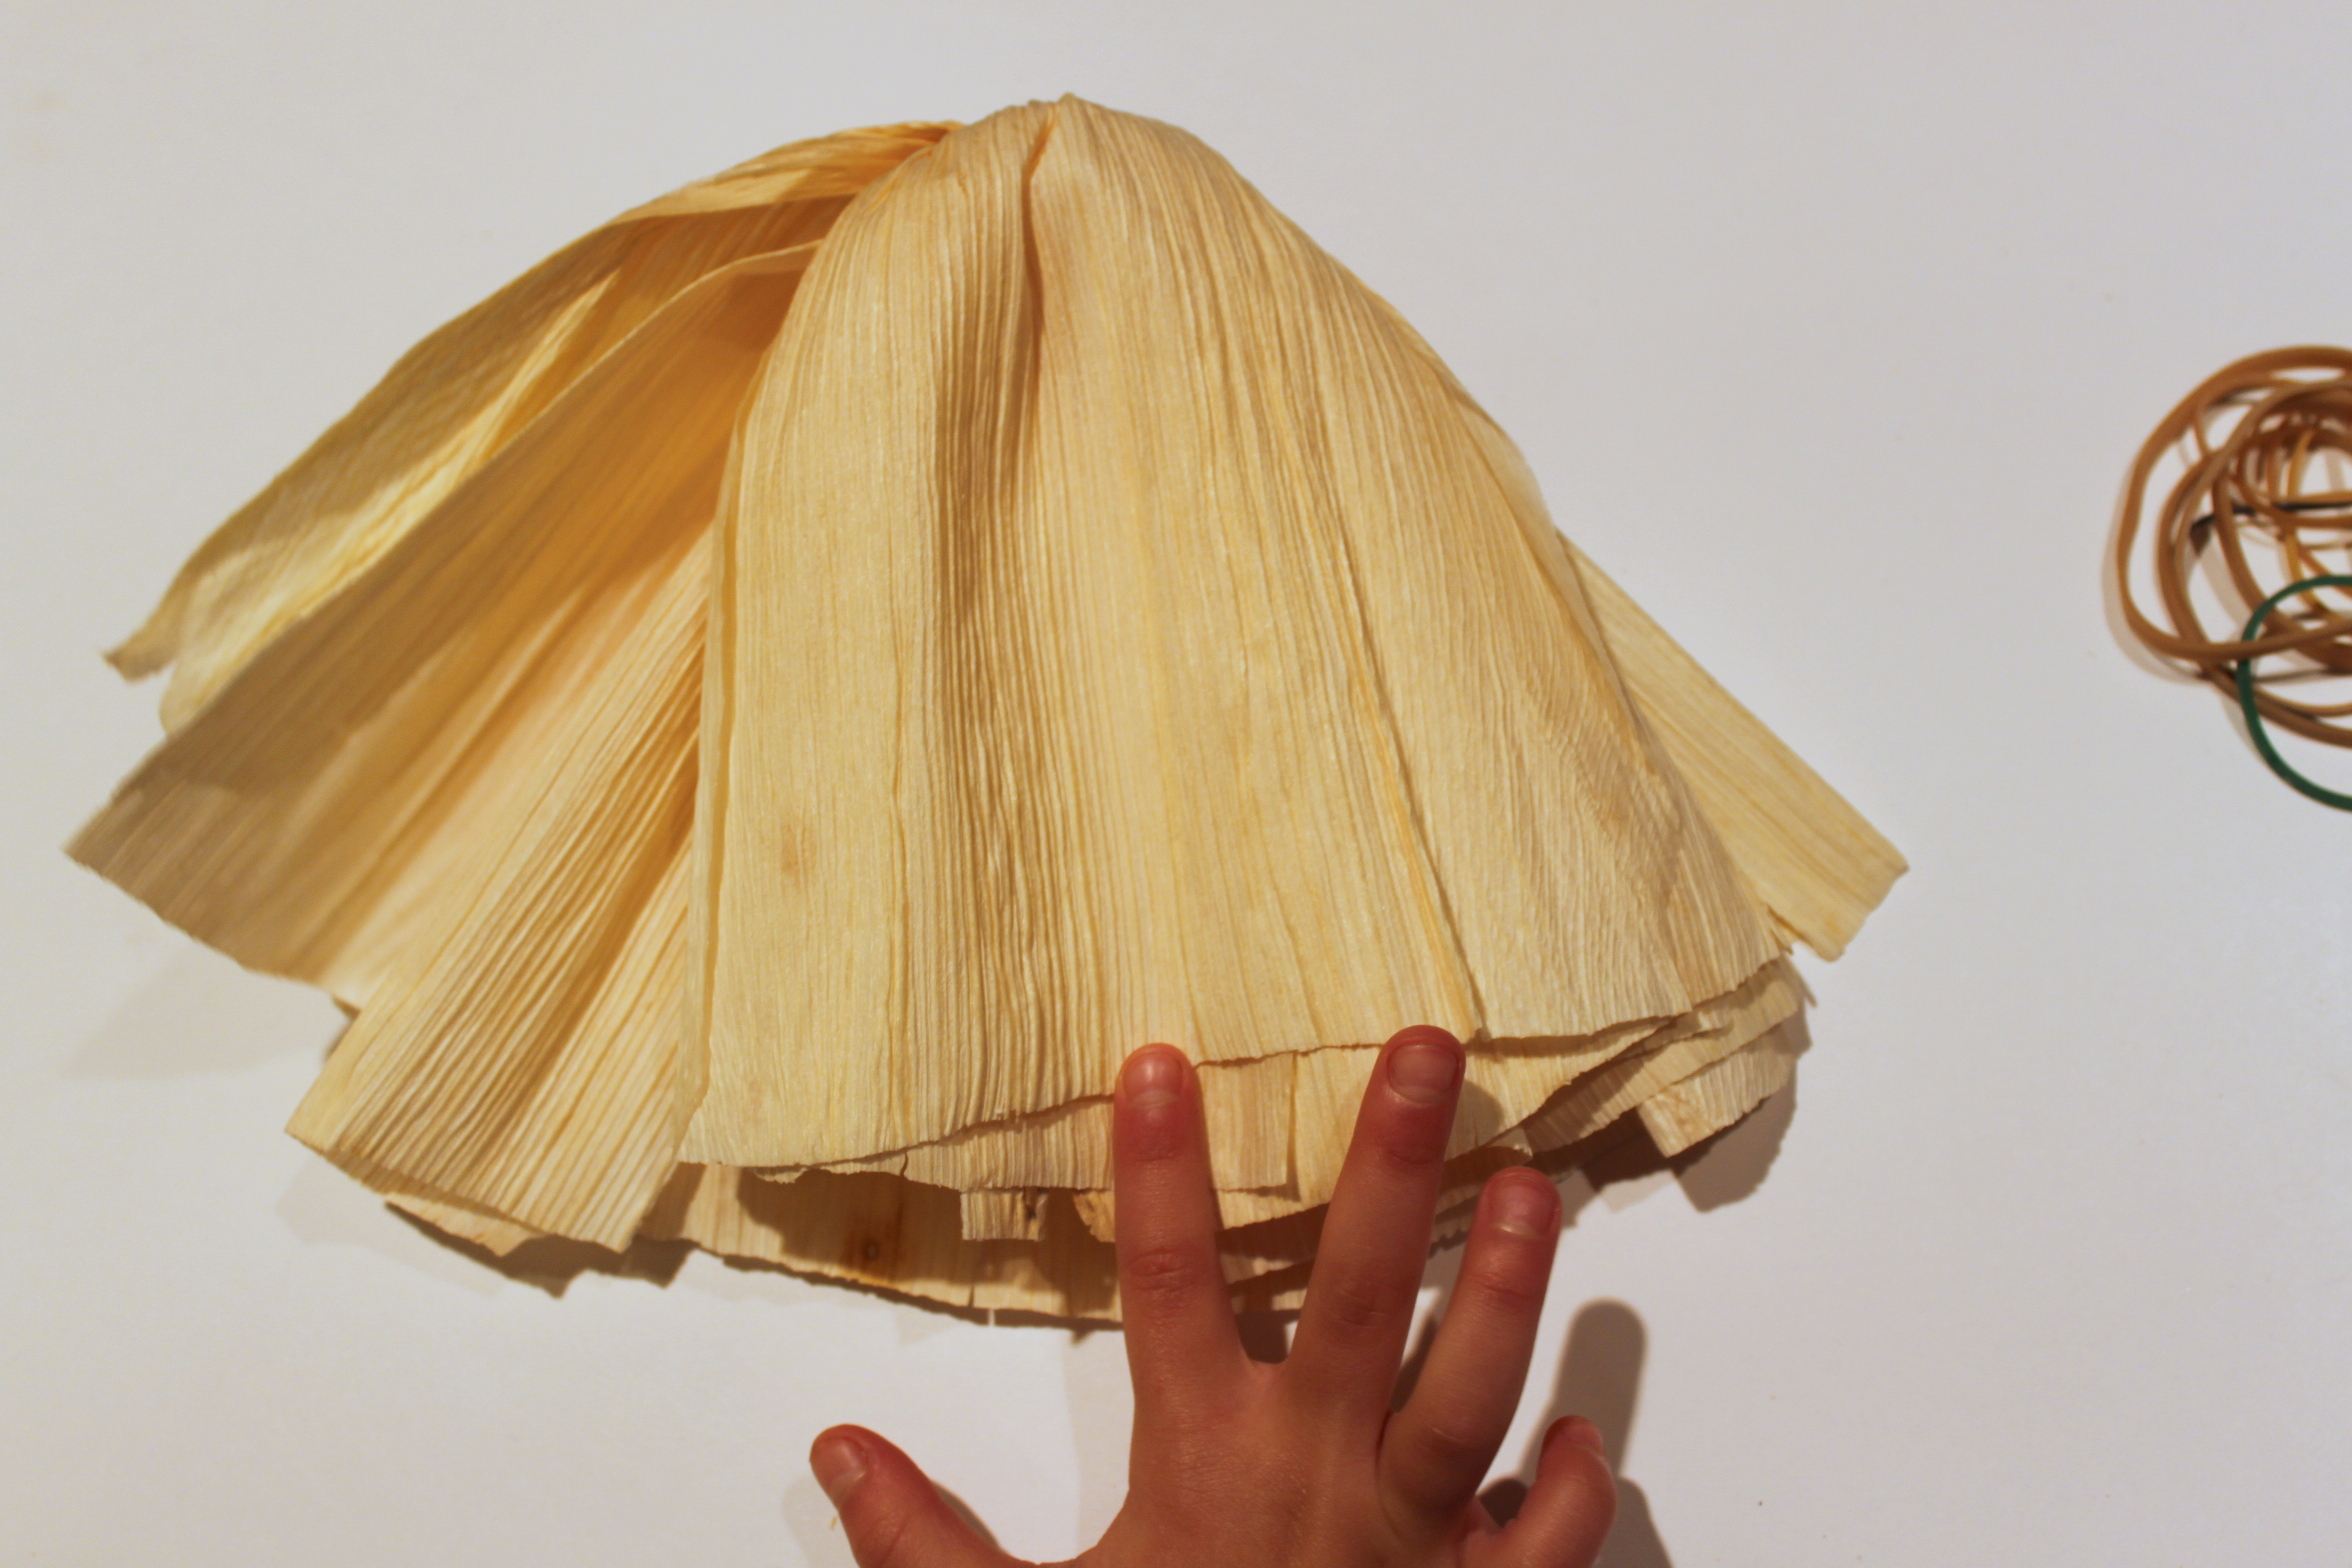
The kids each took their dolls-to-be, then flipped over the husks to cover up the rubber band. The rubber bands held the husks snugly, so the kids were able to easily do this step.
Step 3
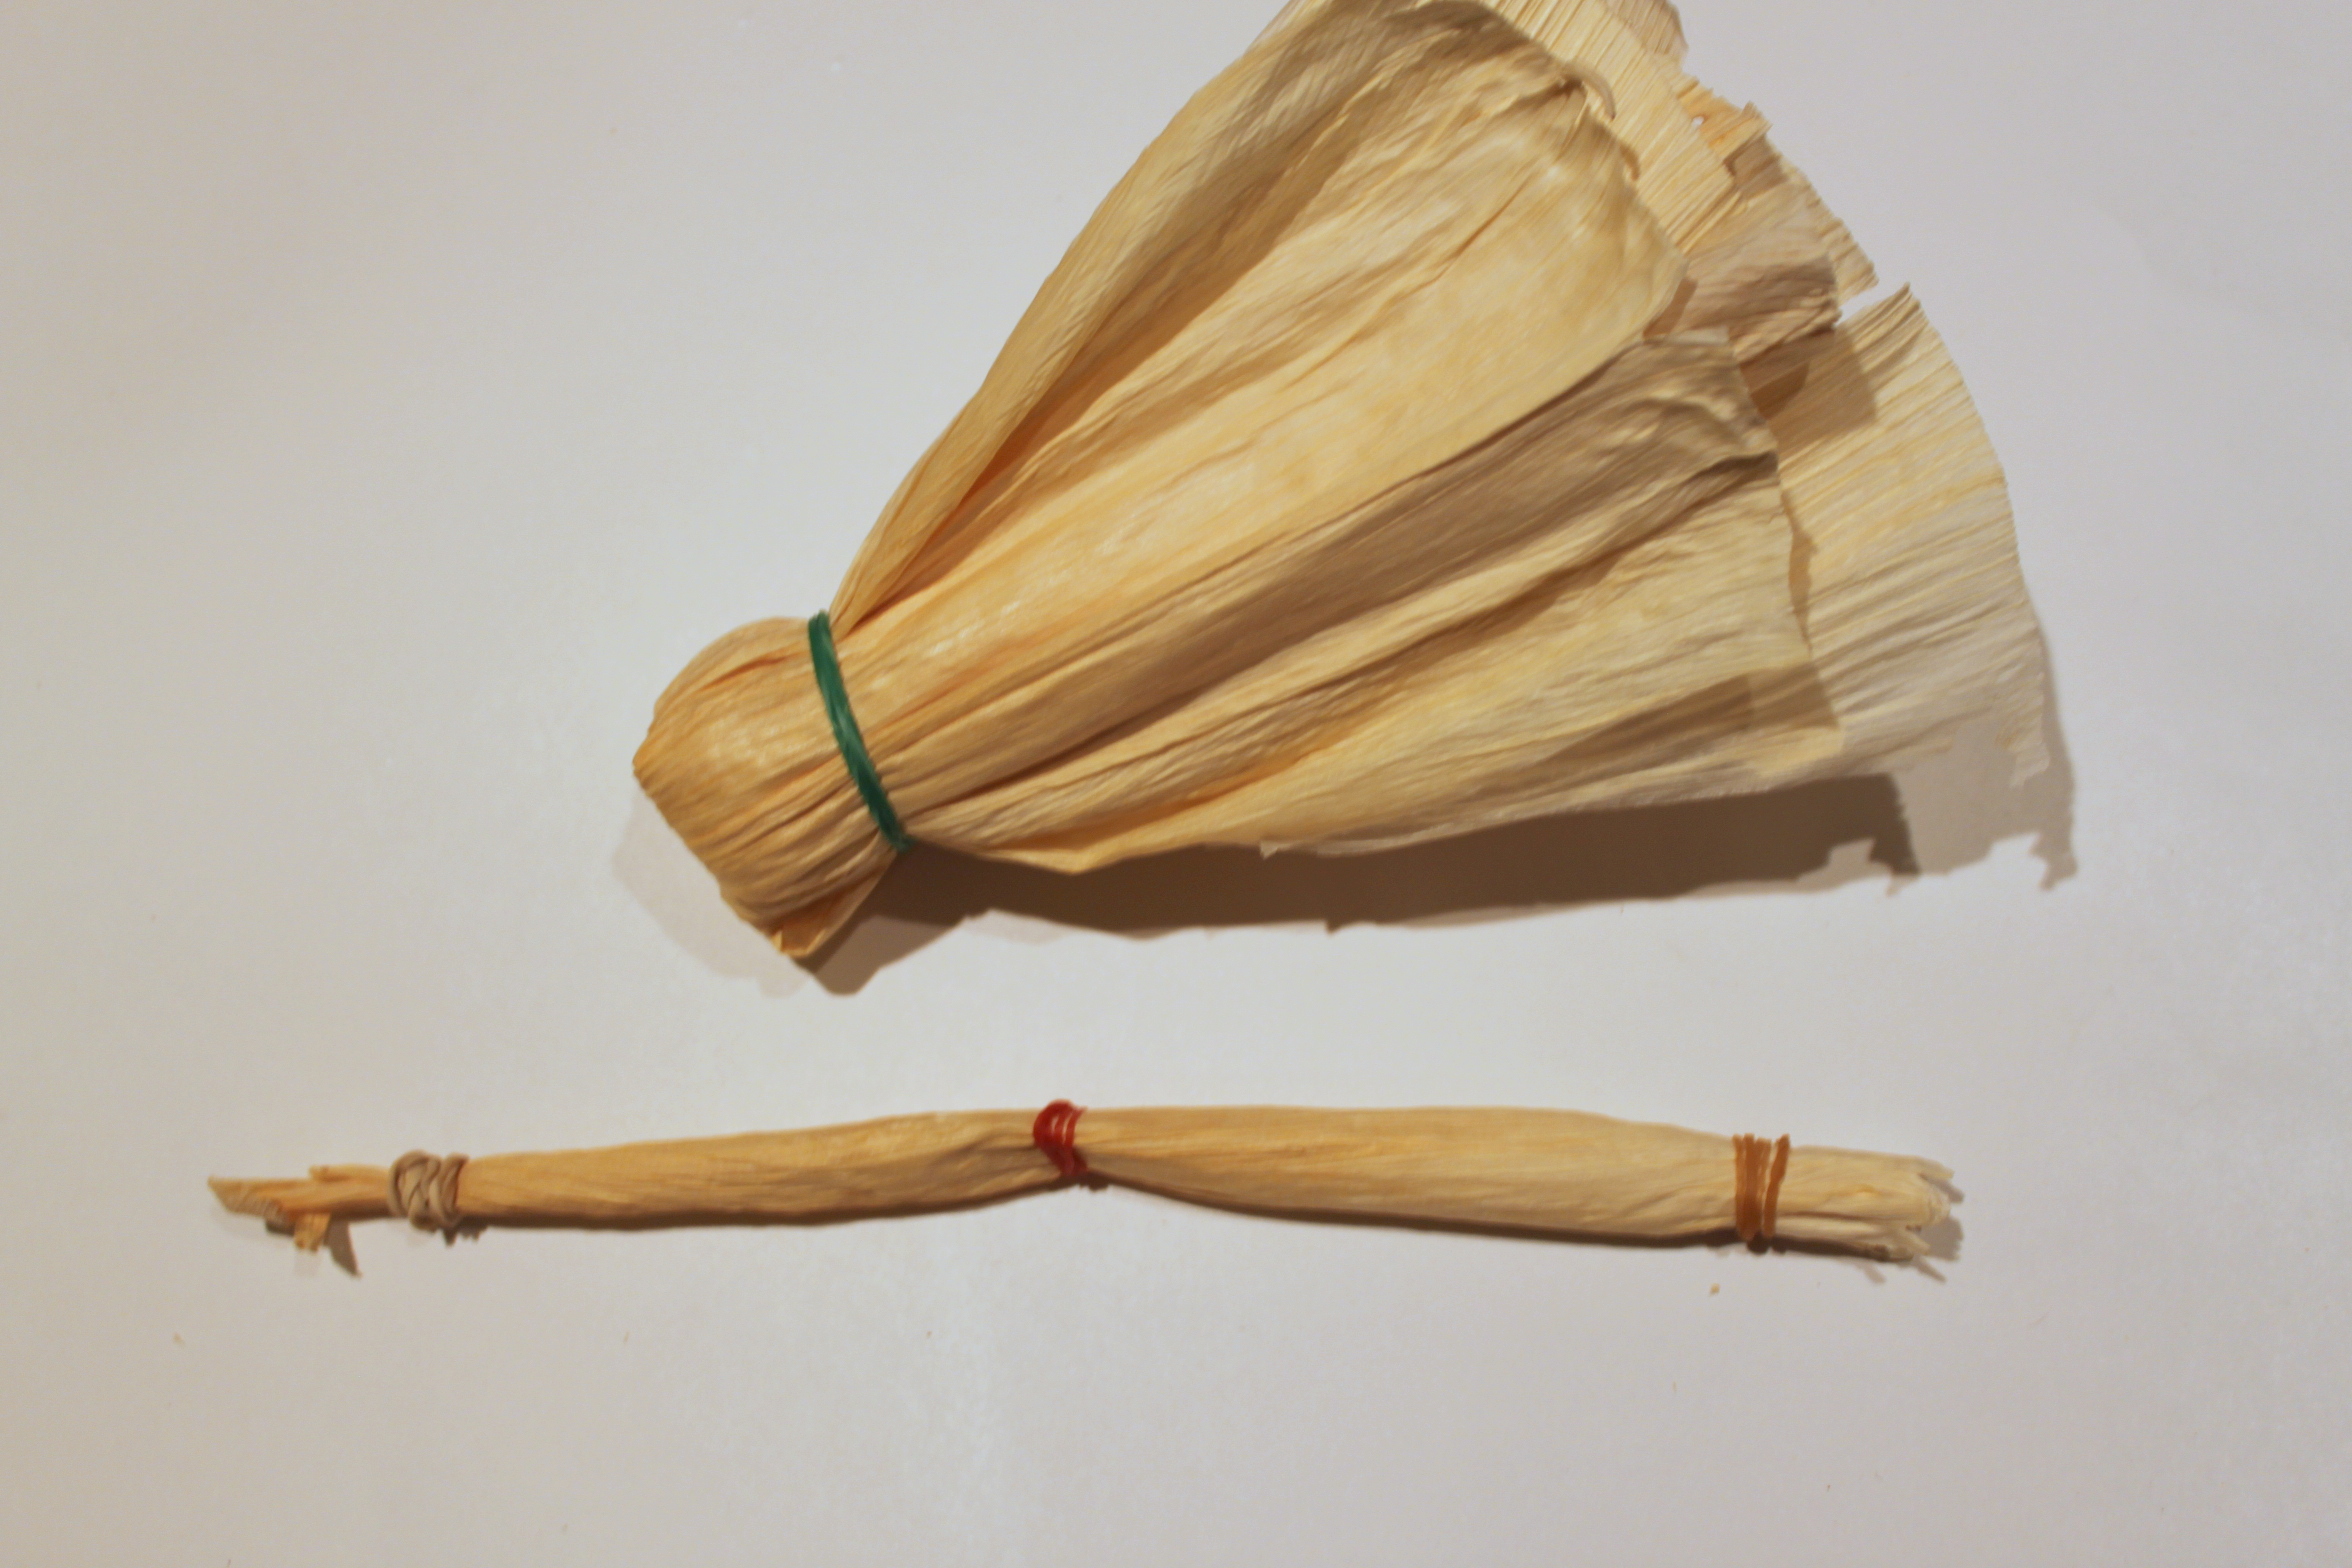
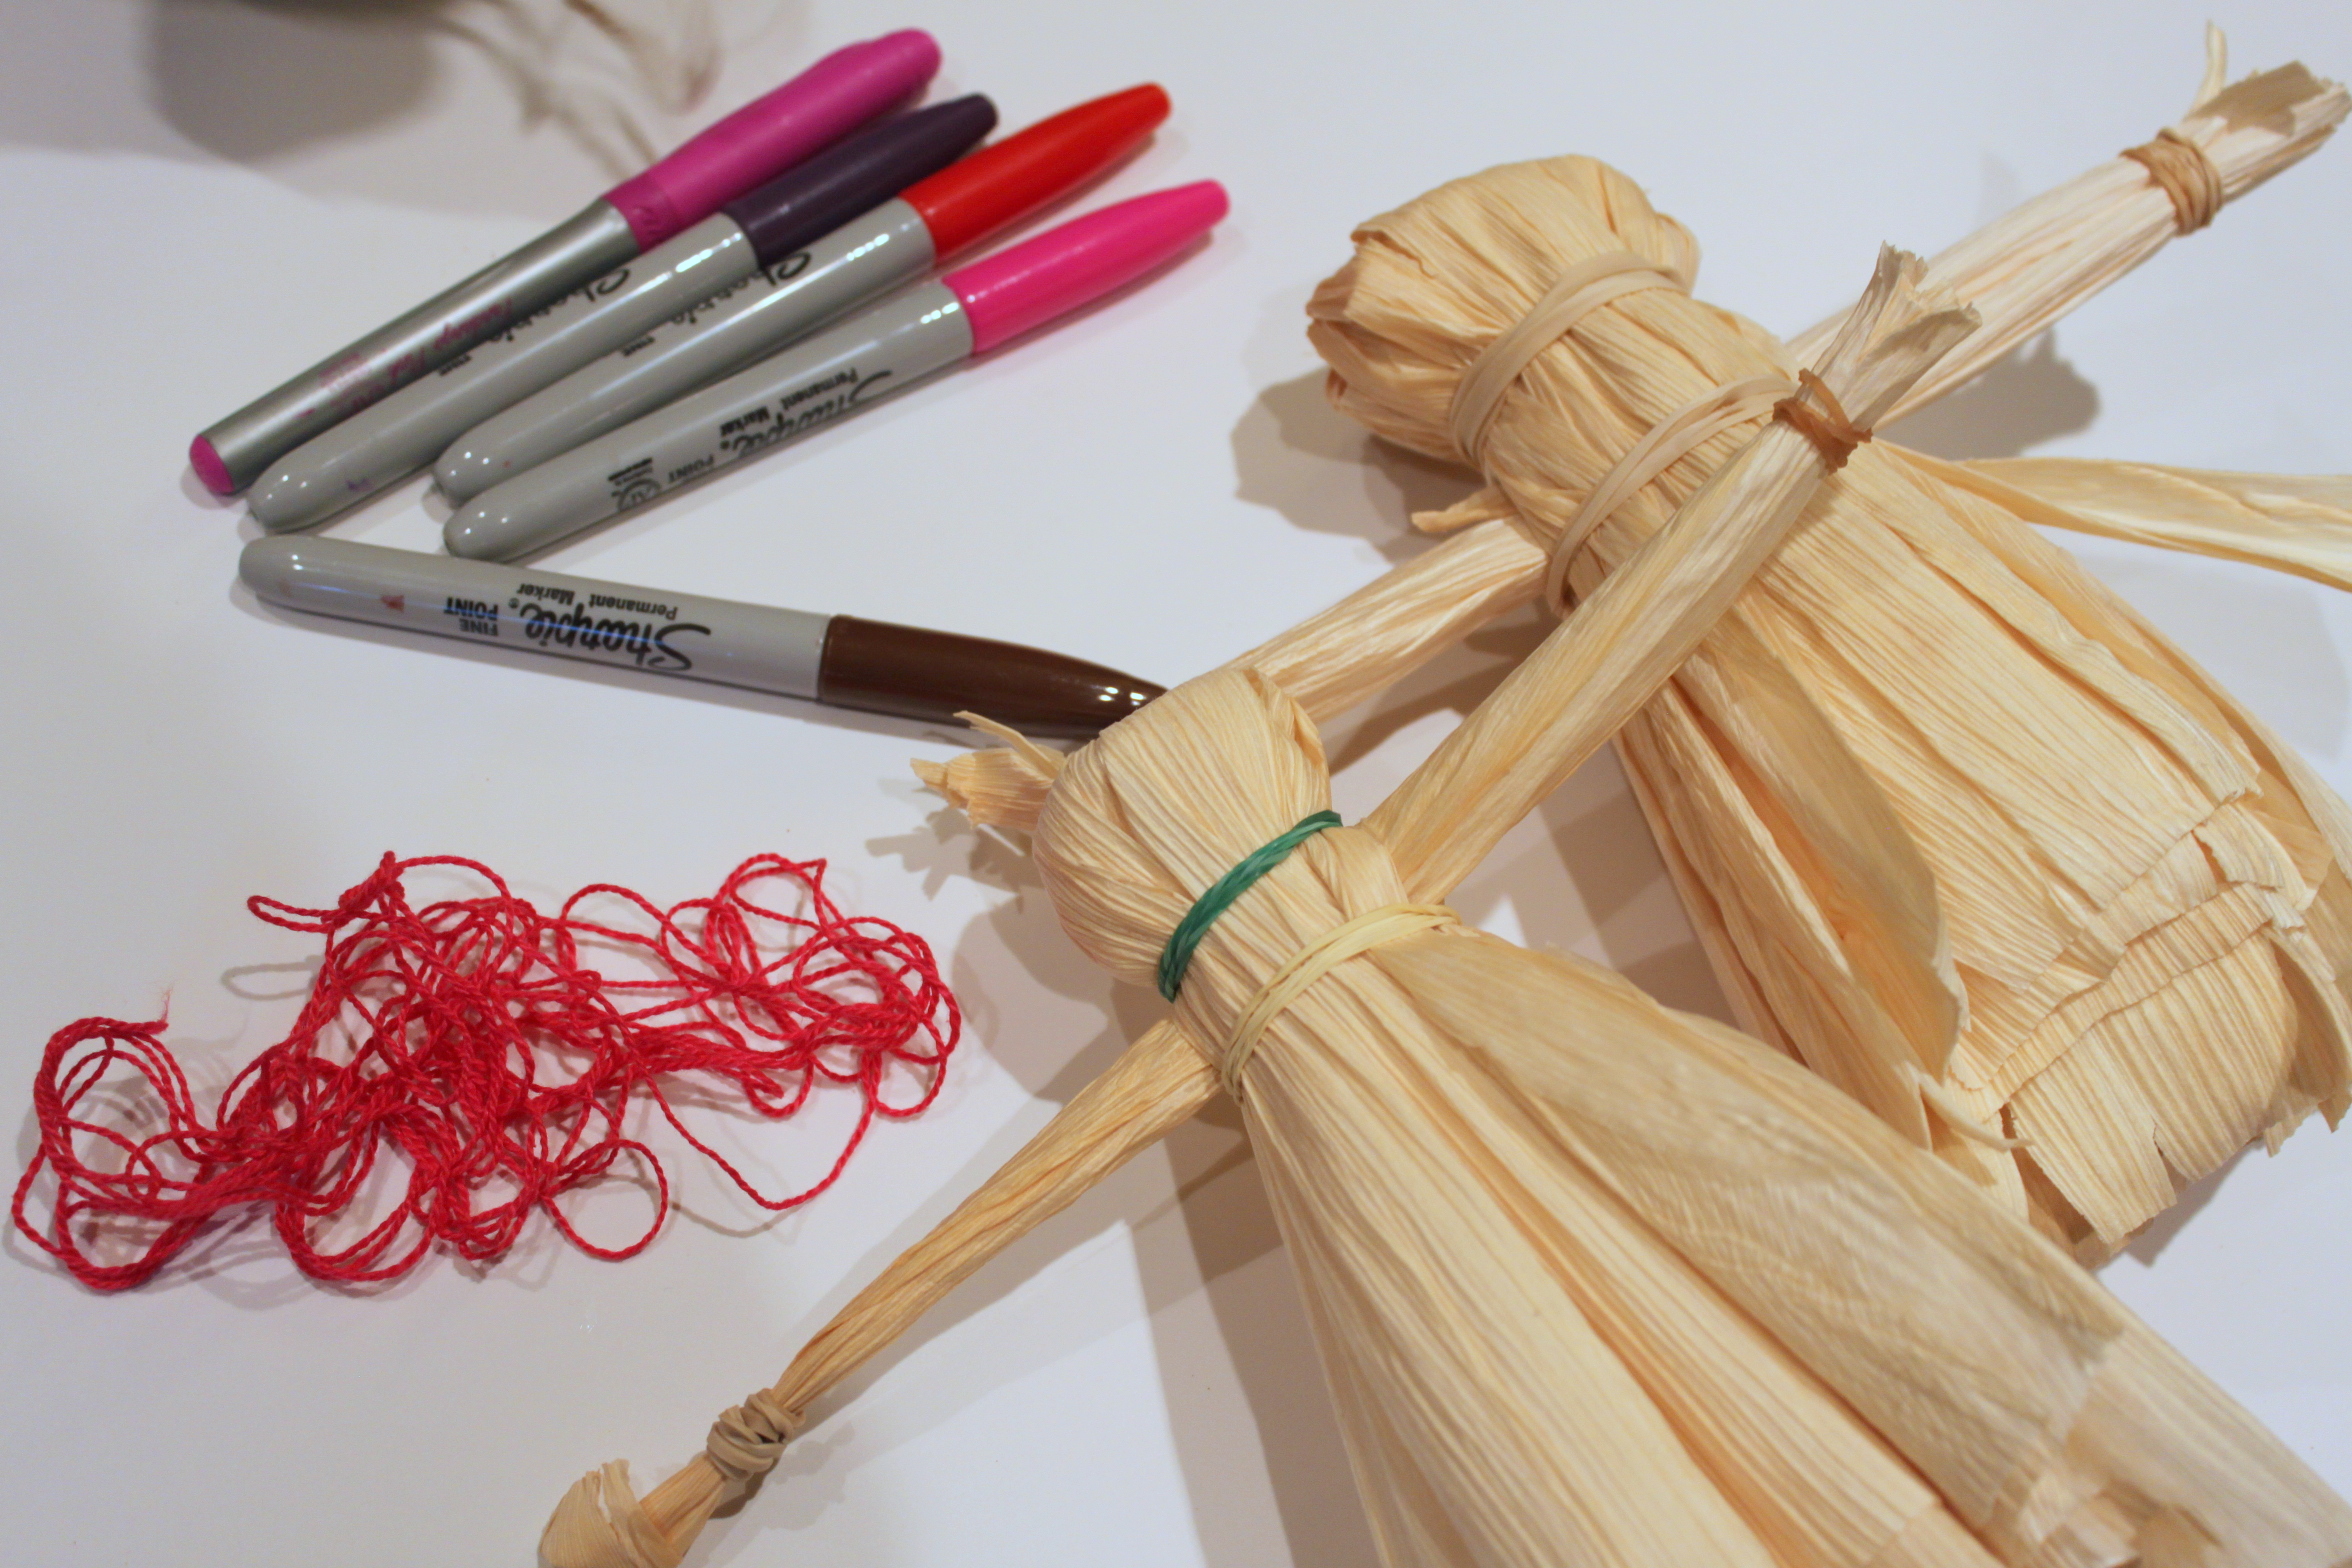
Once all the layers were folded over, I added another rubber band to create the head. While I was doing this, each of my kids rolled an additional corn husk to become arms. I put three rubber bands on the arm rolls (one in the center and one on each end to create hands).
Step 4
We separated the bottom of the doll and placed the arm roll as high as we could up next to the doll's head. I placed one more rubber band around the doll body right under the arms.
Step 5
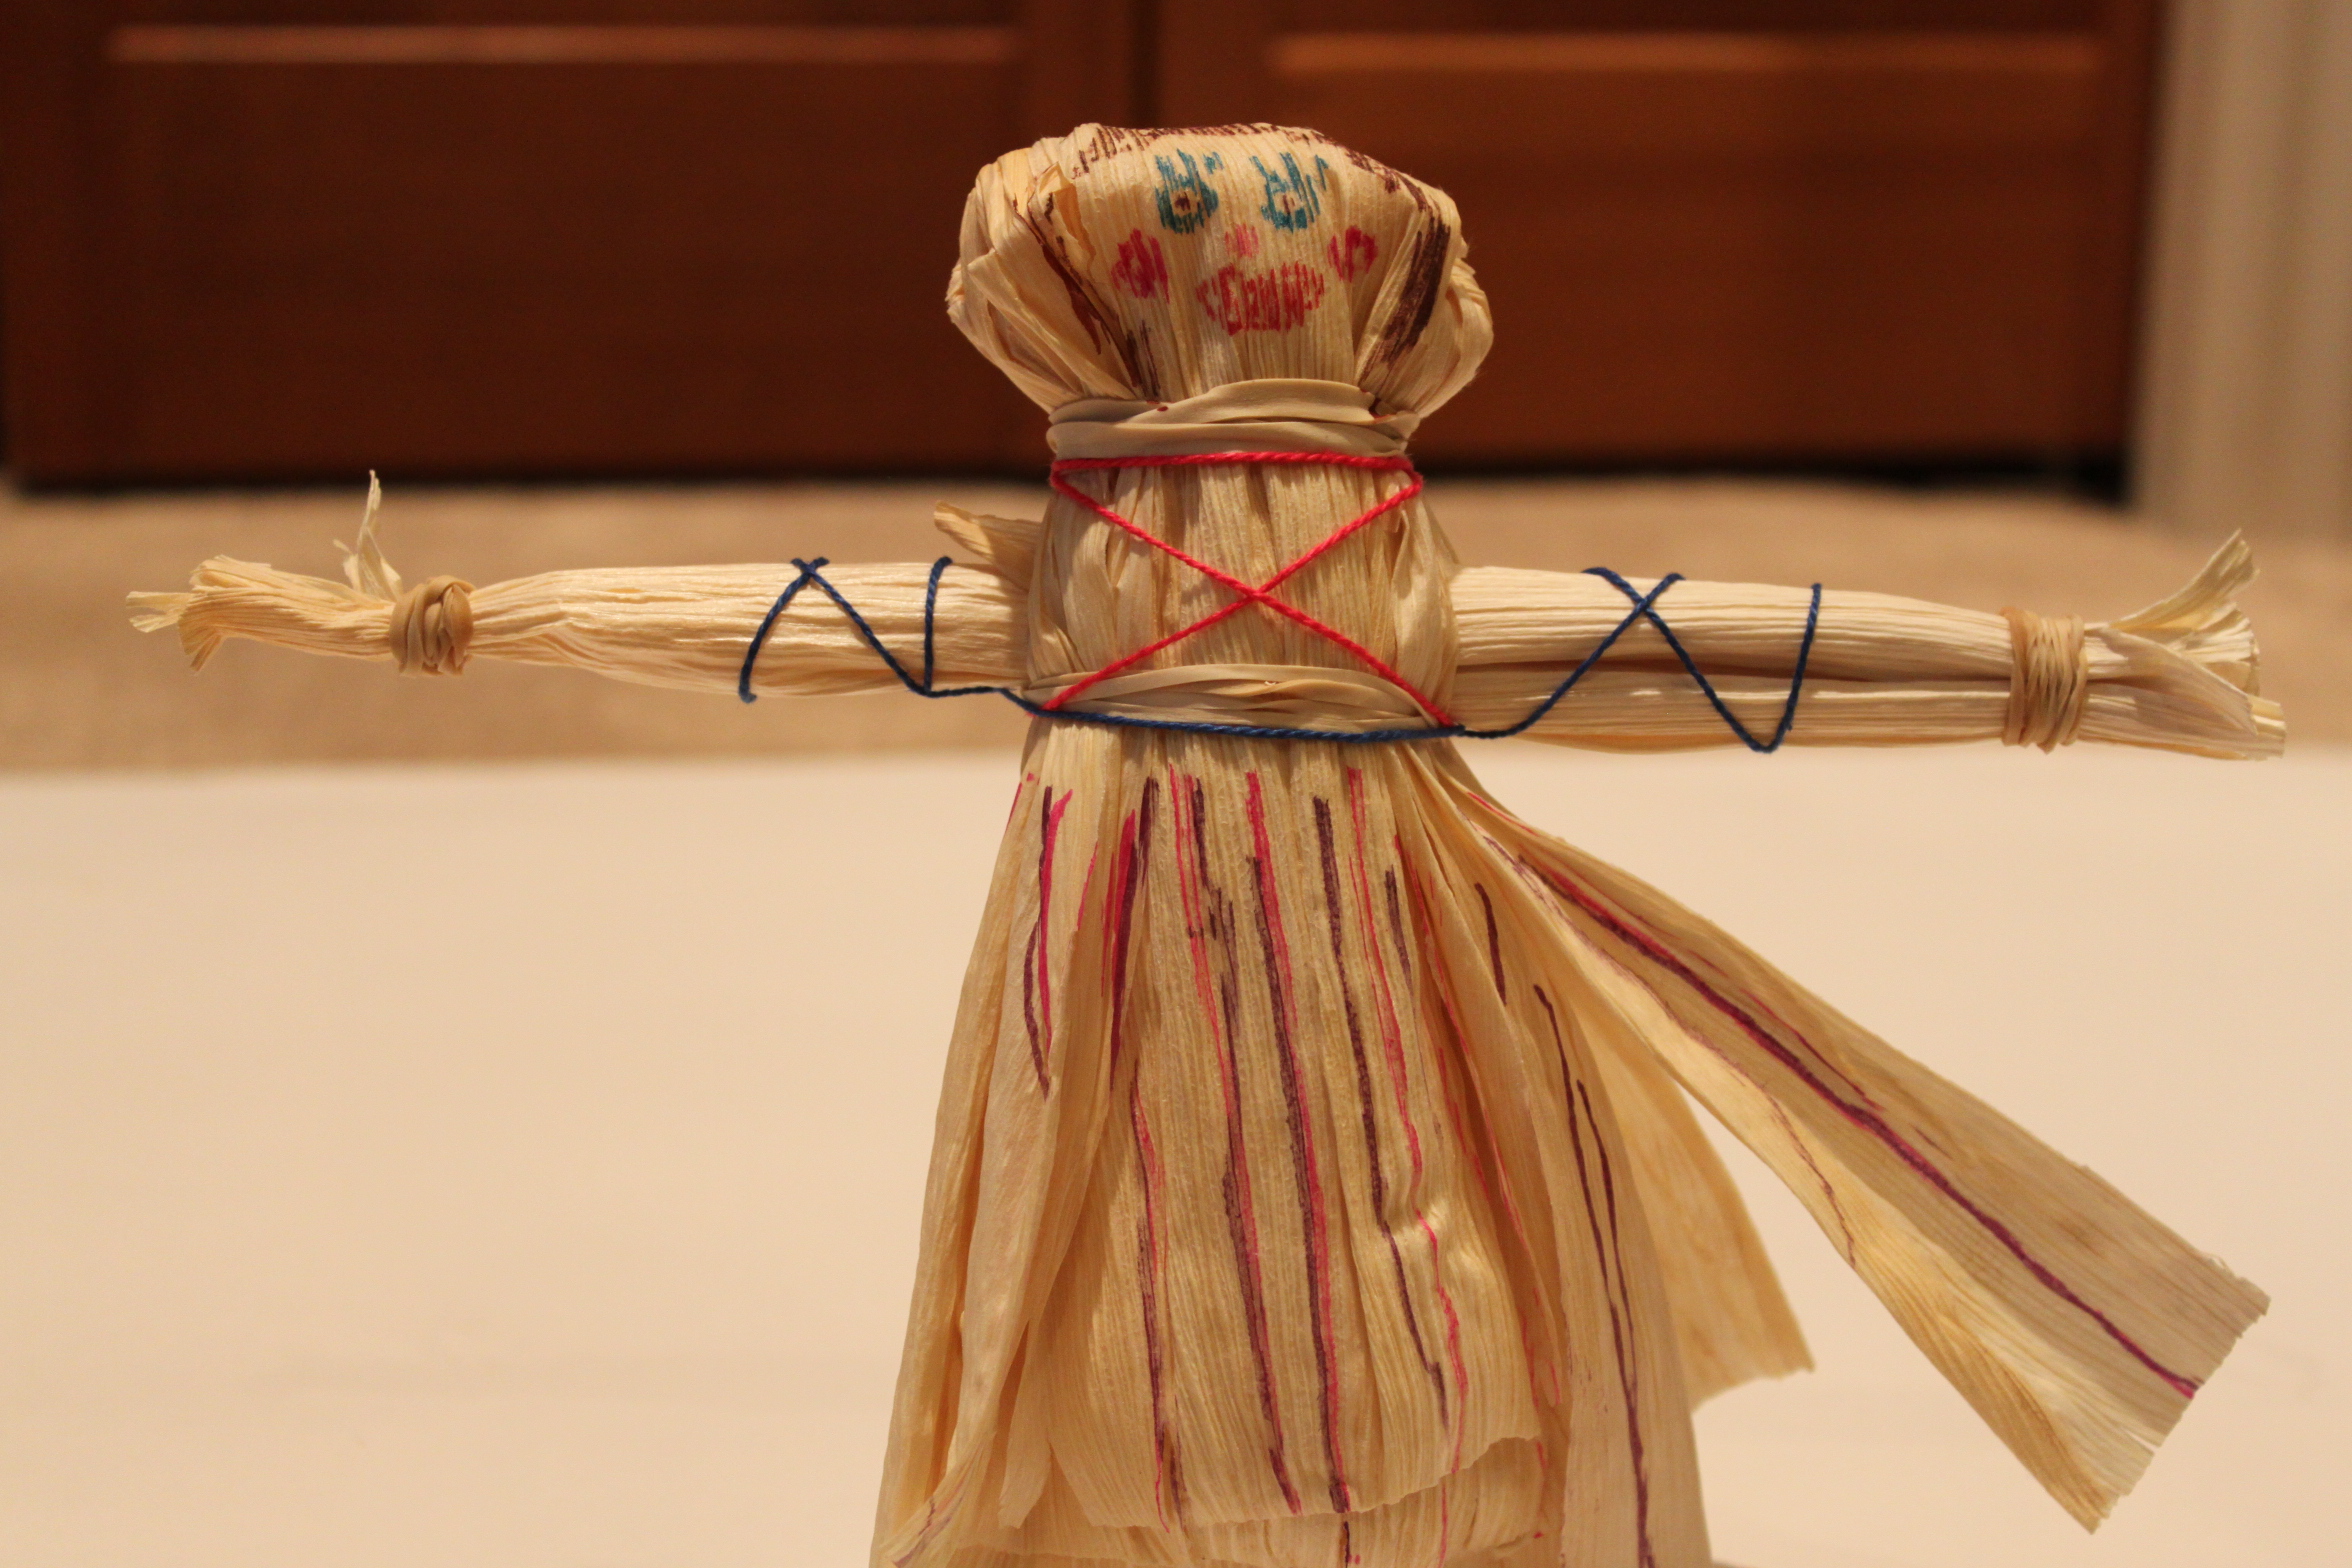
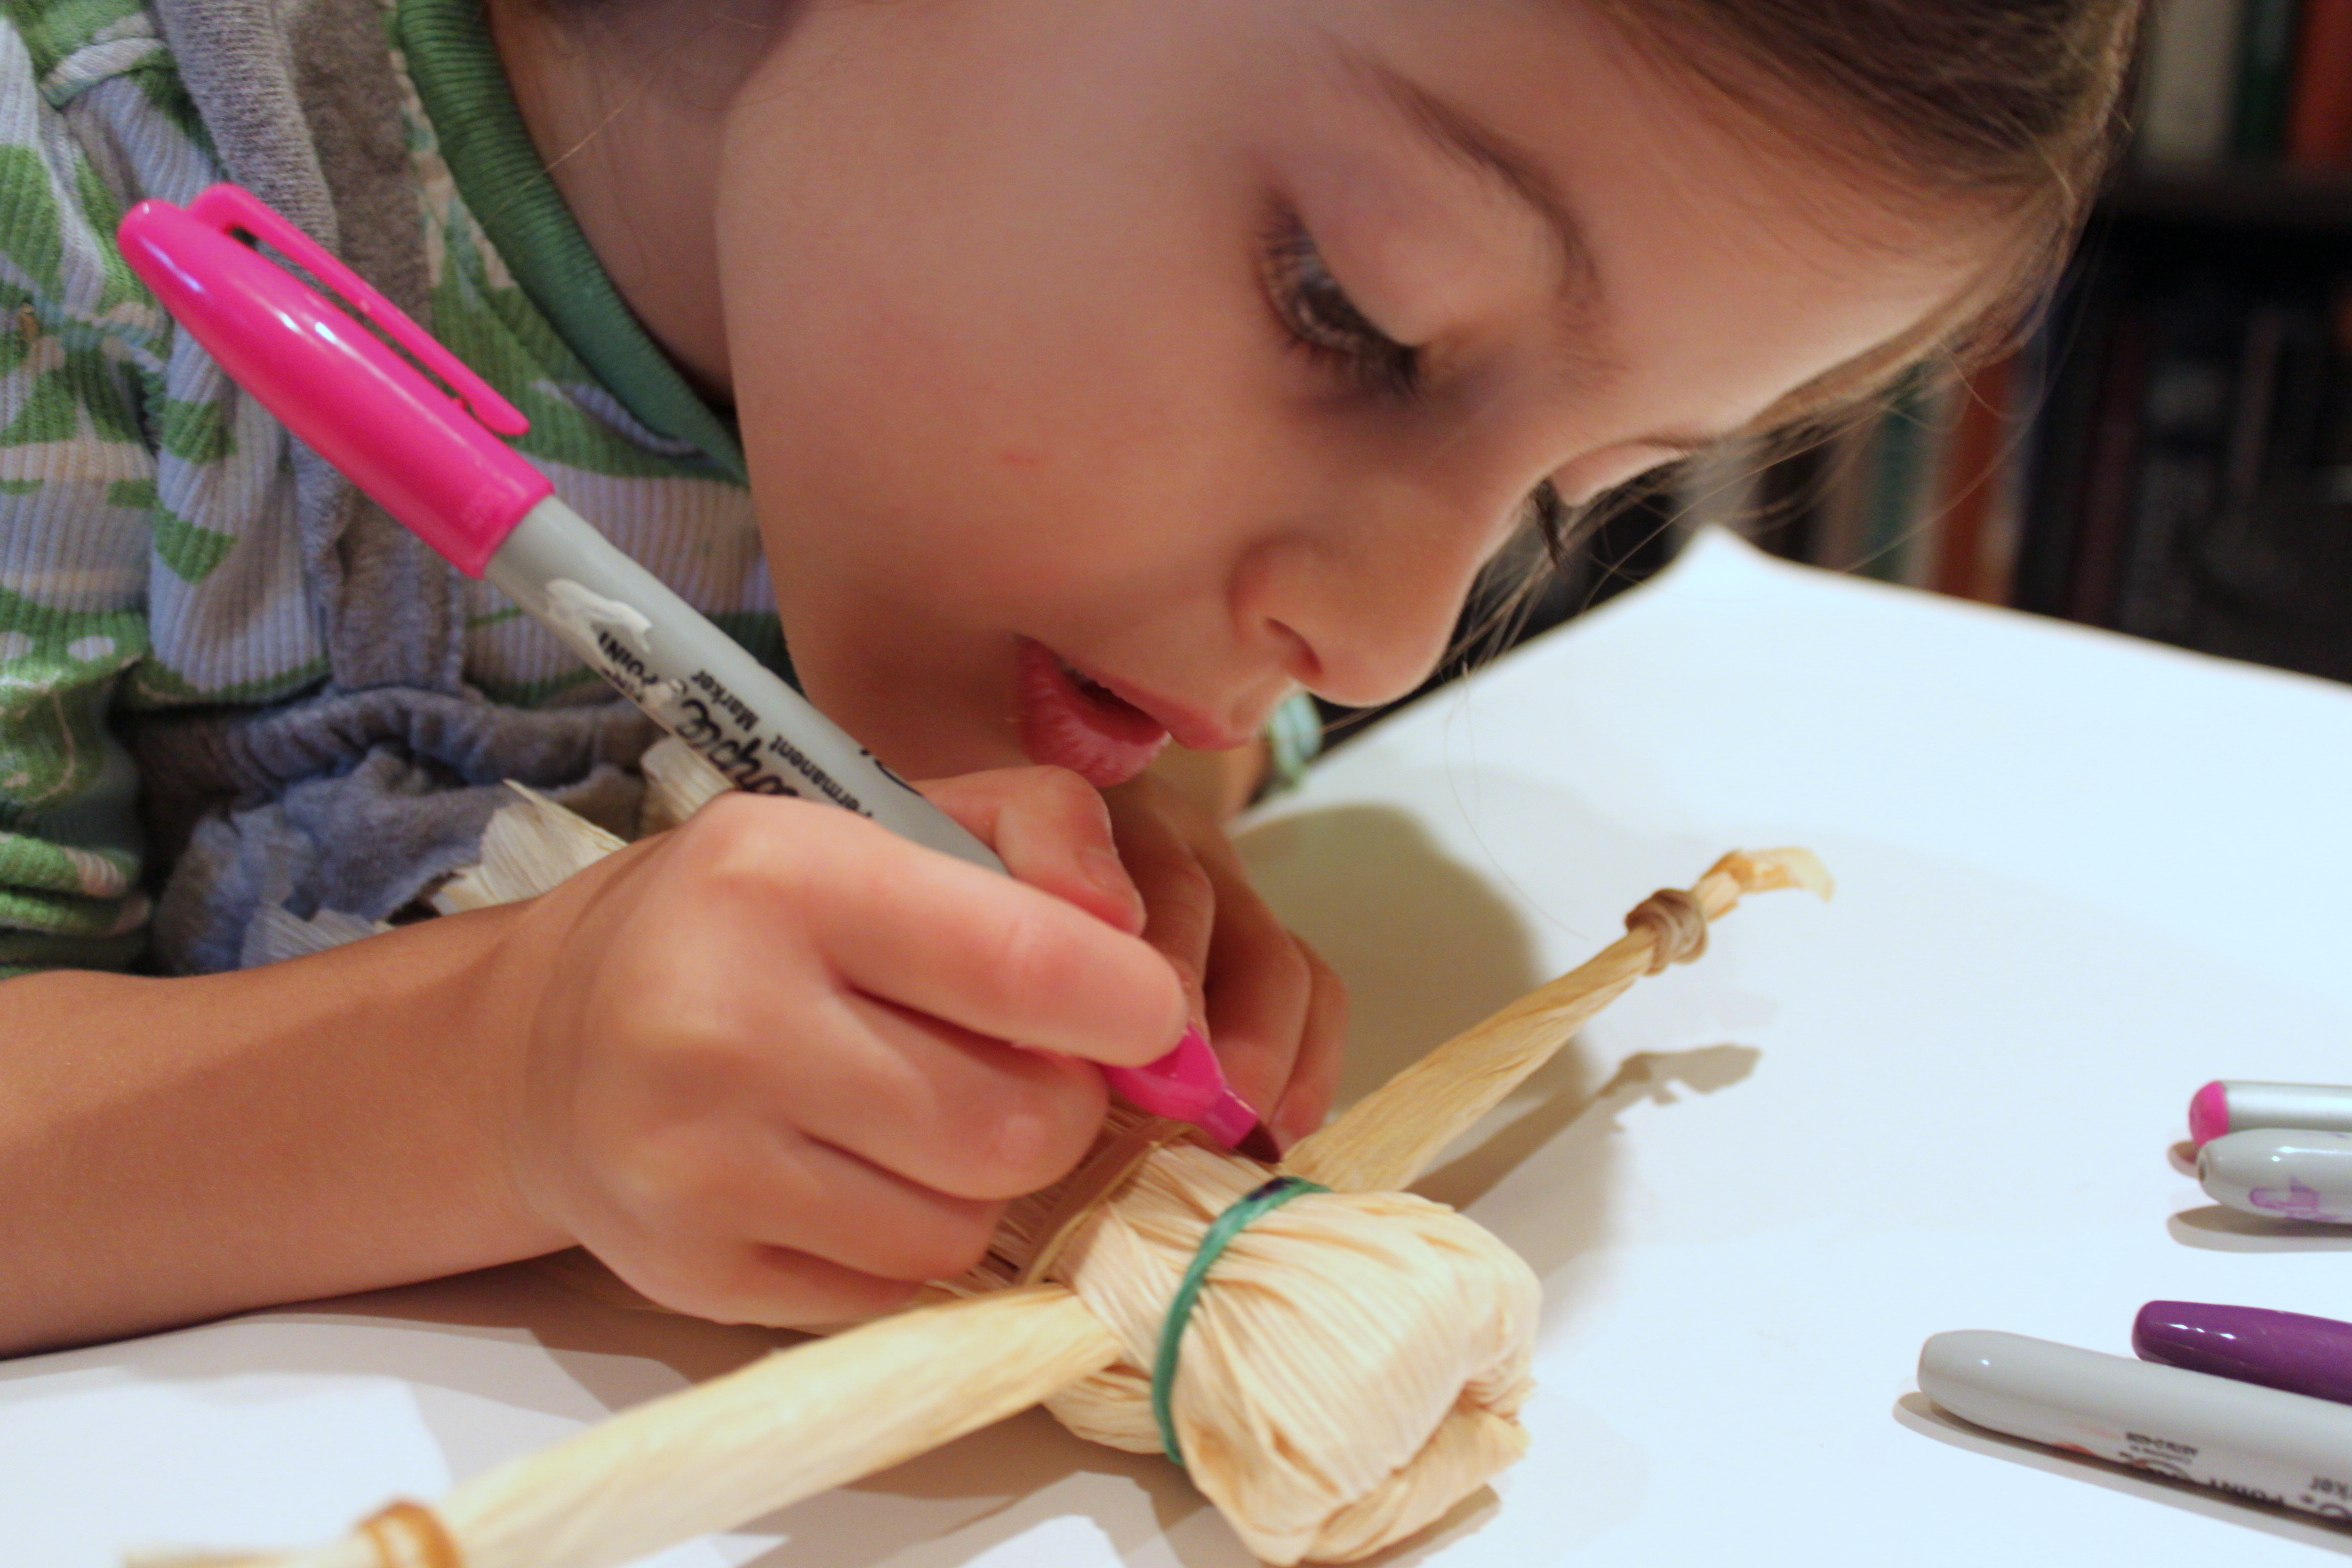
Now that the dolls' bodies were ready, the kids used string and markers to decorate the dolls.
Step 6
My daughter enjoyed drawing on each face. We liked the look of brightly colored marker faces added to each.(You could also add some pea eyes or yarn hair.)
Done!
The dolls came out great and, best of all, the kids could play with them all day long with out ever losing a corn husk! Success!


