
Step-by-step tutorial
Step 1
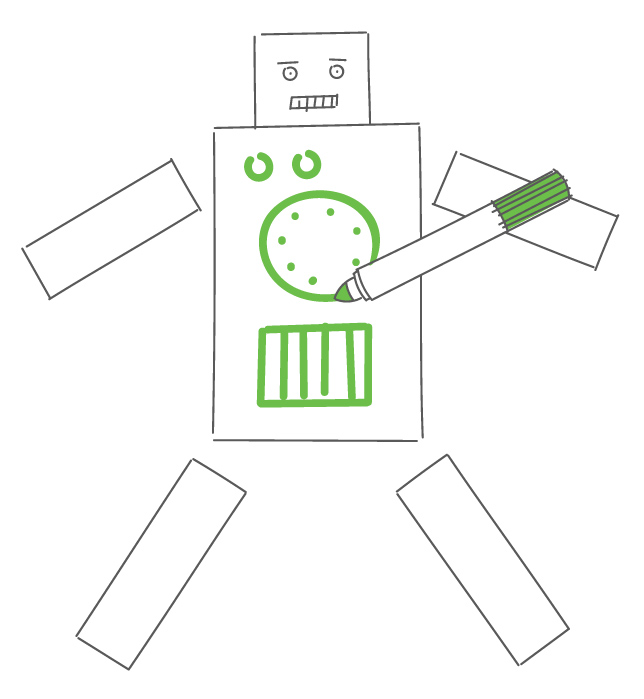
Cut out your puppet’s body, arms, and legs. Decorate however you'd like.

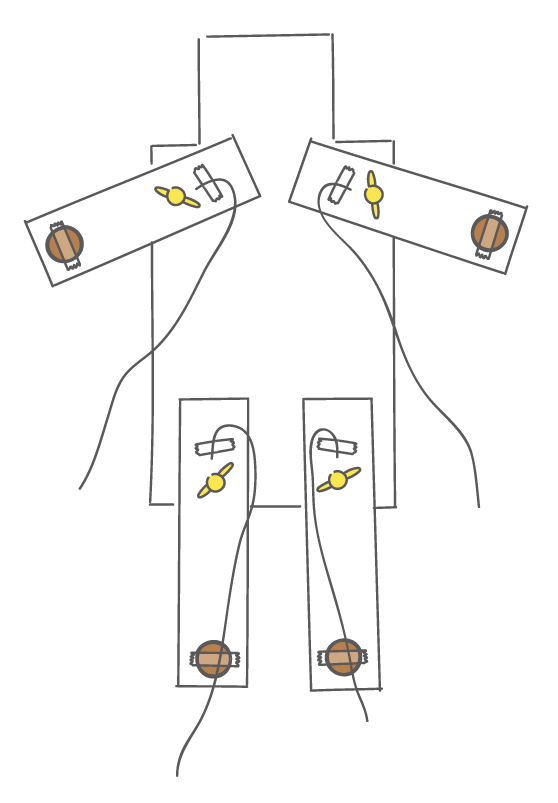
Step 2
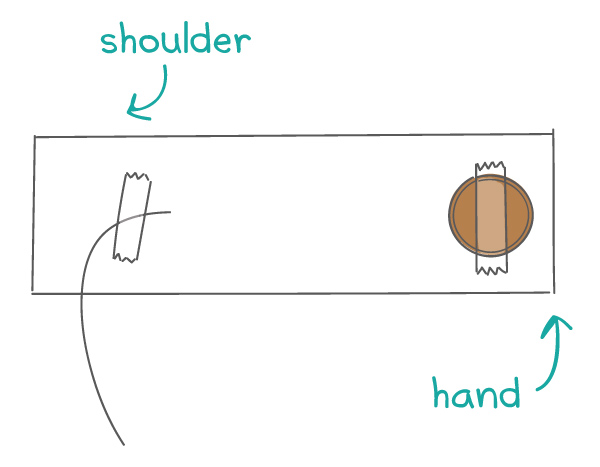
Tape a coin to the back of each arm piece. Then tape a piece of string to the opposite end.
Step 3
Poke a hole in each arm between the coin and the string.
Step 4
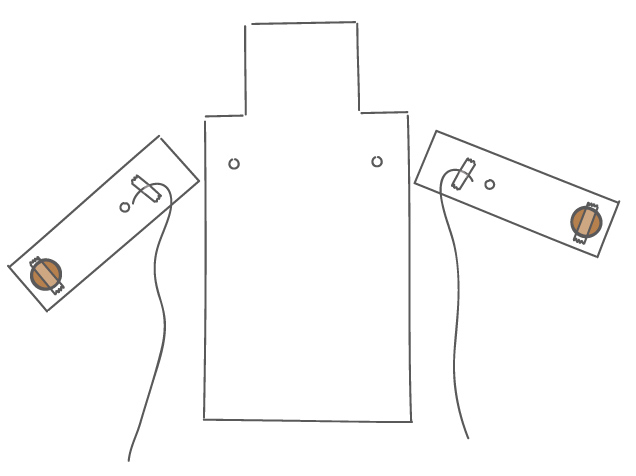
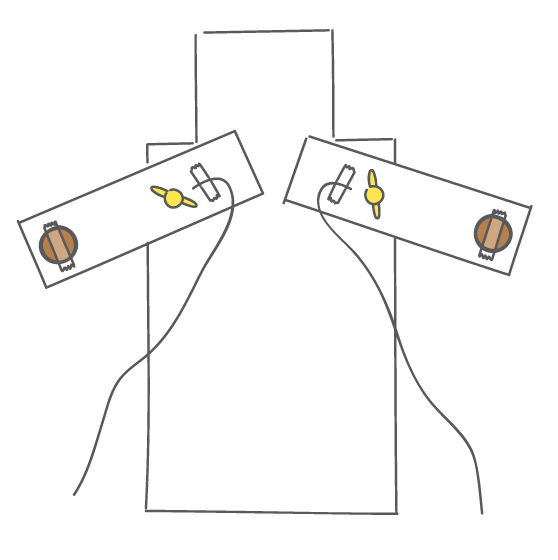
Attach each arm at the shoulder with a brad.
Tip
Make sure the arms have room to move up and down.
Step 5
Follow steps 2–4 to make legs for your puppet.
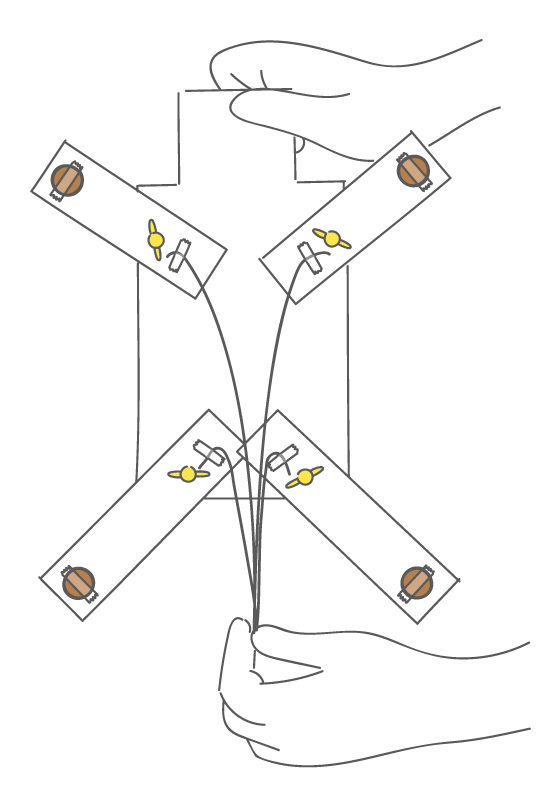
Step 6
Pull down on the strings to make your puppet dance!
Tip
Here's an easy way to tinker with the way your puppet moves. Try taping two pieces of string onto one of your puppet’s arms. Place one string all the way on the end of the arm. Tape the other string very close to the brad. Now try pulling on the near string. How does it feel? Then try pulling on the far string. Which string is easier to pull?
Fact

Your puppet's arm is a lever like a seesaw, where the balancing point is the brad. The string far from the balancing point should feel easier to pull than the near string. (If you can't feel the difference, try moving the near string as close as possible to the brad.)
Watch carefully while you're pulling on the far string, and notice how far you have to pull down to lift the arm. Then try it again with the near string. You'll see that the farther the string is from the balancing point, the farther you need to pull it to lift the arm.
So you've learned that pulling from the far string is easier, but you have to pull over a longer distance.


