Step-by-step tutorial
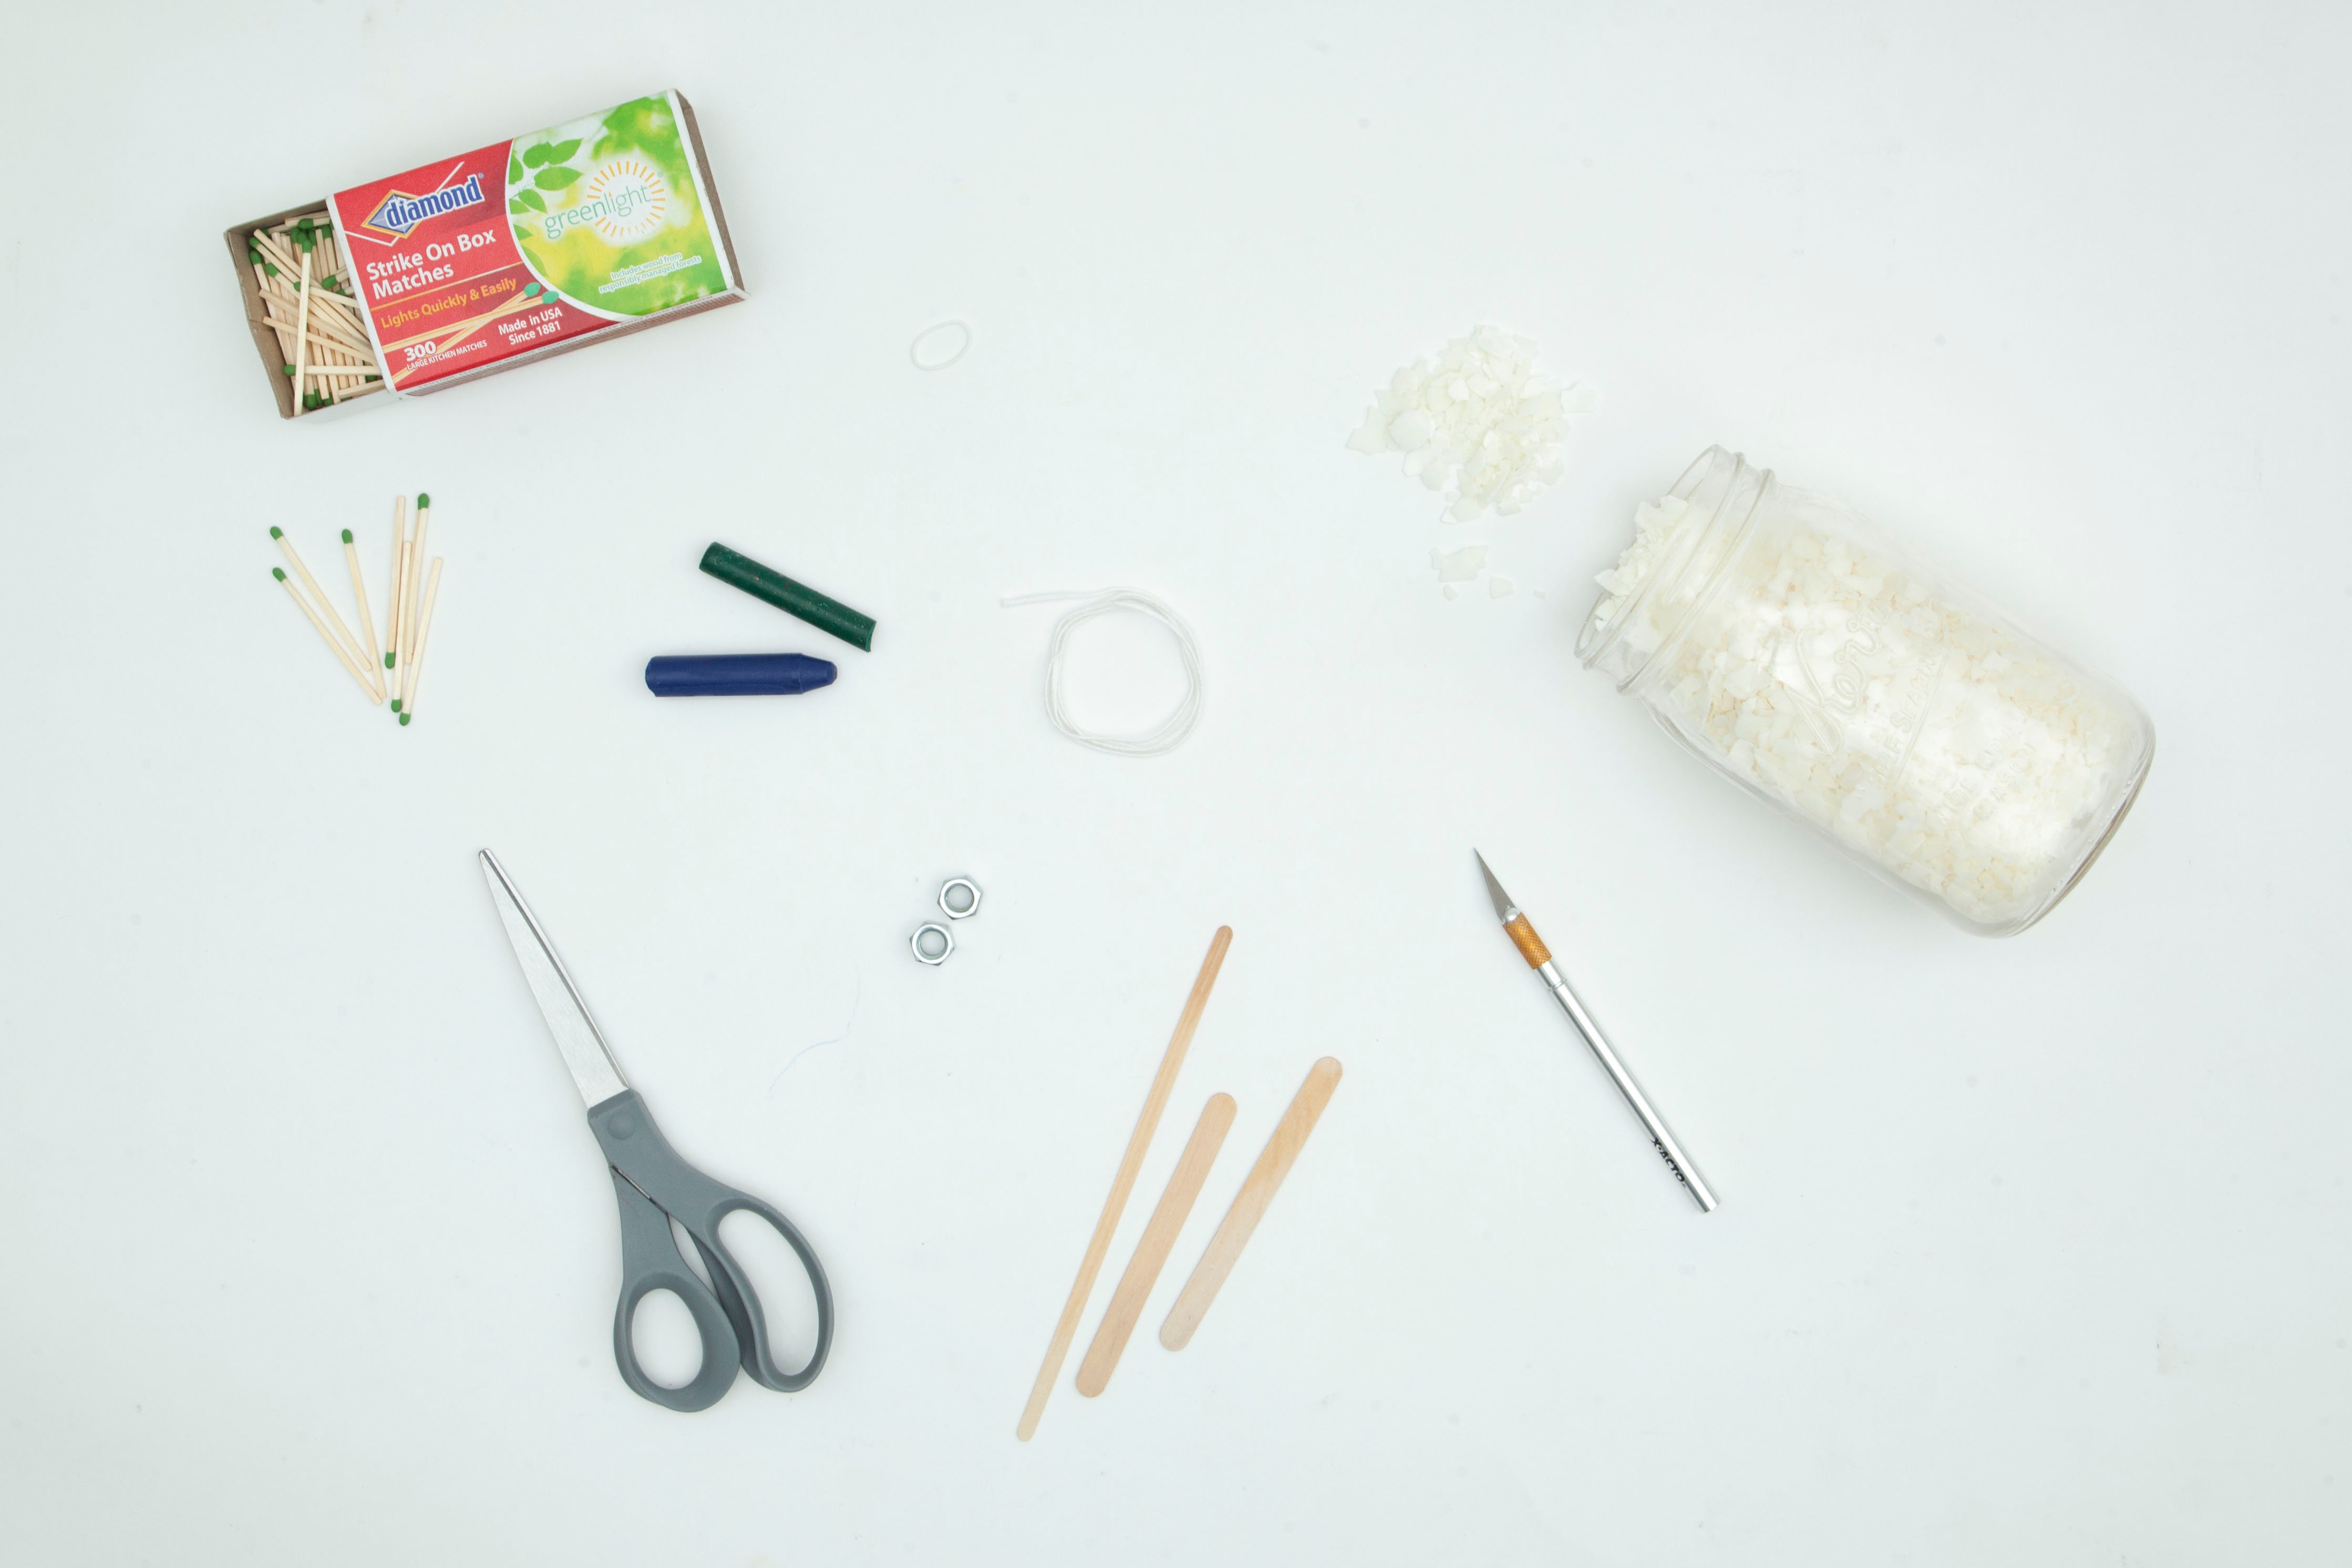
Step 1
Gather your materials.

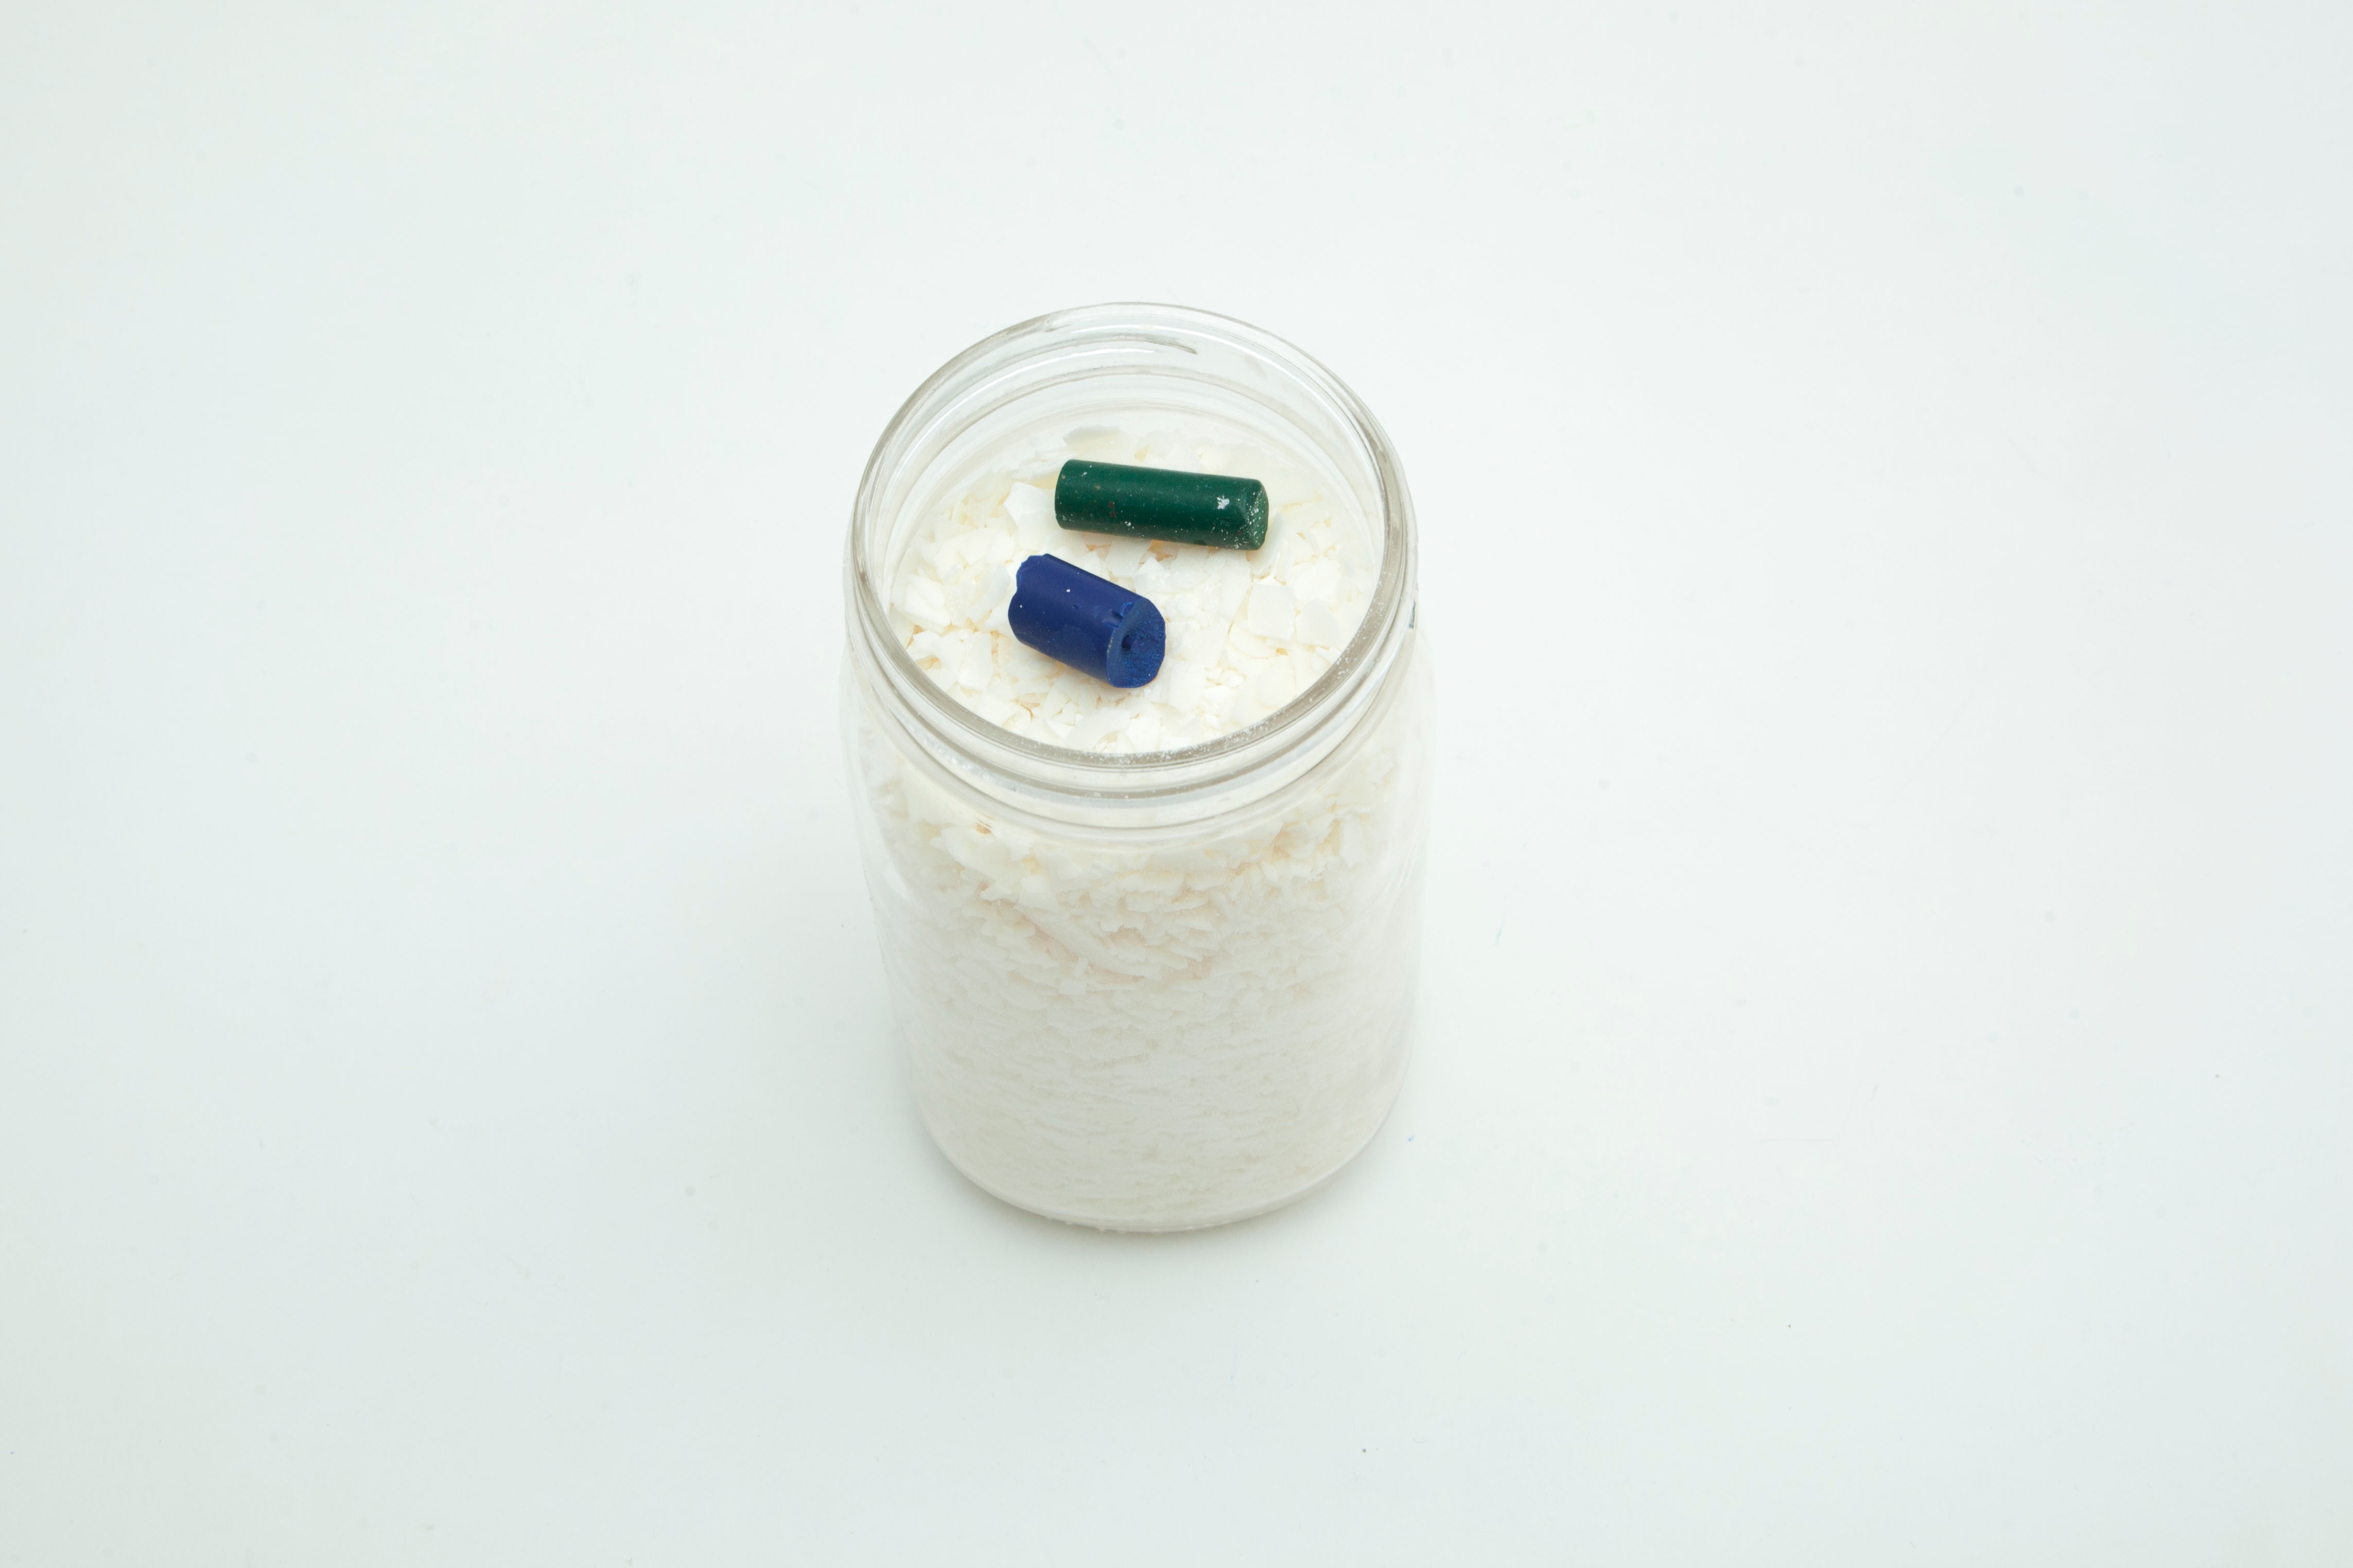
Step 2
Fill a mason jar to the top with wax pellets. Then, add a few small pieces of crayon for color!
Tip
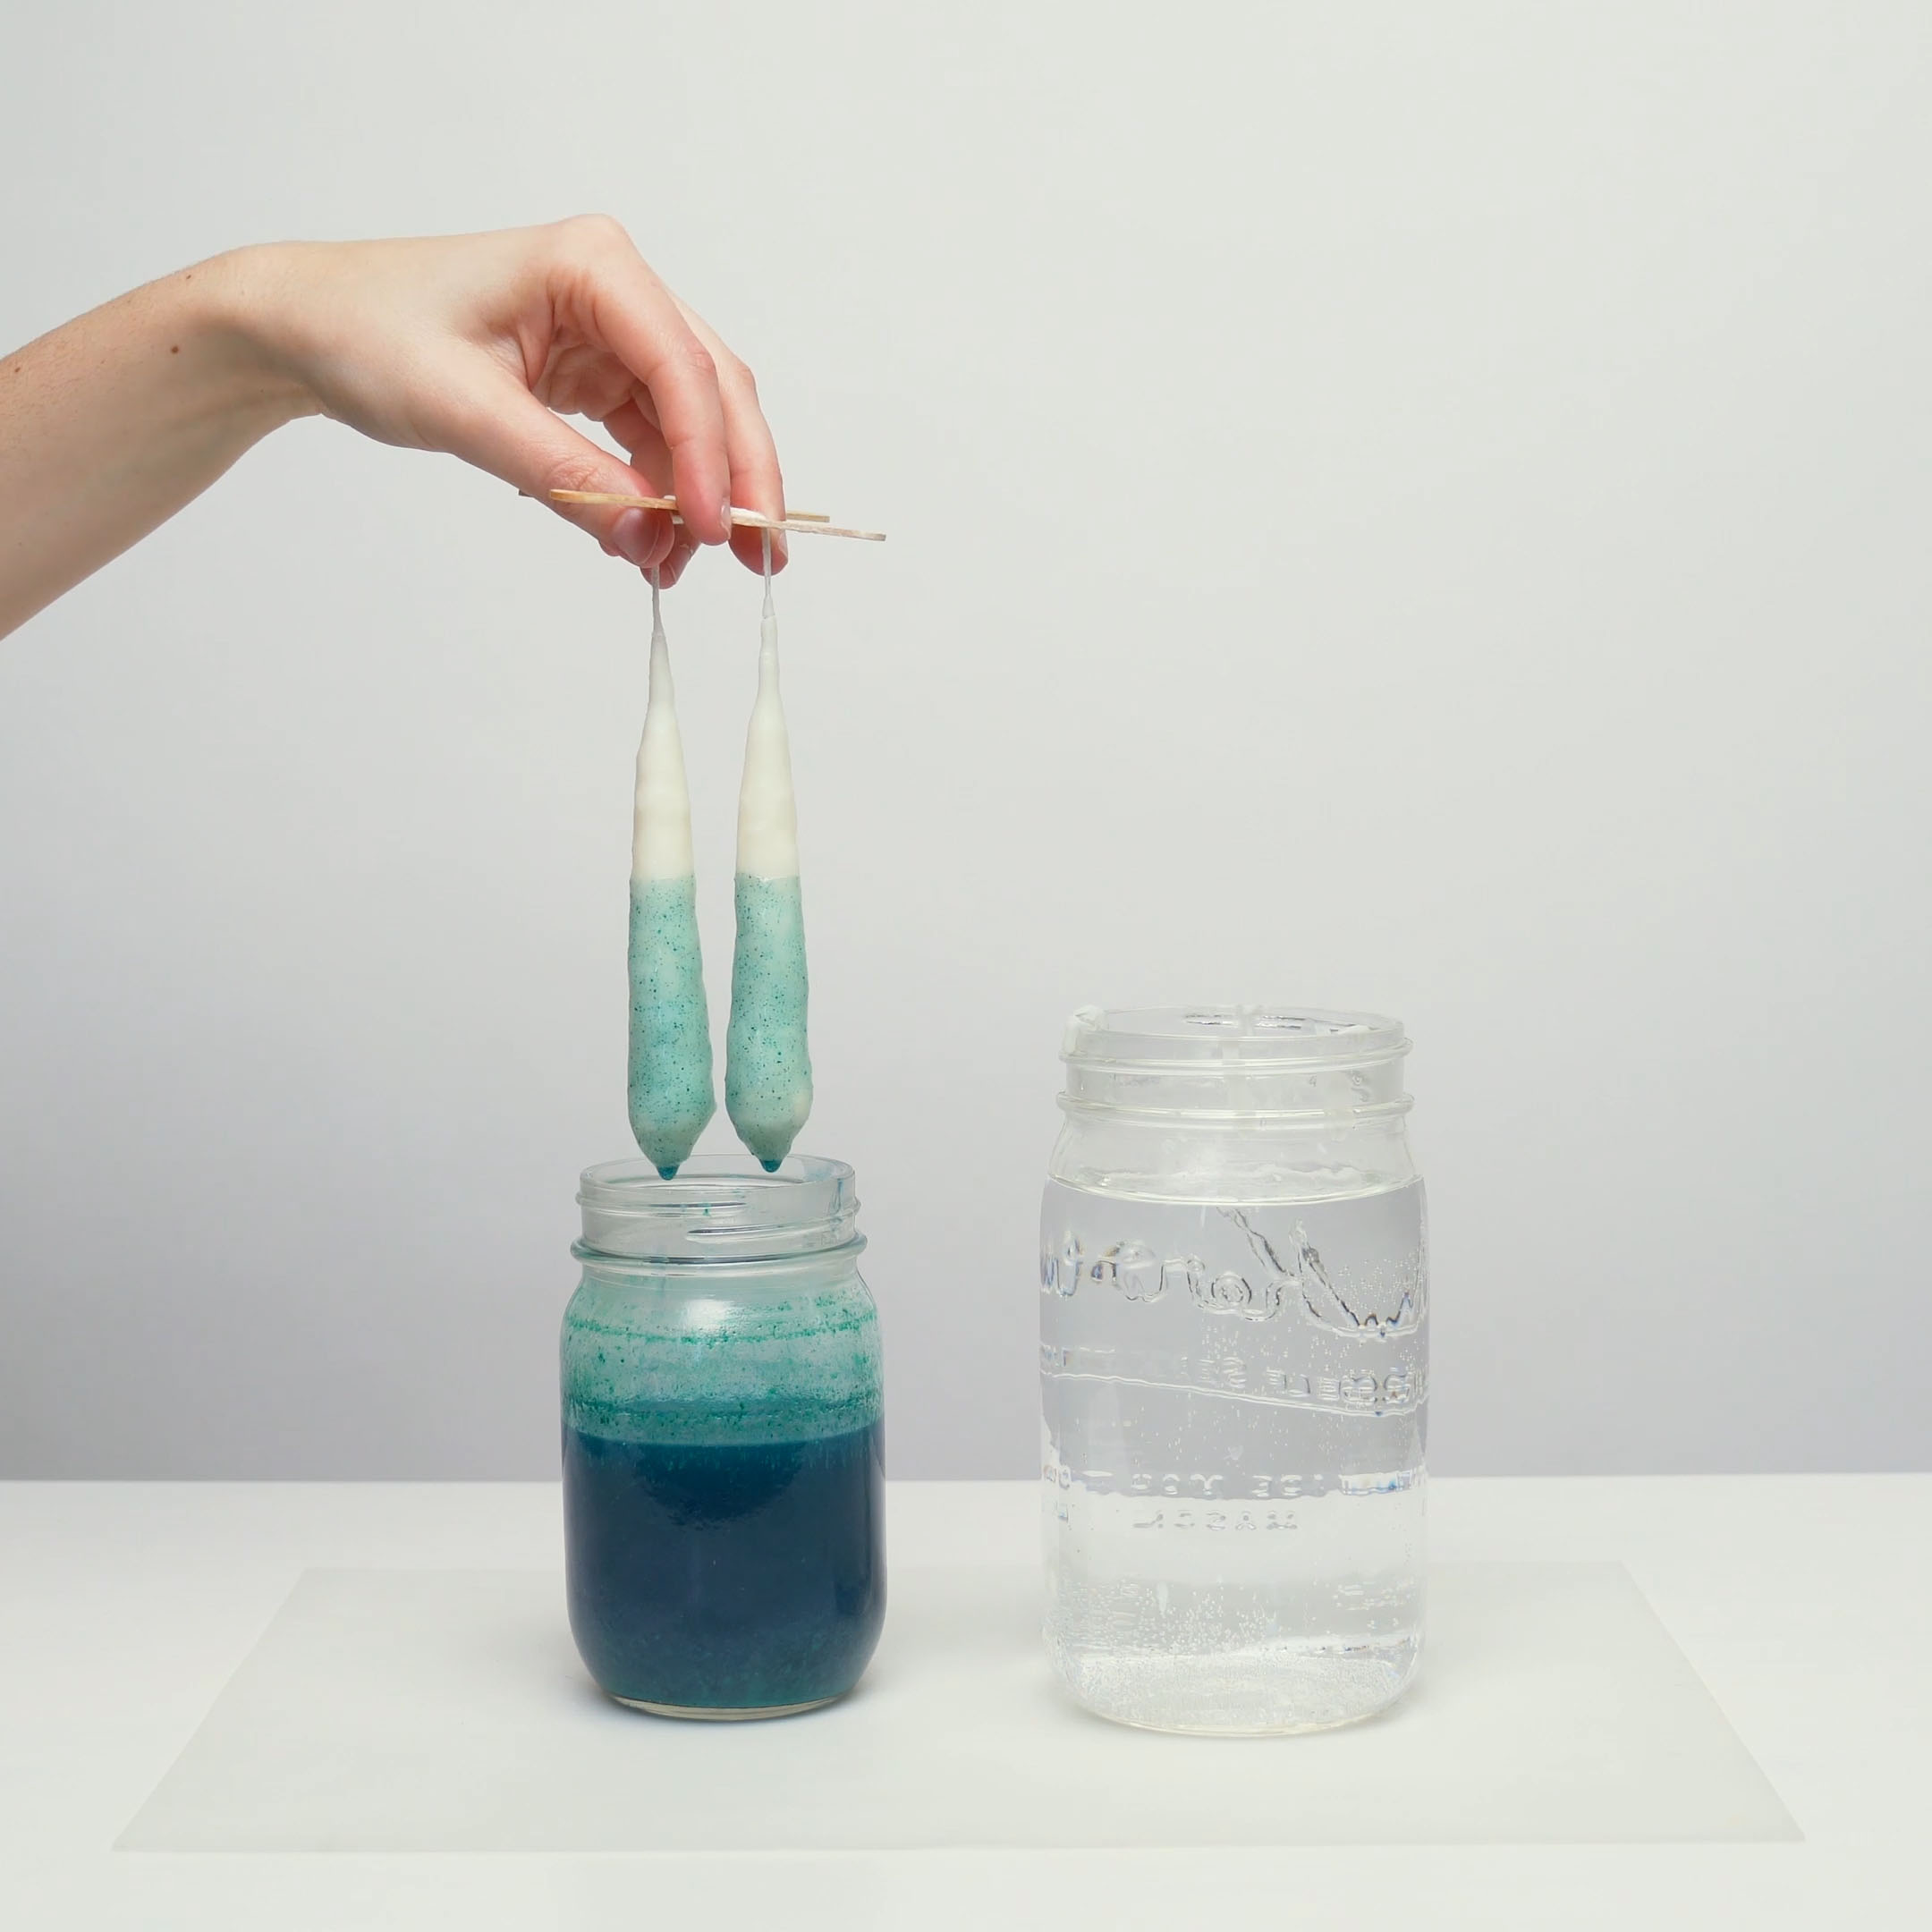
We made our candles using just wax pellets until the very end. Then, we melted some wax in a smaller mason jar and added some crayon pieces to it to color only the bottom half of our candle!
Step 3
Heat the mason jar in a microwave for 30-second intervals, mixing the wax with a wooden stirrer in between each interval. Add wax as needed so that the mason jar is full to the top with melted wax.

Tip
The wax is ready when there are no remaining chunks of wax pellets after you stir it.
Step 4
Wrap a rubber band around two popsicle sticks so that they resemble the shape of a cross. This will be your rig.
Fact

A rig is a piece of equipment used for a particular purpose. In this case, the rig is a tool you’re using to dip the wicks.
Step 5
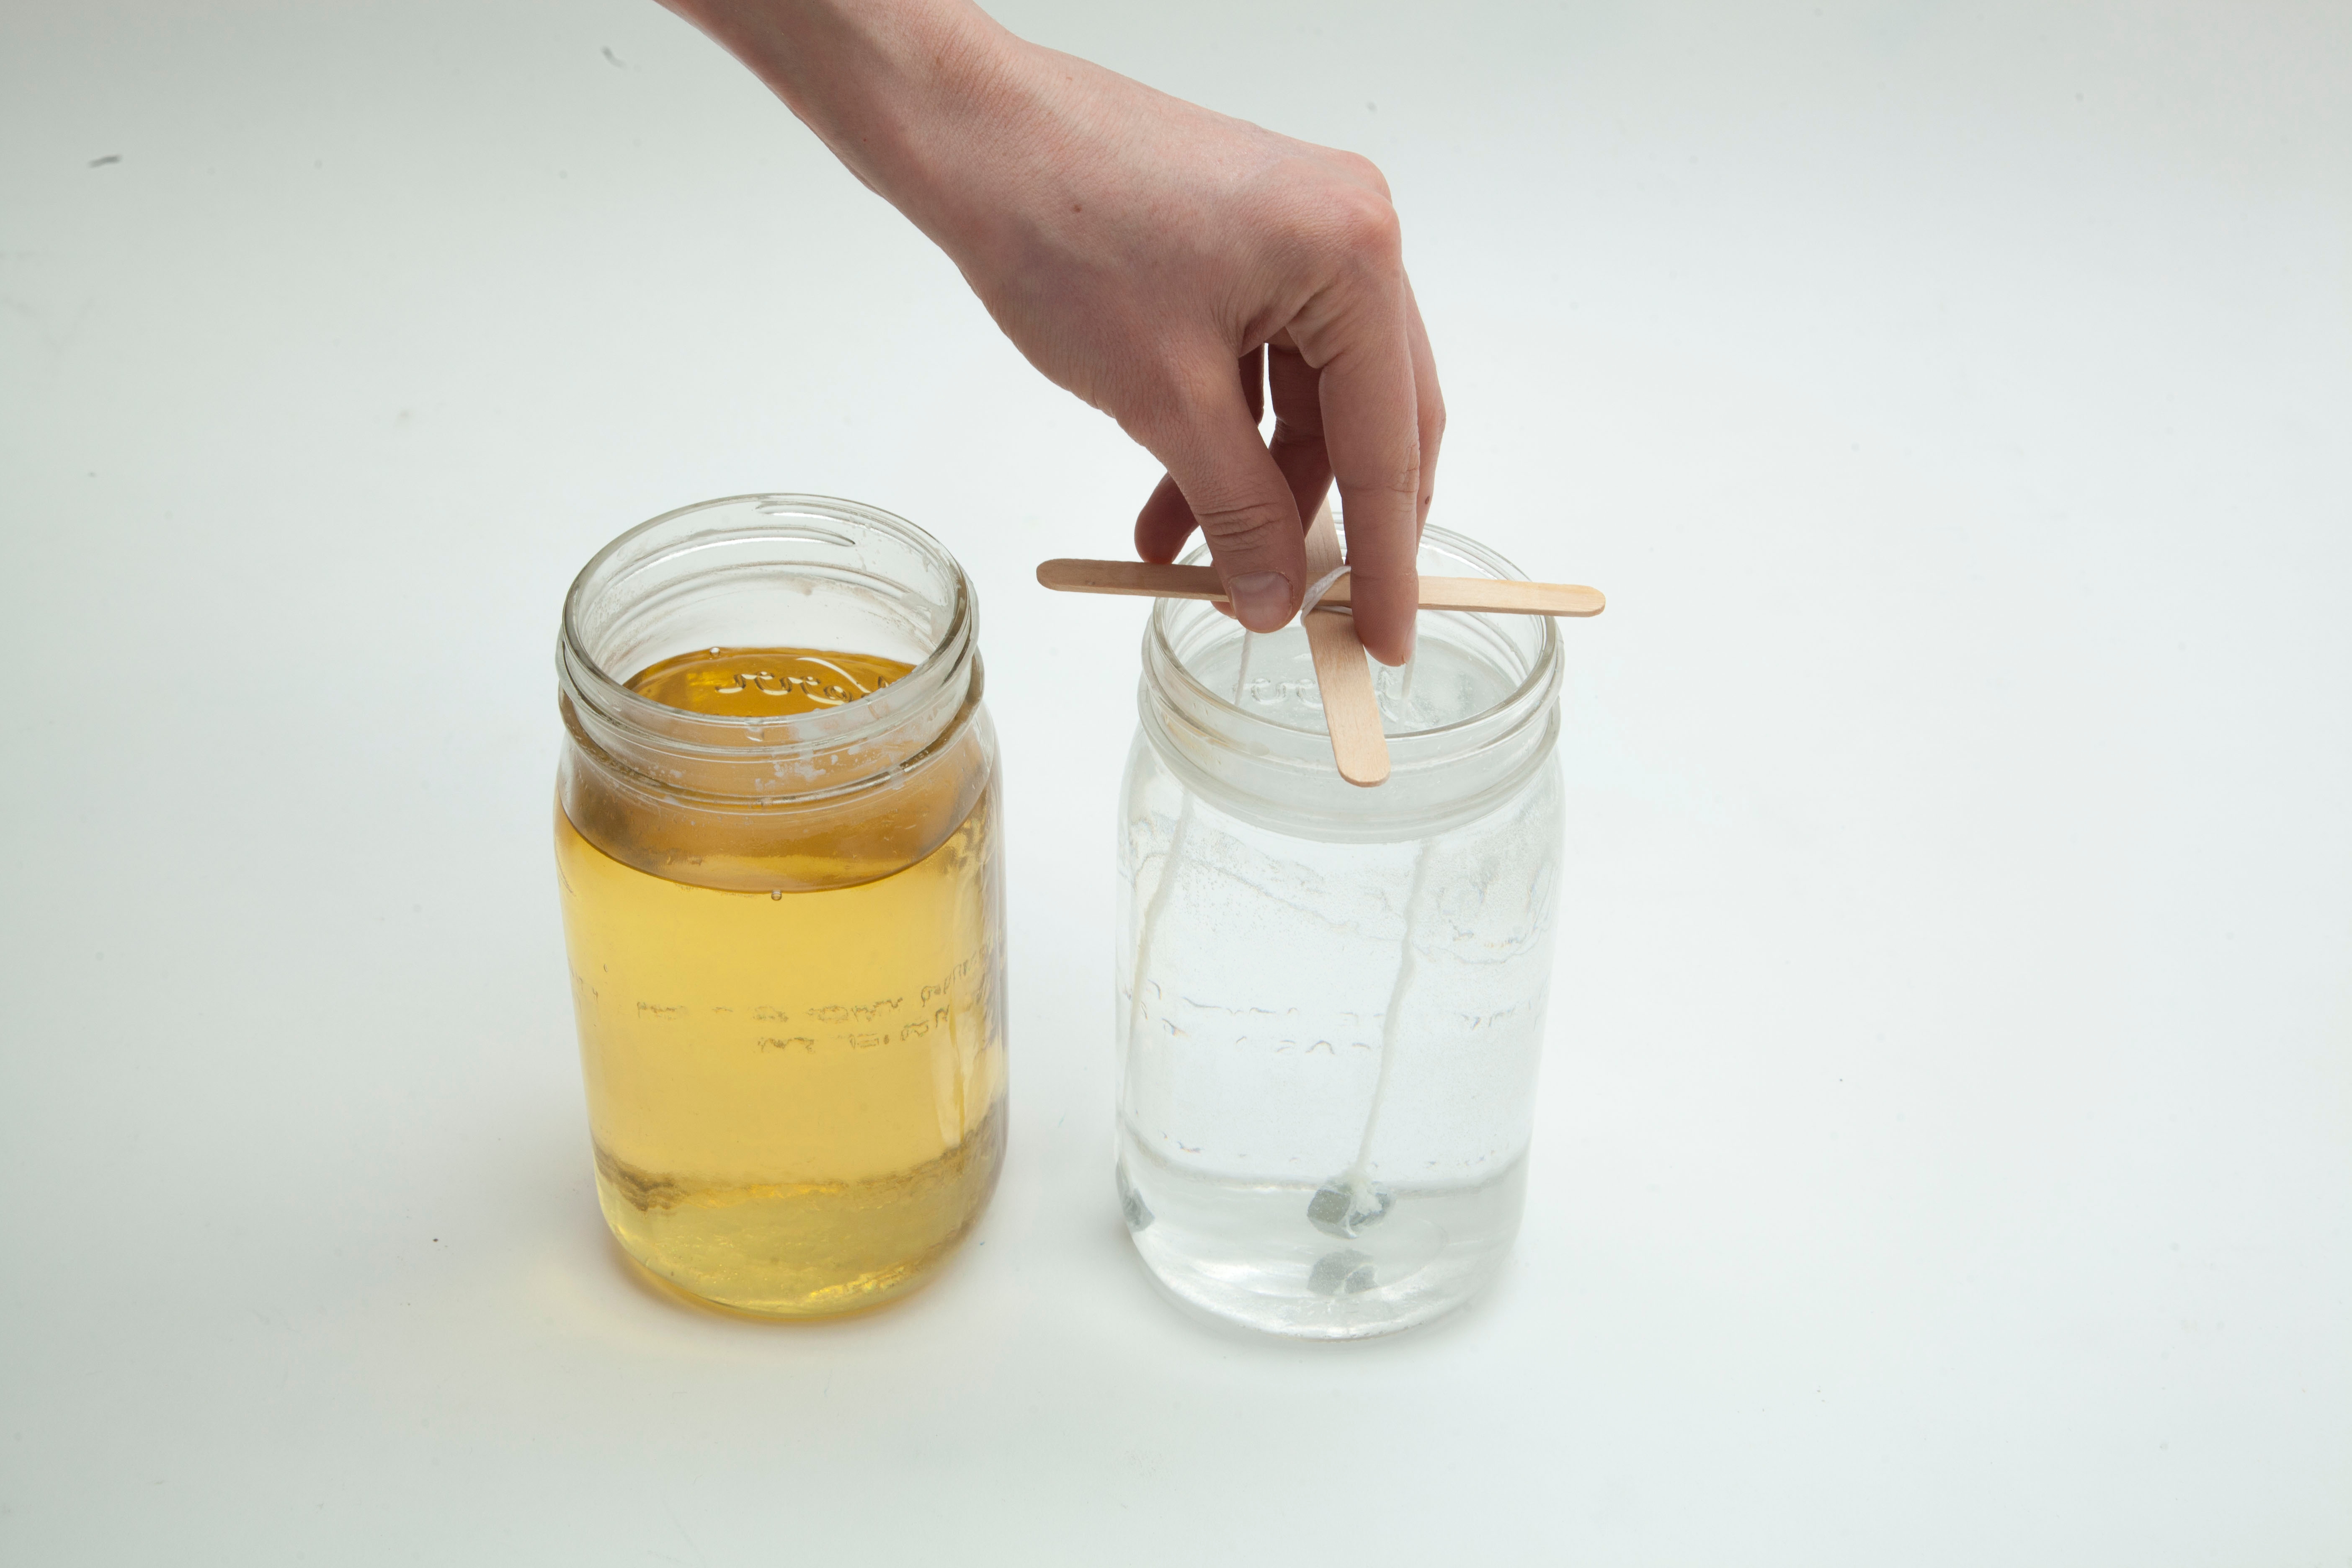
Cut some wick a little longer than twice the depth of your mason jar. Then, tie a hex nut to both ends.
Step 6
Hang the wick on the rig so that the wick dangles on either side about 2 inches apart.
Step 7
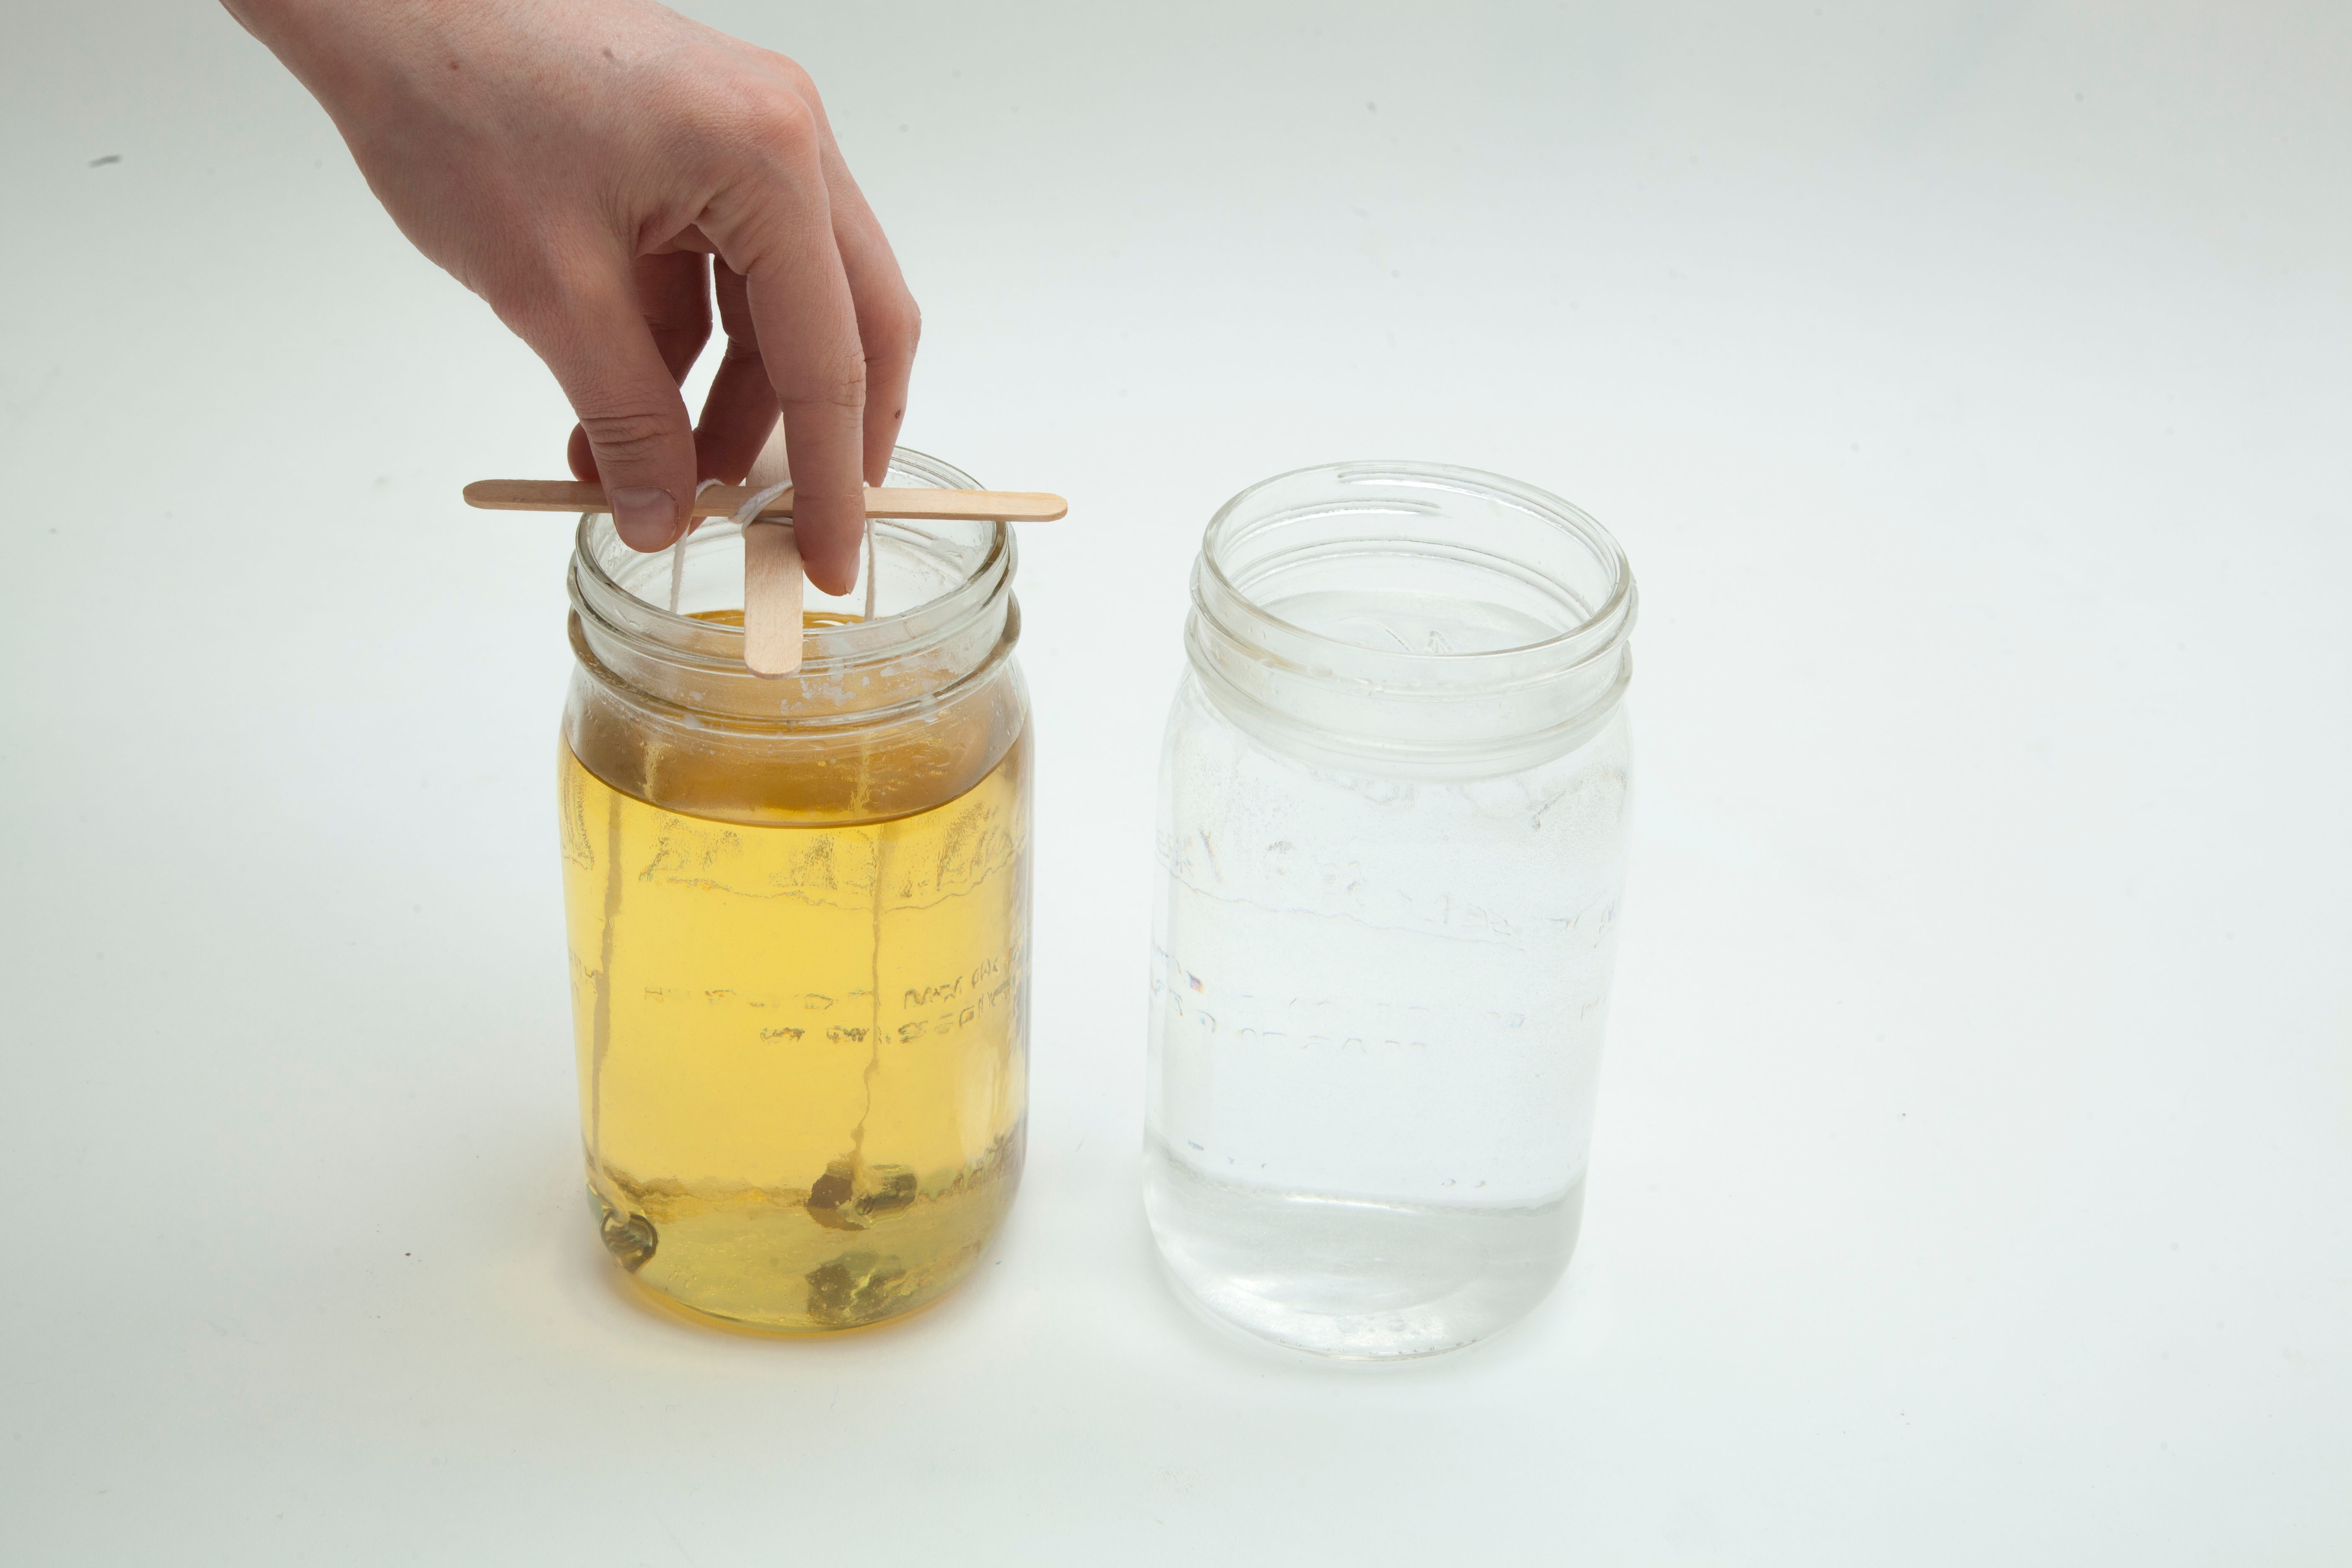
Fill a second mason jar with room temperature water.
Step 8
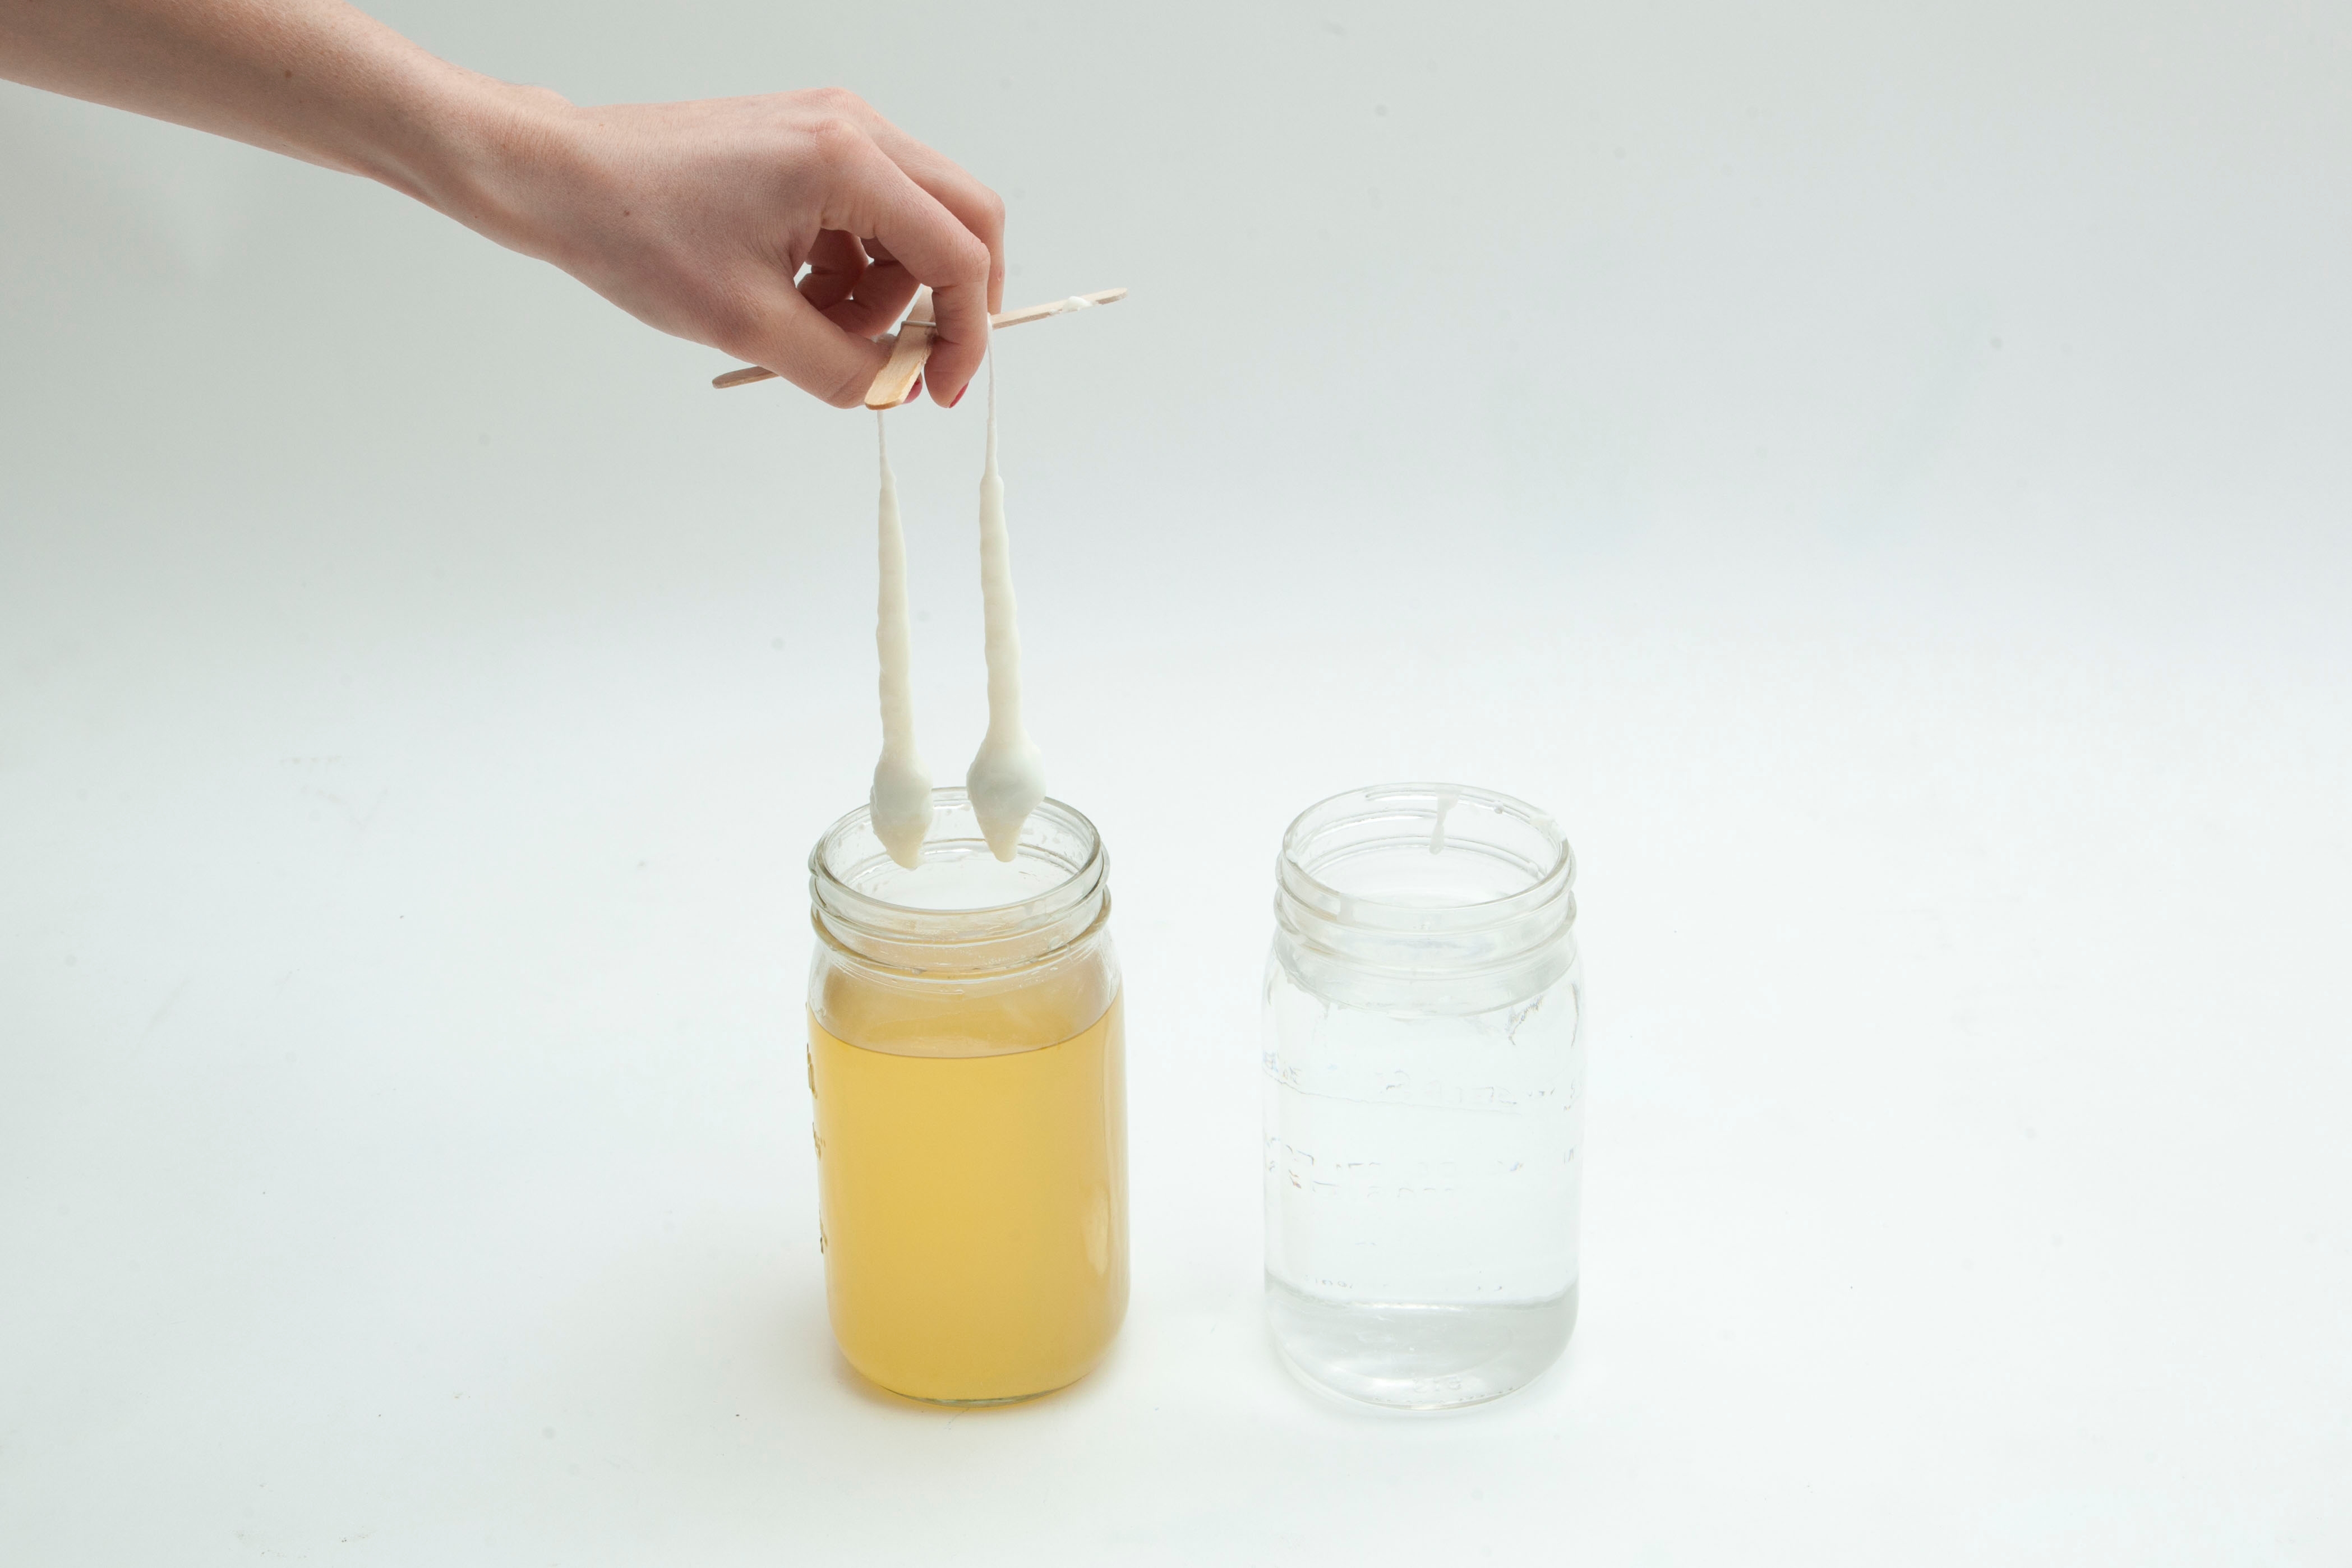
Start dipping! First, dip the wicks into the melted wax for about 2 to 4 seconds.
Tip
If your wax starts to look grainy, heat it up again!
Step 9
Then, dip the wicks into the water for about 30 seconds to 1 minute.
Tip
Every so often, use your hand to scoop out any wax that has accumulated at the top of the water.
Step 10
When your candle is about half its desired diameter, cut the hex nuts off with a pair of scissors.
Step 11
Continue dipping the candles until you have reached your desired candle thickness, and hang your candles to dry for about 24 hours.
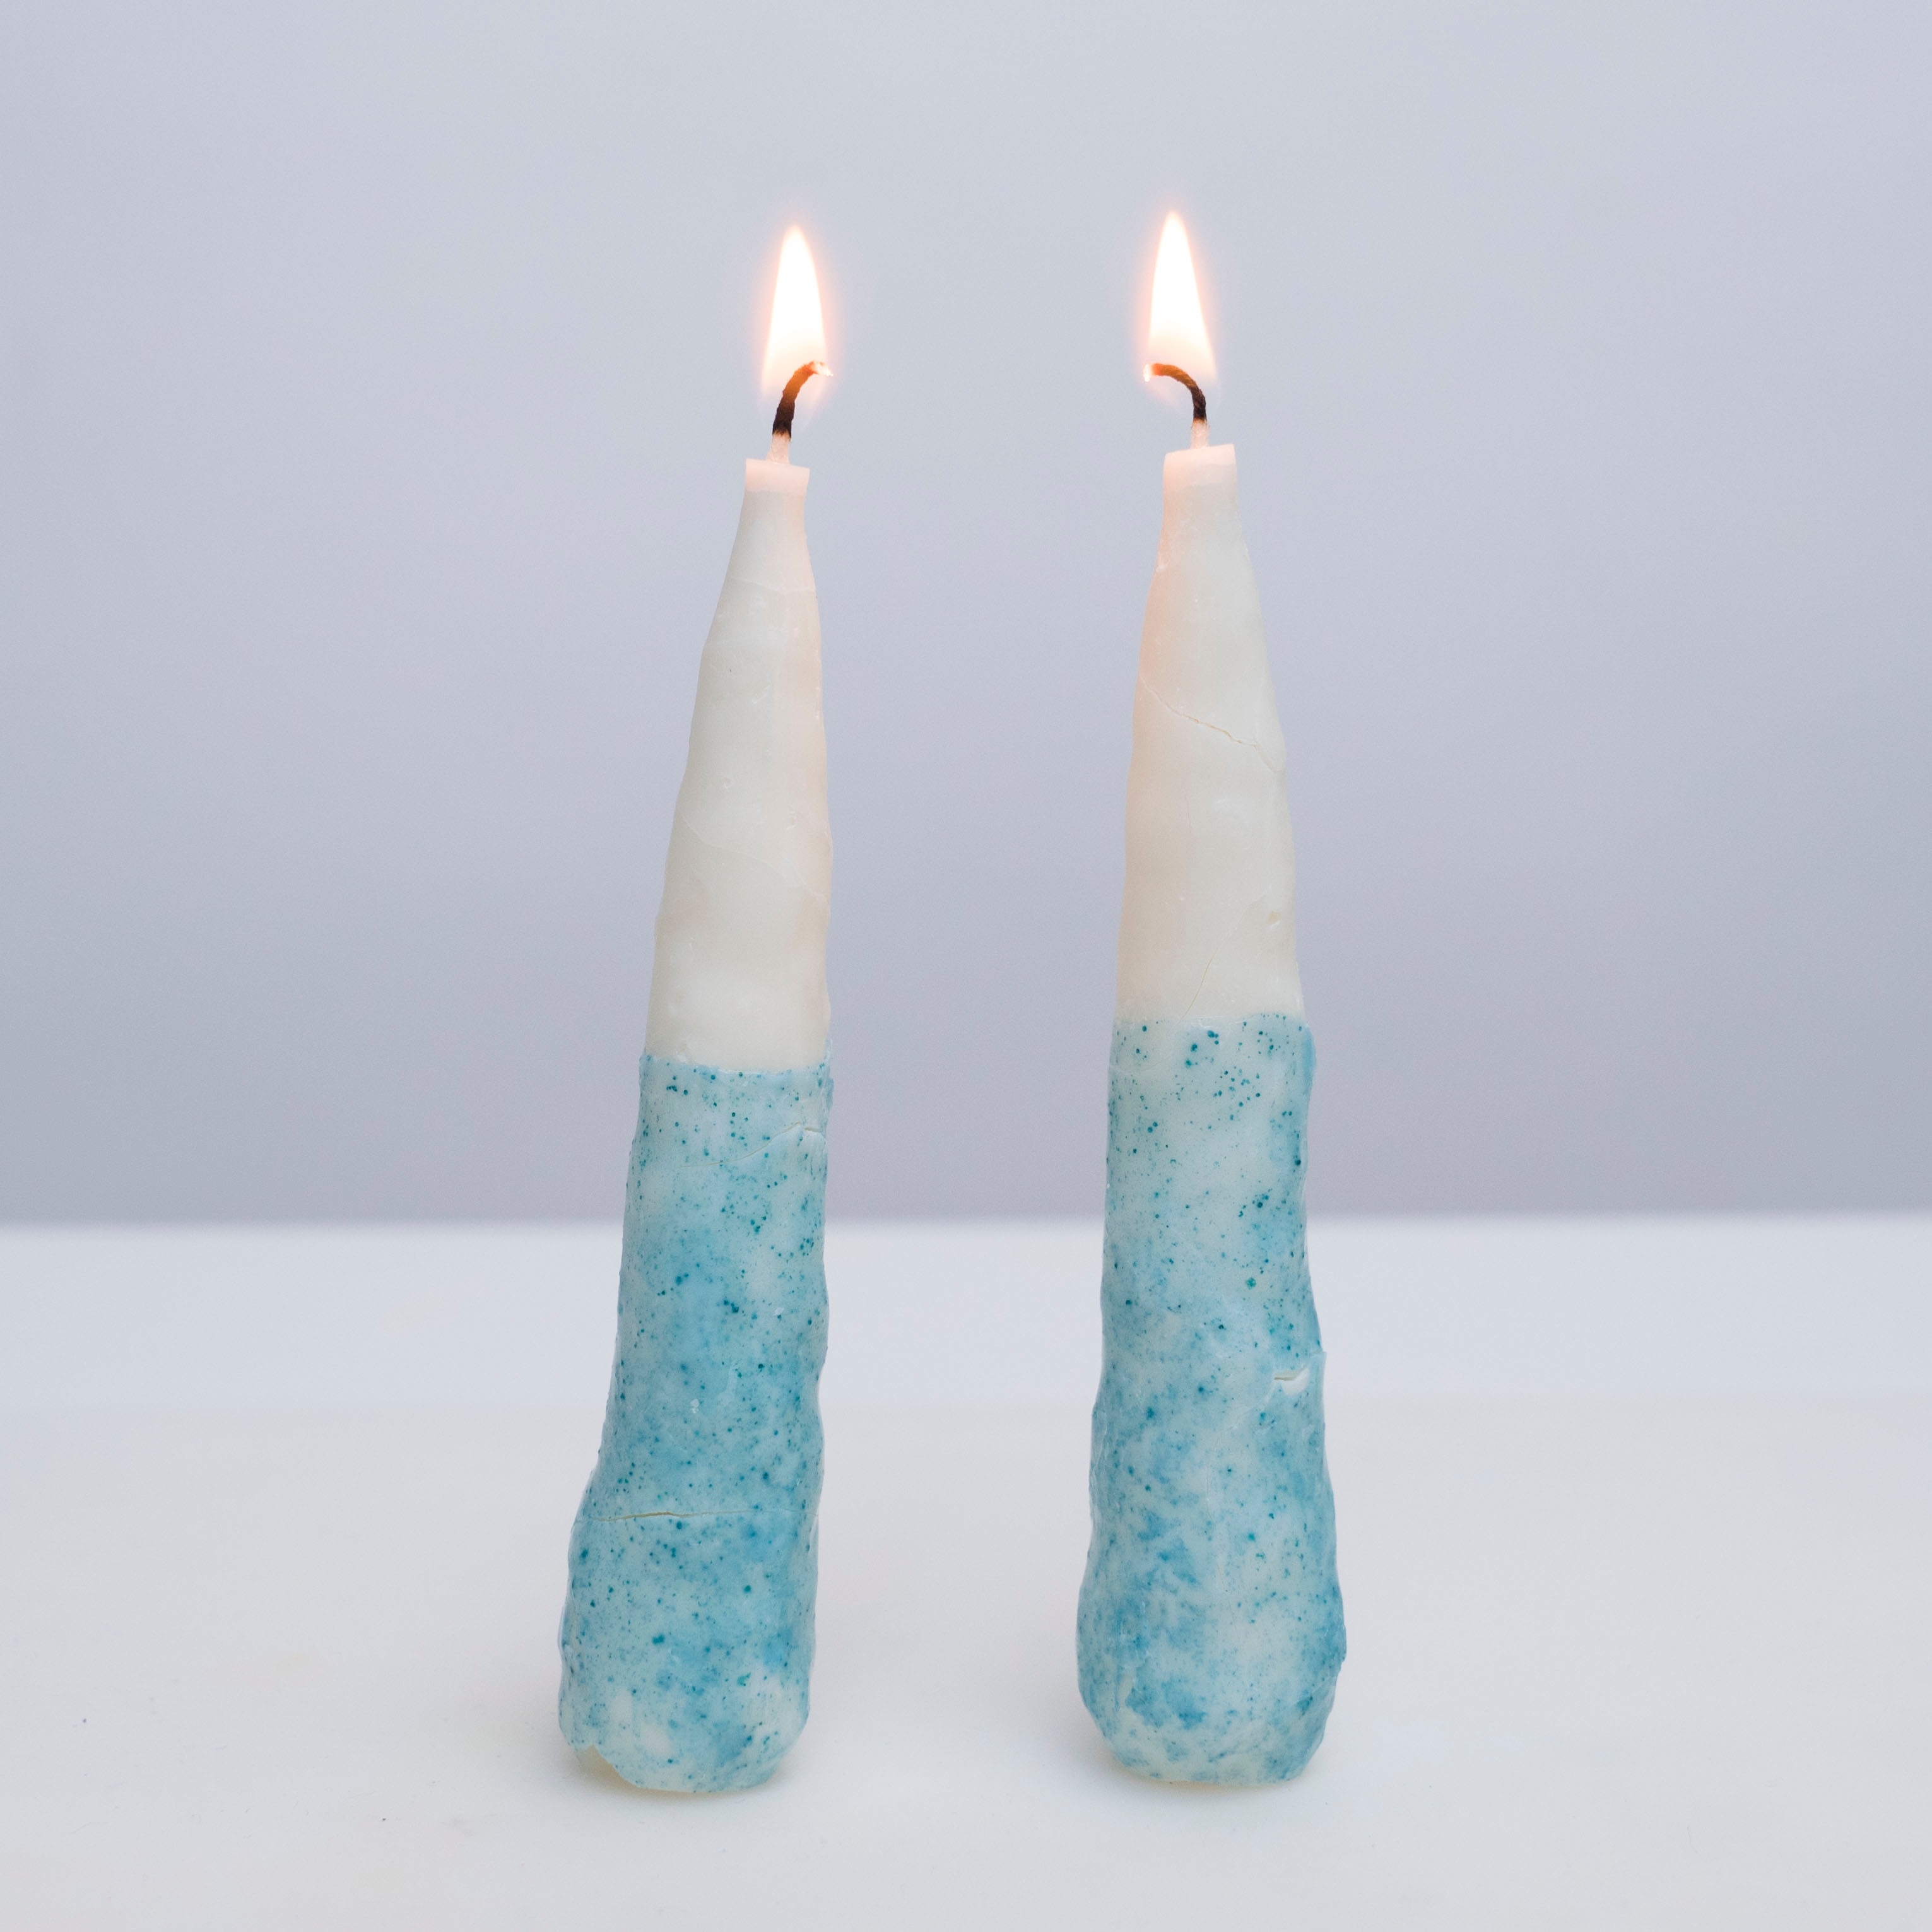
Done!
Then, cut the wicks, place the candles in some candleholders (or on a non-flammable surface), and light them!