Step-by-step tutorial
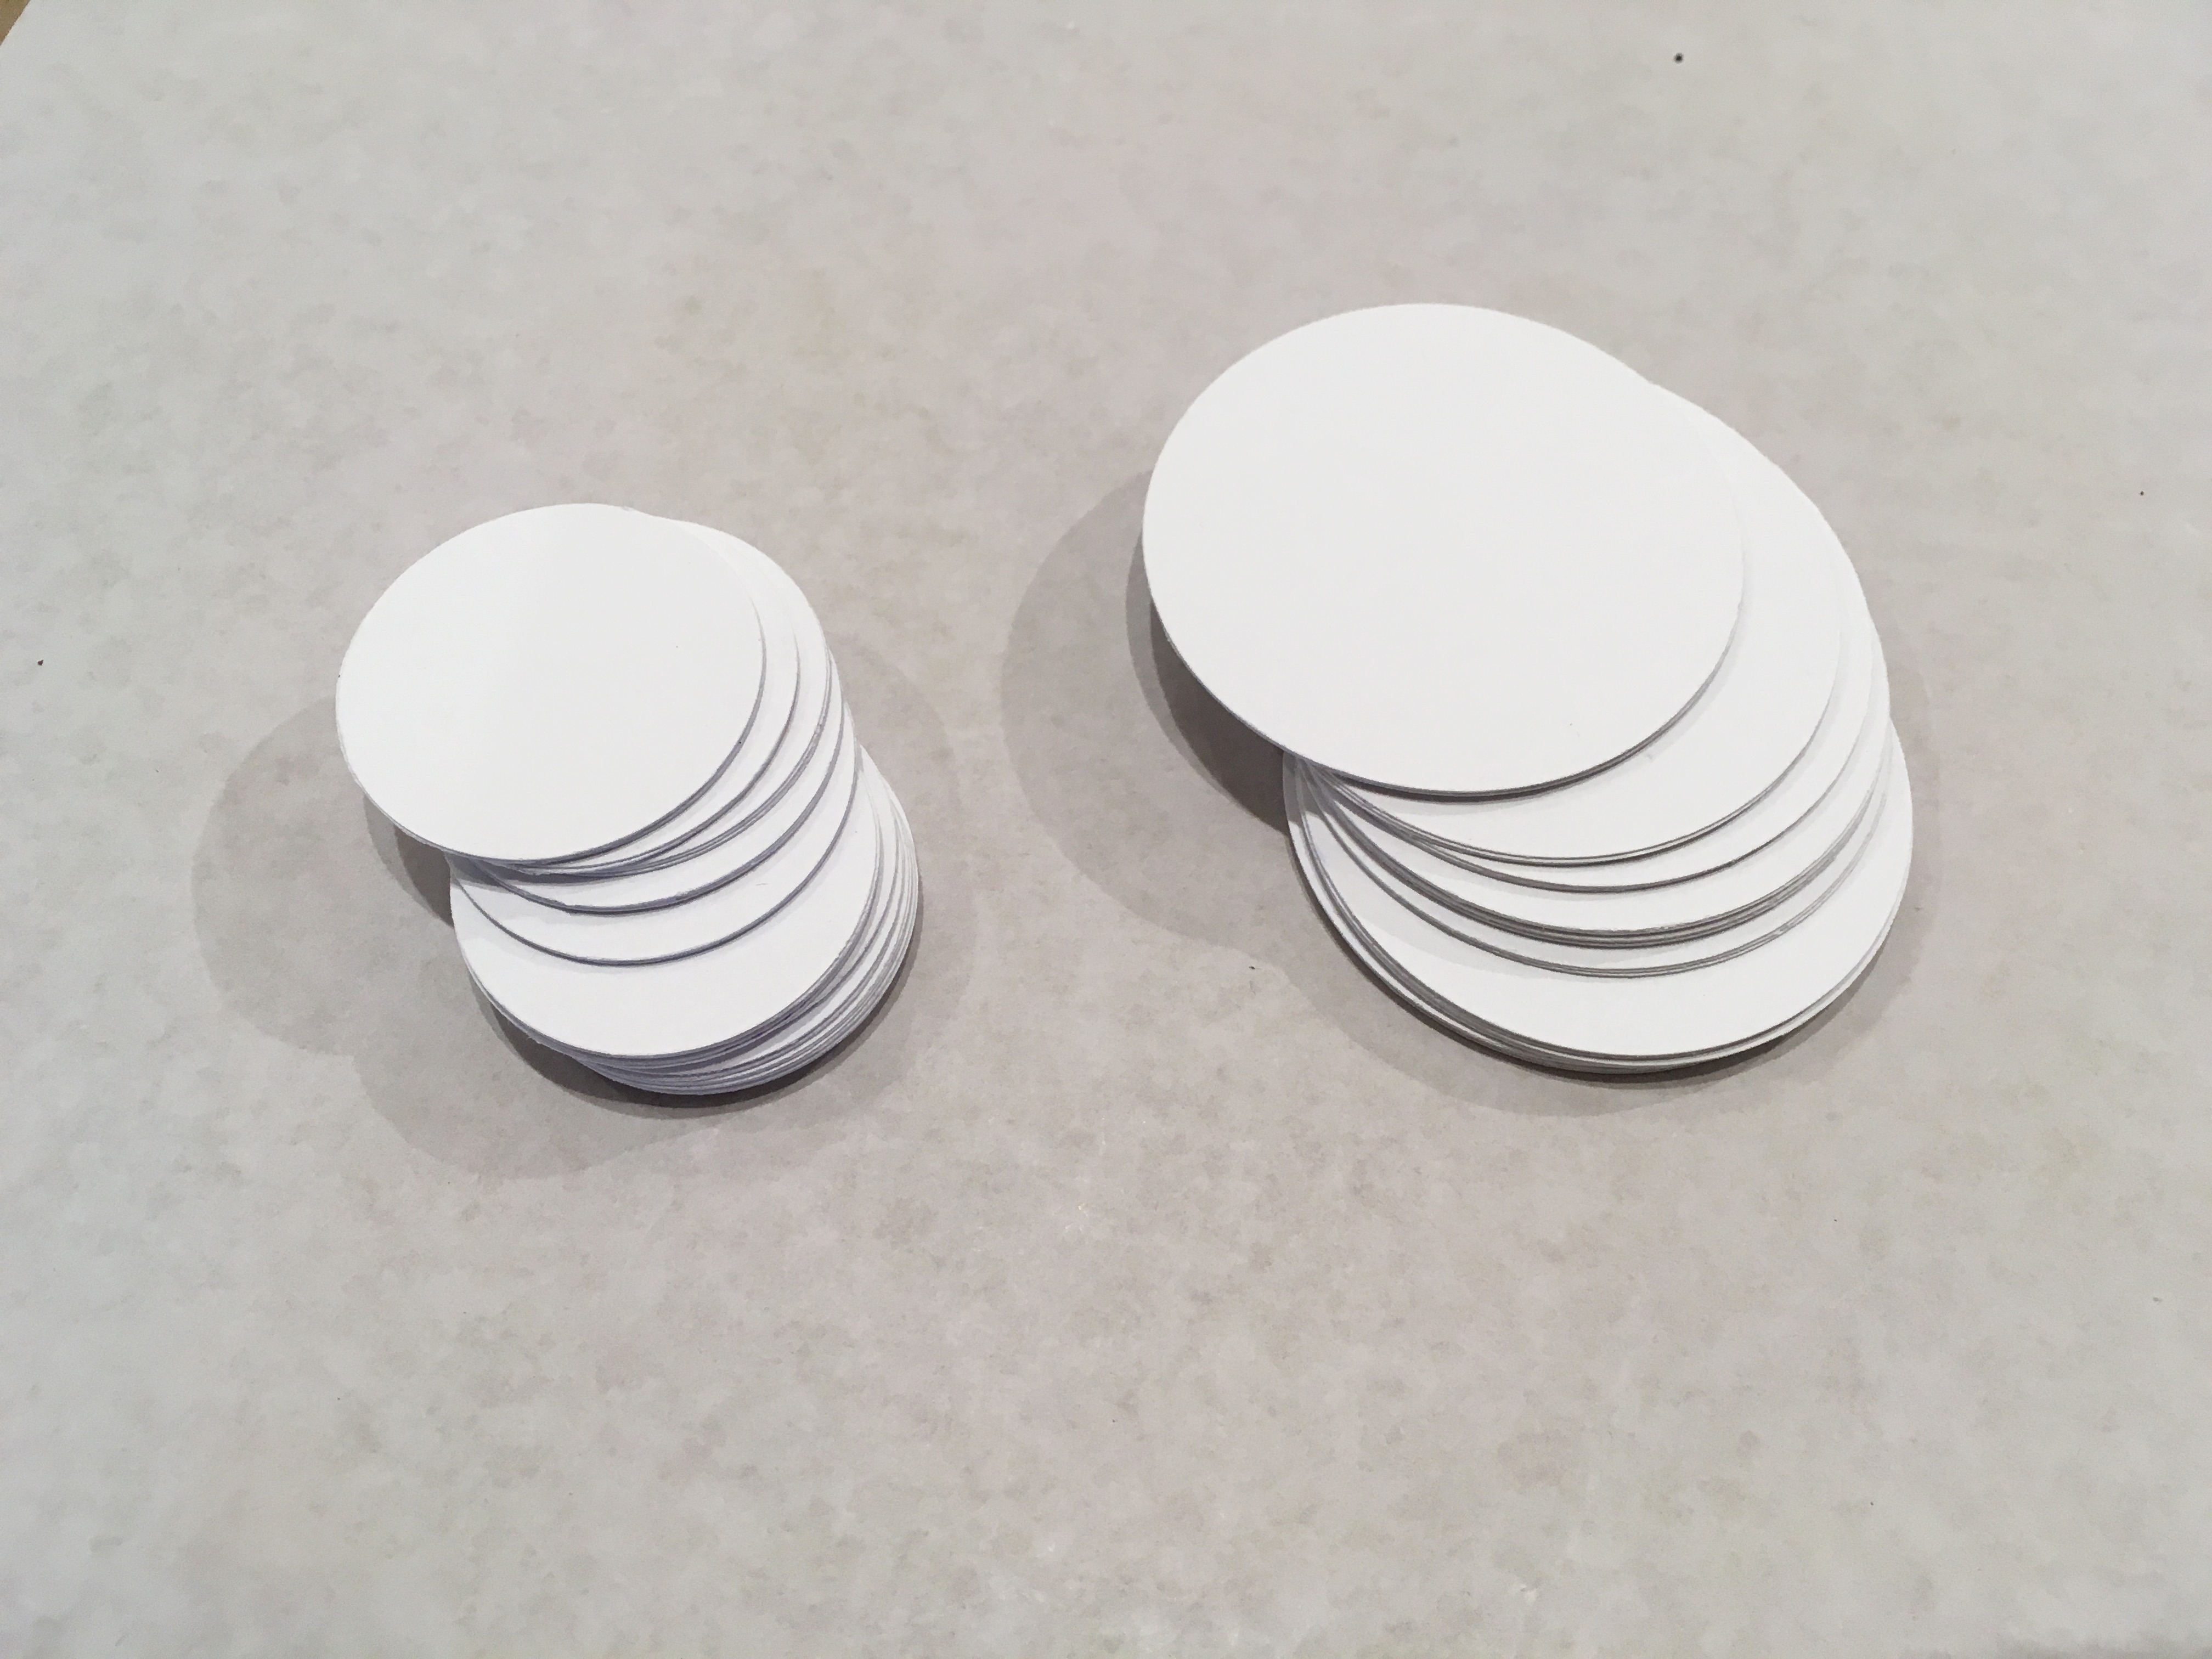
Step 1
Cut your cardstock into circles. We had our circles cut 1.5" (3.8 cm) and 2.25" (5.7 cm) in diameter.

Step 2
Use markers to draw designs on your circles. If you were a pirate, what kinds of coins would you have?

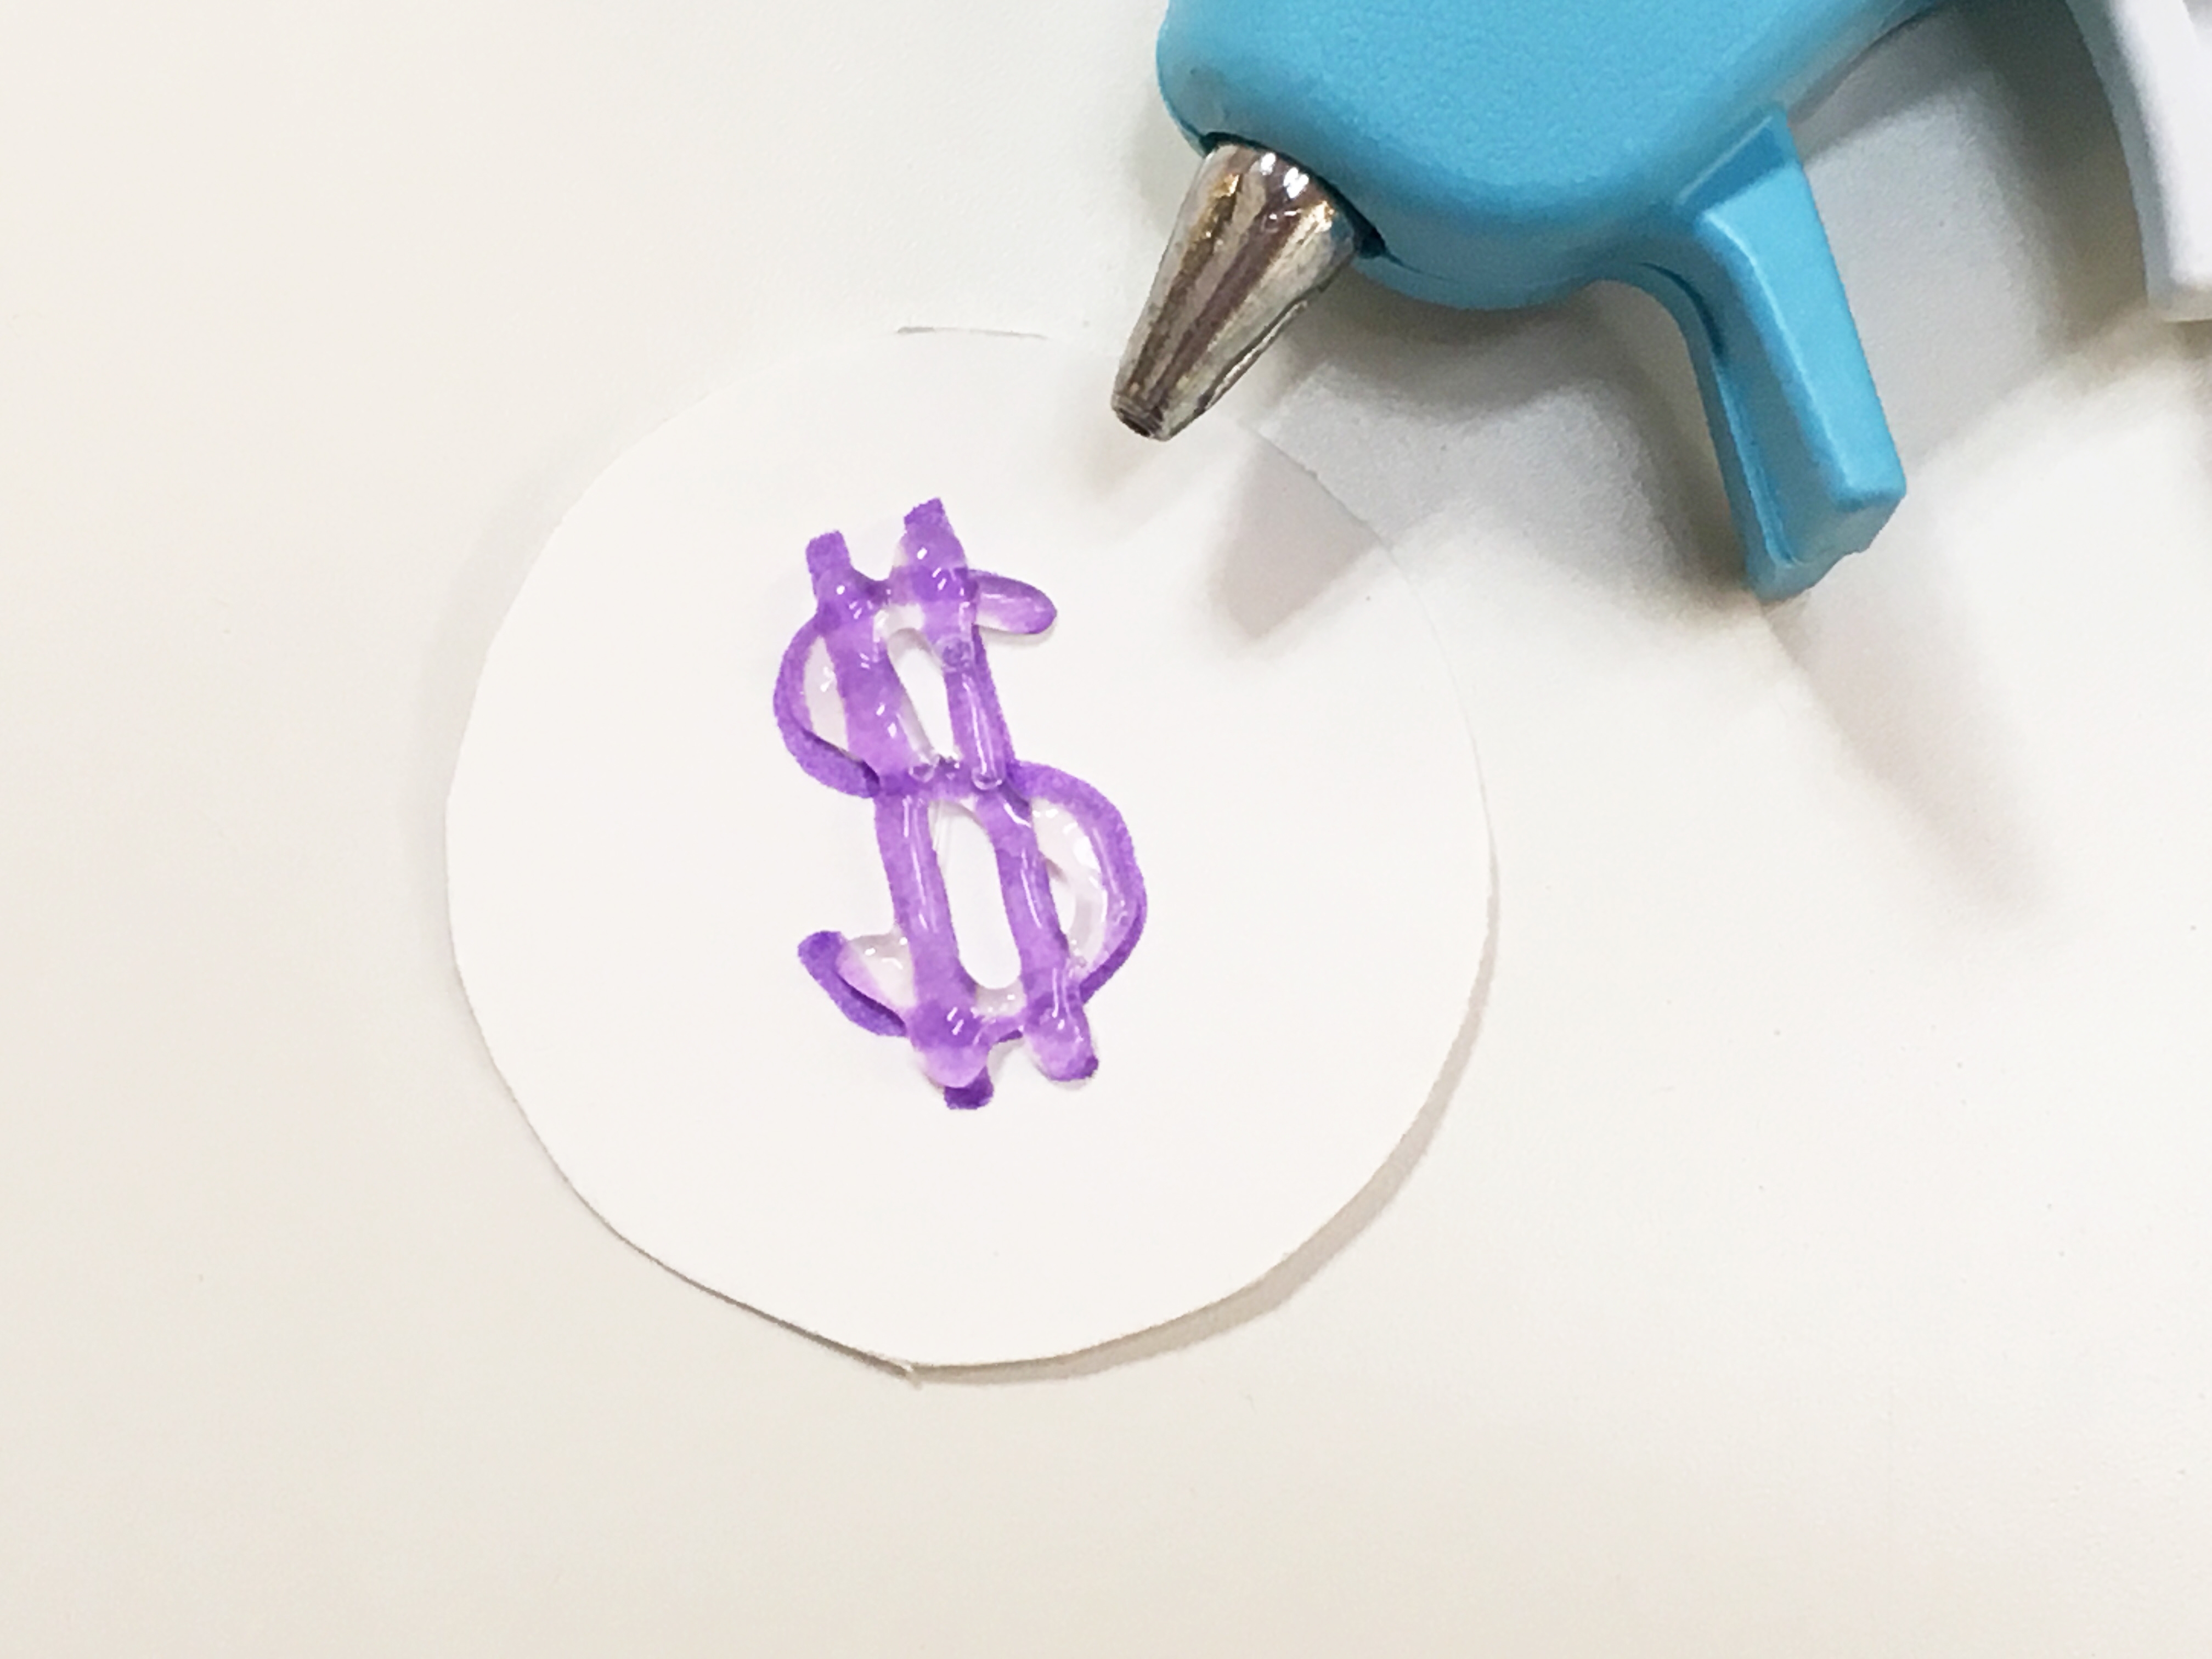
Step 3
Use glue to trace over the designs. If you're using basic school glue, let the glue dry until the designs have hardened. For faster results, have an adult help trace the designs with a hot glue gun.
Step 4
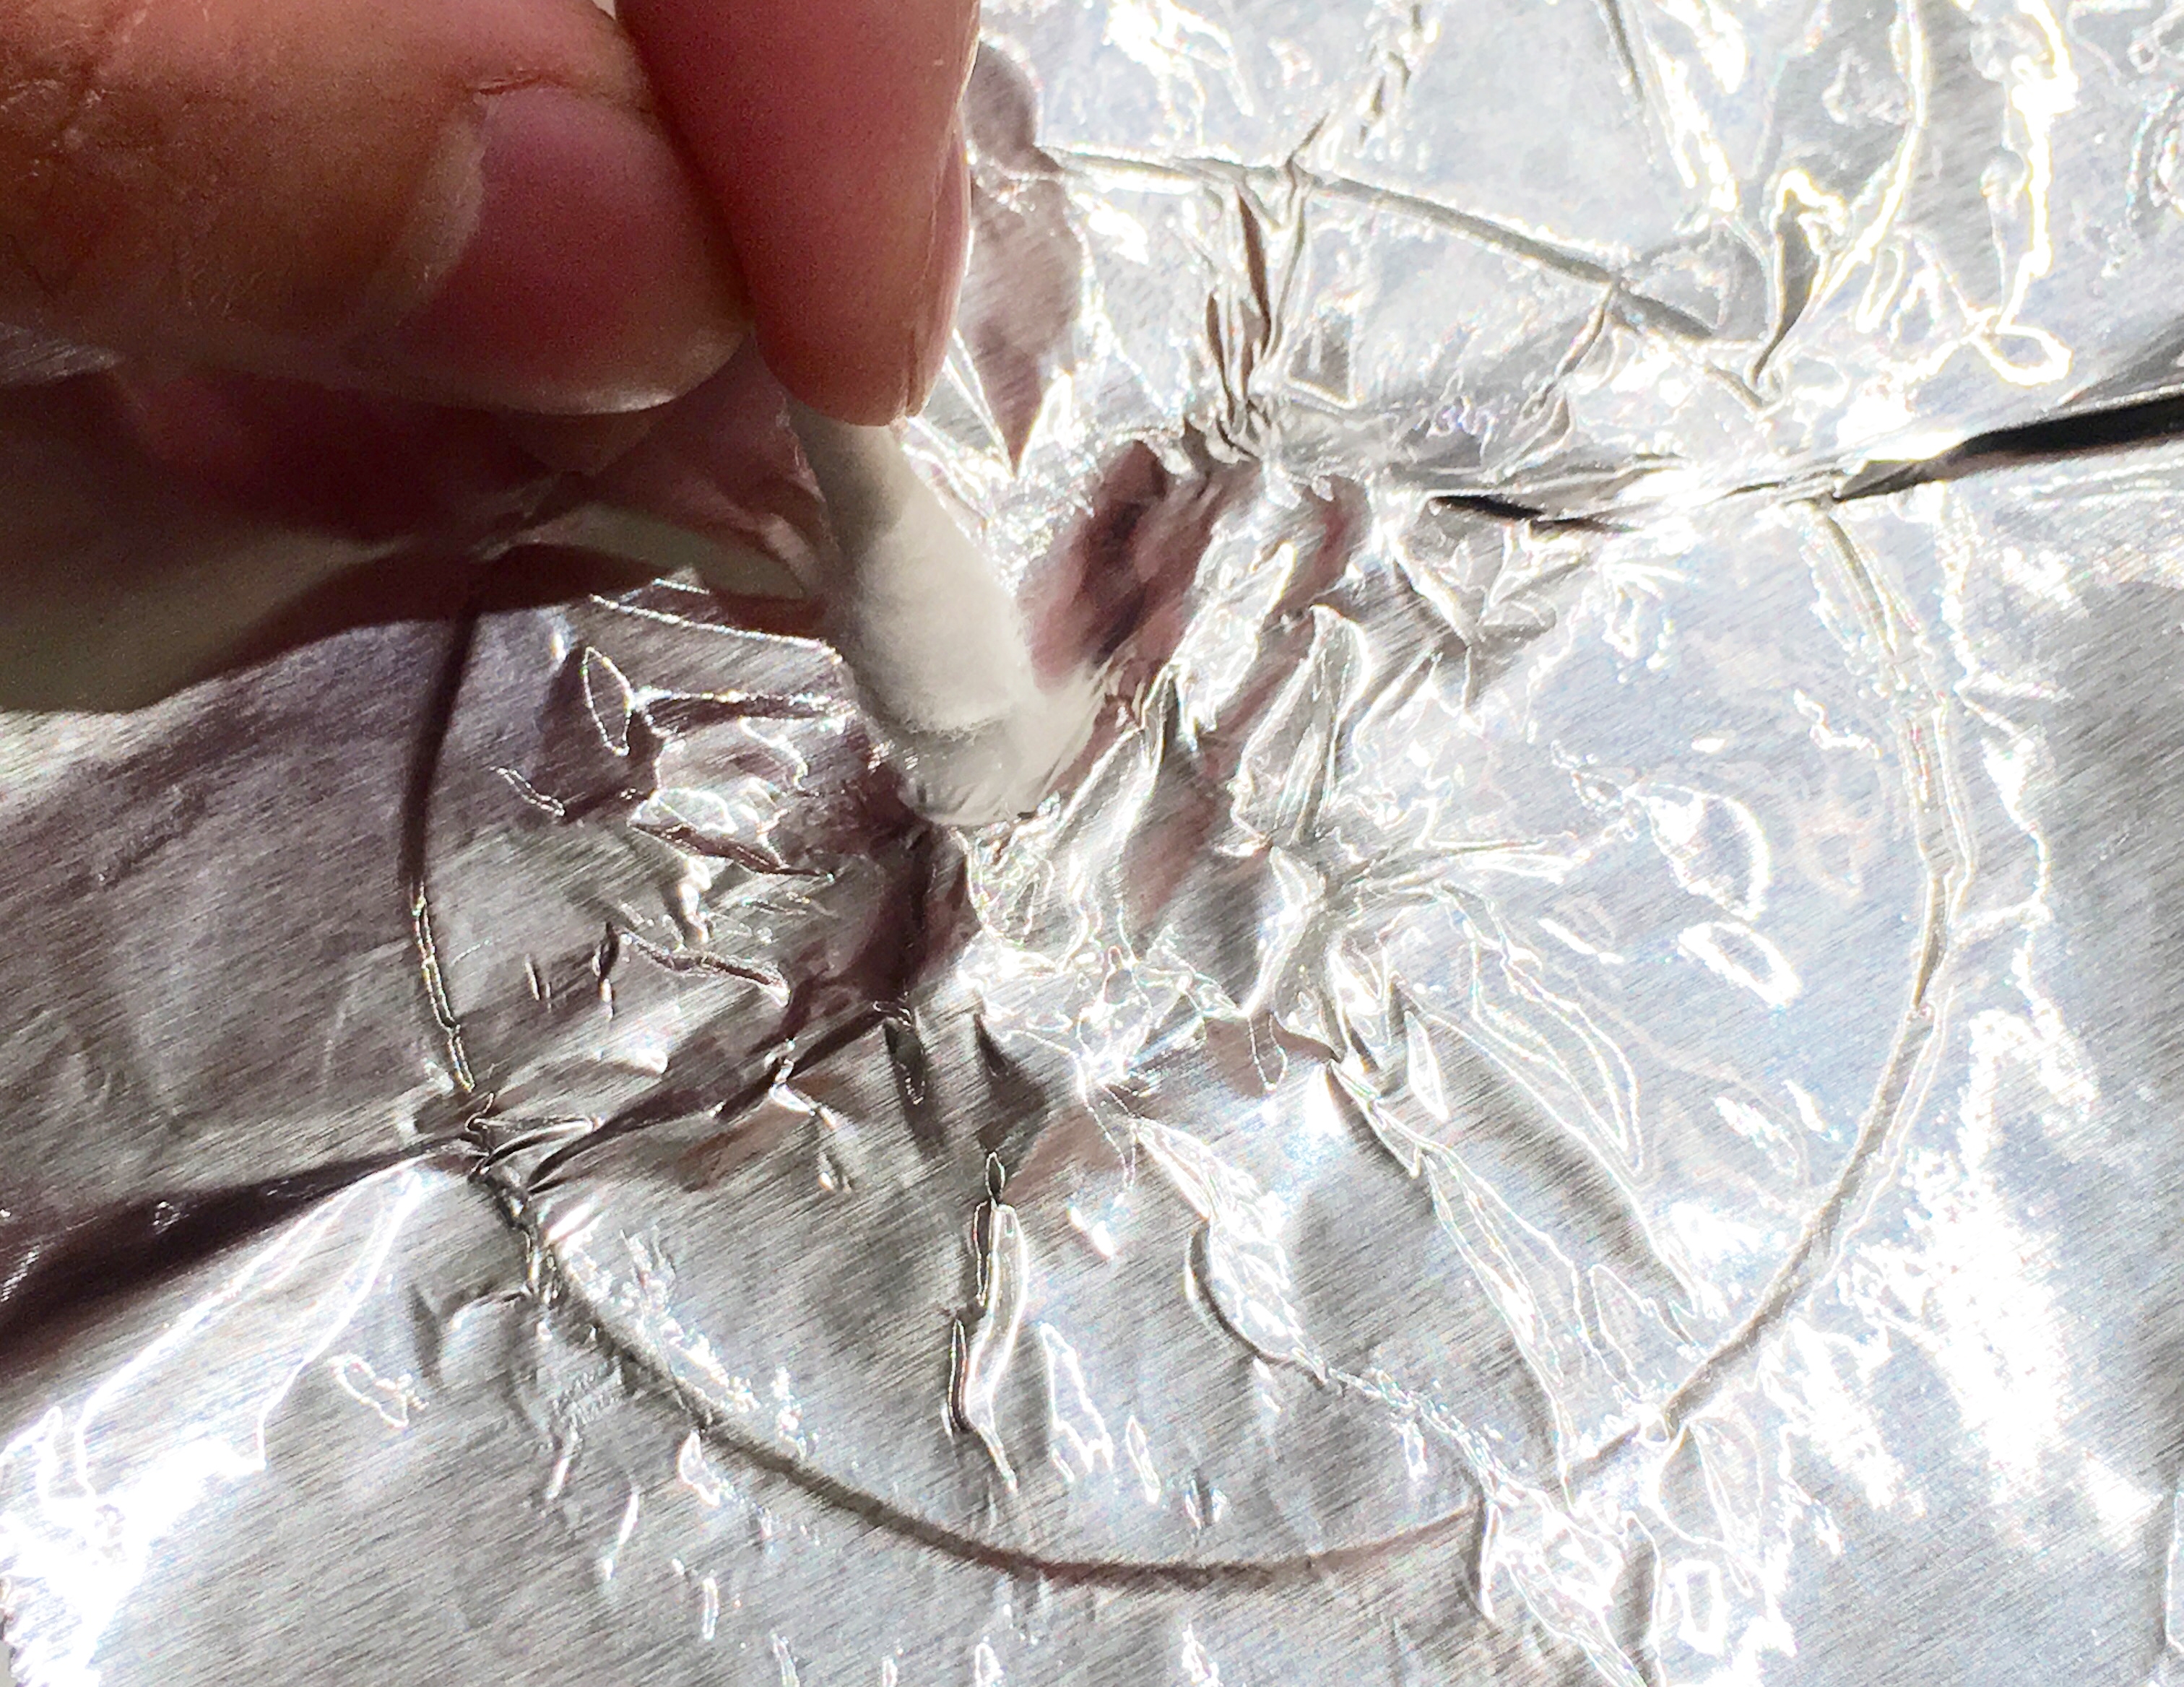
Cut out a sheet of aluminum foil big enough to wrap the front and back of your coin. Place the foil over the coin and use a cotton swab to rub the foil to allow the traced glue to show through.
Step 5
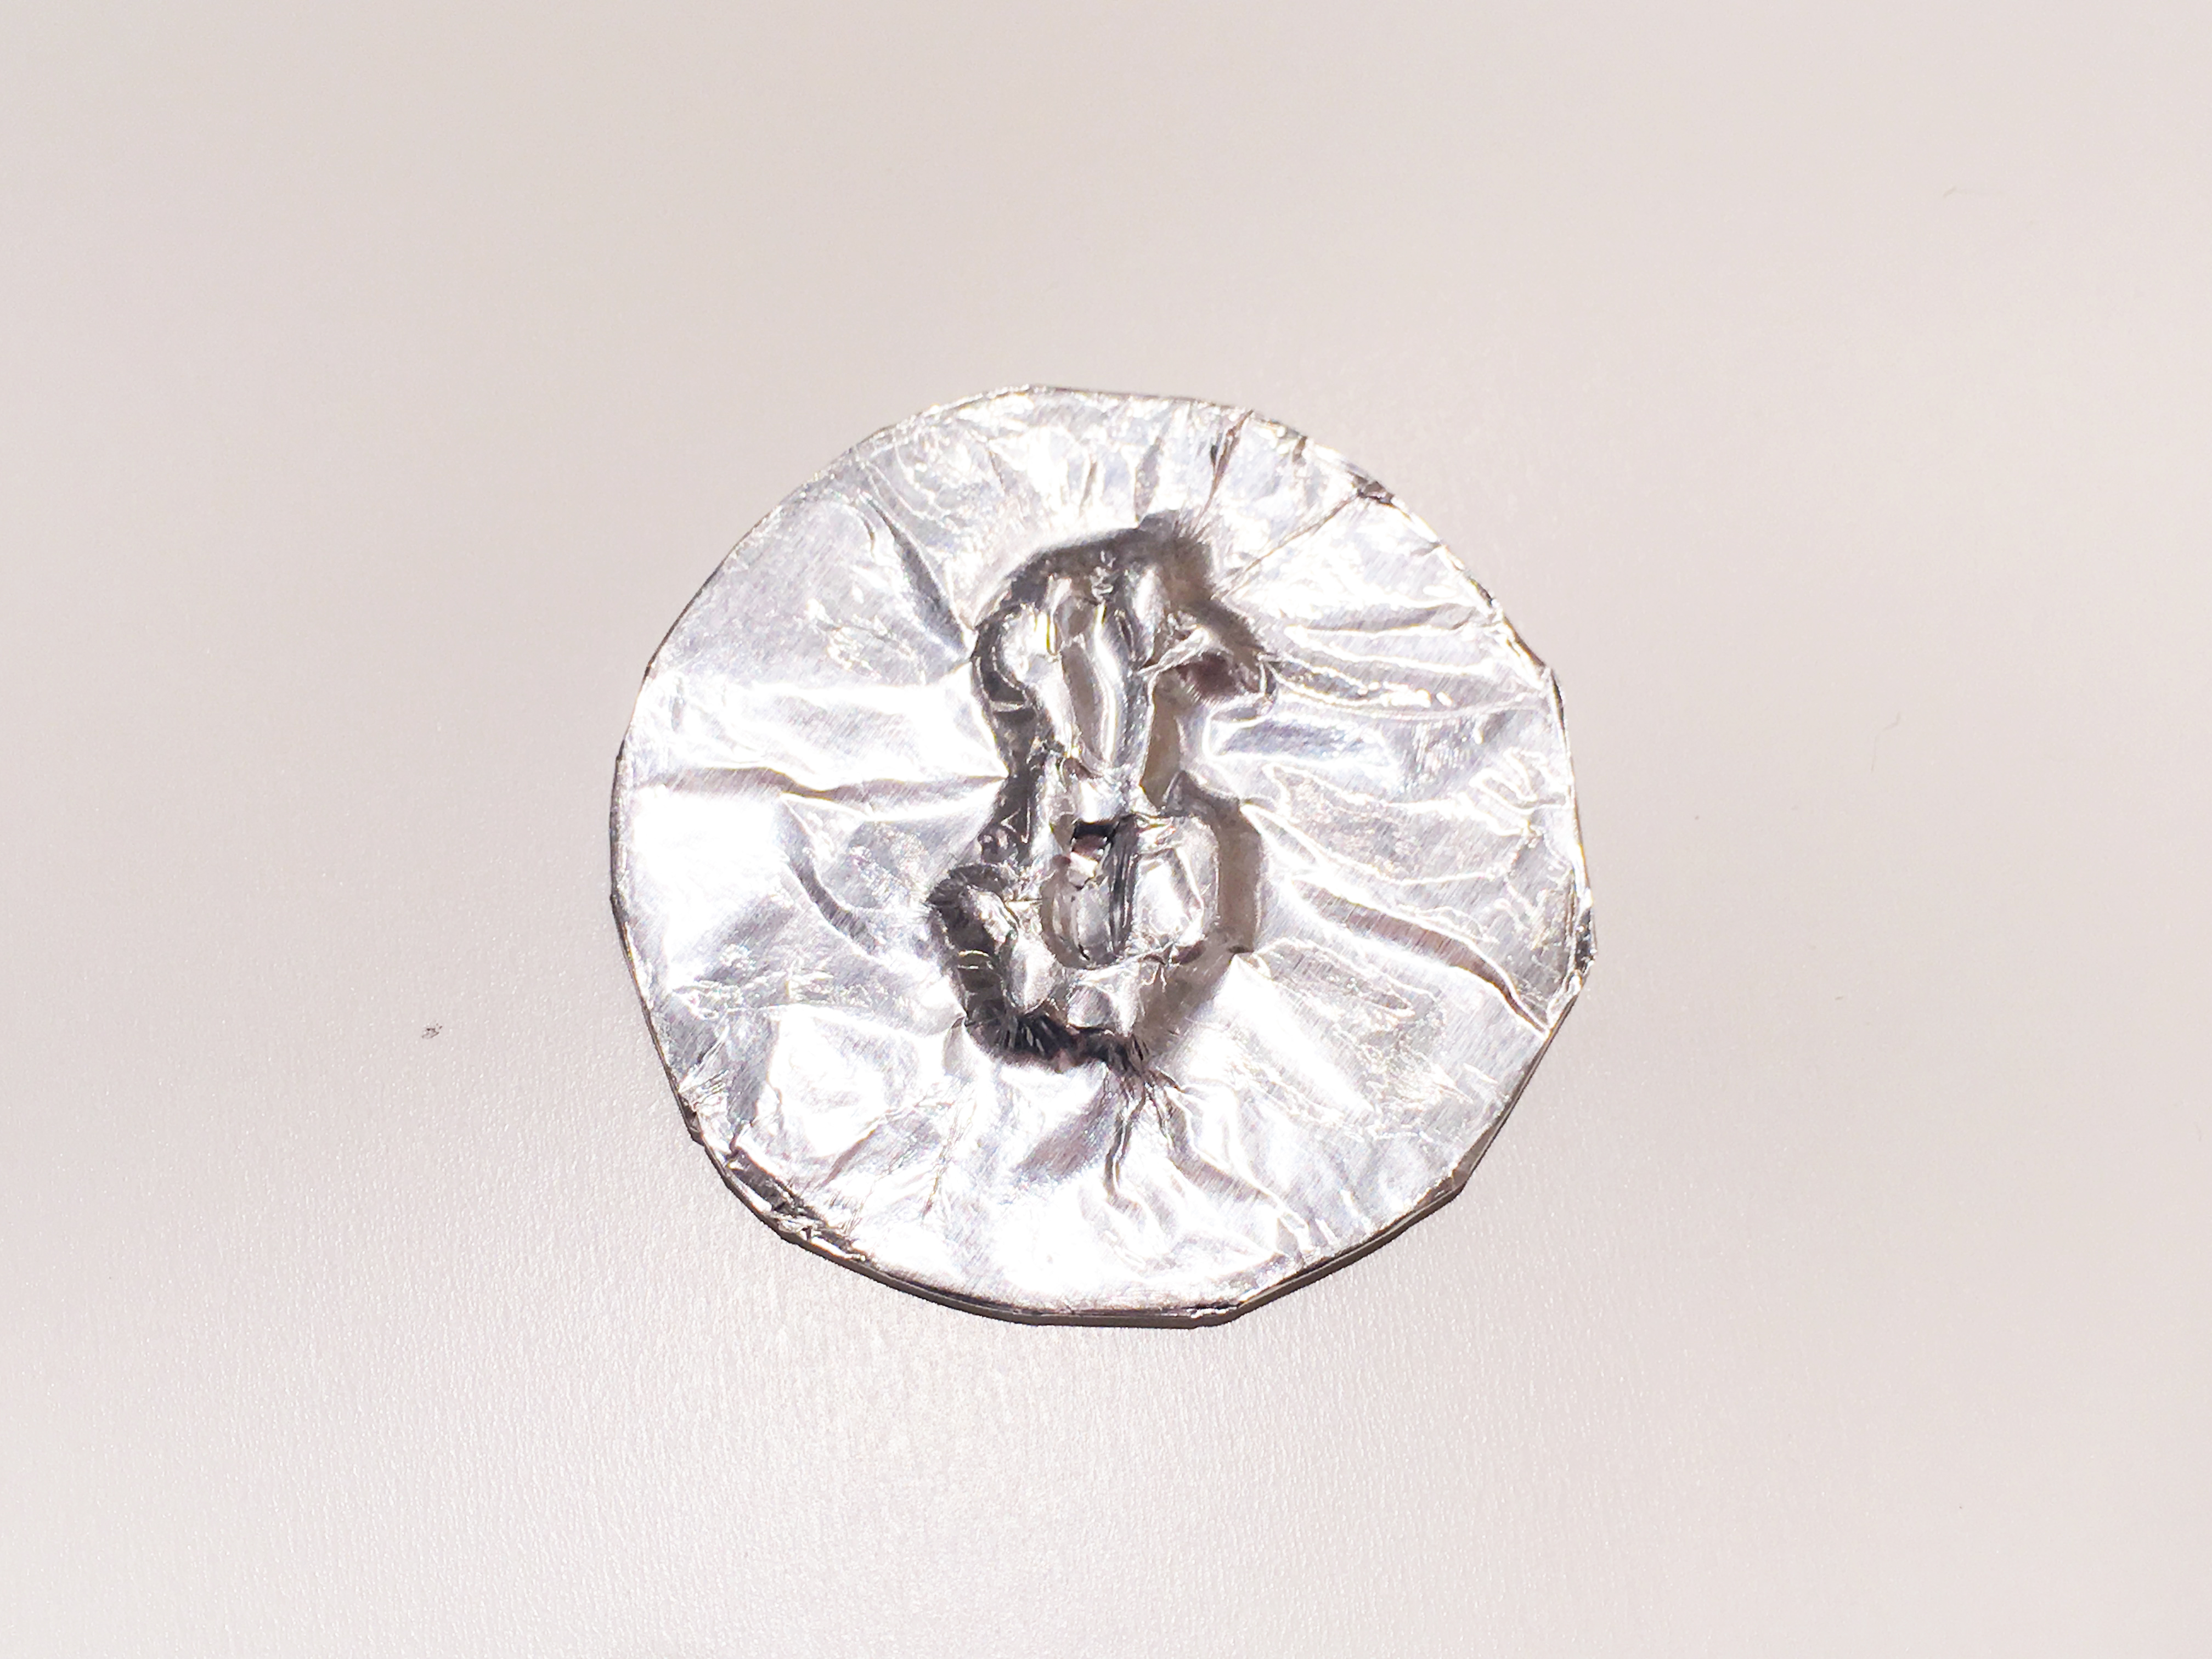
When you can see your design emerge on the foil, fold the excess of the foil to the back of the coin.
Step 6
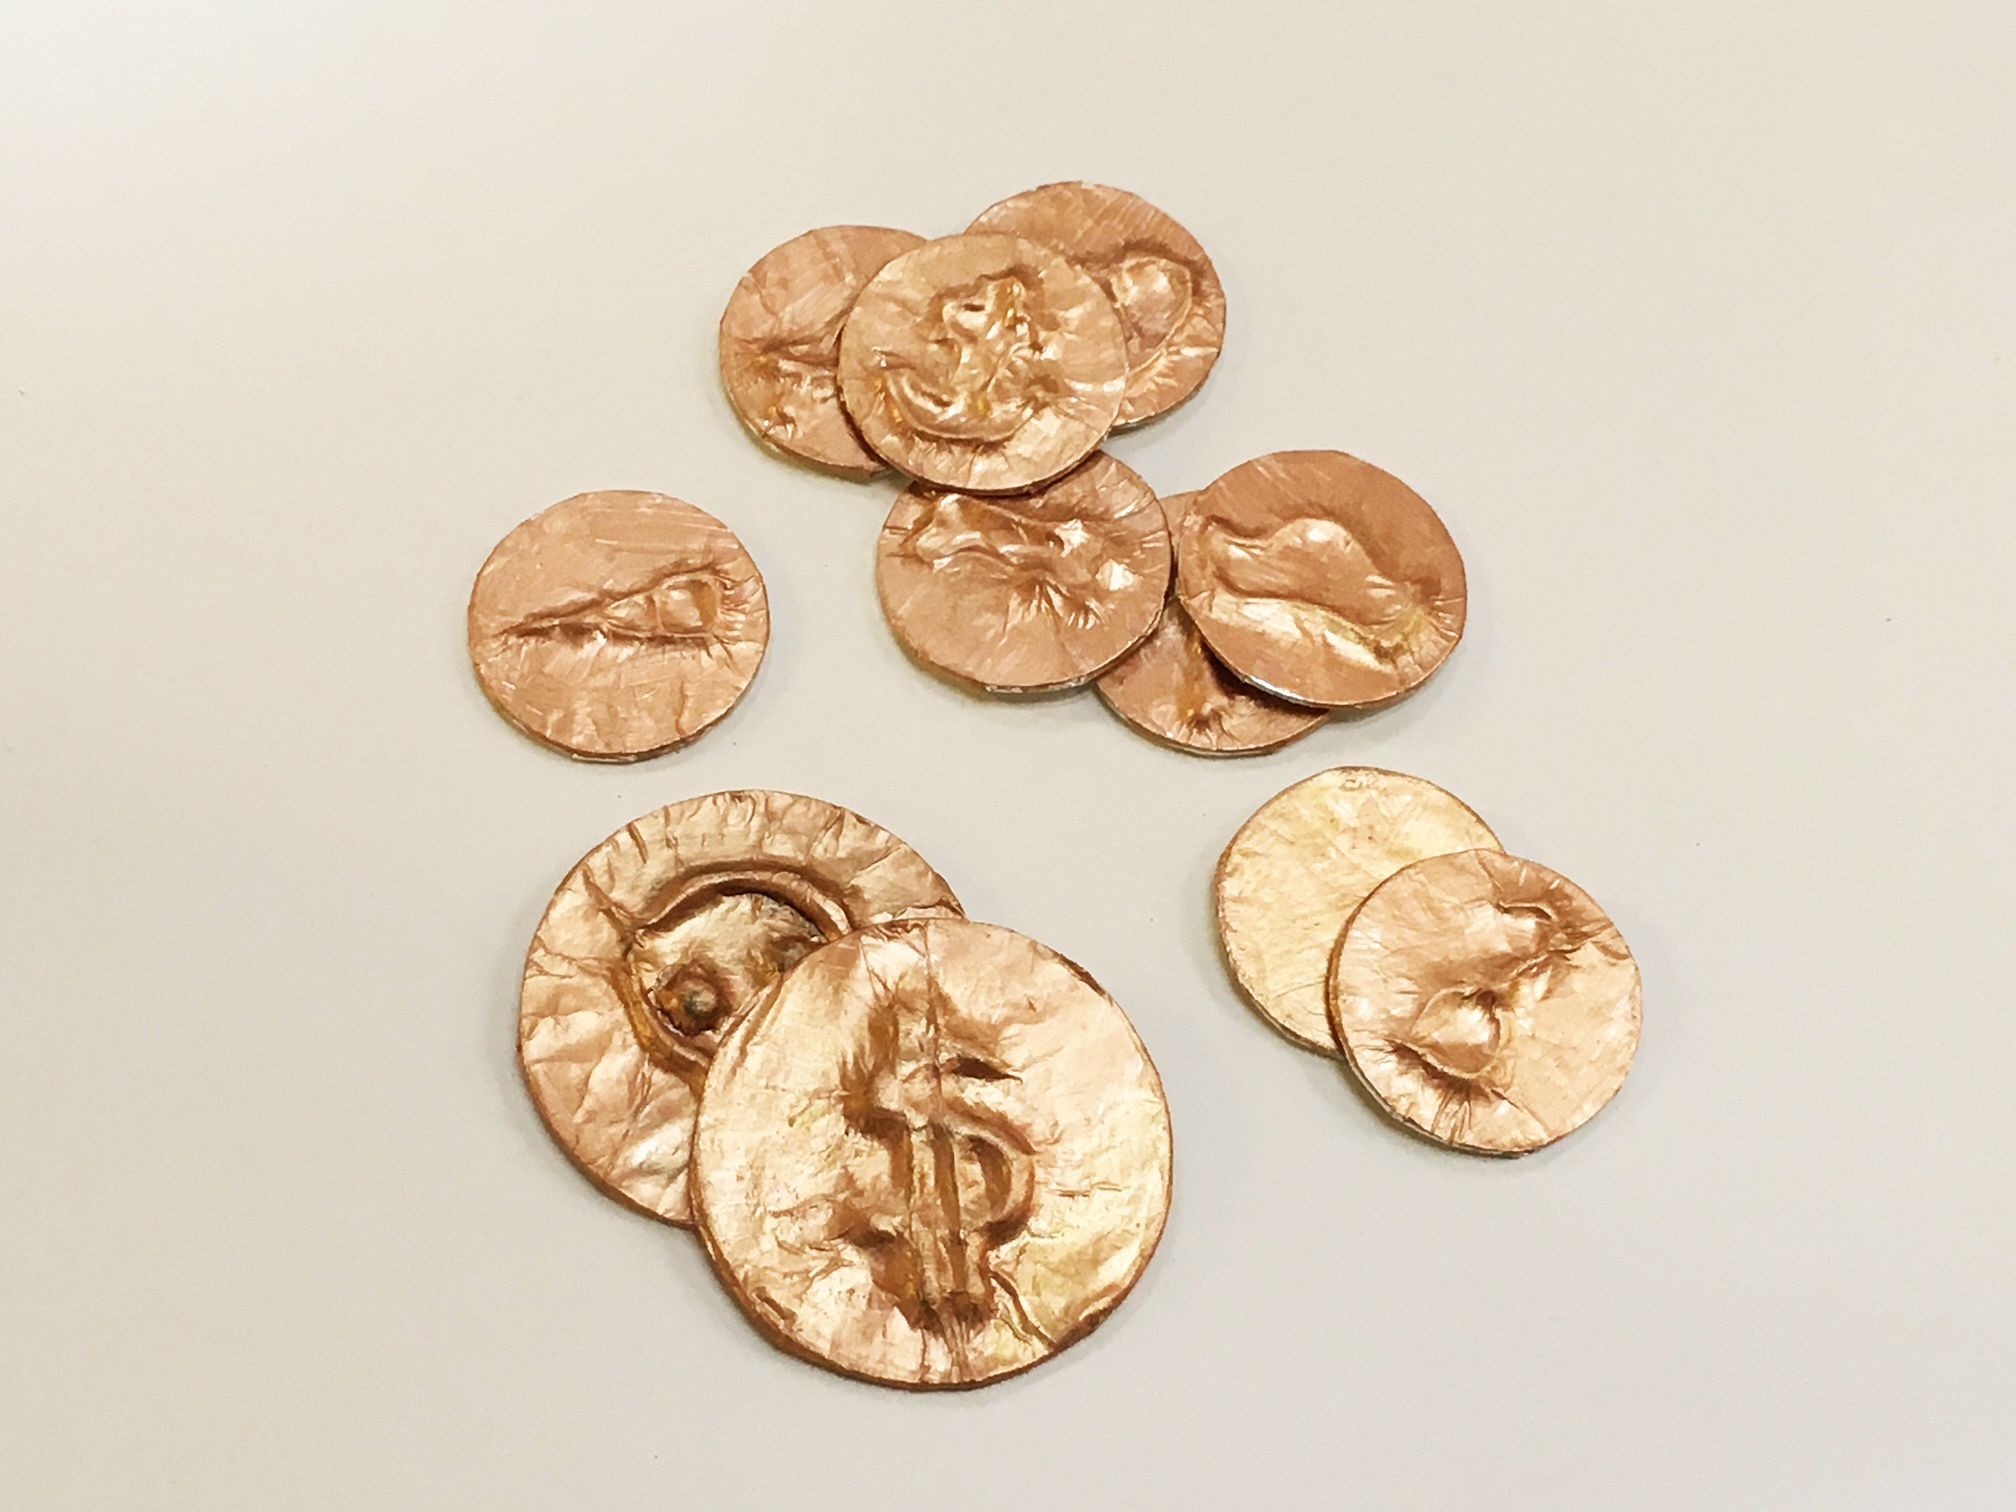
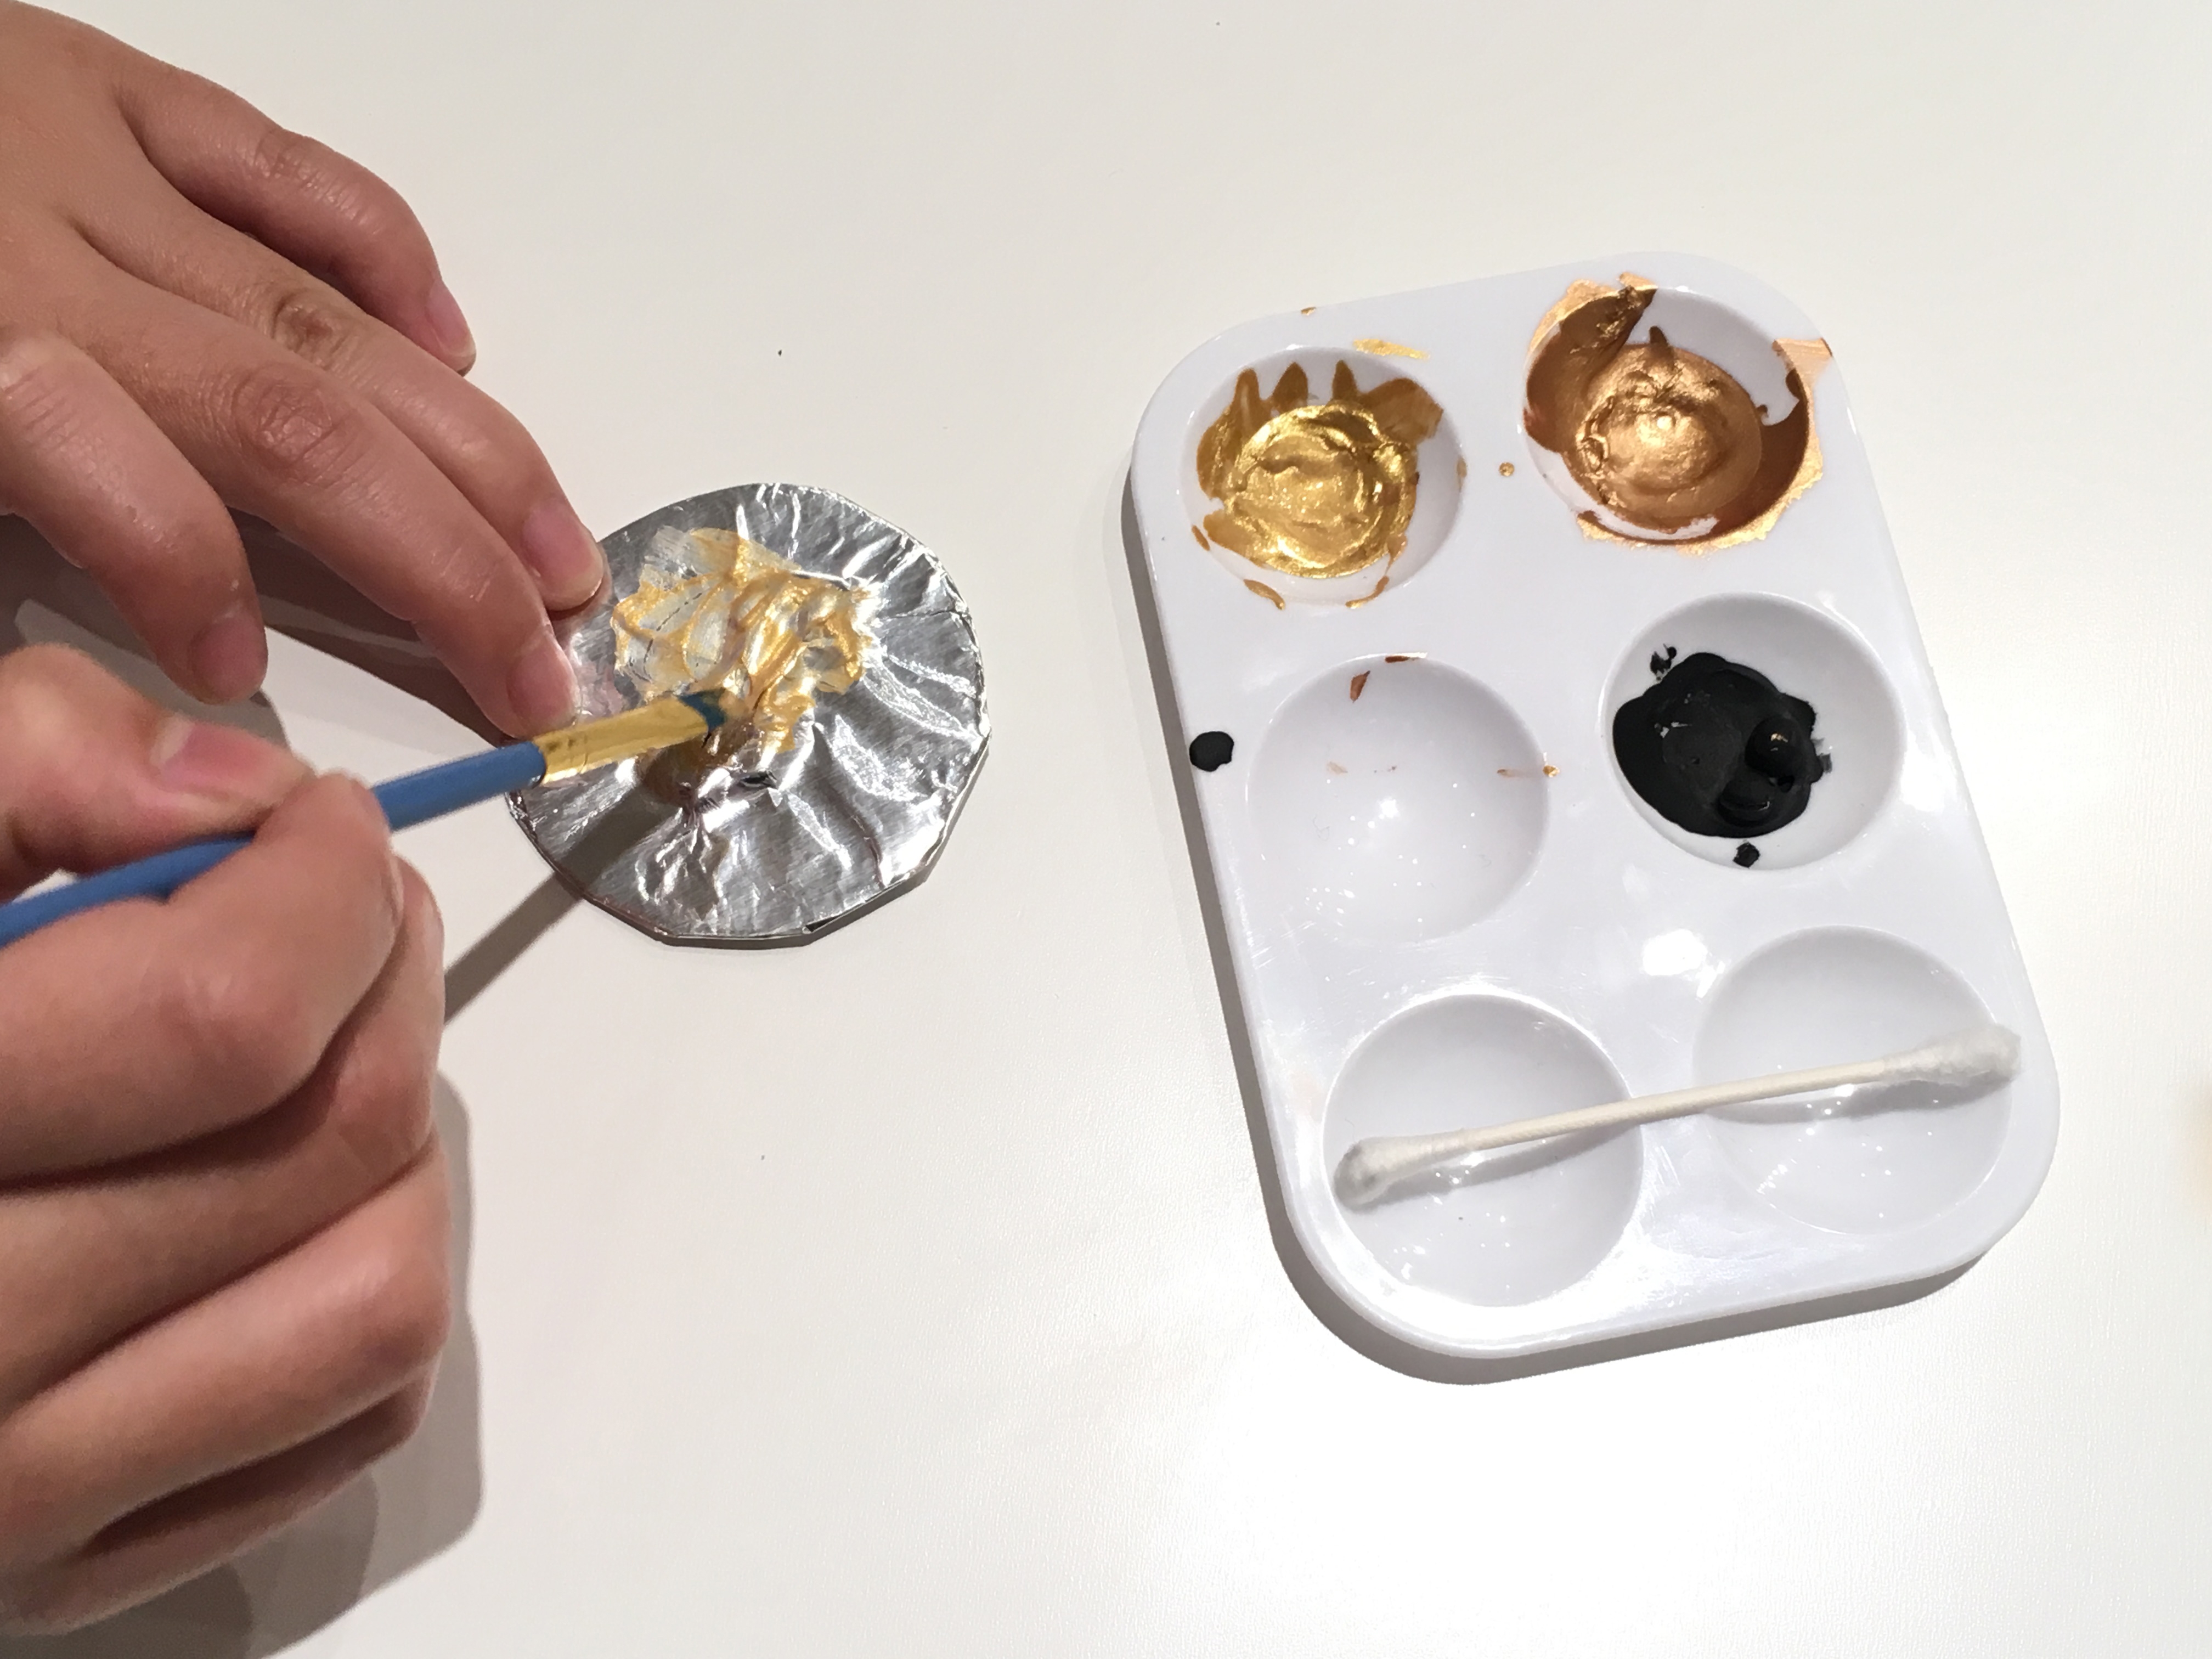
Now it's time to paint your coins! We used gold as our pirate color, but add more colors as you wish!
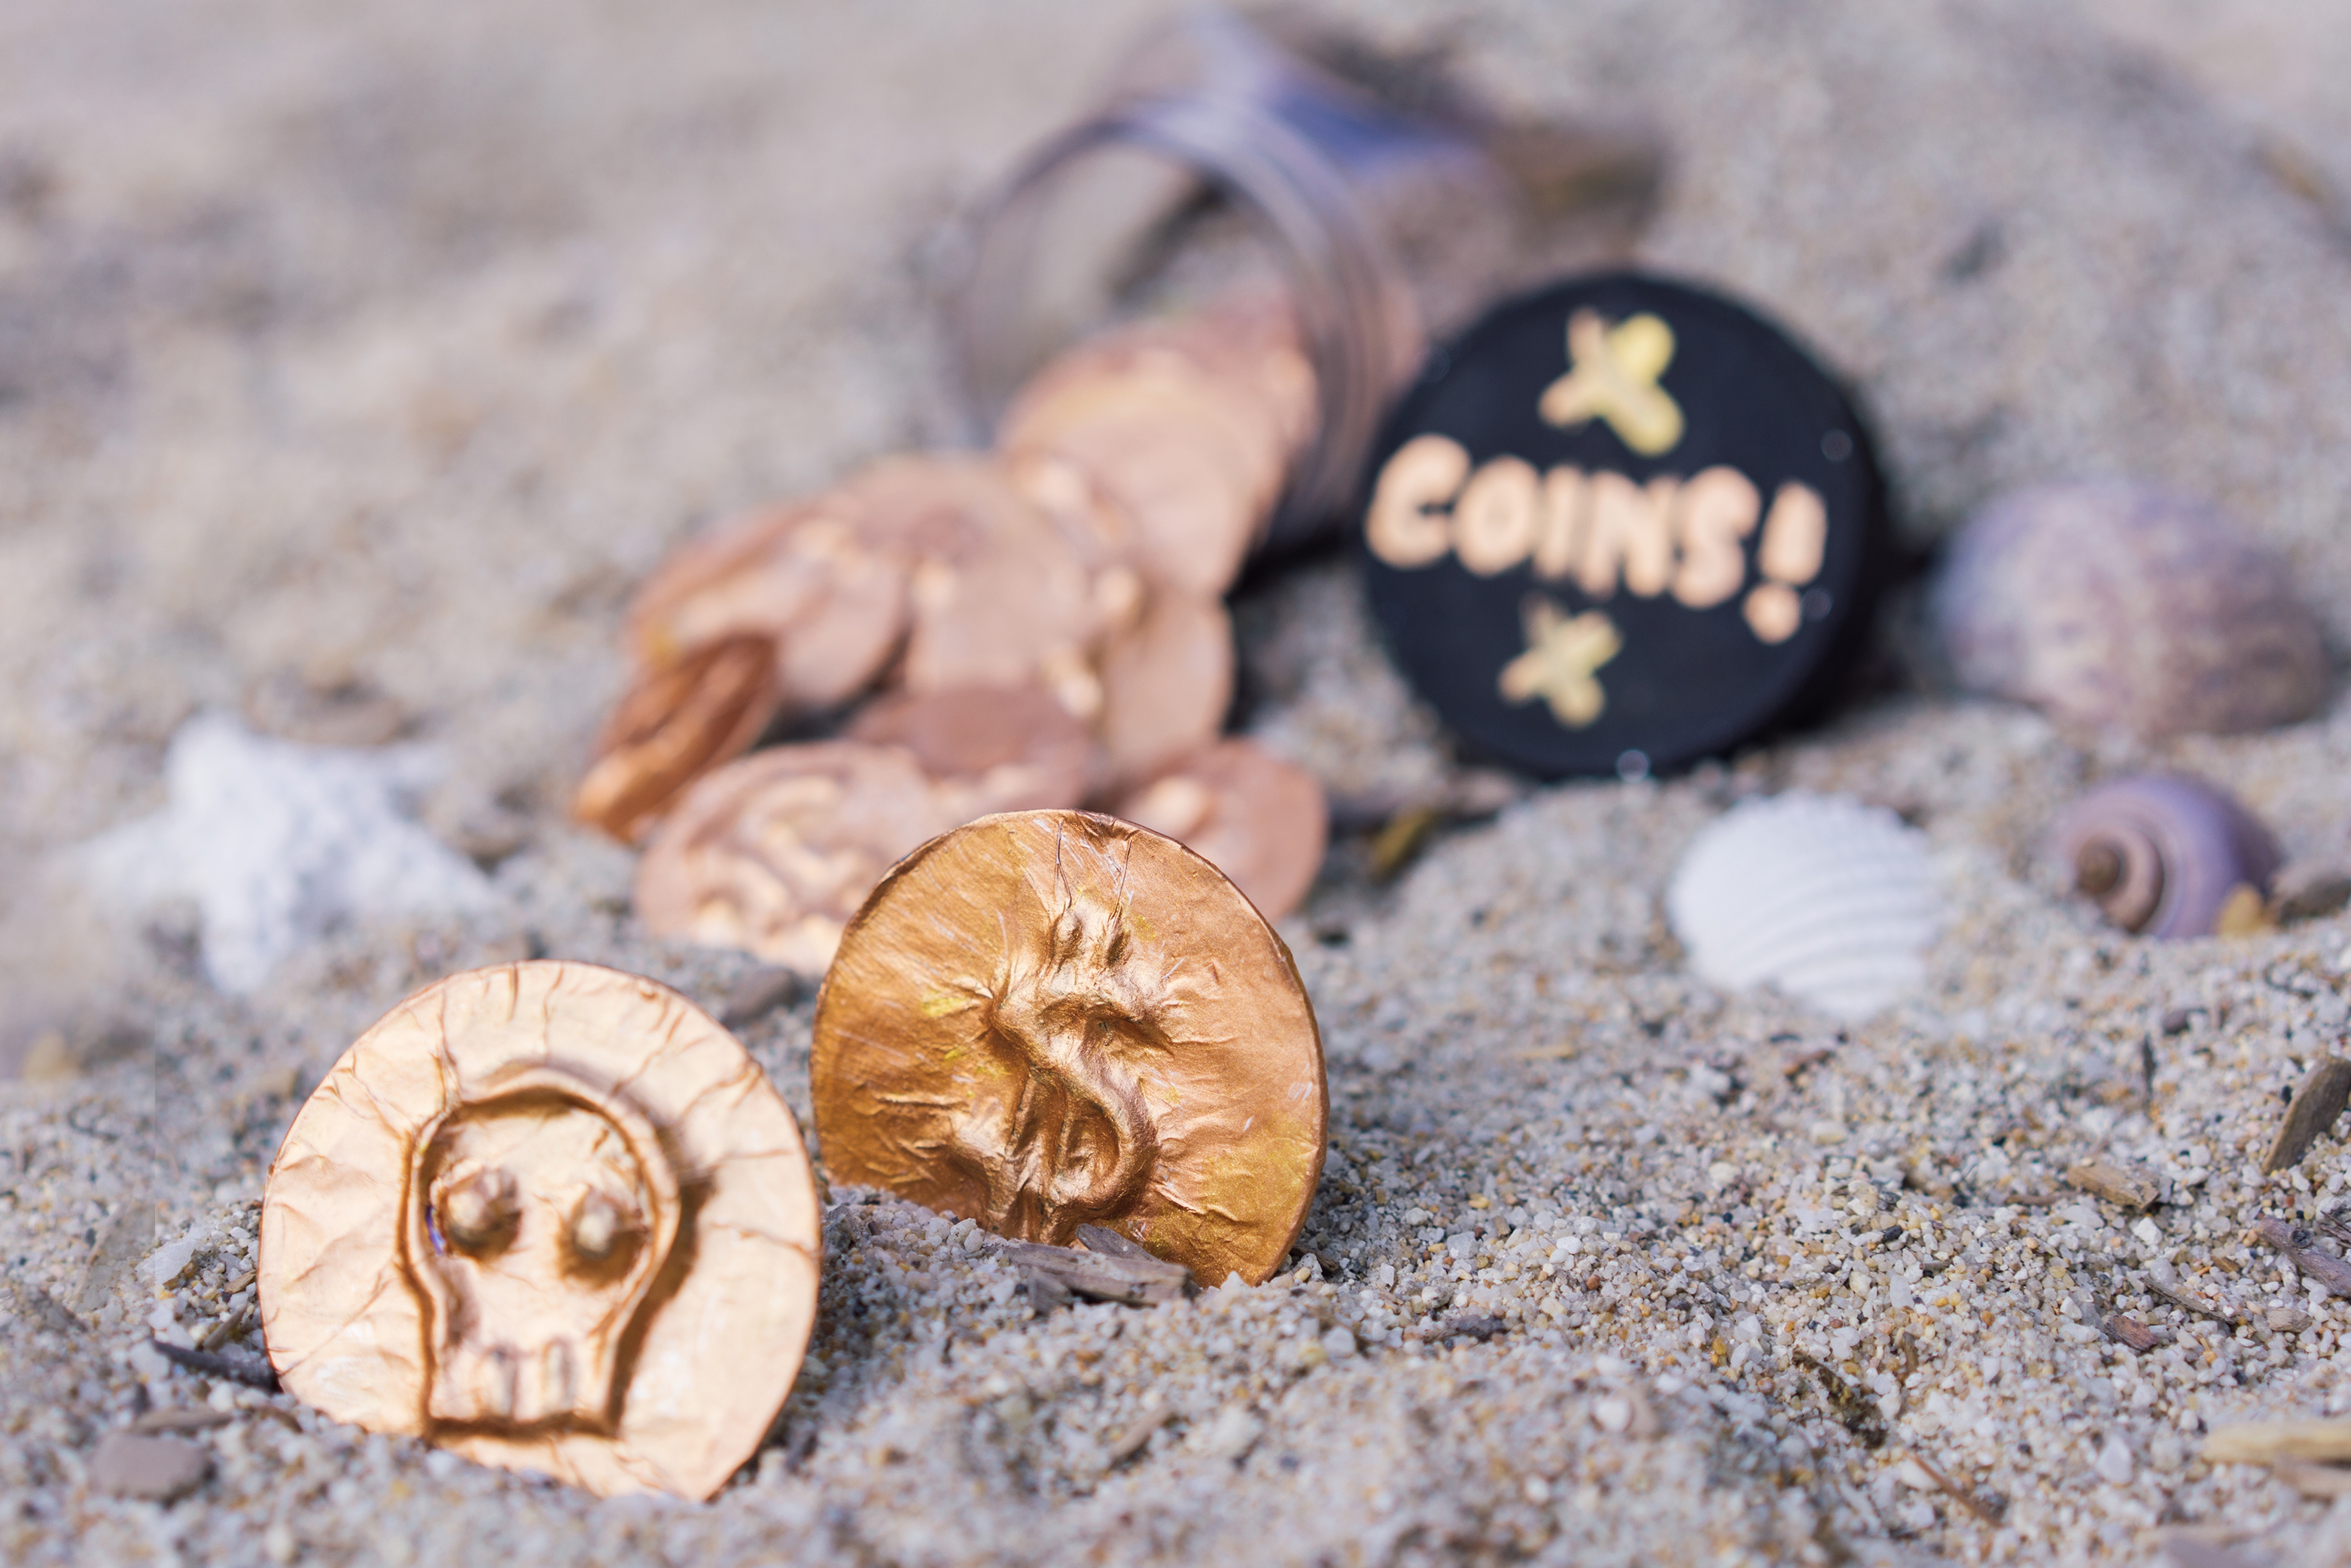
Done!
Let your coins fully dry. Ours took about 15 minutes. You may have to wait longer depending how much paint you used. Once your stash of golden coins is ready, find a safe place to bury your treasure!