Eraser Stamps

Do you have a ton of pink erasers scattered around the house or filling up your junk drawer? Give them a new purpose and make your own stamps with this fun and easy to do craft!

  1. Ages: 3 - 8

  2. 30 minutes - 1 hour

  3. Messy

Tags:

Materials you'll need

Step-by-step tutorial

  • Step 1

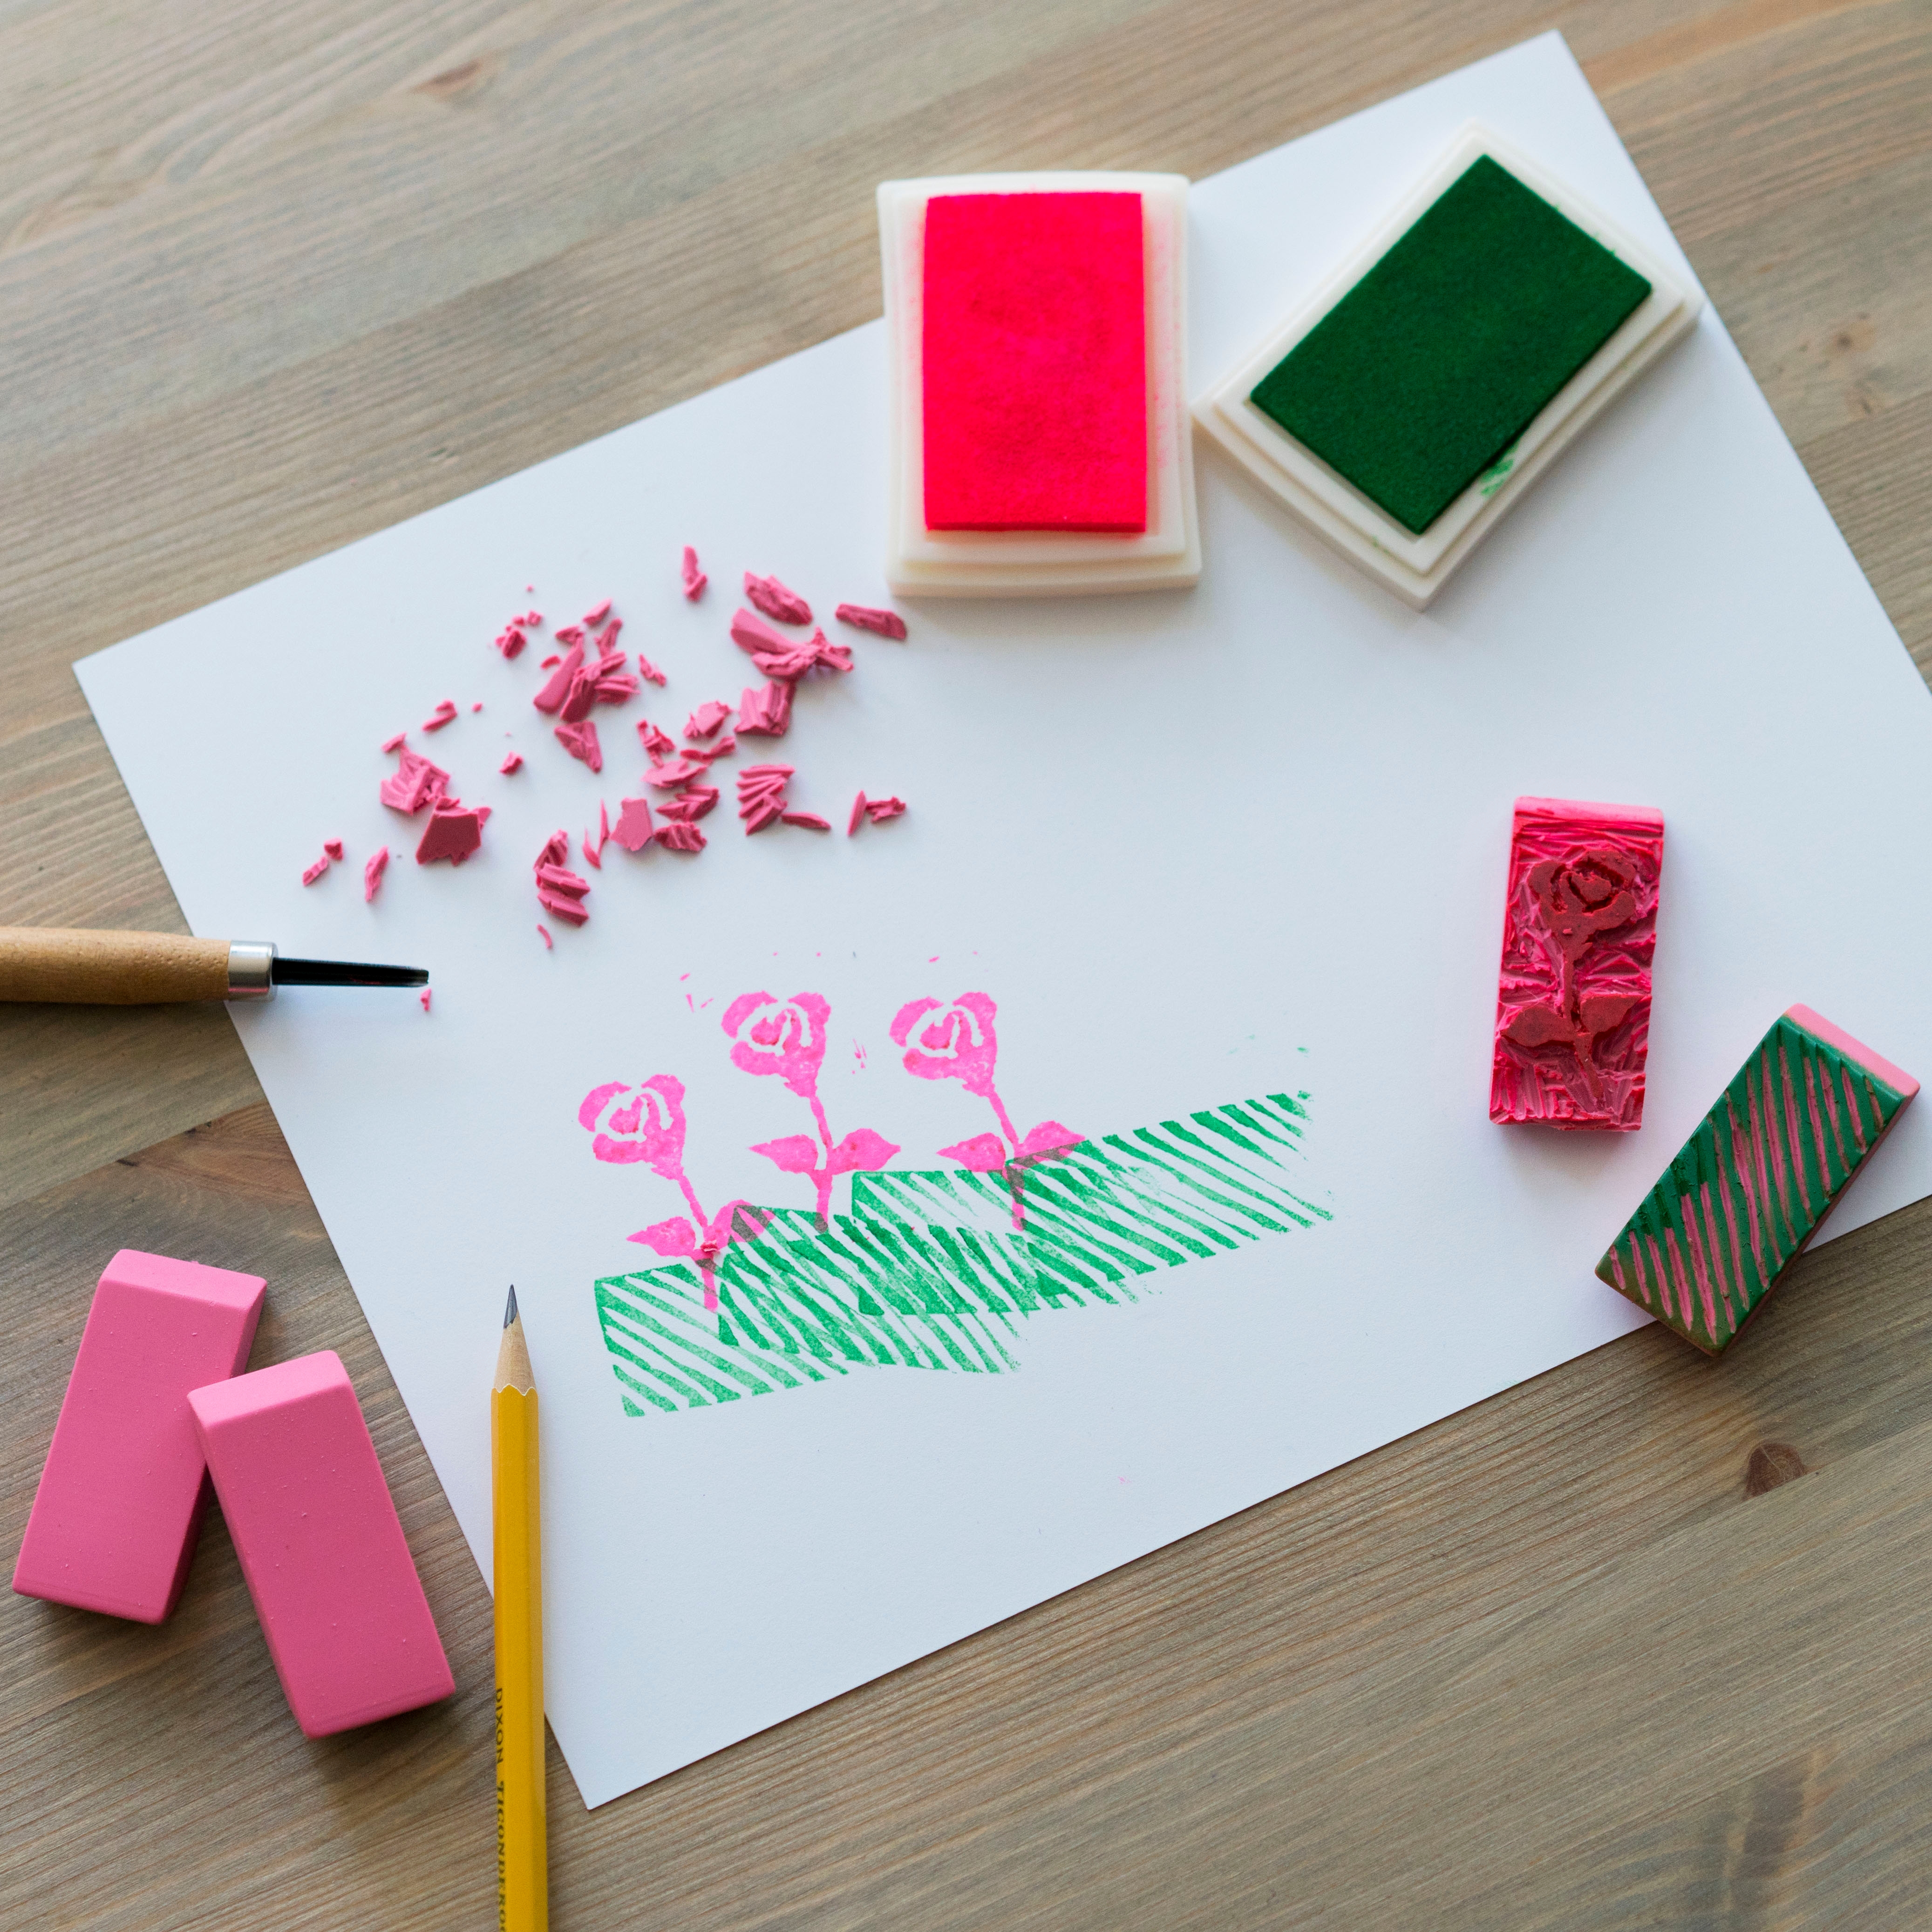
    Gather your materials.

    Photo reference of how to complete step 1

  • Step 2

    Draw a design on an eraser with a pencil. For designs with words, make sure to write the letters backwards and starting from the right side of the eraser. For asymmetrical designs, flip them vertically so that they appear correctly when stamped.
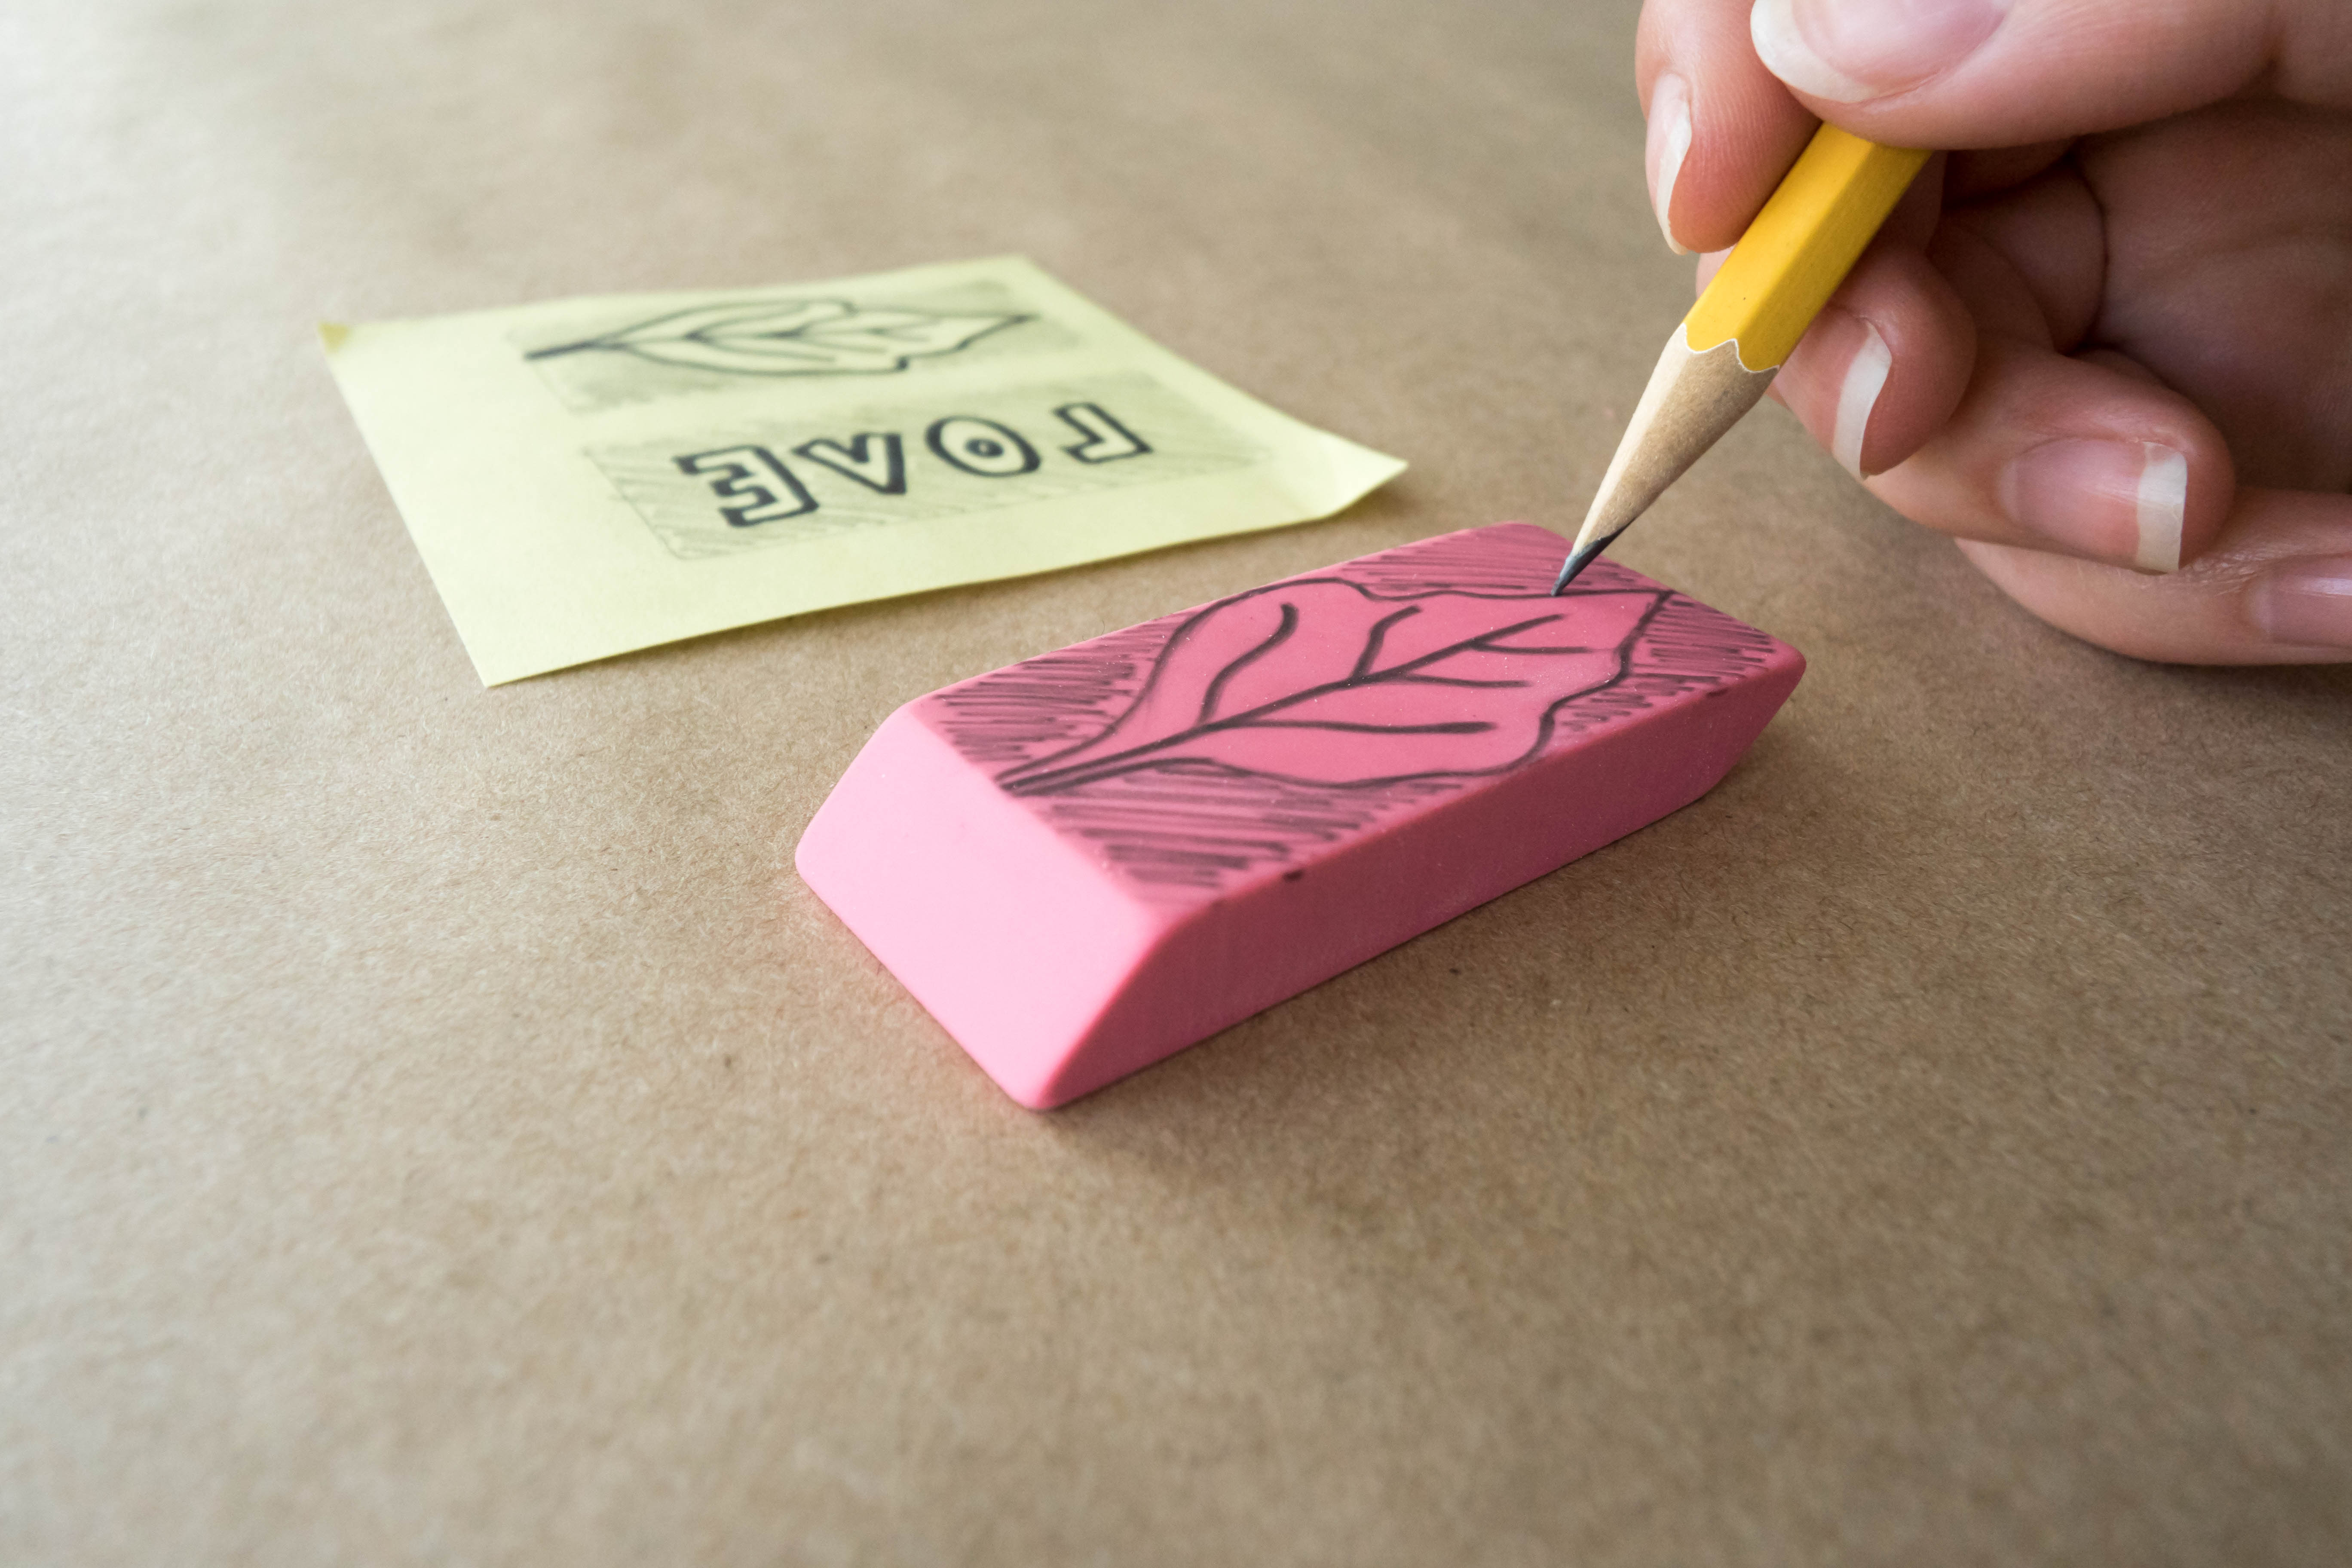
    Photo reference of how to complete step 2

  • Tip

    It helps to shade in the areas you want to carve out and not see on the stamp.
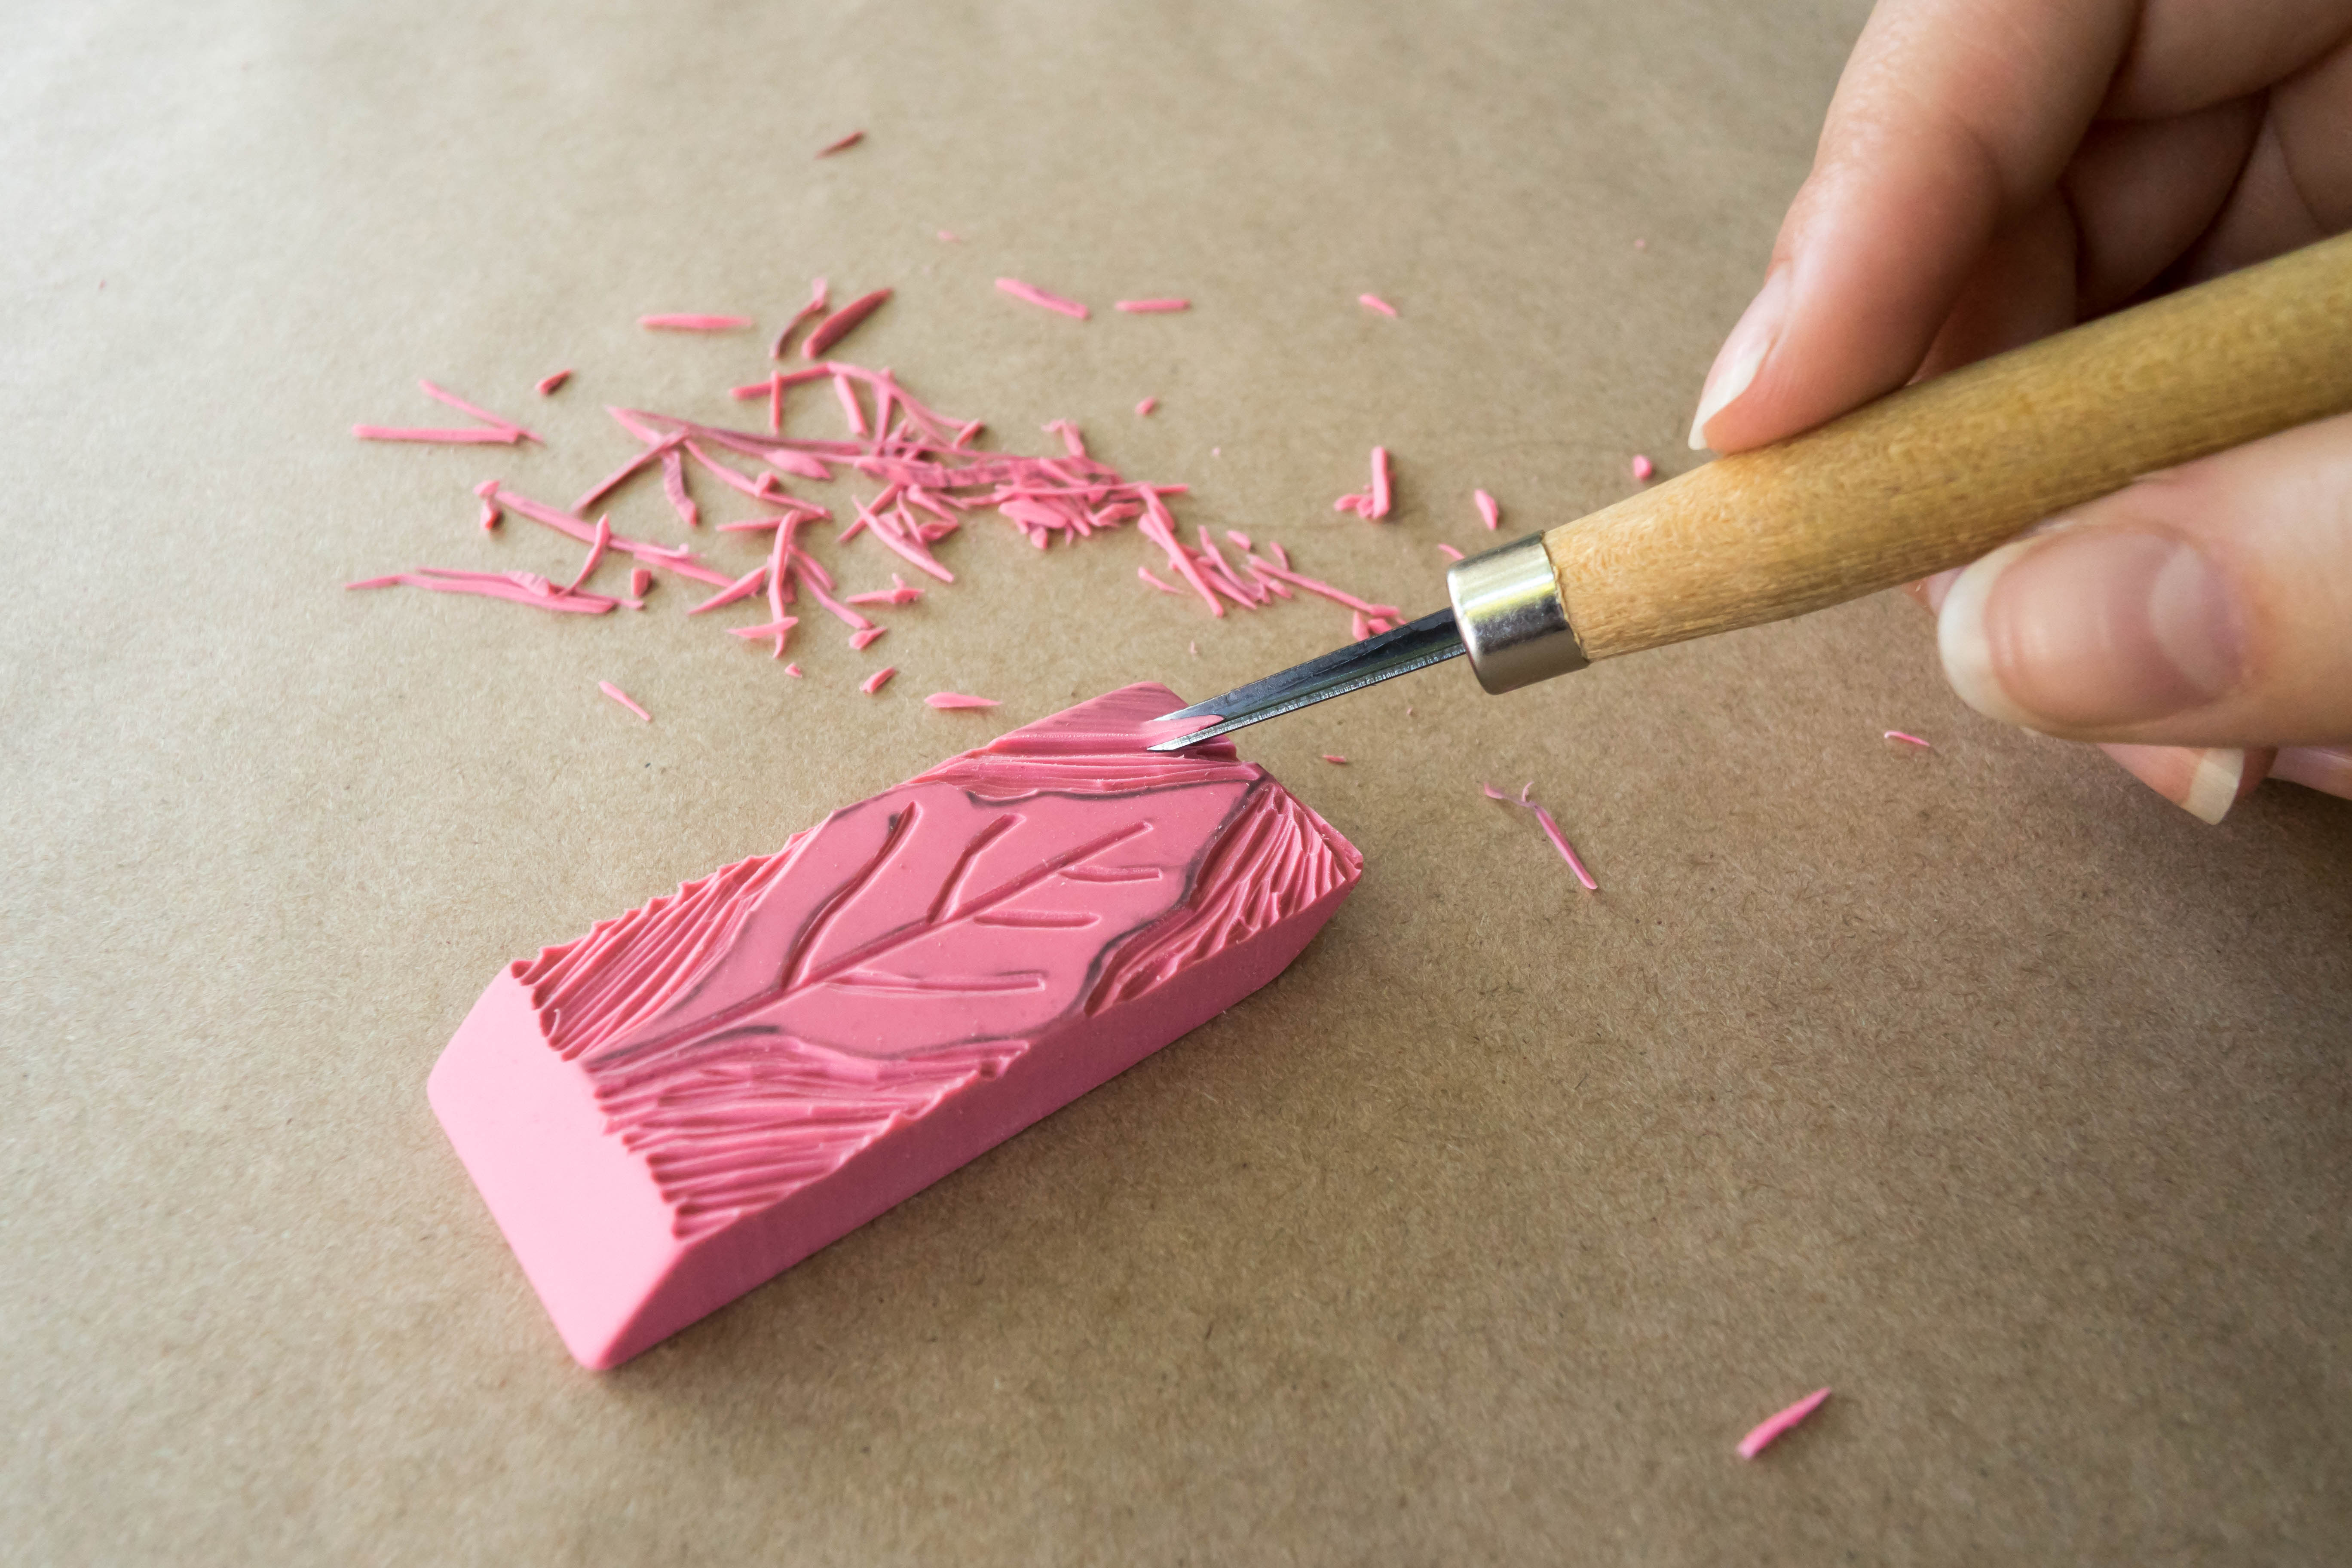
  • Step 3

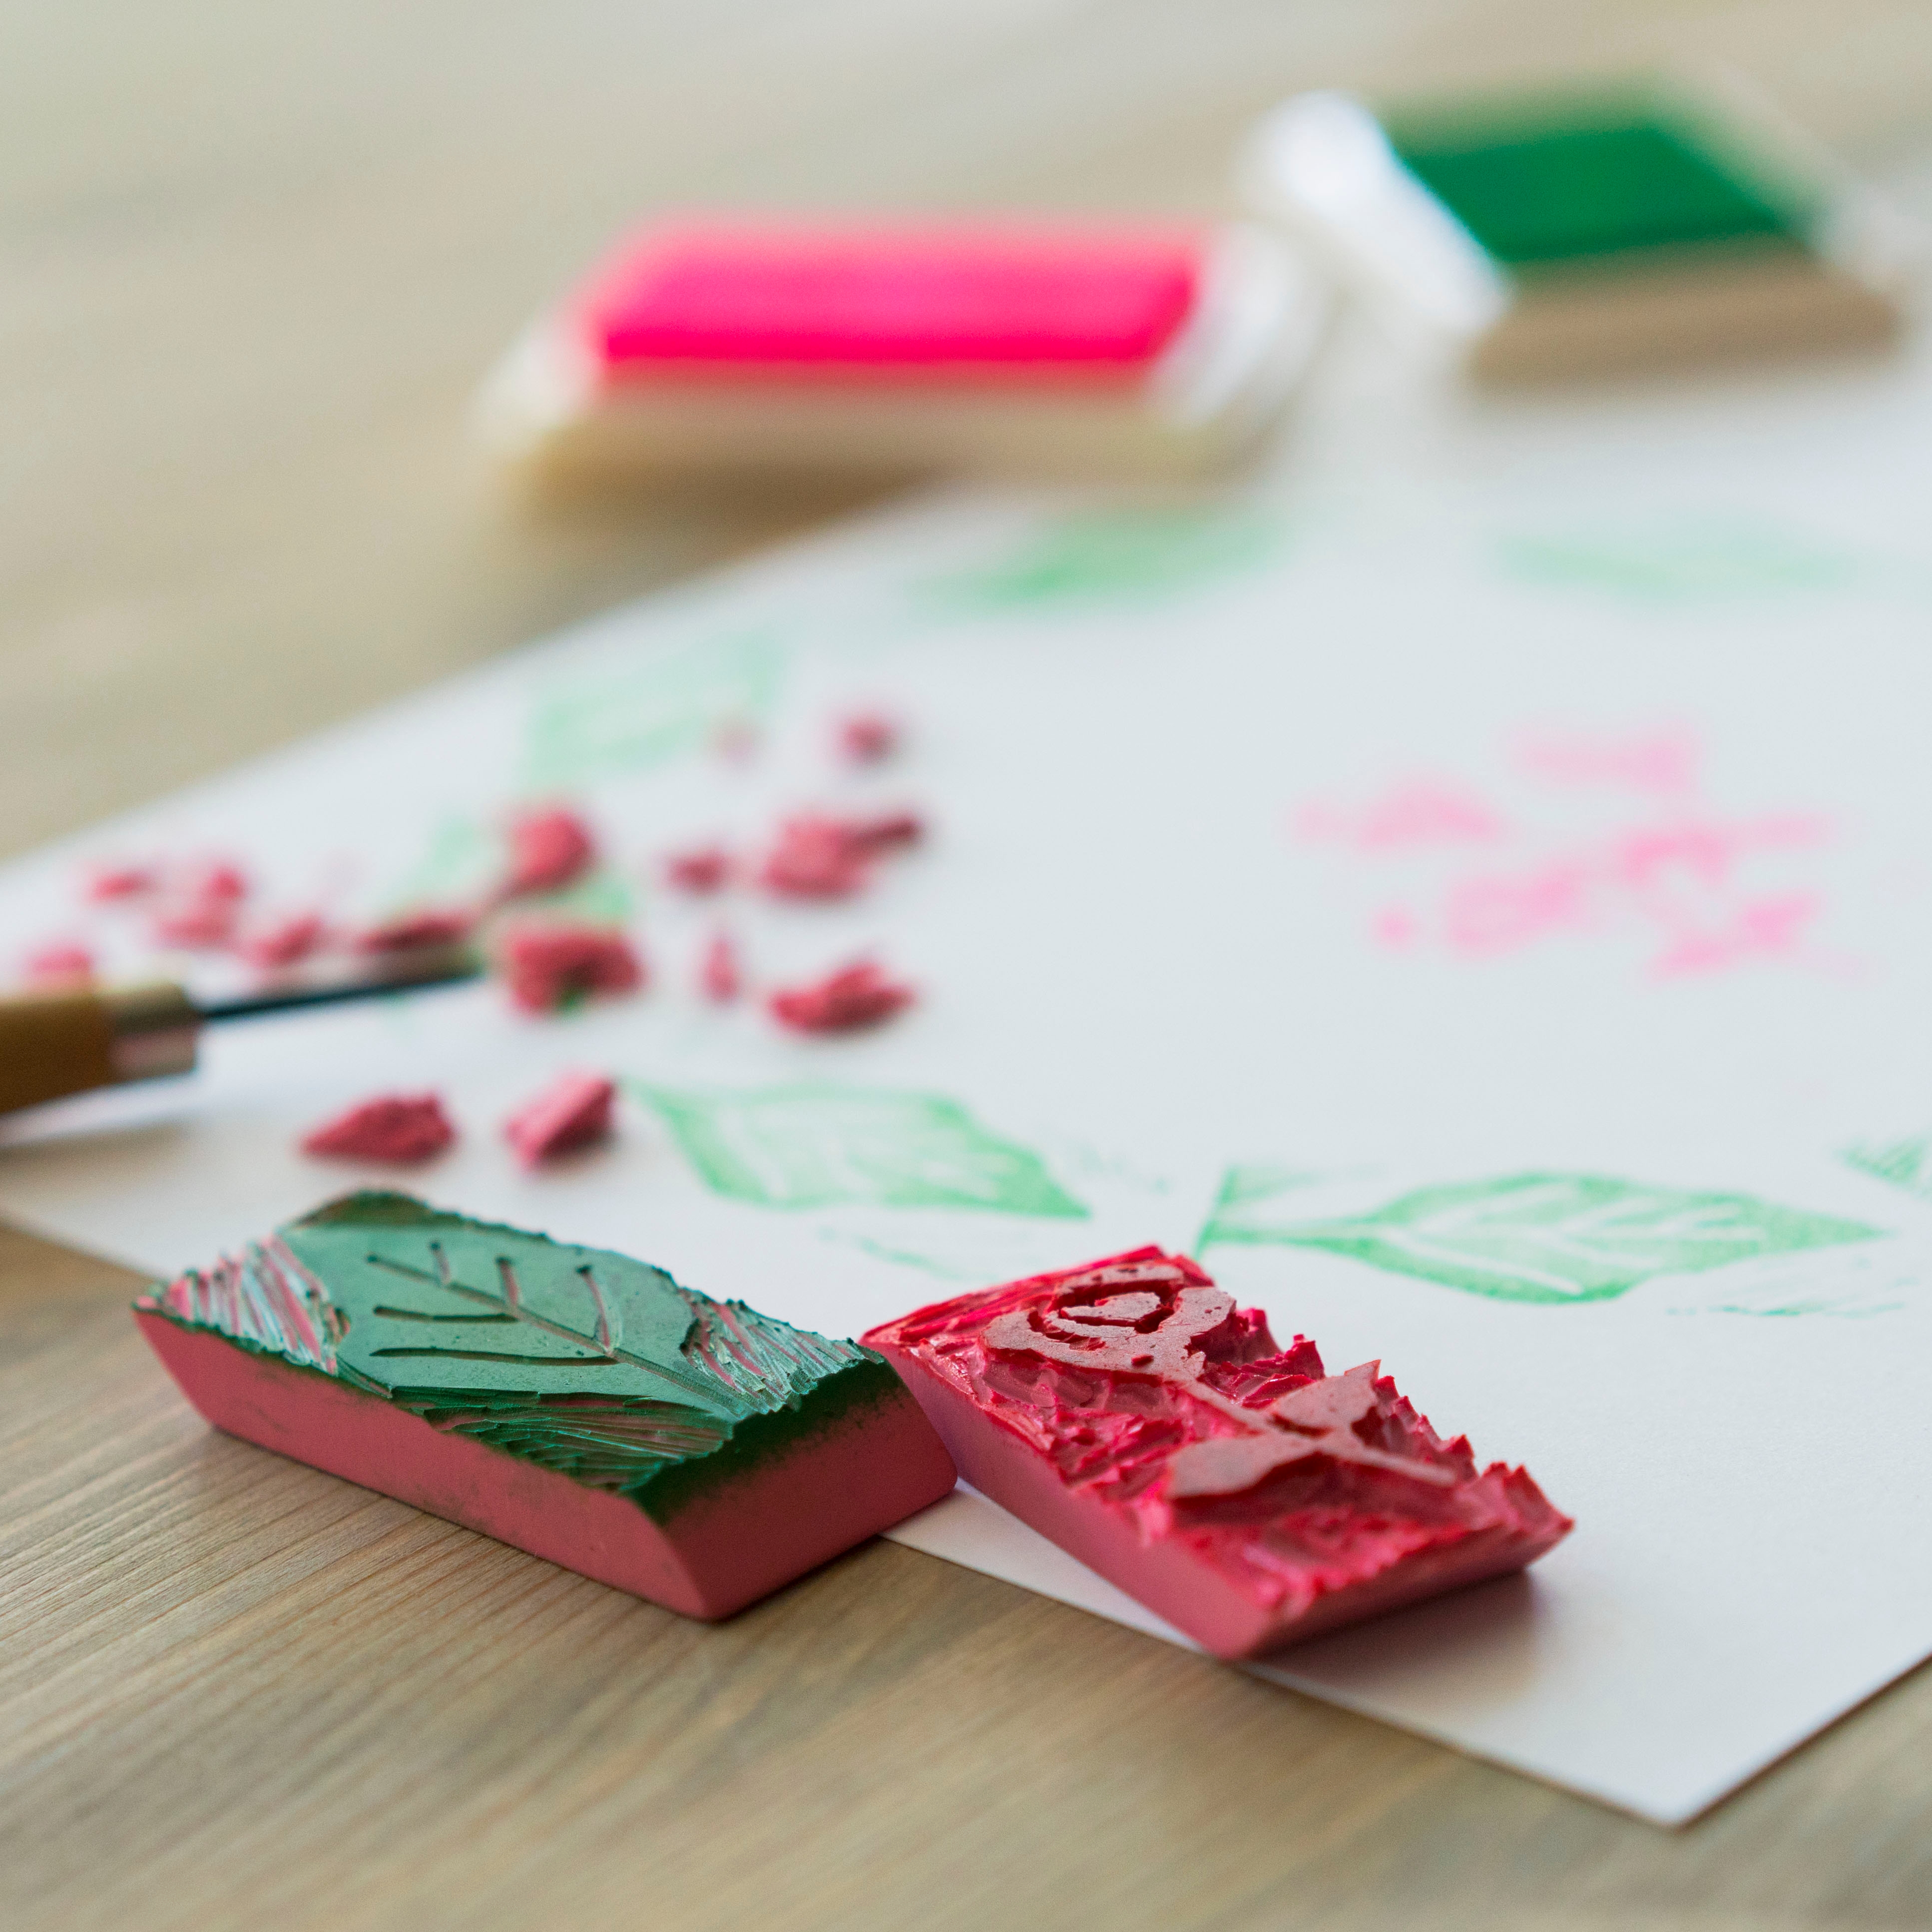
    Using your carving tool, carefully carve out the shaded areas.
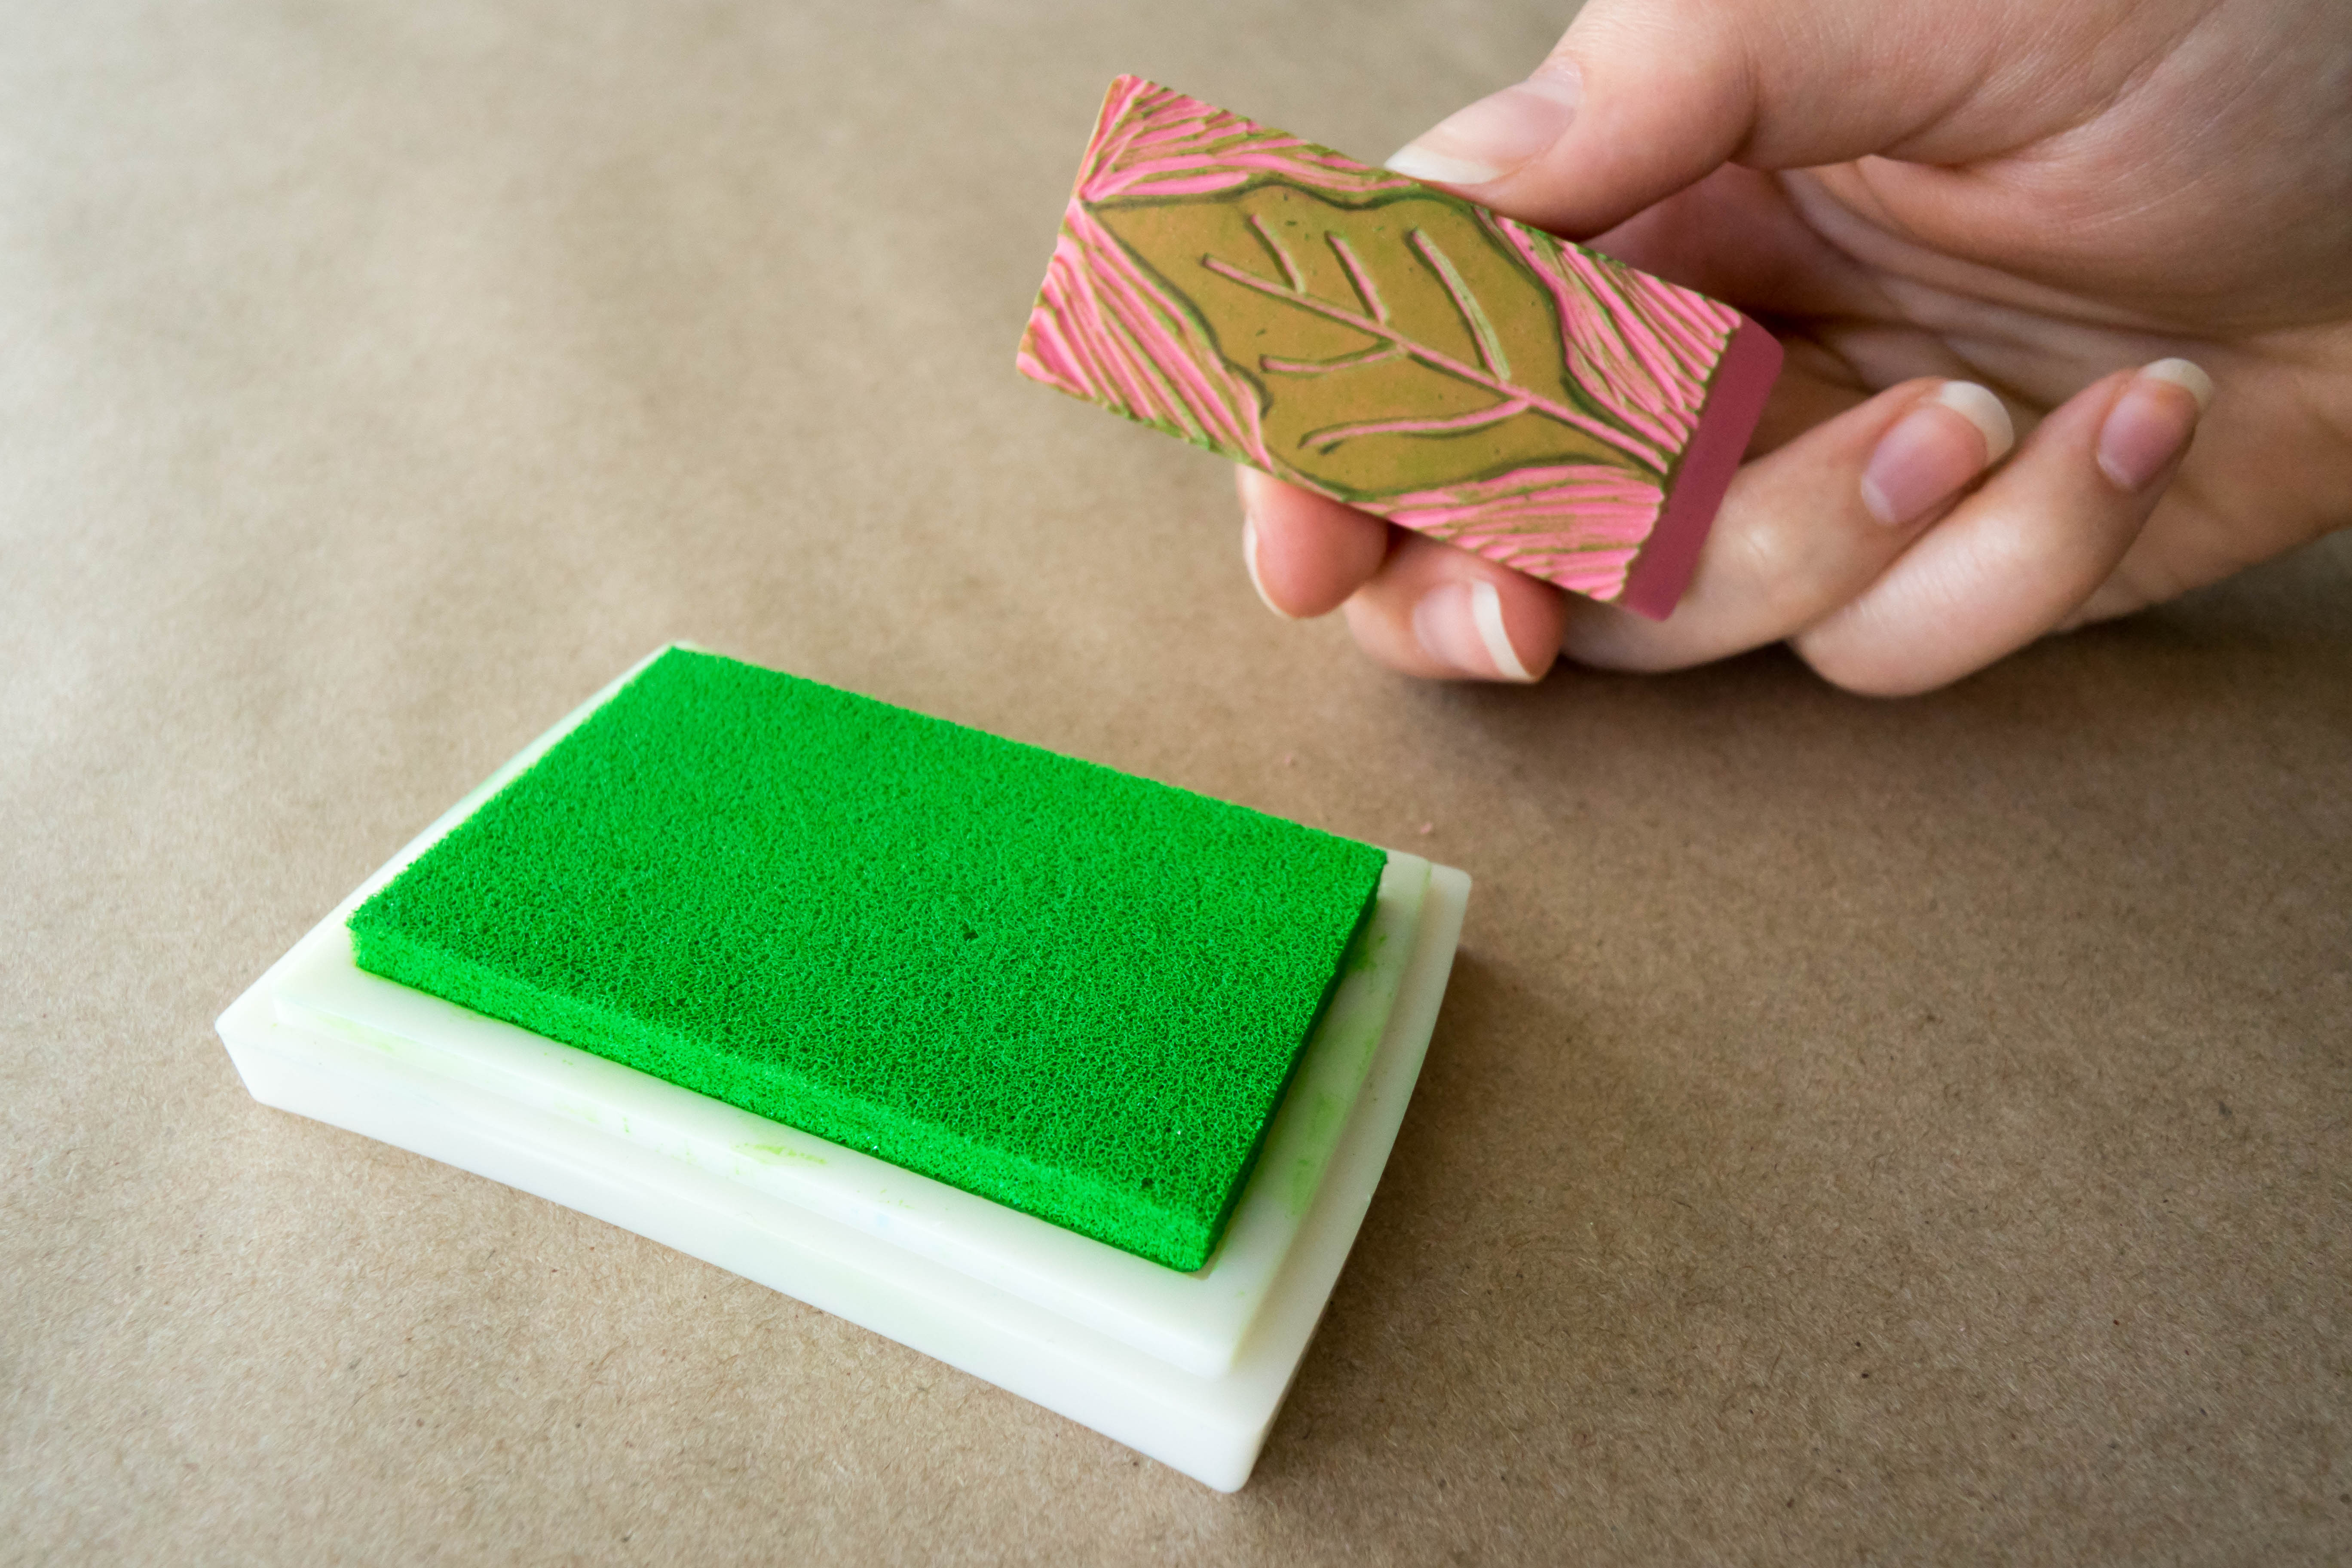
    Photo reference of how to complete step 3

  • Step 4

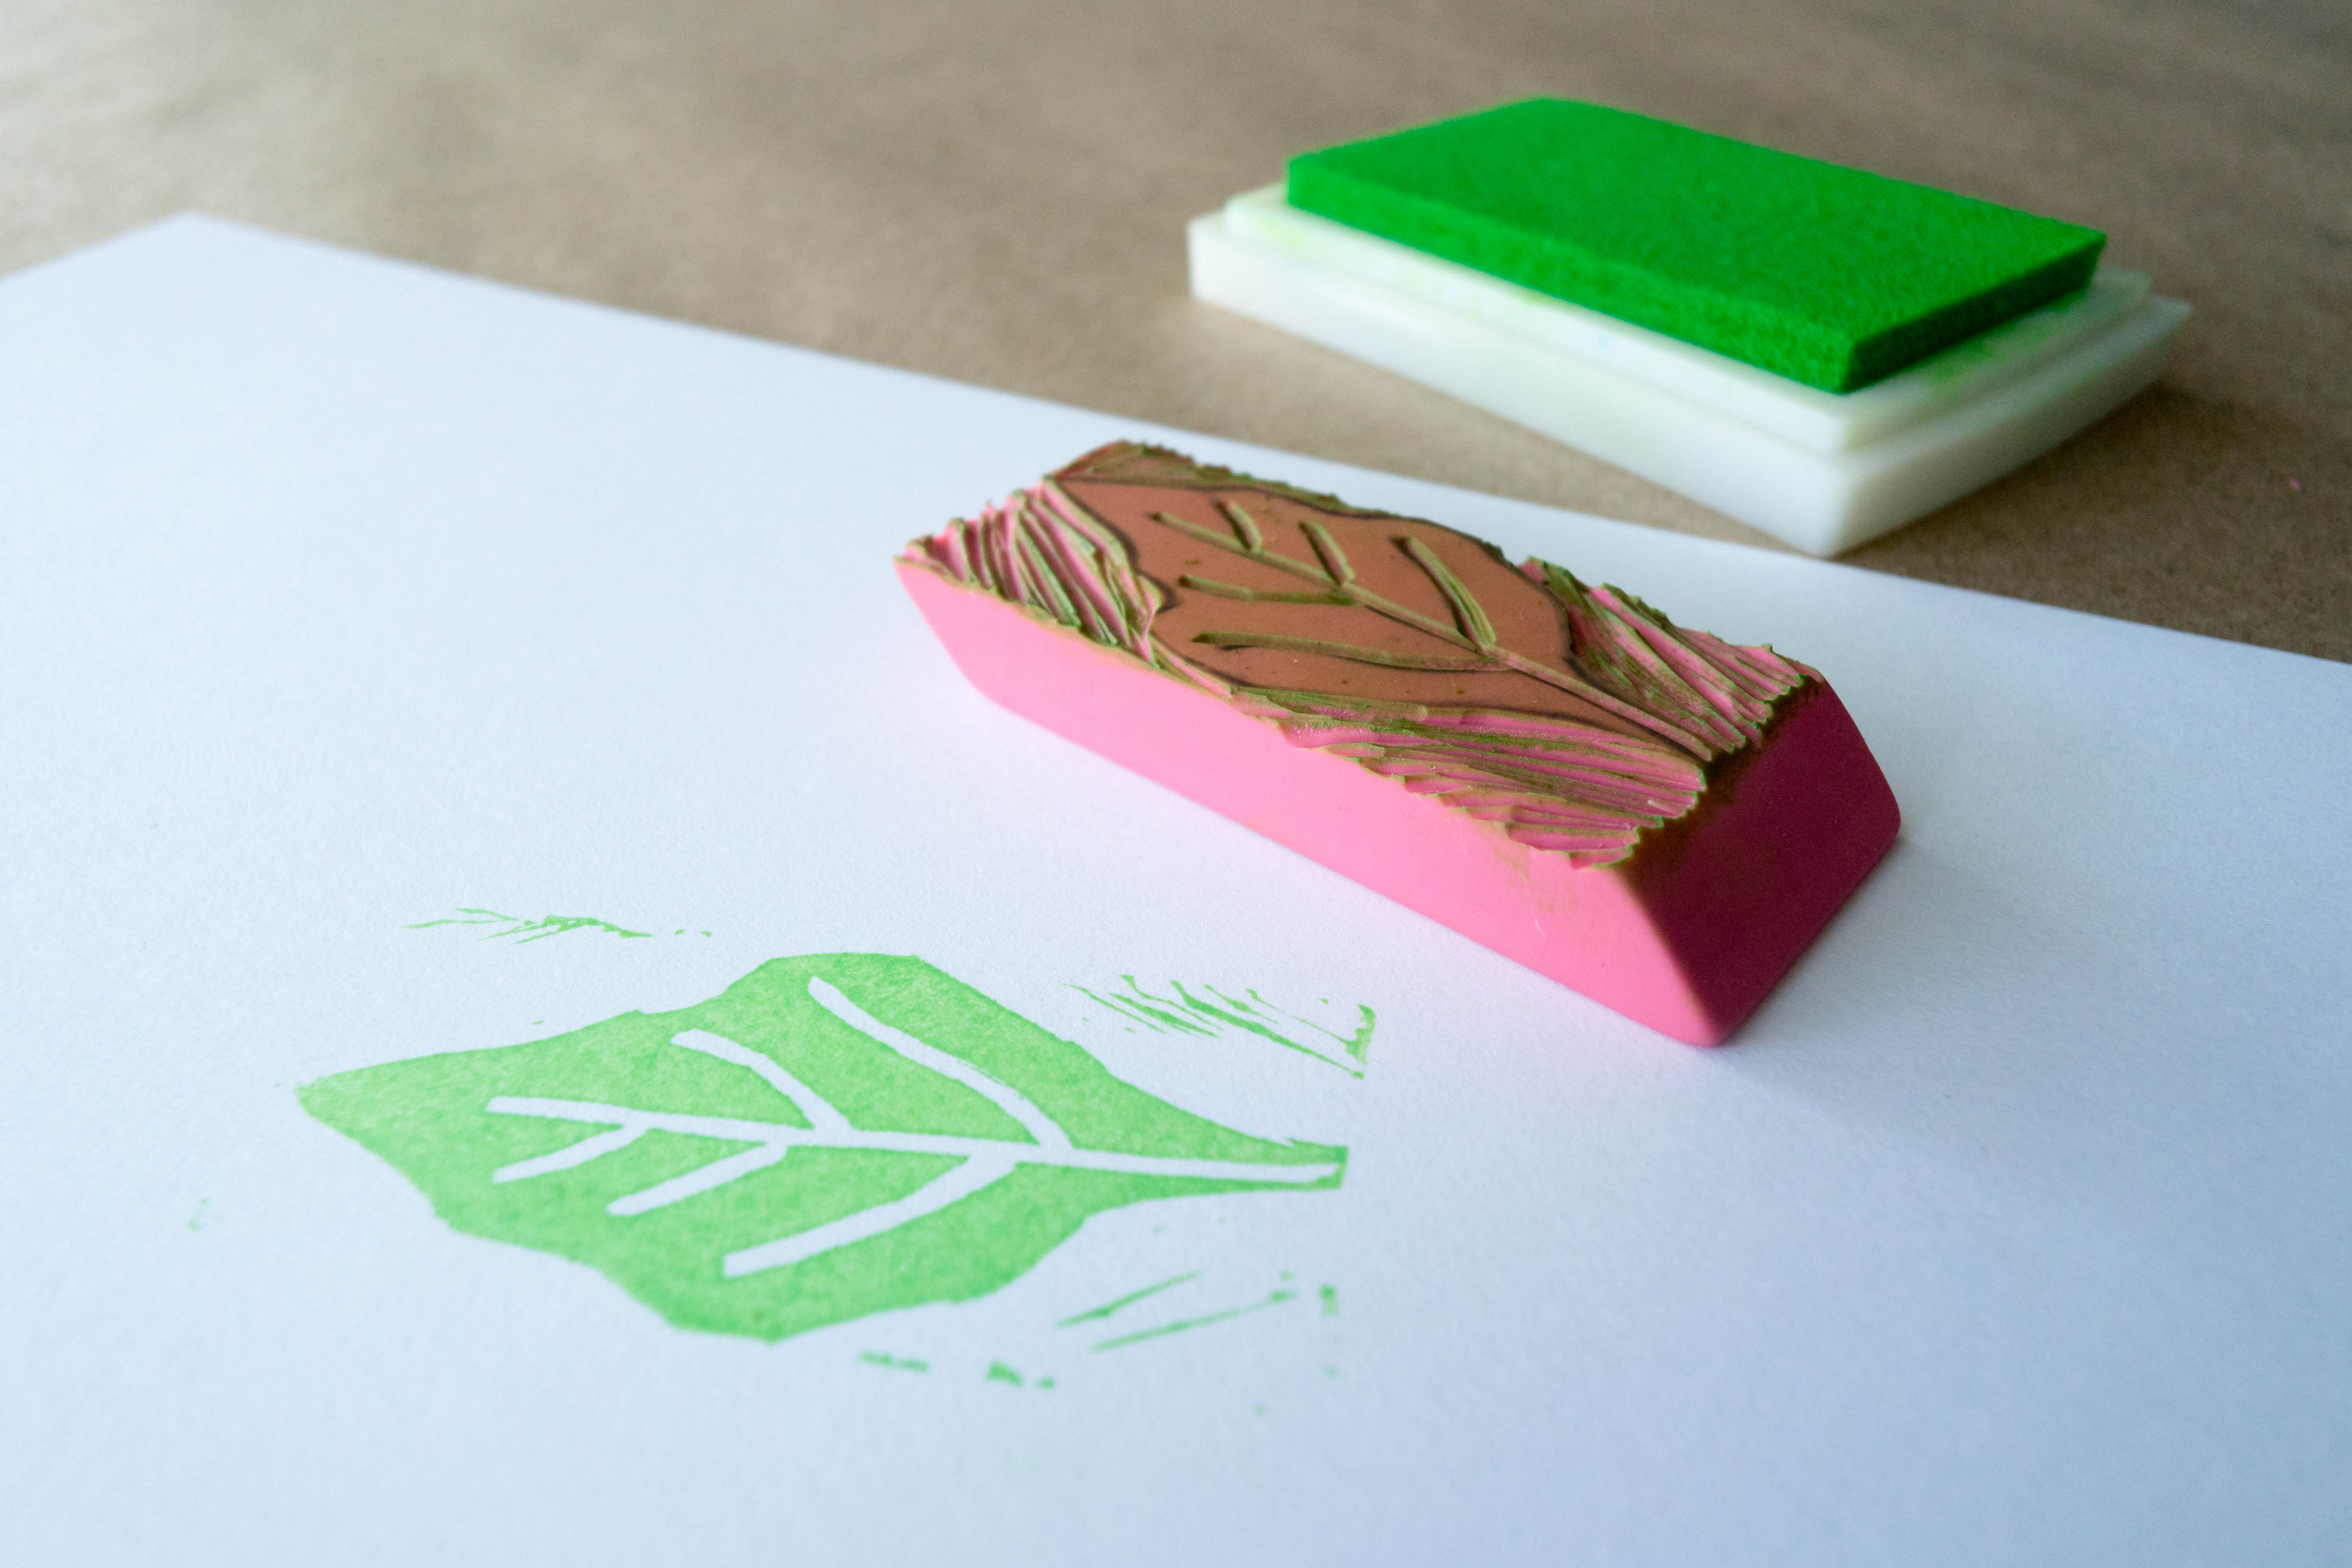
    Blot your eraser stamp into the ink pad.

    Photo reference of how to complete step 4

  • Final result!

    Press your stamp onto a piece of cardstock - and voila! You made a stamp!

    Photo reference of how to complete step 5
    Photo reference of how to complete step 5

You might also like

Top categoriesBurst graphic

Share what you made & tag us at!

;