Step-by-step tutorial
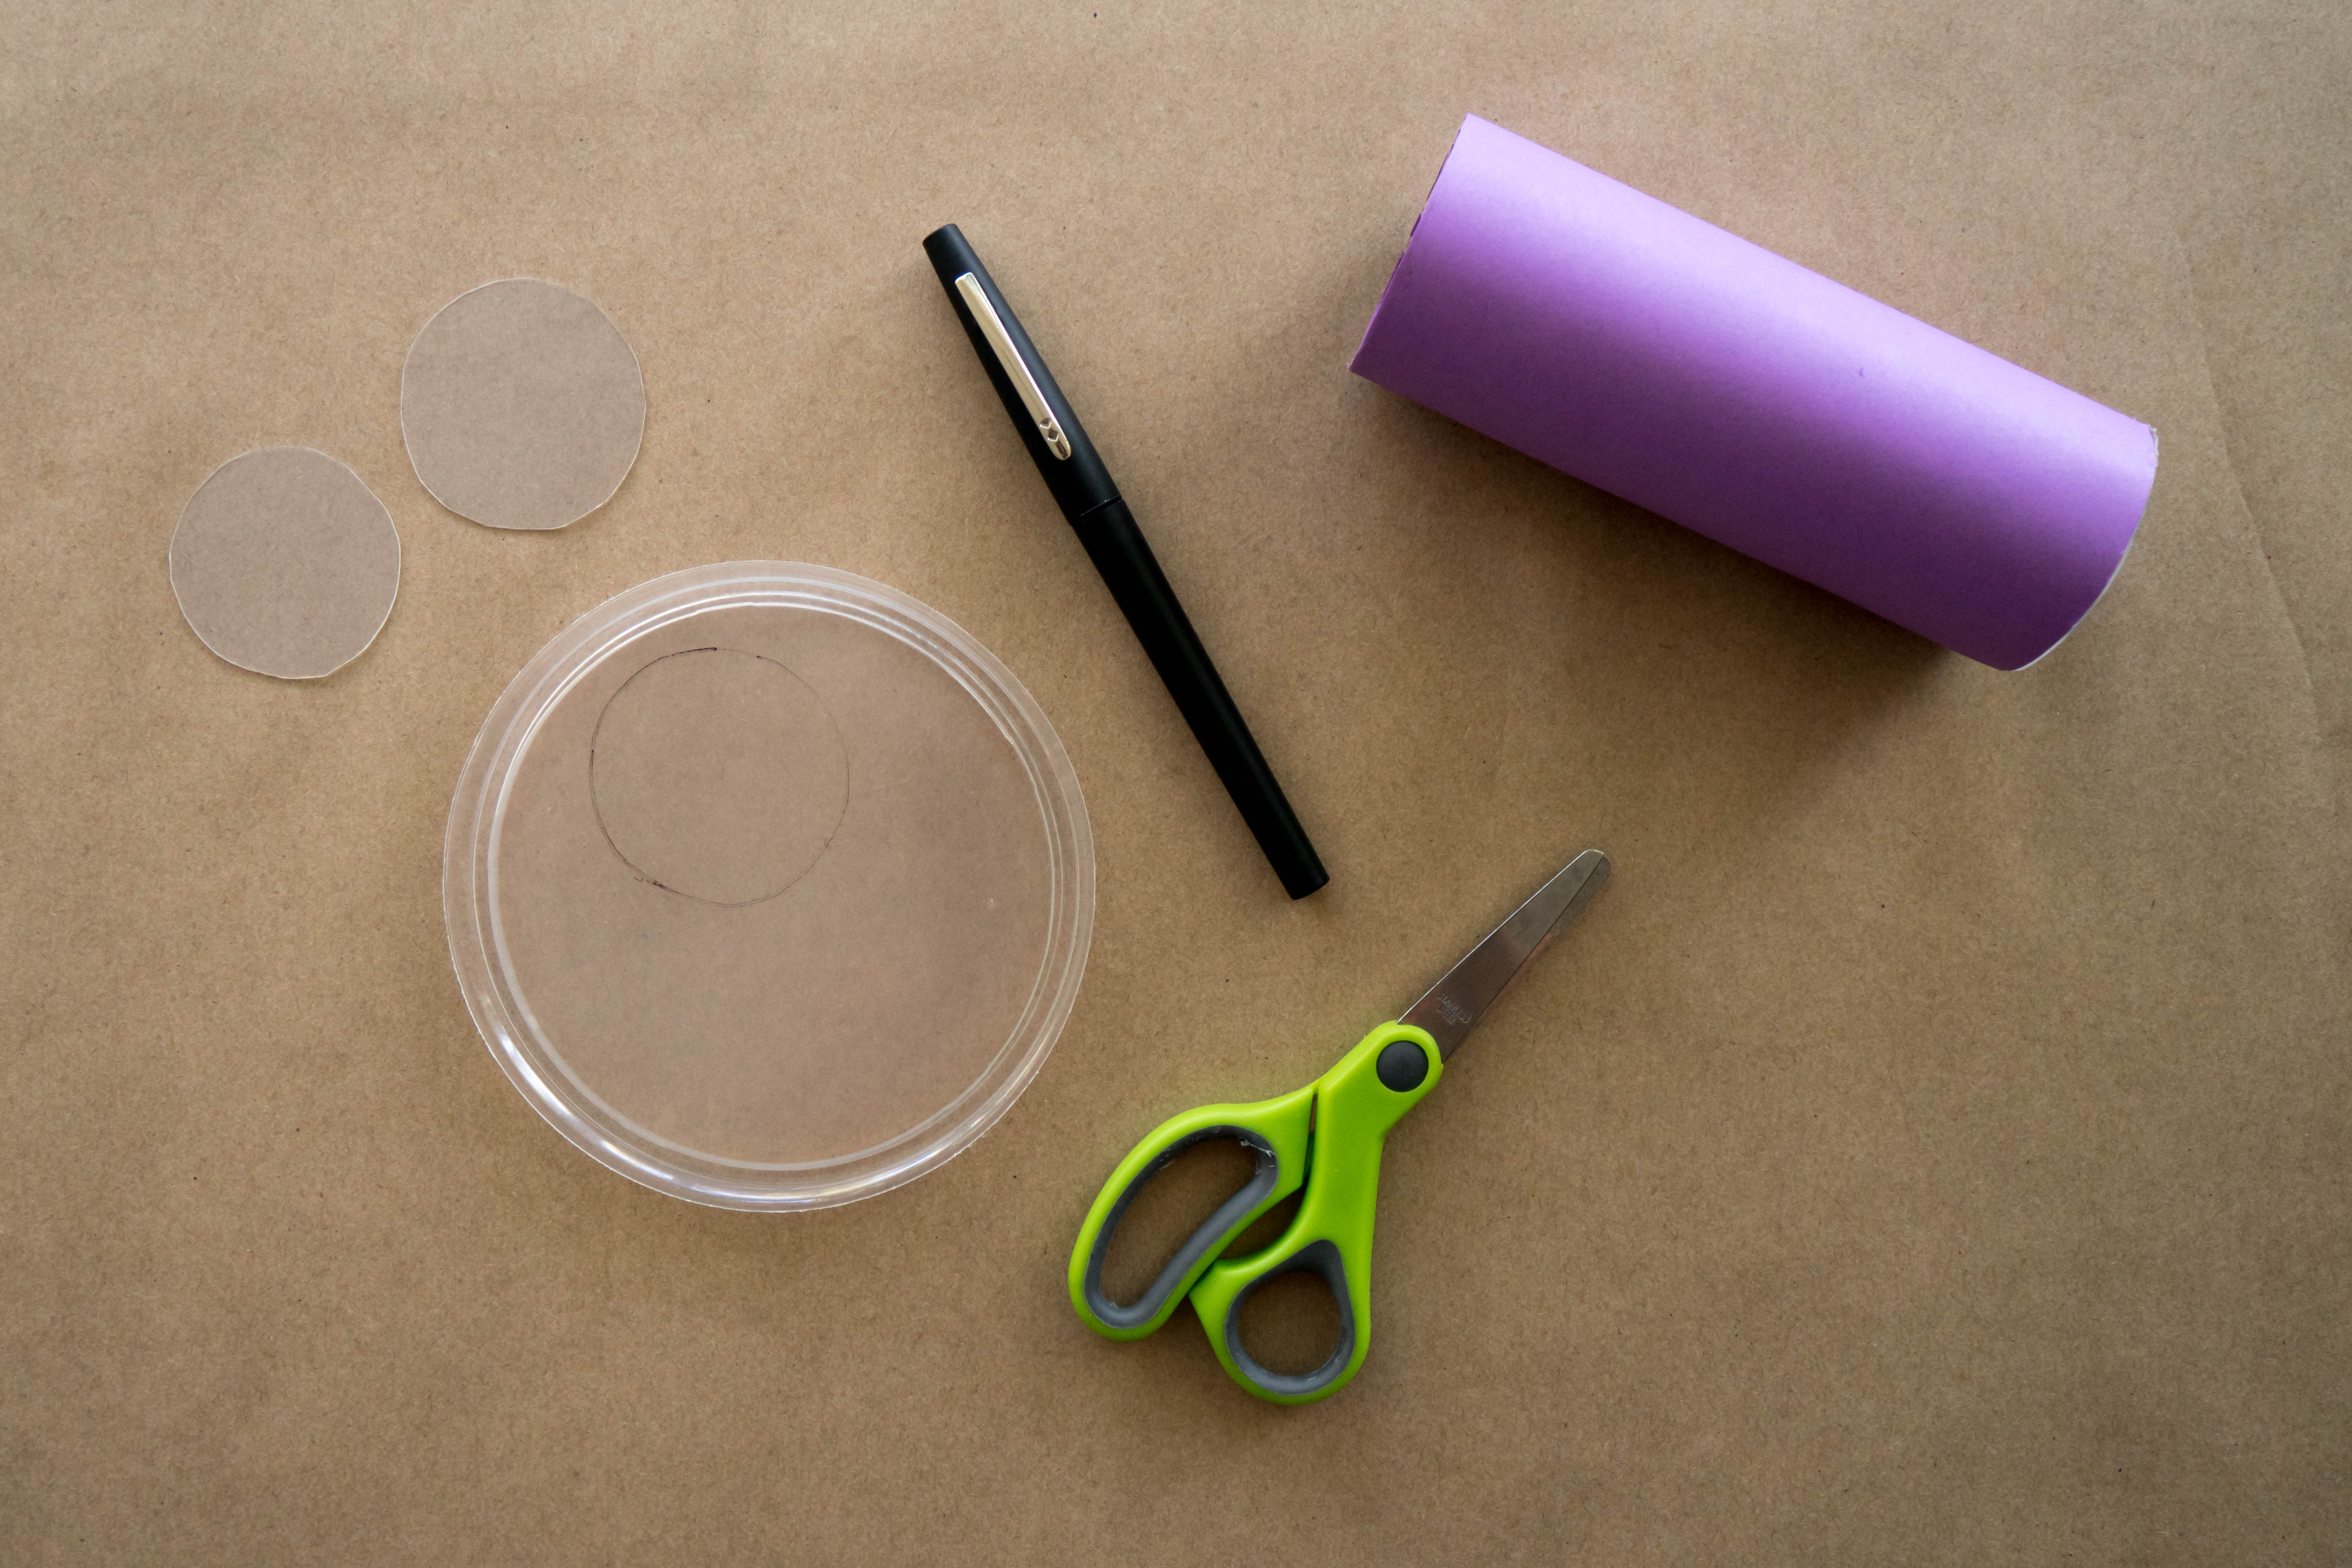
Step 1
Gather your materials!


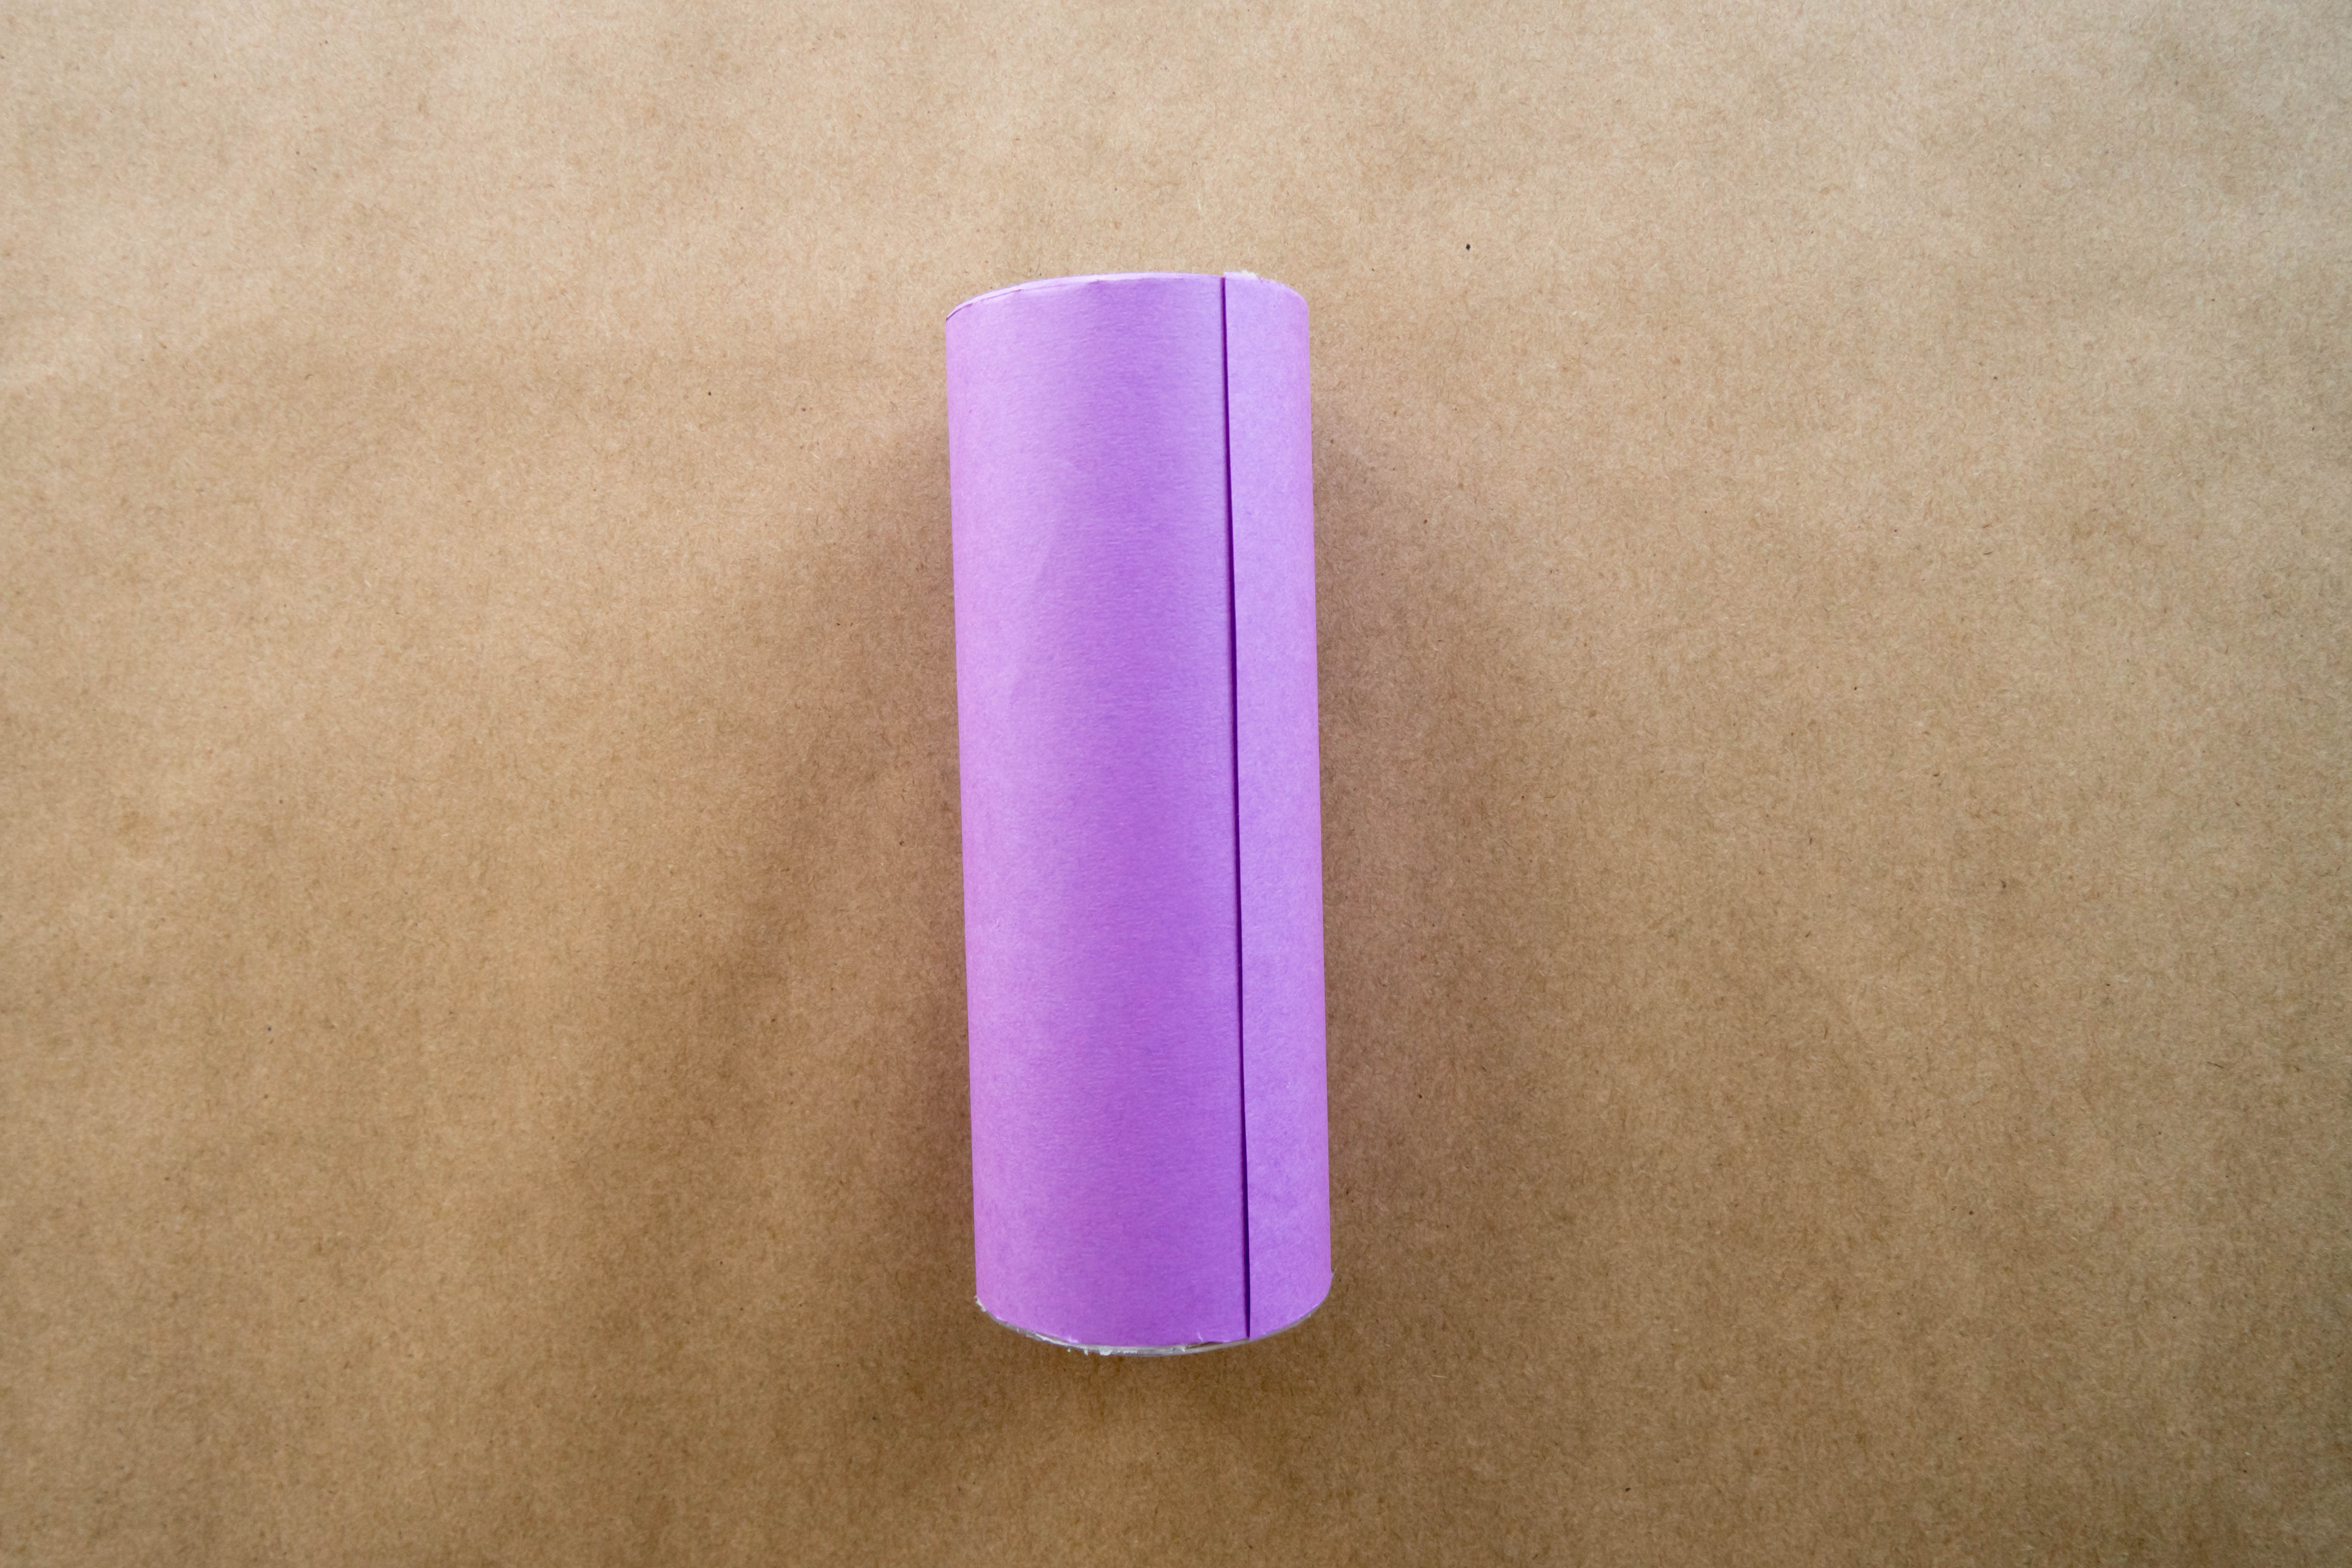
Step 2
Wrap the colored paper around the outside of the toilet paper tube and secure it with masking tape. Then, trim any excess paper to the size of the tube.
Step 3
Trace three circles onto the plastic food container lid using one end of the tube. Then, cut out each circle.
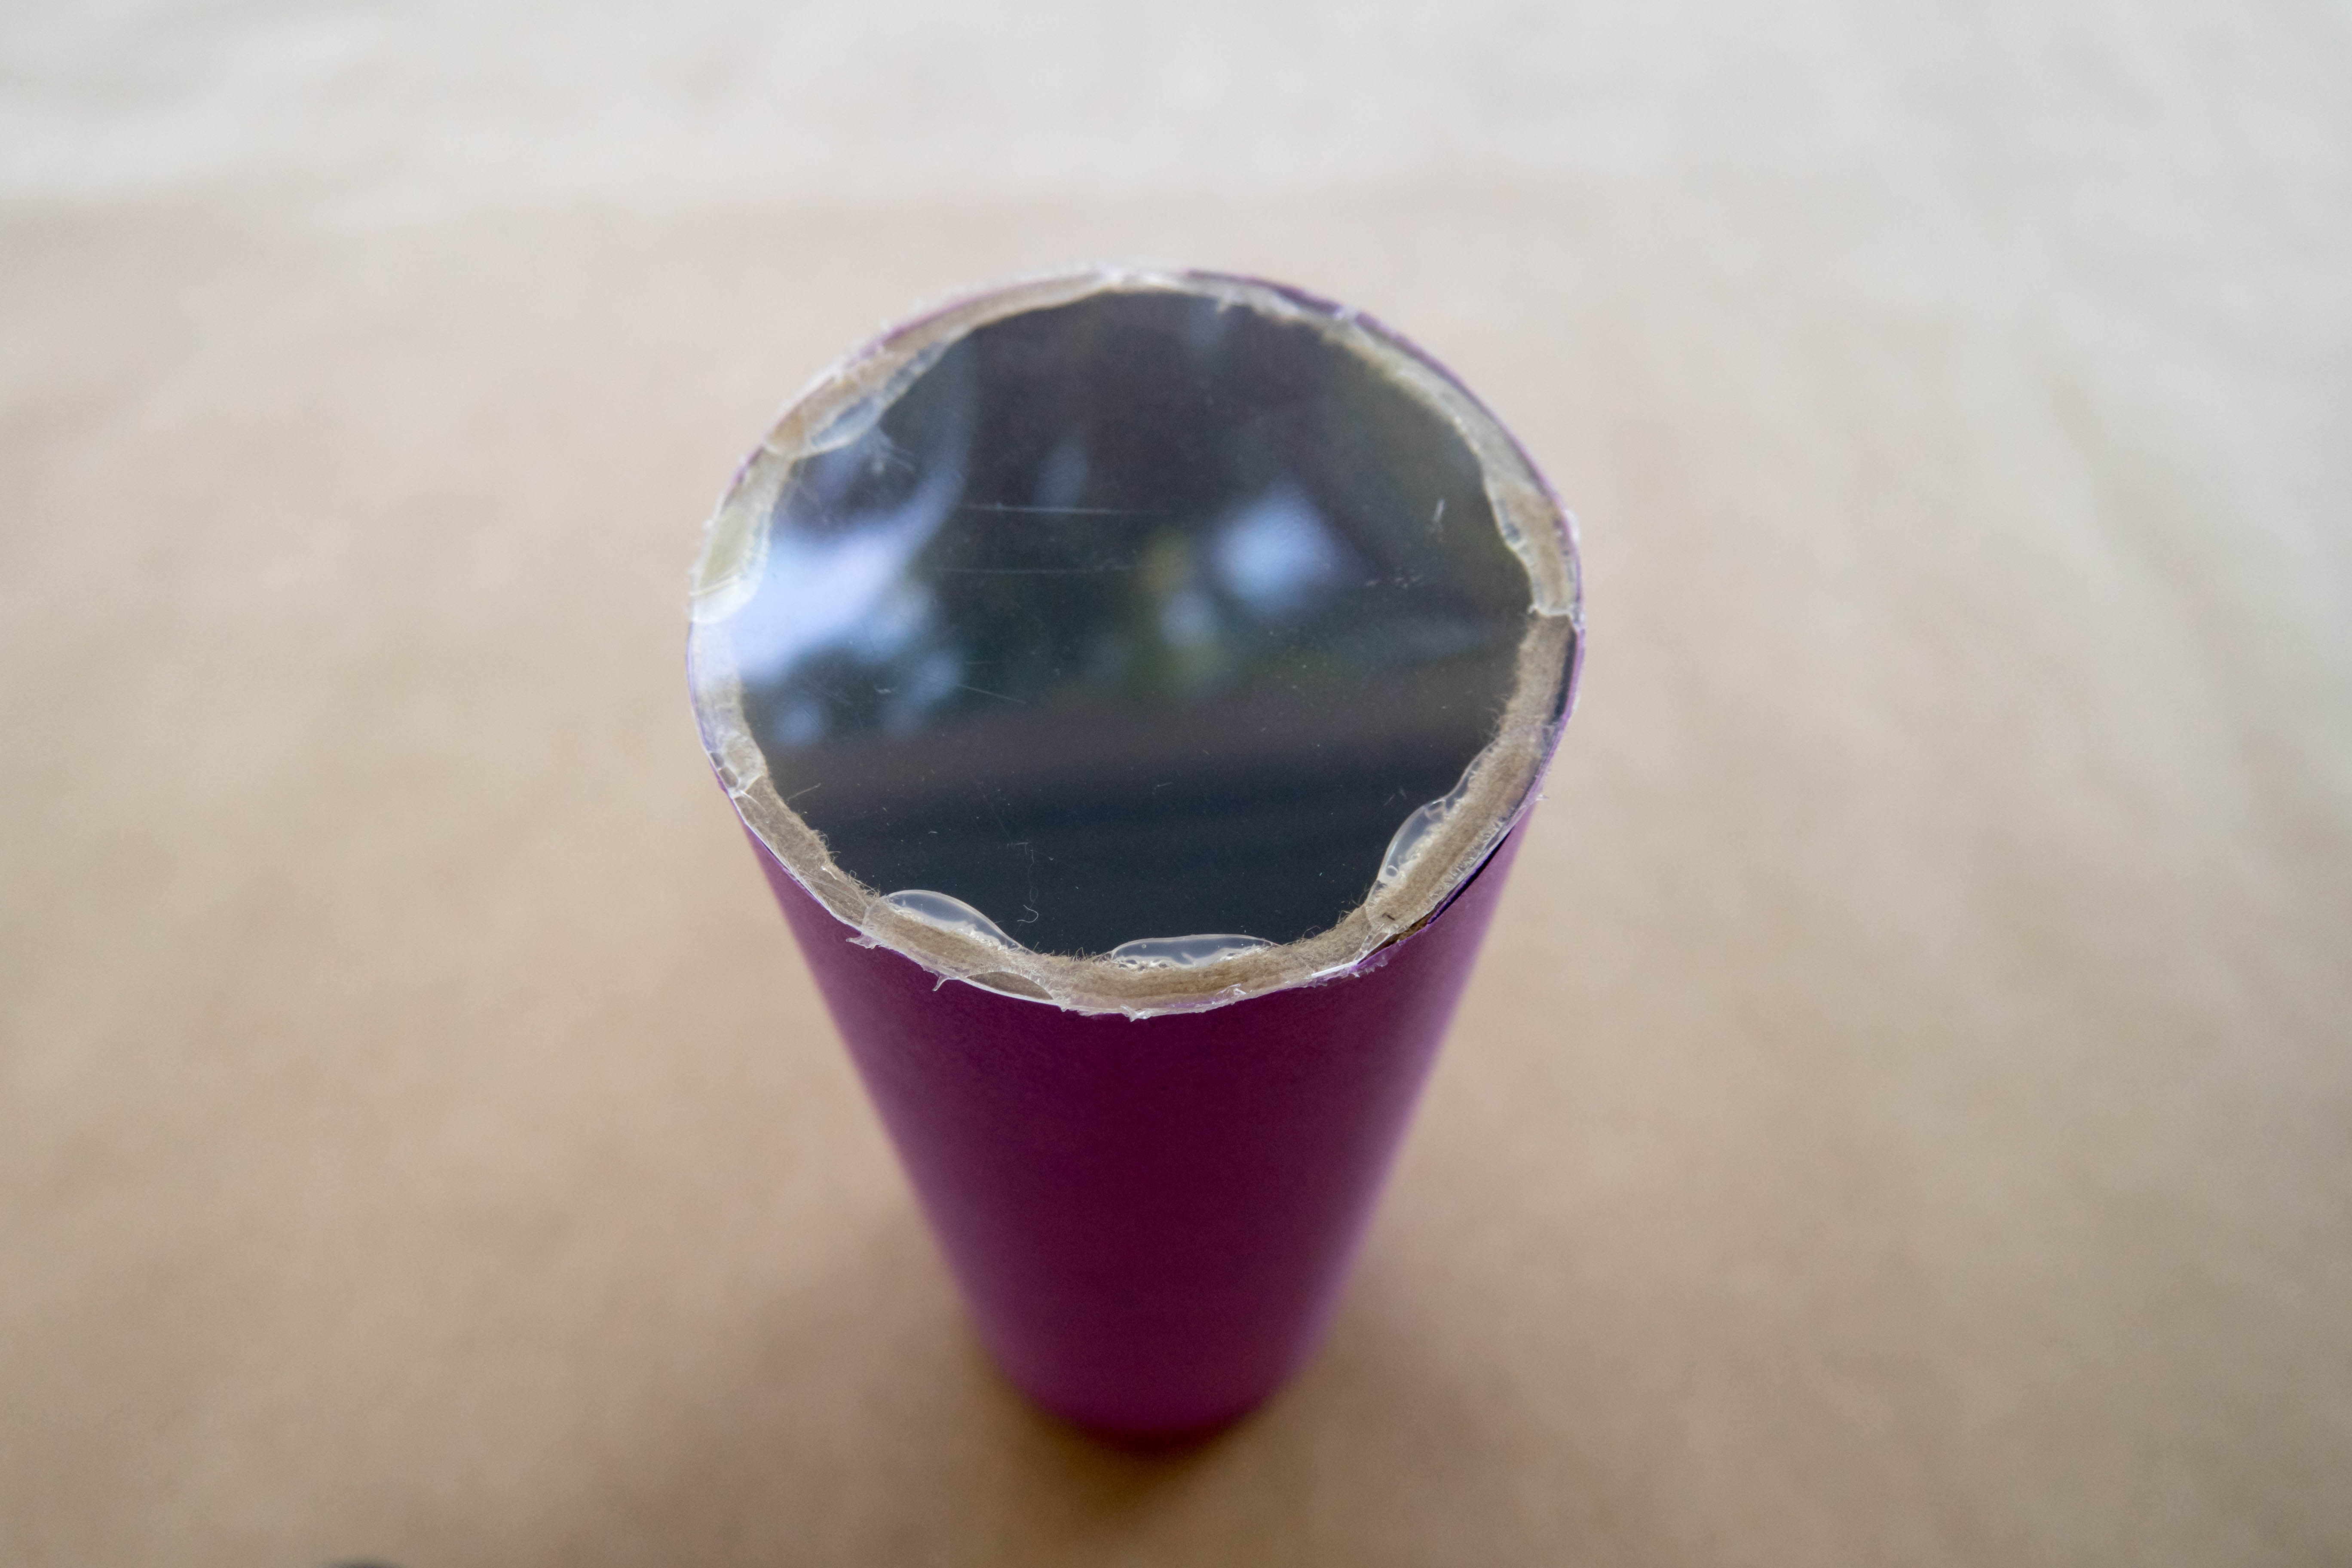
Step 4
Hot glue one circle to one end of the cardboard tube.
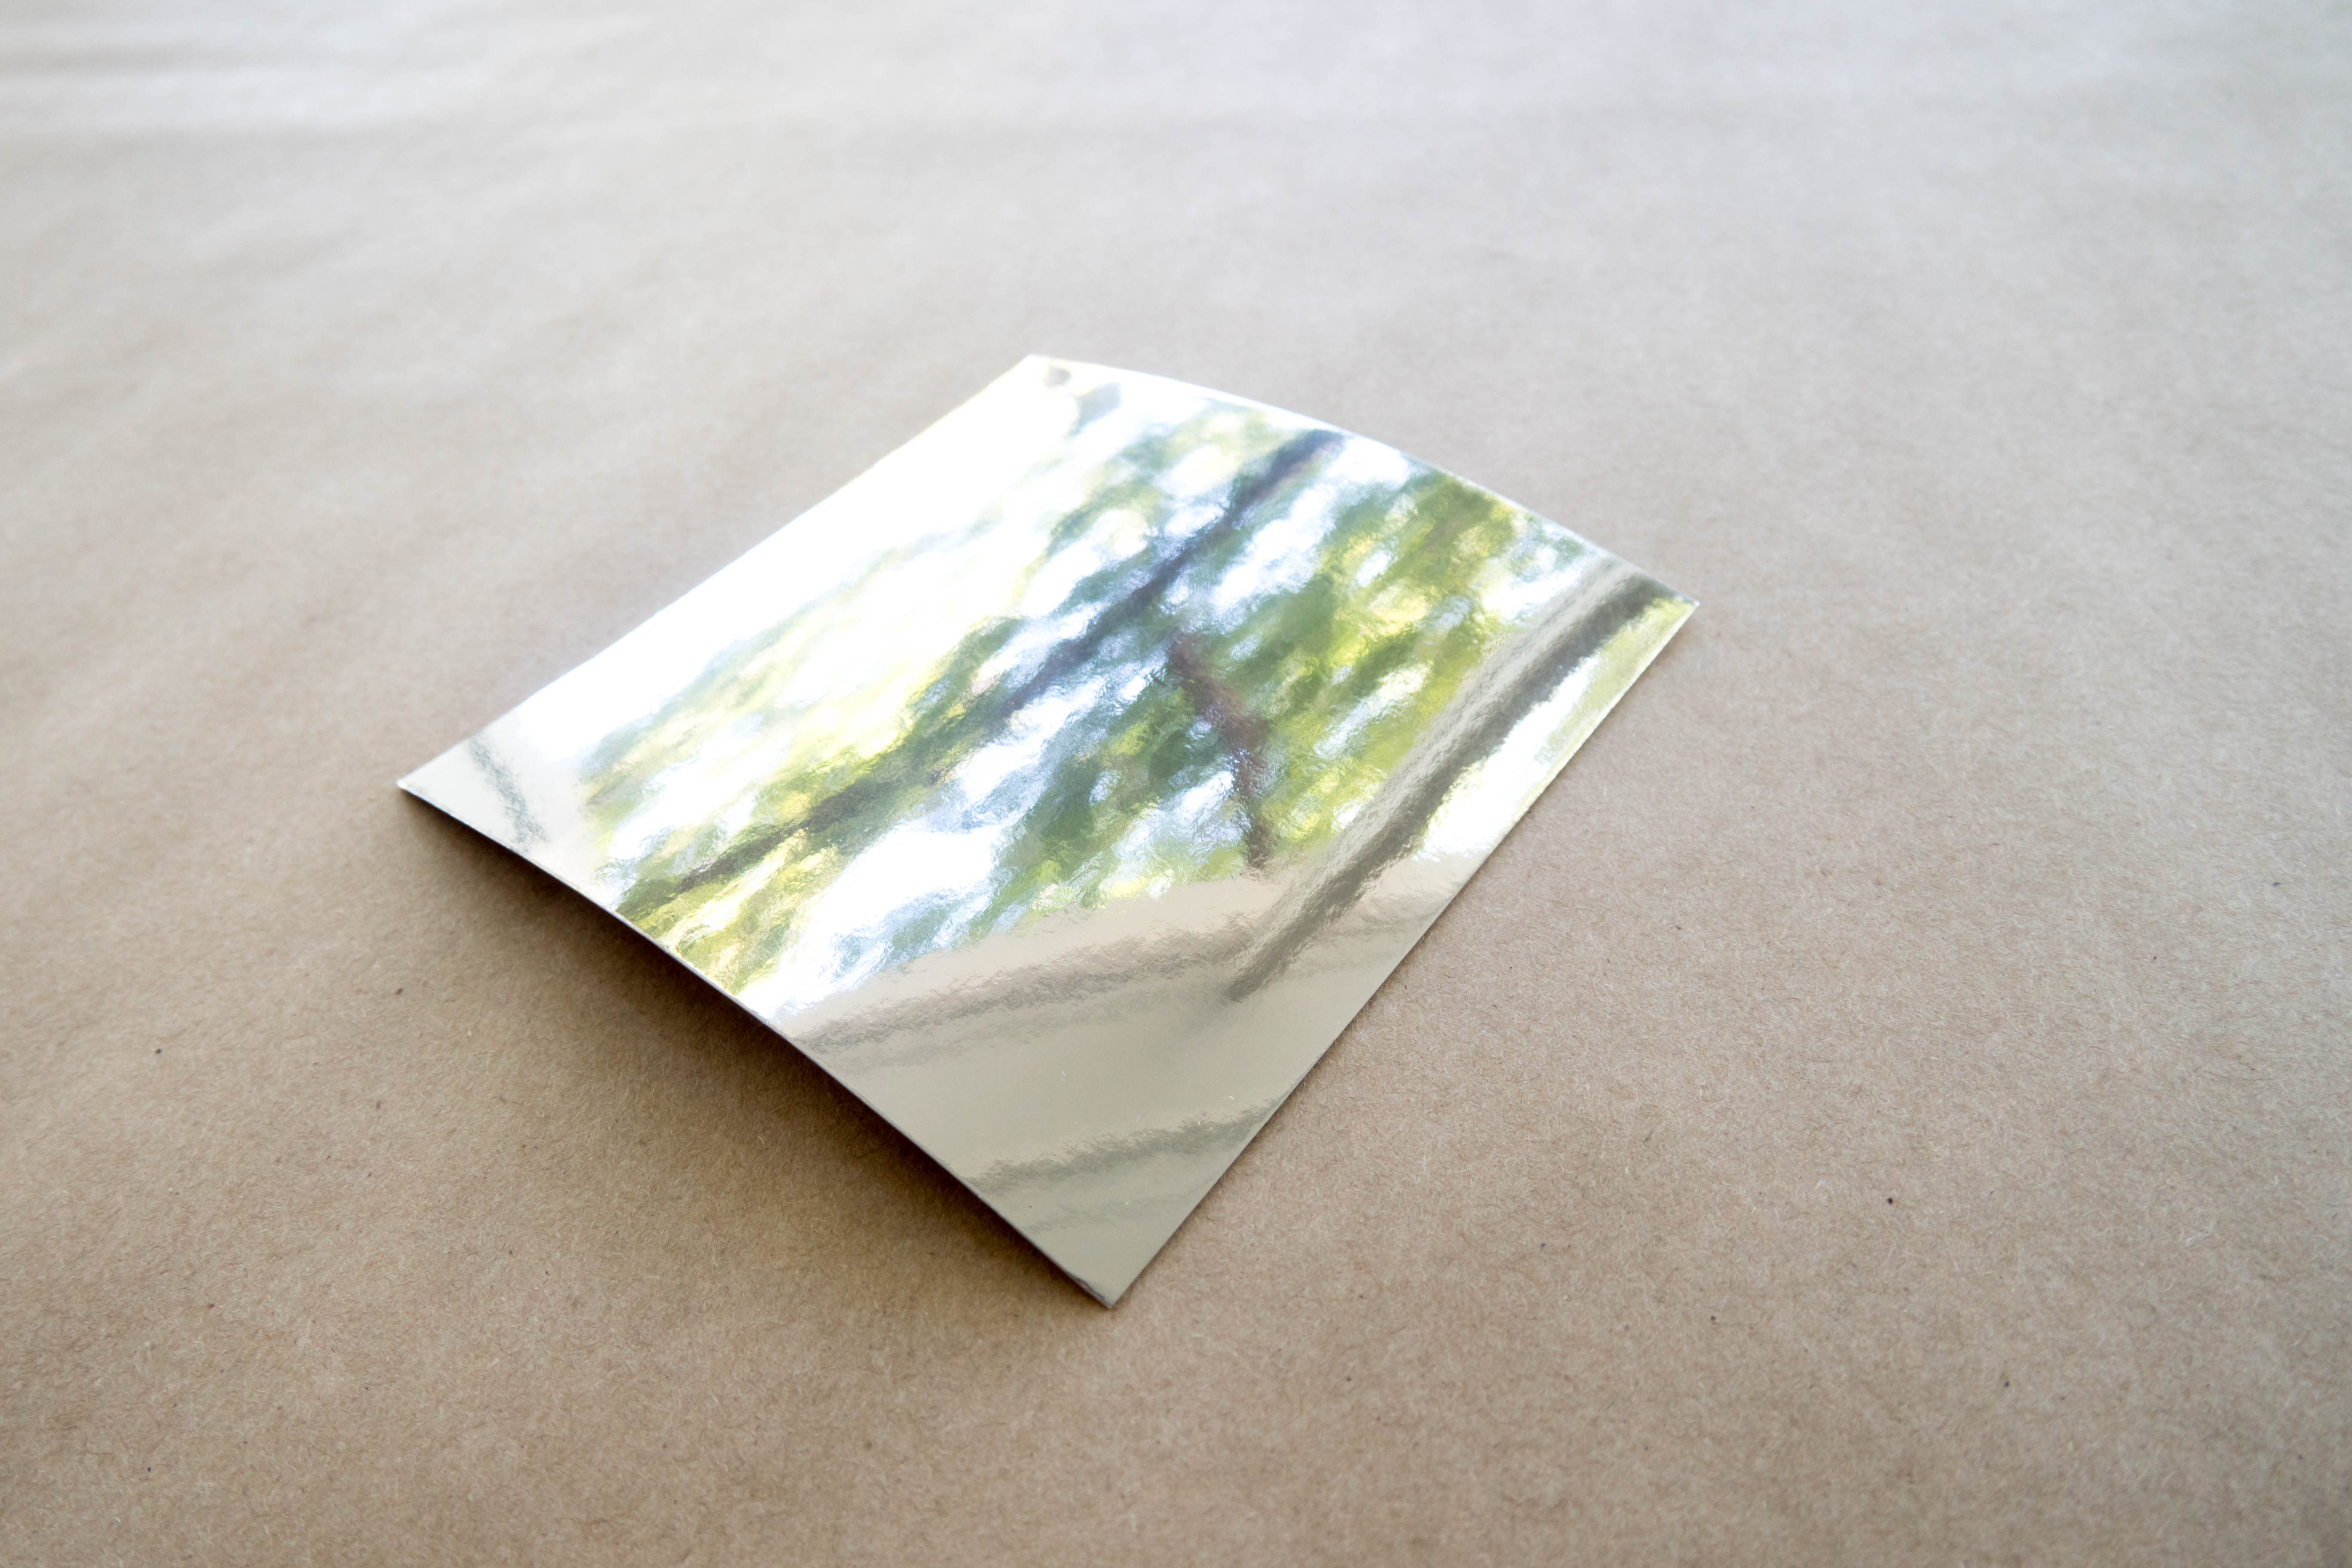
Step 5
Cut the reflective paper so that its length is 1” (2.5 cm) shorter than the tube (ours was 4”) and it’s width is 4 ½" (11.4 cm).
Step 6
Fold the non-reflective side in thirds about 1 ½” (3.8 cm) away from the short sides of the paper.
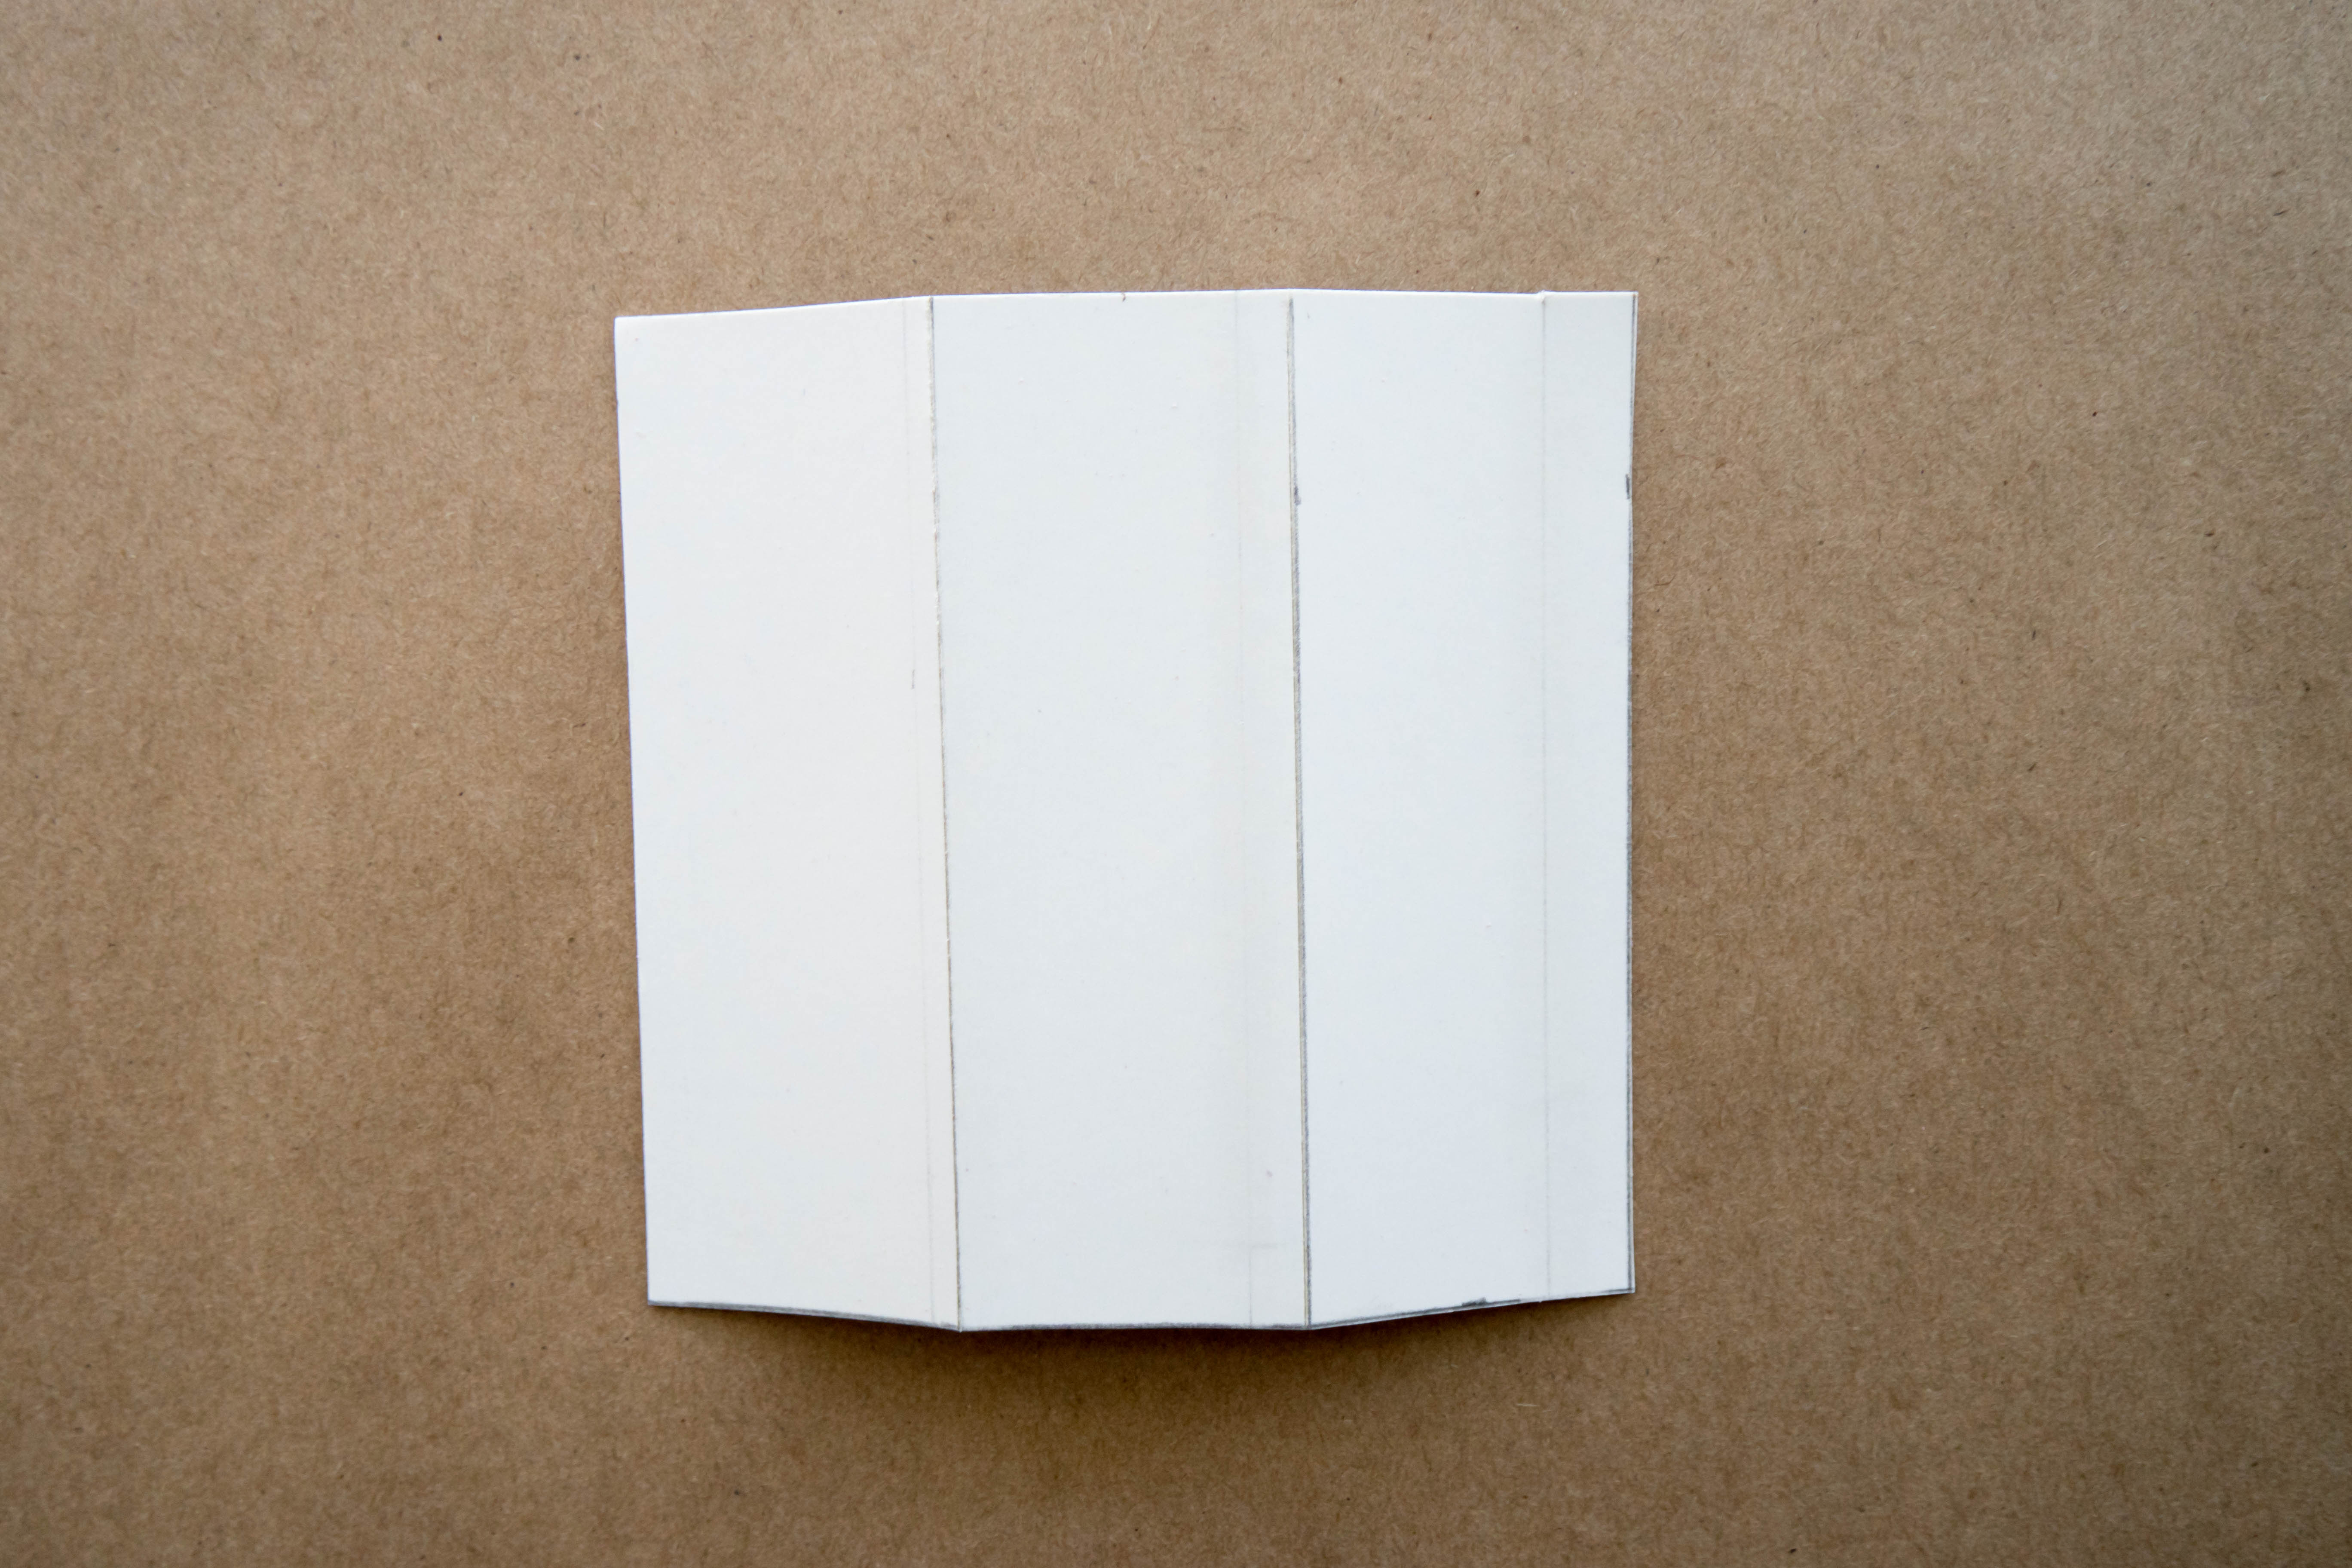
Tip
We used an X-acto knife to score the paper but you can do this without one.
Step 7
Tape it together so that it creates a triangular prism. The reflective side should be facing inside.
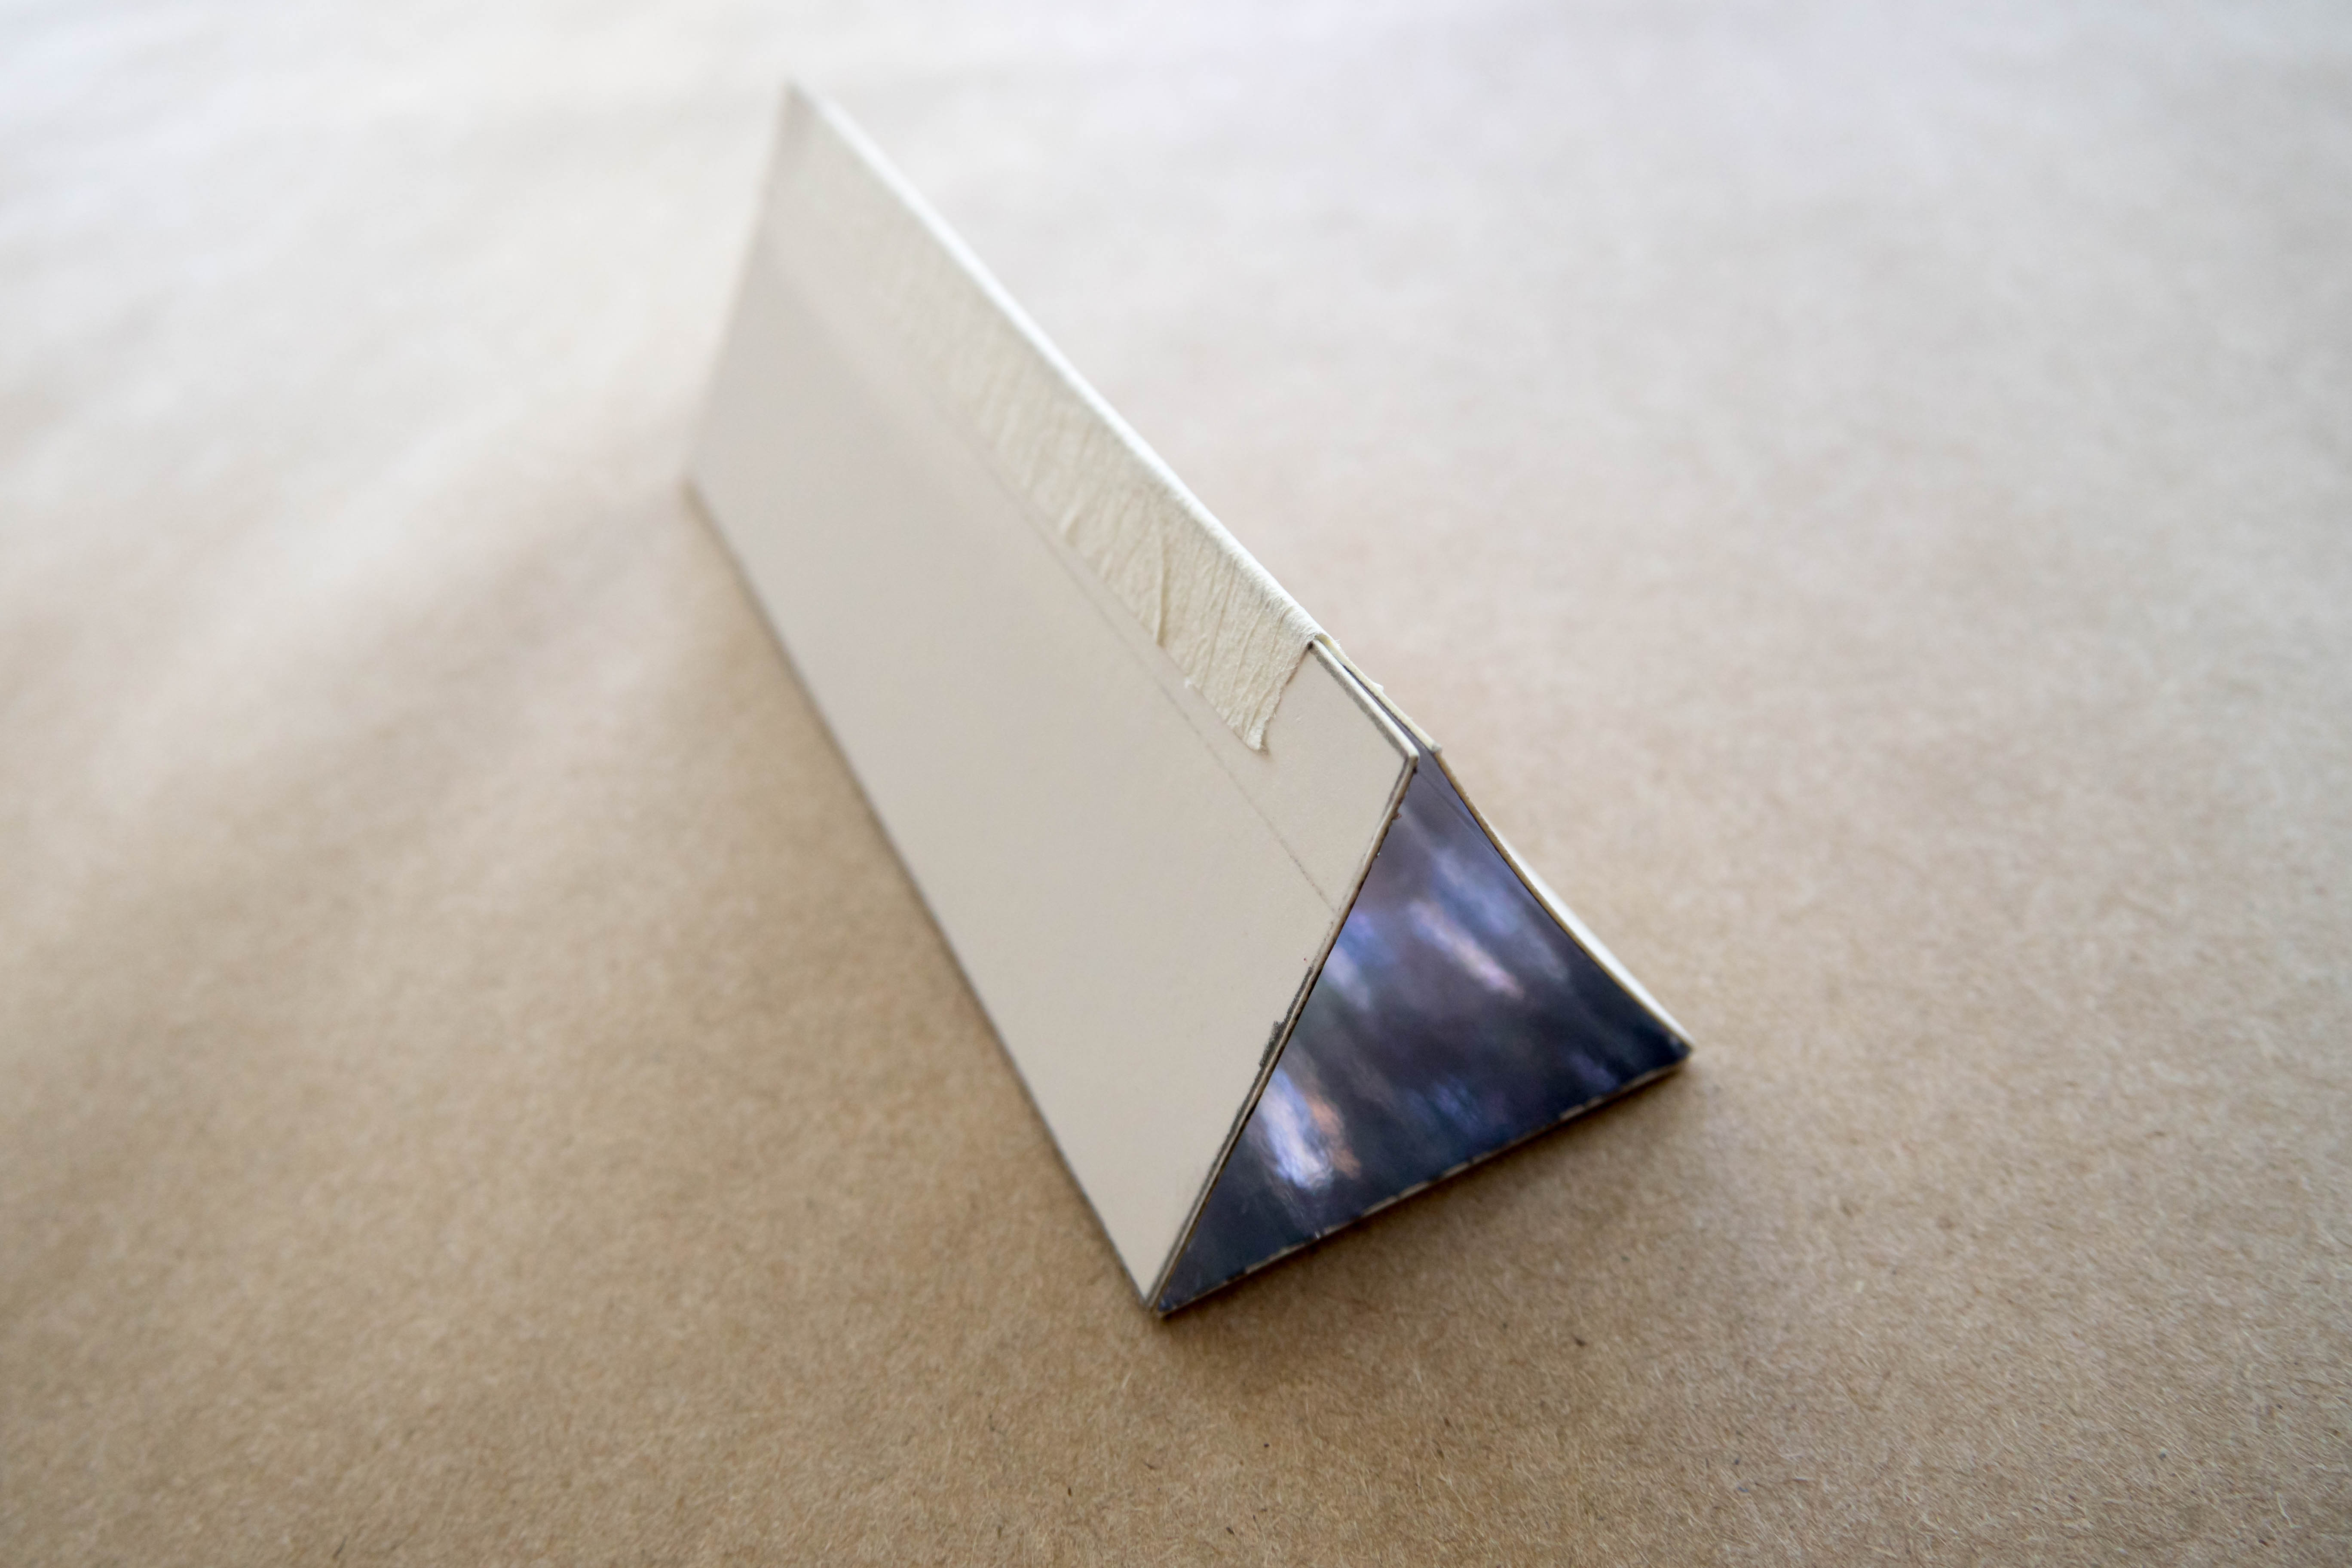
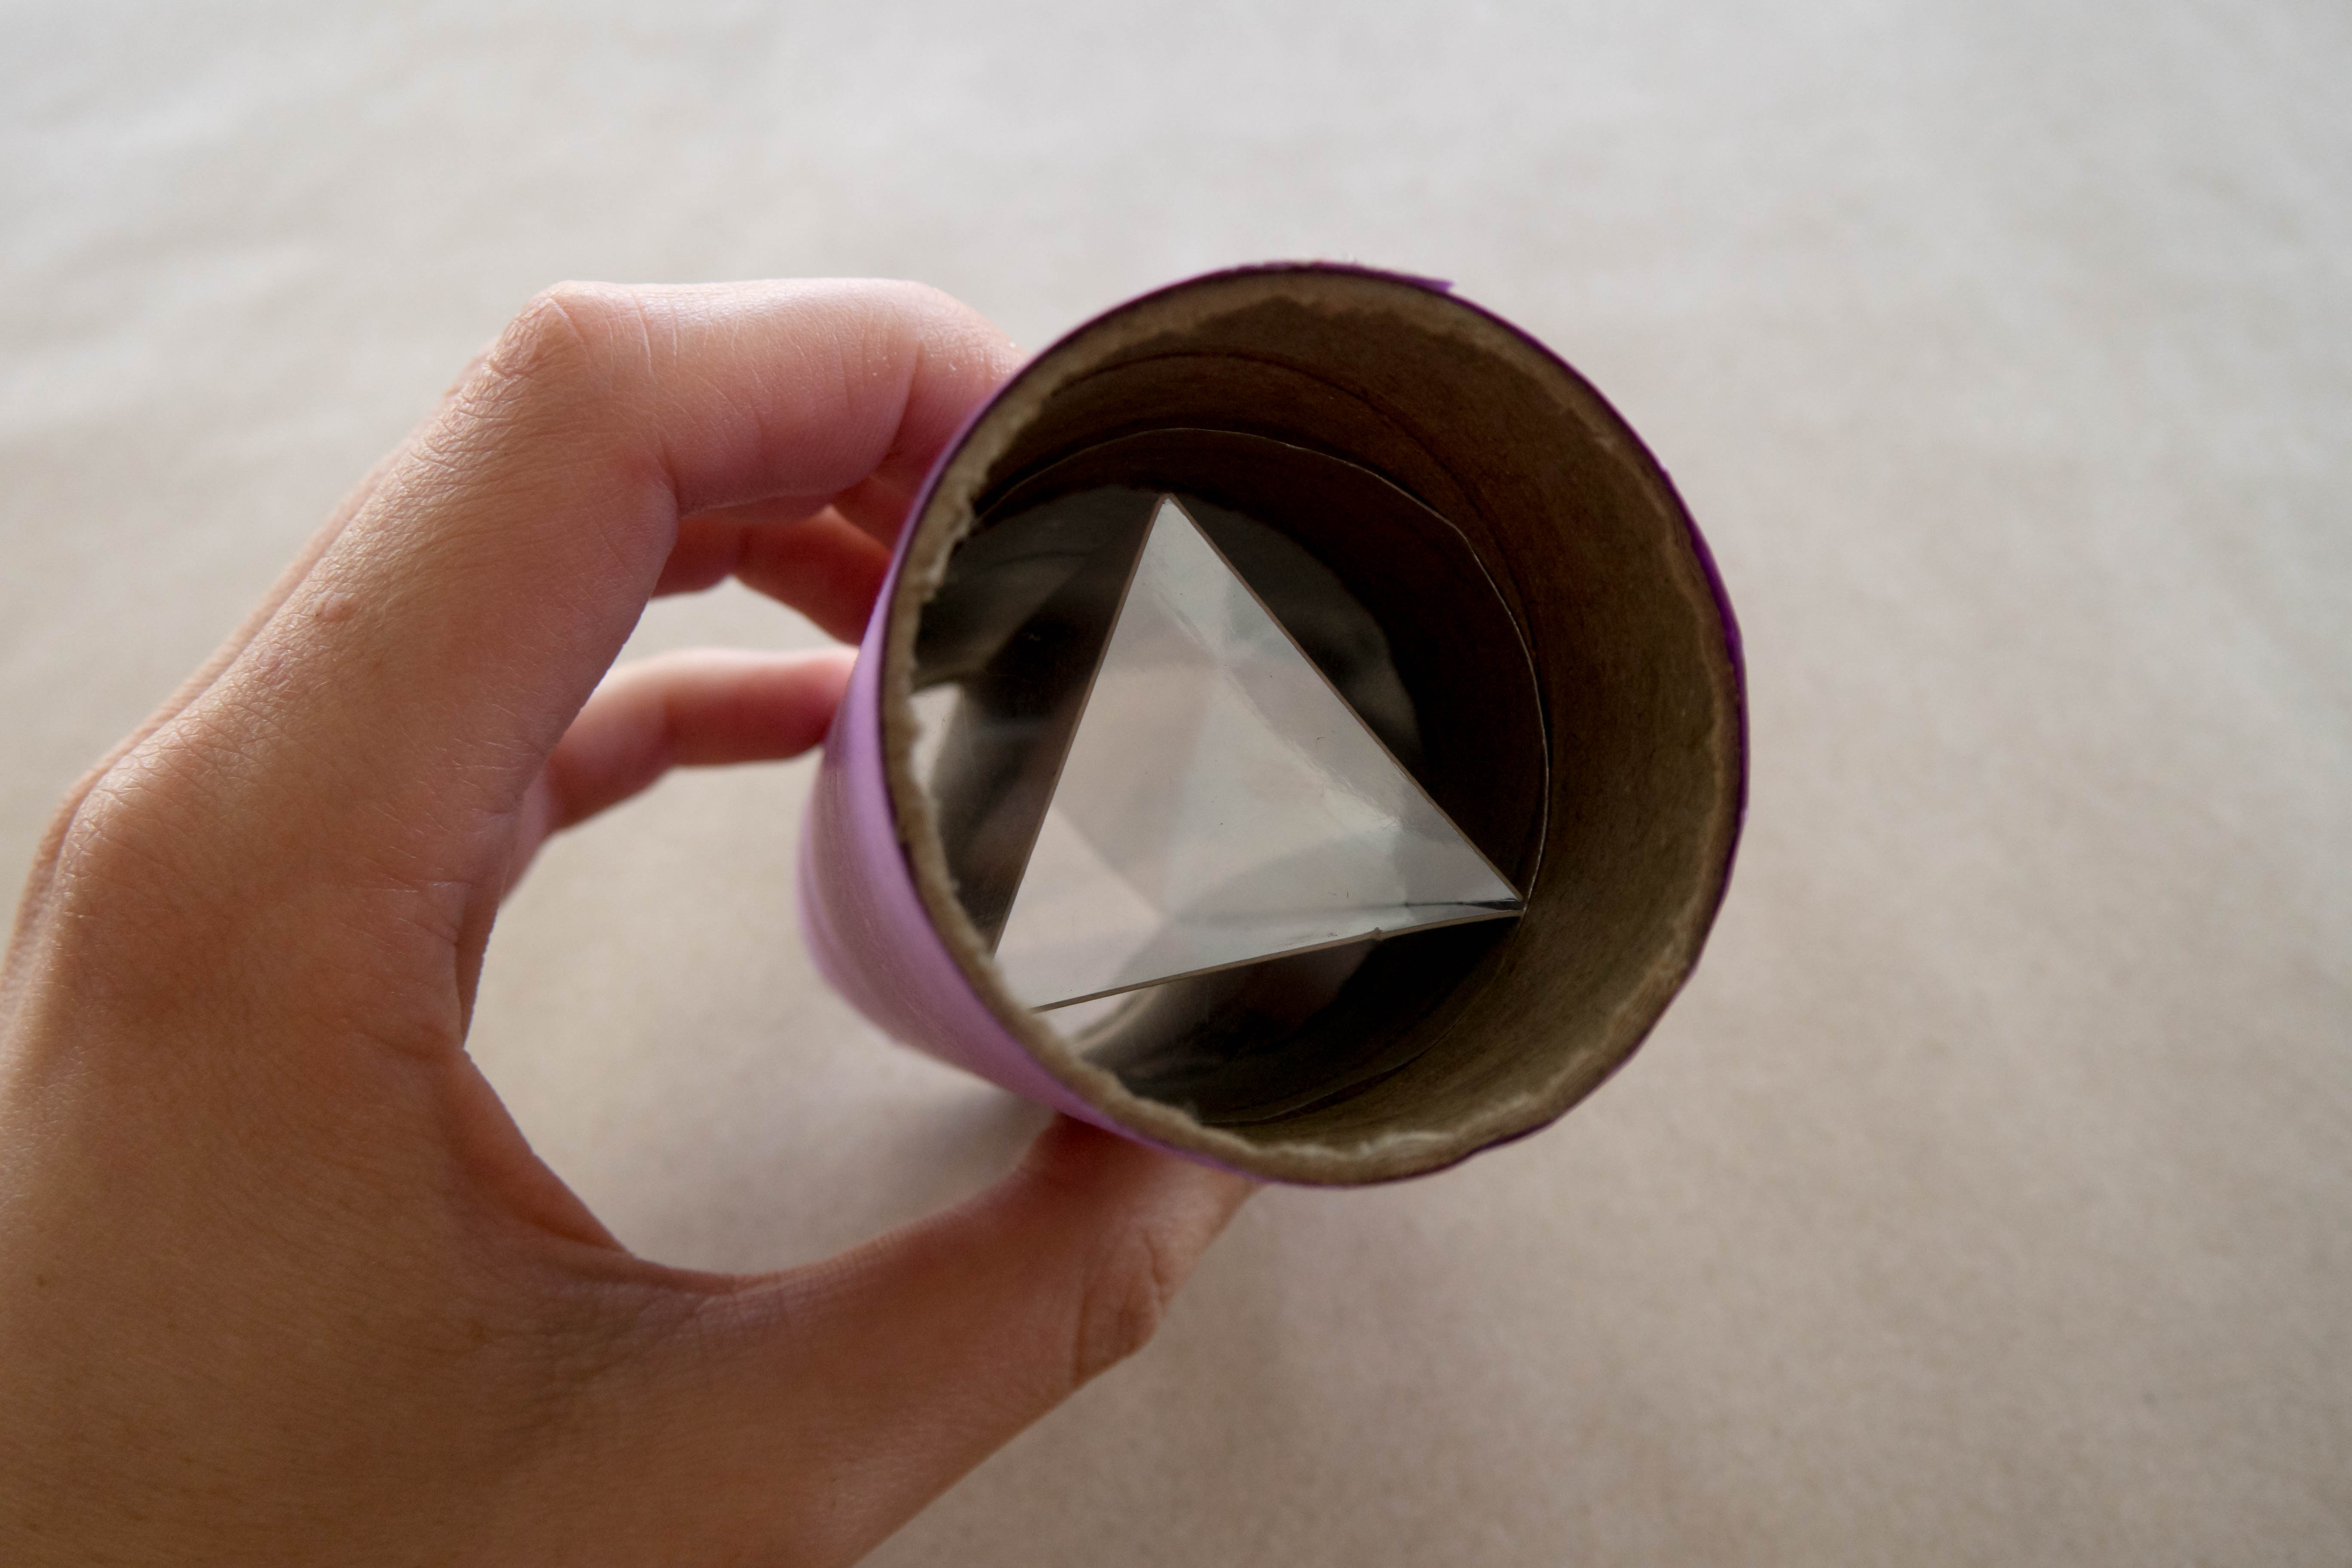
Step 8
Insert the prism into the tube so that it lays flat against the circle you hot glued in step 4.
Step 9
Trim one circle so that it fits snuggly inside the tube. Then, push it down into the tube so that it just fits over the triangular prism.
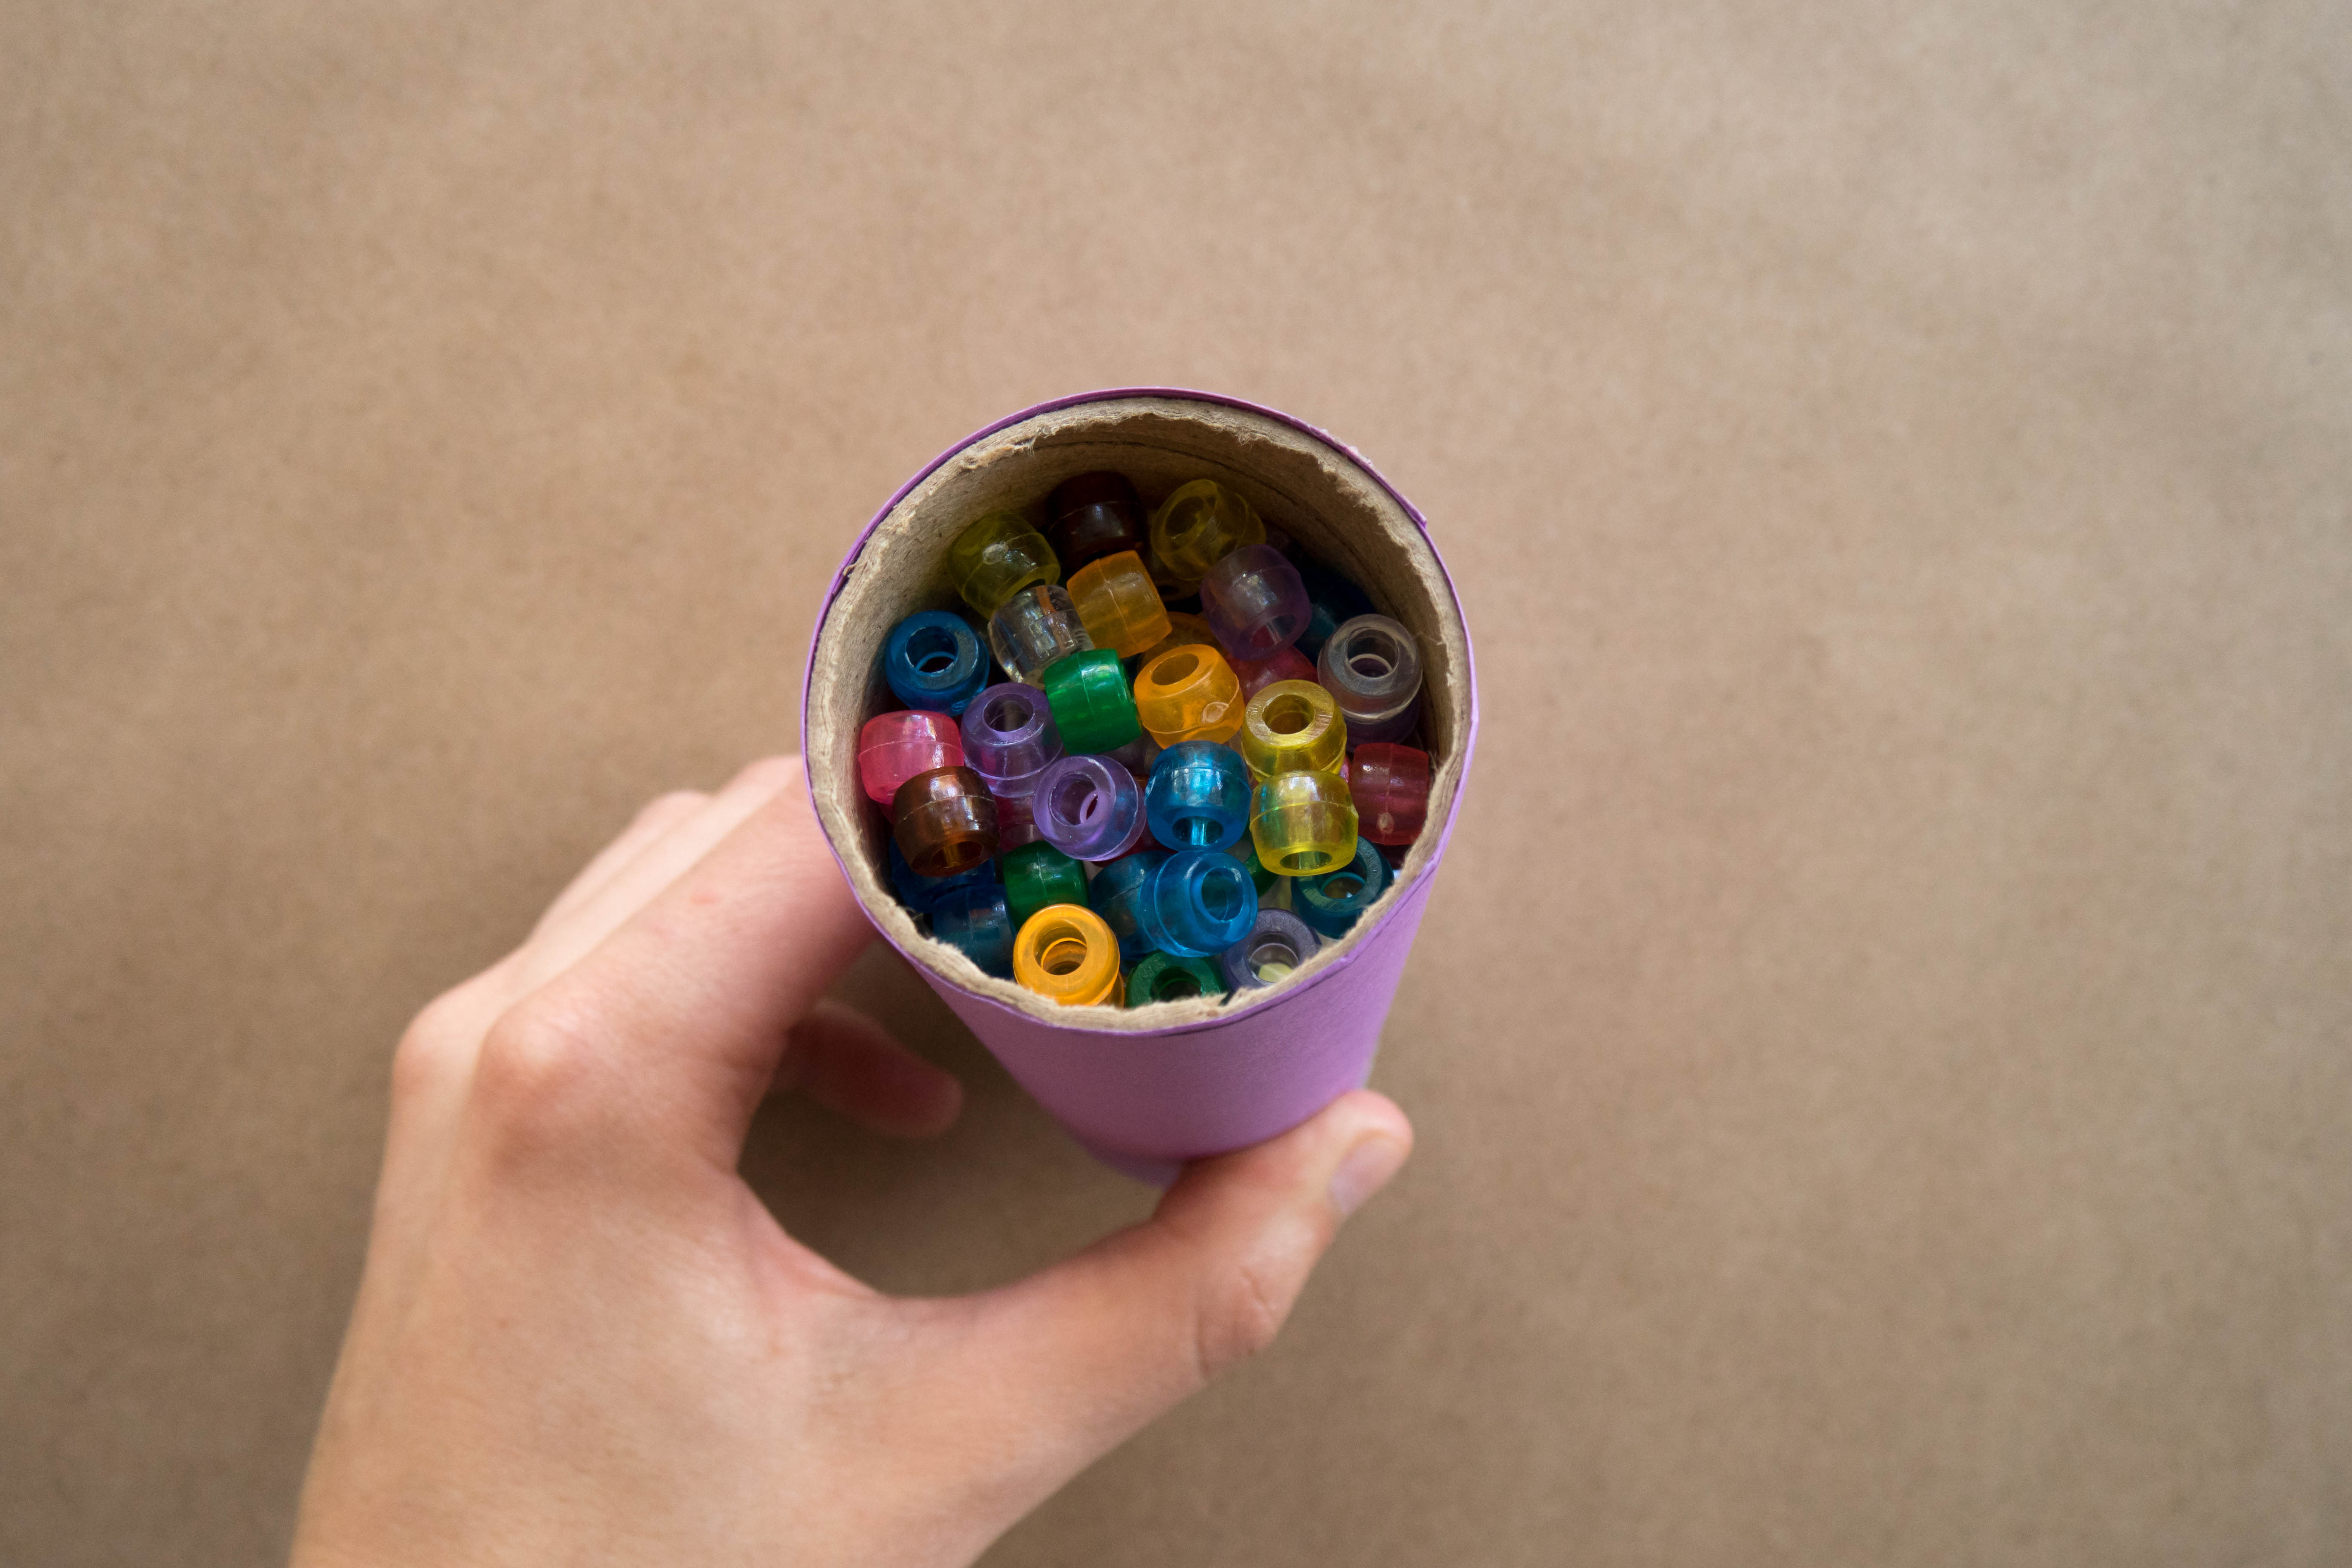
Step 10
Fill the tube almost to the top with beads.
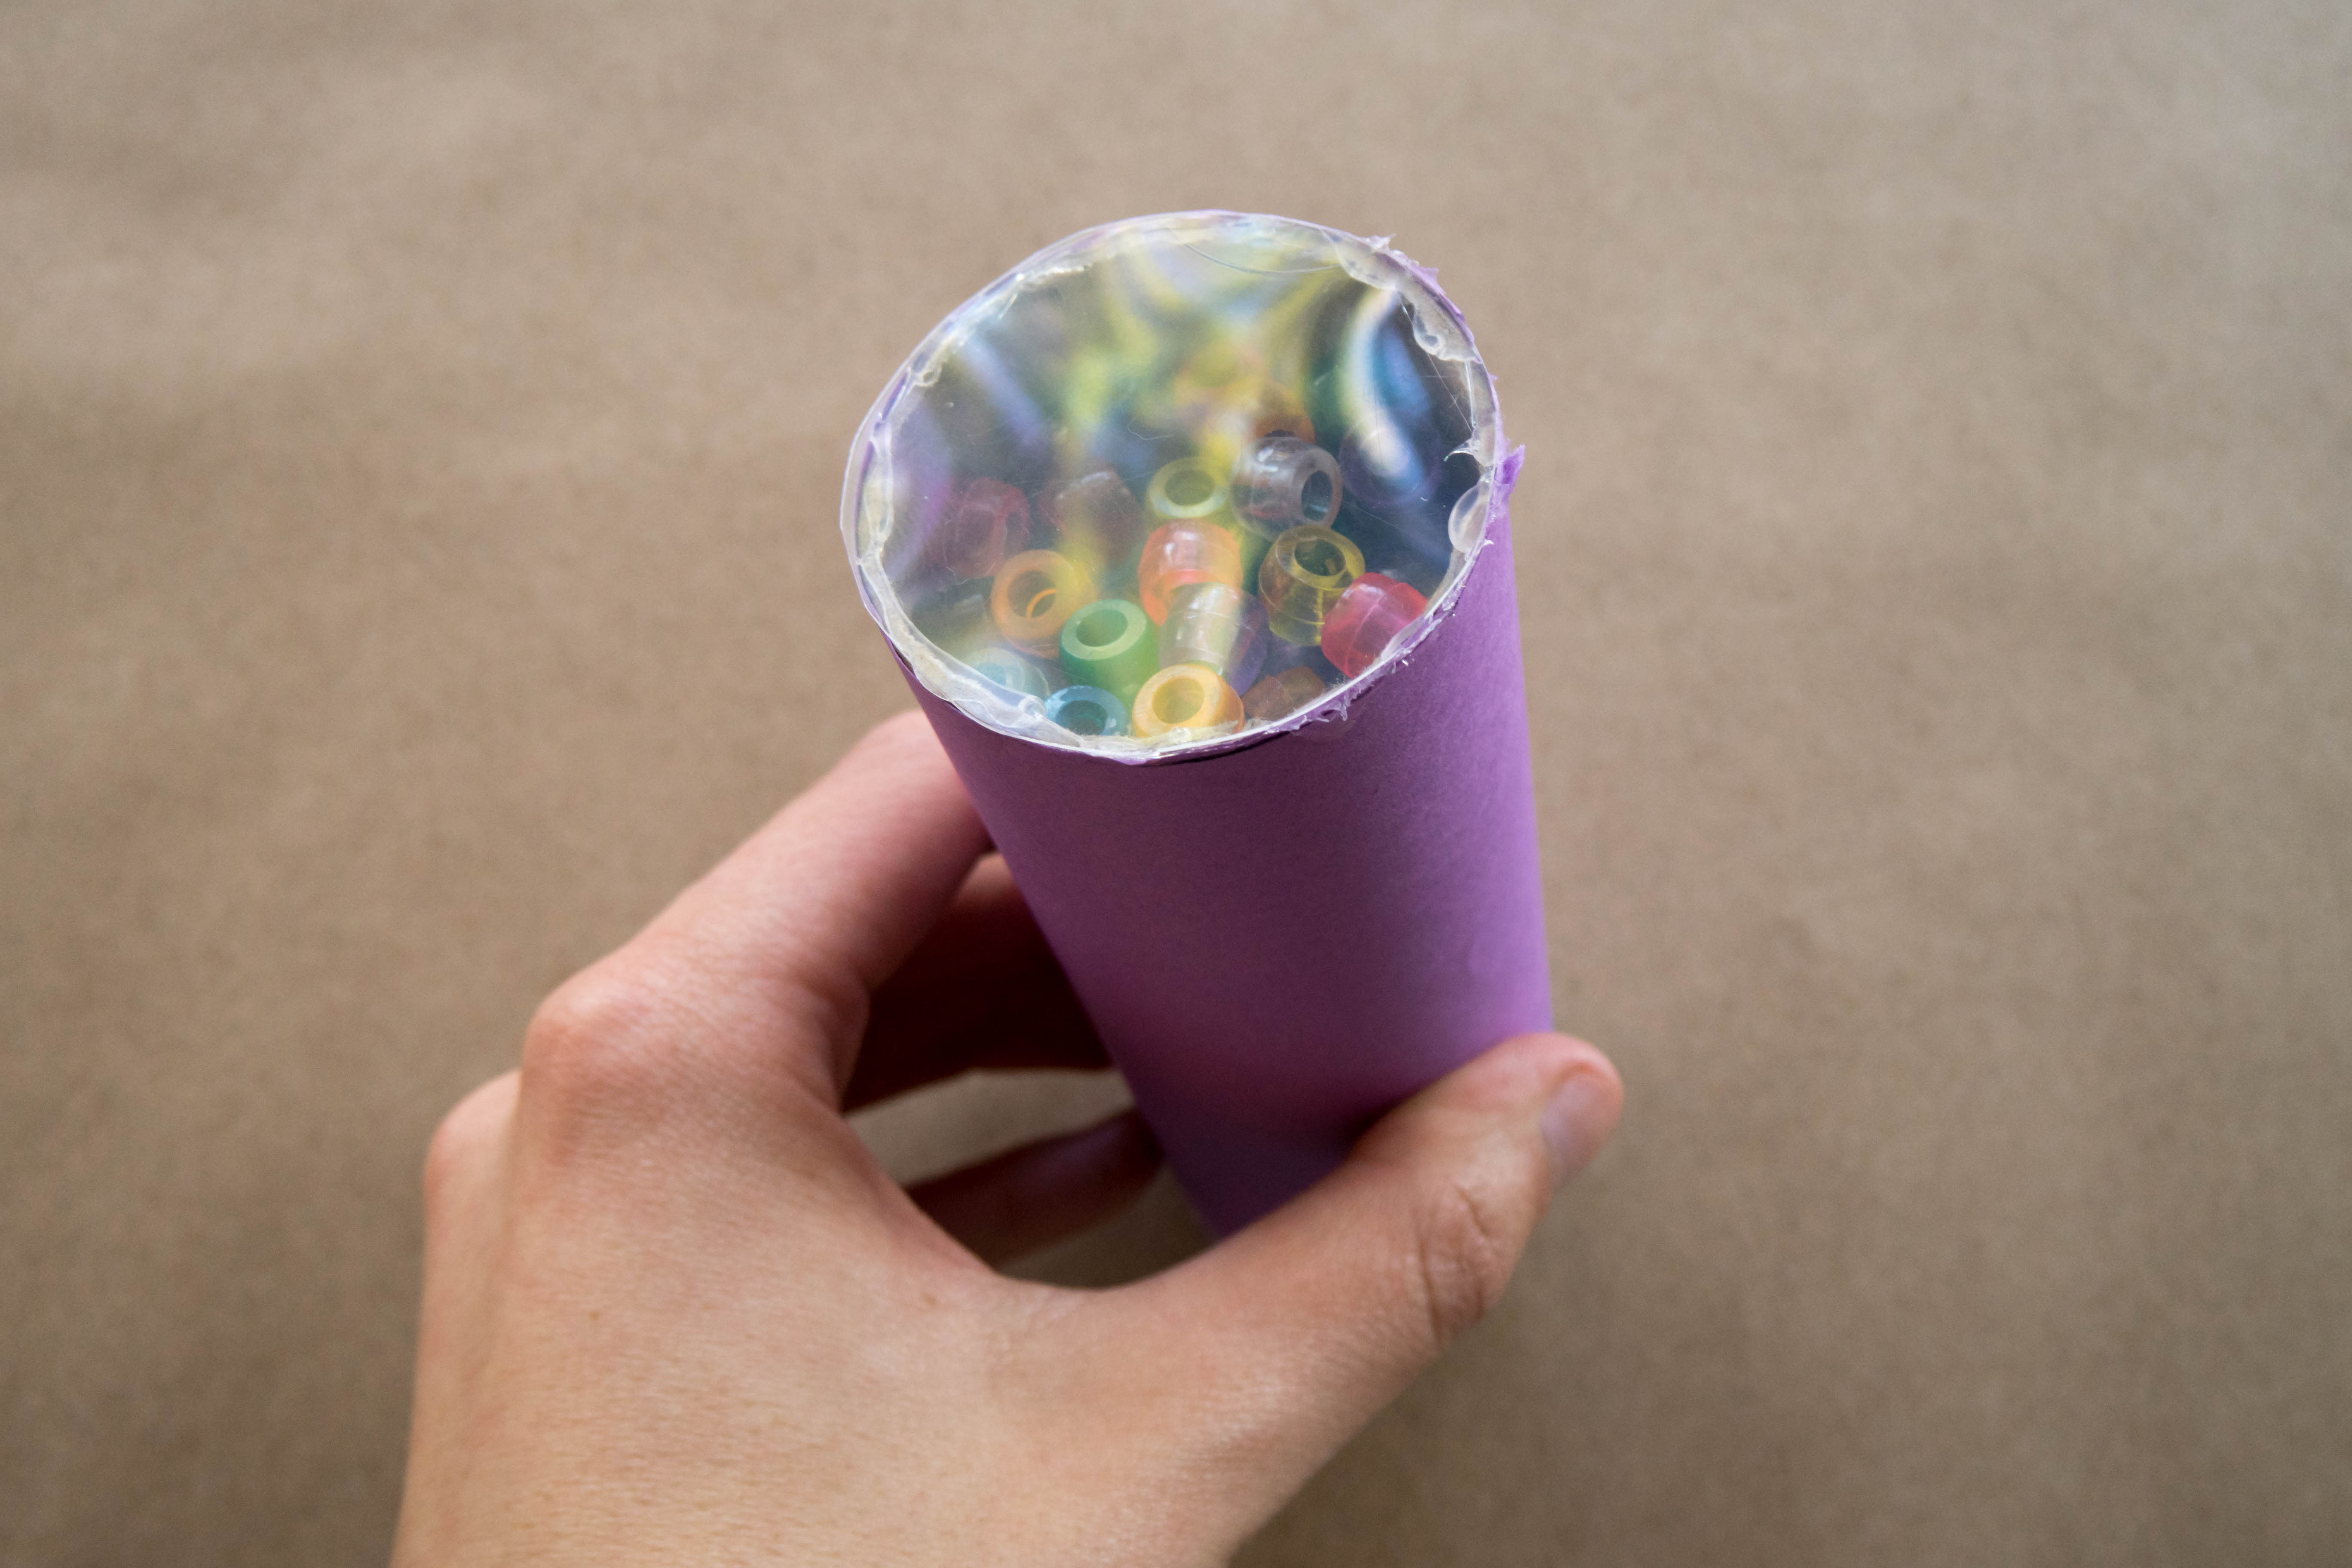
Step 11
Hot glue the last circle to the open end of the tube.
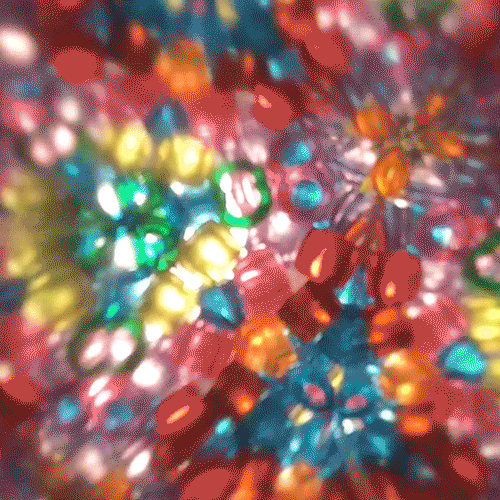
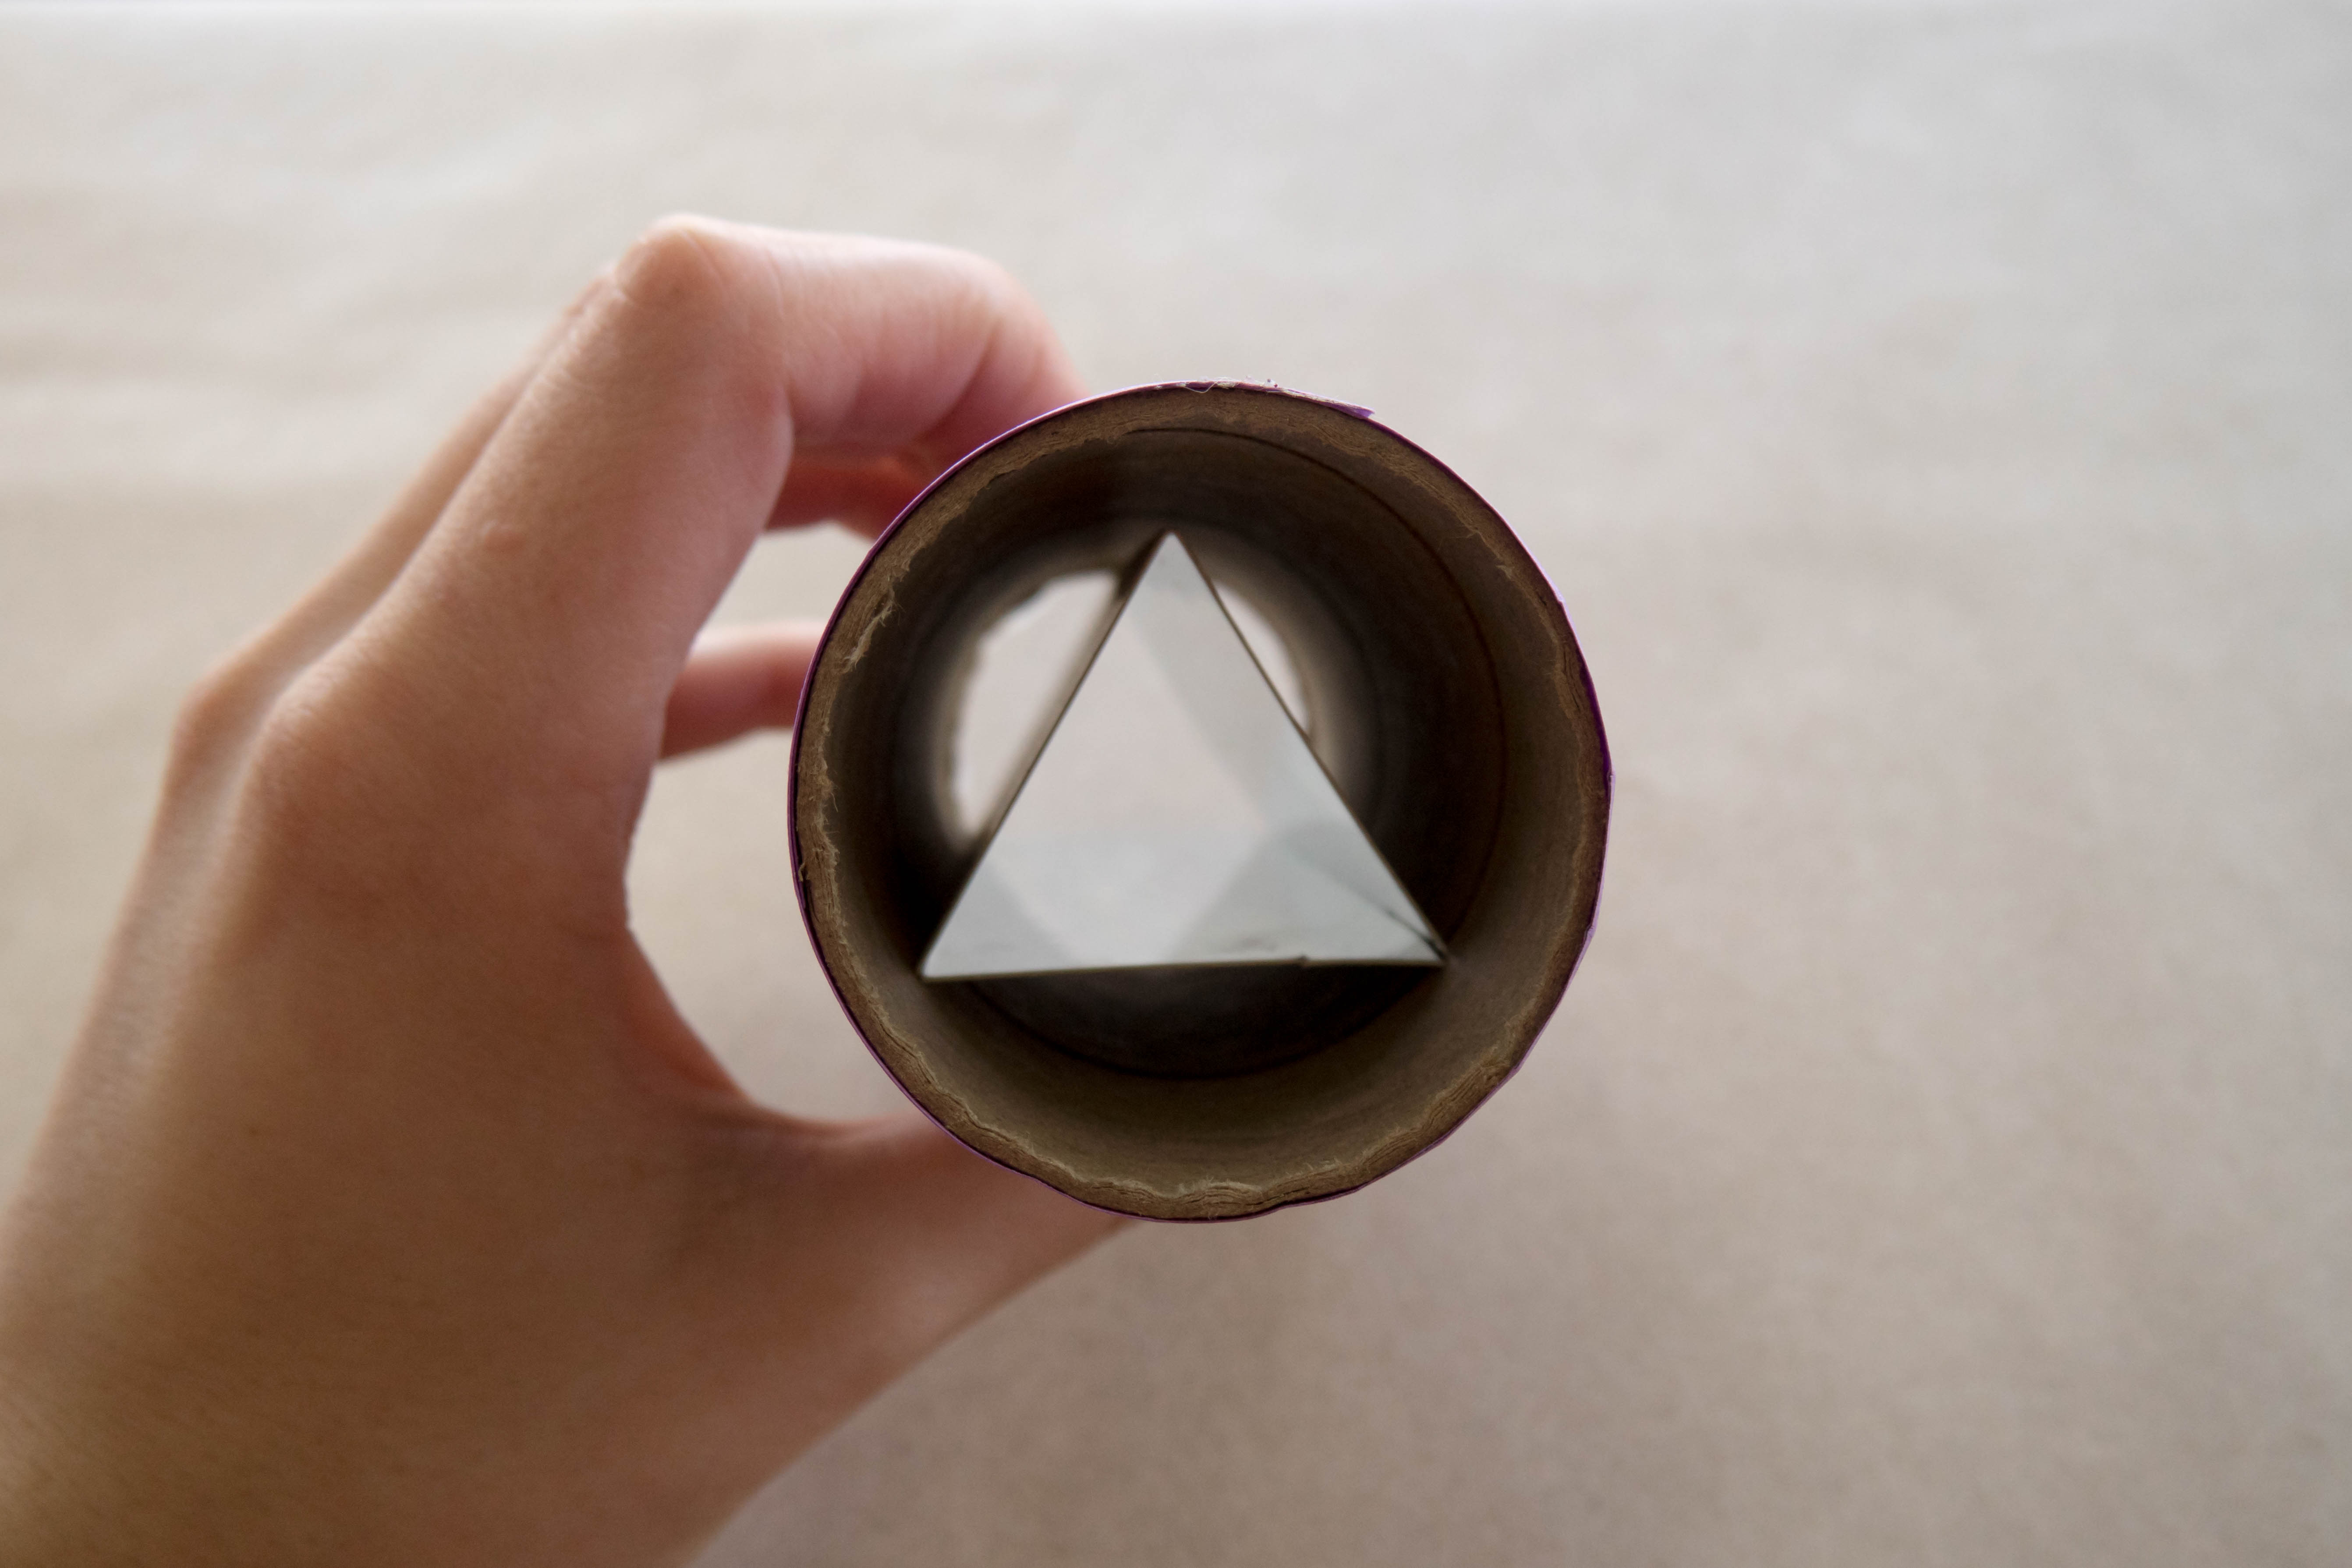
Step 12
Decorate your kaleidoscope and use it! To use your kaleidoscope, point the bead end towards light and look into the triangular prism. Then, start turning the kaleidoscope in your hands!

Learn more

The heart of a kaleidoscope is its mirrors. When you look at a mirror, you’re looking at a very shiny surface that reflects light. Any light that hits the mirror bounces off of it. Some of that light hits your eye, and that’s what makes the reflection you see. When mirrors are pointed at each other, like in the kaleidoscope, the light bounces back and forth, and you end up seeing reflections of reflections! All those reflections create the colorful geometric patterns you see.
Tip
Reflected things have an imaginary line that splits them into halves called an “line of symmetry.” Things on one side of the line of symmetry look the same as the things on the other side, but they’re mirrored. Think about your face — you have a line of symmetry running right down the middle, so the eye on one side looks like the eye on the other! Try drawing shapes you see in your kaleidoscope, and see if you can find their lines of symmetry.


