Step-by-step tutorial
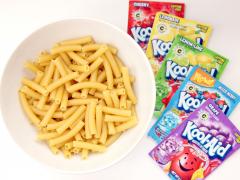
Step 1
Open your freezer bag nice and wide, and stand it up. First, add the cup of pasta (a step for my two-year-old, V). Next, add the packet of Kool-Aid (definitely a V step!). Lastly, add the tablespoon of rubbing alcohol (this was a mama step). Repeat this process for each desired color.

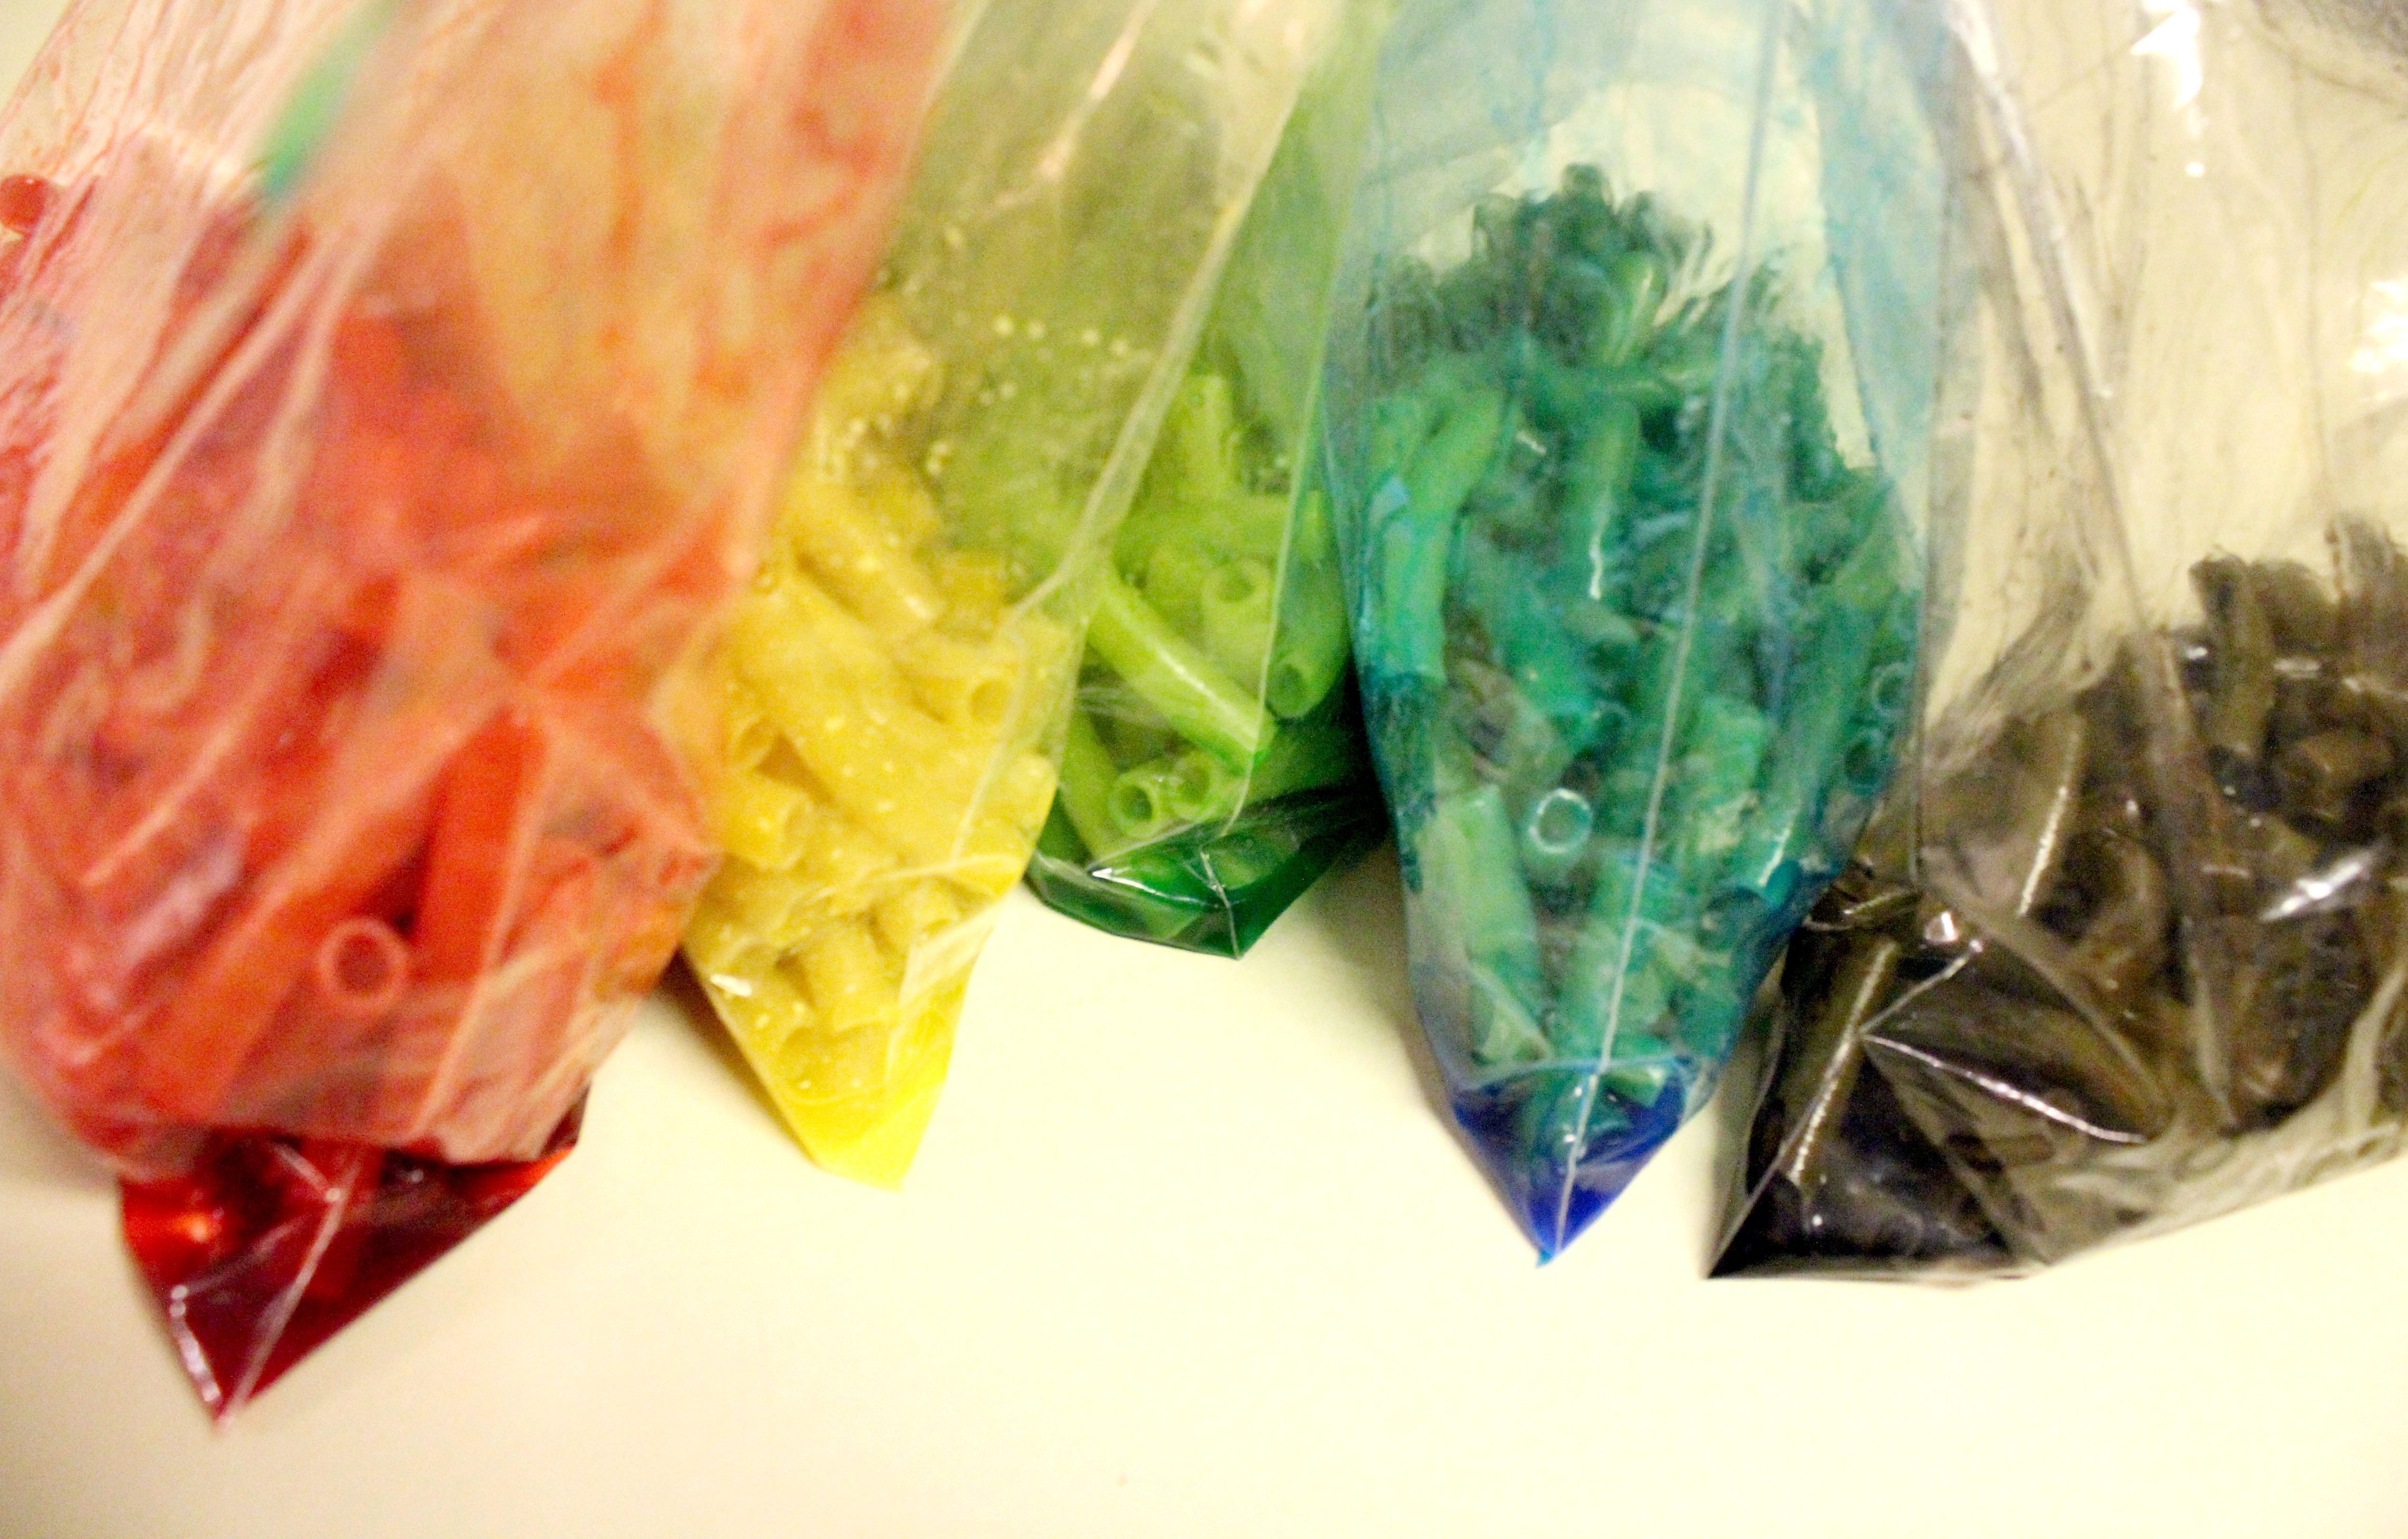
Step 2
Seal the bag shut and shake, shake, shake it up (this can be a fun part in the process for the kids to do, too!) Let it sit for a good 15-20 minutes so the color gets nice & strong.
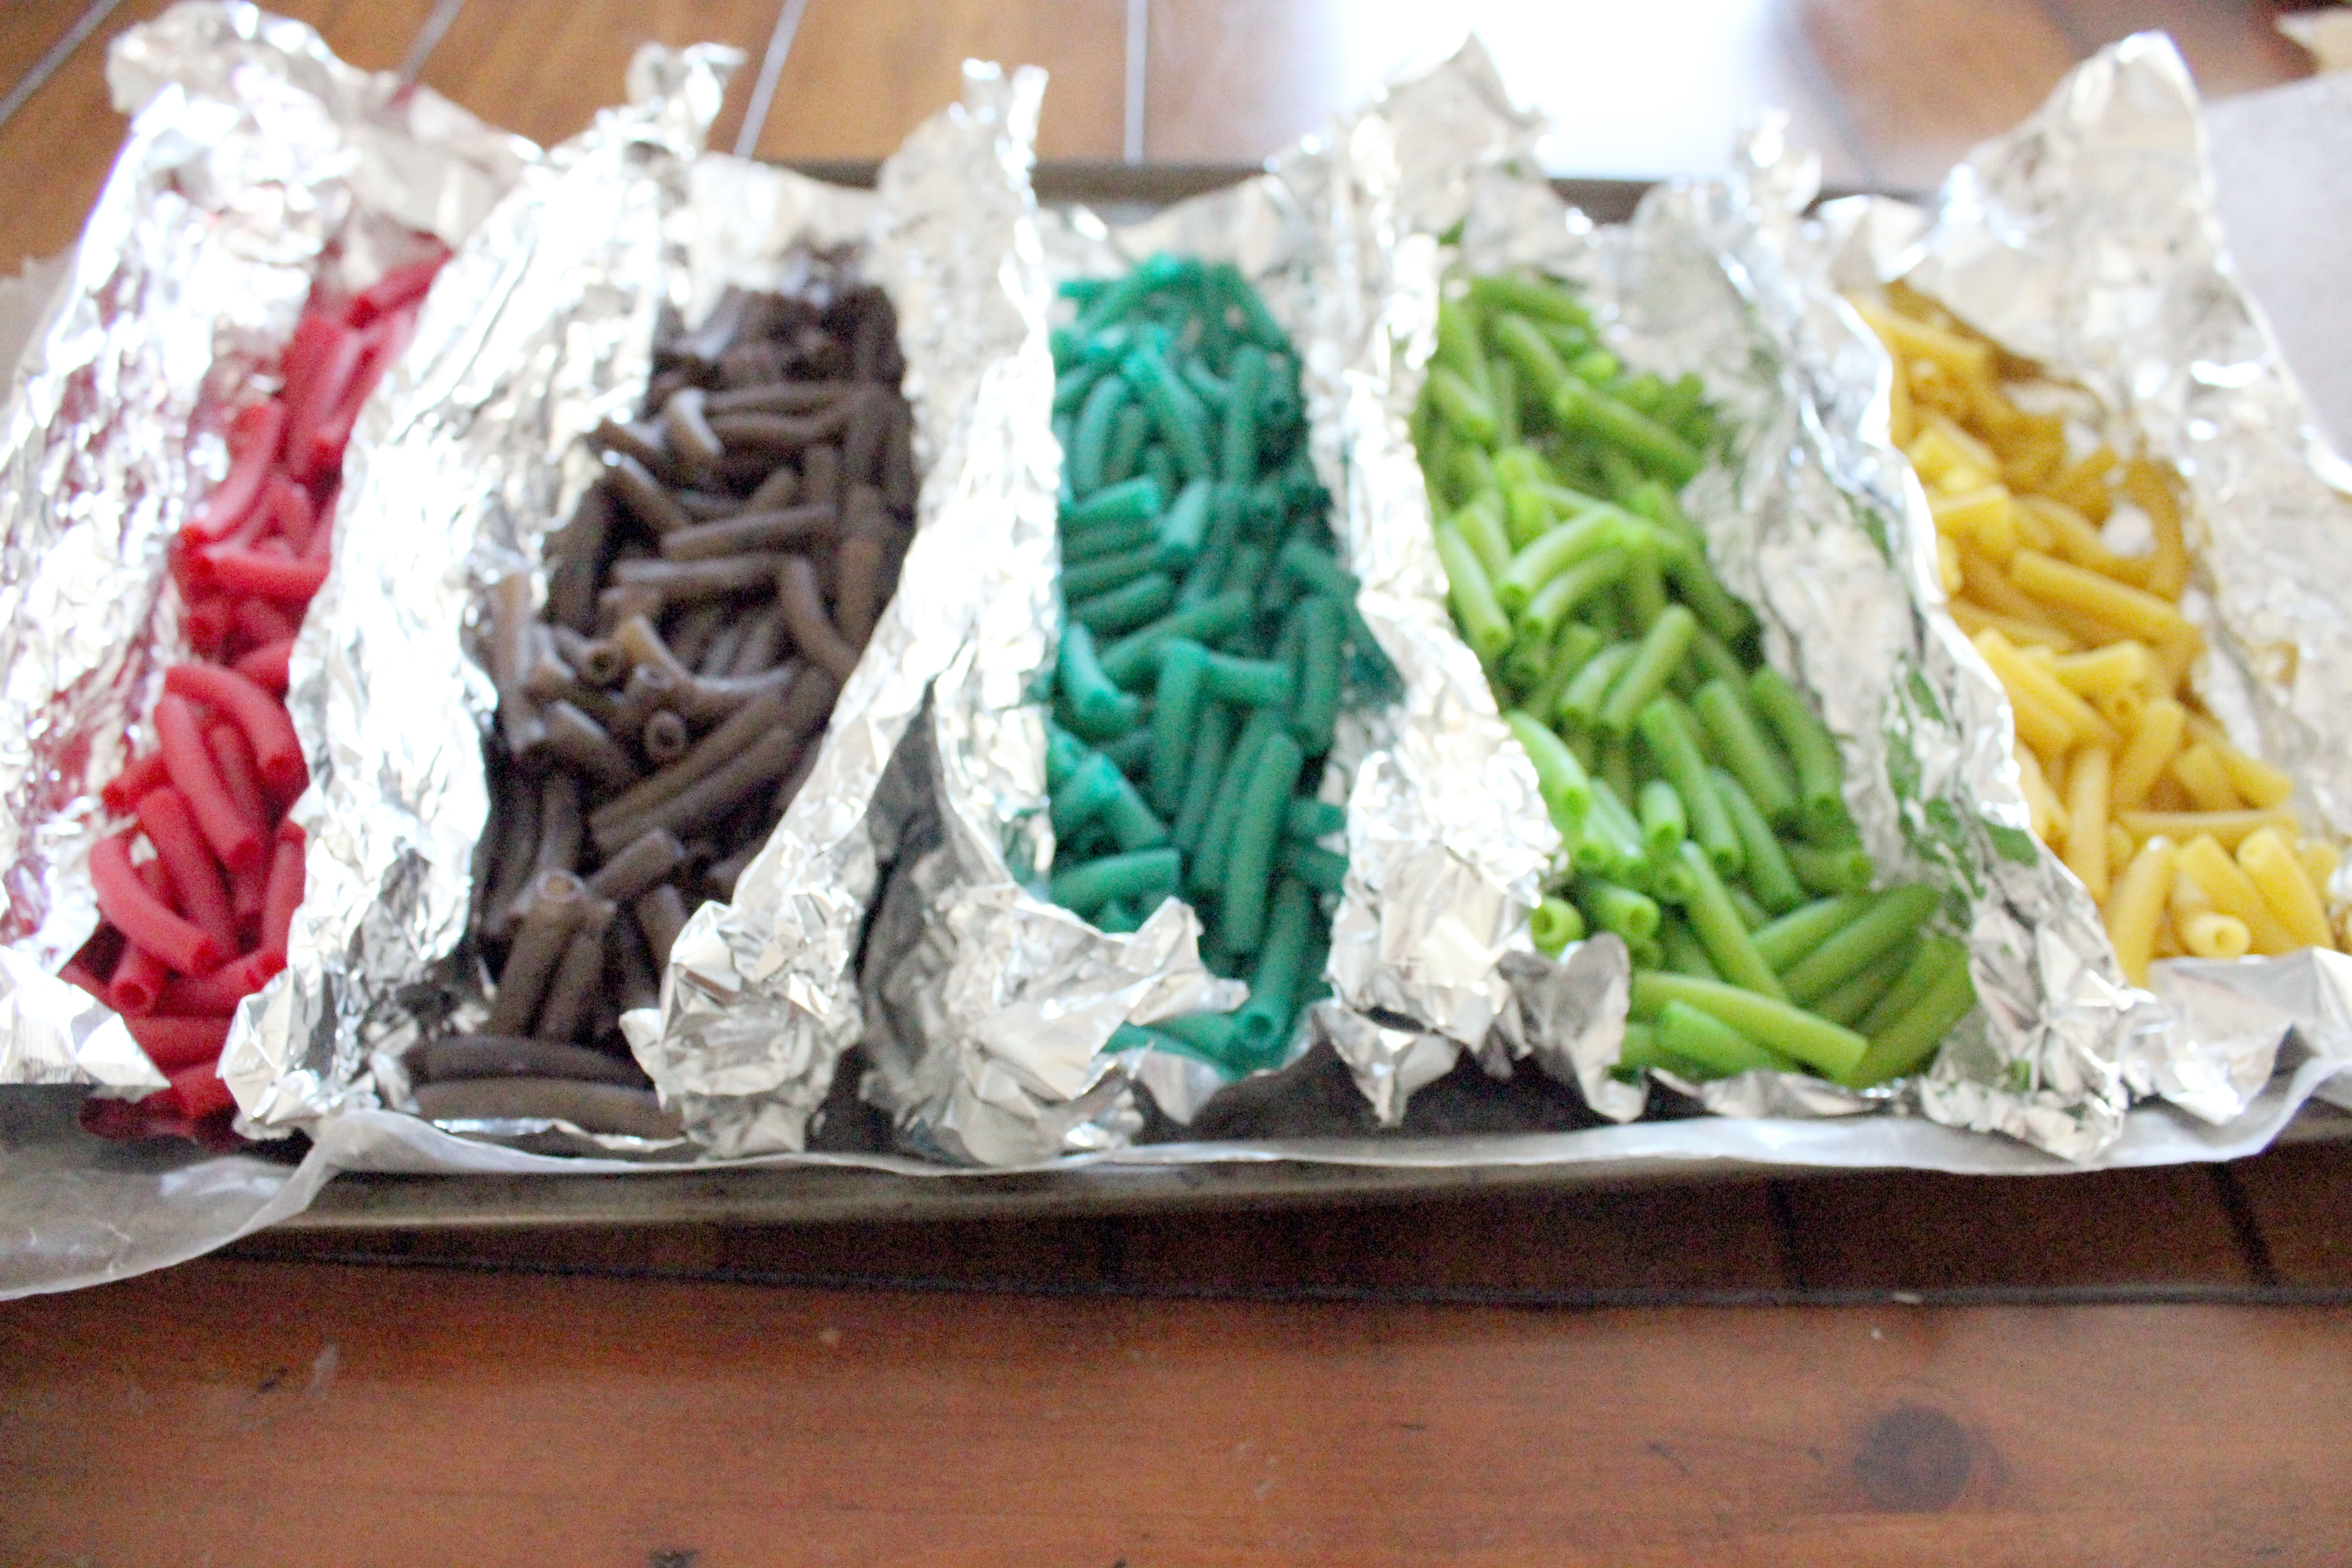
Final result!
Pour the pasta out onto trays, and get the pasta as flat as it will go so that you can dry it overnight (or for at least 6-8 hours). I usually make little tin foil boats in the tray to separate the colors.
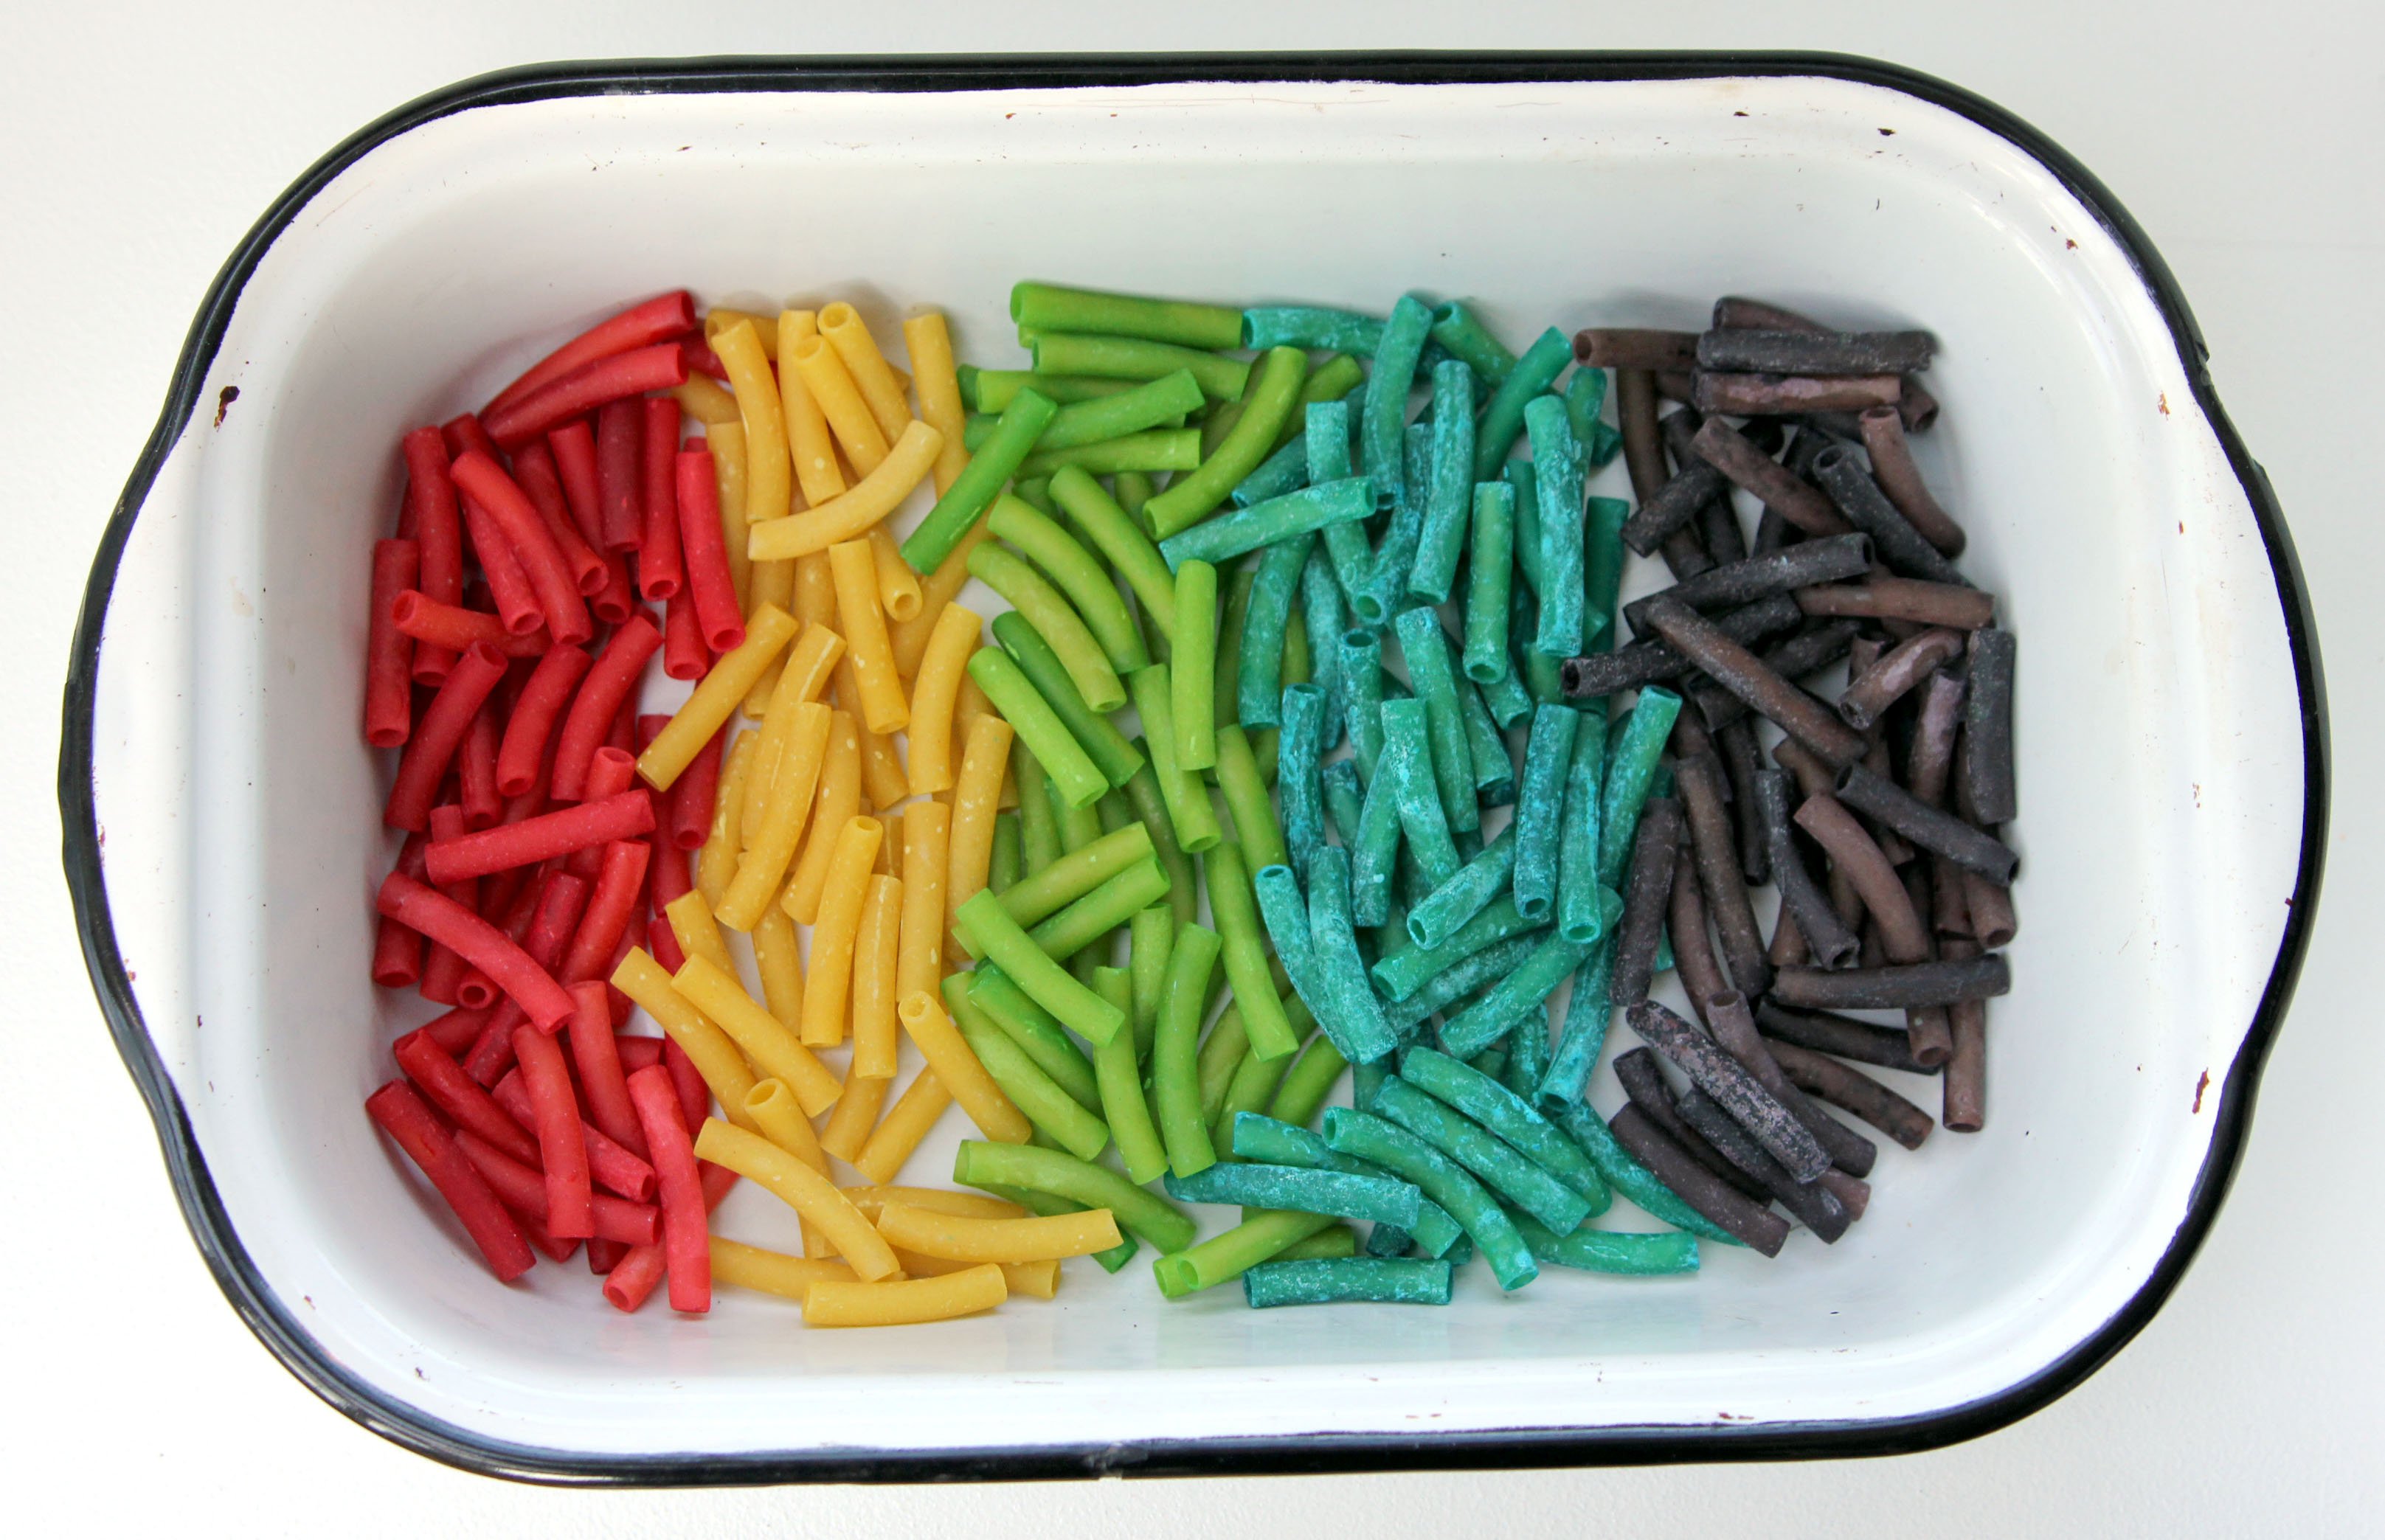
Once the pasta is dry, the pieces will be all clumped together; separate the pasta. If there are still wet sections once the pasta has been separated, allow for some more drying time.
And there you have it: an easy addition to your crafting materials!