Step-by-step tutorial
Step 1
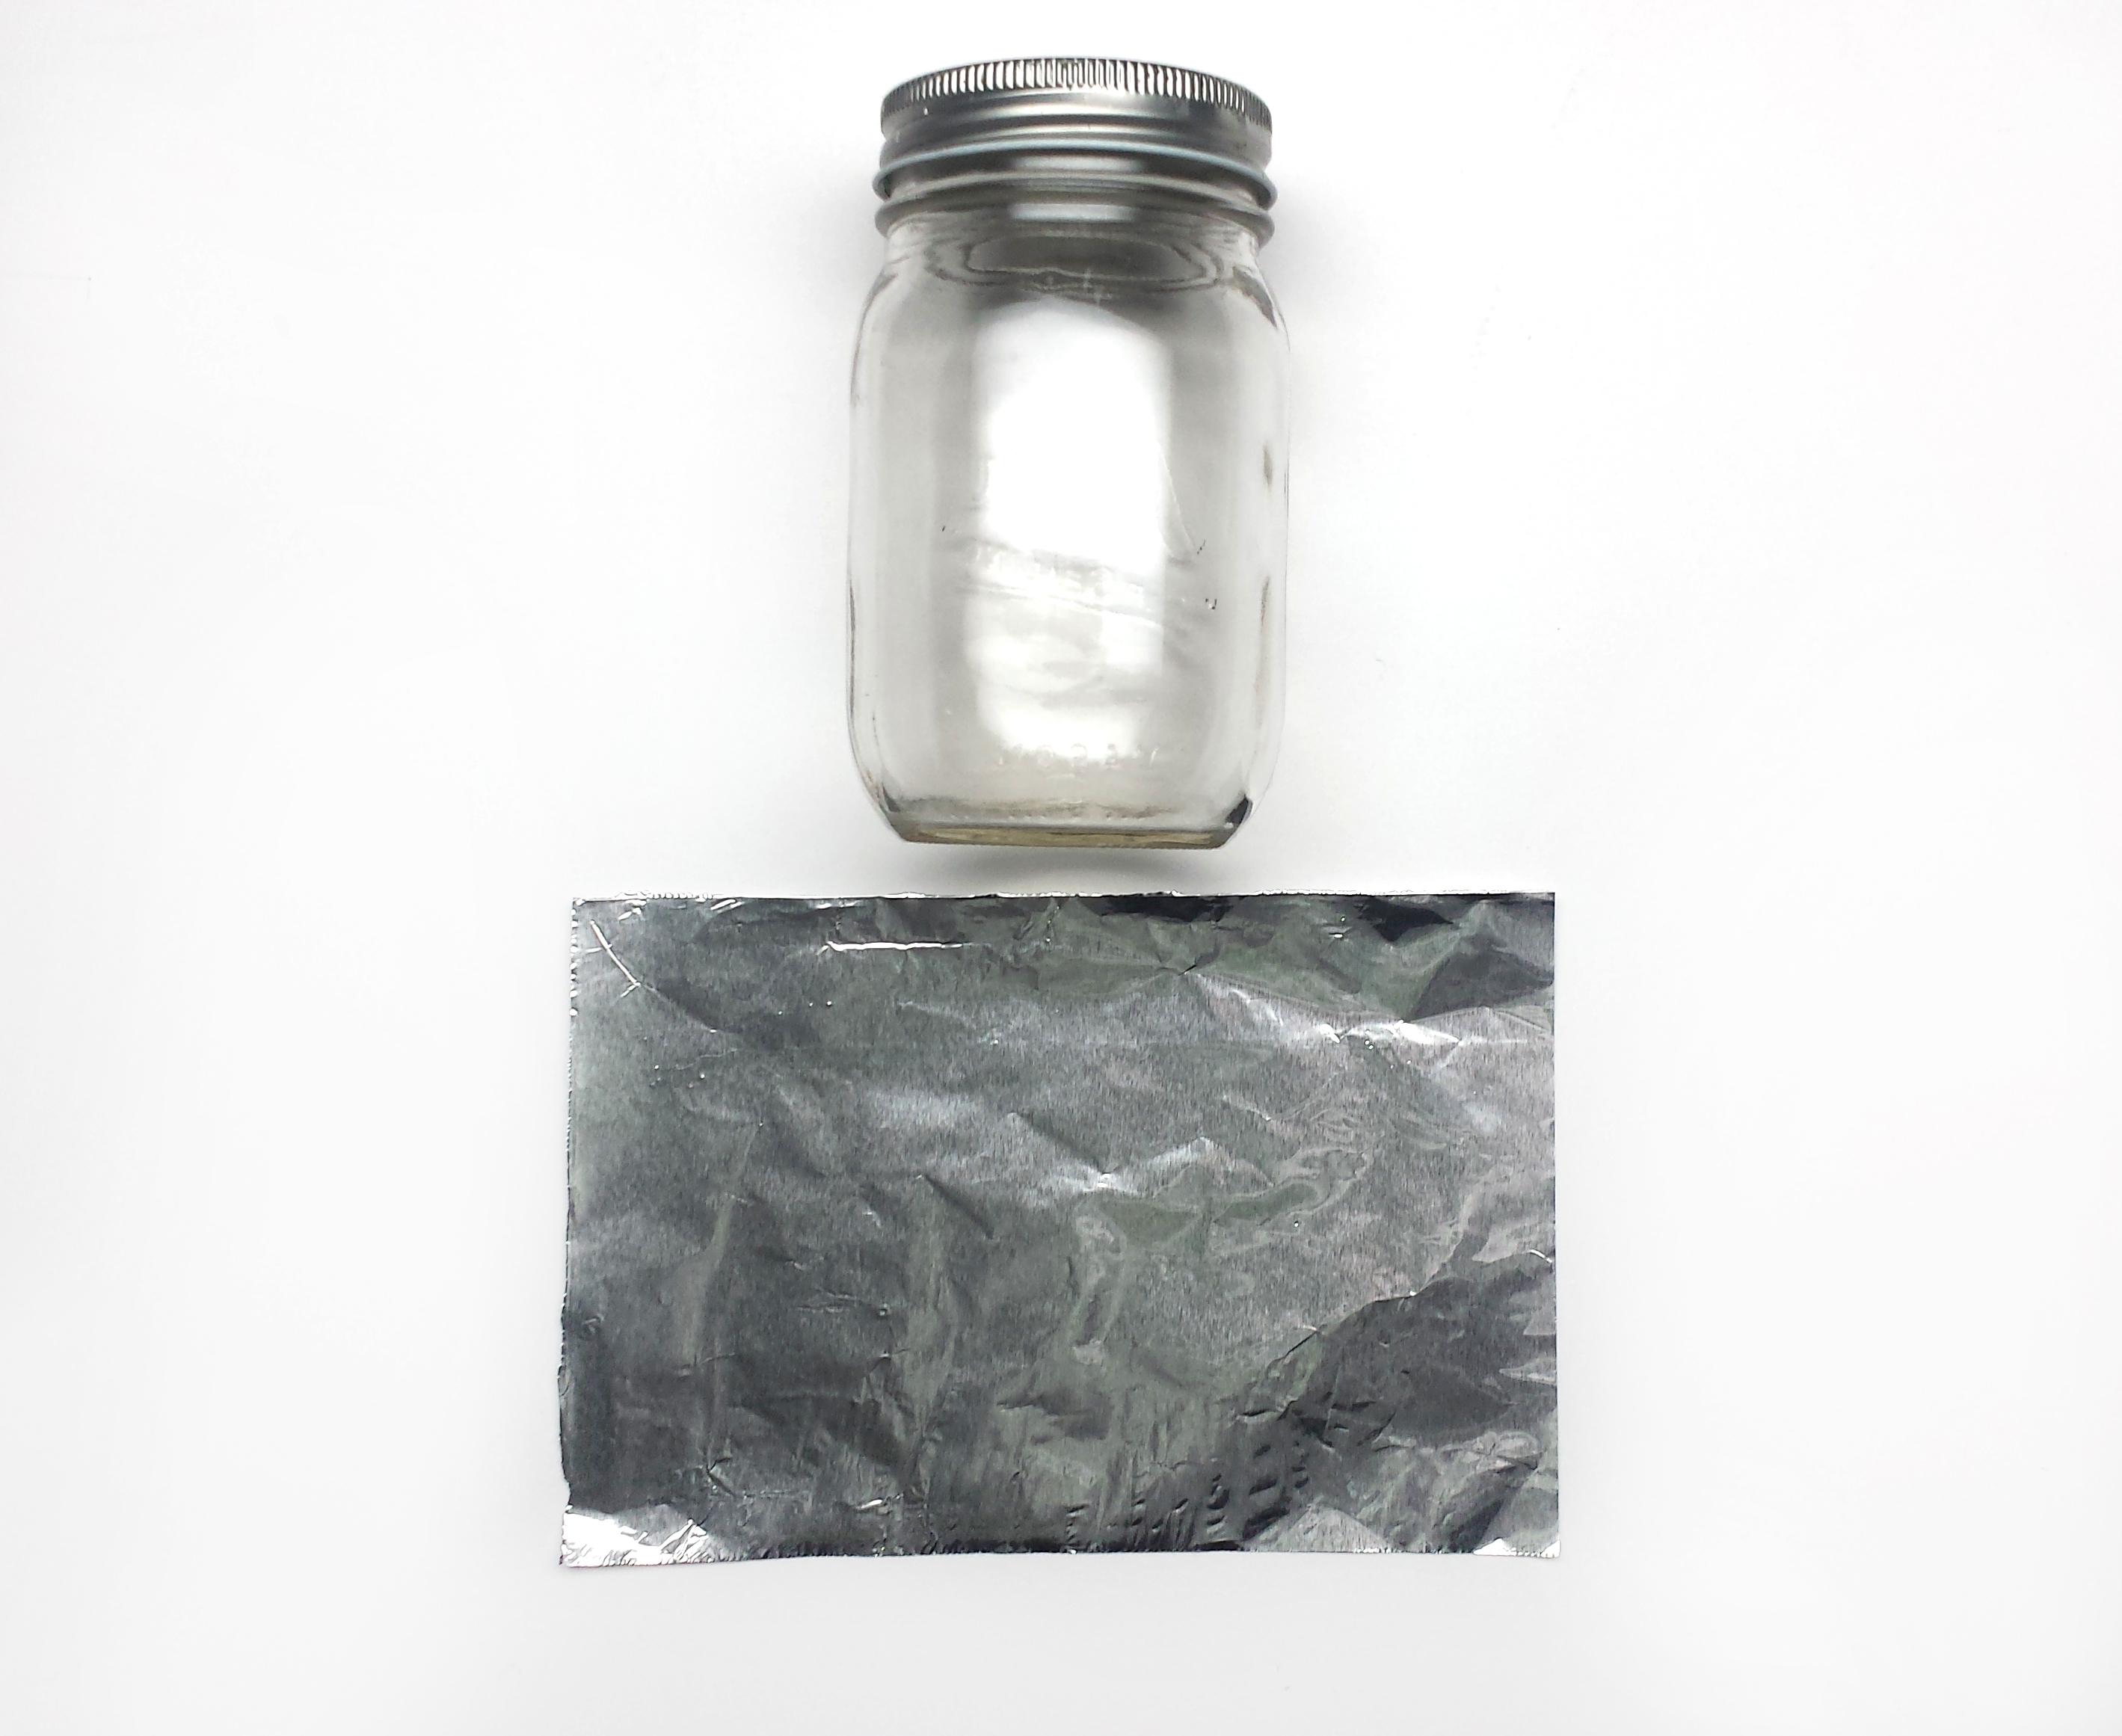
Use a ruler to measure the height of your jar to figure out how tall it is. Then, use a piece of string to find the circumference by measuring around the mouth. Add half an inch to your circumference measurement. Cut a piece of aluminum foil based on the measurements of your jar. We used a jar that measured 5 inches x 7 ½ inches.

Warning
Have a grownup help or carefully supervise any cutting necessary for this project.
Step 2
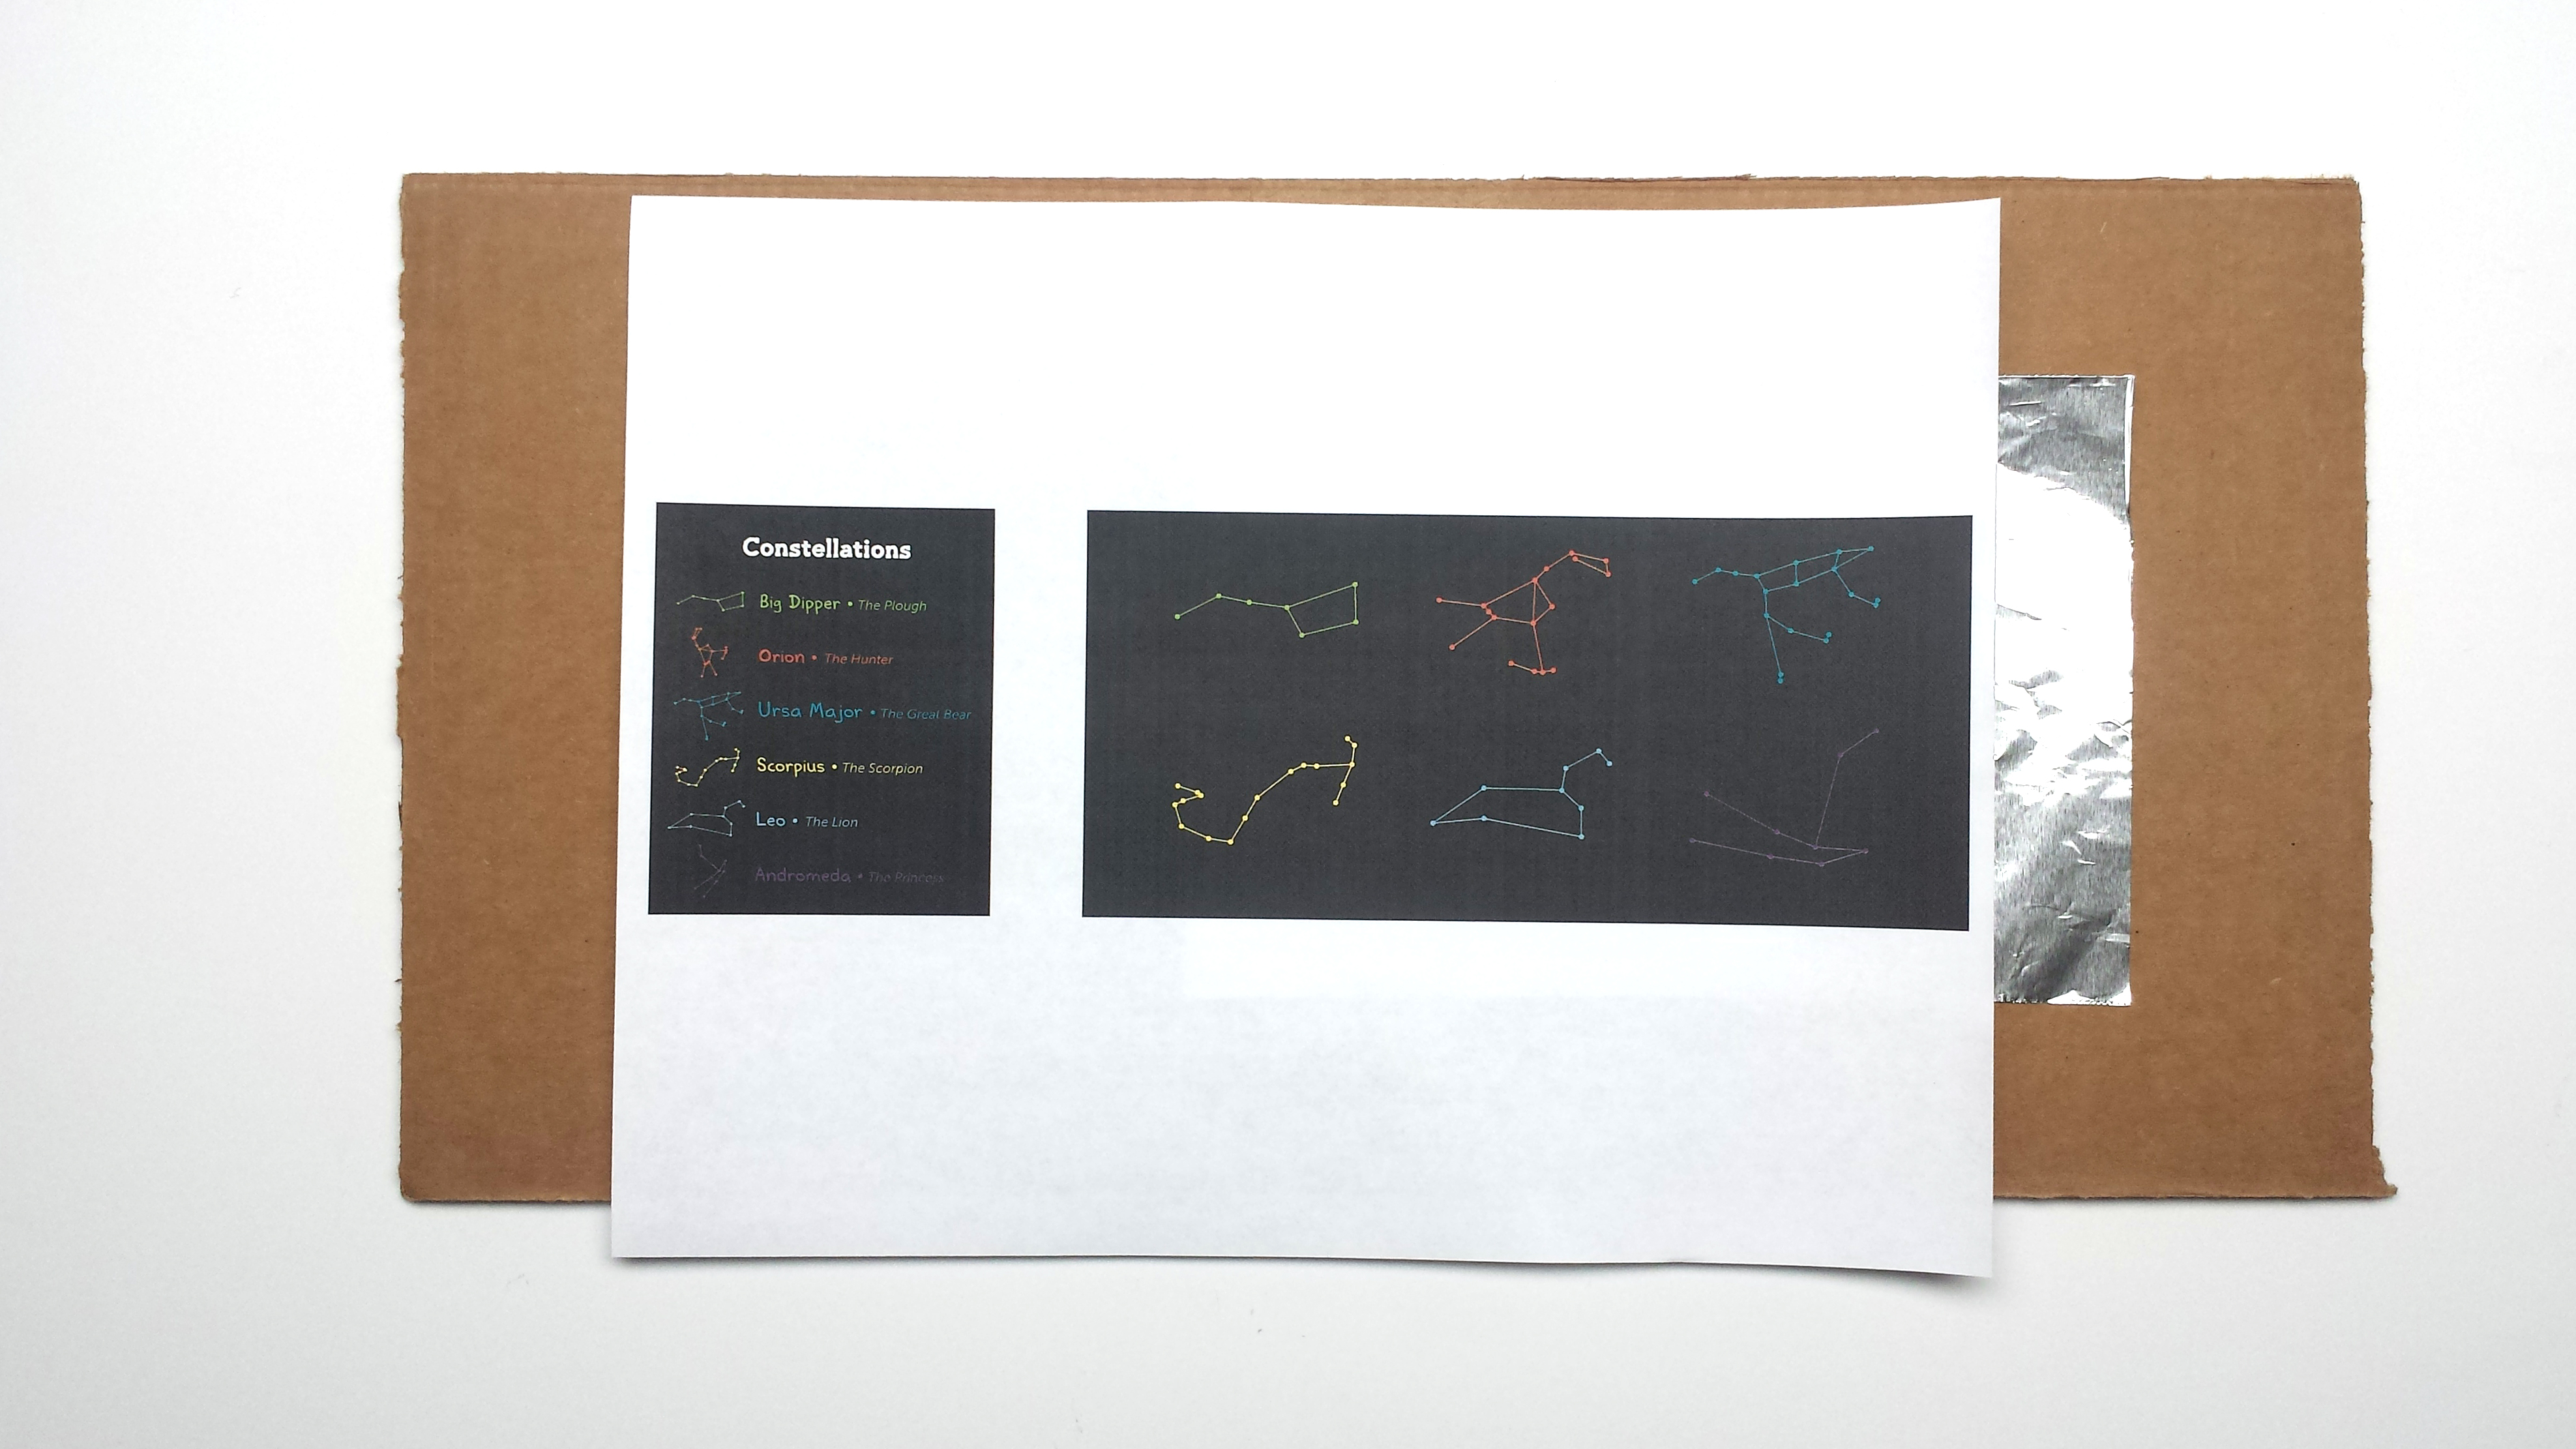
Place the foil flat on the cardboard and put the constellation printable on top.
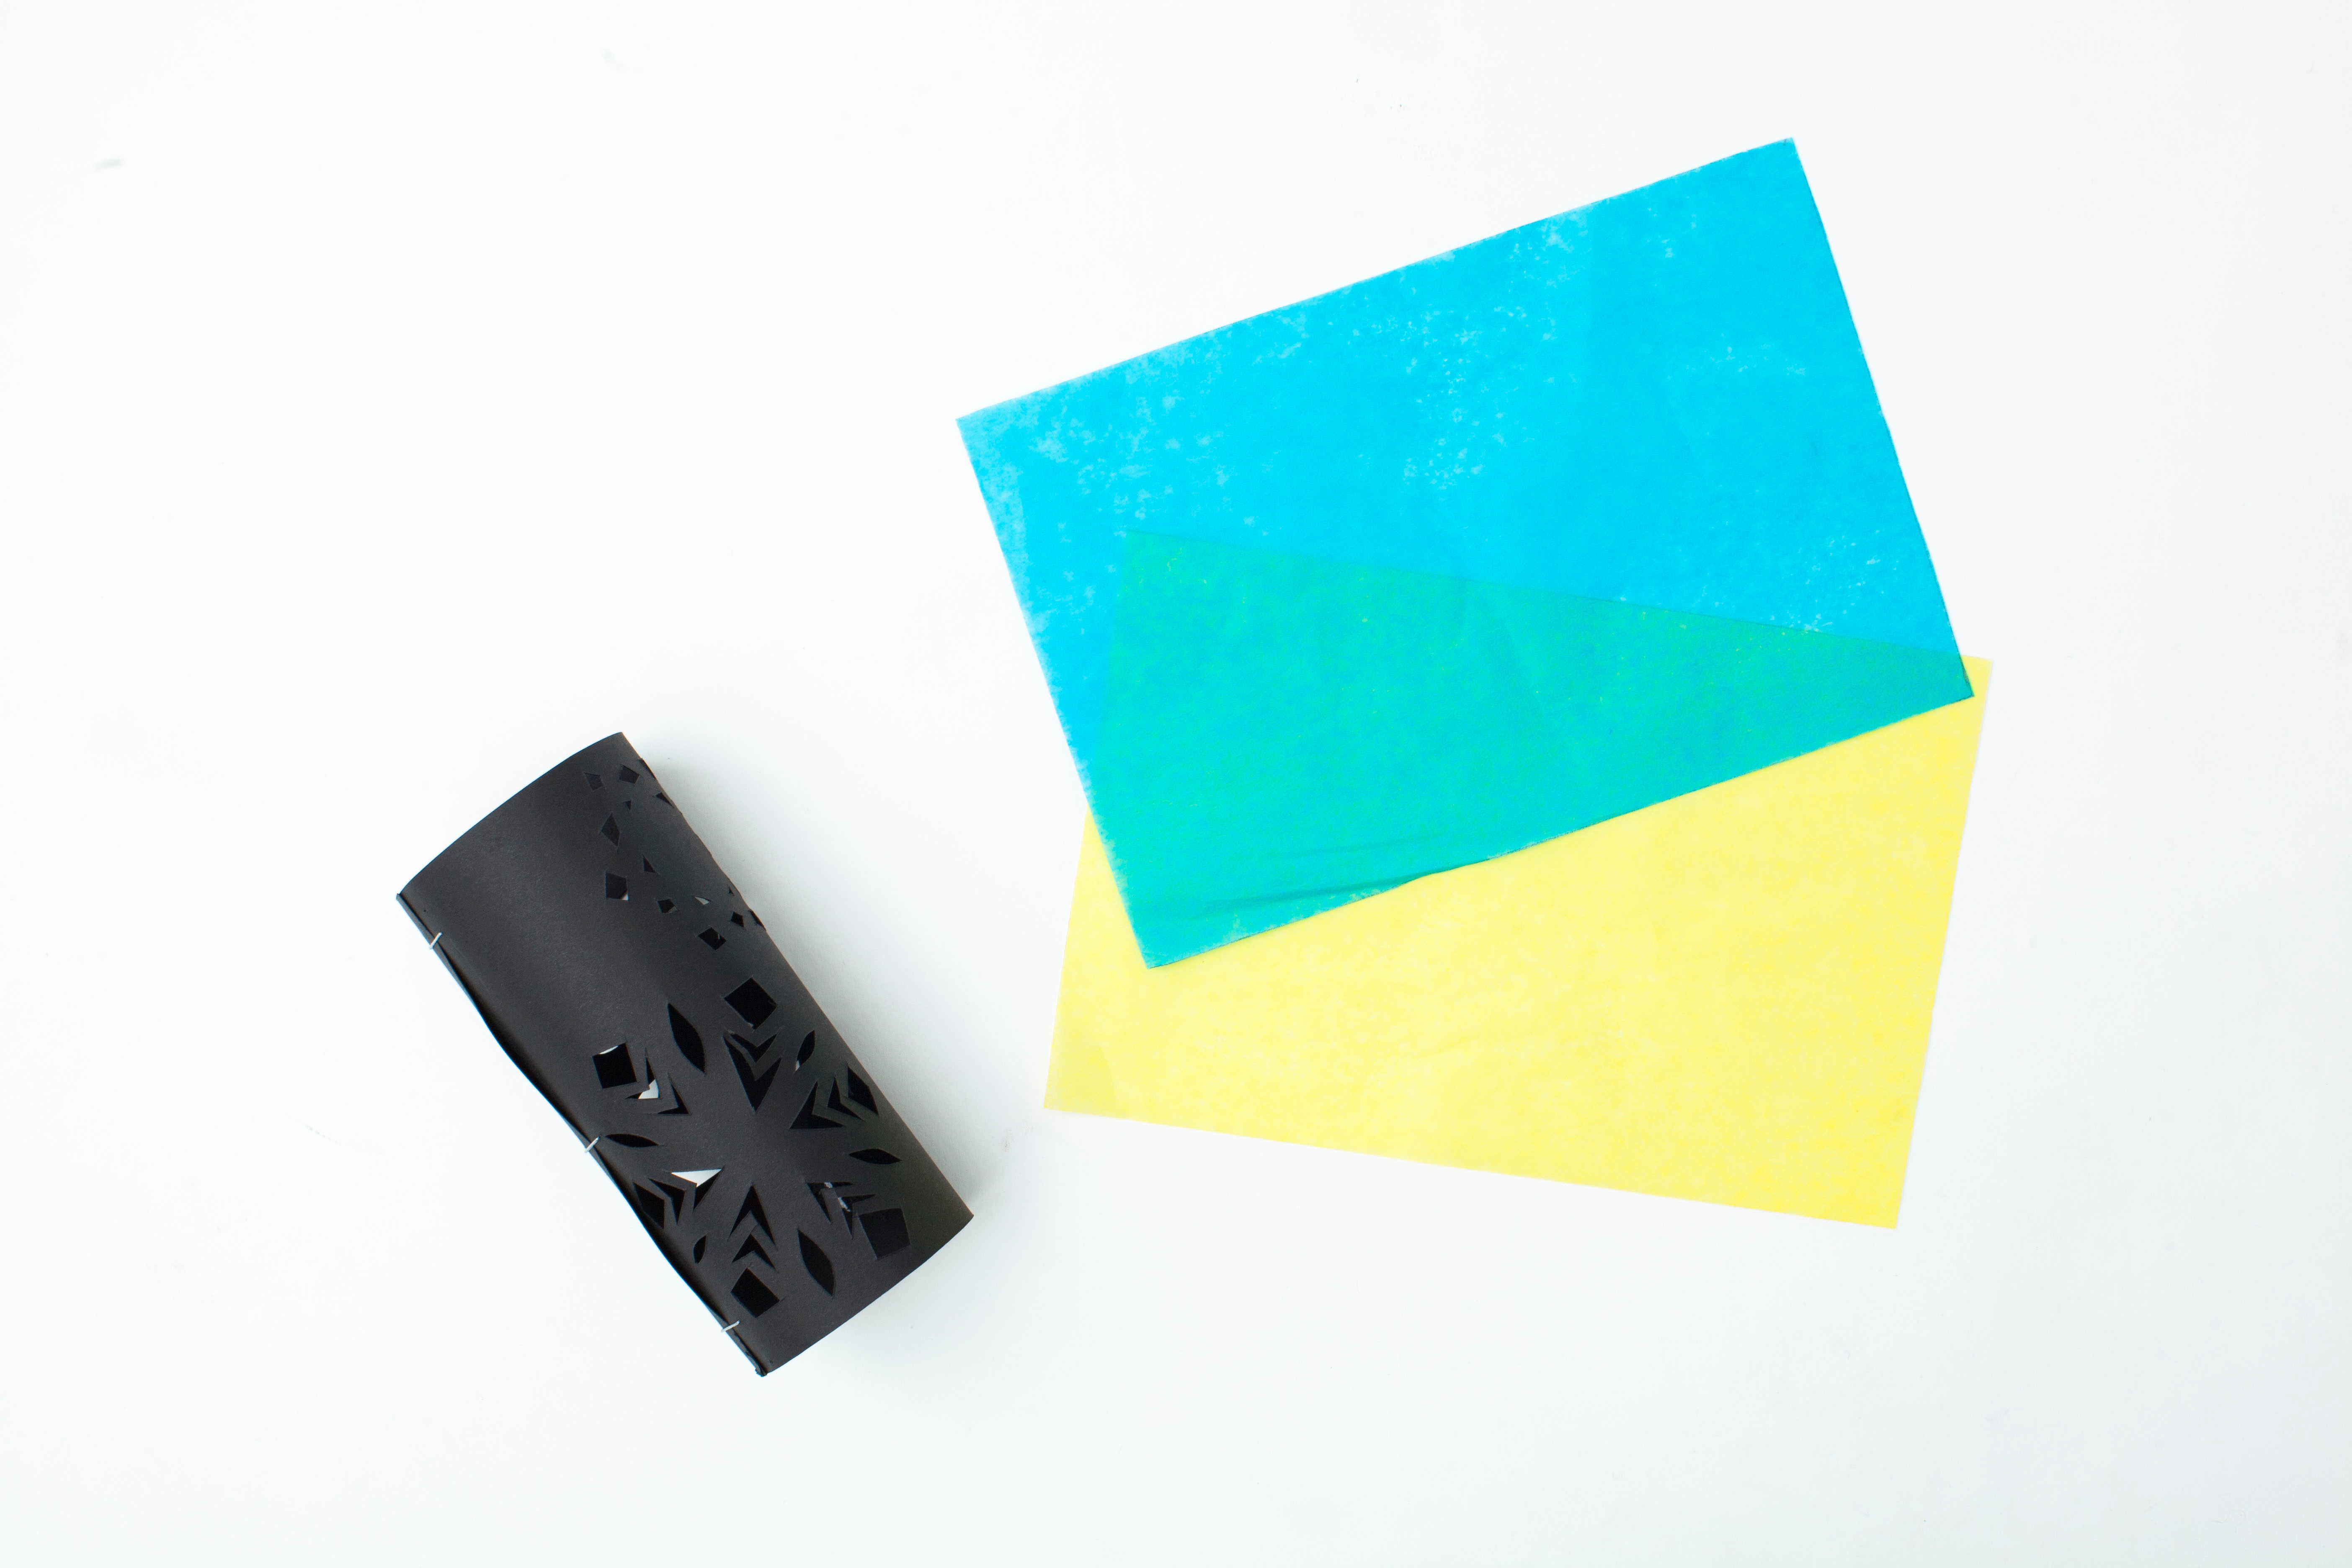
Tip
Snowflake Jar Option: Cut out a few paper snowflakes and trace them onto a piece of black construction paper.
Step 3
Choose a constellation from the printable and use the pushpin to create it by carefully poke holes through the paper and foil.

Step 4
Choose another constellation and create it on a different spot of the foil. Try to learn the names and shapes of each constellation that you make!
Tip
Snowflake Jar Option: Cut out the shapes you traced onto the construction paper using an X-acto knife.
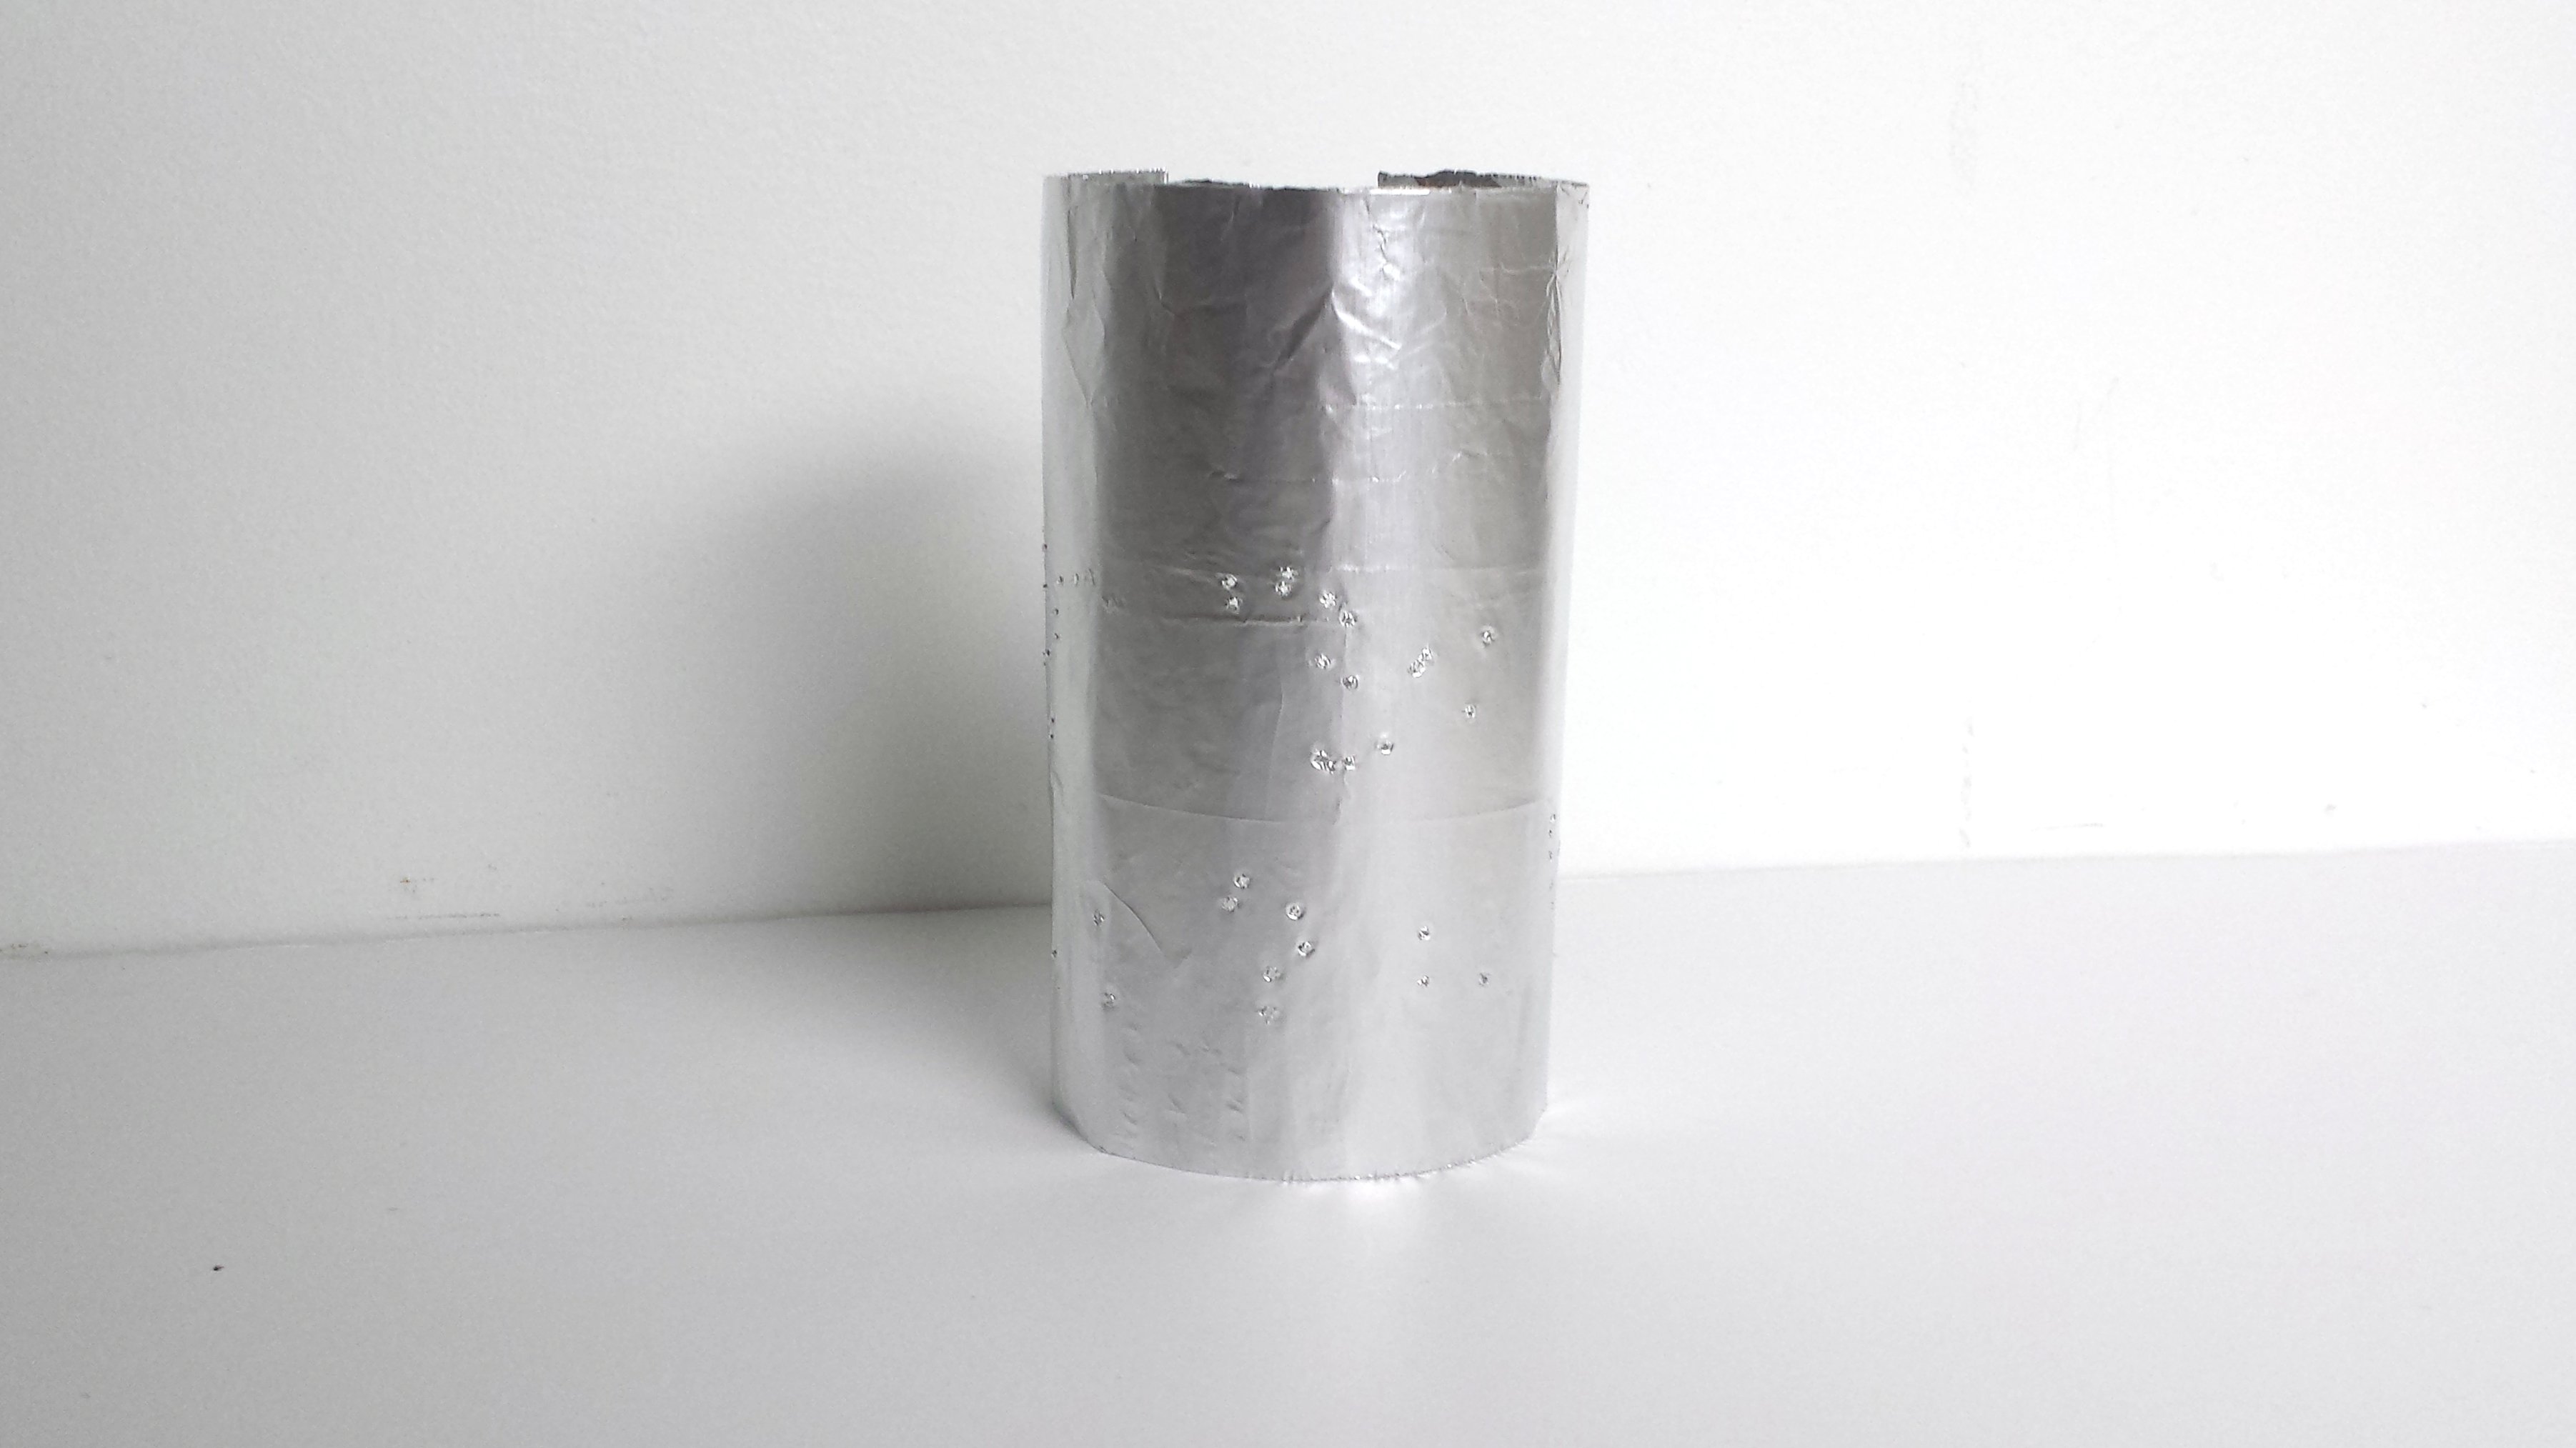
Step 5
After, take your foil and wrap it around the toilet paper roll to give it a curved surface. Remove the toilet paper roll.
Tip
Snowflake Jar Option: Use a stapler to form the construction paper into a cylindrical shape and add some tissue paper inside the construction paper cylinder to give your shining snowflakes some color!
Step 6
Carefully place the curved foil into the jar. (Try not to crinkle your designs!)
Tip
Snowflake Jar Option: Carefully place the paper cylinder into the jar.
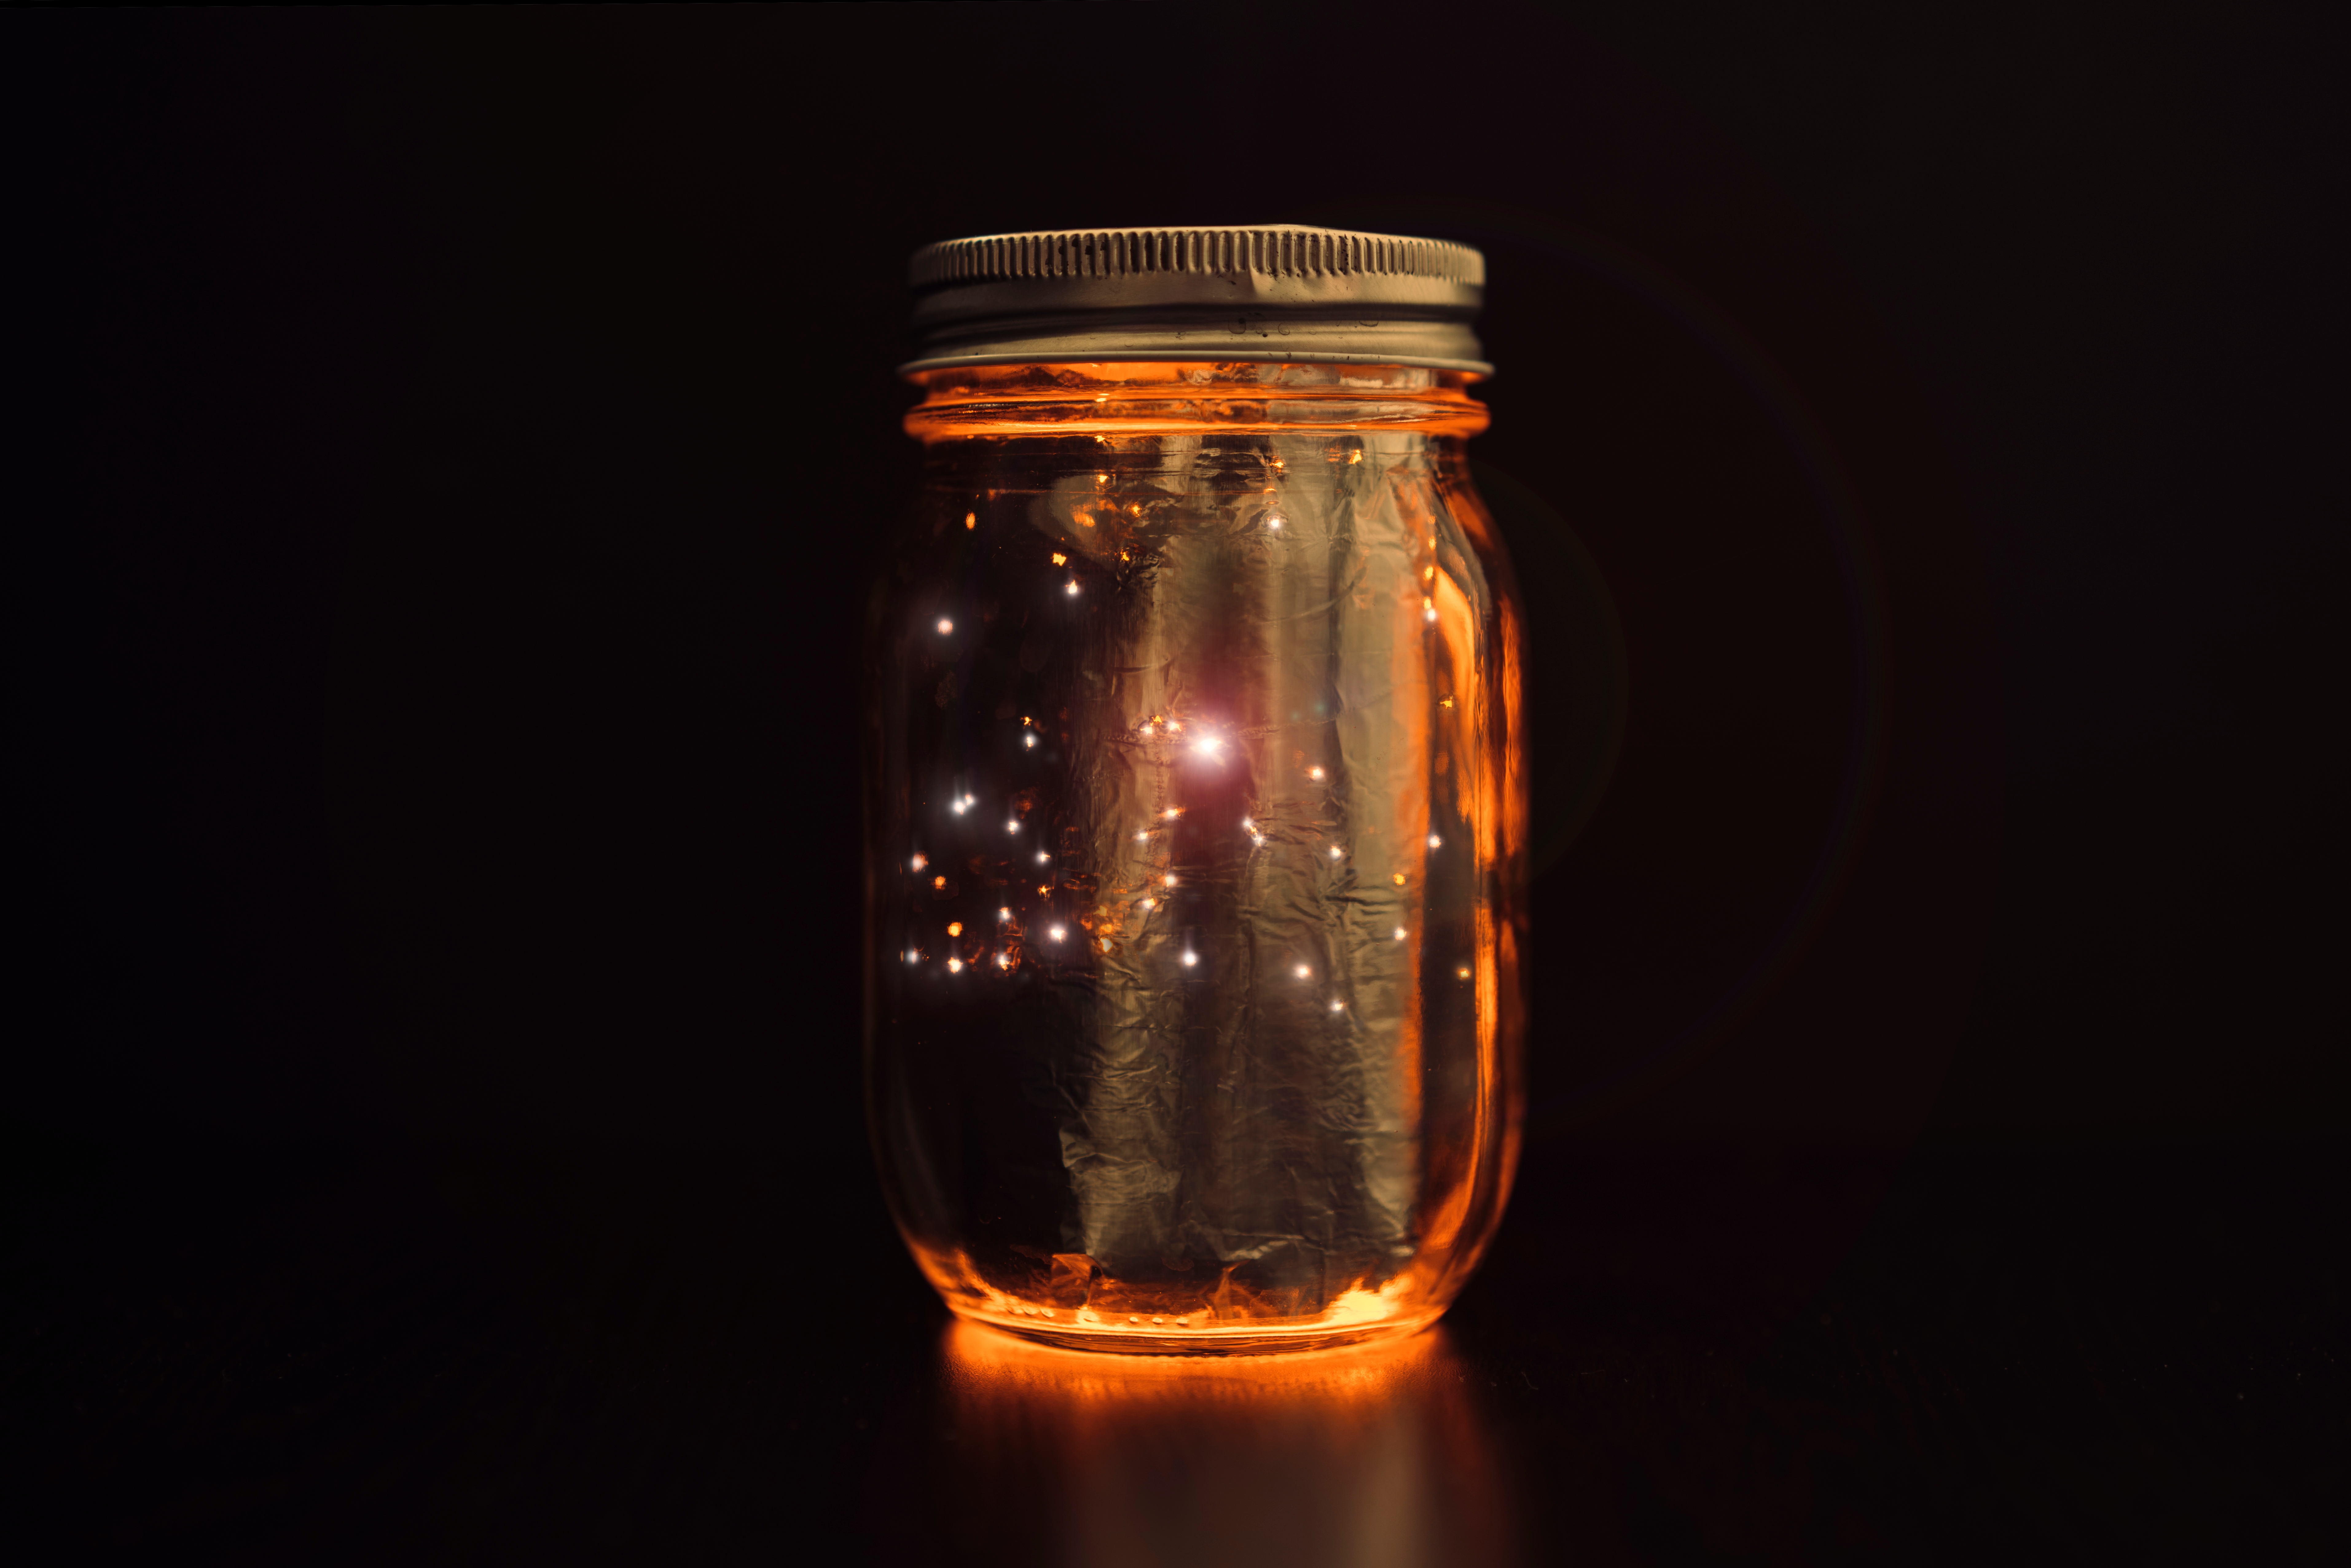
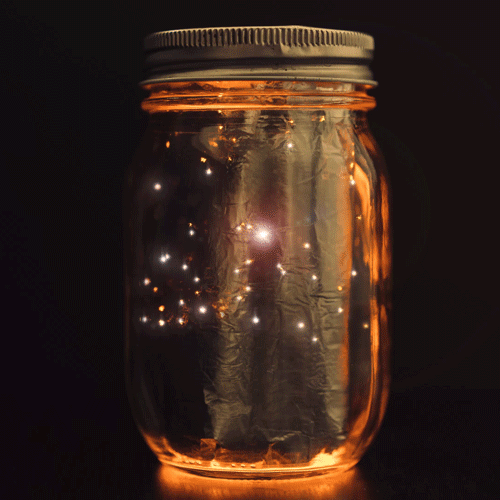
Done!
Turn on the tea light and place it inside the jar. Screw on the lid, turn off the lights, and check out your new constellations (or snowflakes) shining in the dark! Use your mini-constellation jar outside as a small nightlight, or use it to help you learn about the night sky. If you enjoyed making this project, check out our Kiwi Crate line for more hands-on science projects!