Step-by-step tutorial
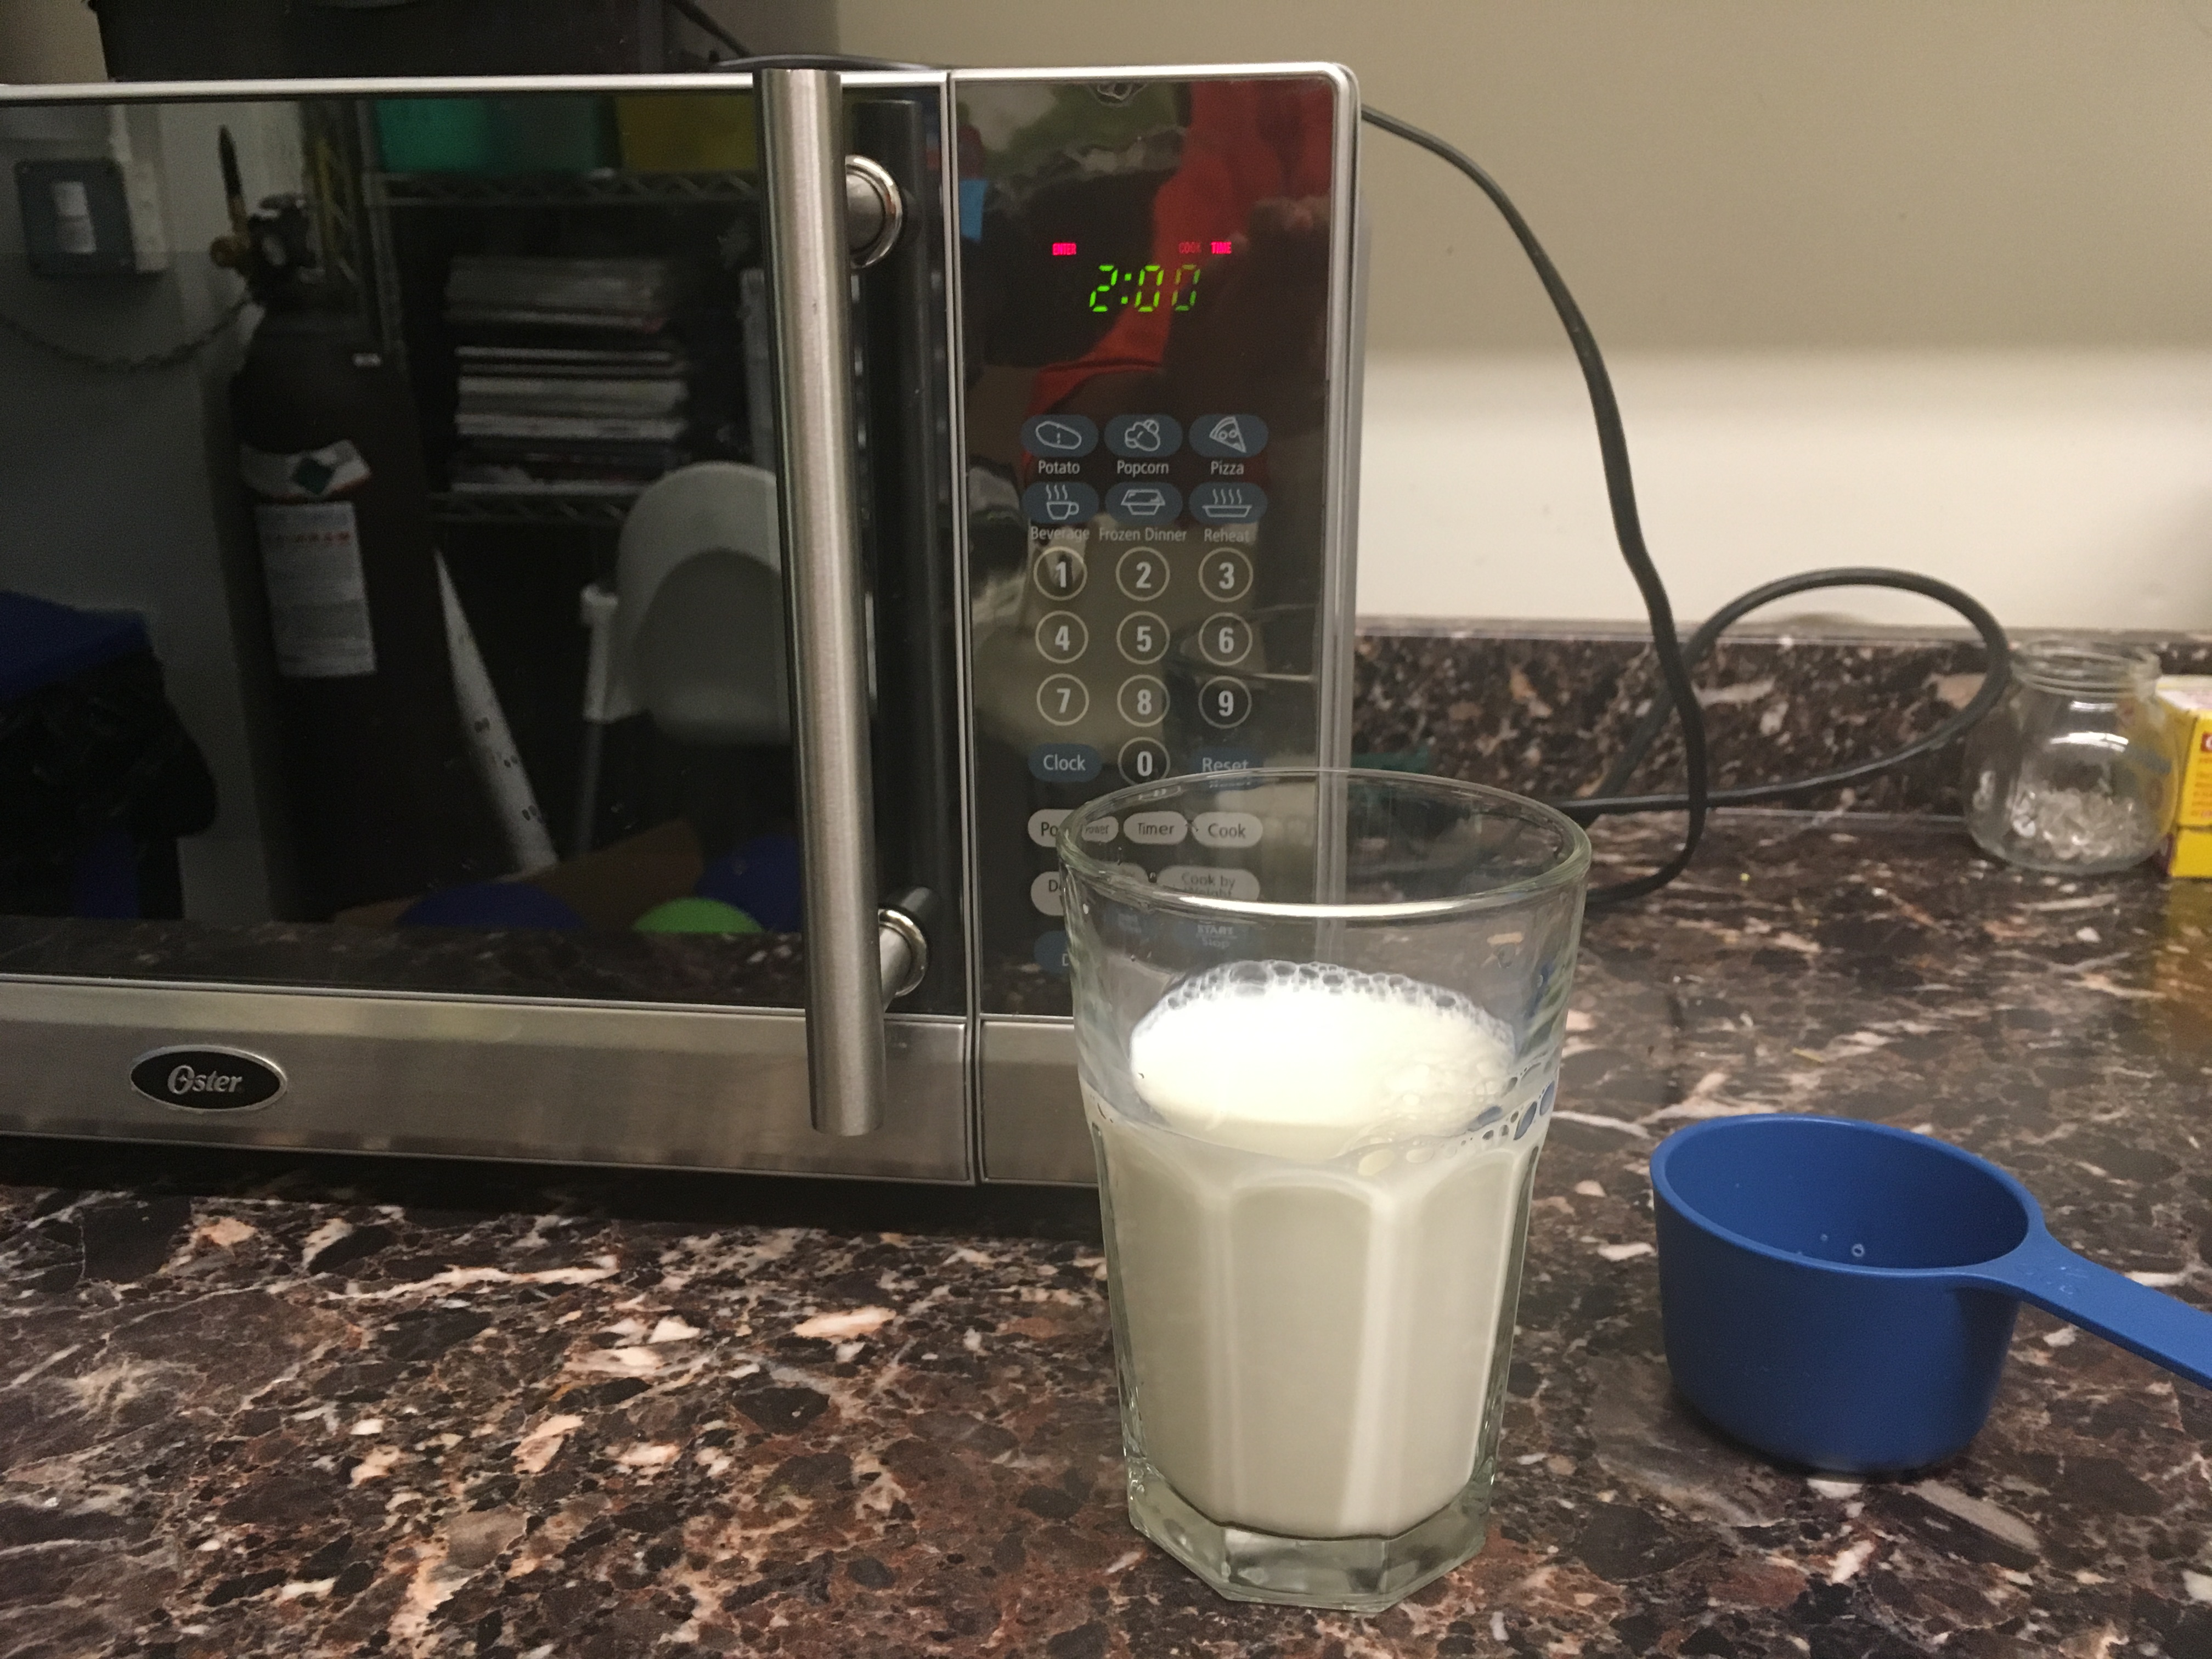
Step 1
To start out, microwave 1 cup of milk for two minutes.

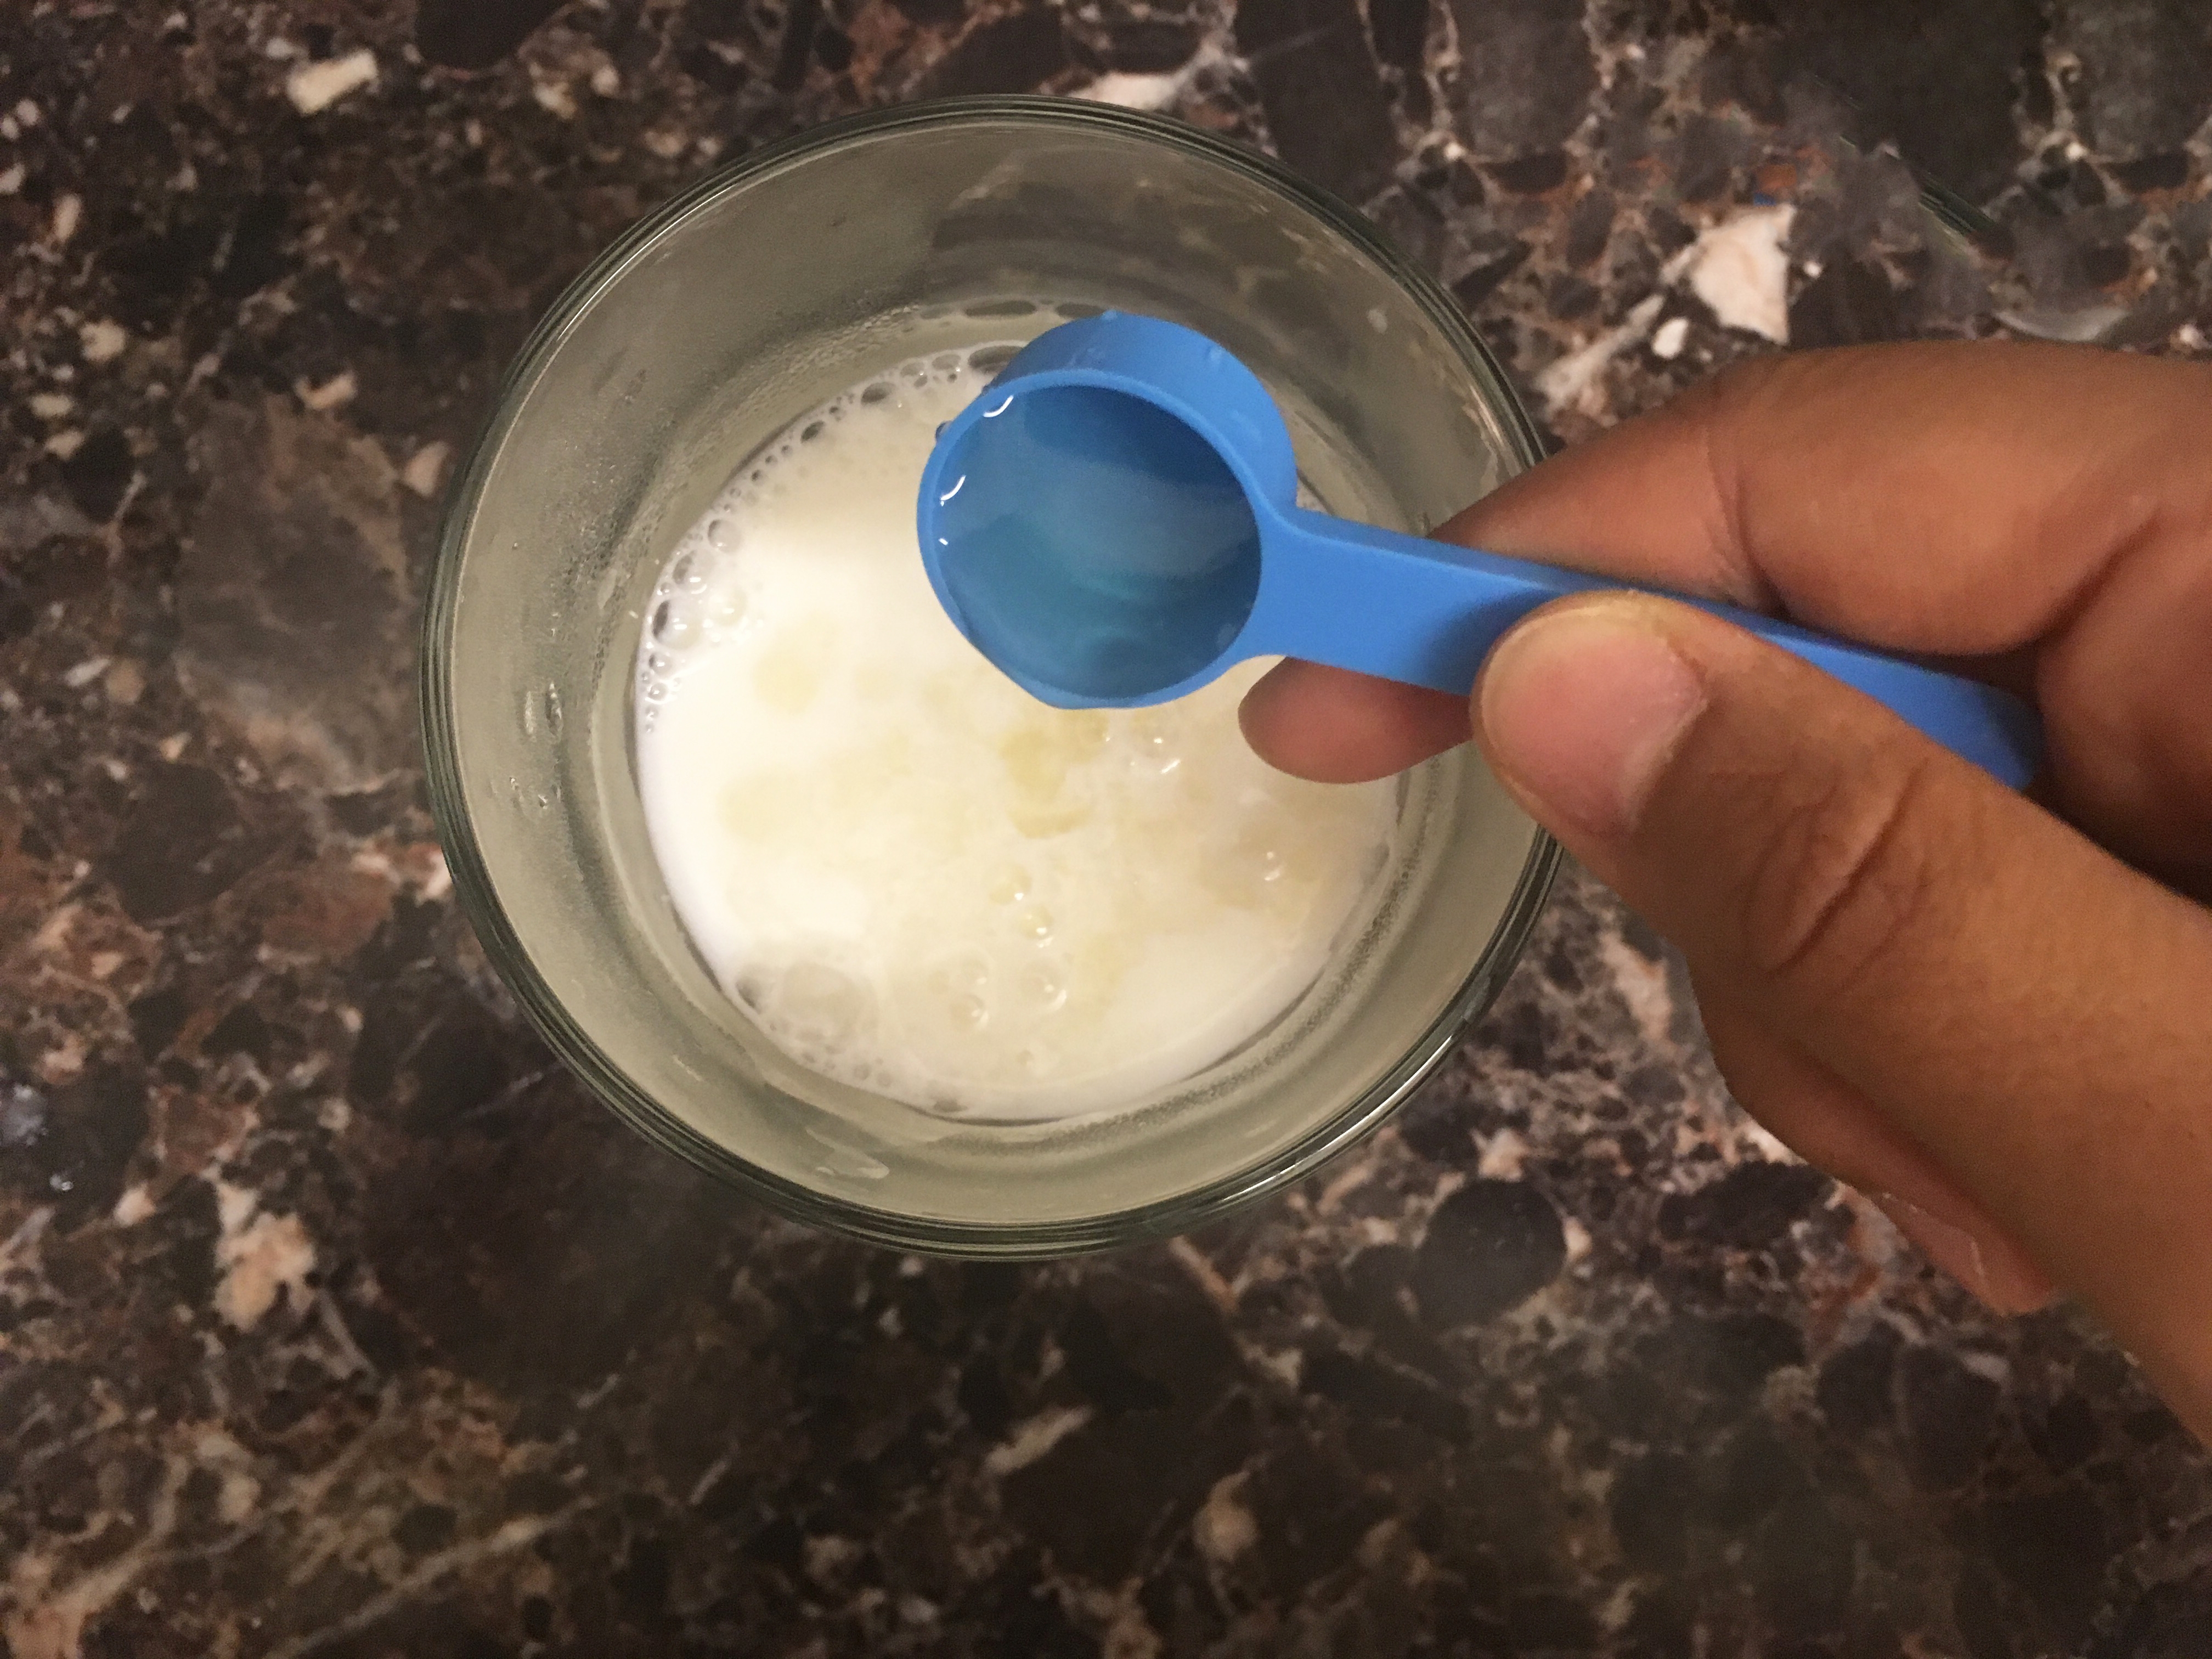
Step 2
Add 4 tsp of white vinegar and mix for one minute. The mixture will be a little clumpy.
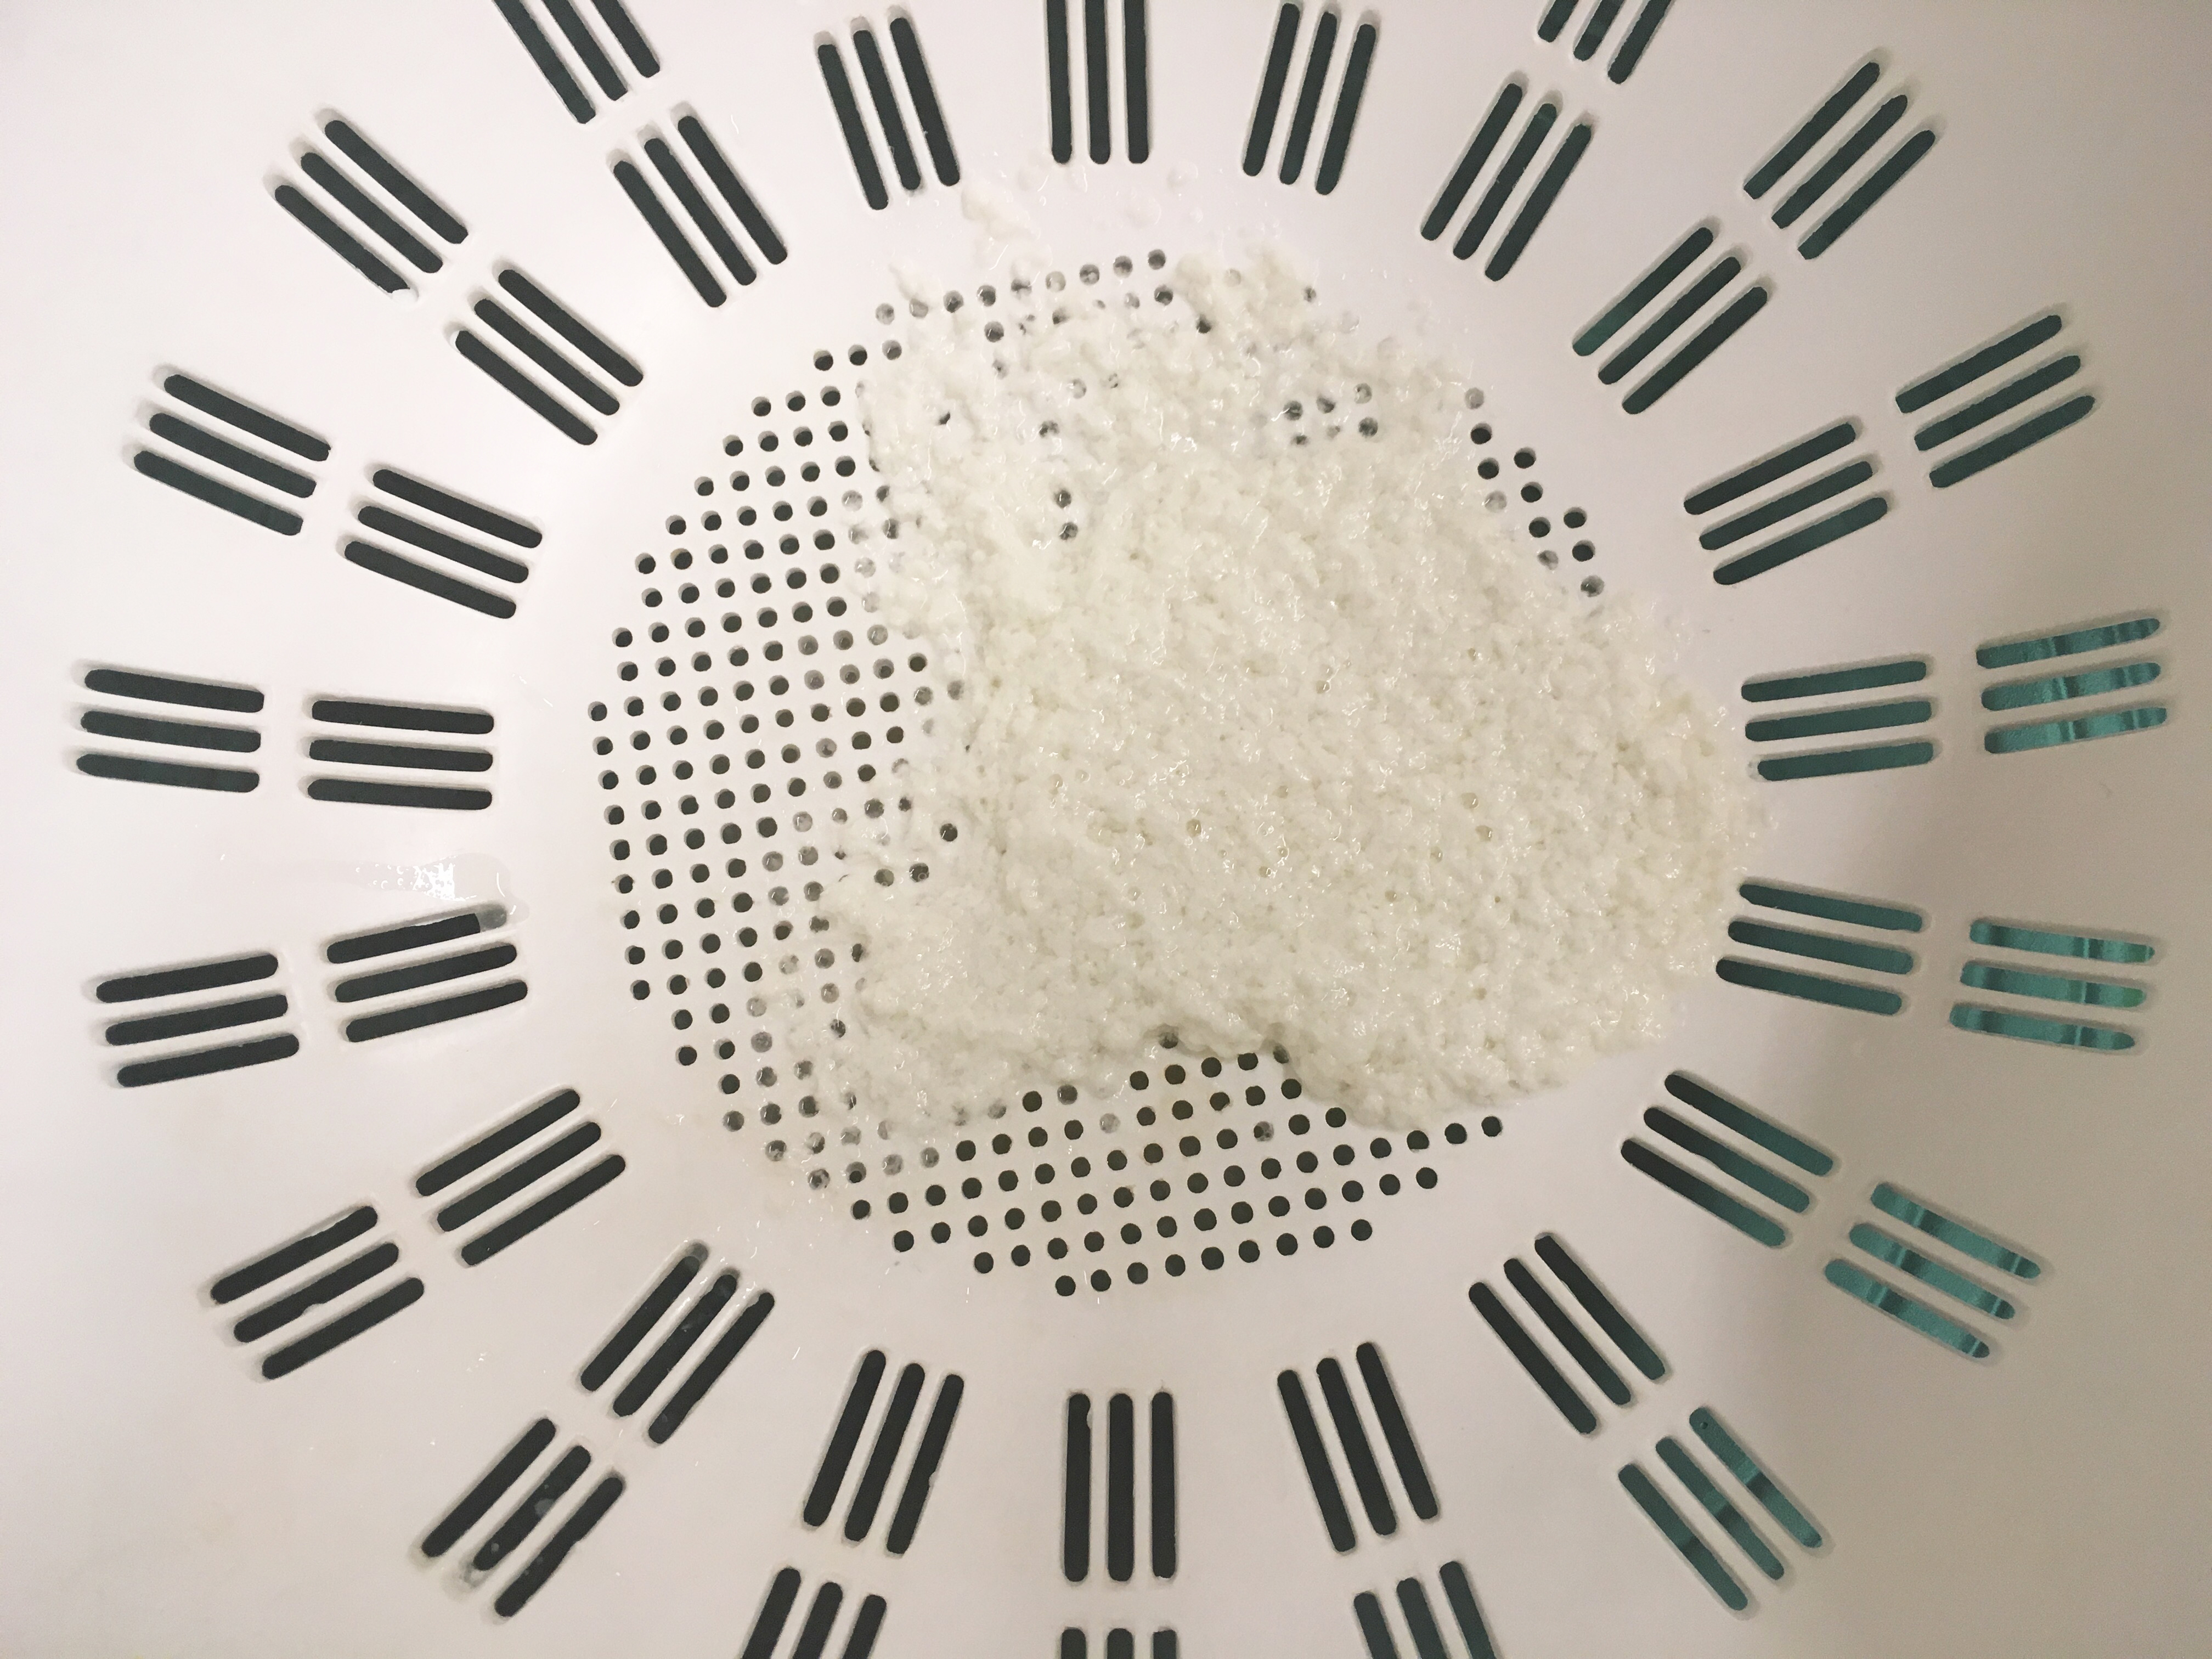
Step 3
Use a strainer to separate the clumps from the liquid. The liquid can be discarded.
Tip
To get more plastic out of the milk, use a coffee filter to strain out the clumps from the liquid.
Fact

What's going on?
Protein in the milk does not mix well with the acidity of the vinegar. Therefore, it clumps up!
Step 4
Put 1-2 drops of food coloring in a small bowl.
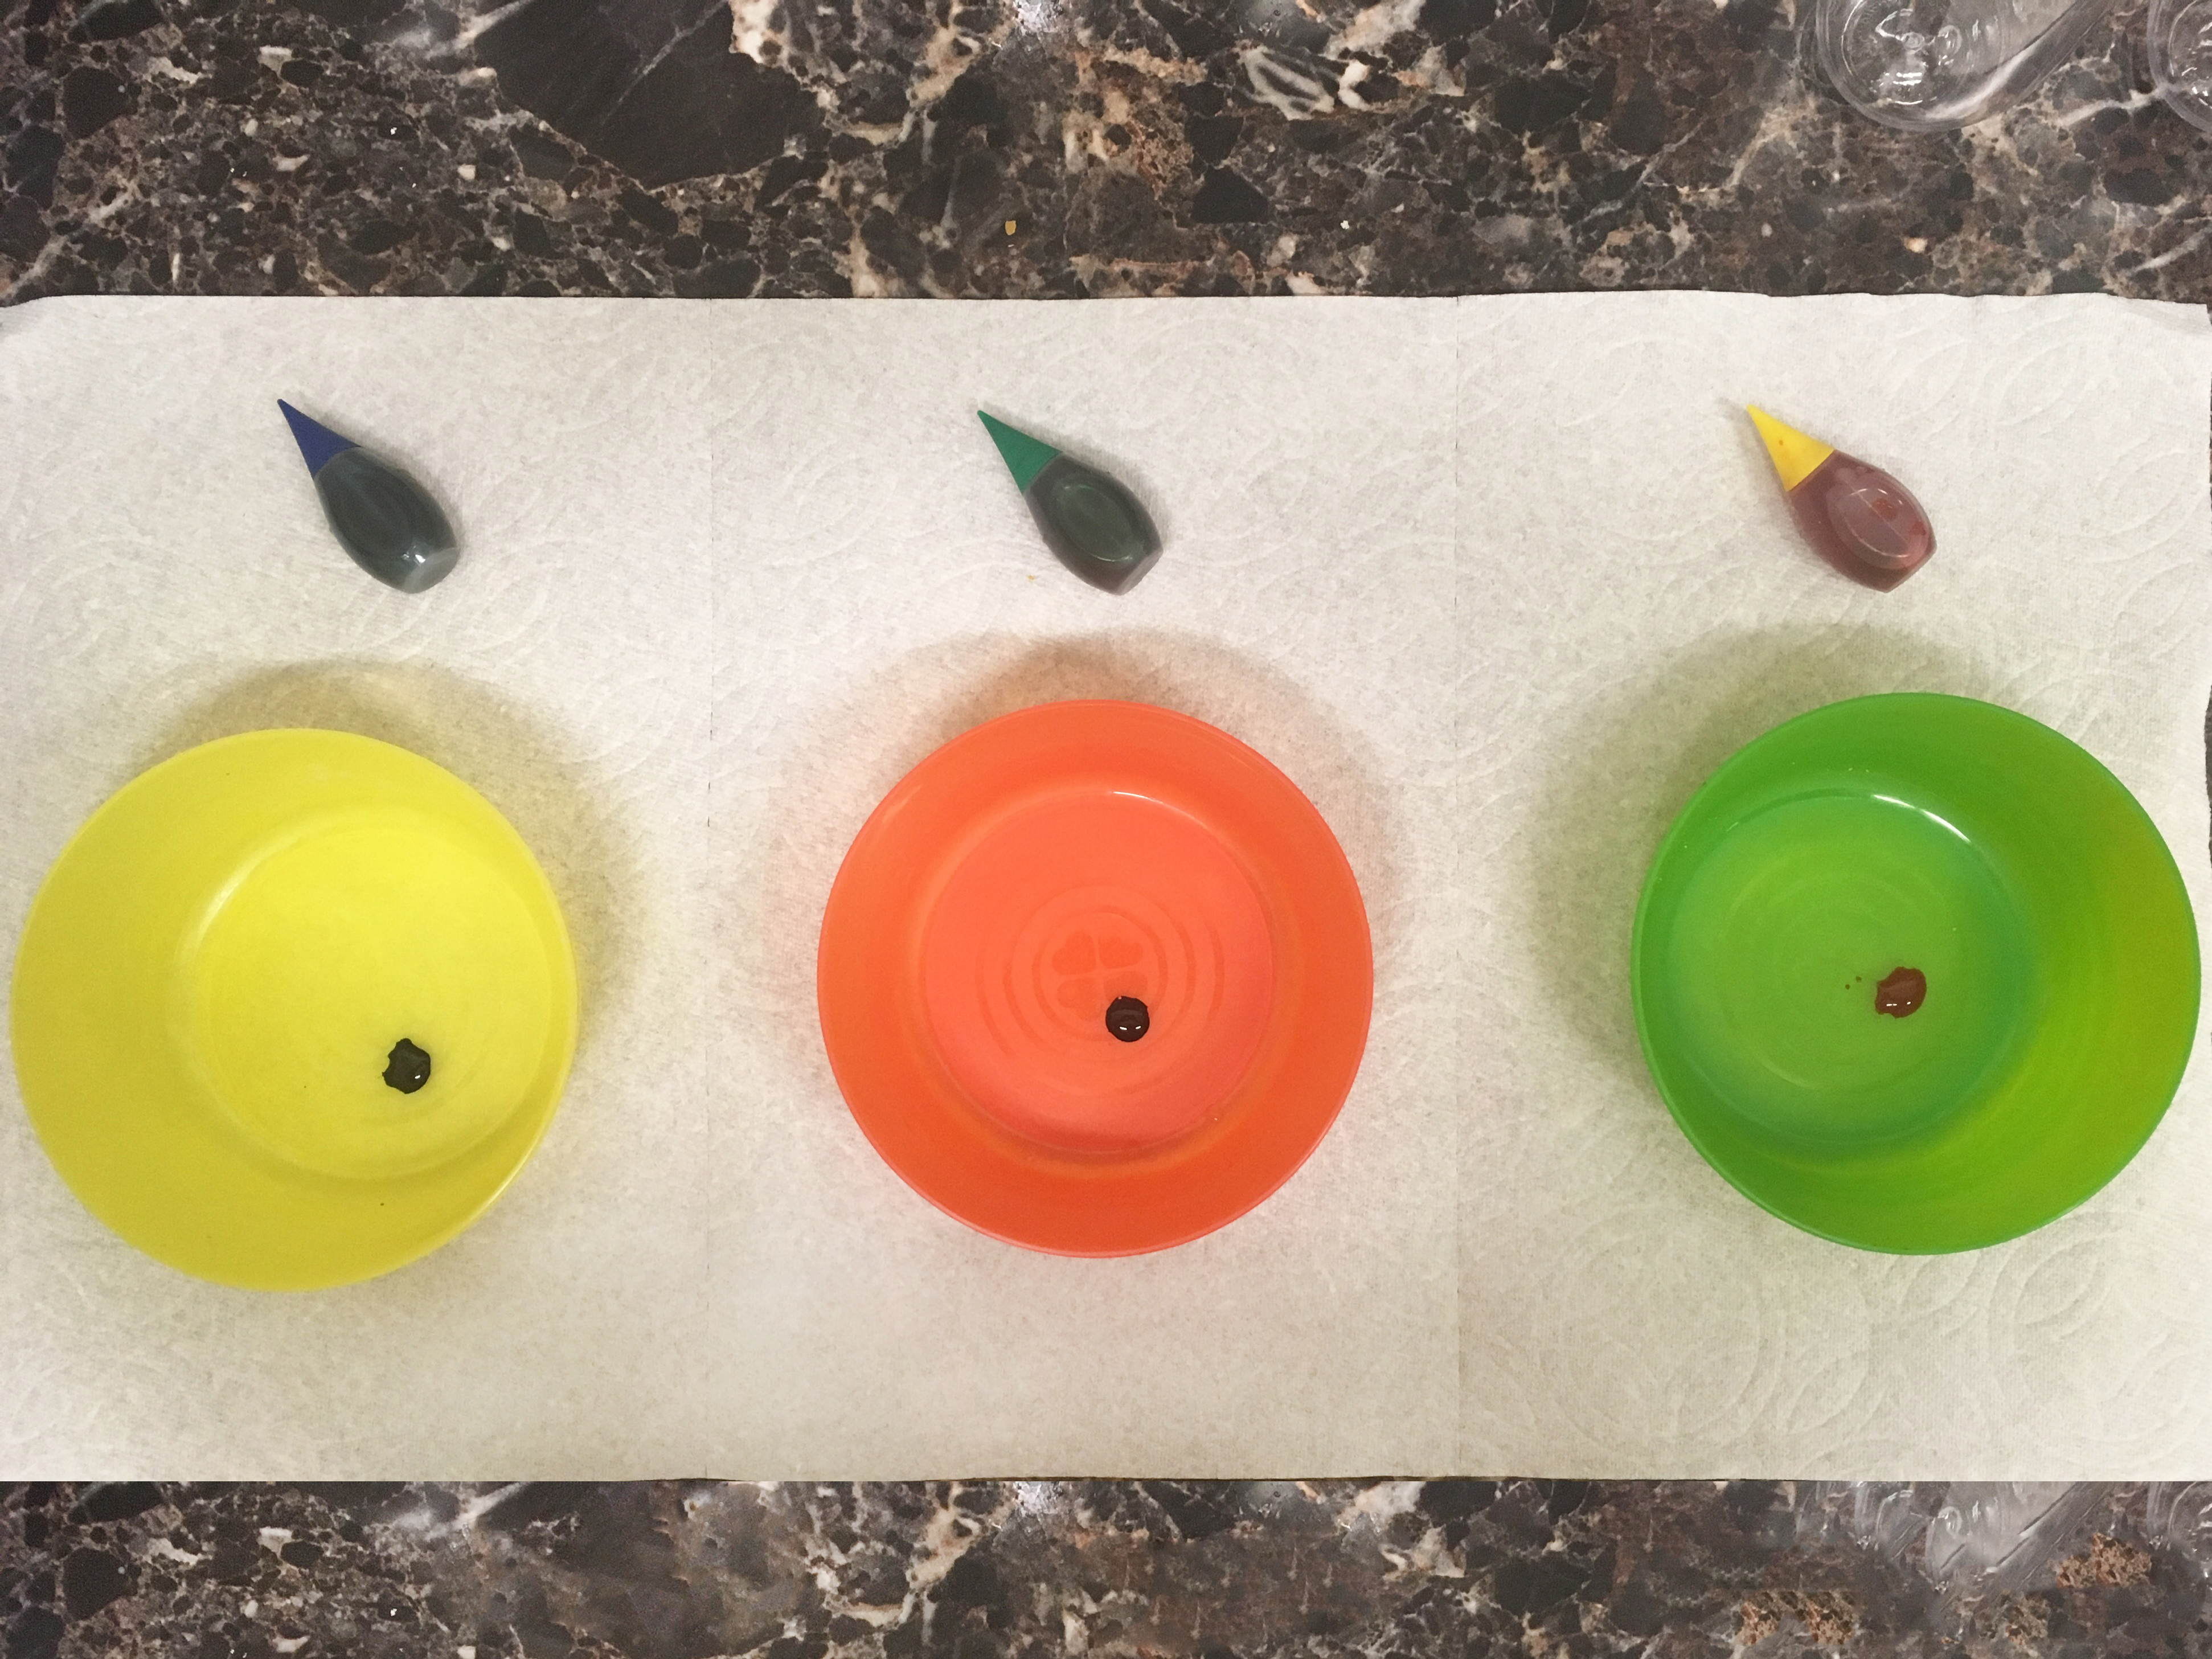
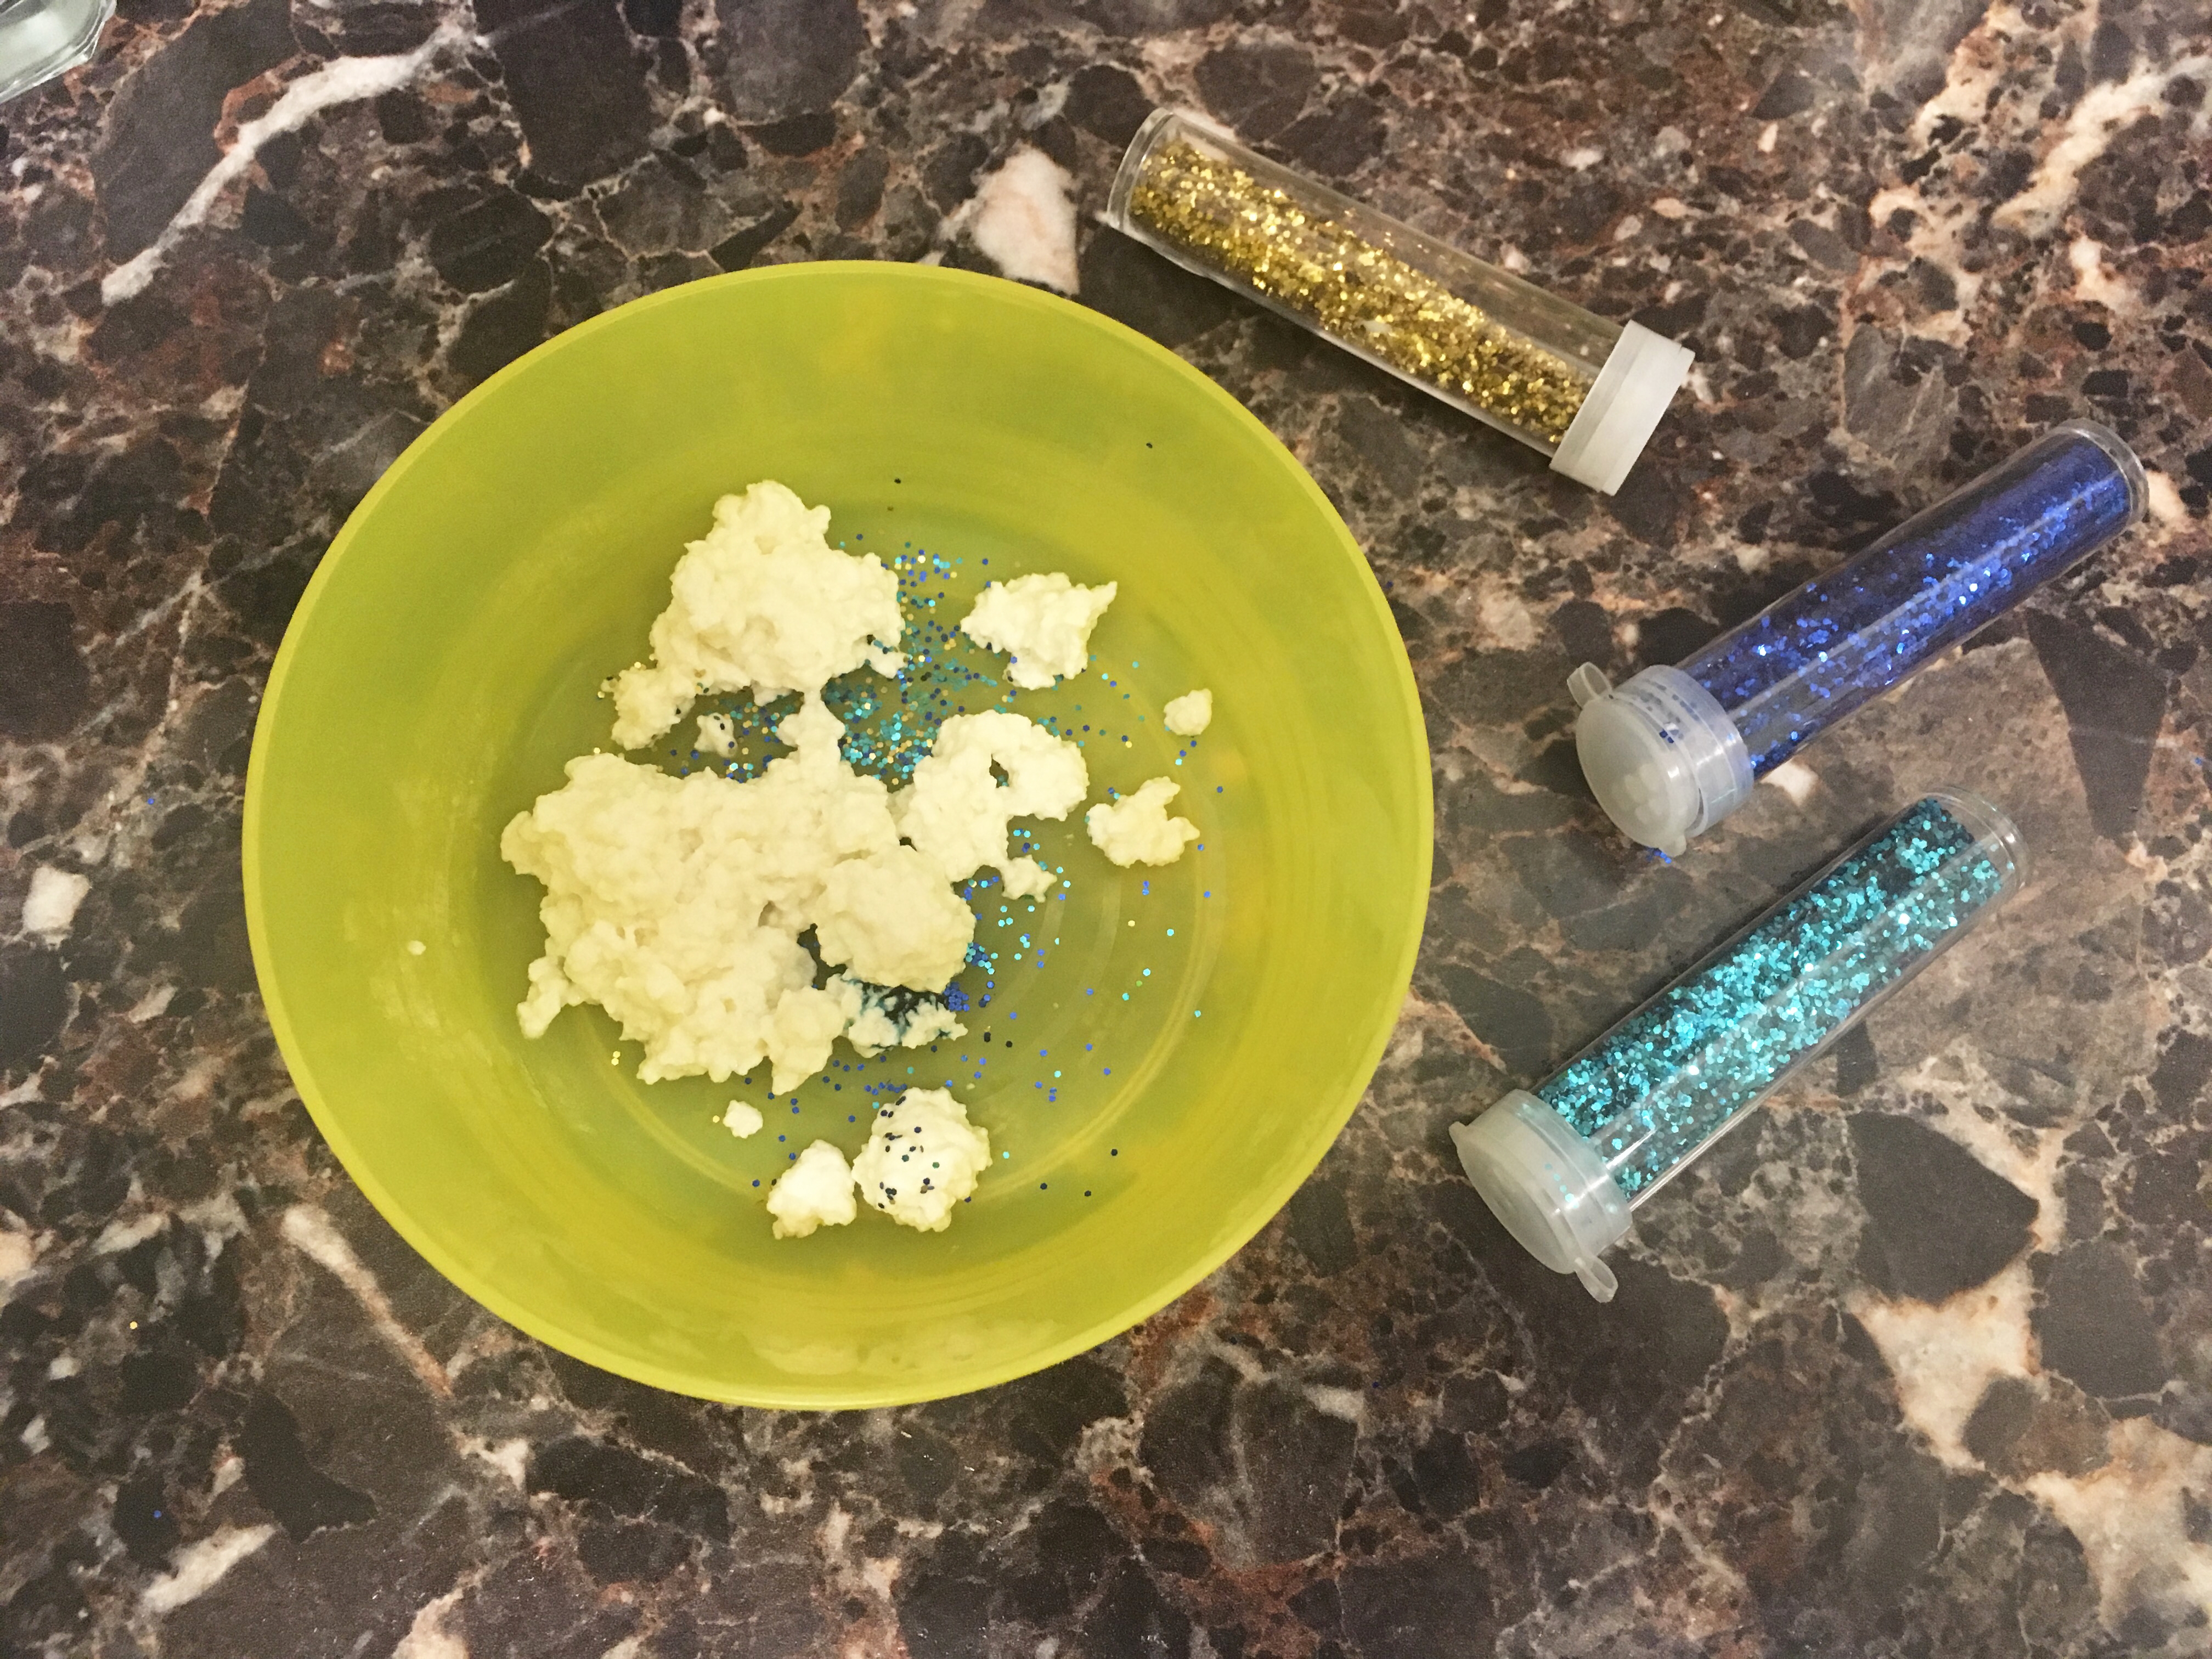
Step 5
Move the clumps into one of the bowls and mix it with food coloring. If you like, you can also add some sequins or beads!
Step 6
Place the mixture on a paper towel. Knead the mixture to get rid of excess water!
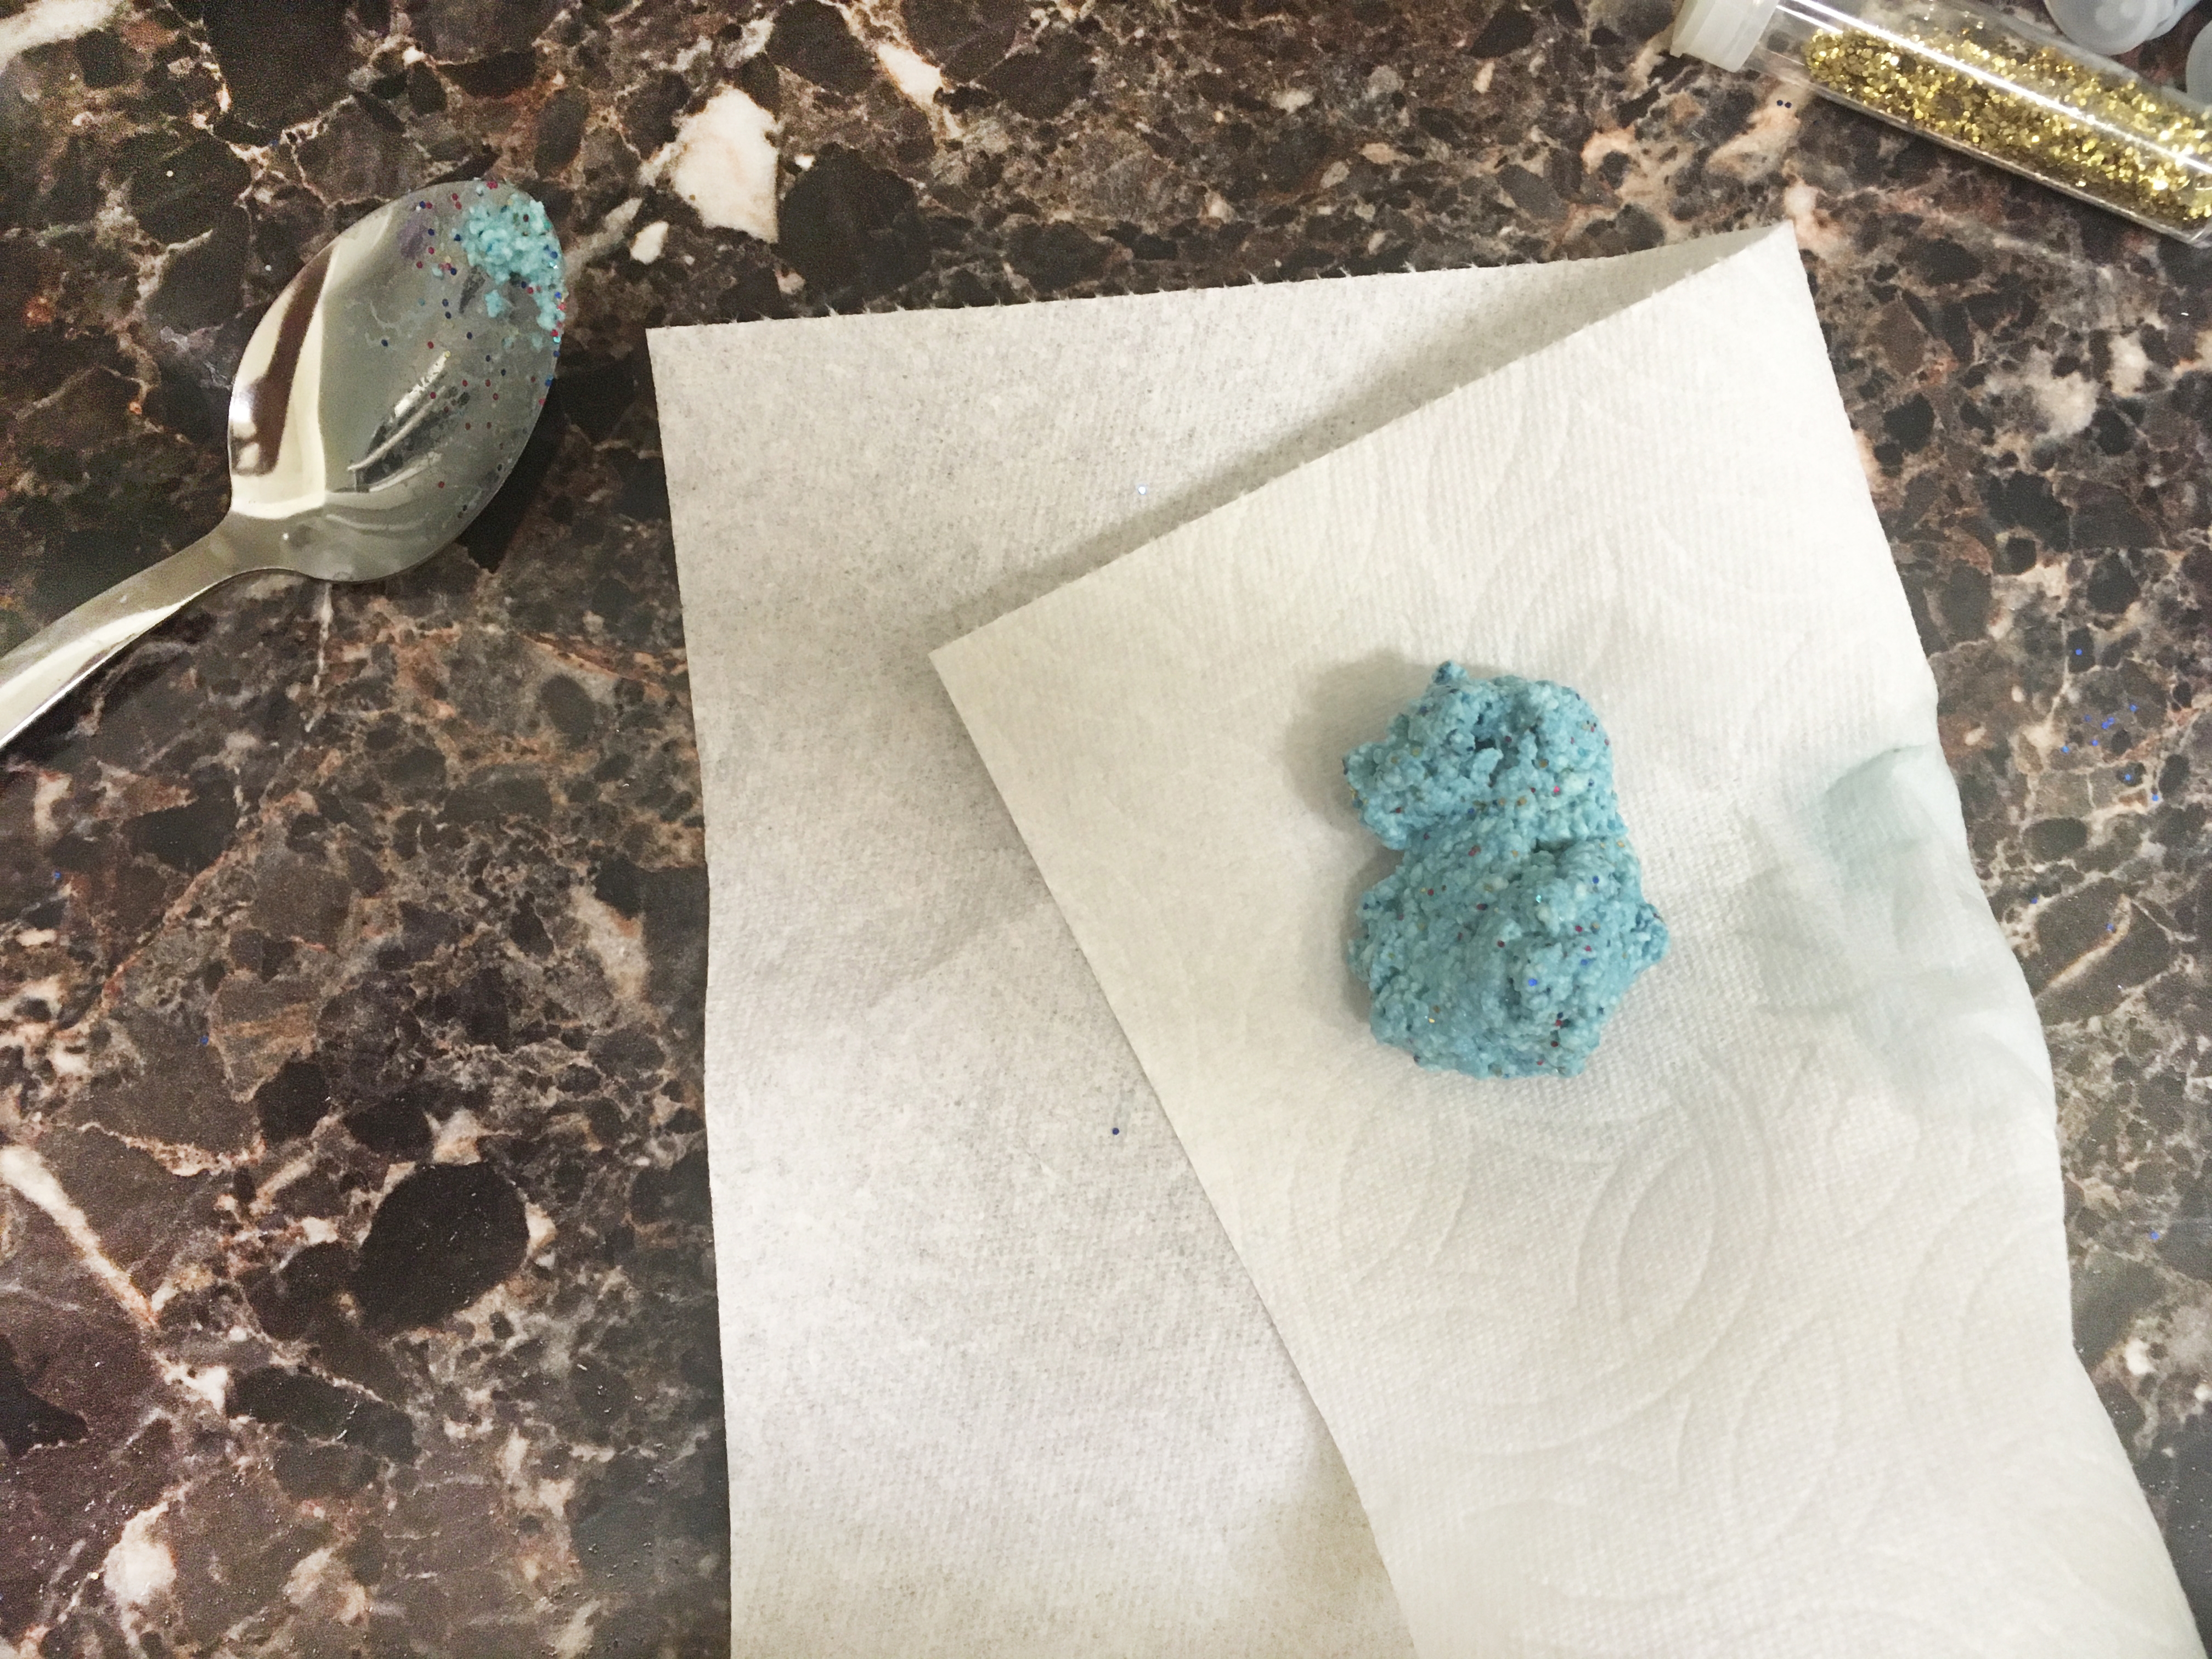
Tip
For best results, knead the mixture until smooth.
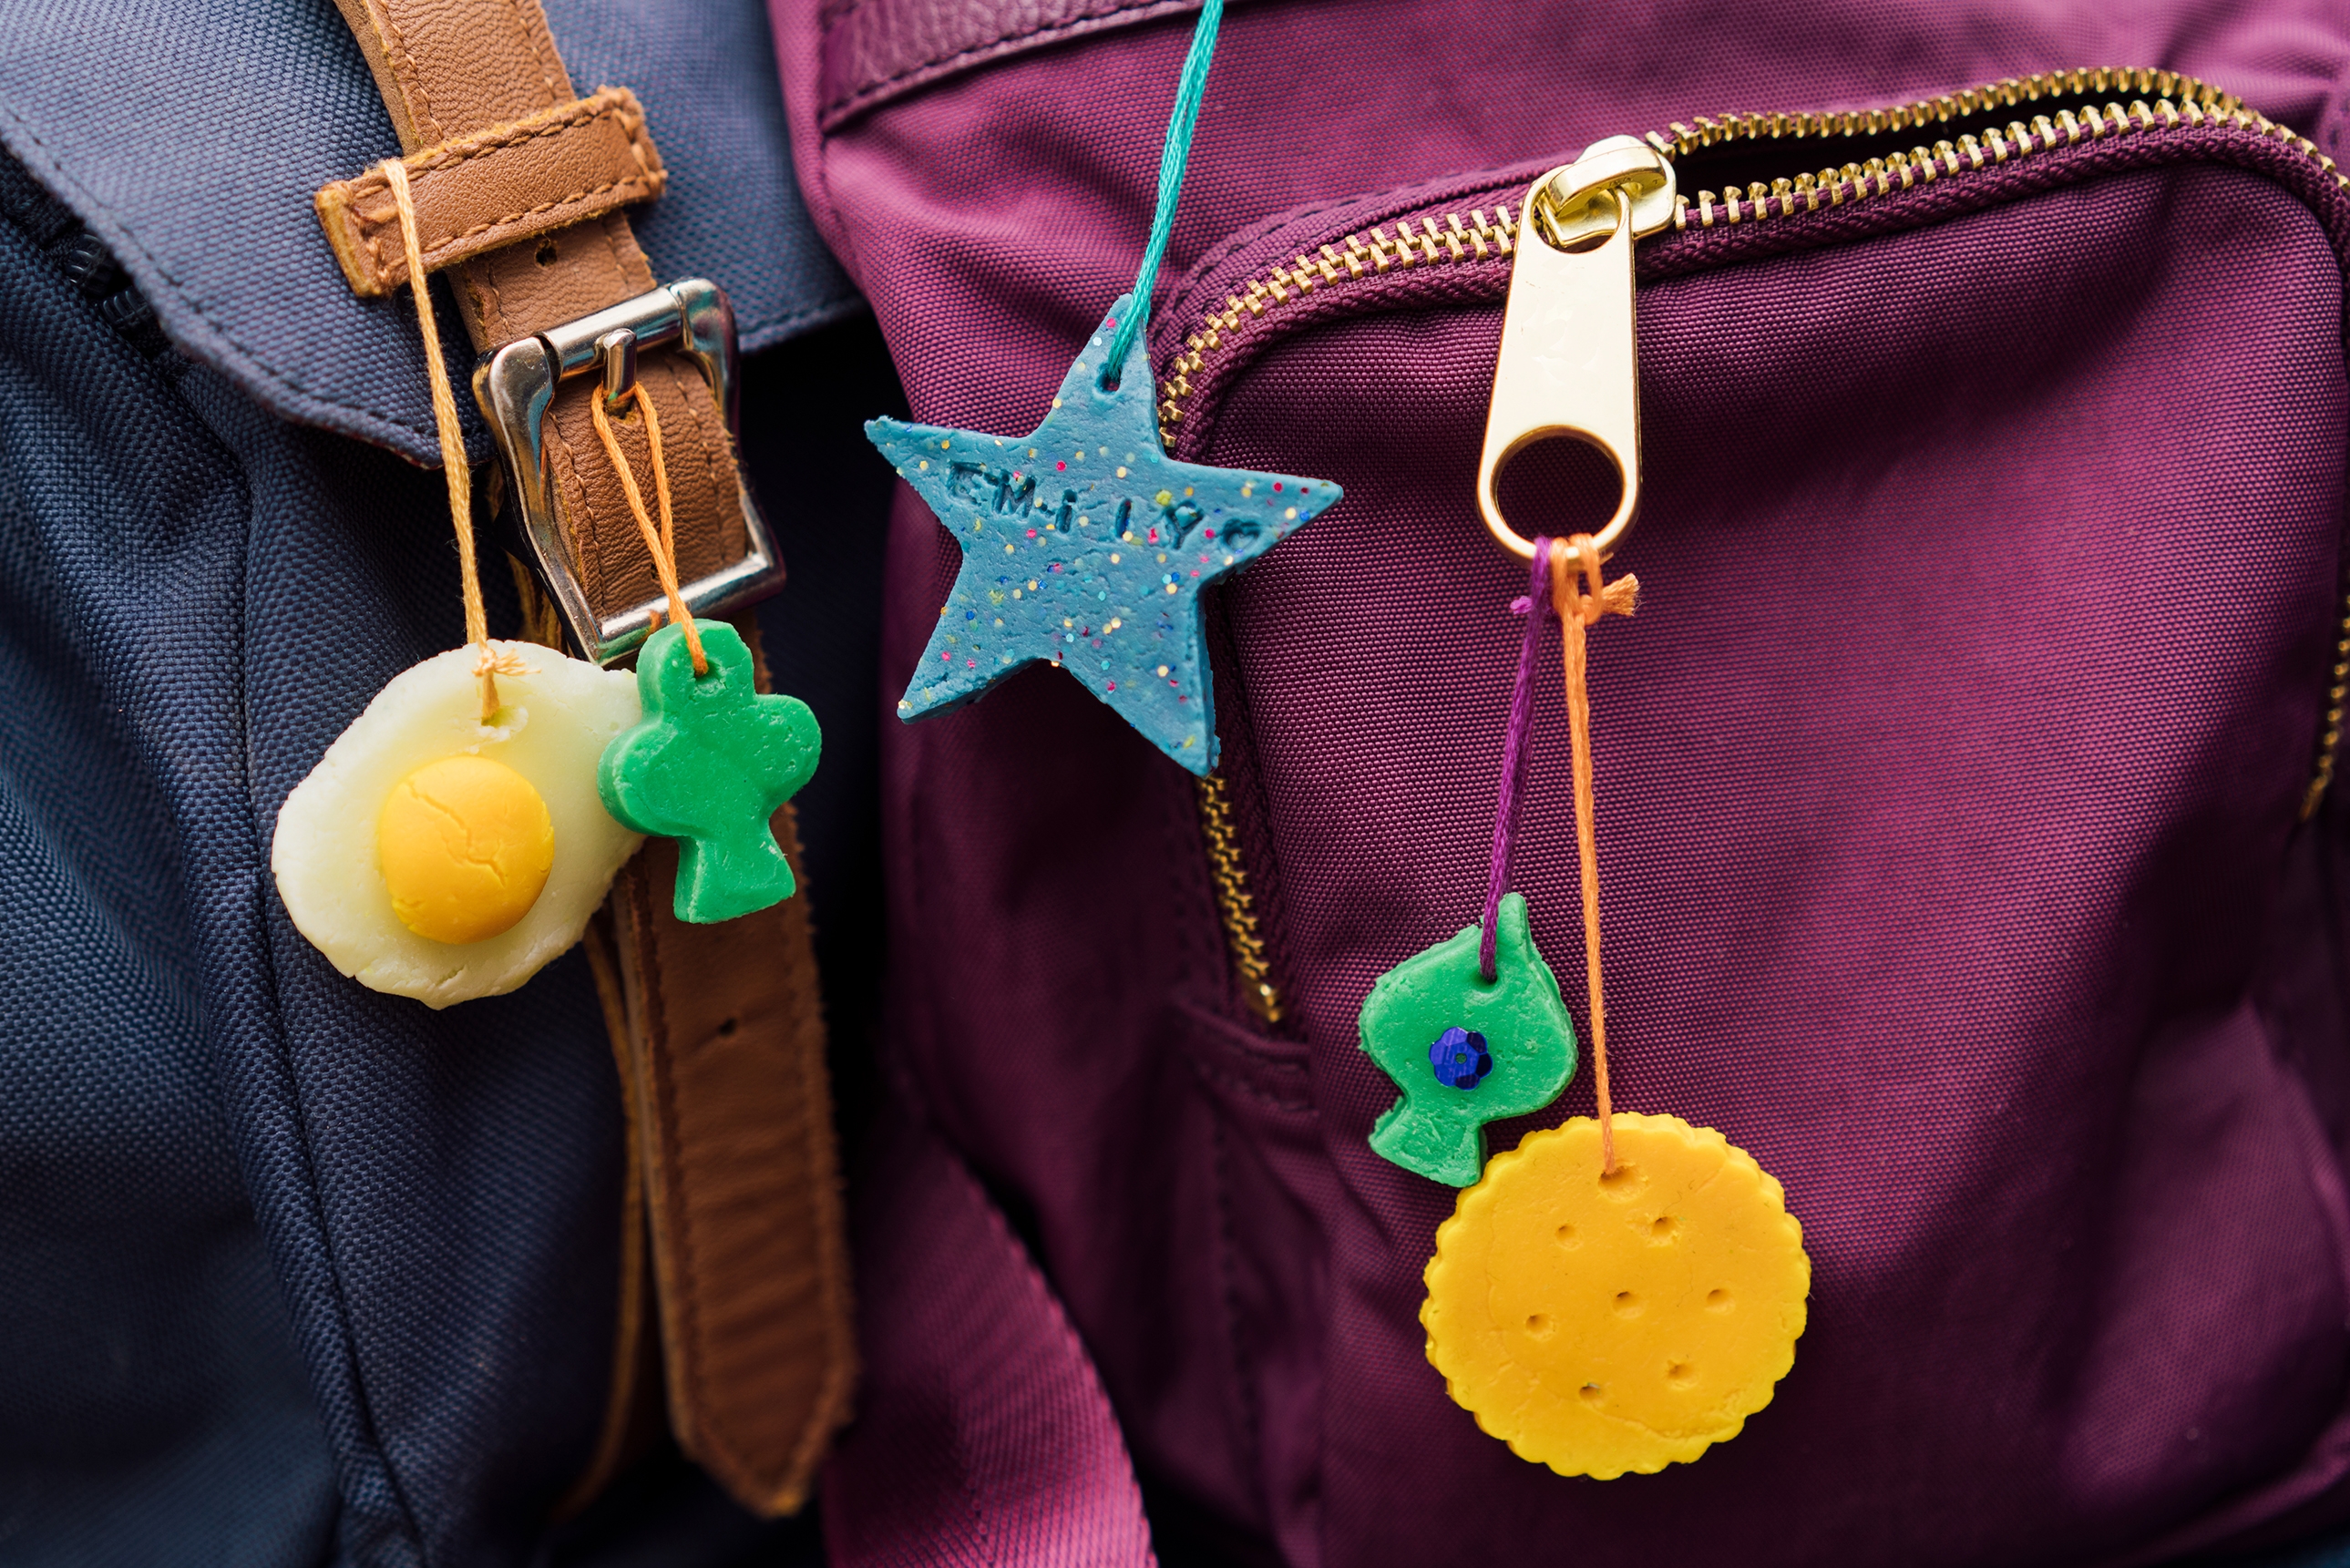
Step 7
Once the mixture is dough-like, you can start creating your milk plastic tags. You can punch out shapes with a cookie cutter, or simply mold the mixture yourself.
Don't forget to poke a hole with a toothpick and leave it to dry overnight. Then turn it over and let it dry for at least 2 more days to a week depending on the size of your key chain. You will know your tags are completely dried if they are solid hard.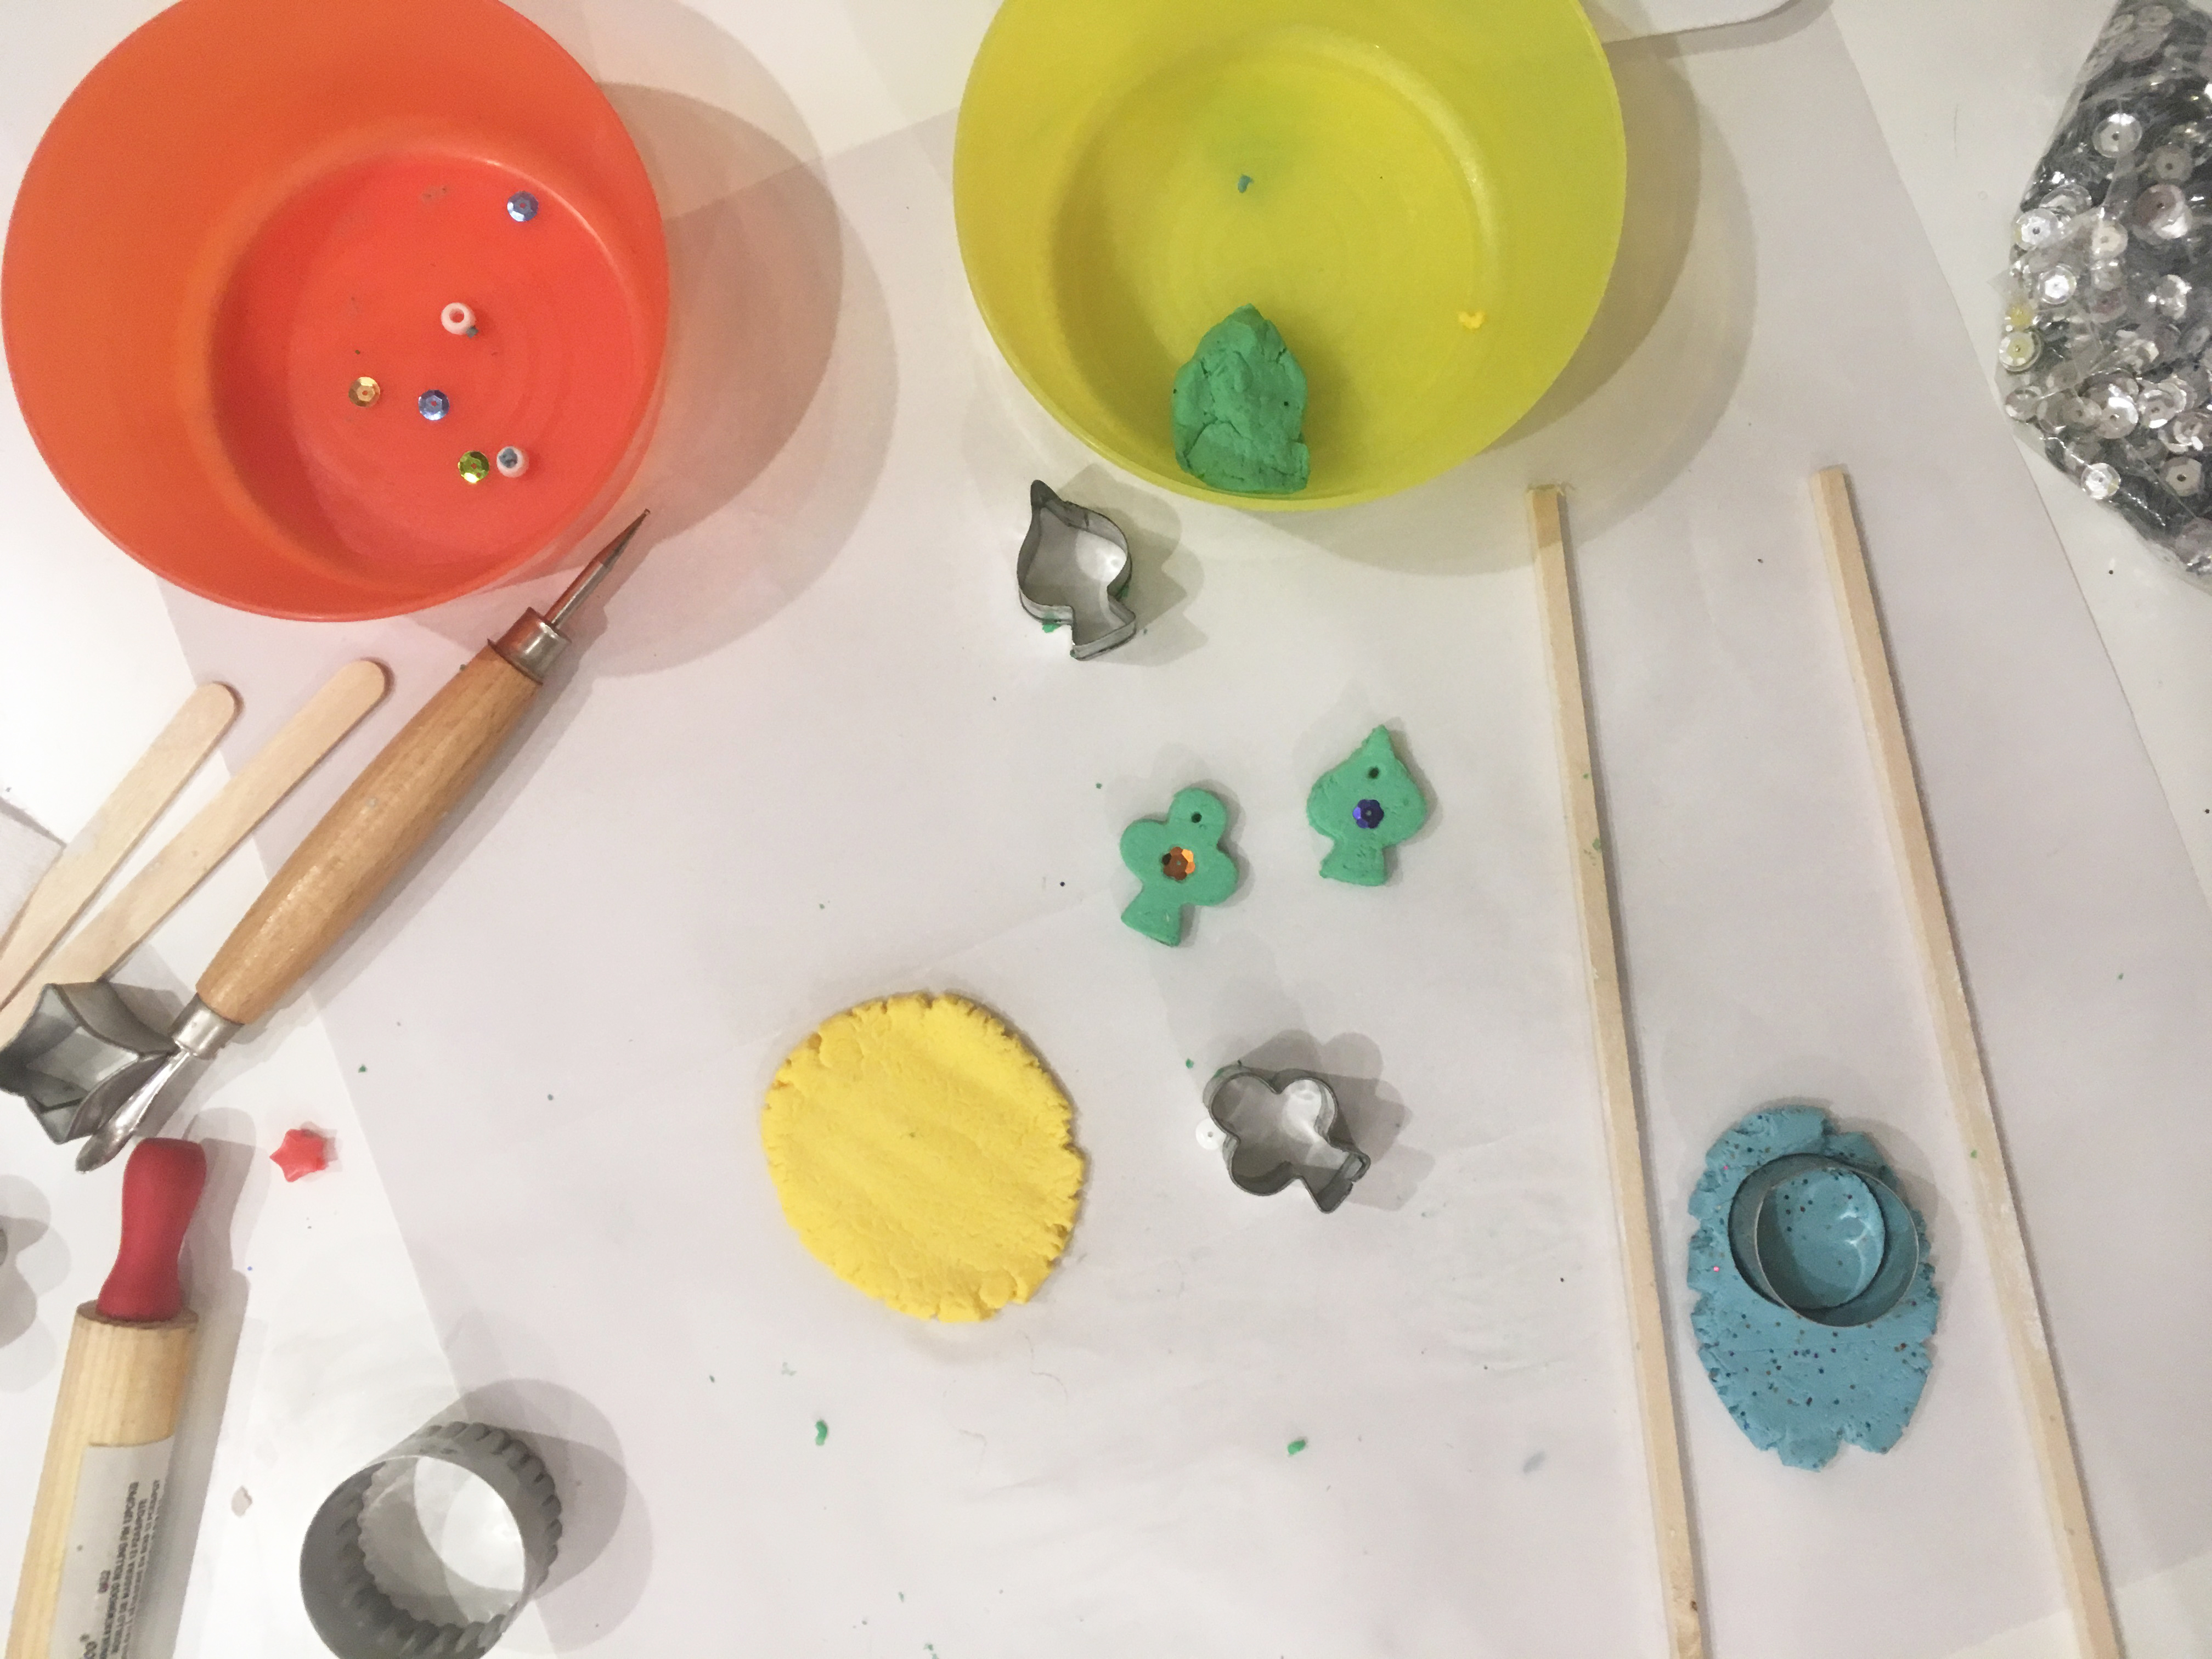
Step 8
When your keychain is completely dried, paint your plastic with acrylic paint. Add a coat of acrylic varnish for a smooth finish!

Learn more
What's going on?
Were you ever told - Drink your milk, it's full of protein! Well, that protein, called casein, is what you turned into plastic. Casein is a polymer, and up close, casein molecules look like squiggly balls. The vinegar makes the squiggles unfold, stretch out, and grab onto one another.


