Step-by-step tutorial
Step 1
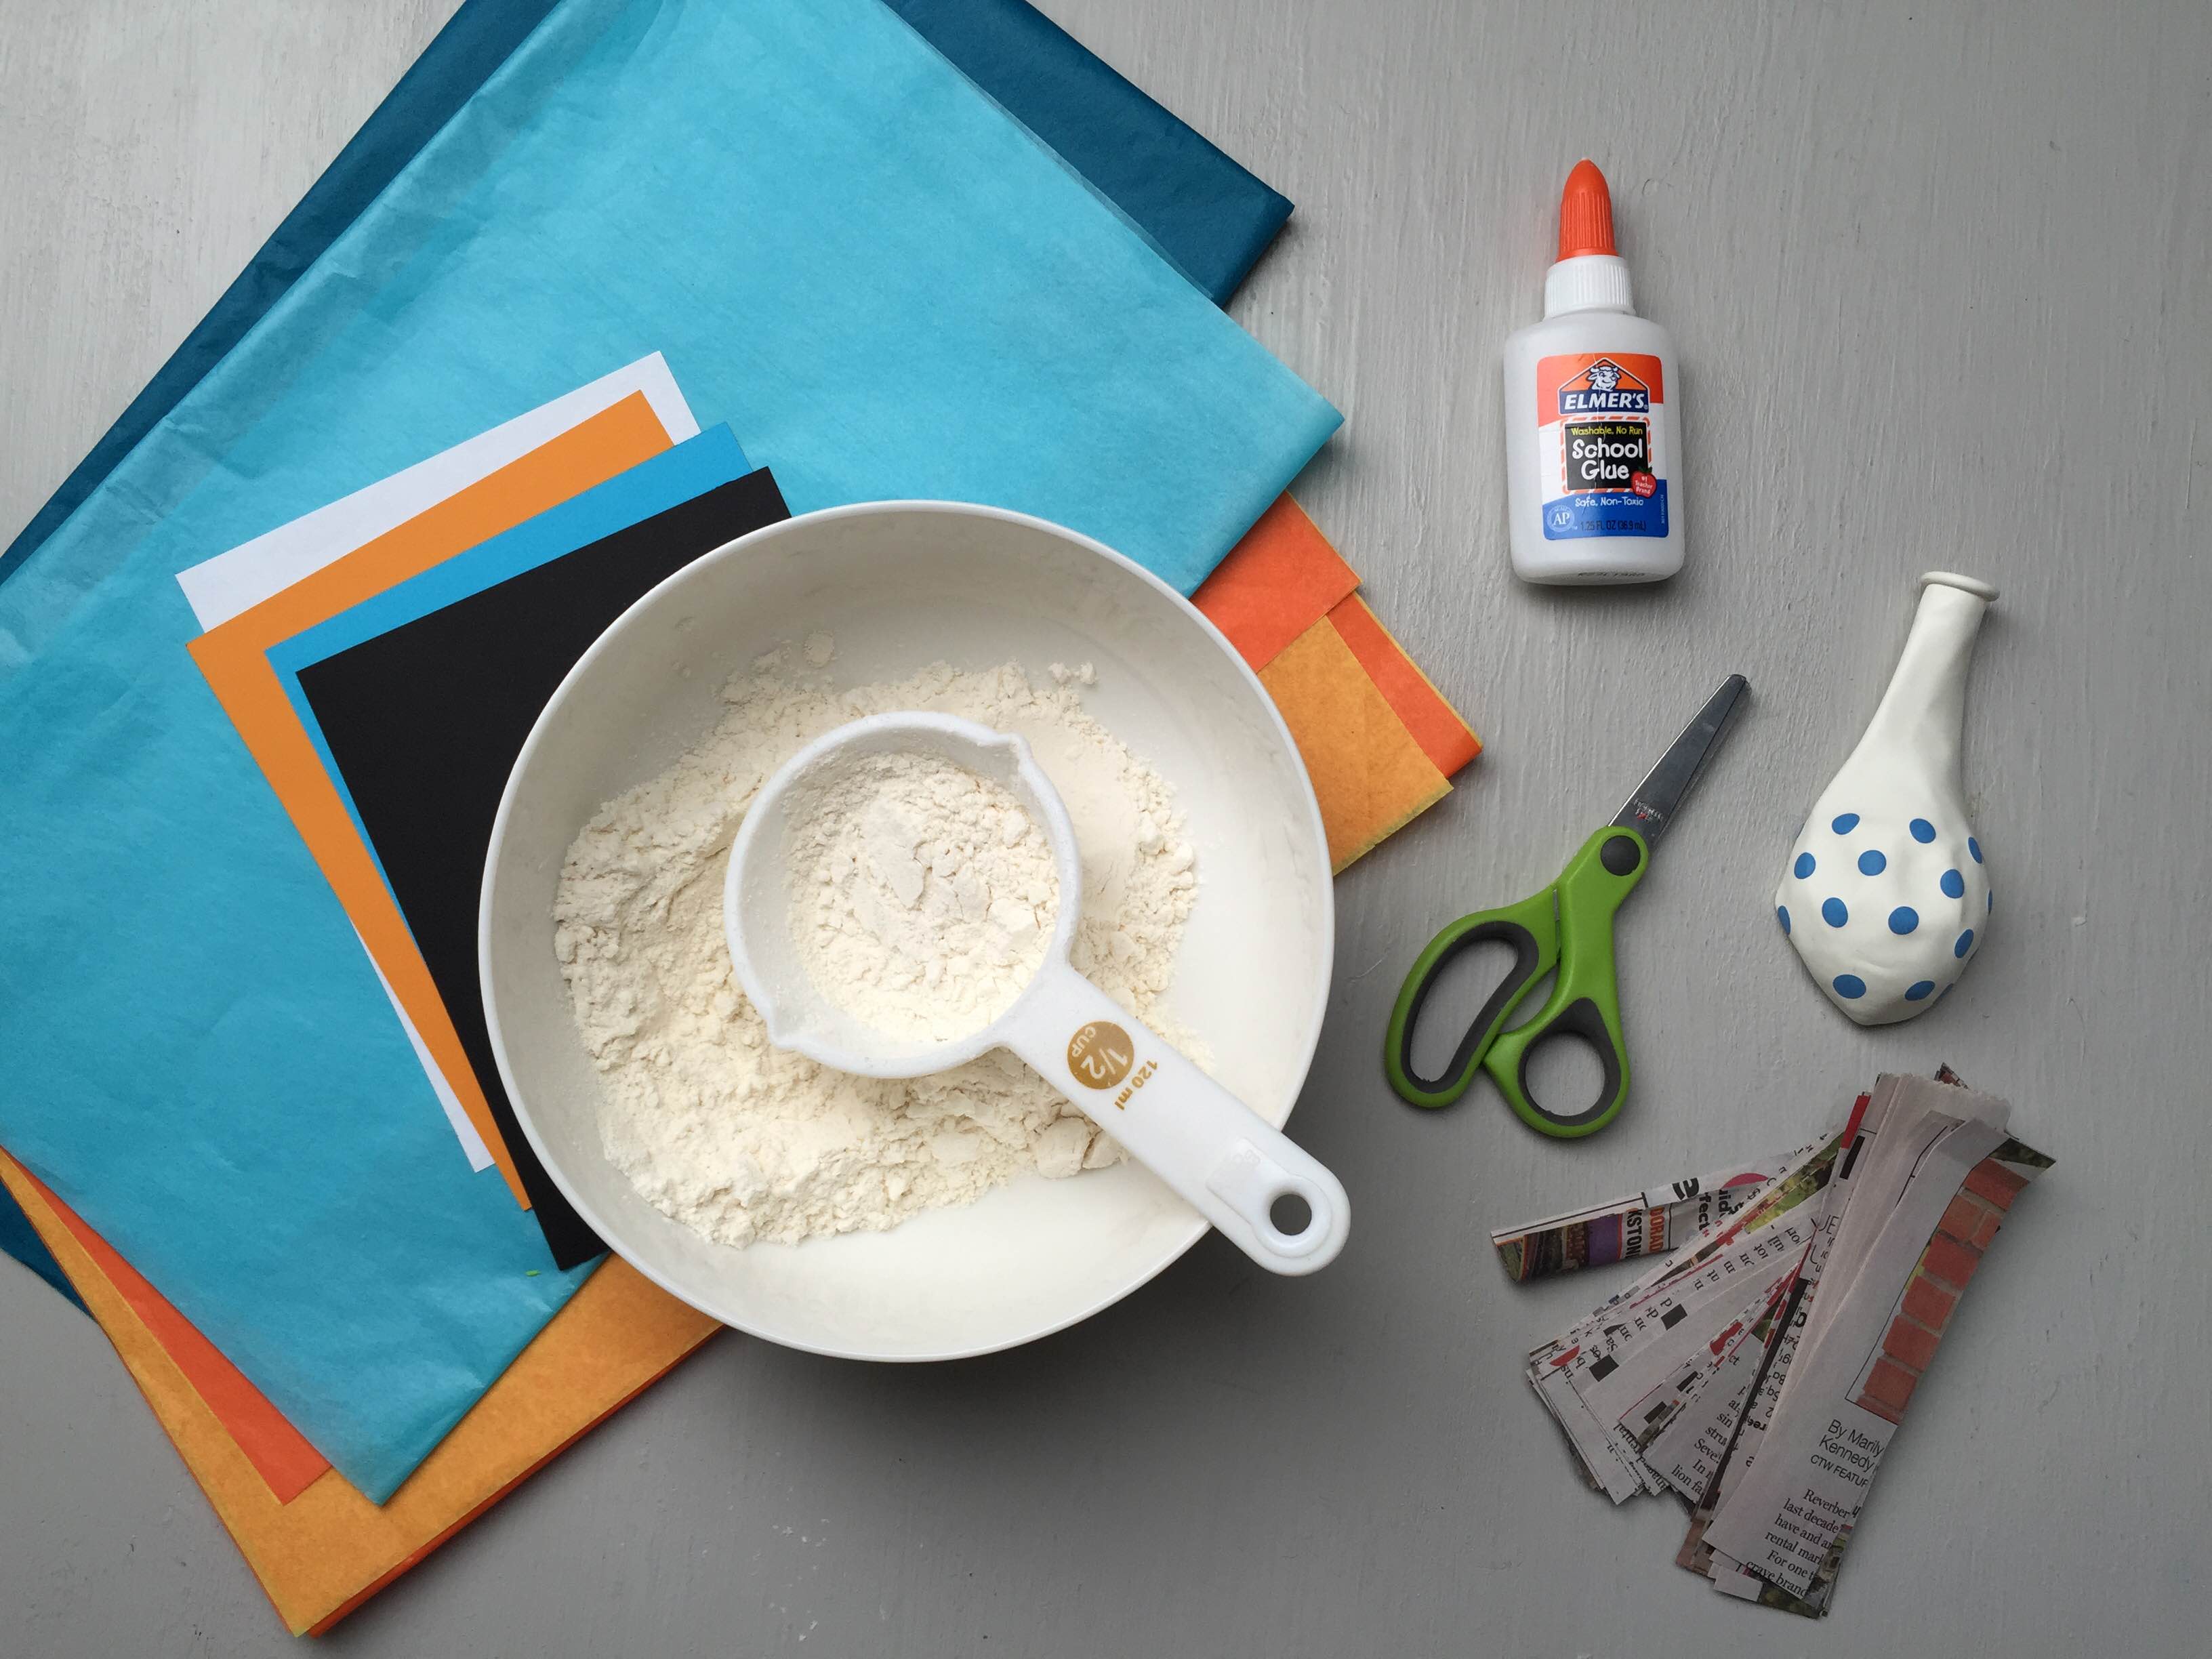
Gather your materials!

Step 2
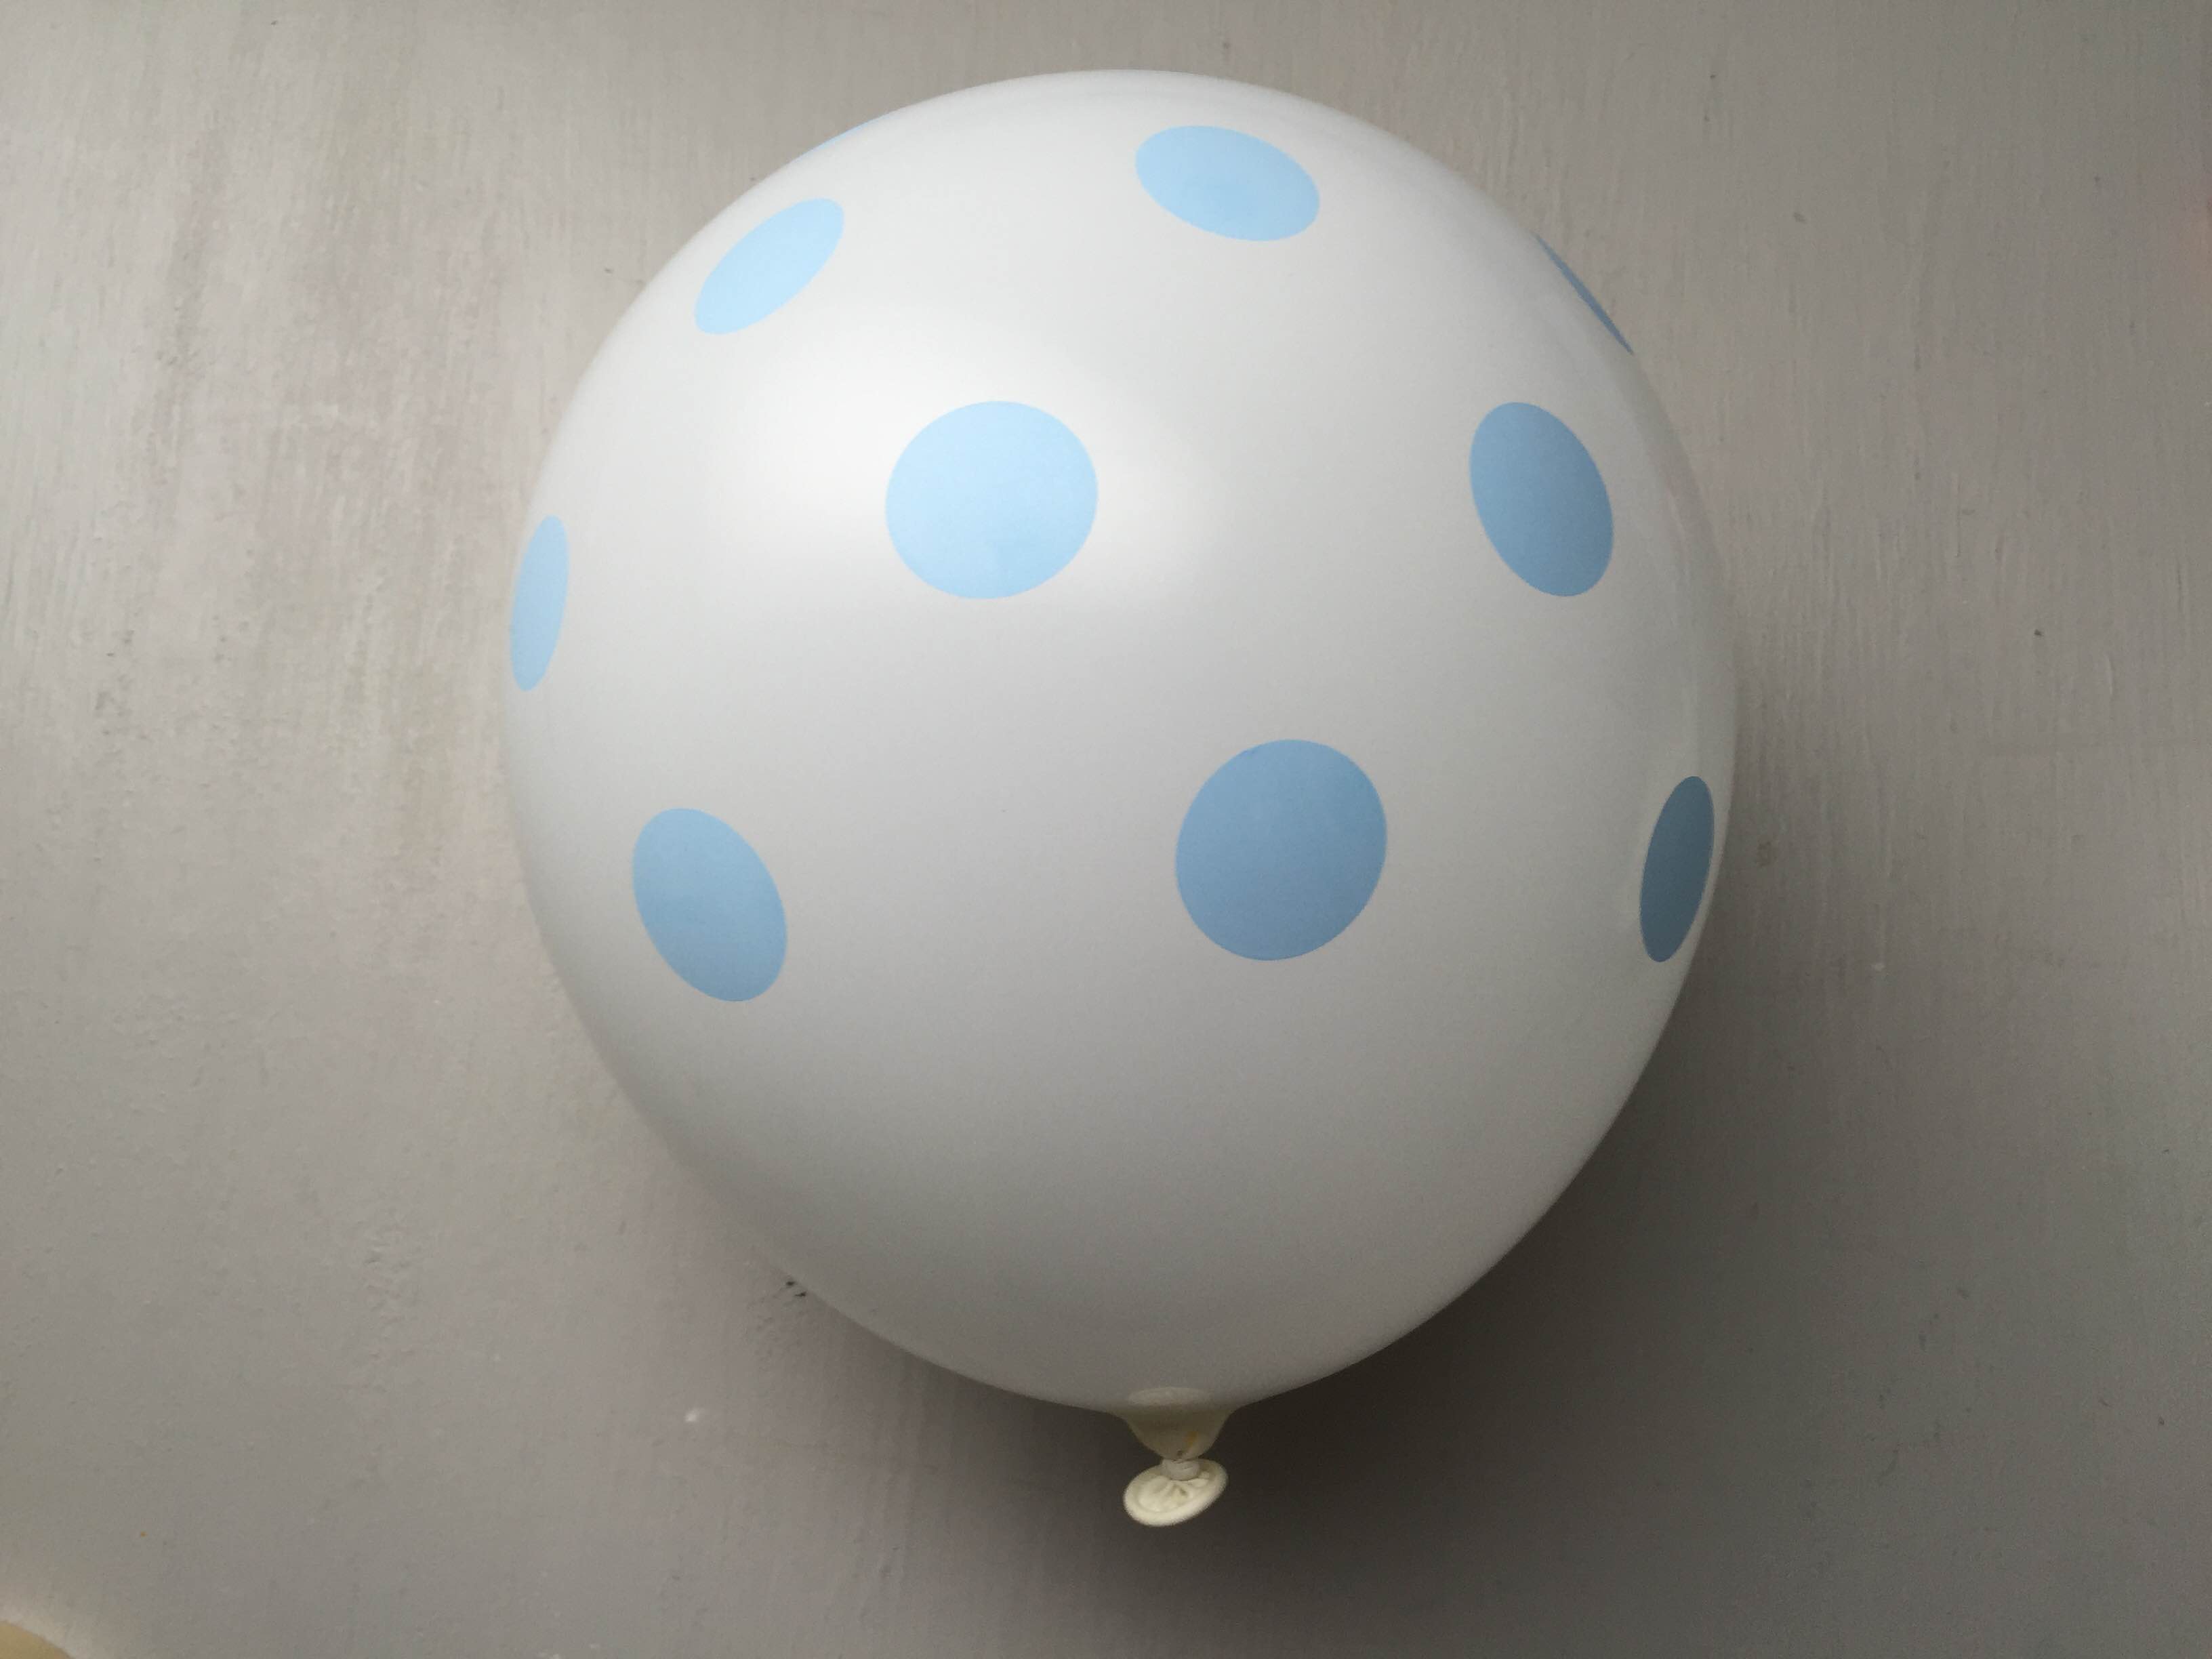
Start by blowing up a balloon to the size you want your pinata to be.
Step 3
Make your paper mache mixture. Mix together one part flour with two parts water until you get a batter-like consistency. We used one cup of flour and one cup of water.
Note: If you live in a humid area, consider adding a tablespoon of salt to the mixture to prevent mold.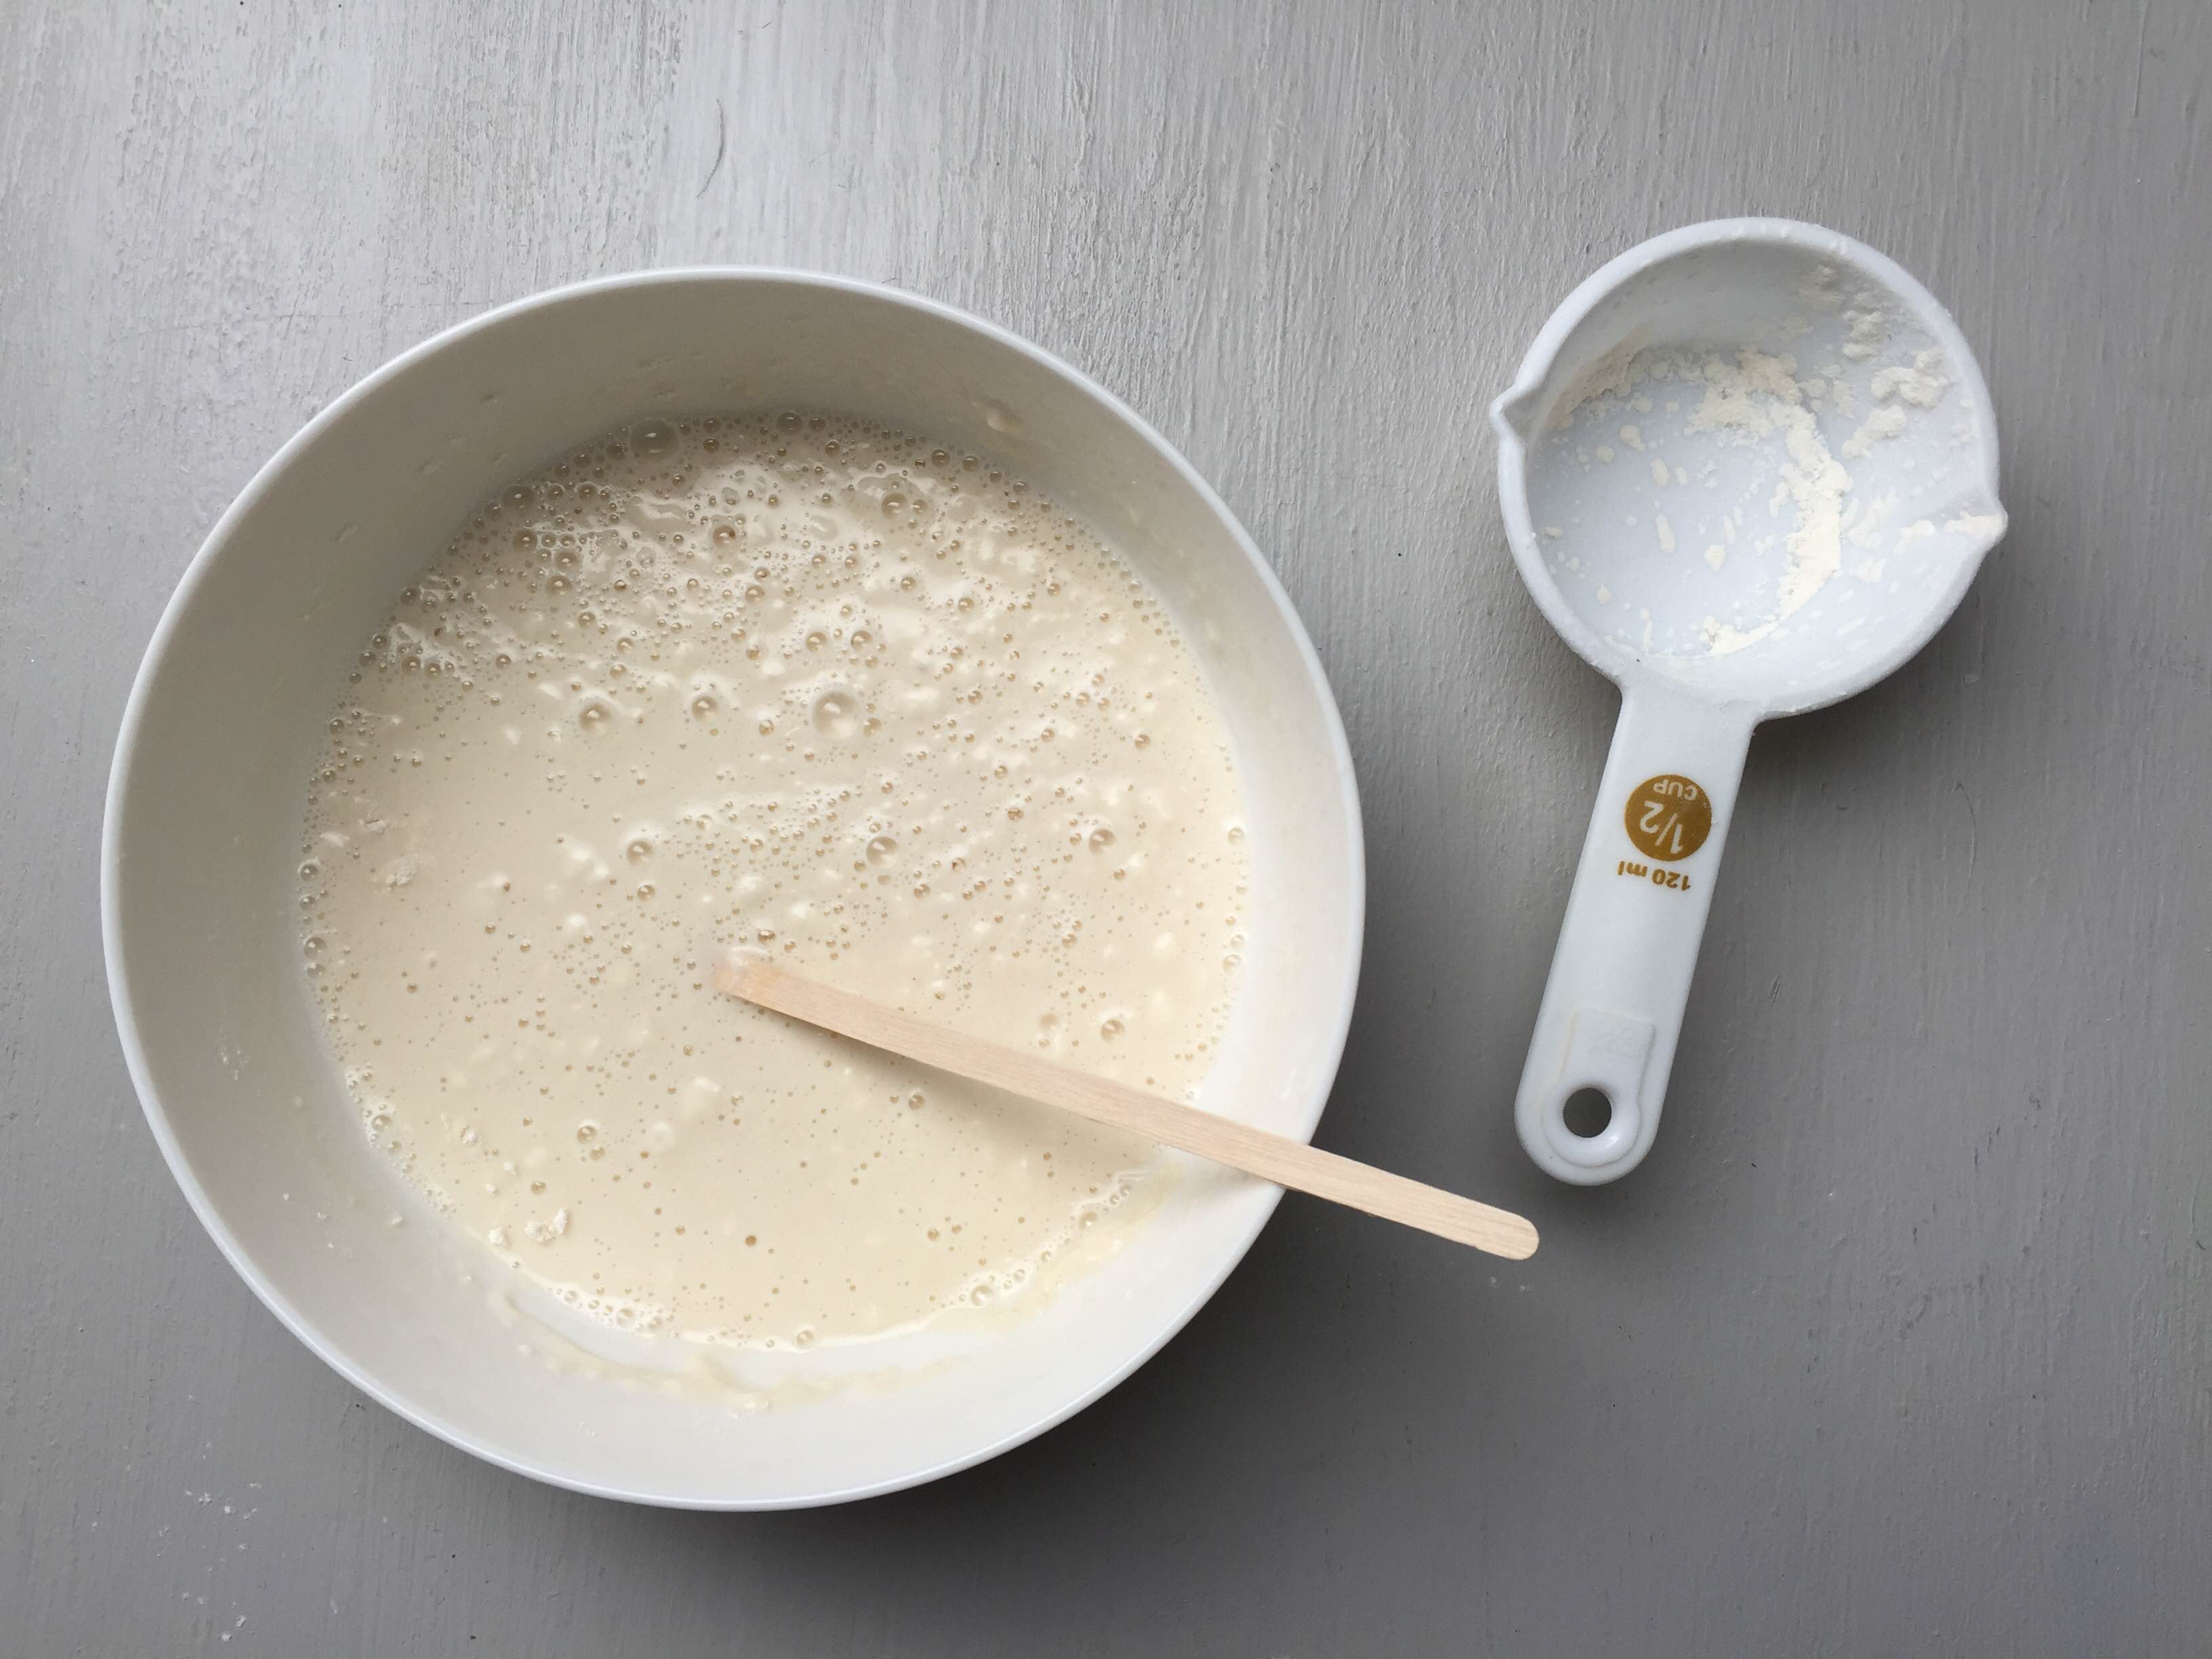
Step 4
Dip your newspaper strips in the mixture, and then brush off the excess liquid. Layer the strips over the balloon. While layering, leave a 2-inch gap around the tied tip of the balloon. This opening will be used later for filling the pinata with treats.
Add about 3 to 4 layers of newspaper strips, and let the pinata dry.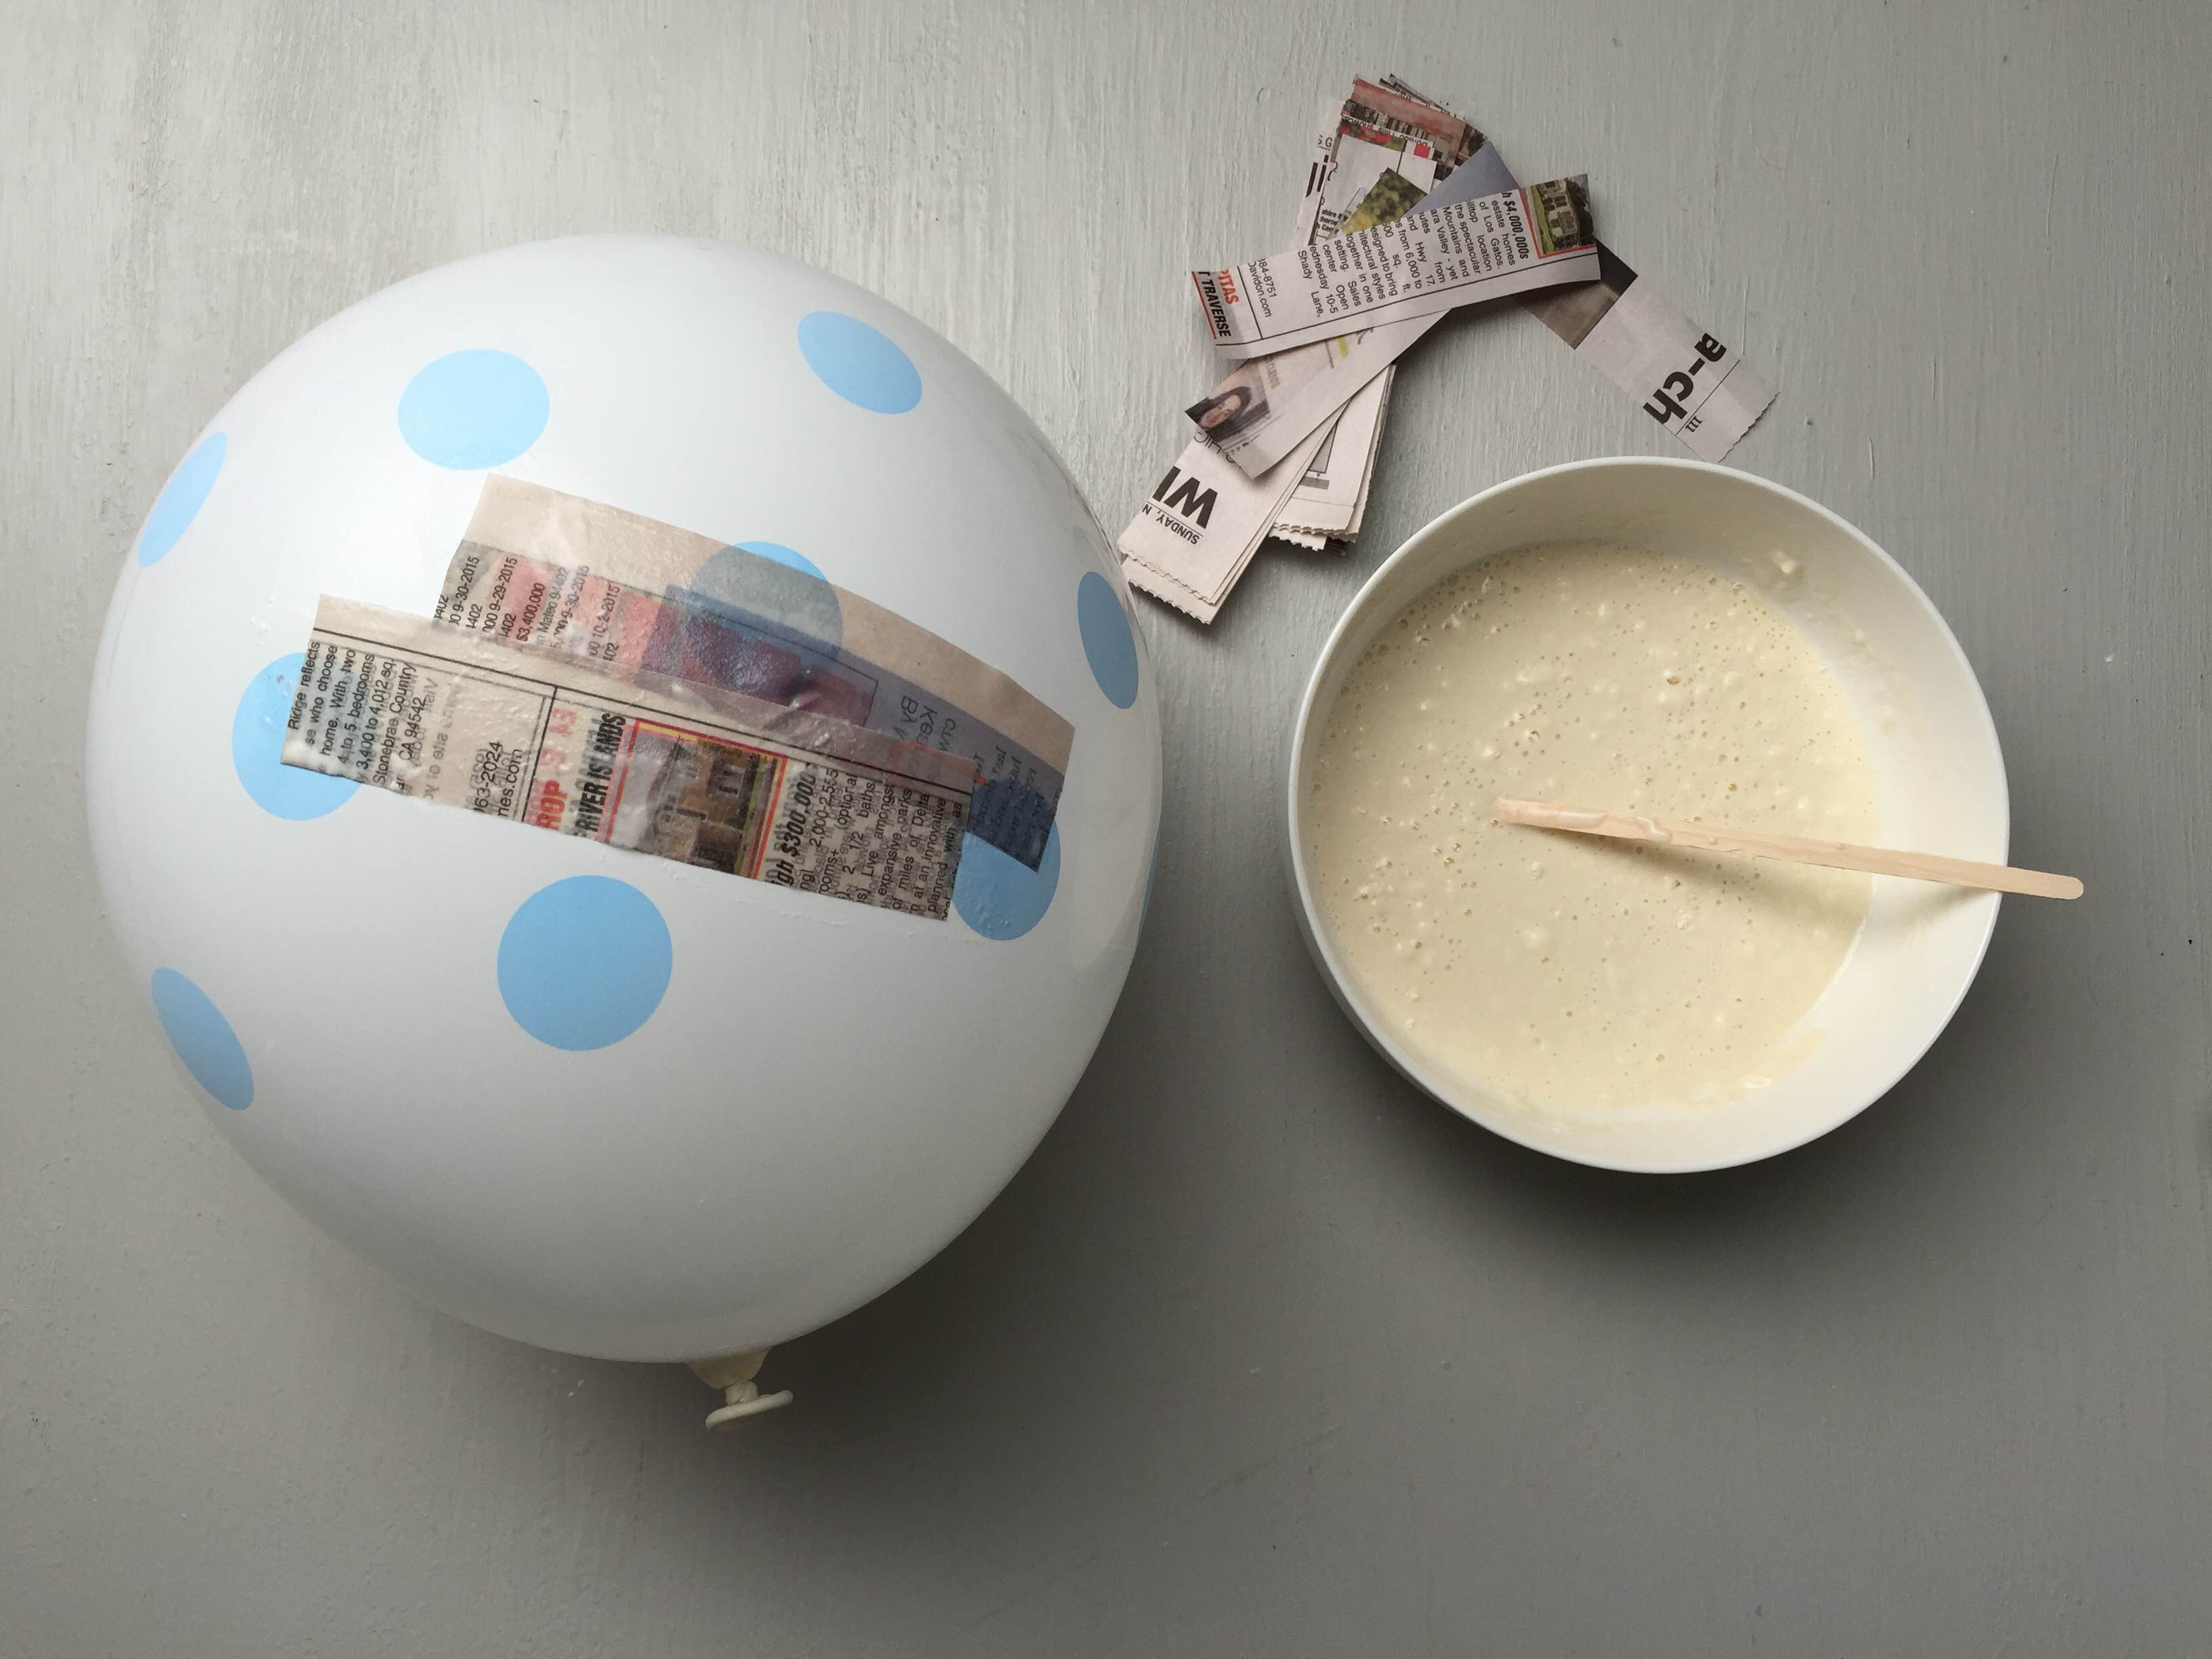
Step 5
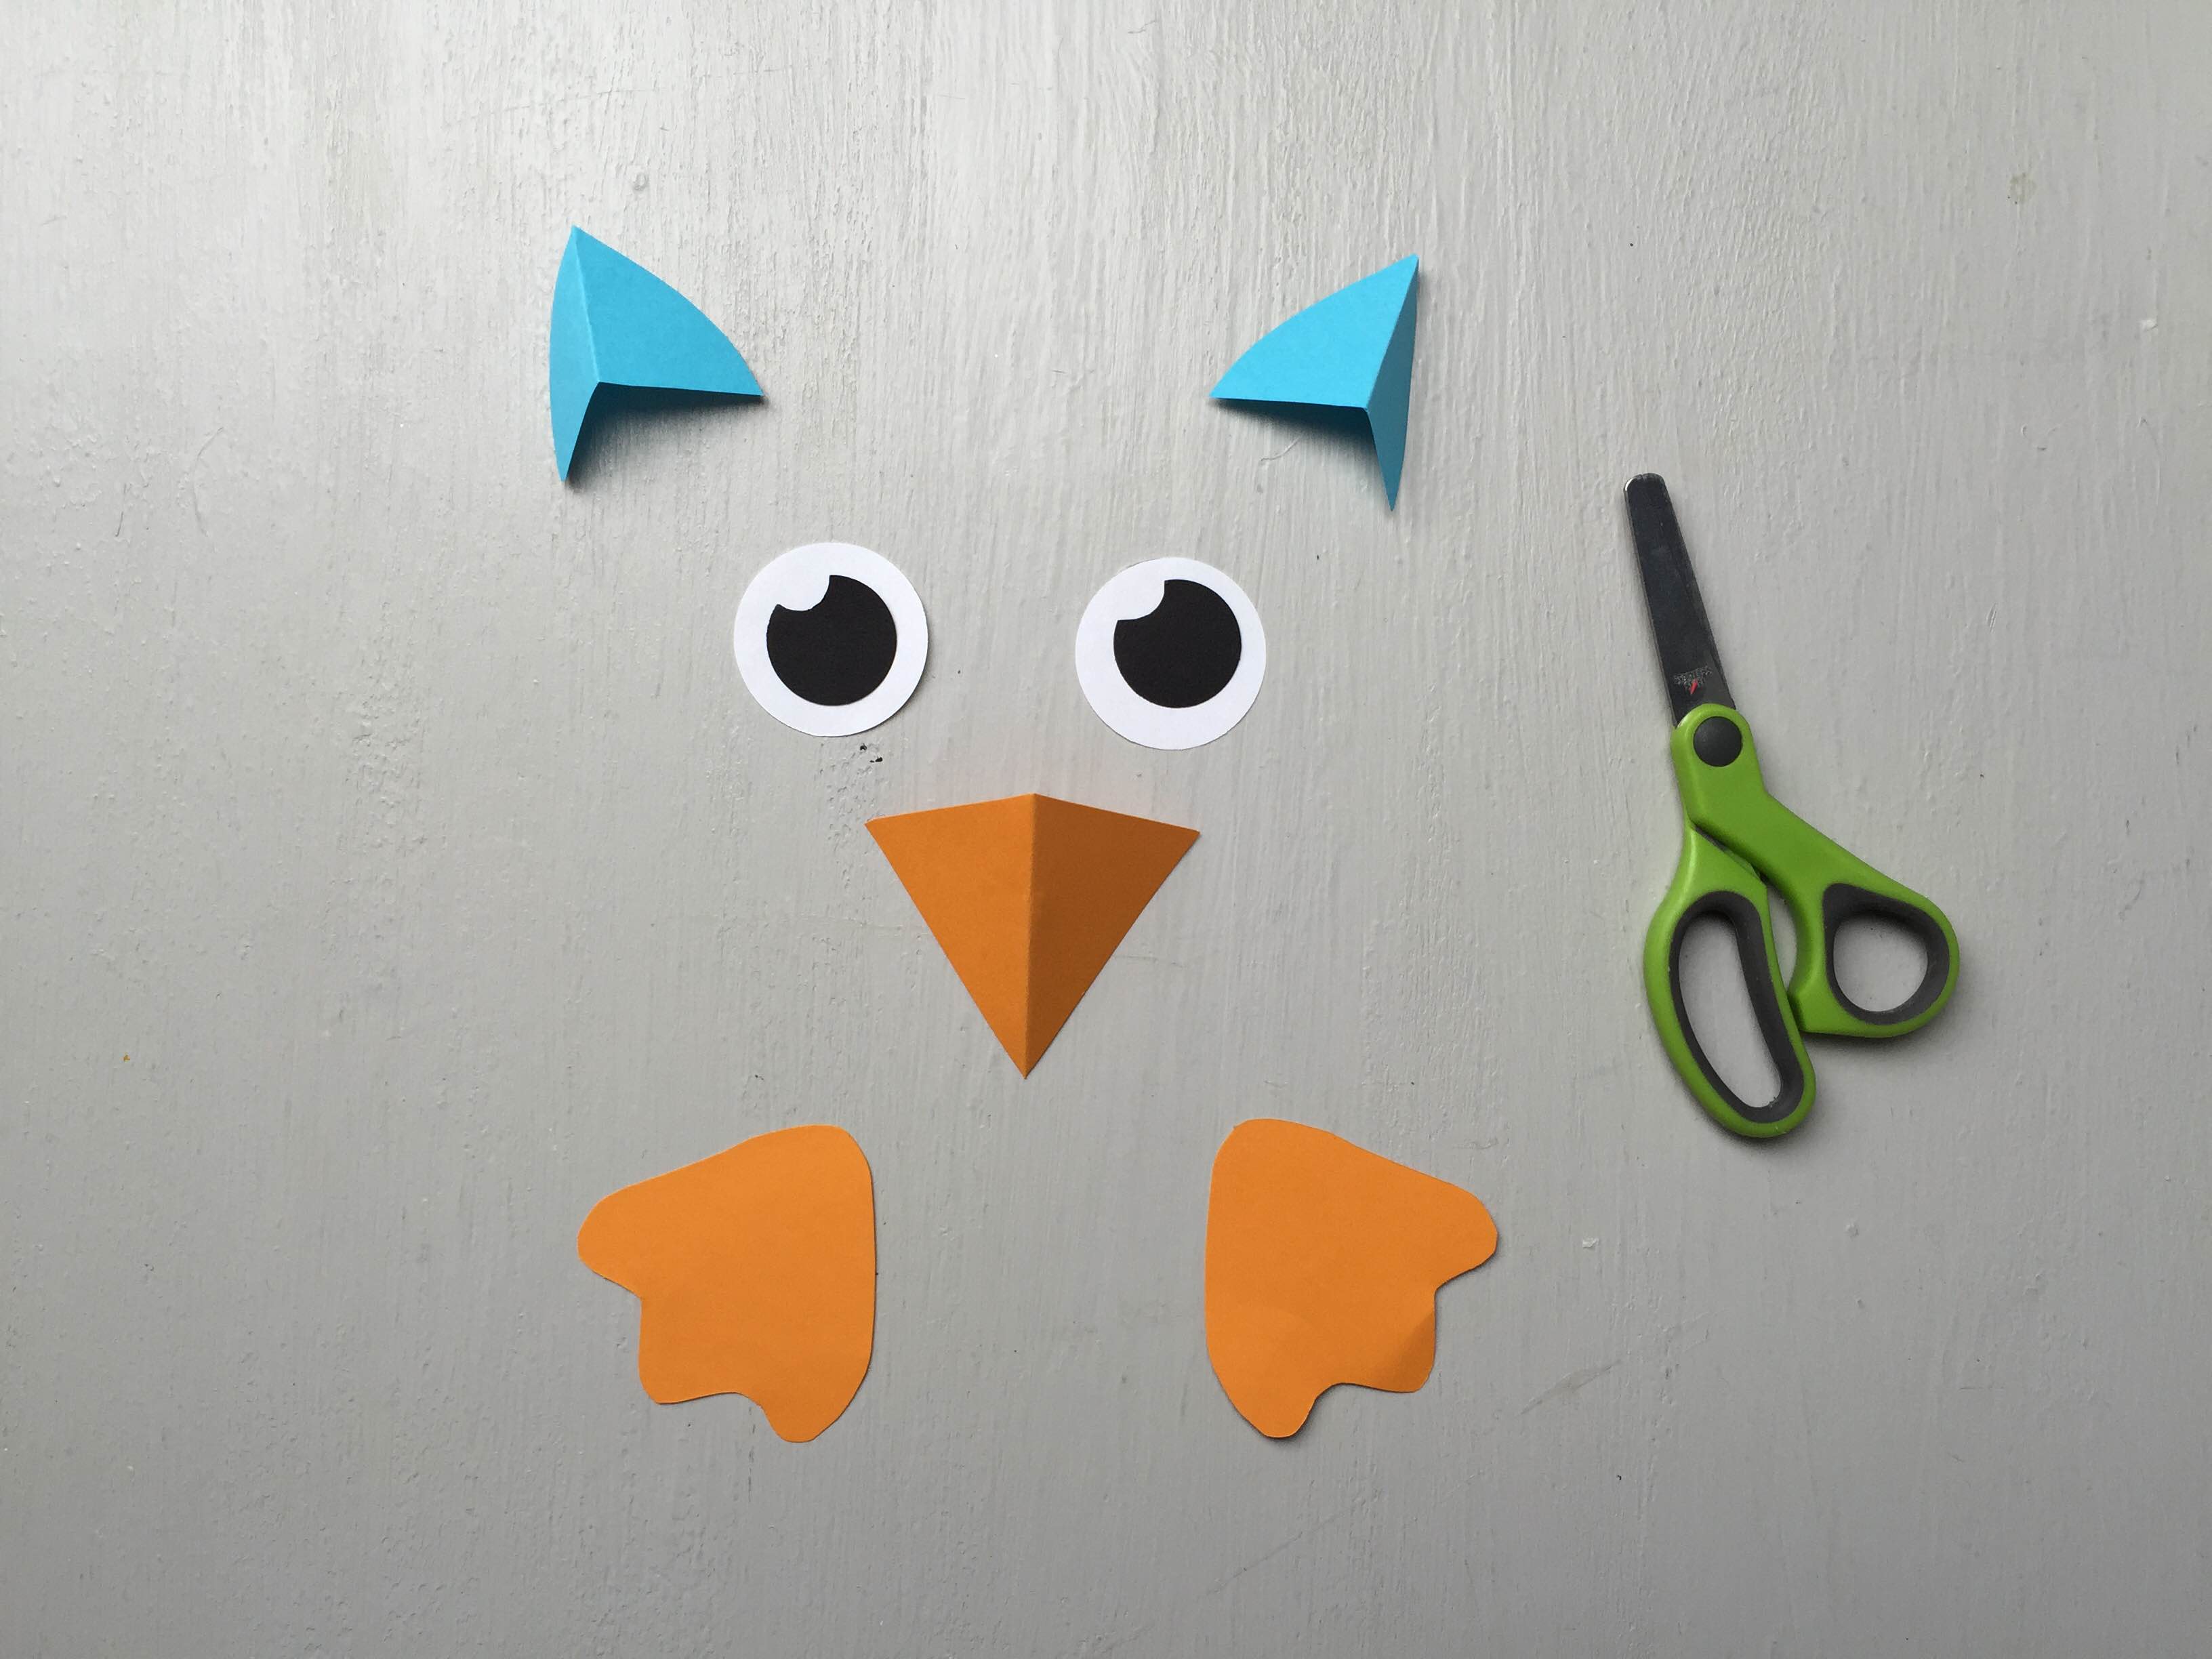
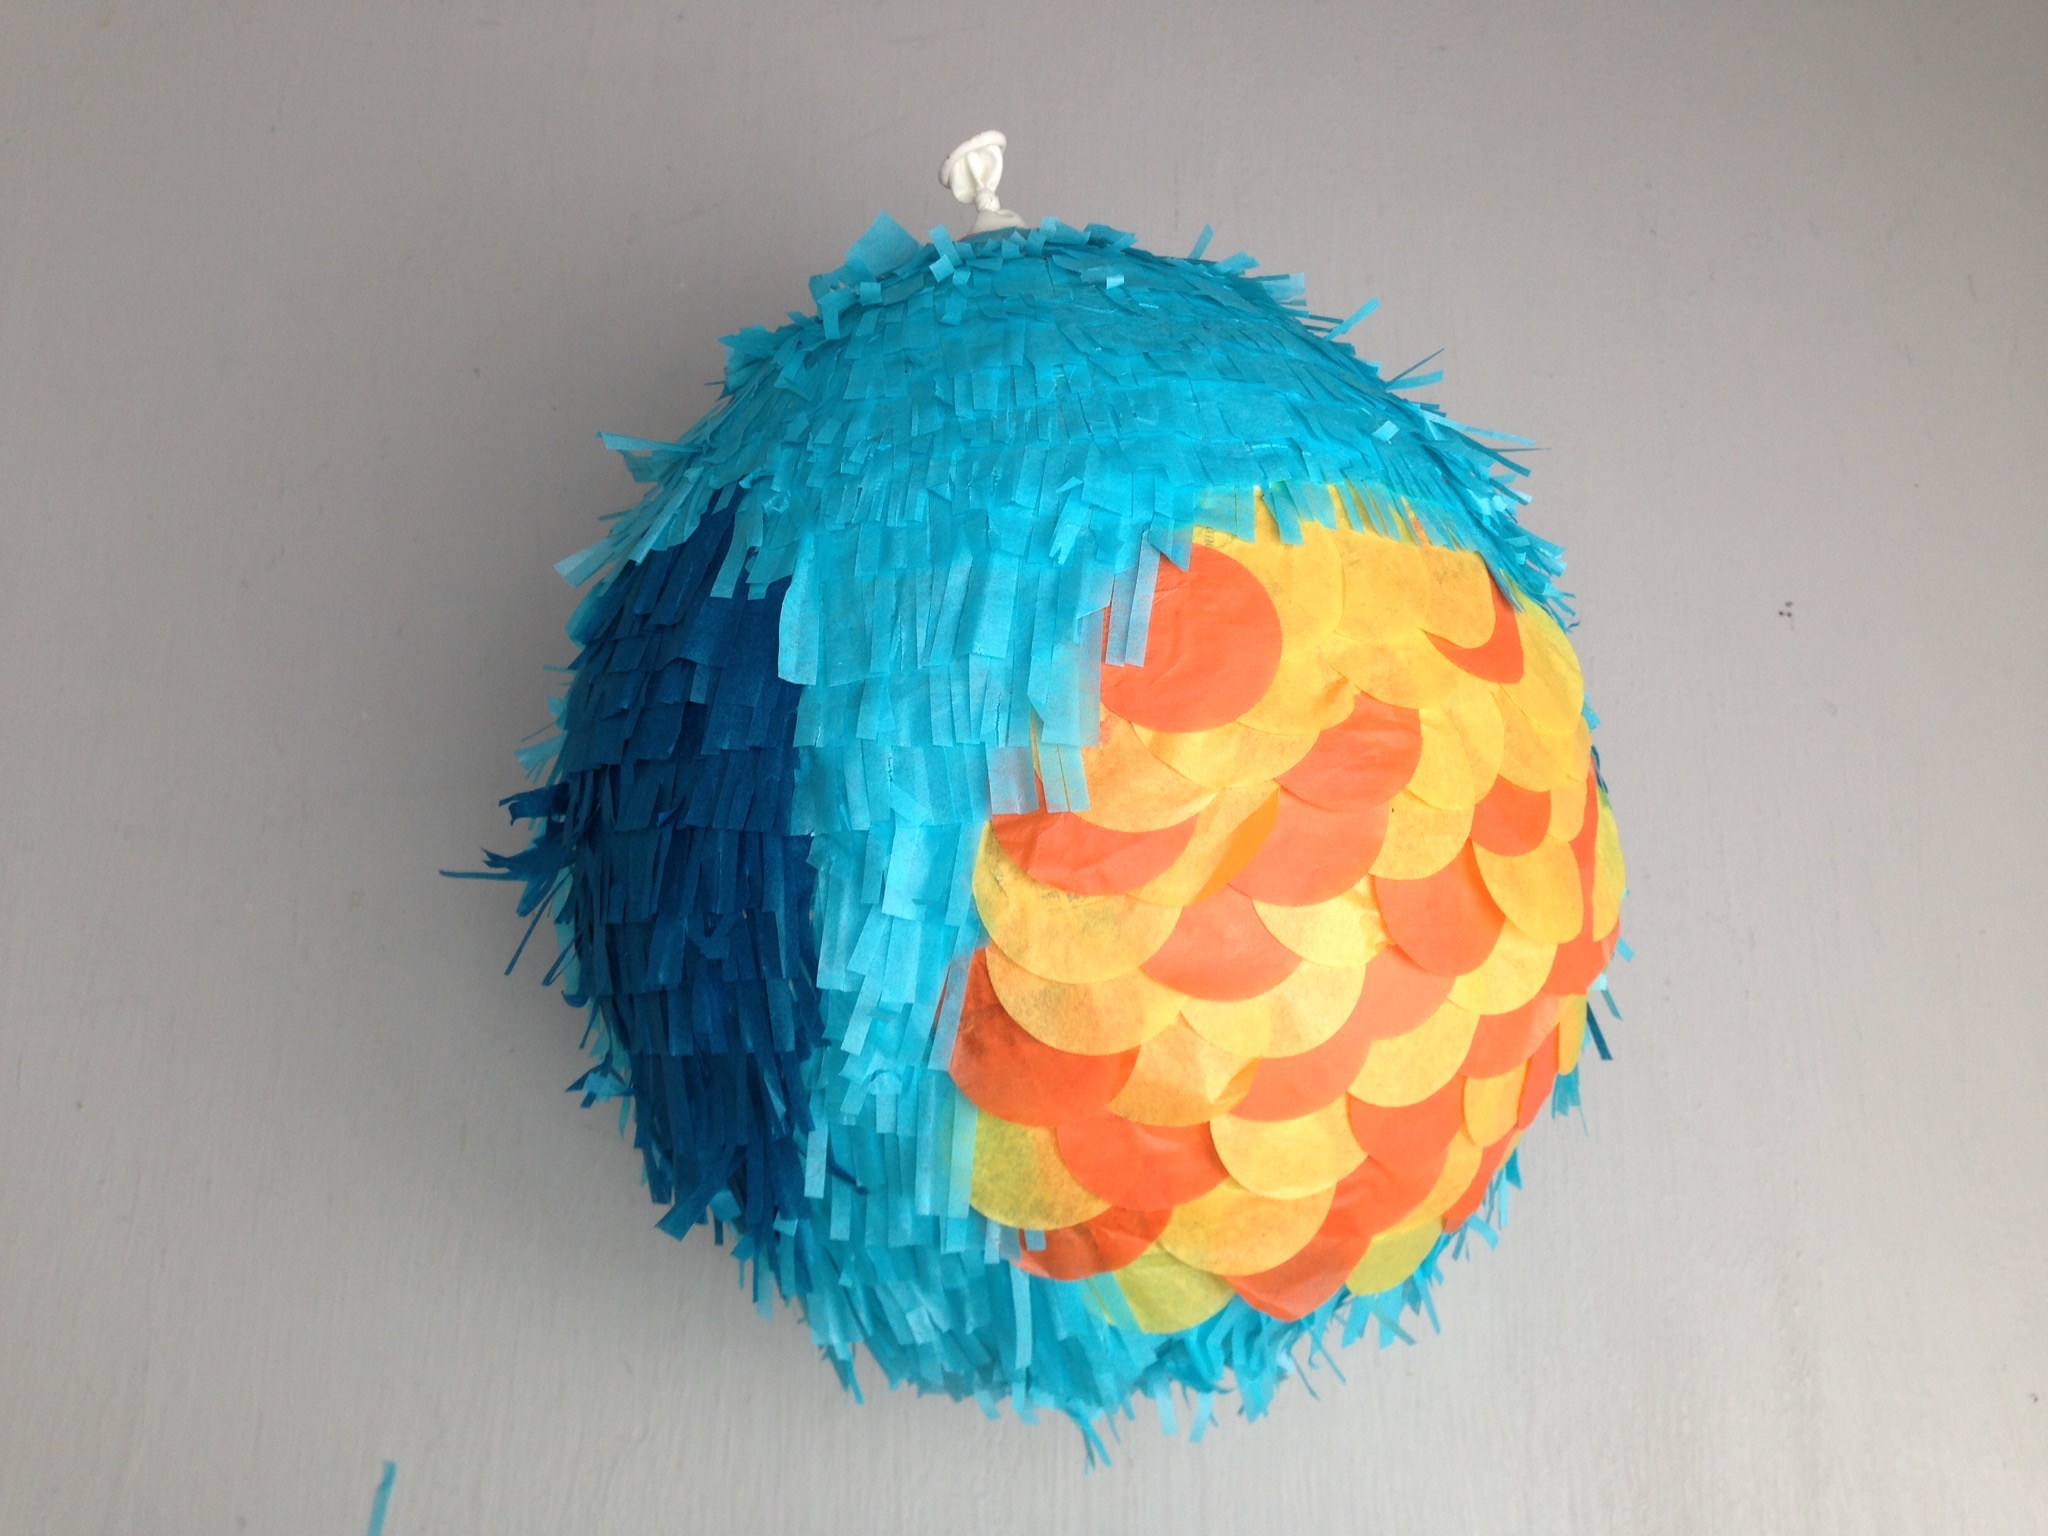
While the pinata is drying, you can start on the tissue paper details. We cut out some tissue paper fringes and circles for decorating the pinata.

Step 6
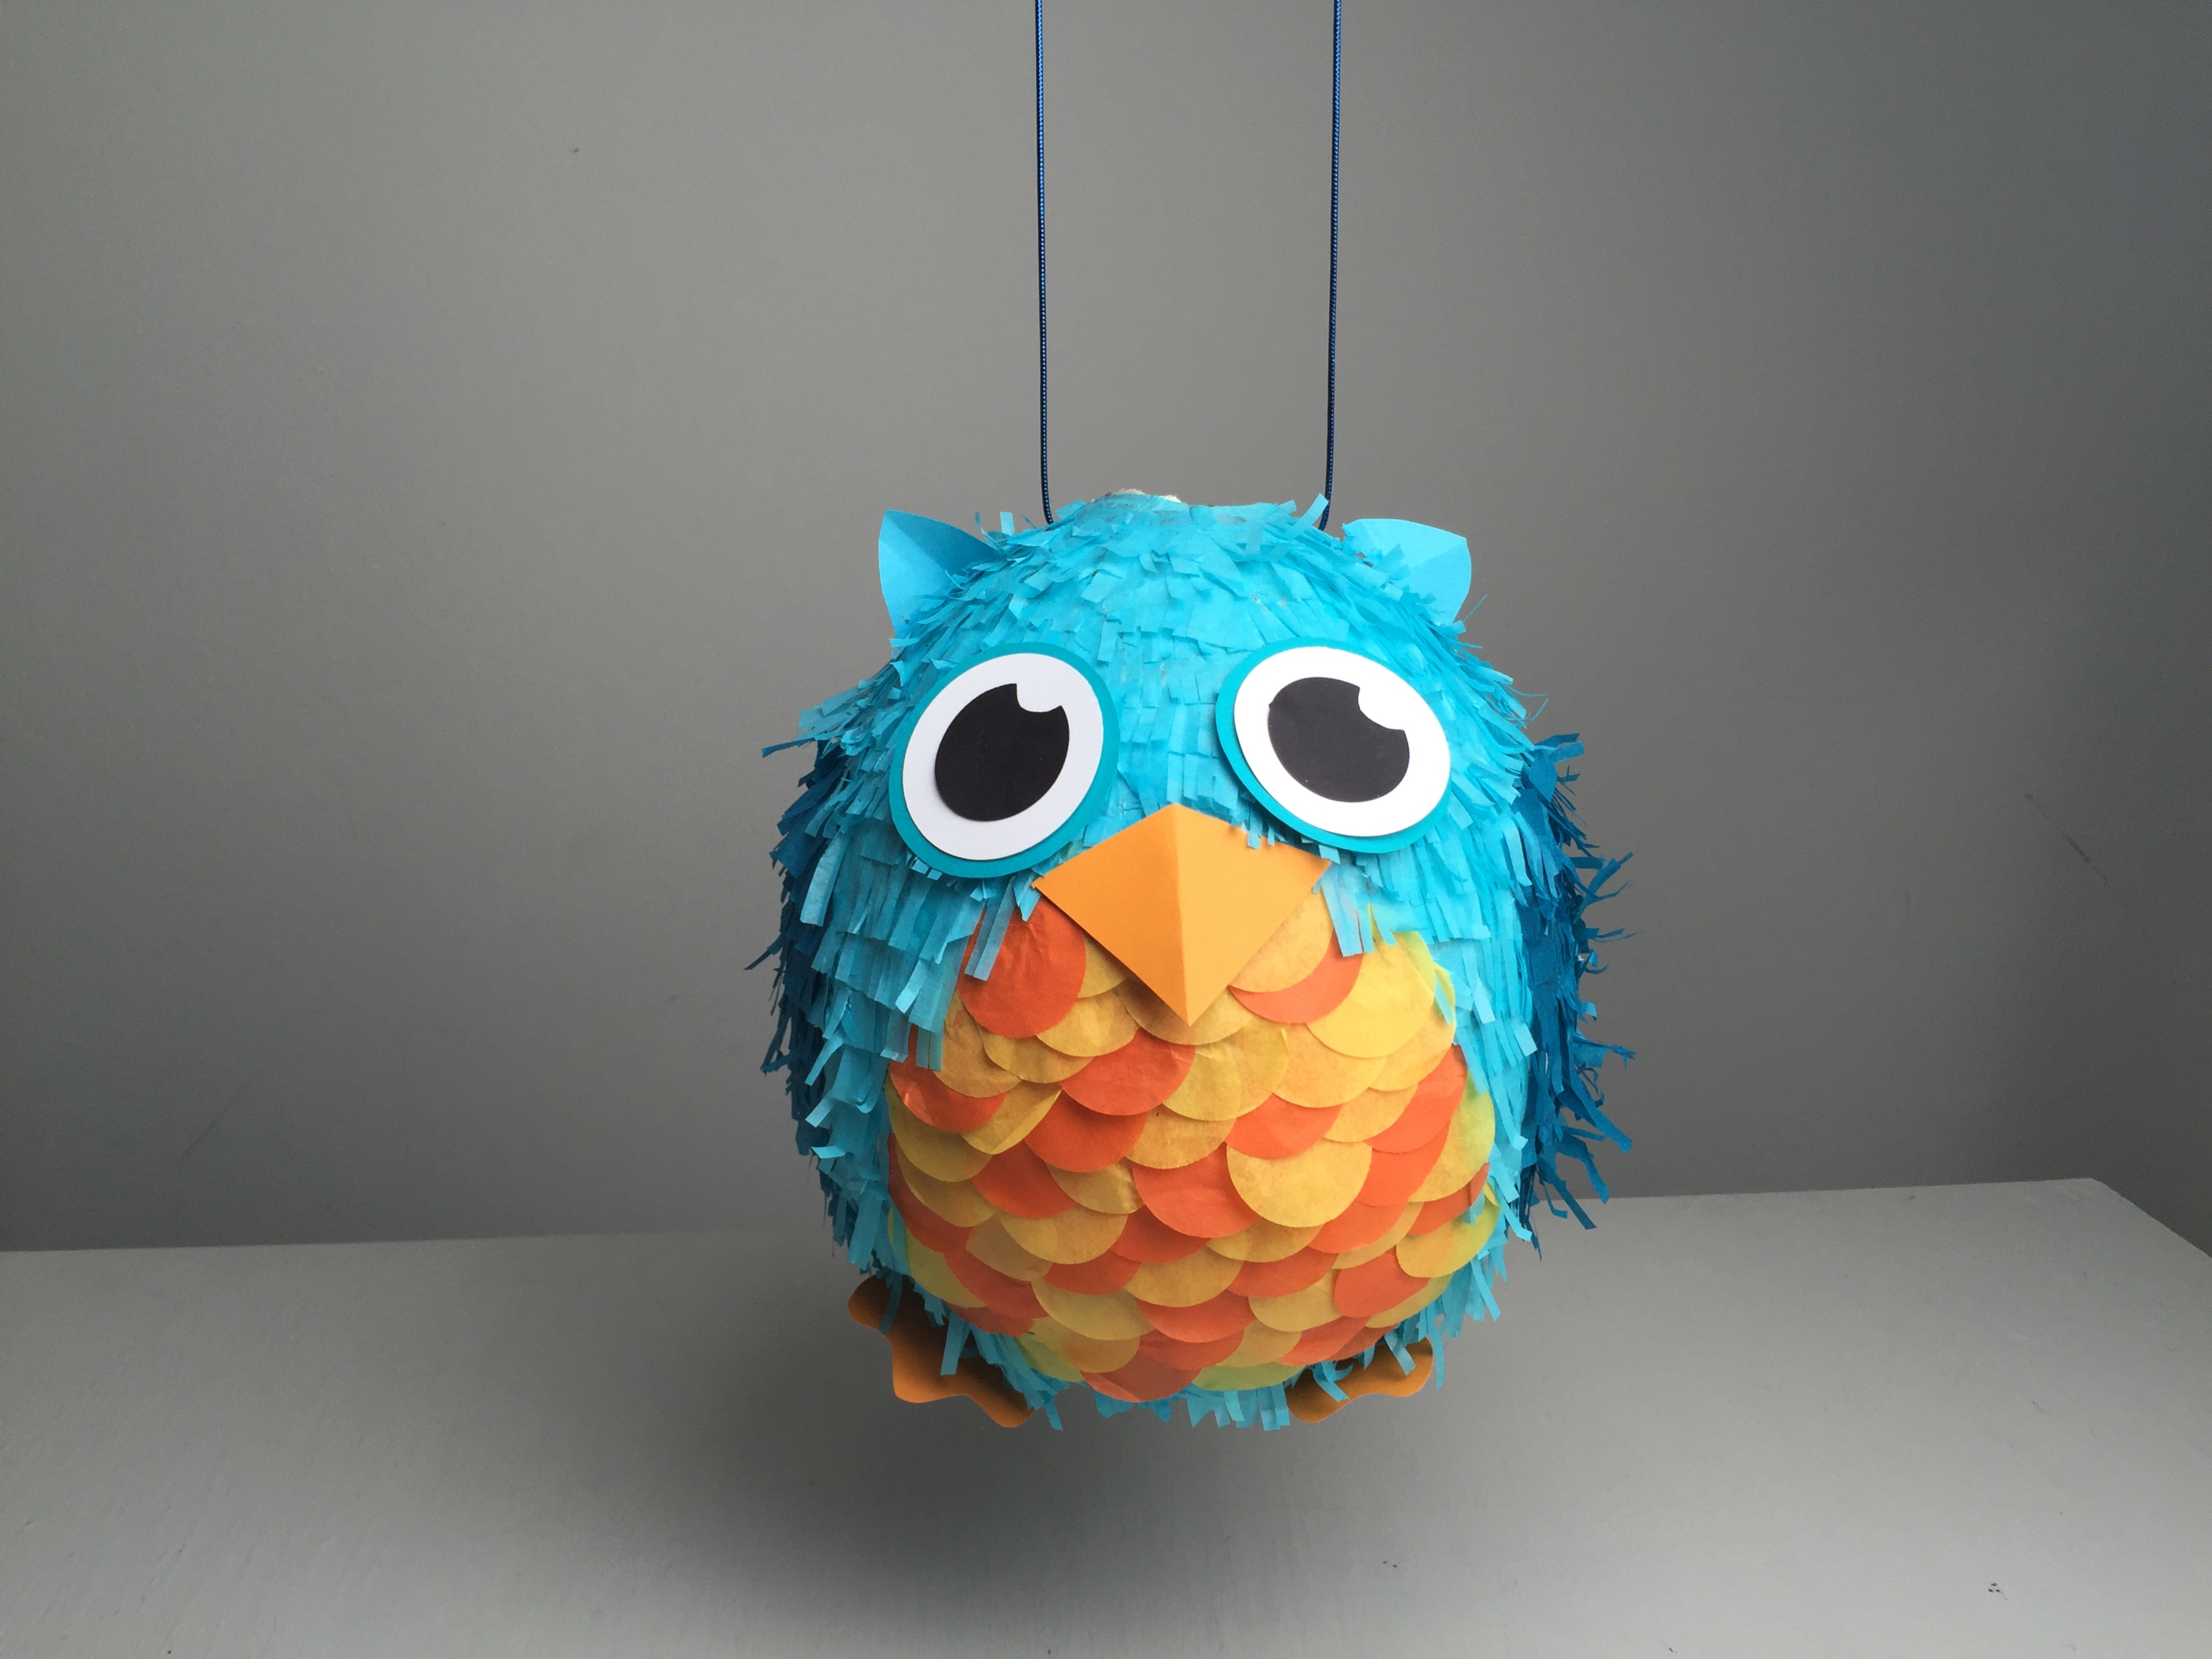
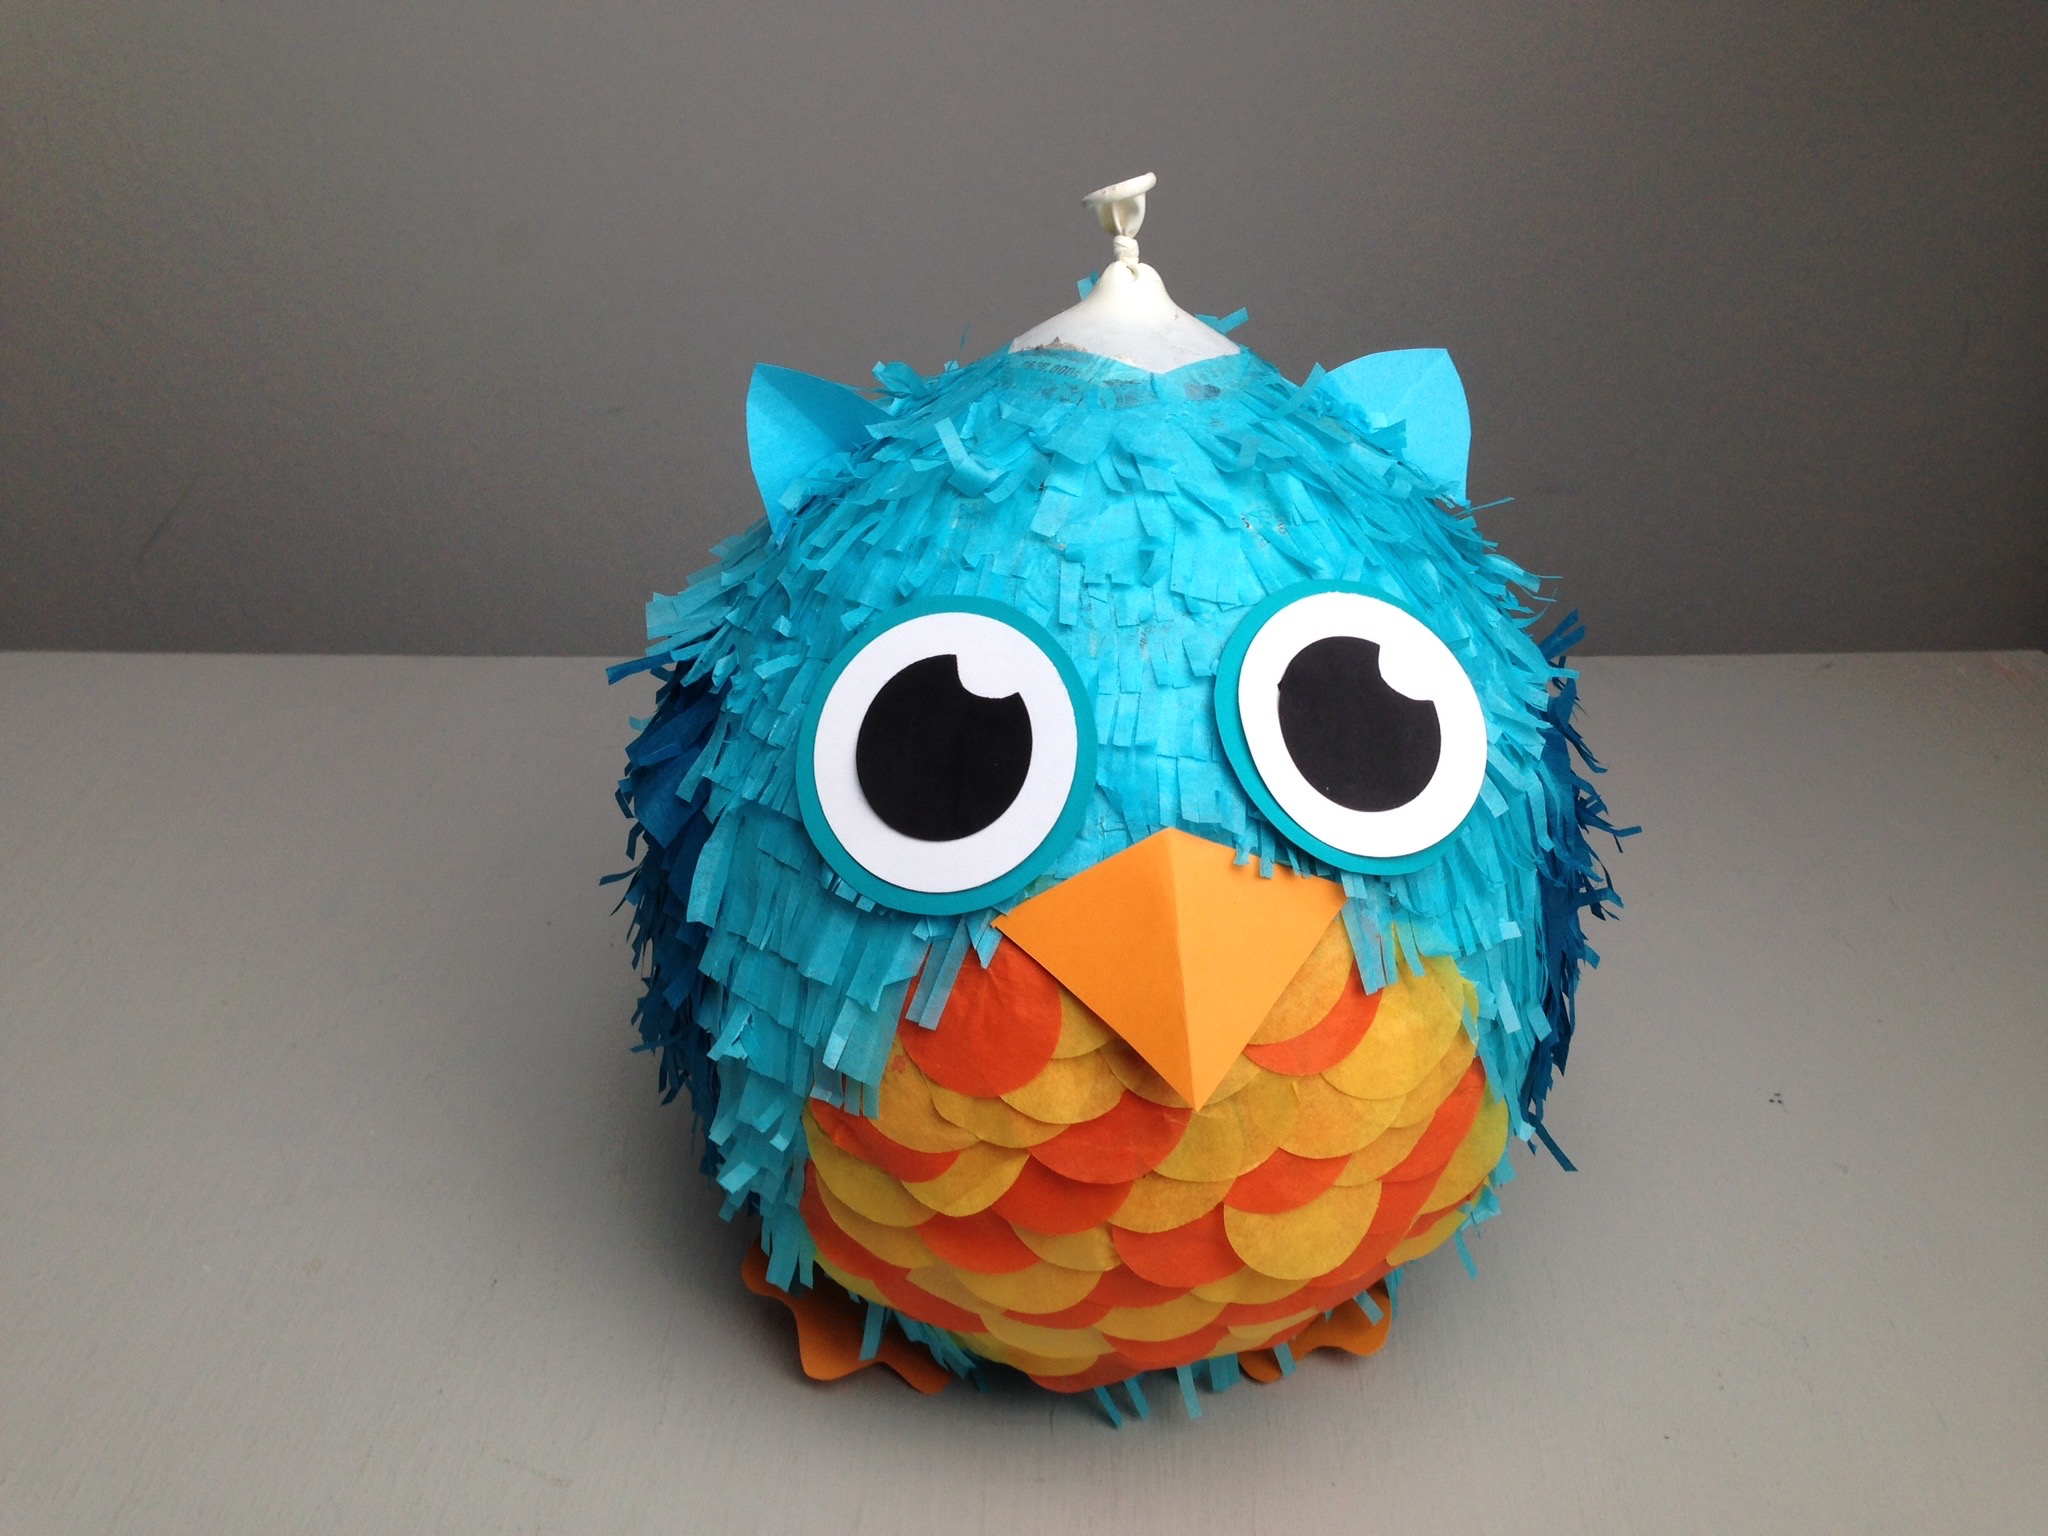
Get creative and create a face for your animal. We chose to do an owl, but you can do any animal you like!
Step 7
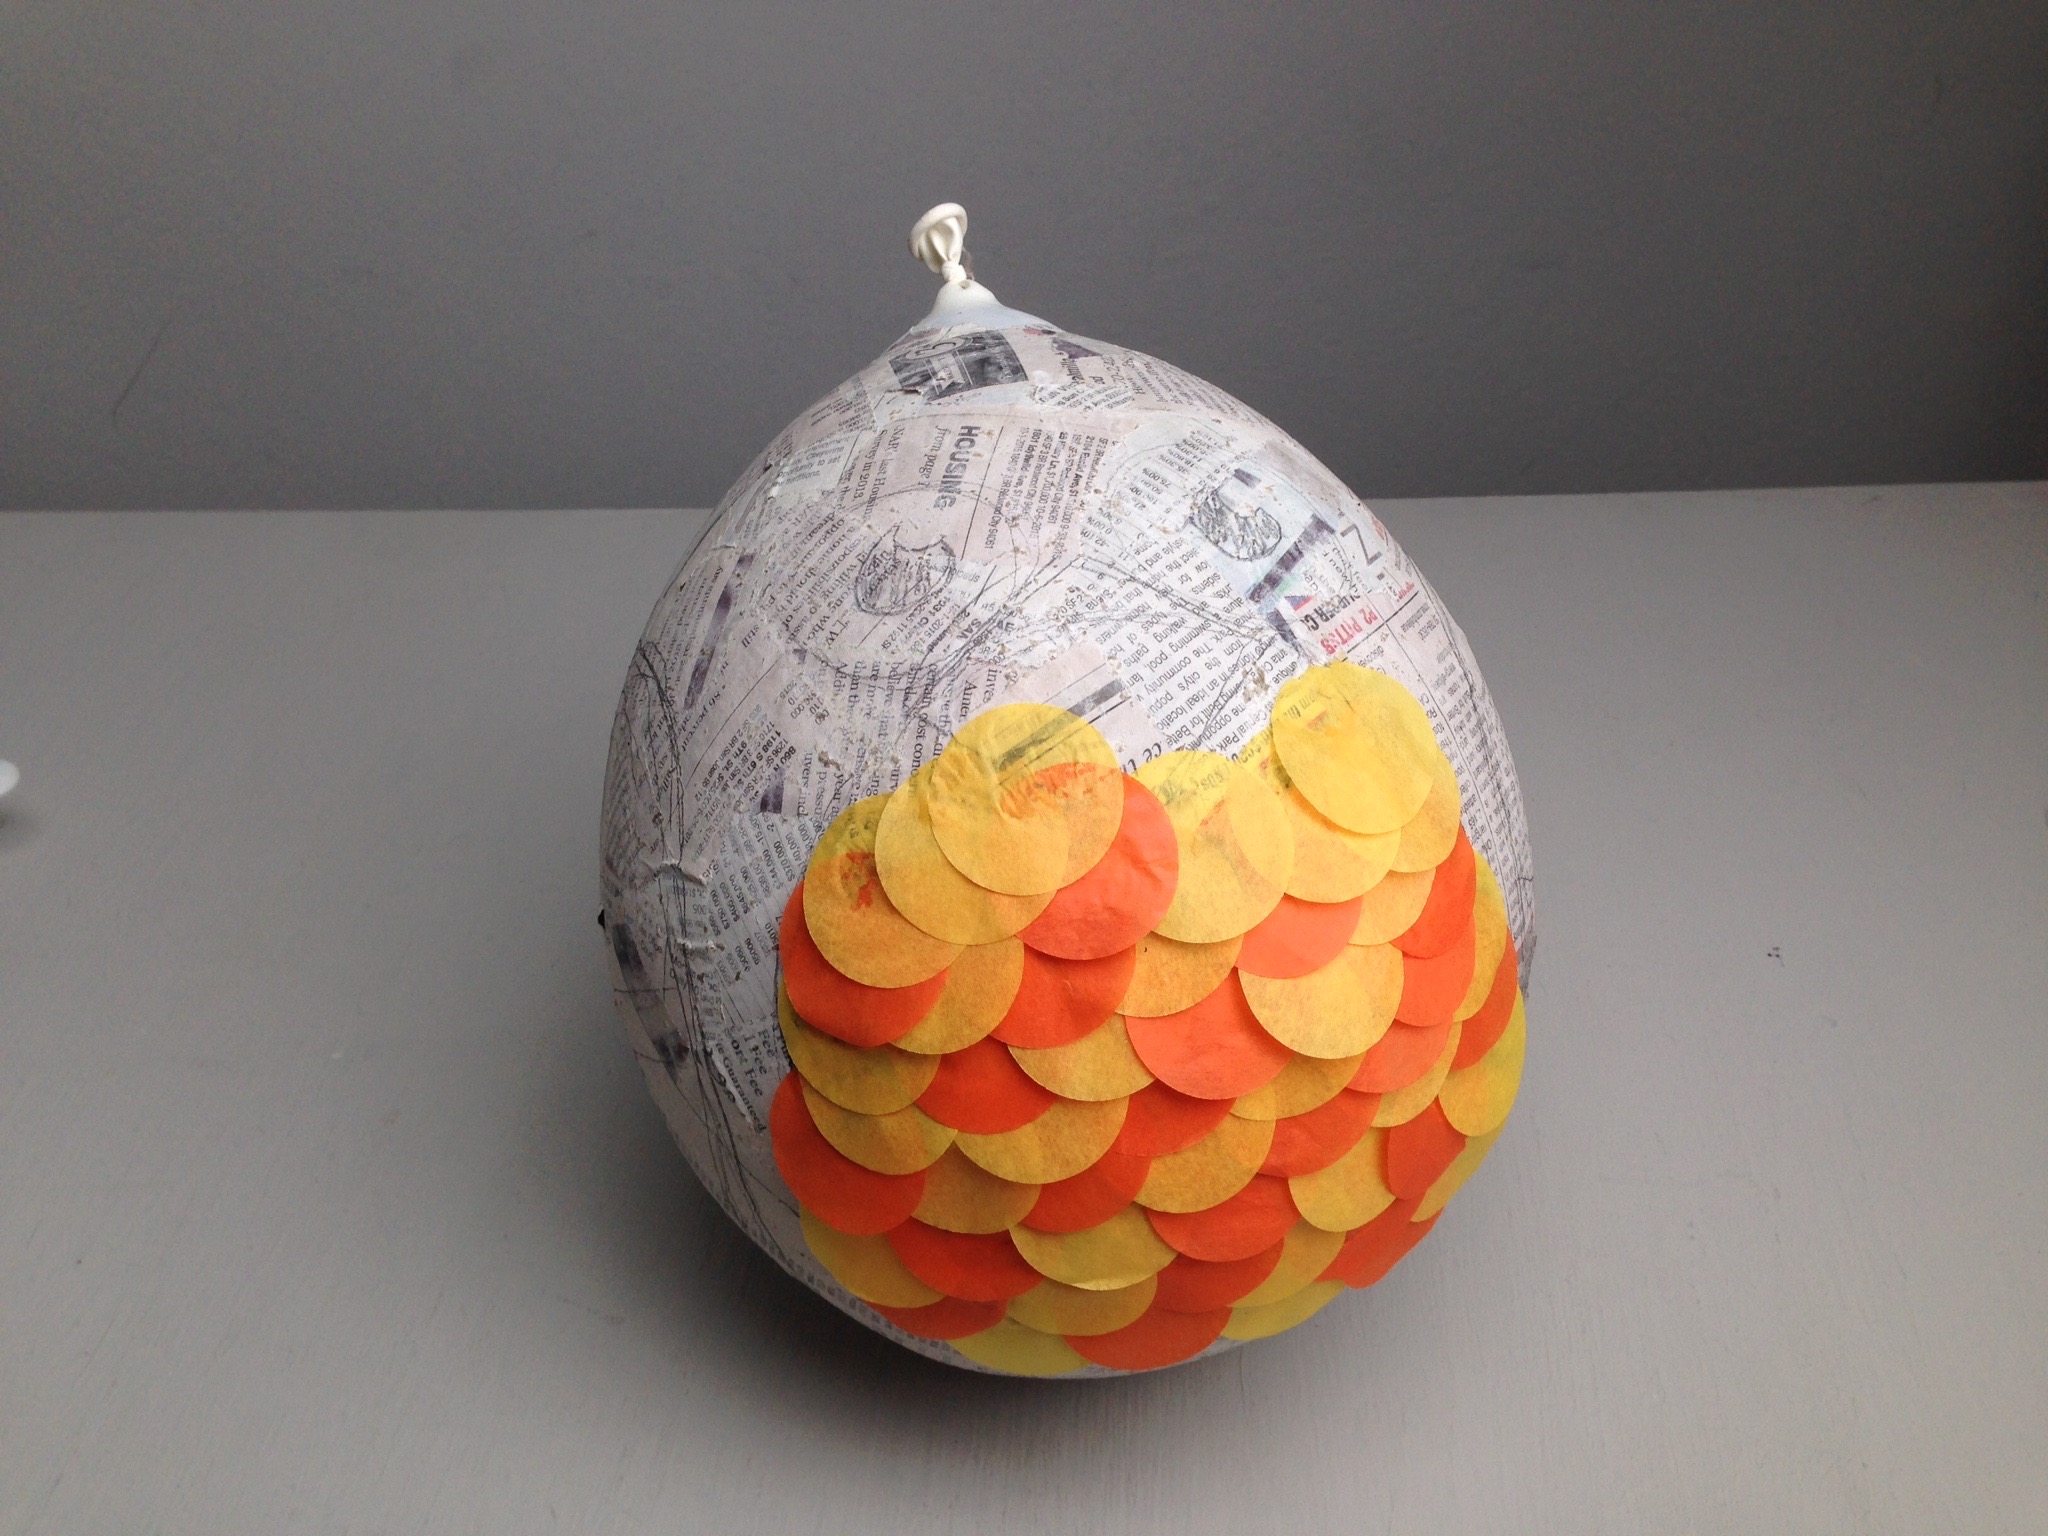
Once your pinata is dry to the touch, use glue to attach the tissue paper decorations. We started by layering the circle feathers around the belly. For the best effect, we suggest starting from the bottom and working your way up
Tip
We sketched out our owl on the balloon with a pencil before we started attaching the tissue paper.
Step 8
Next, we added the fringes around the rest of the body. You can try out different tissue paper shapes to create different textures. We used fringe to give it a feathery look.
Step 9
Glue on the face details, and let the pinata dry.
Step 10
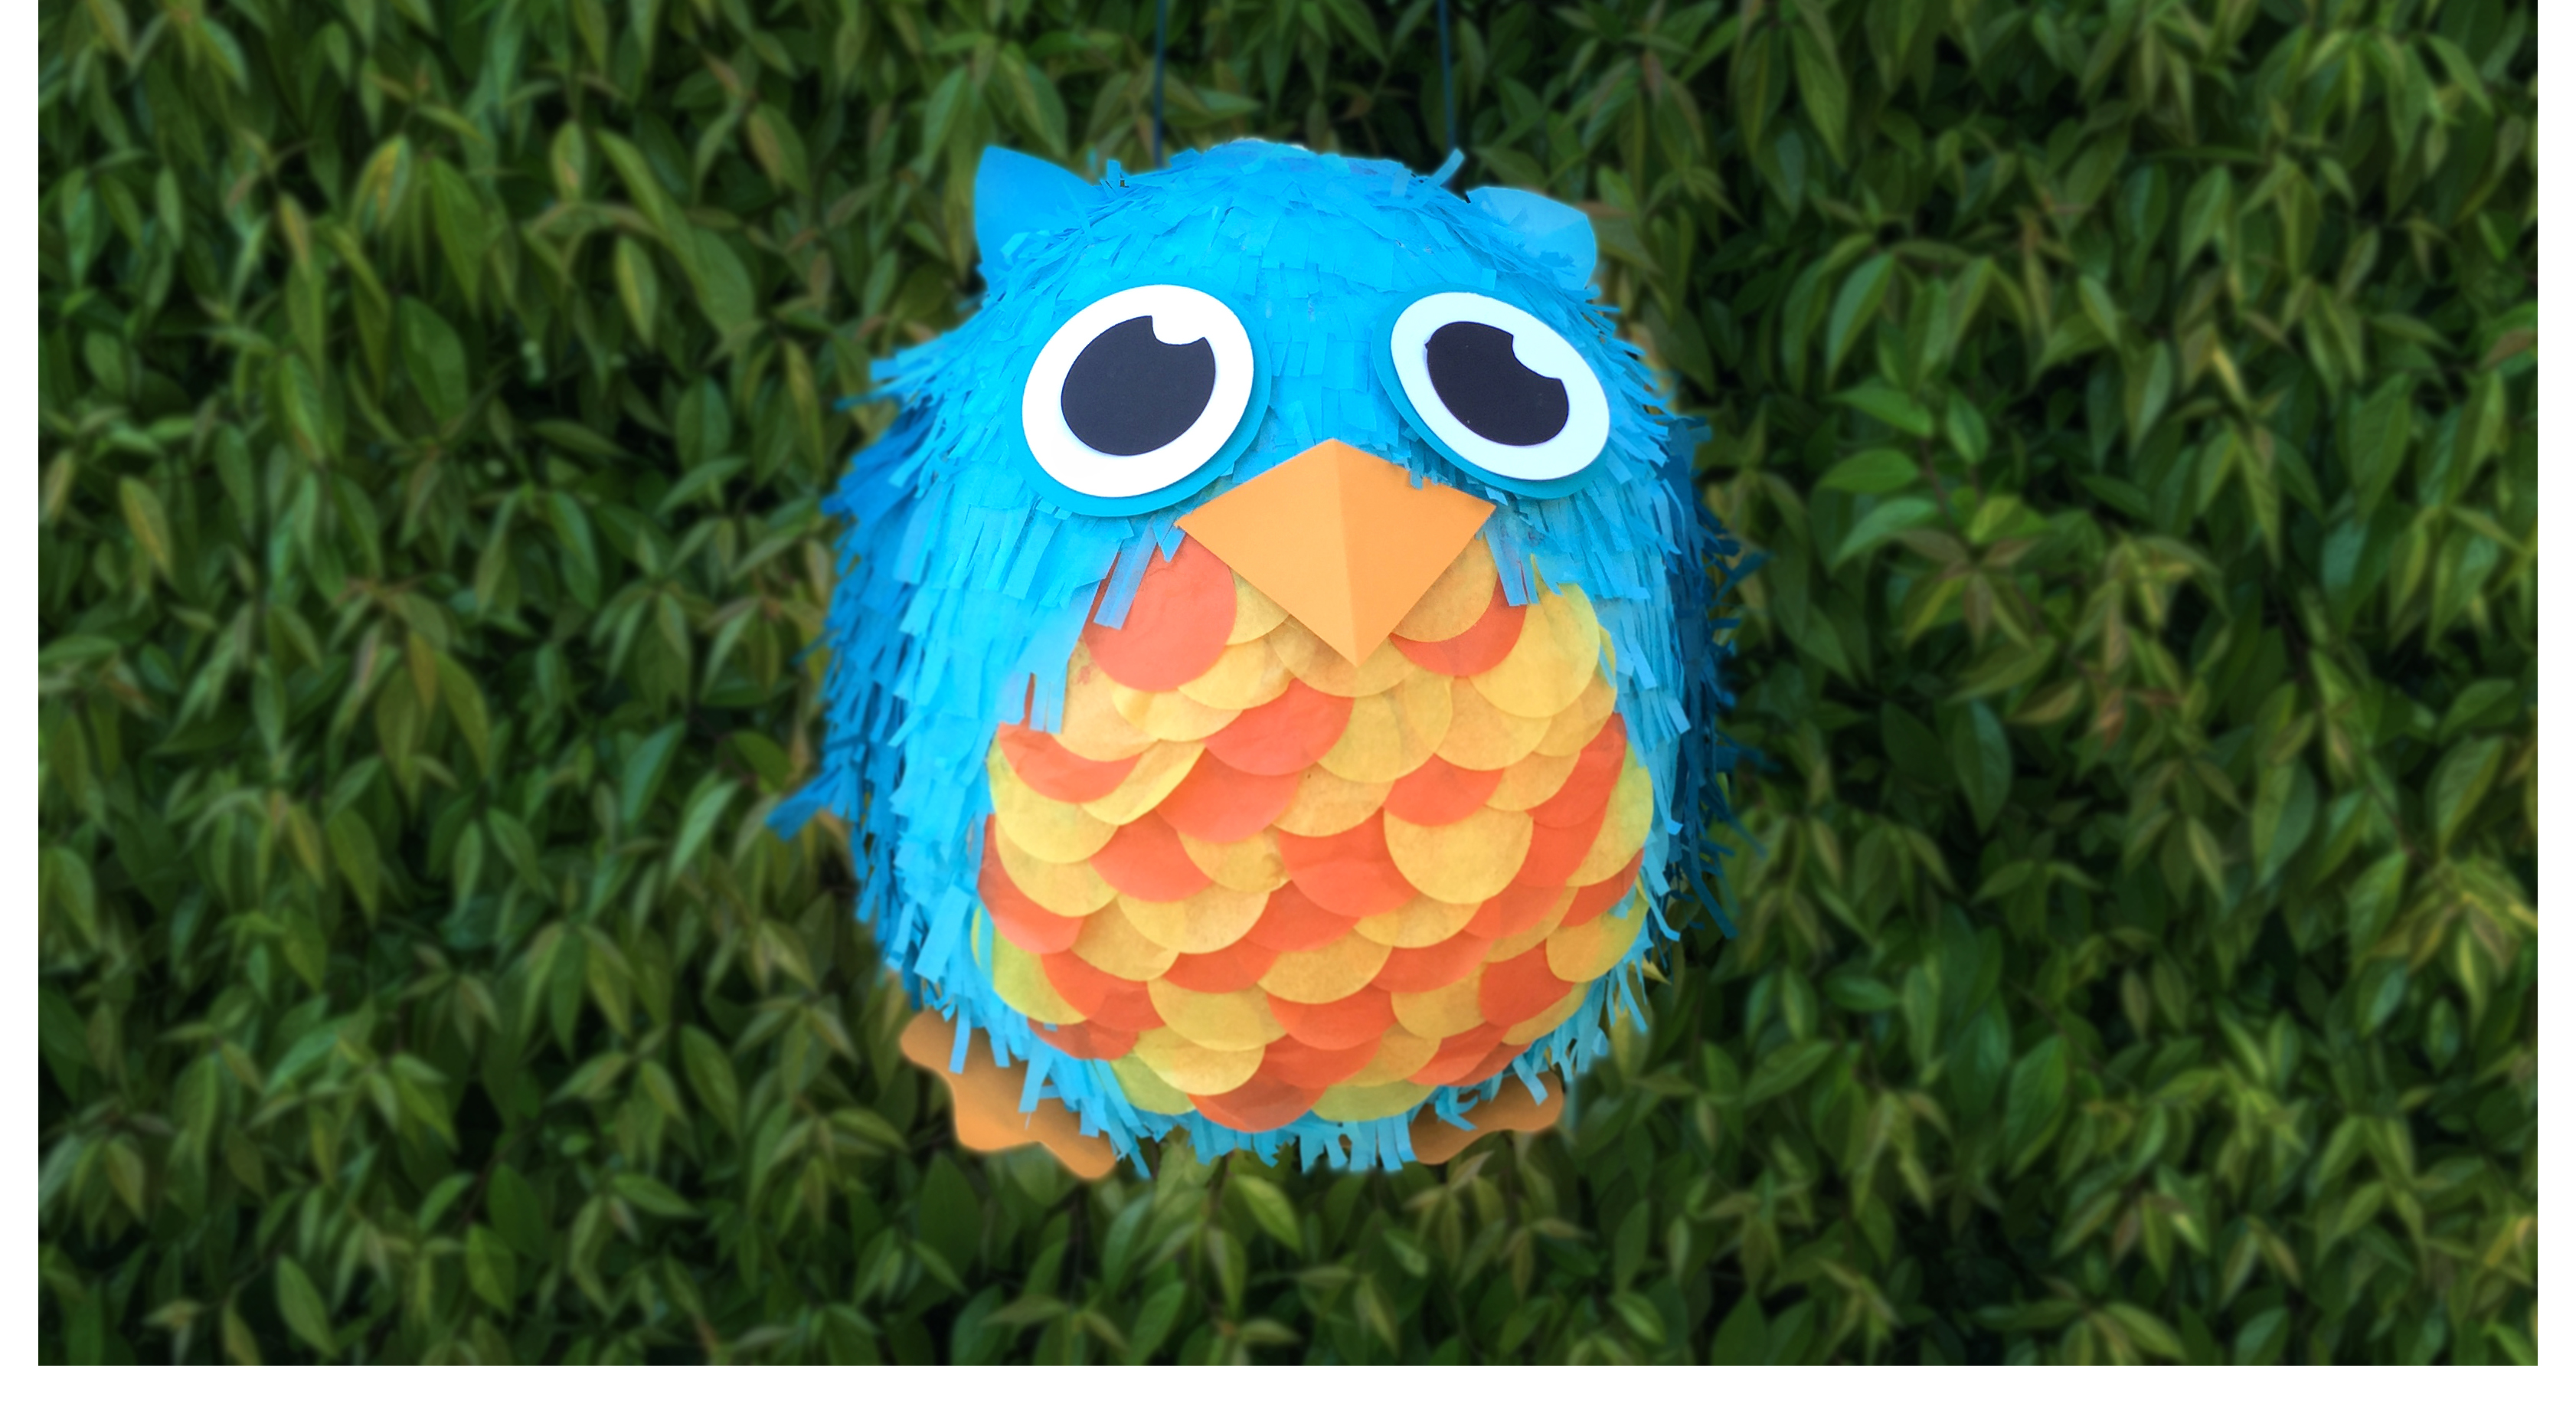
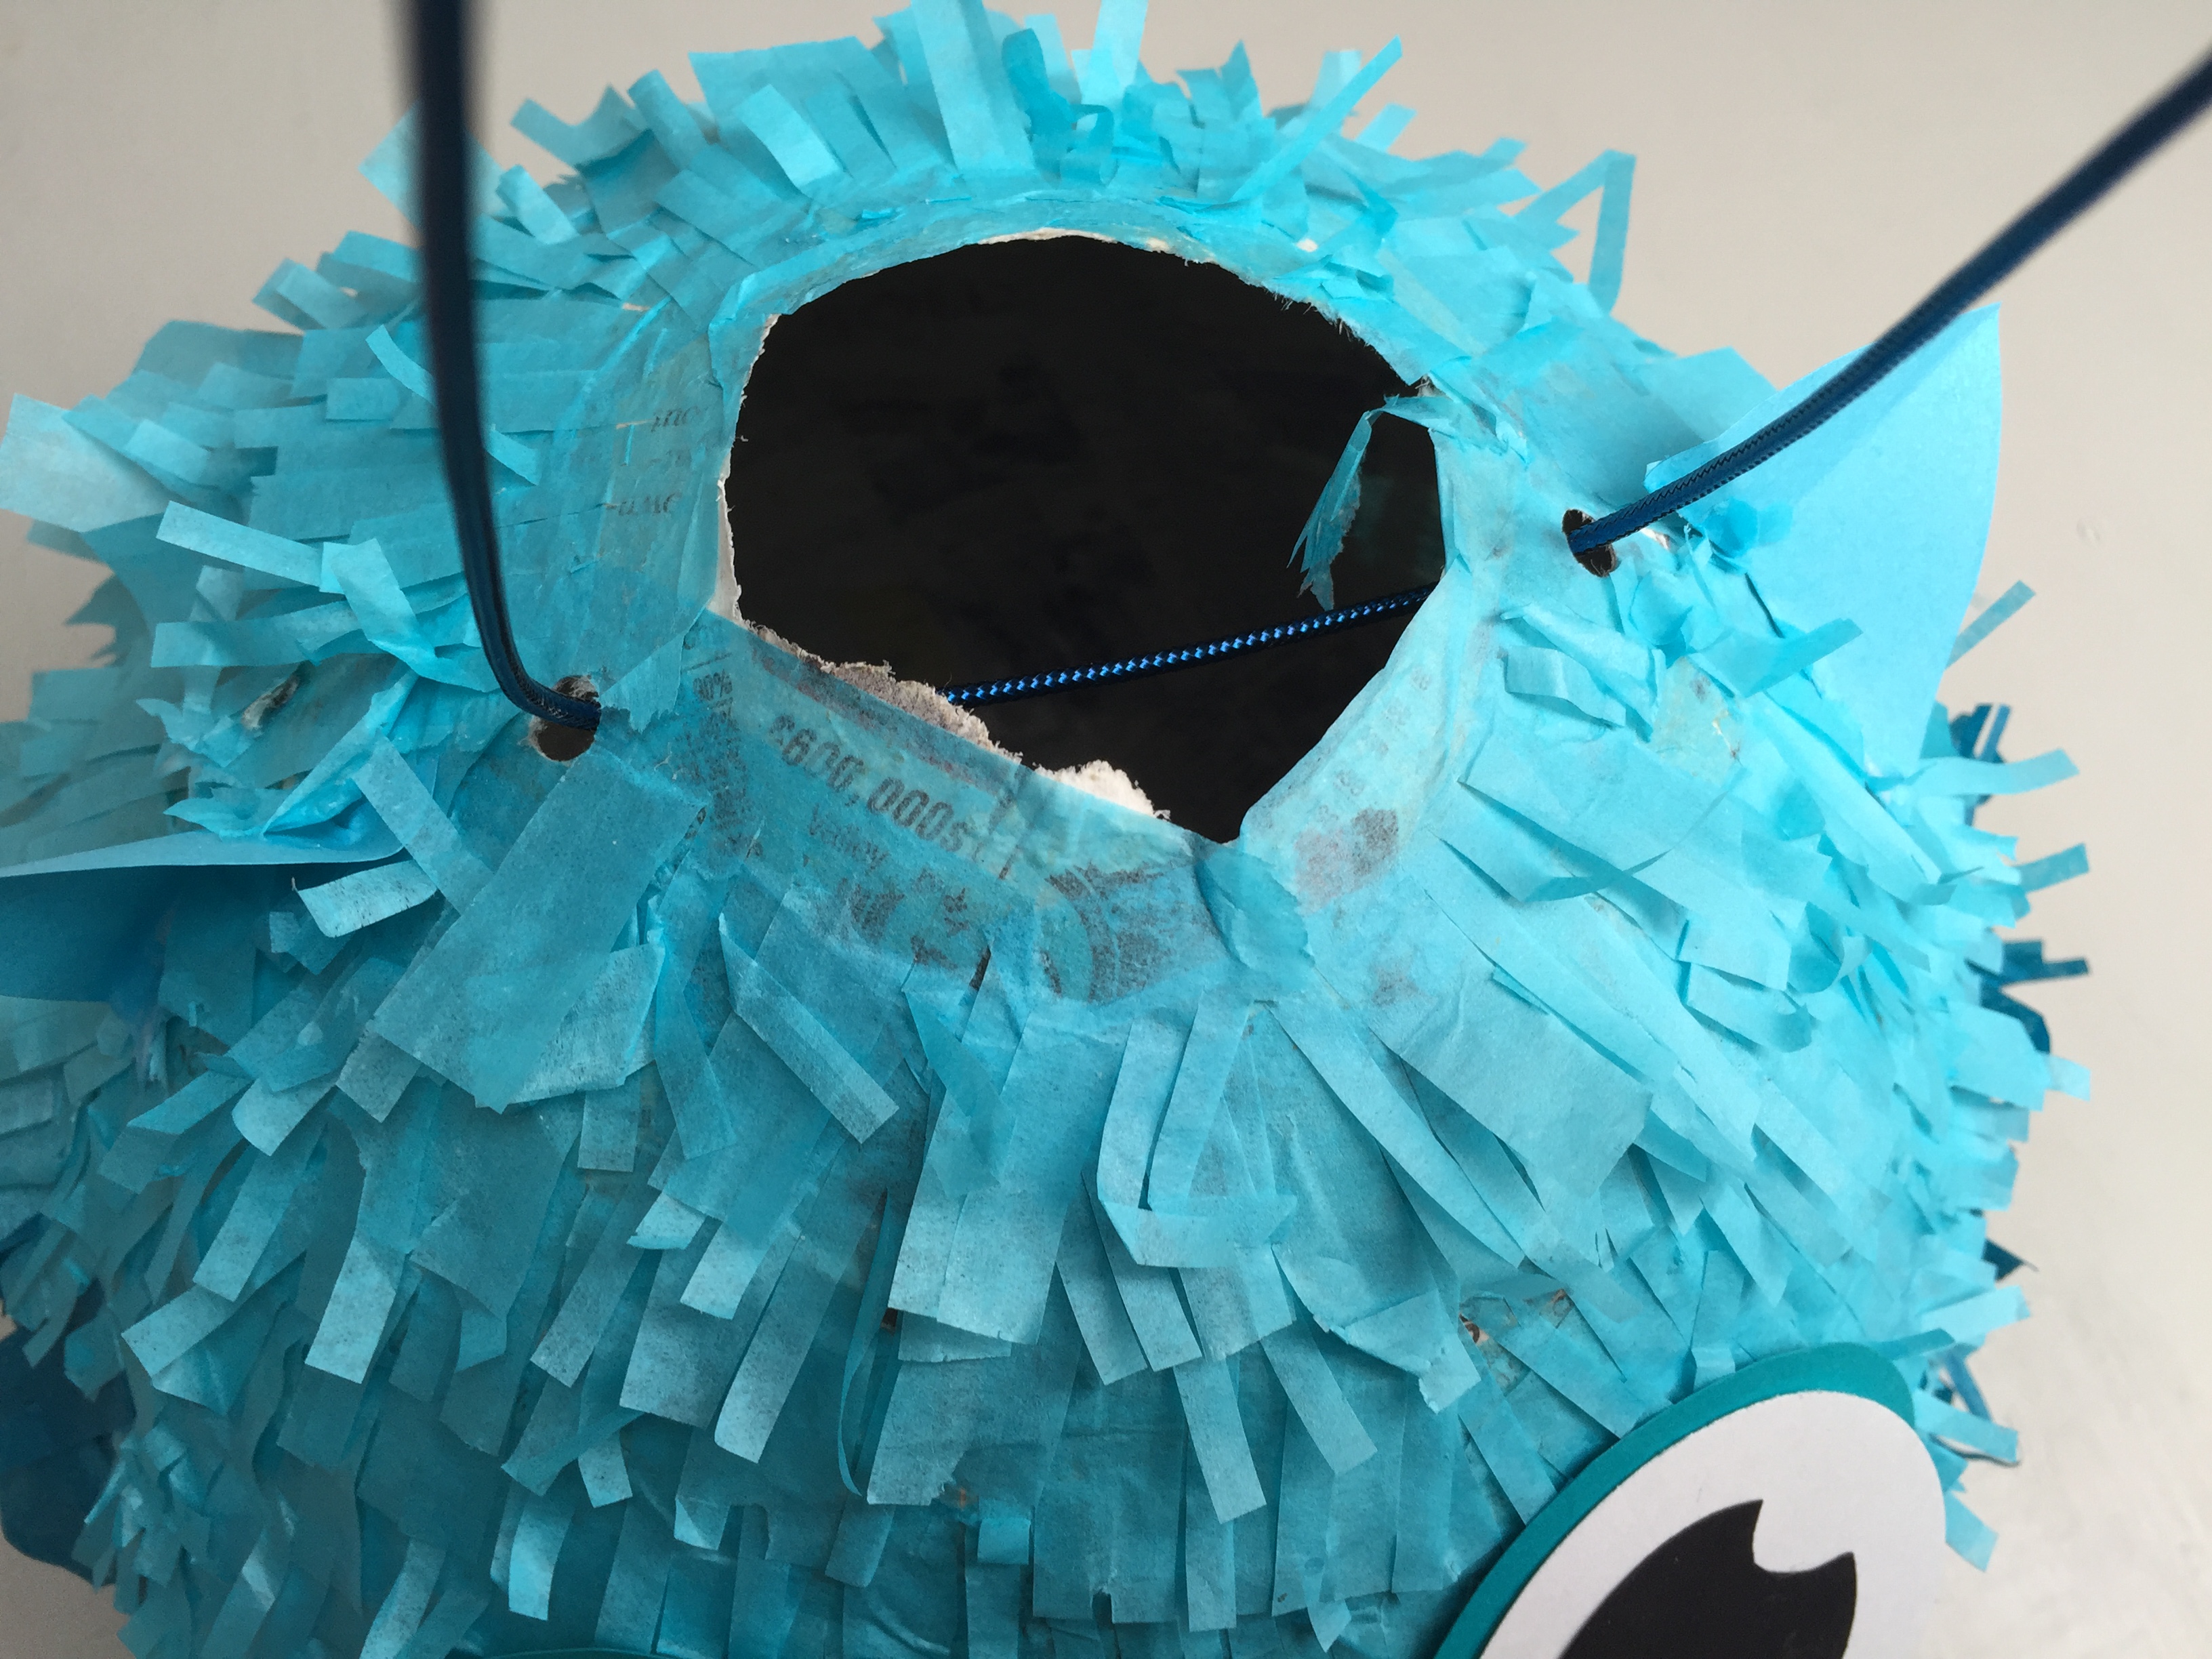
Once it is completely dry, snip the tip of the balloon sticking out. Then, punch two holes along the rim, and thread a the string through pinata. Leave enough string so that you can hang it up high, like in a tree.
Done!
Finally, fill your pinata with the desired treats. Your pinata is complete!