Step-by-step tutorial
Step 1
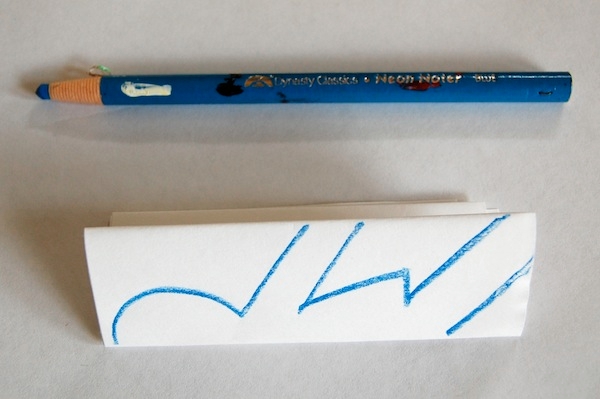
In the same spirit as making paper snowflakes, the fun in this project lies in how unique each string of paper dolls can be. I started by cutting a sheet of 8.5 x 11 paper into two long strips (4.25" x 11" or 10.8 x 27.9 cm each). I folded one long strip in half two times, and then in thirds (for a total of four folds). I drew half a doll on the folded edge of the paper. Be sure that the ends of the hands and feet touch this folded edge, or the chain will fall apart.

Step 2
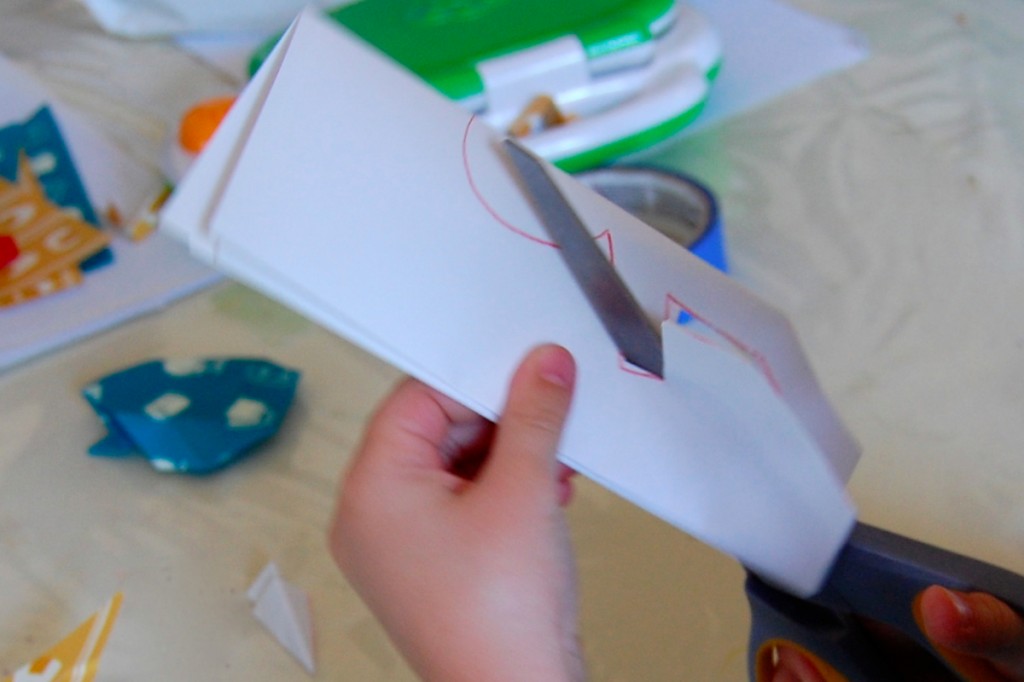
Cut it out. This is a great fine motor skill exercise for little hands. My three-year-old has been using scissors for ages and has become comfortable with grown-up scissors. (Use your best judgment when using sharp tools with children!)
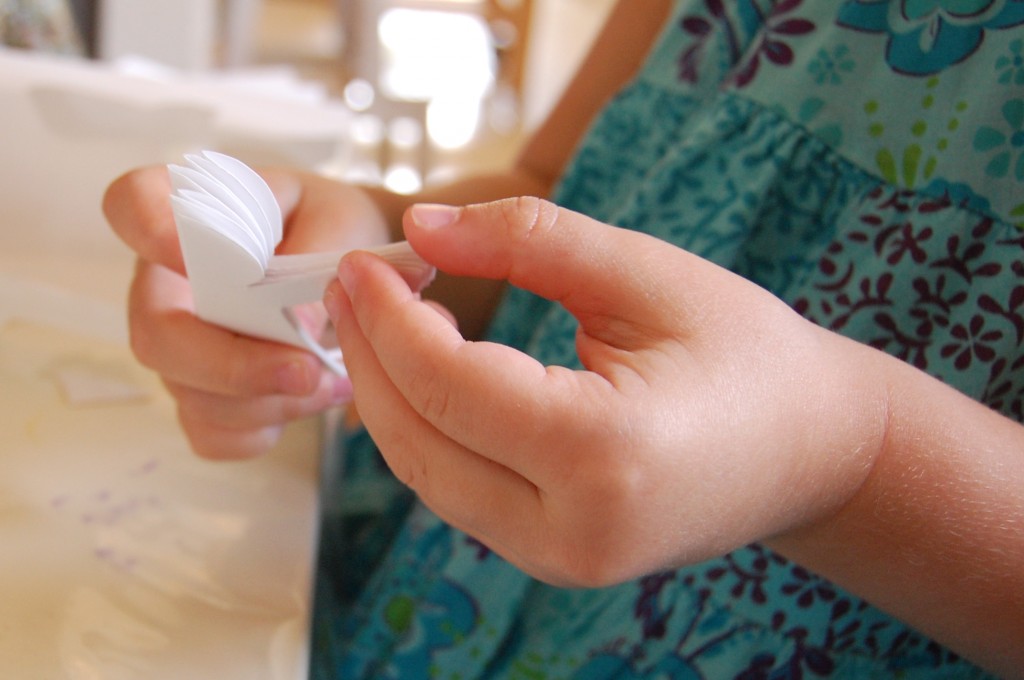
Step 3
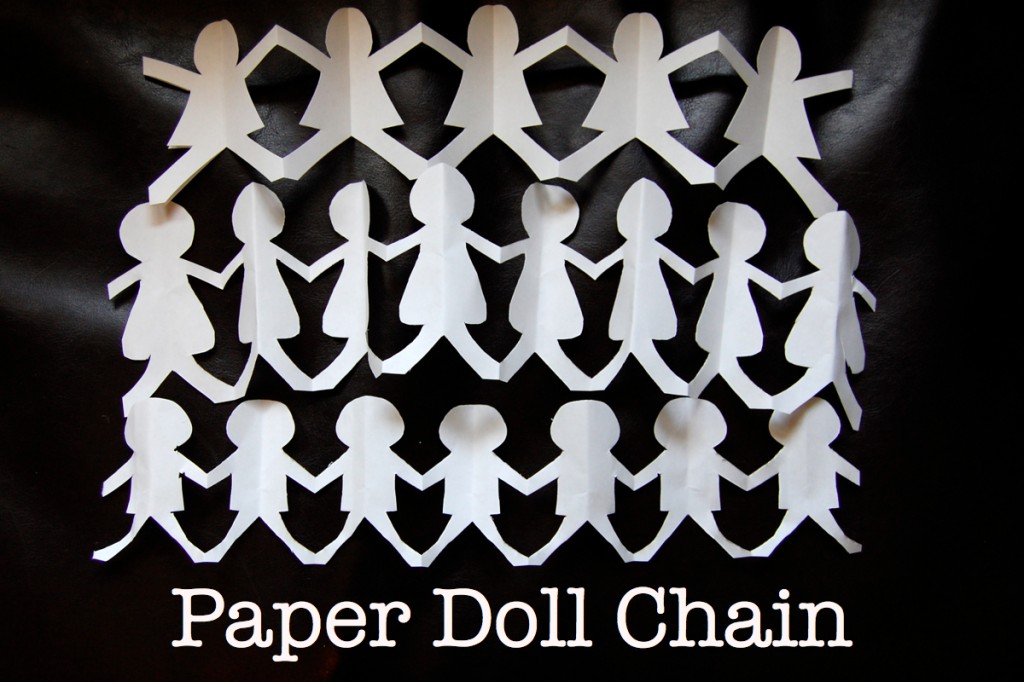
Now the fun part: Pull the chain apart!
Done!
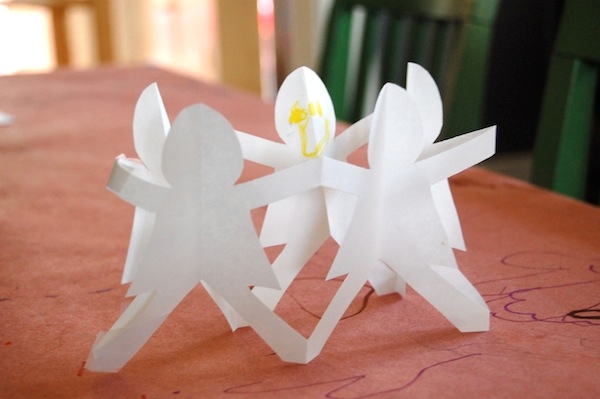
Once you've made one, you'll probably want to make a few. After you've cut your chains out, tape or glue a few strings together to make a garland, tape one strand to itself (above) to make a circle of friends, or draw on your dolls with markers.