Step-by-step tutorial
Step 1
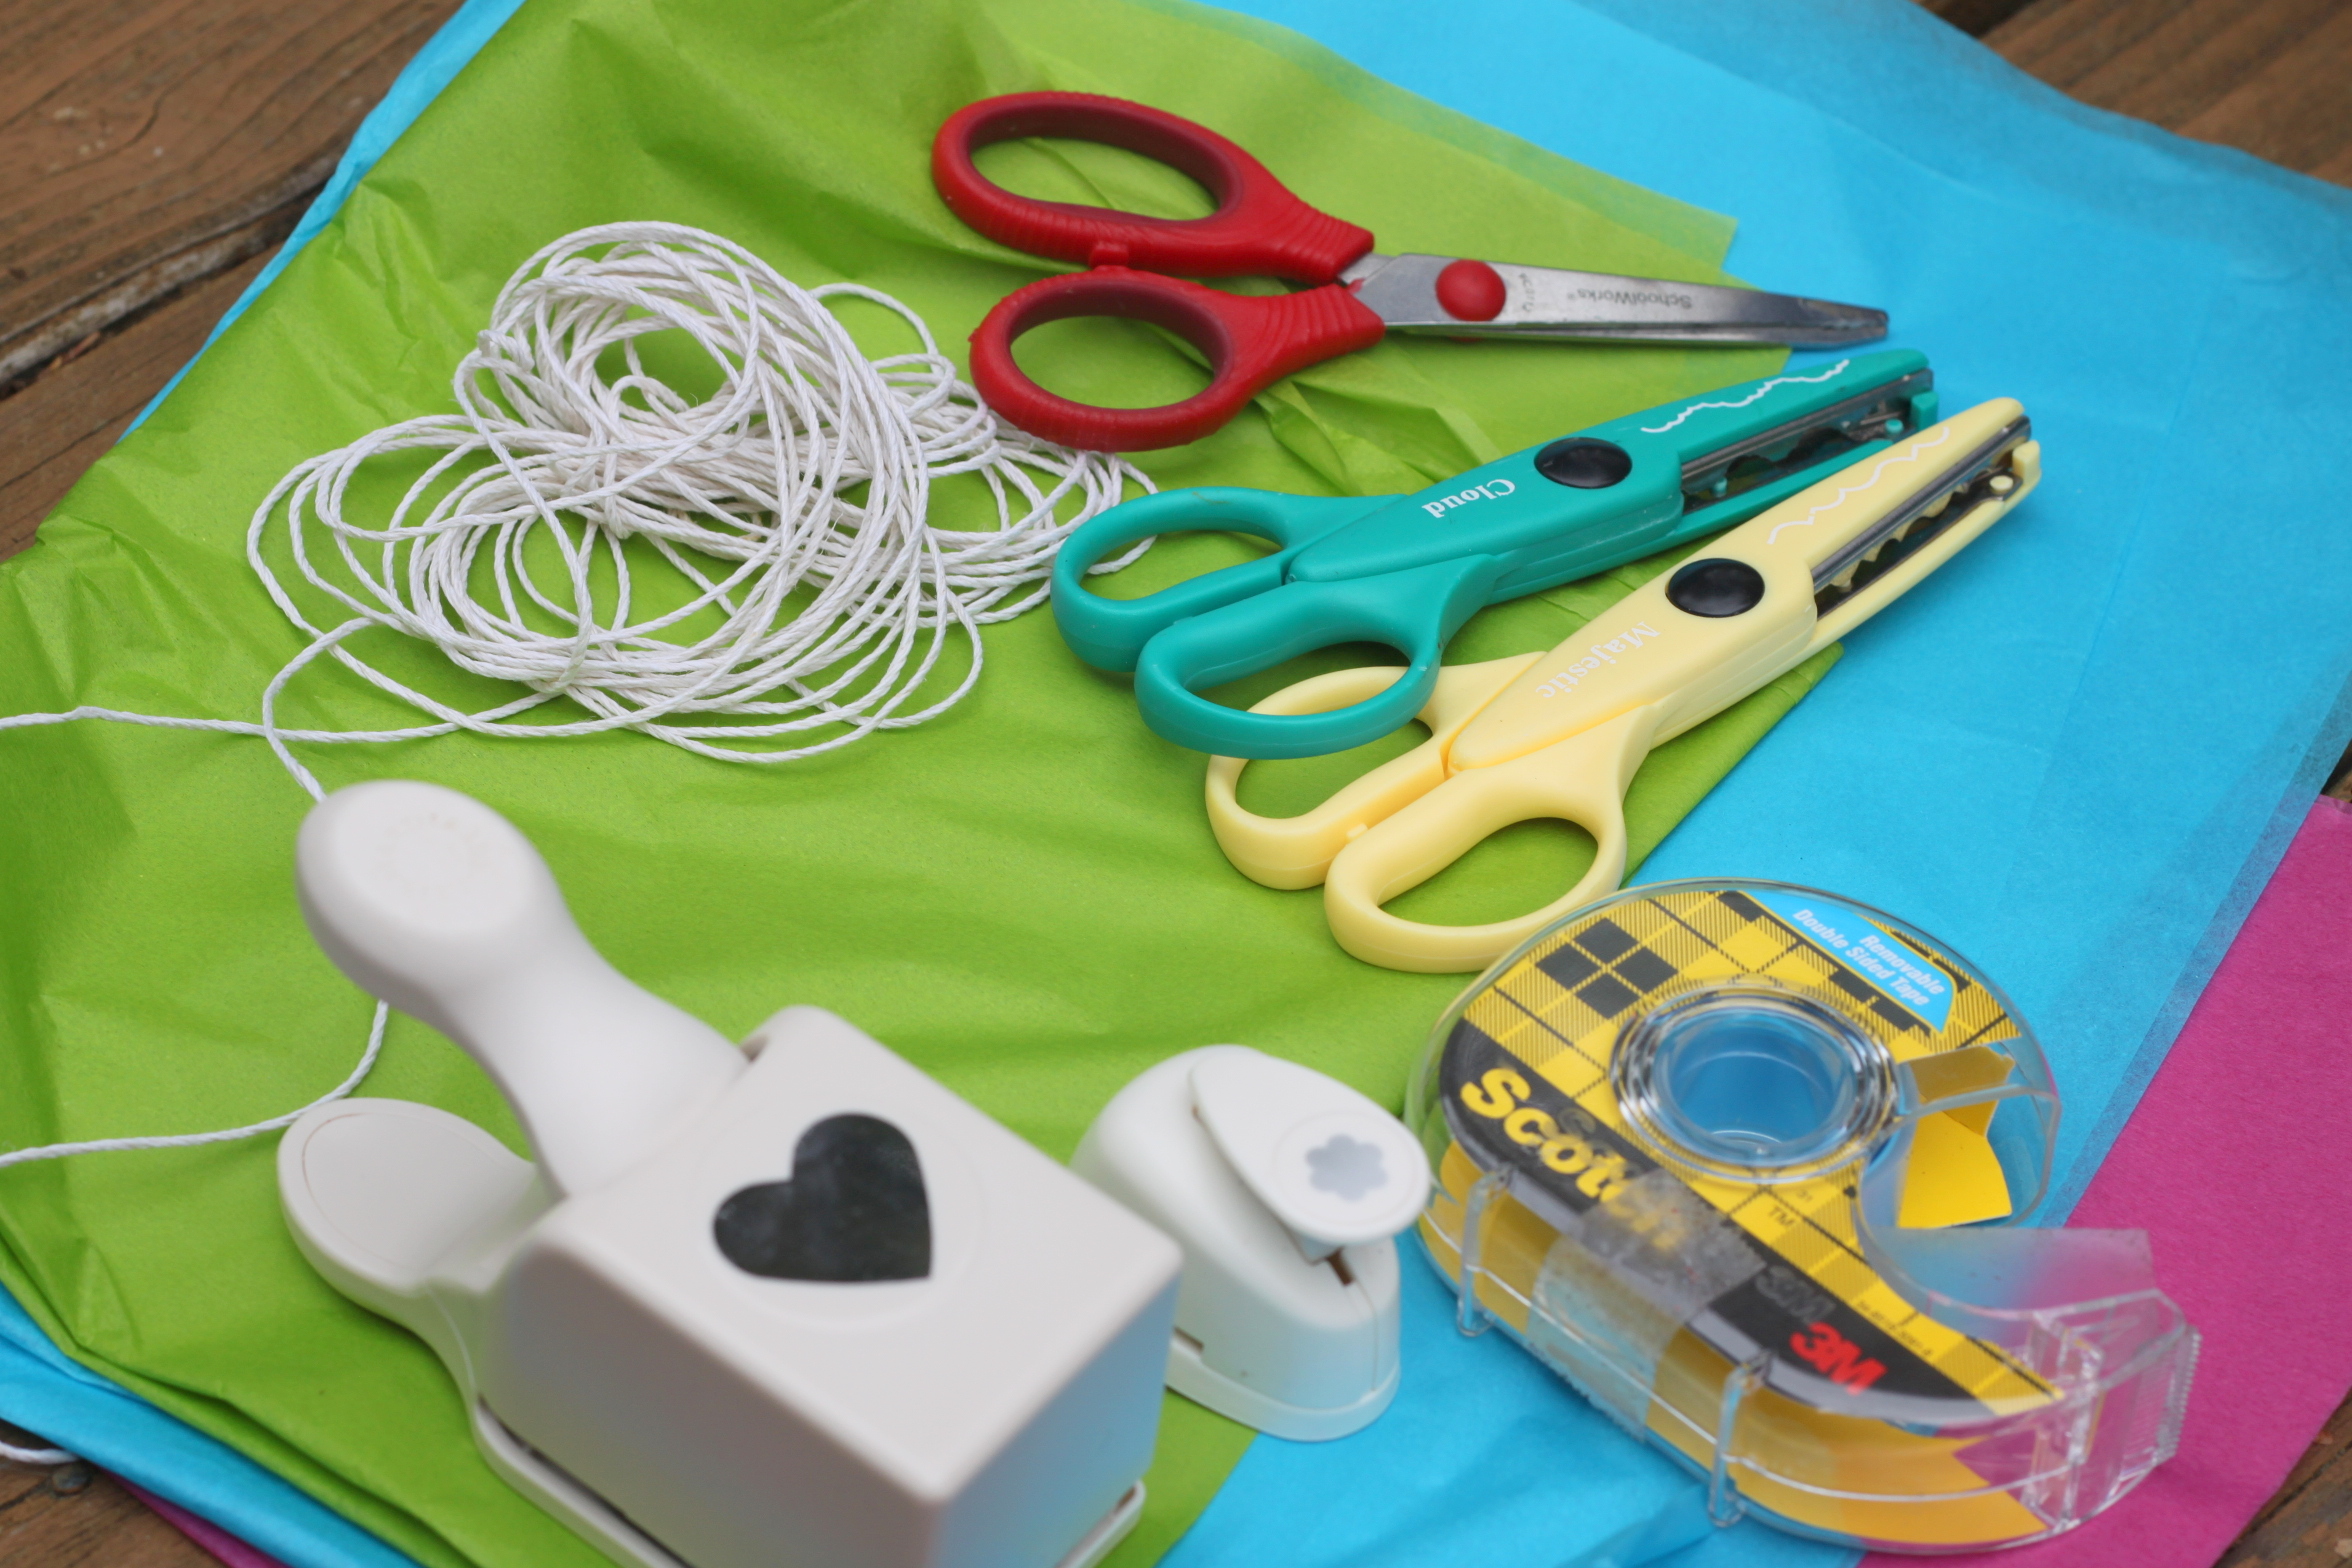
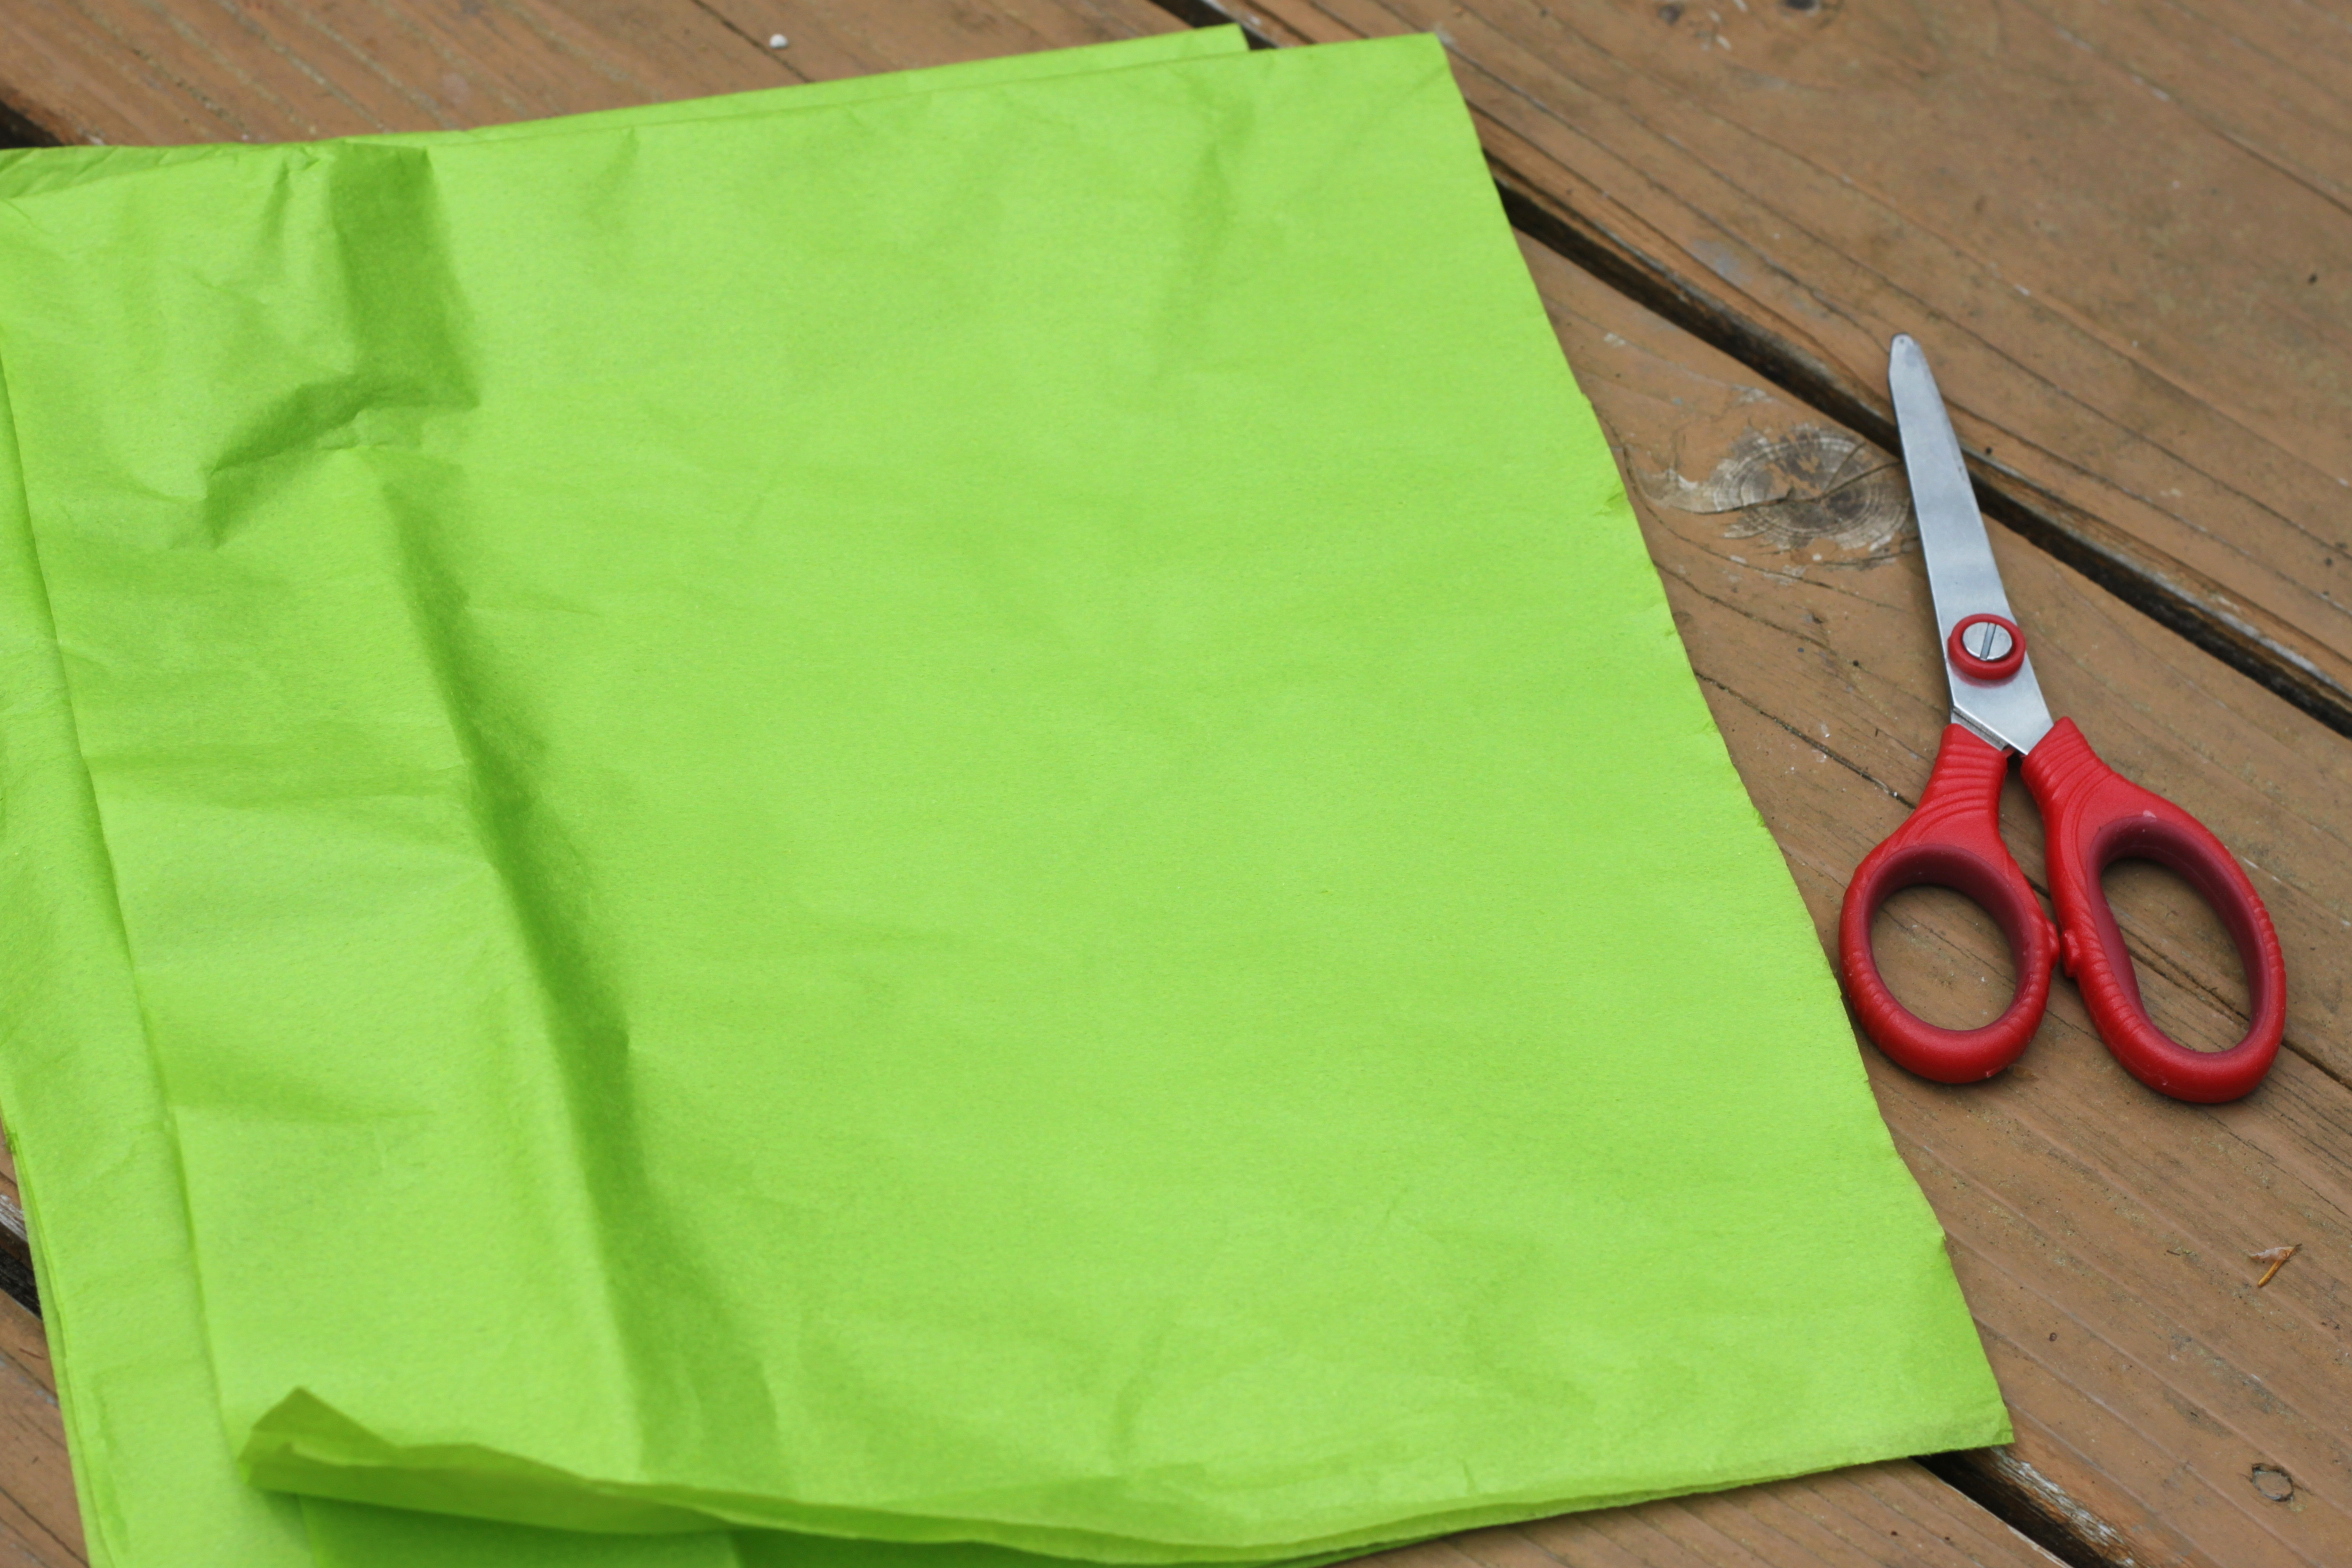
We first thought that we would use paper punches for our little paper banner, but the tissue was too soft to be cut by the punches. Our fun scissors worked well, though.

Step 2
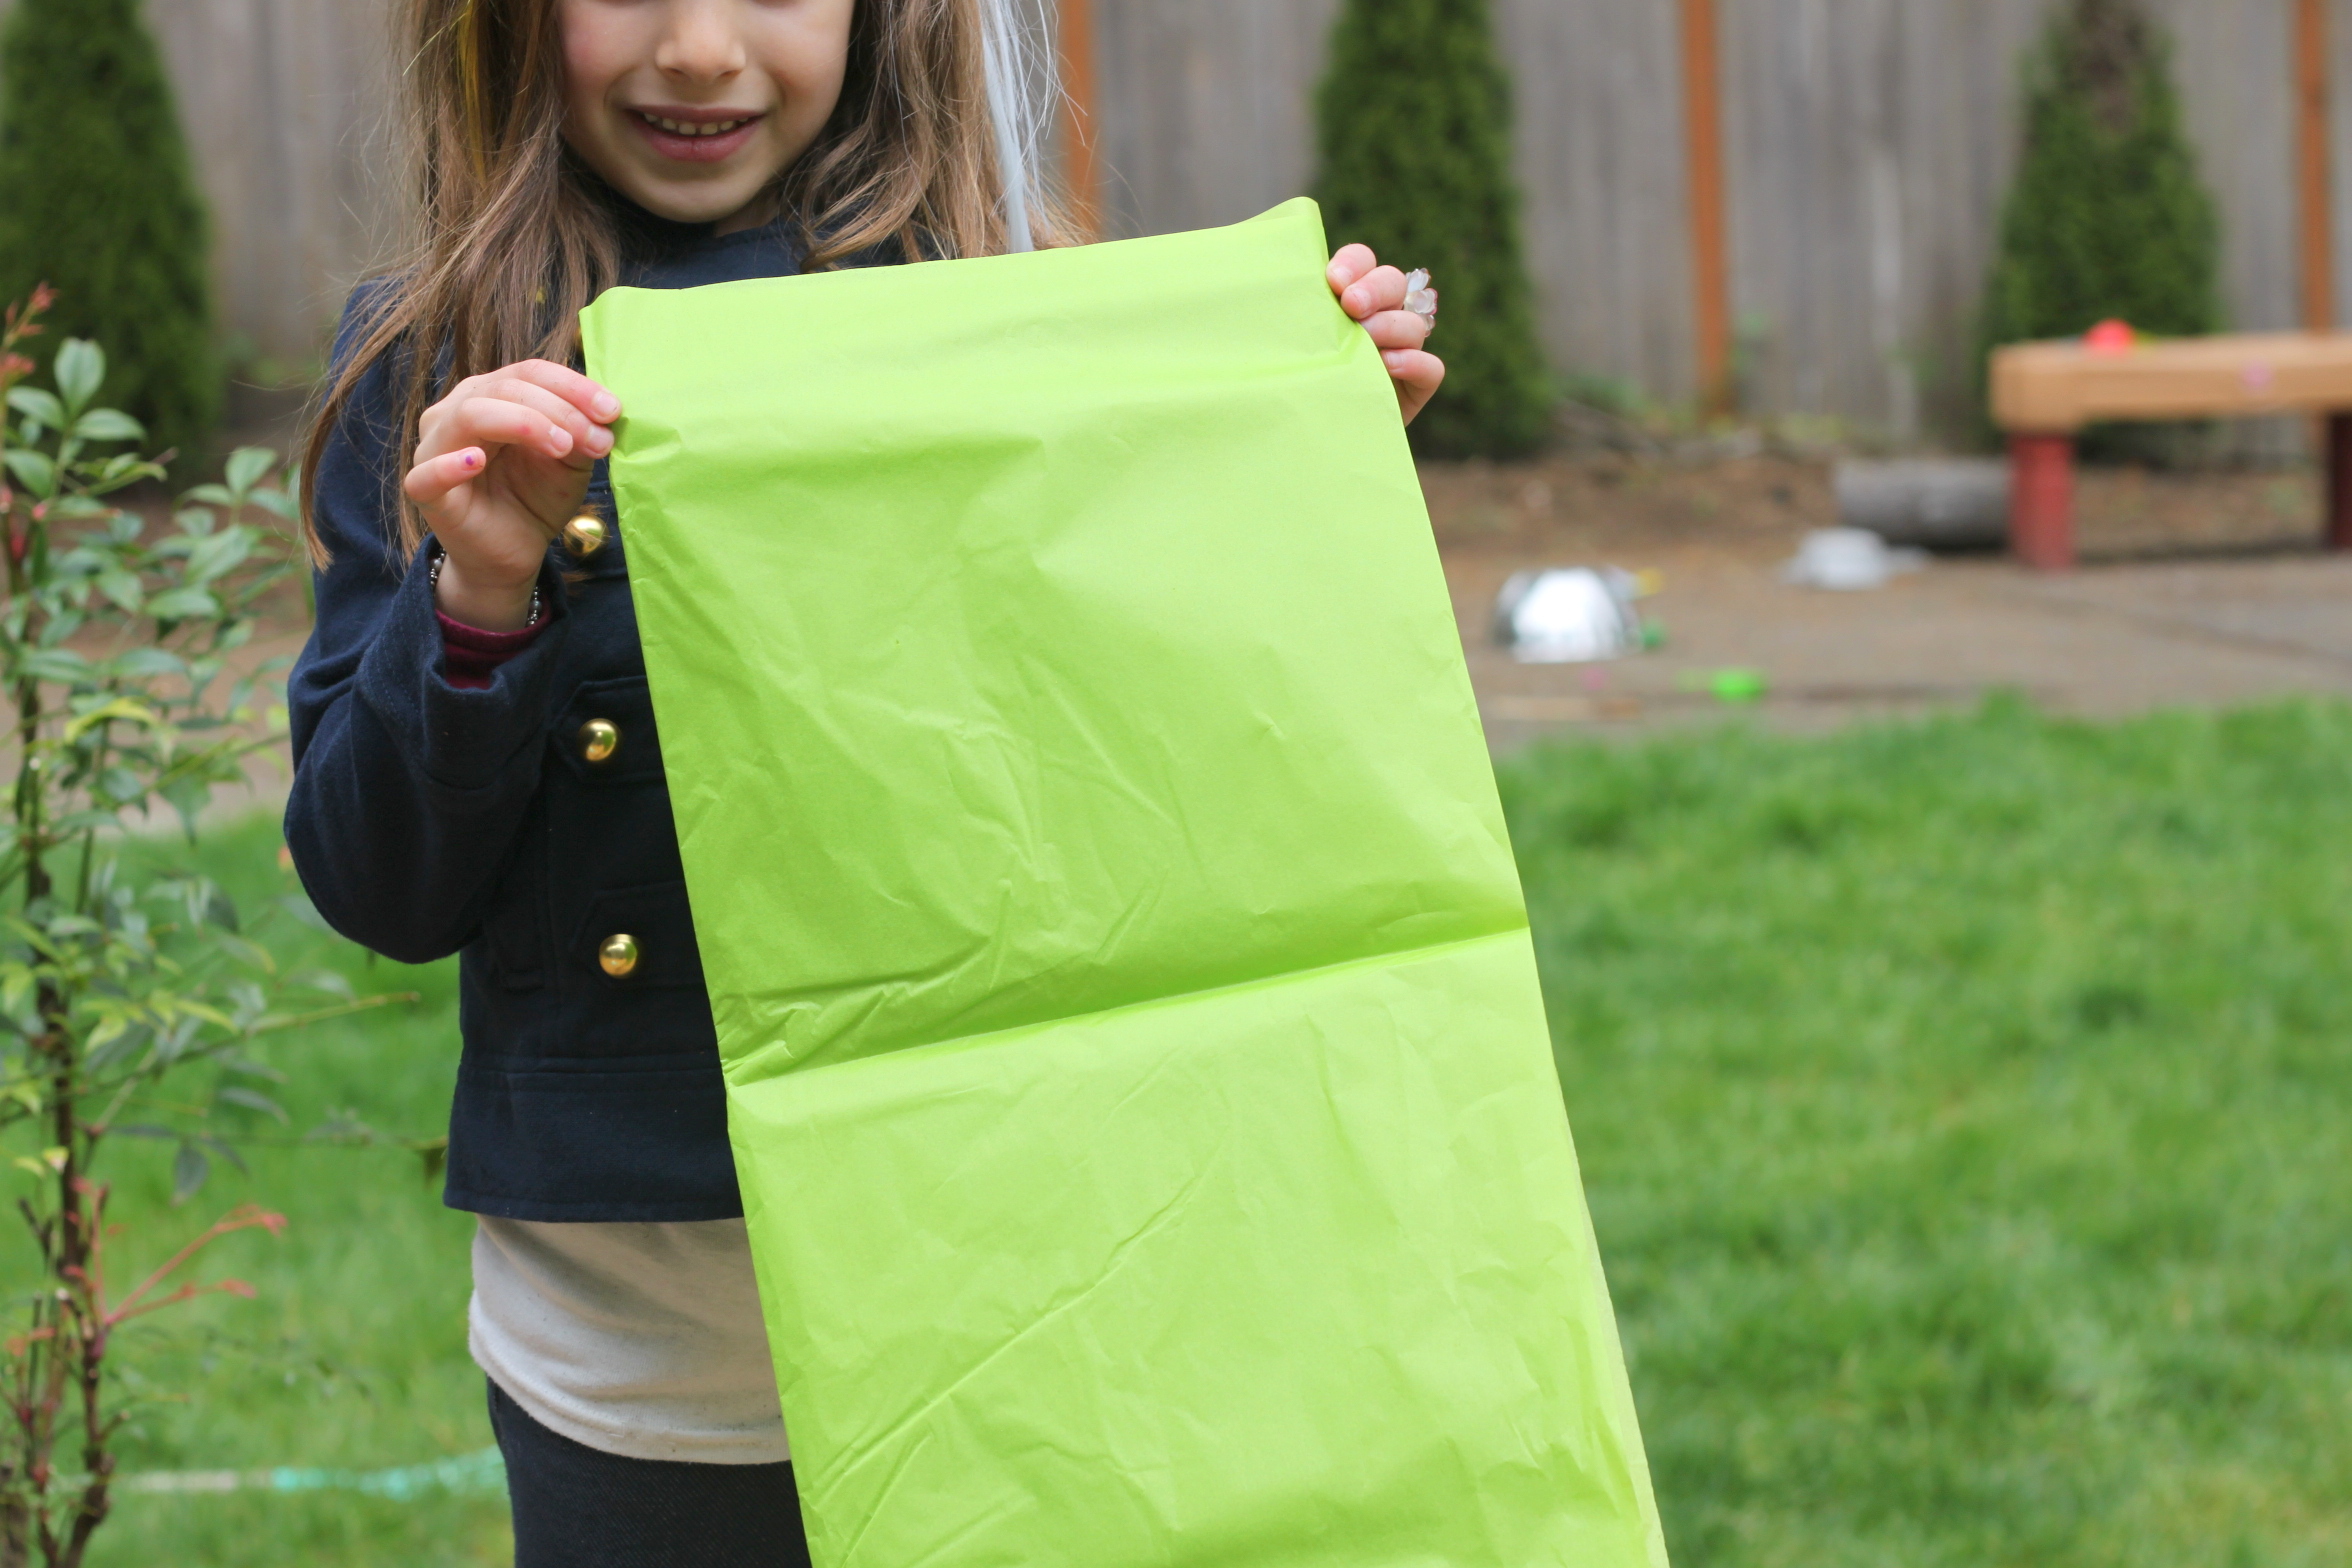
First, we folded our tissue in half longways and then into thirds.
Step 3
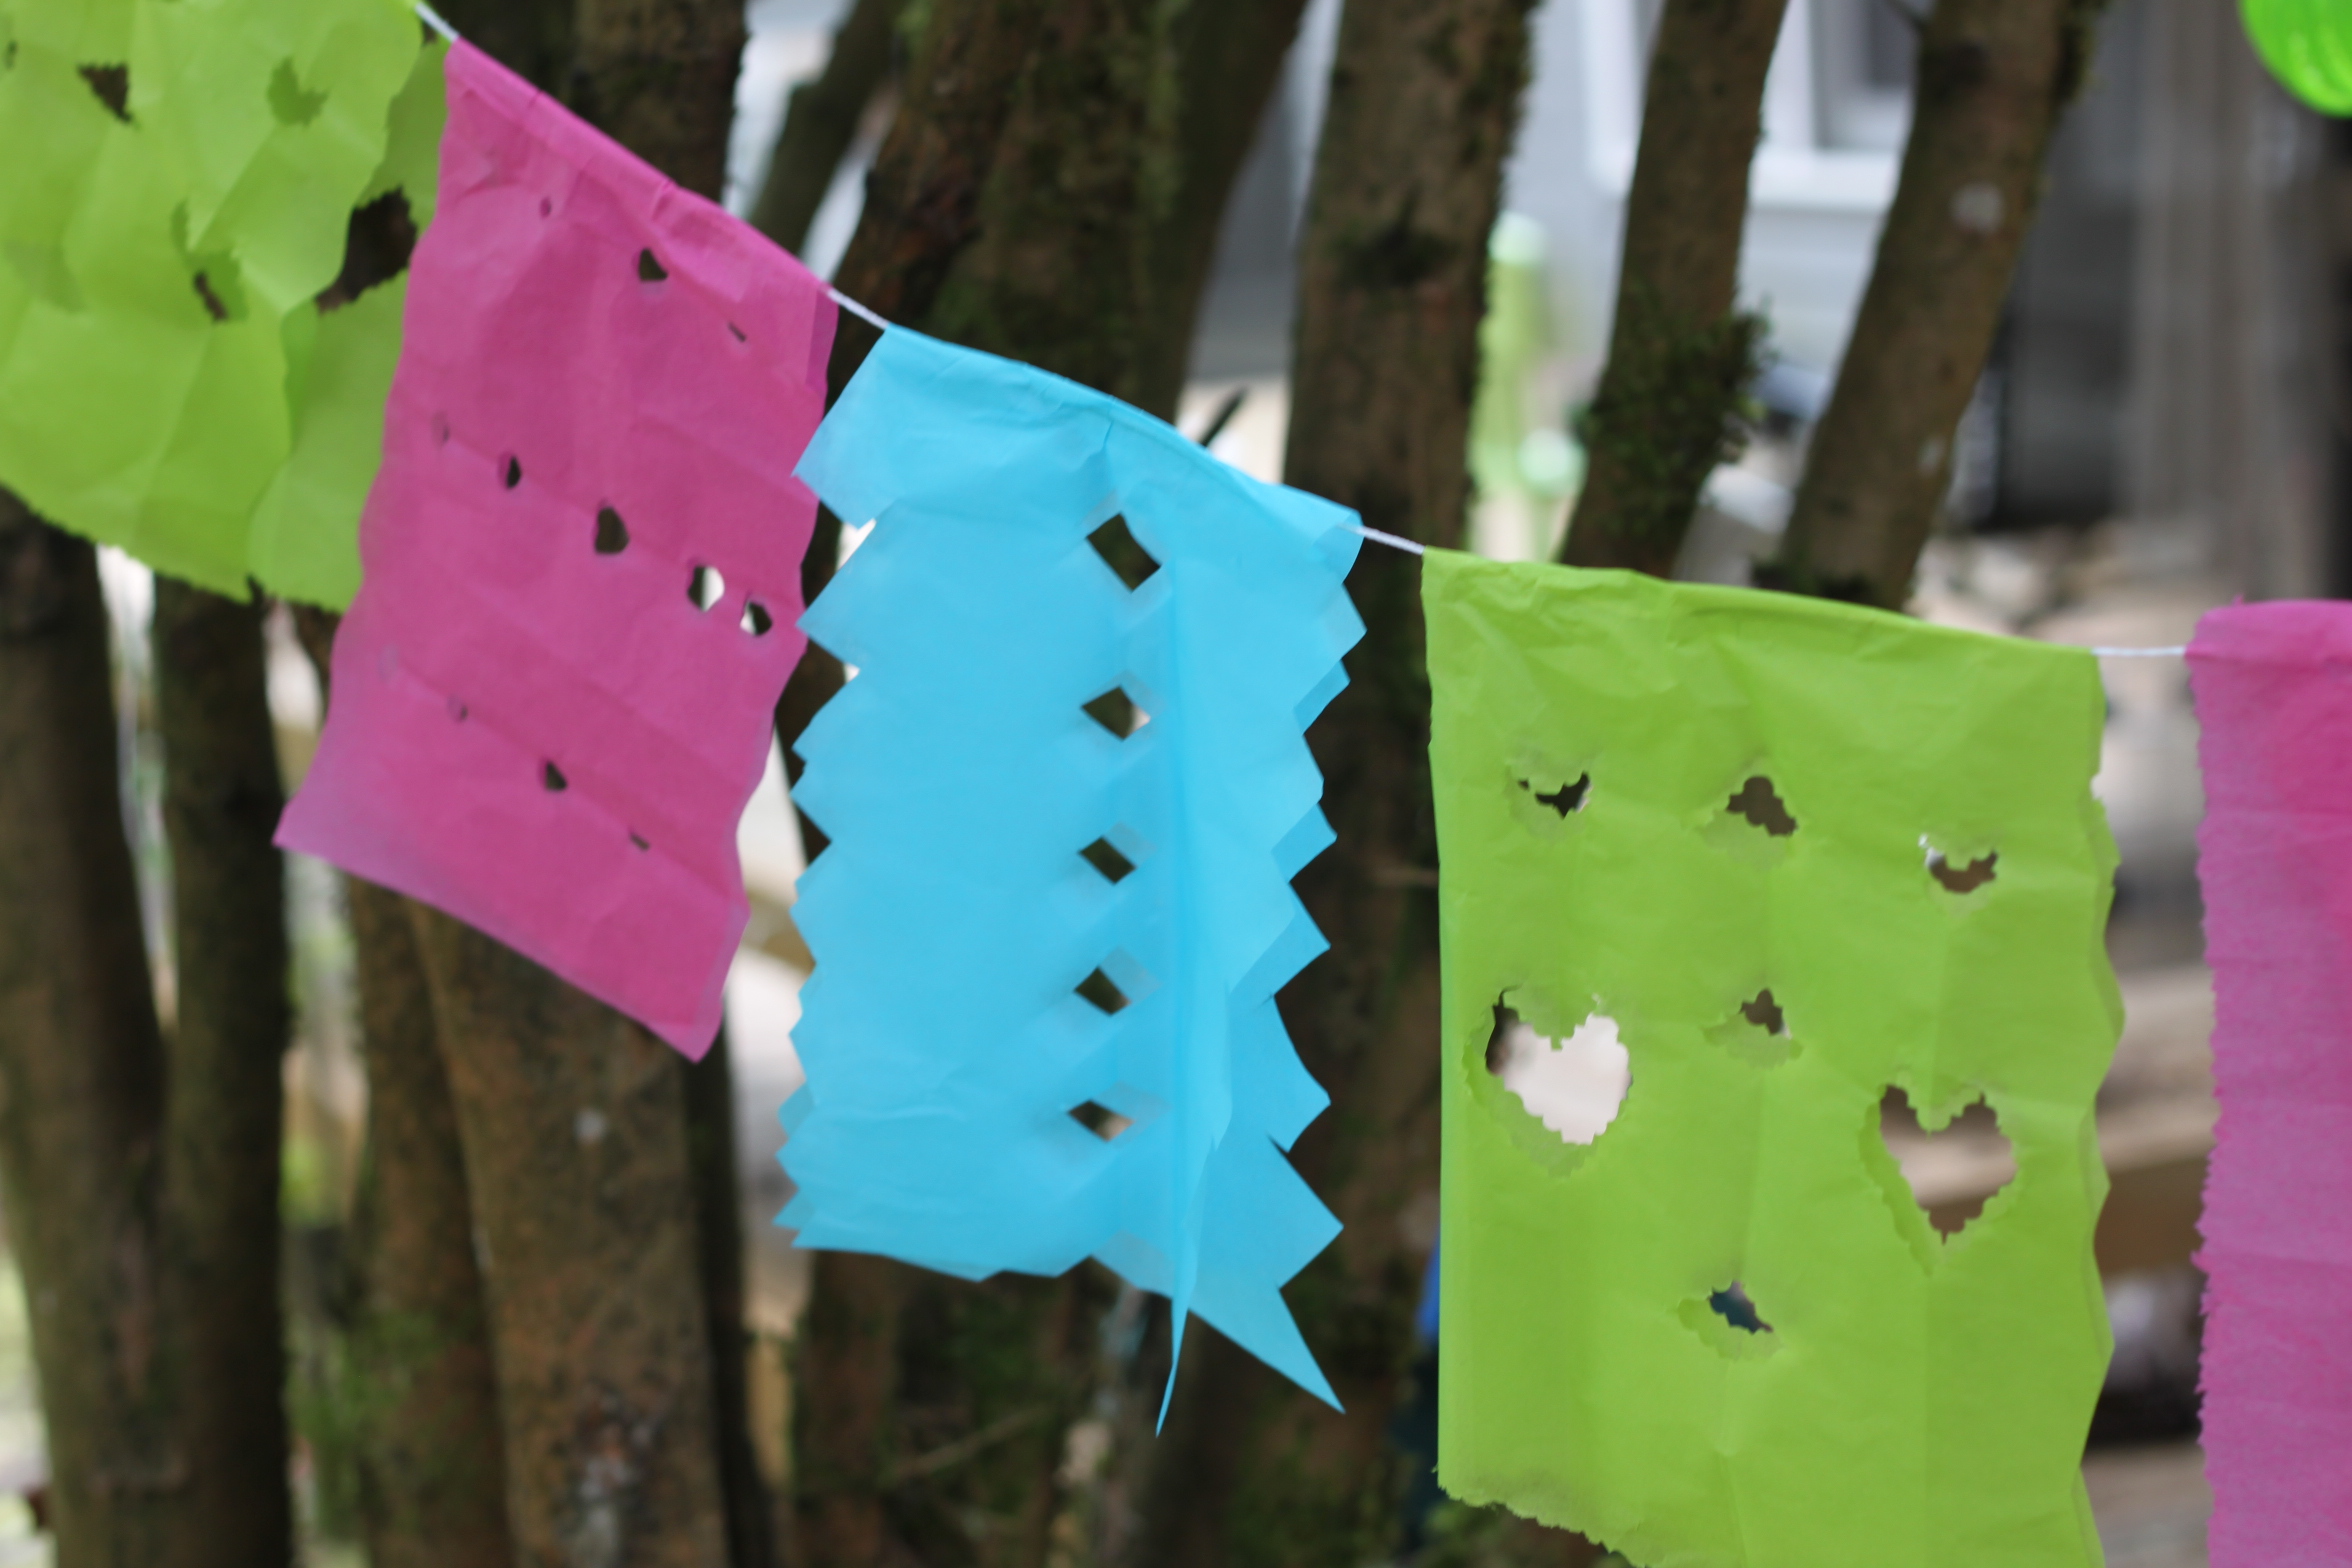
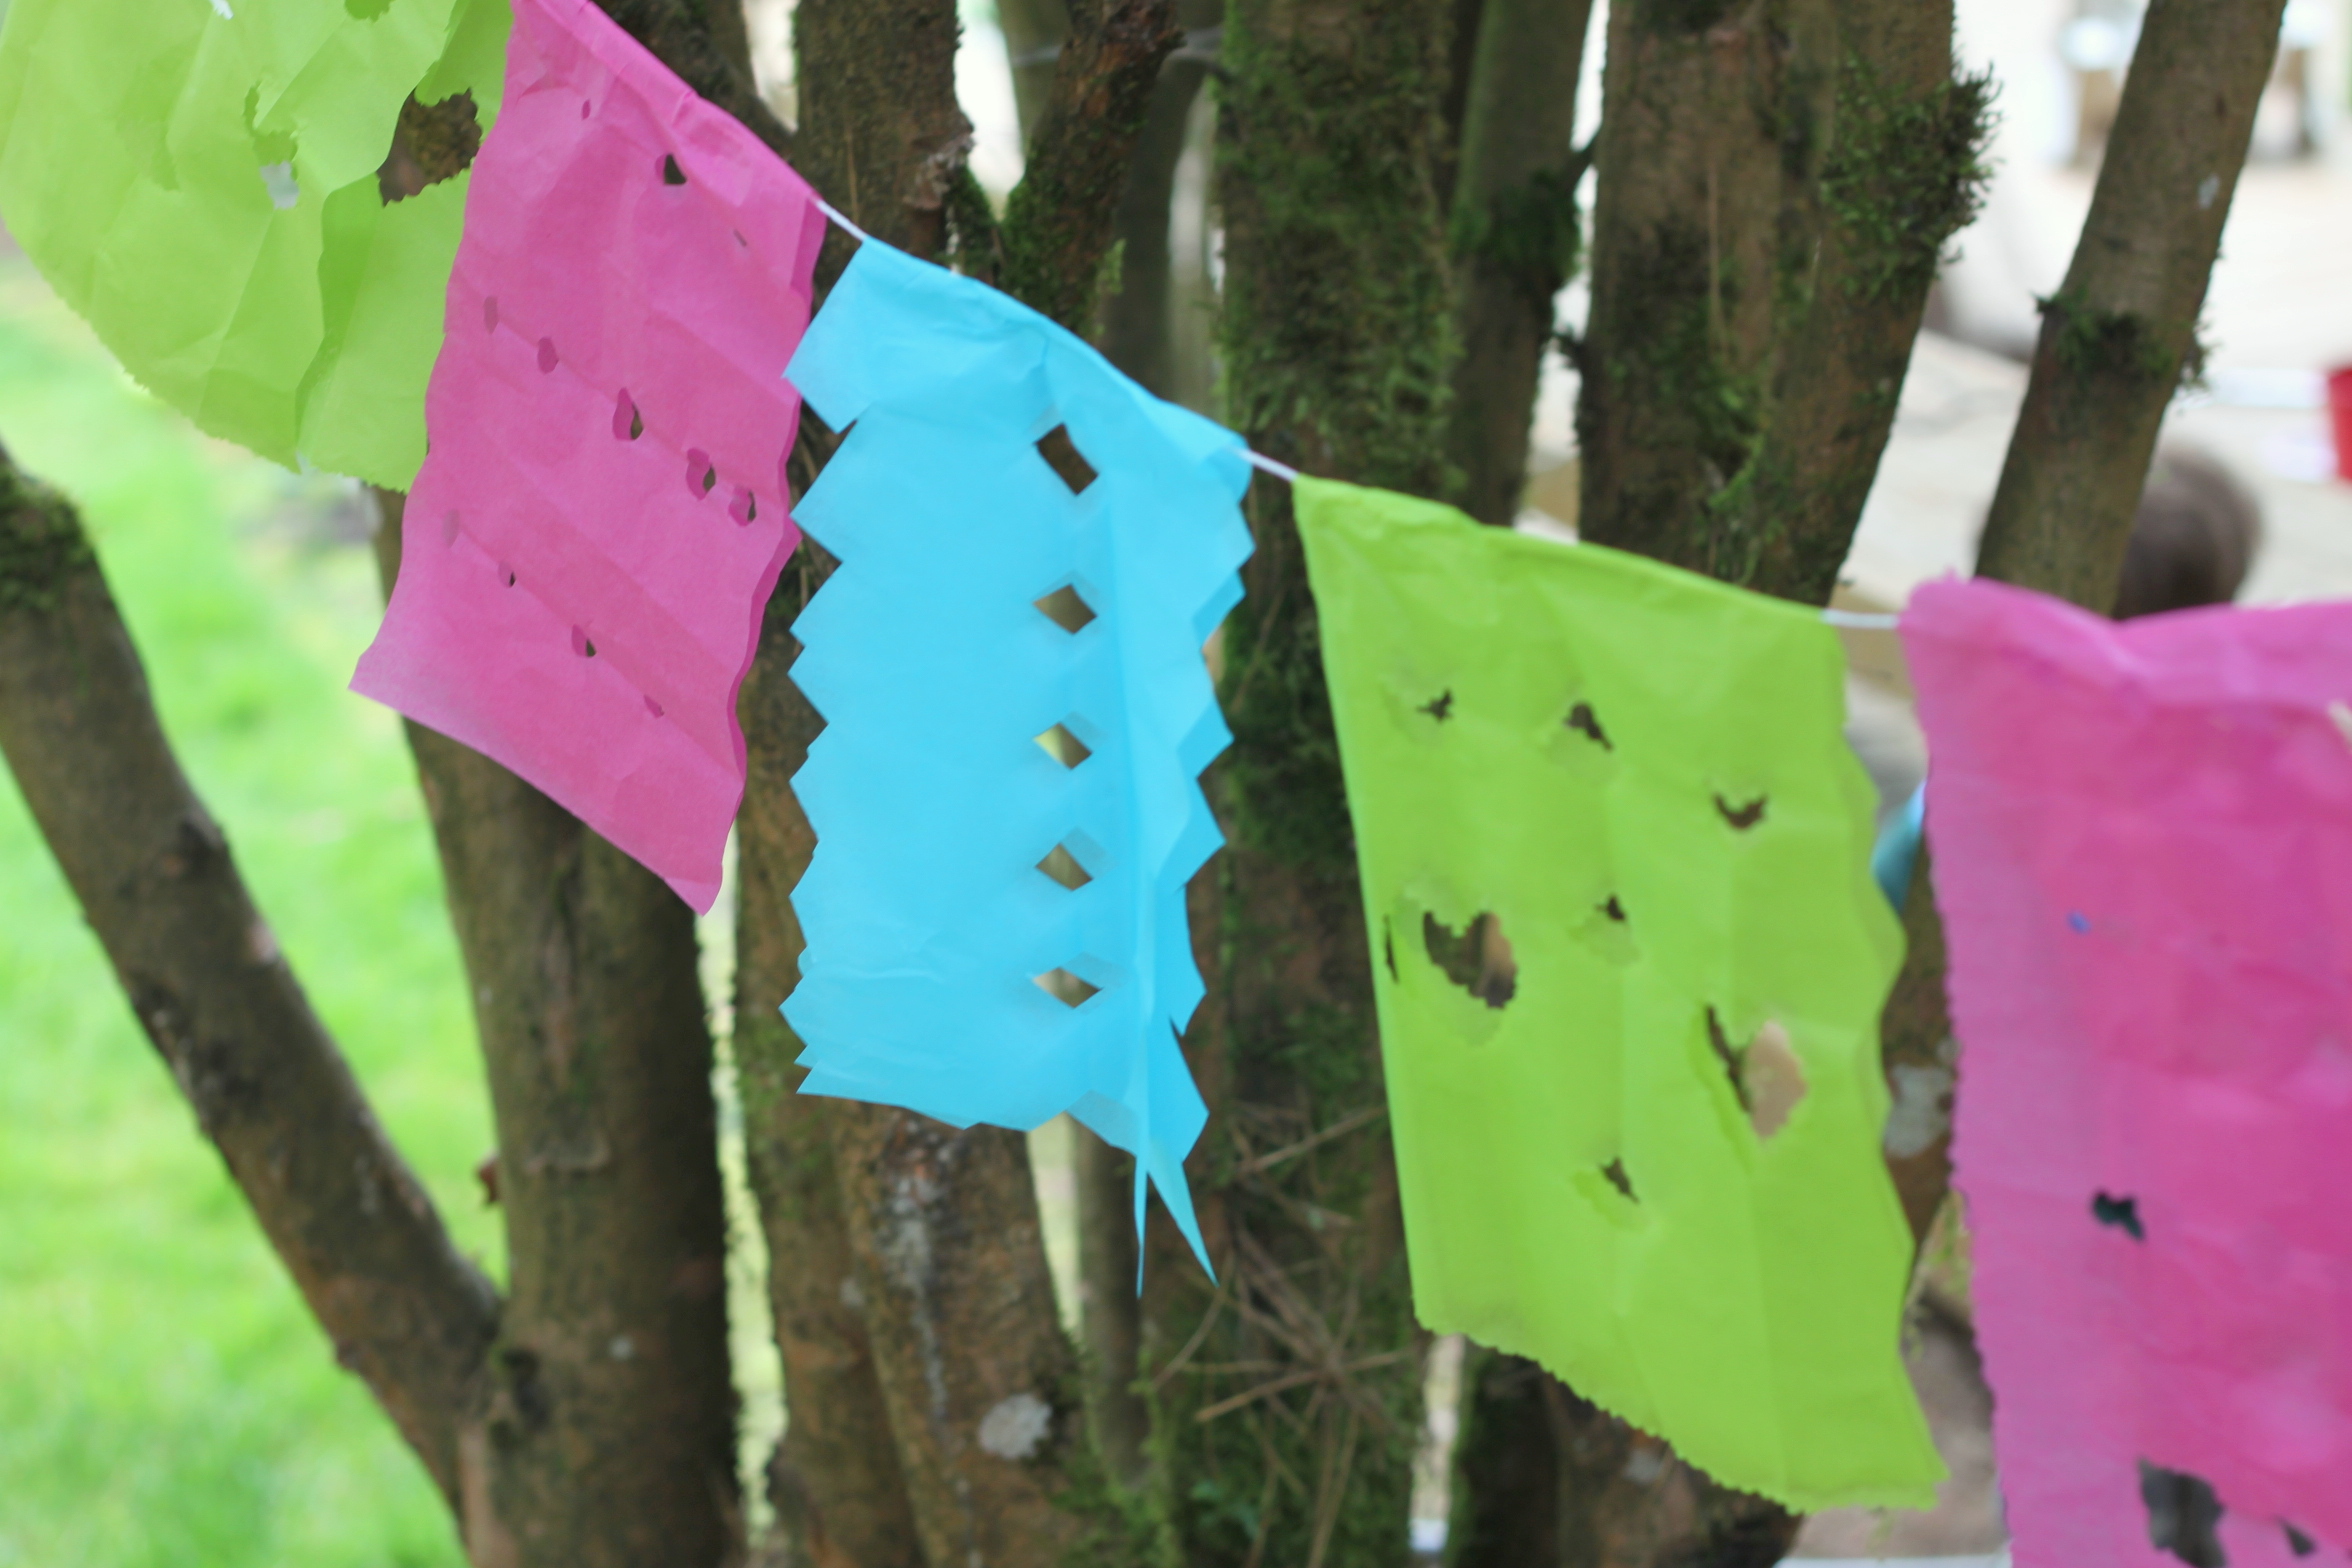
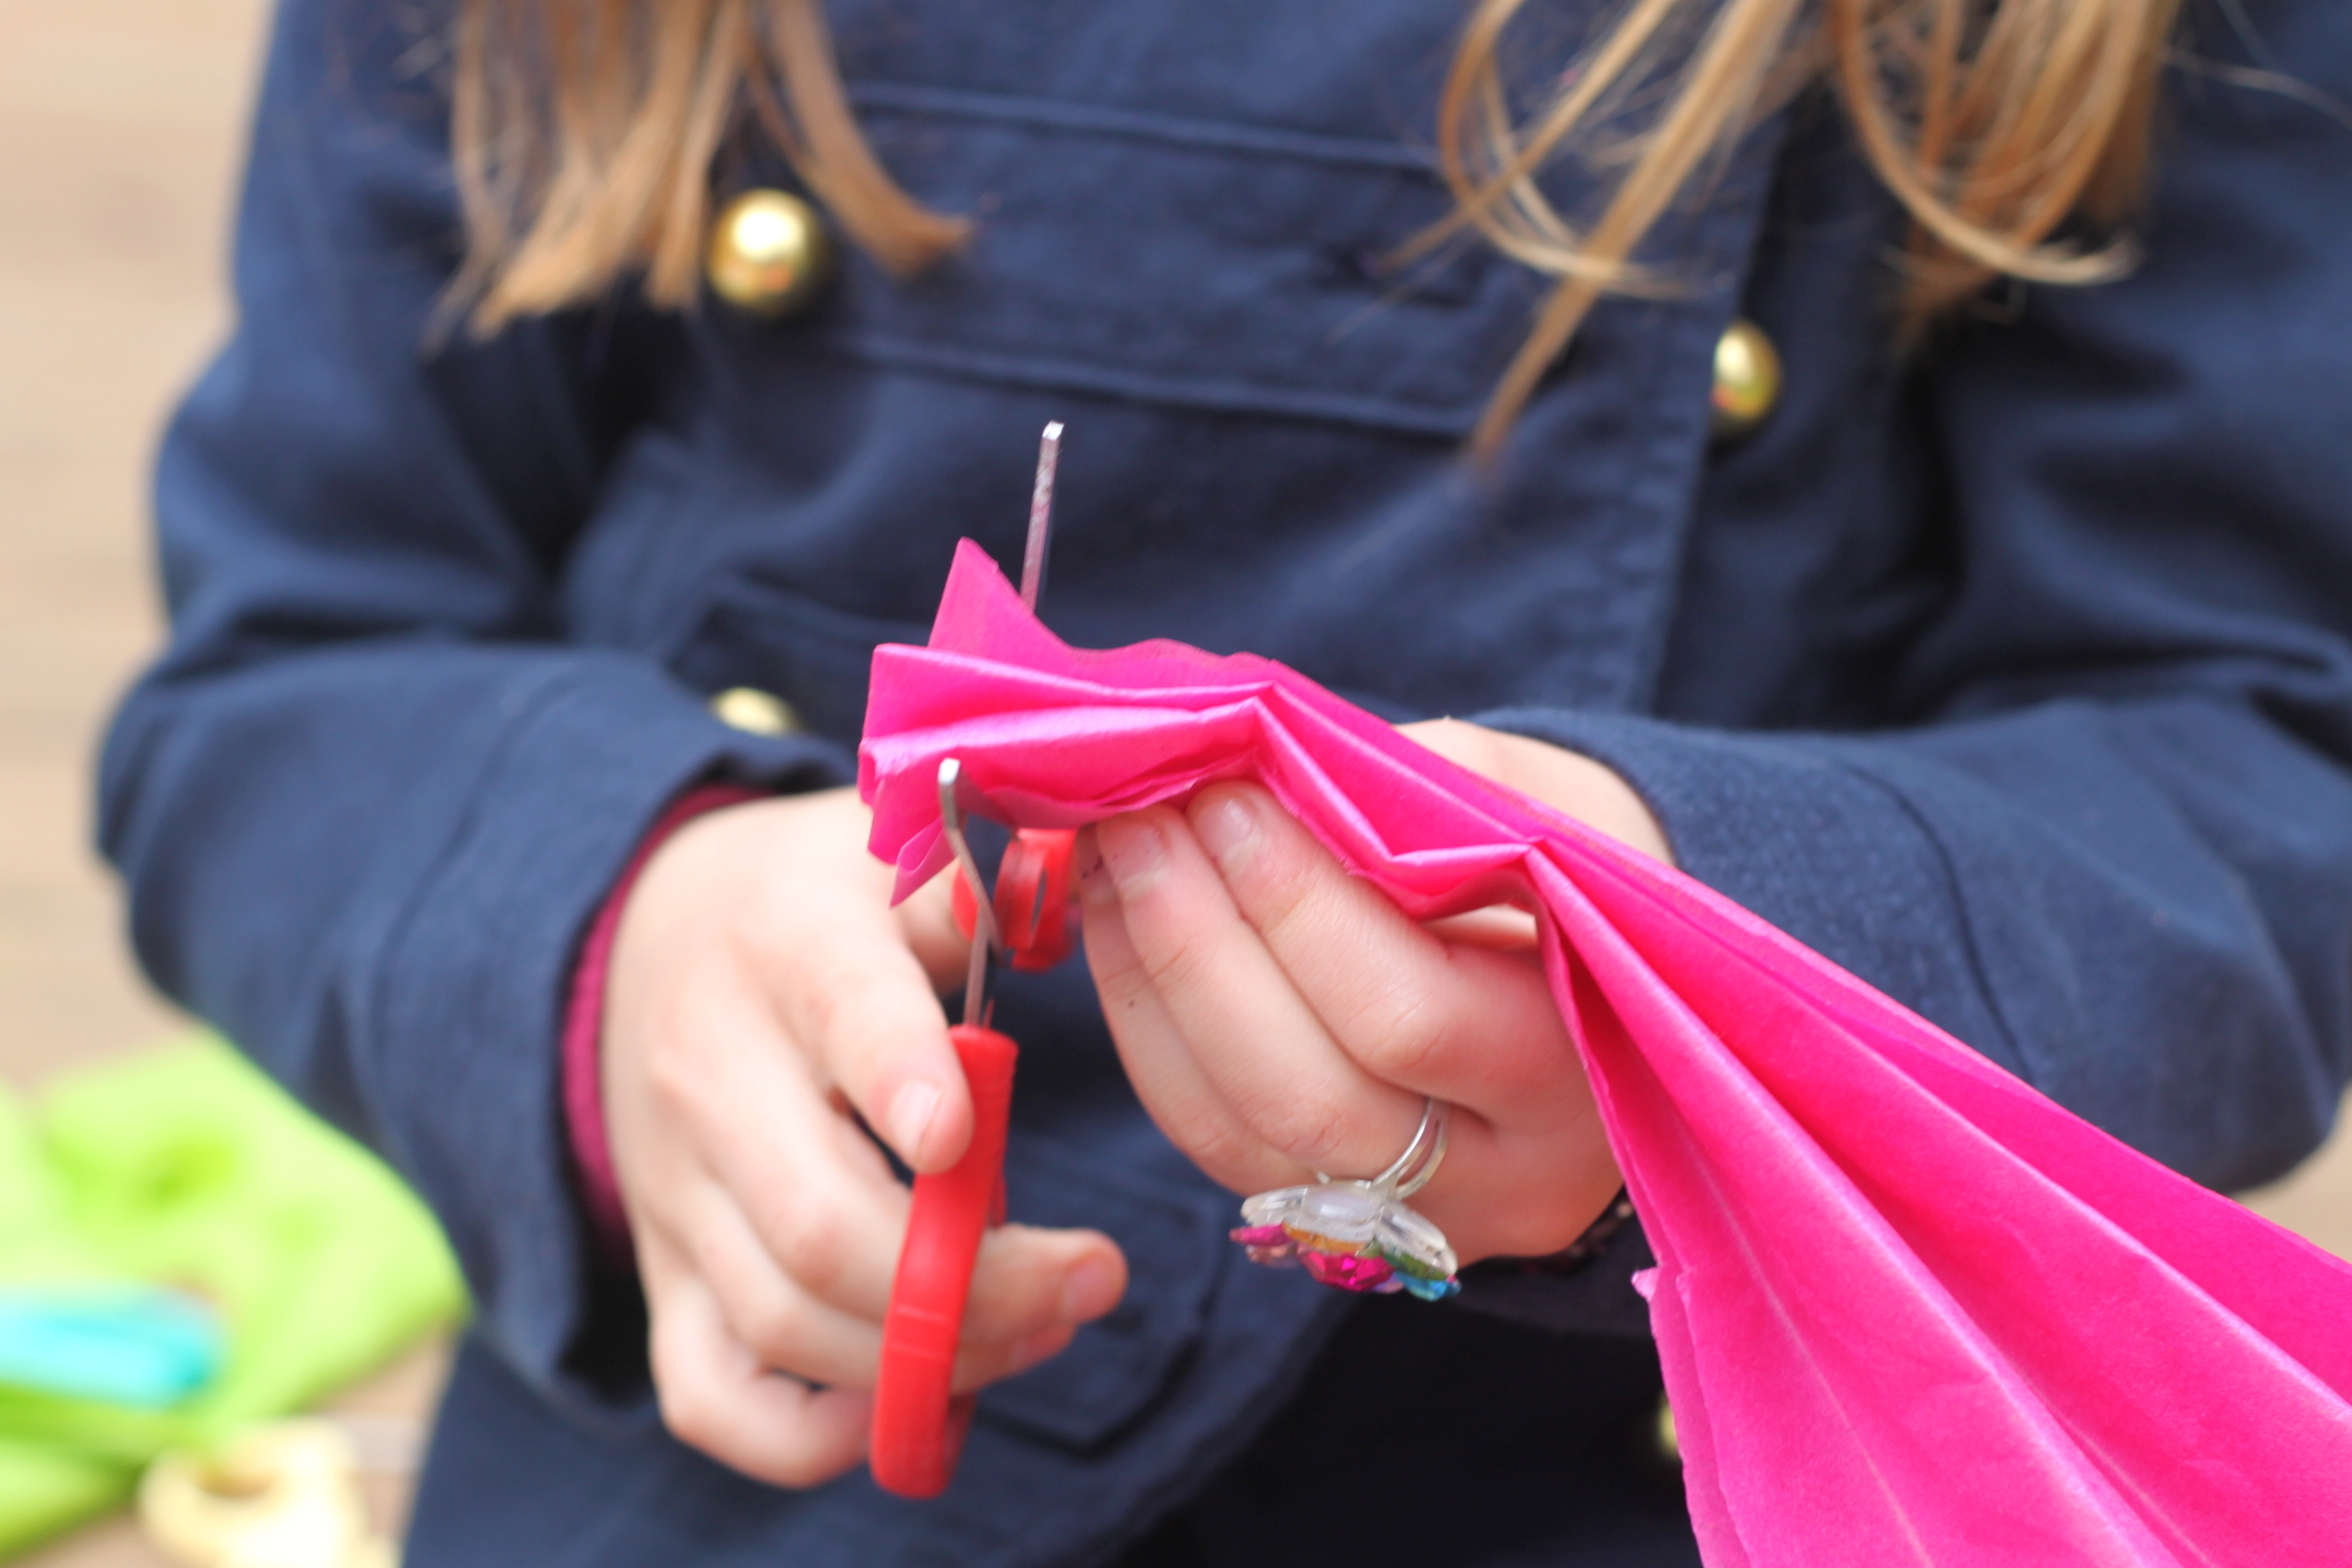
We opened up just the "into thirds" folding and cut along the lines to make three separate pendants for the banner. They are each two sheets thick because they will lay over our string.
Step 4
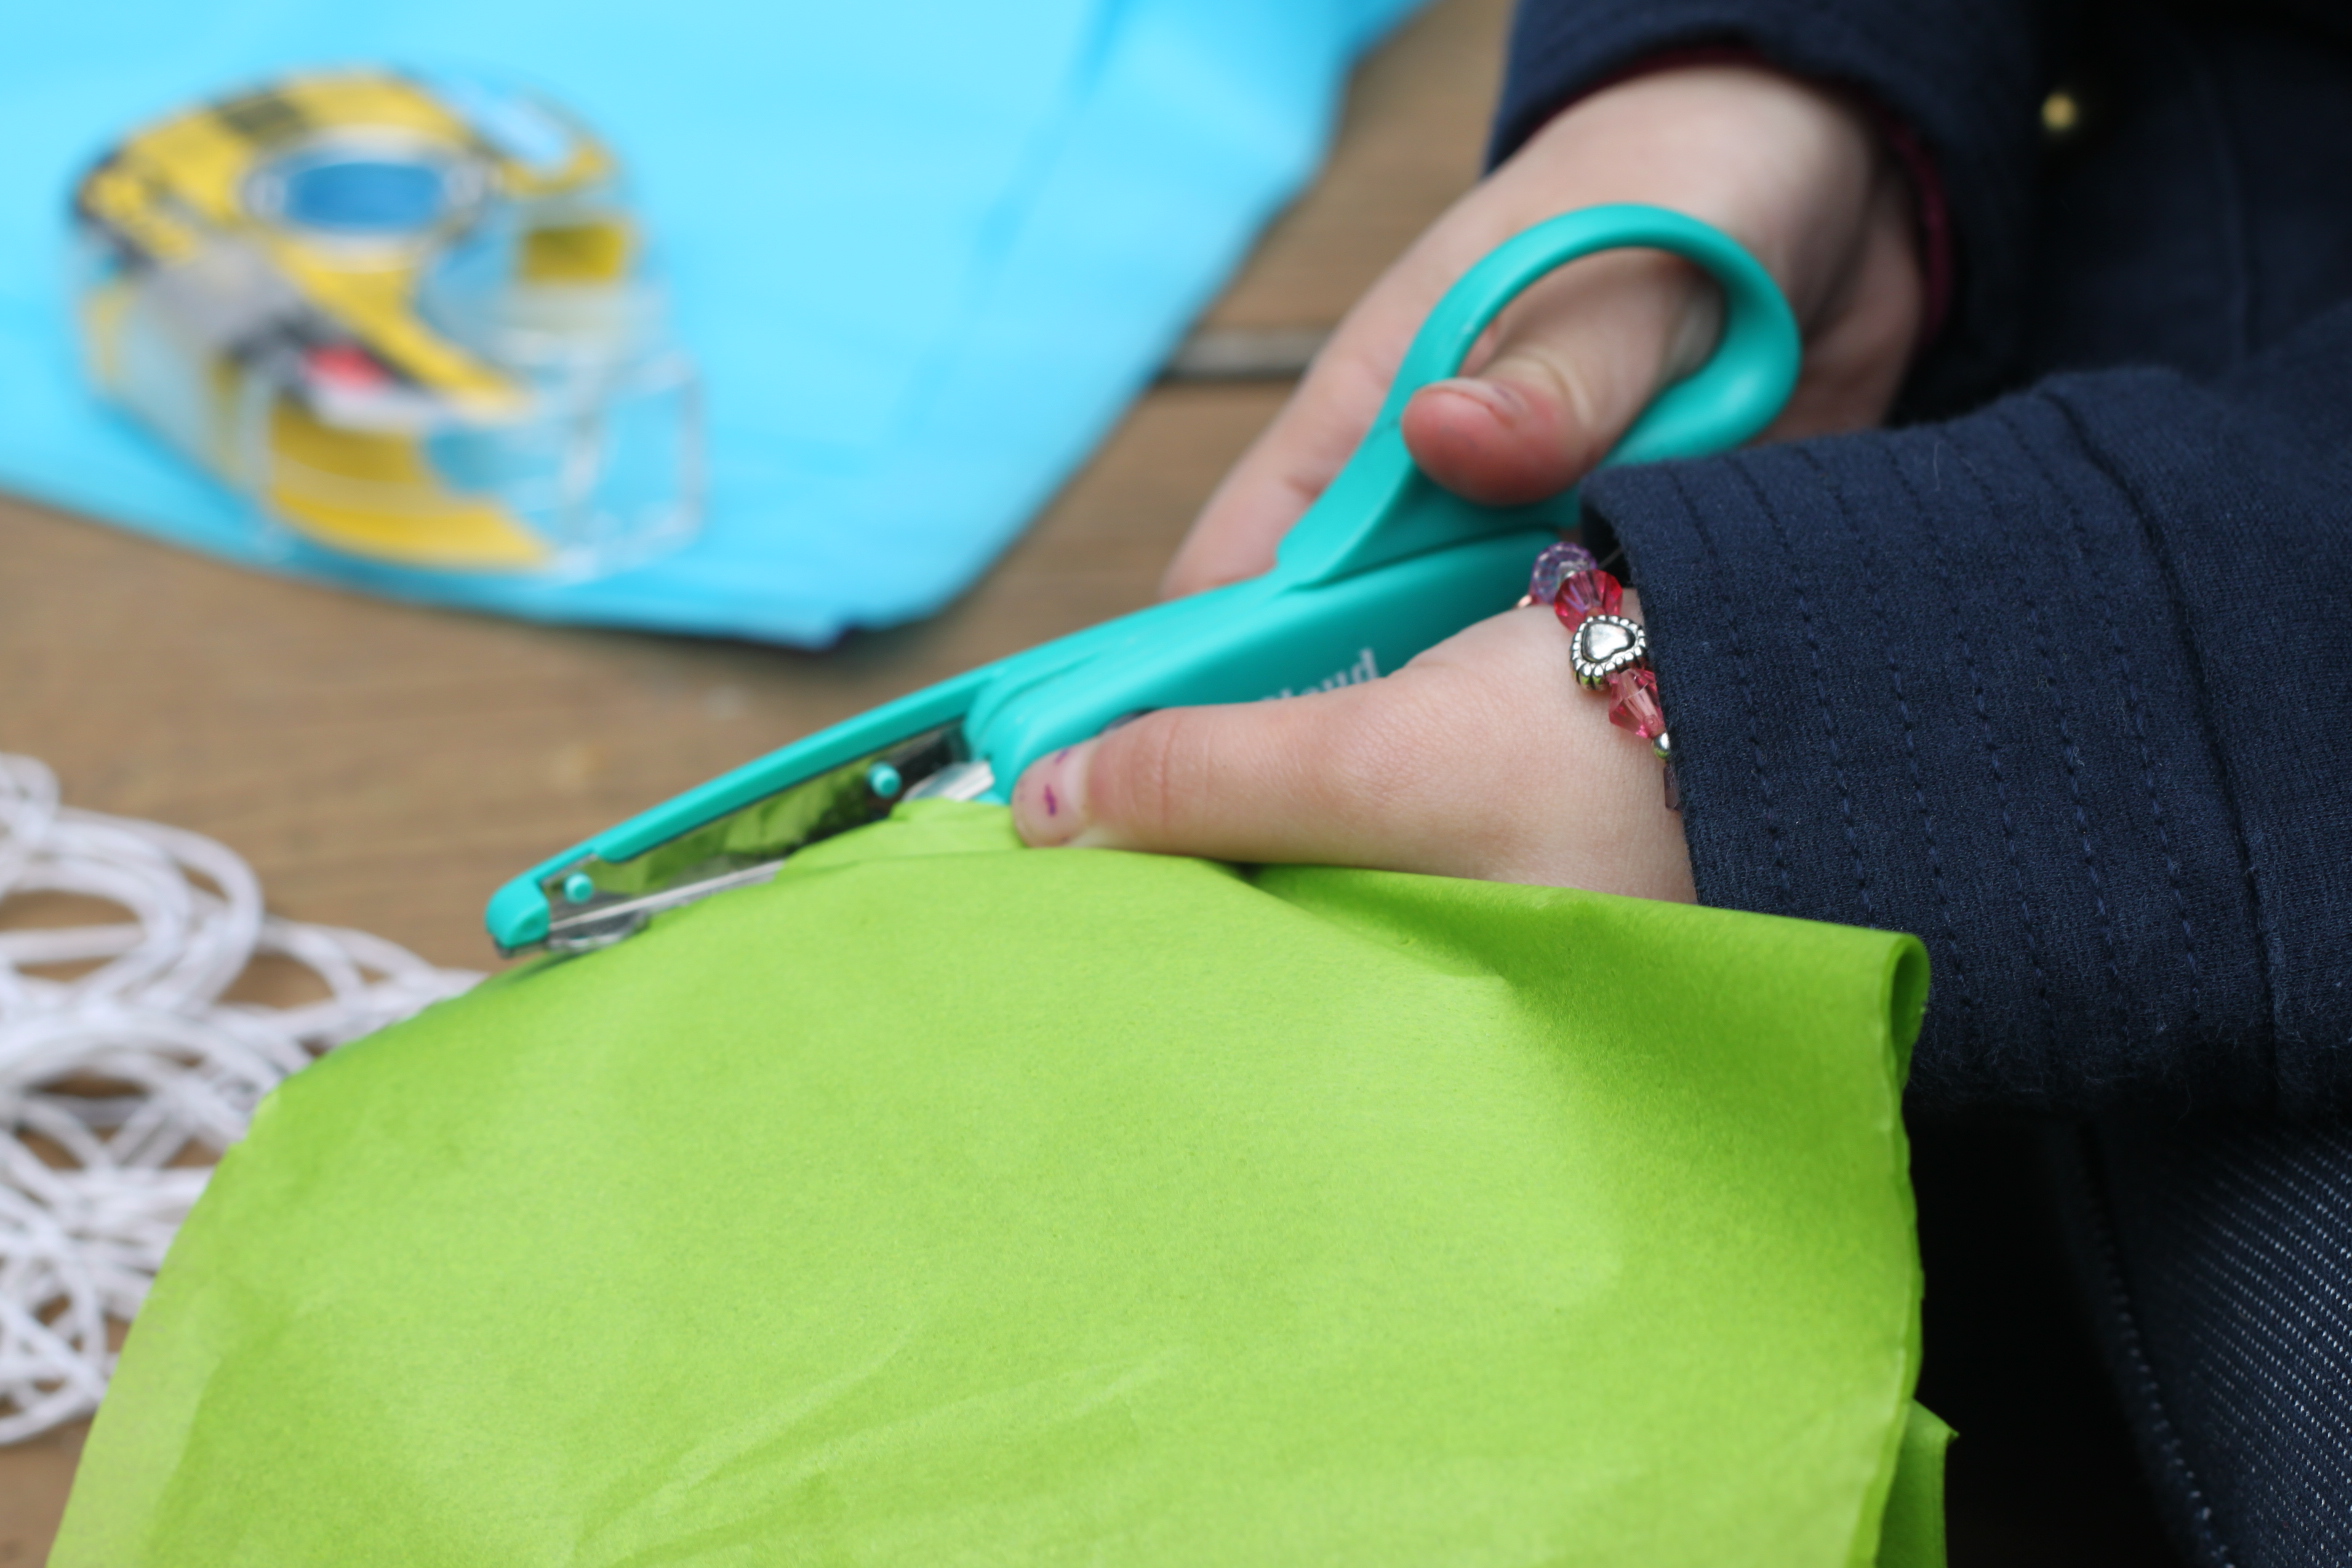
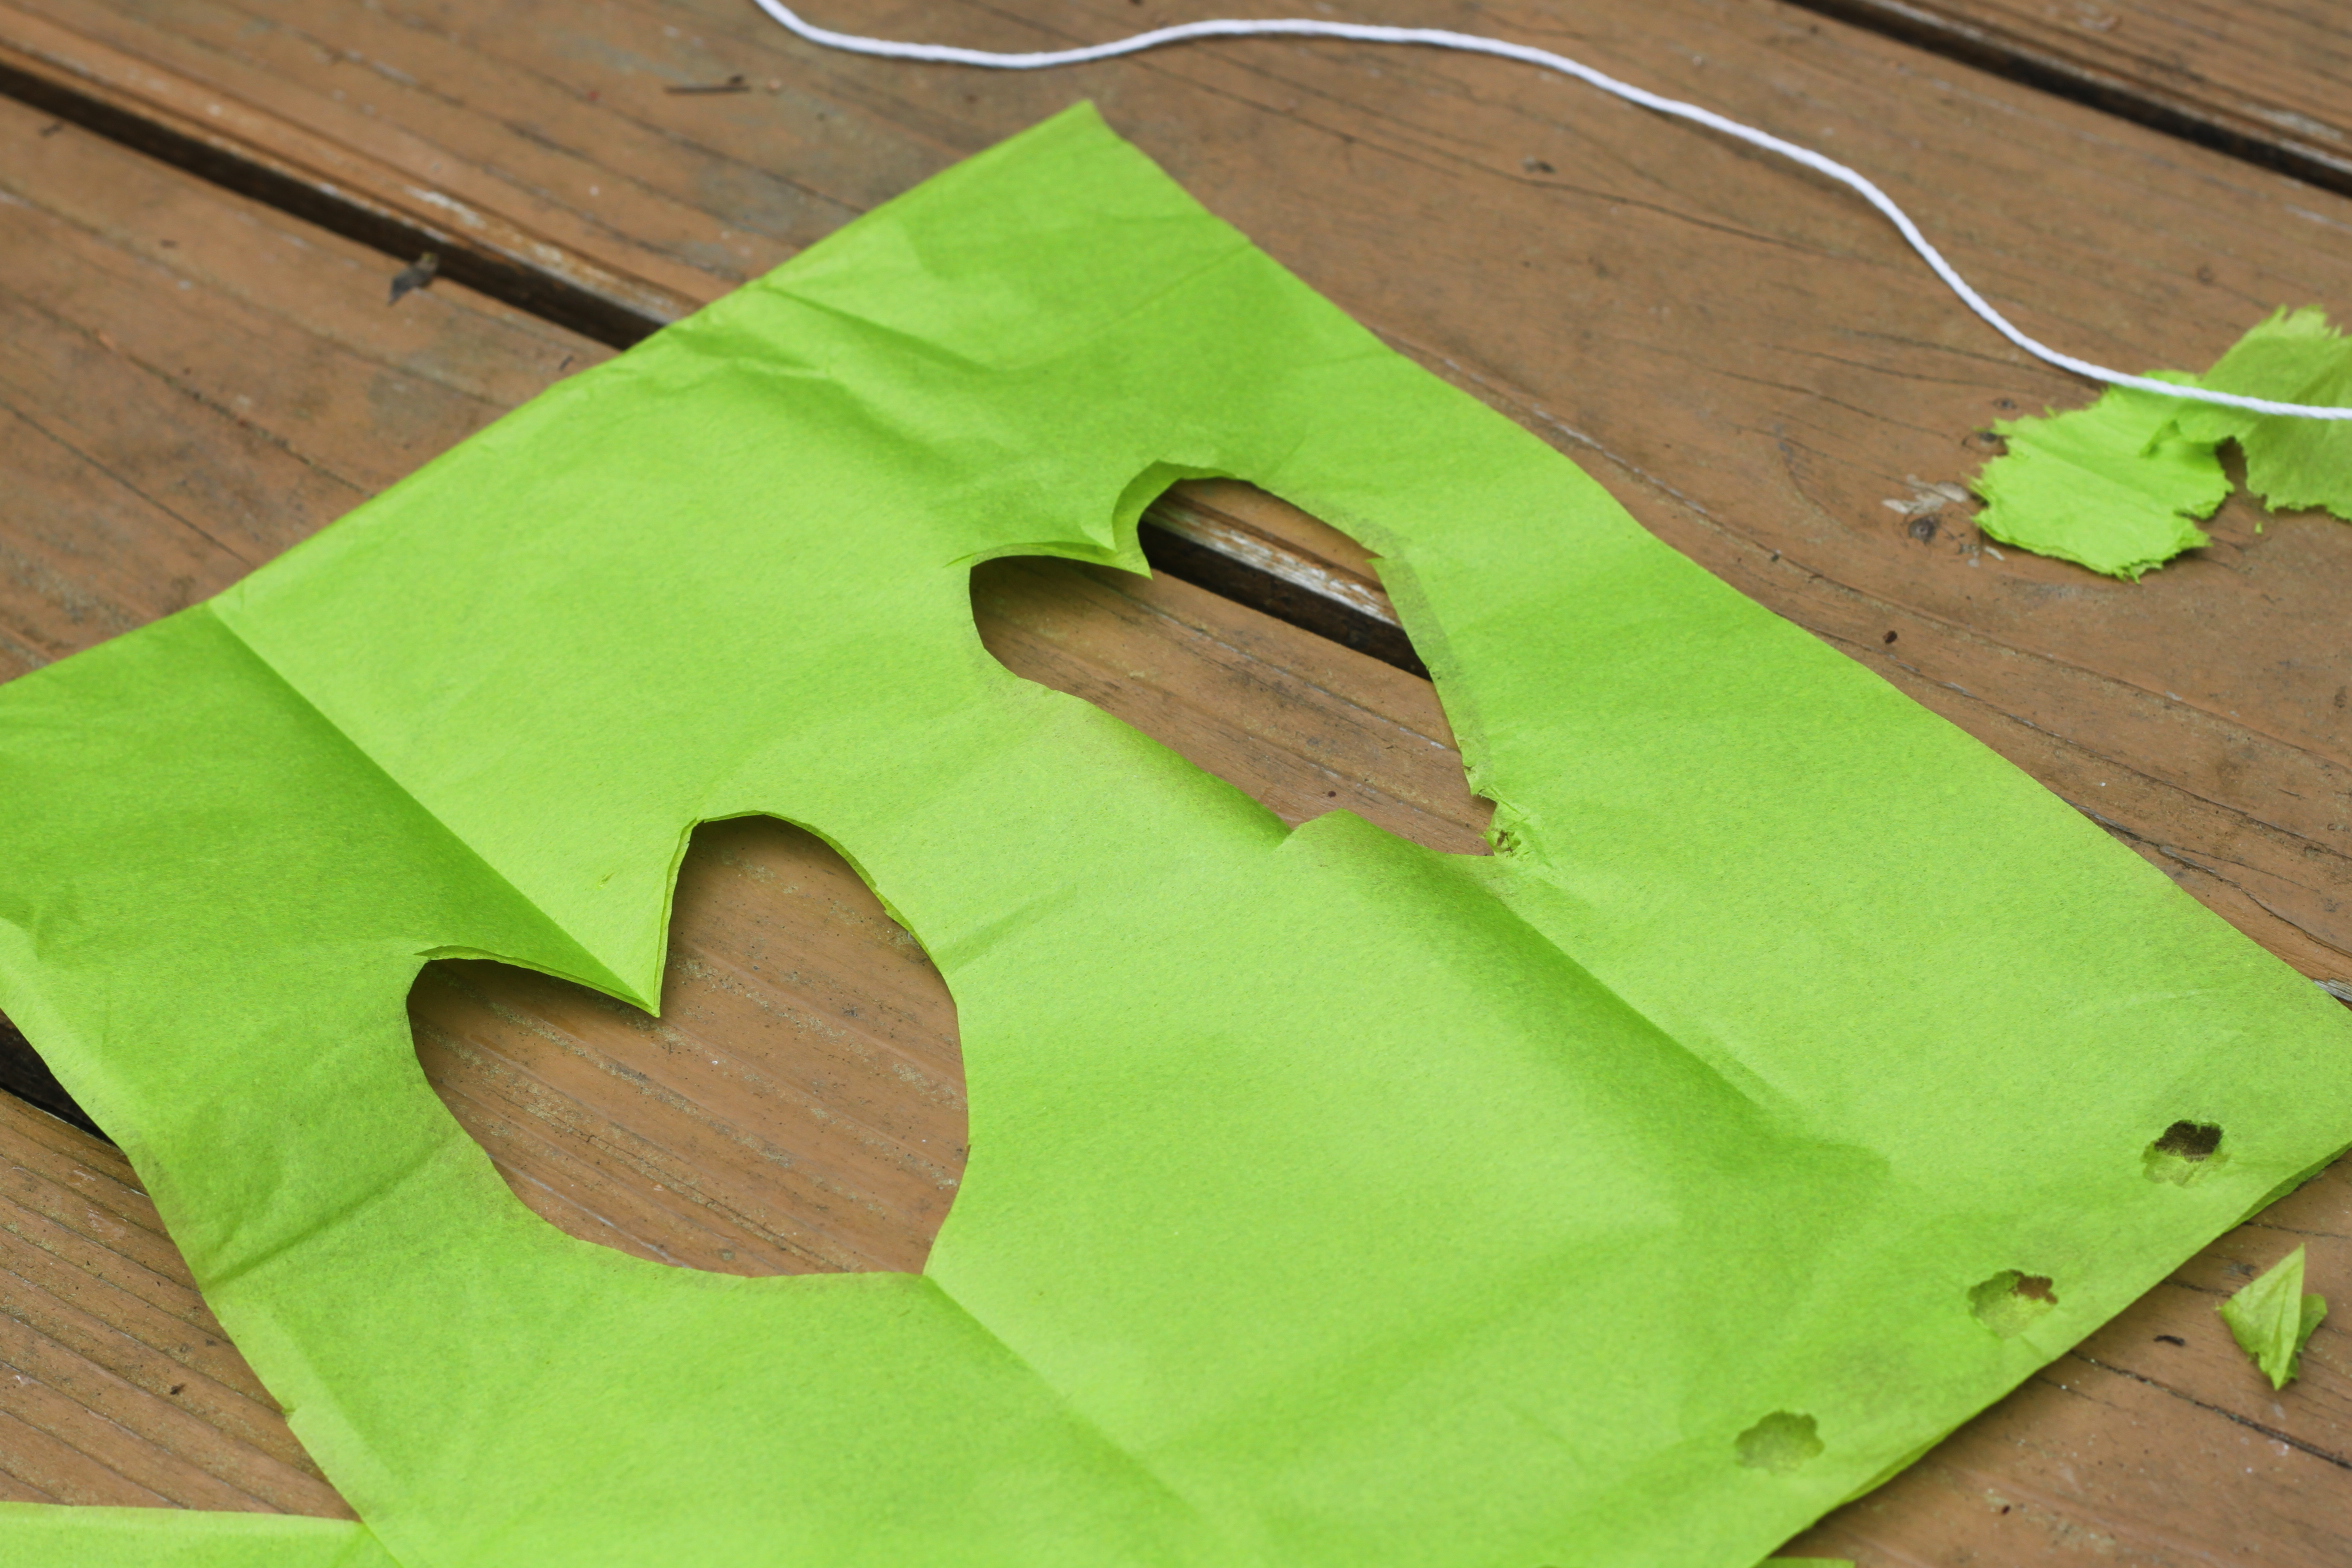
Once we had all of our pendants cut, we got to work making them fancy! Emma enjoyed using the "snowflake" technique and trying out different folds and cuts.
Step 5
She also used some fancy scissors to give the edges a fun trim.
Step 6
She made a heart on accident! You can imagine her delight!
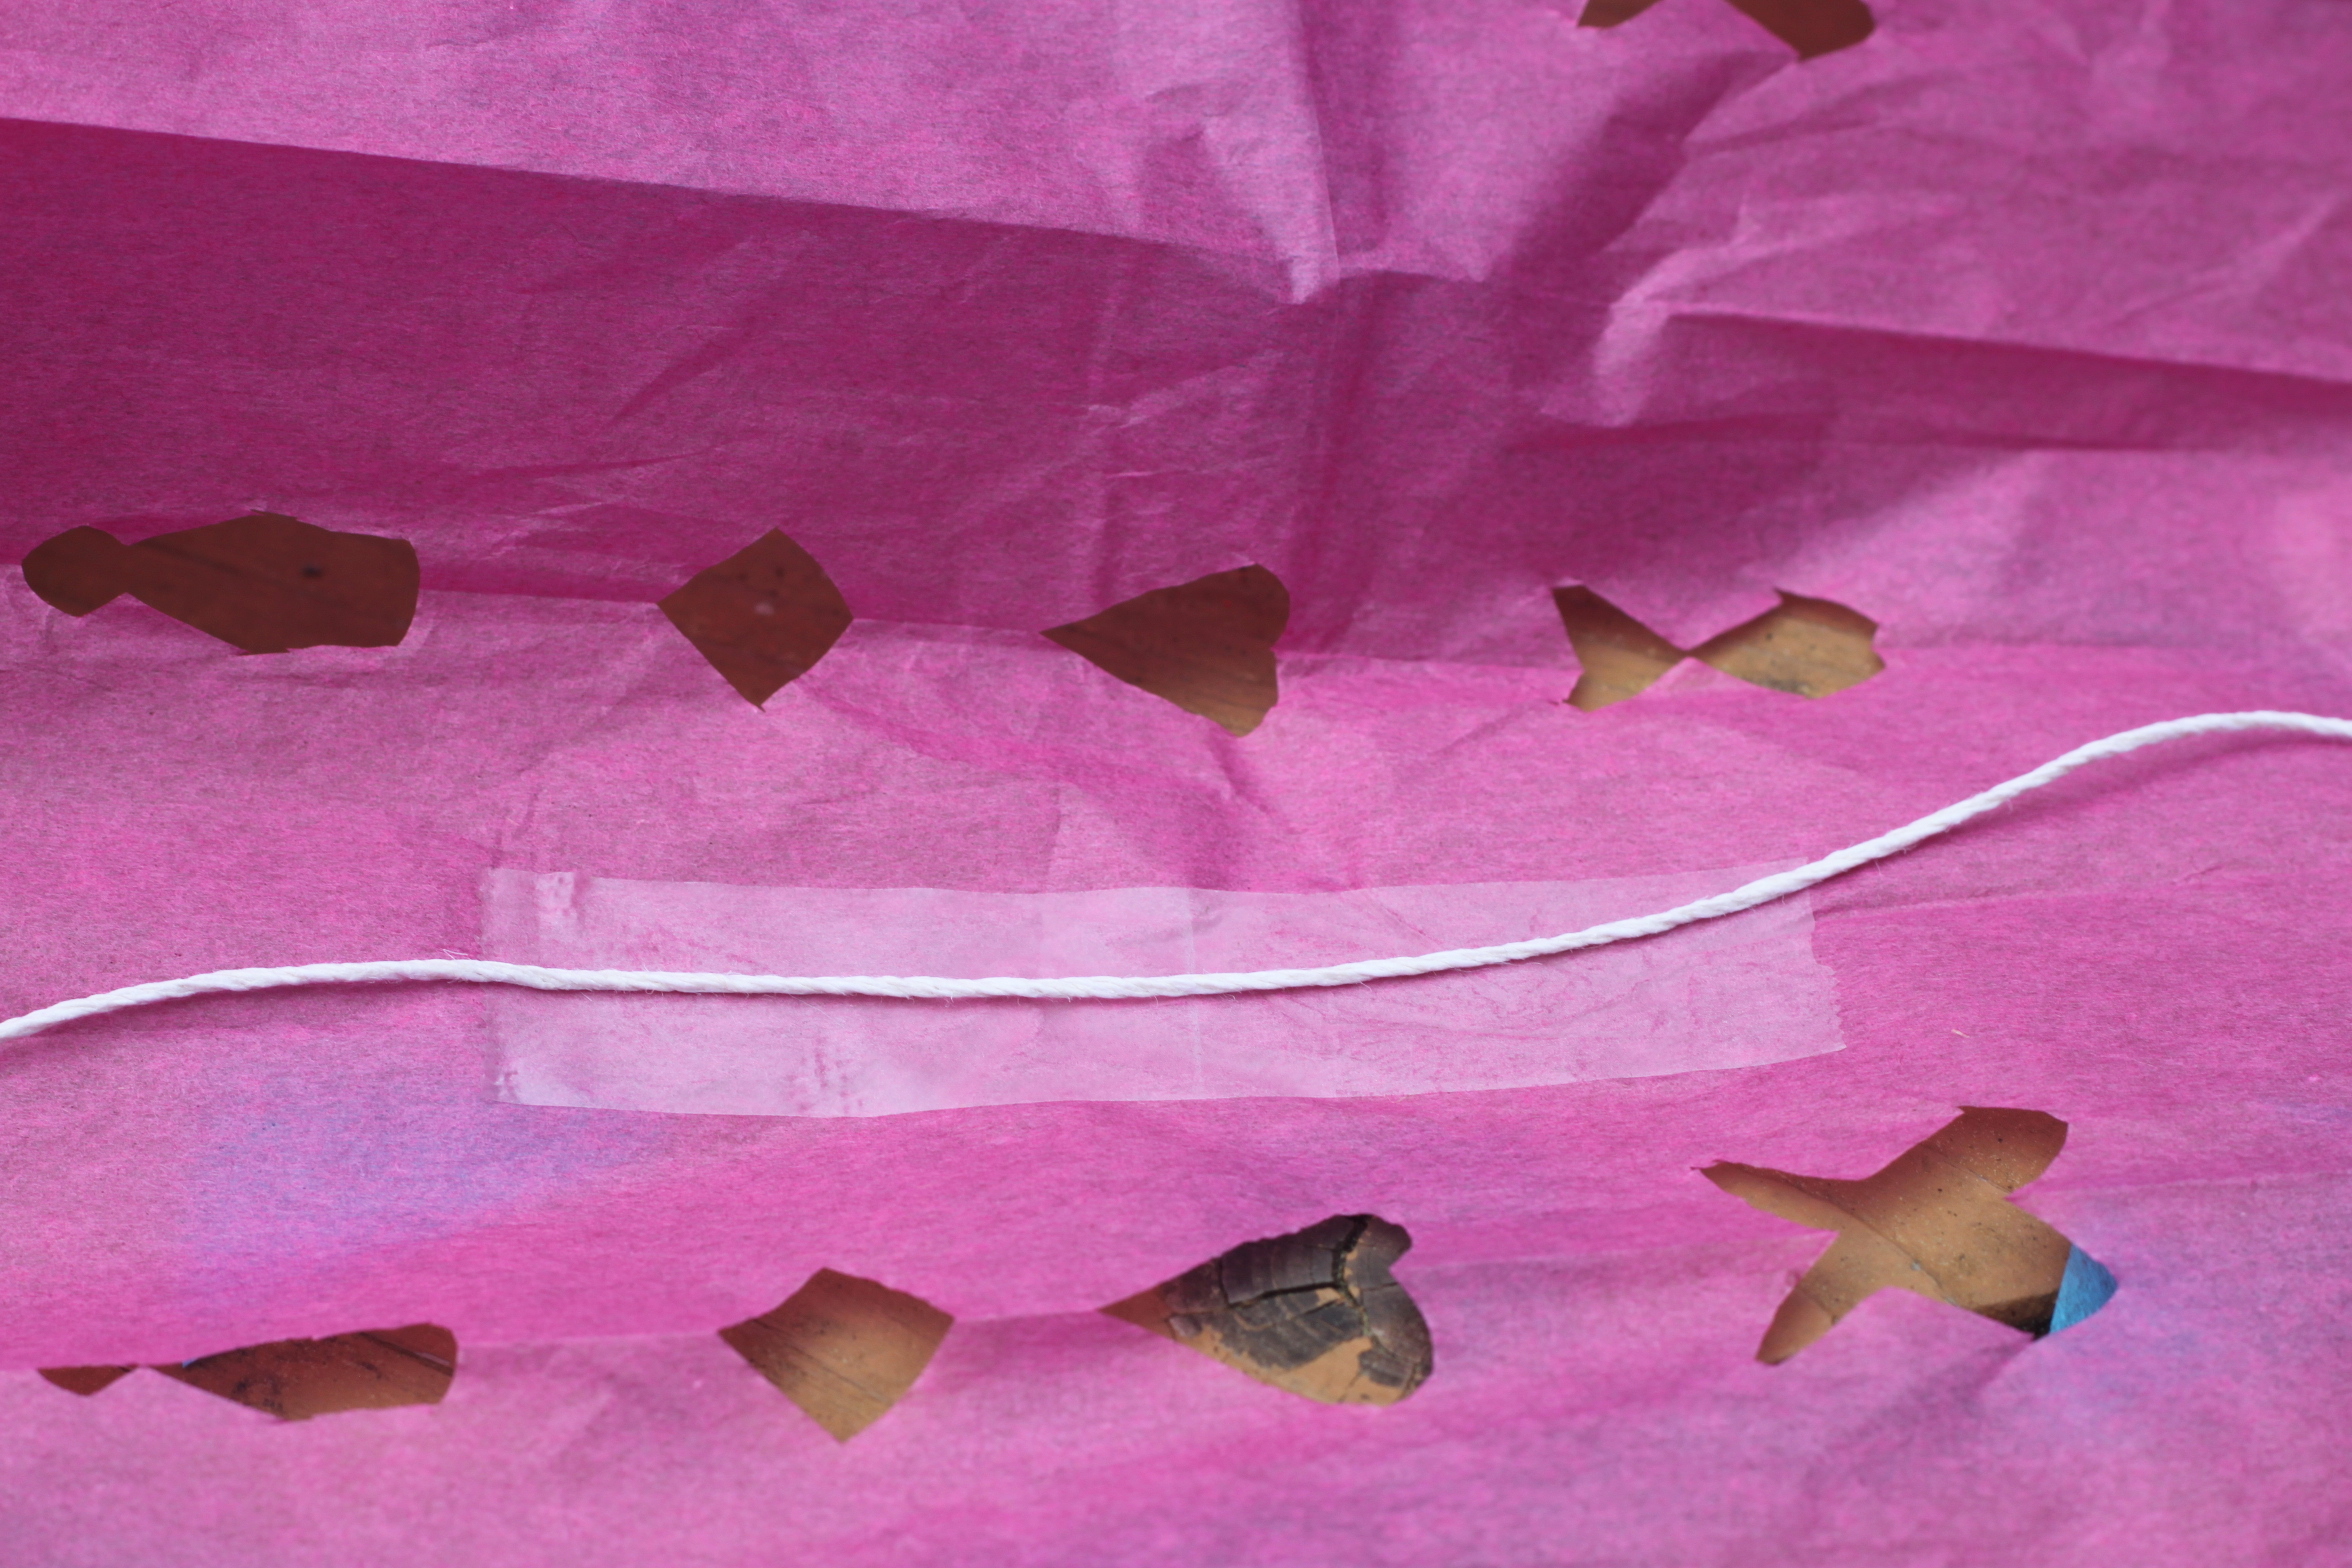
Step 7
When our pendants were all ready to hang, we opened each up and placed a piece of double-sided tape right on the seam. Next, we placed our string down the middle of each and folded the pendants back down sealing them with the tape.
Done!
Look how whimsical our yard became with this DIY banner!