Step-by-step tutorial
Step 1
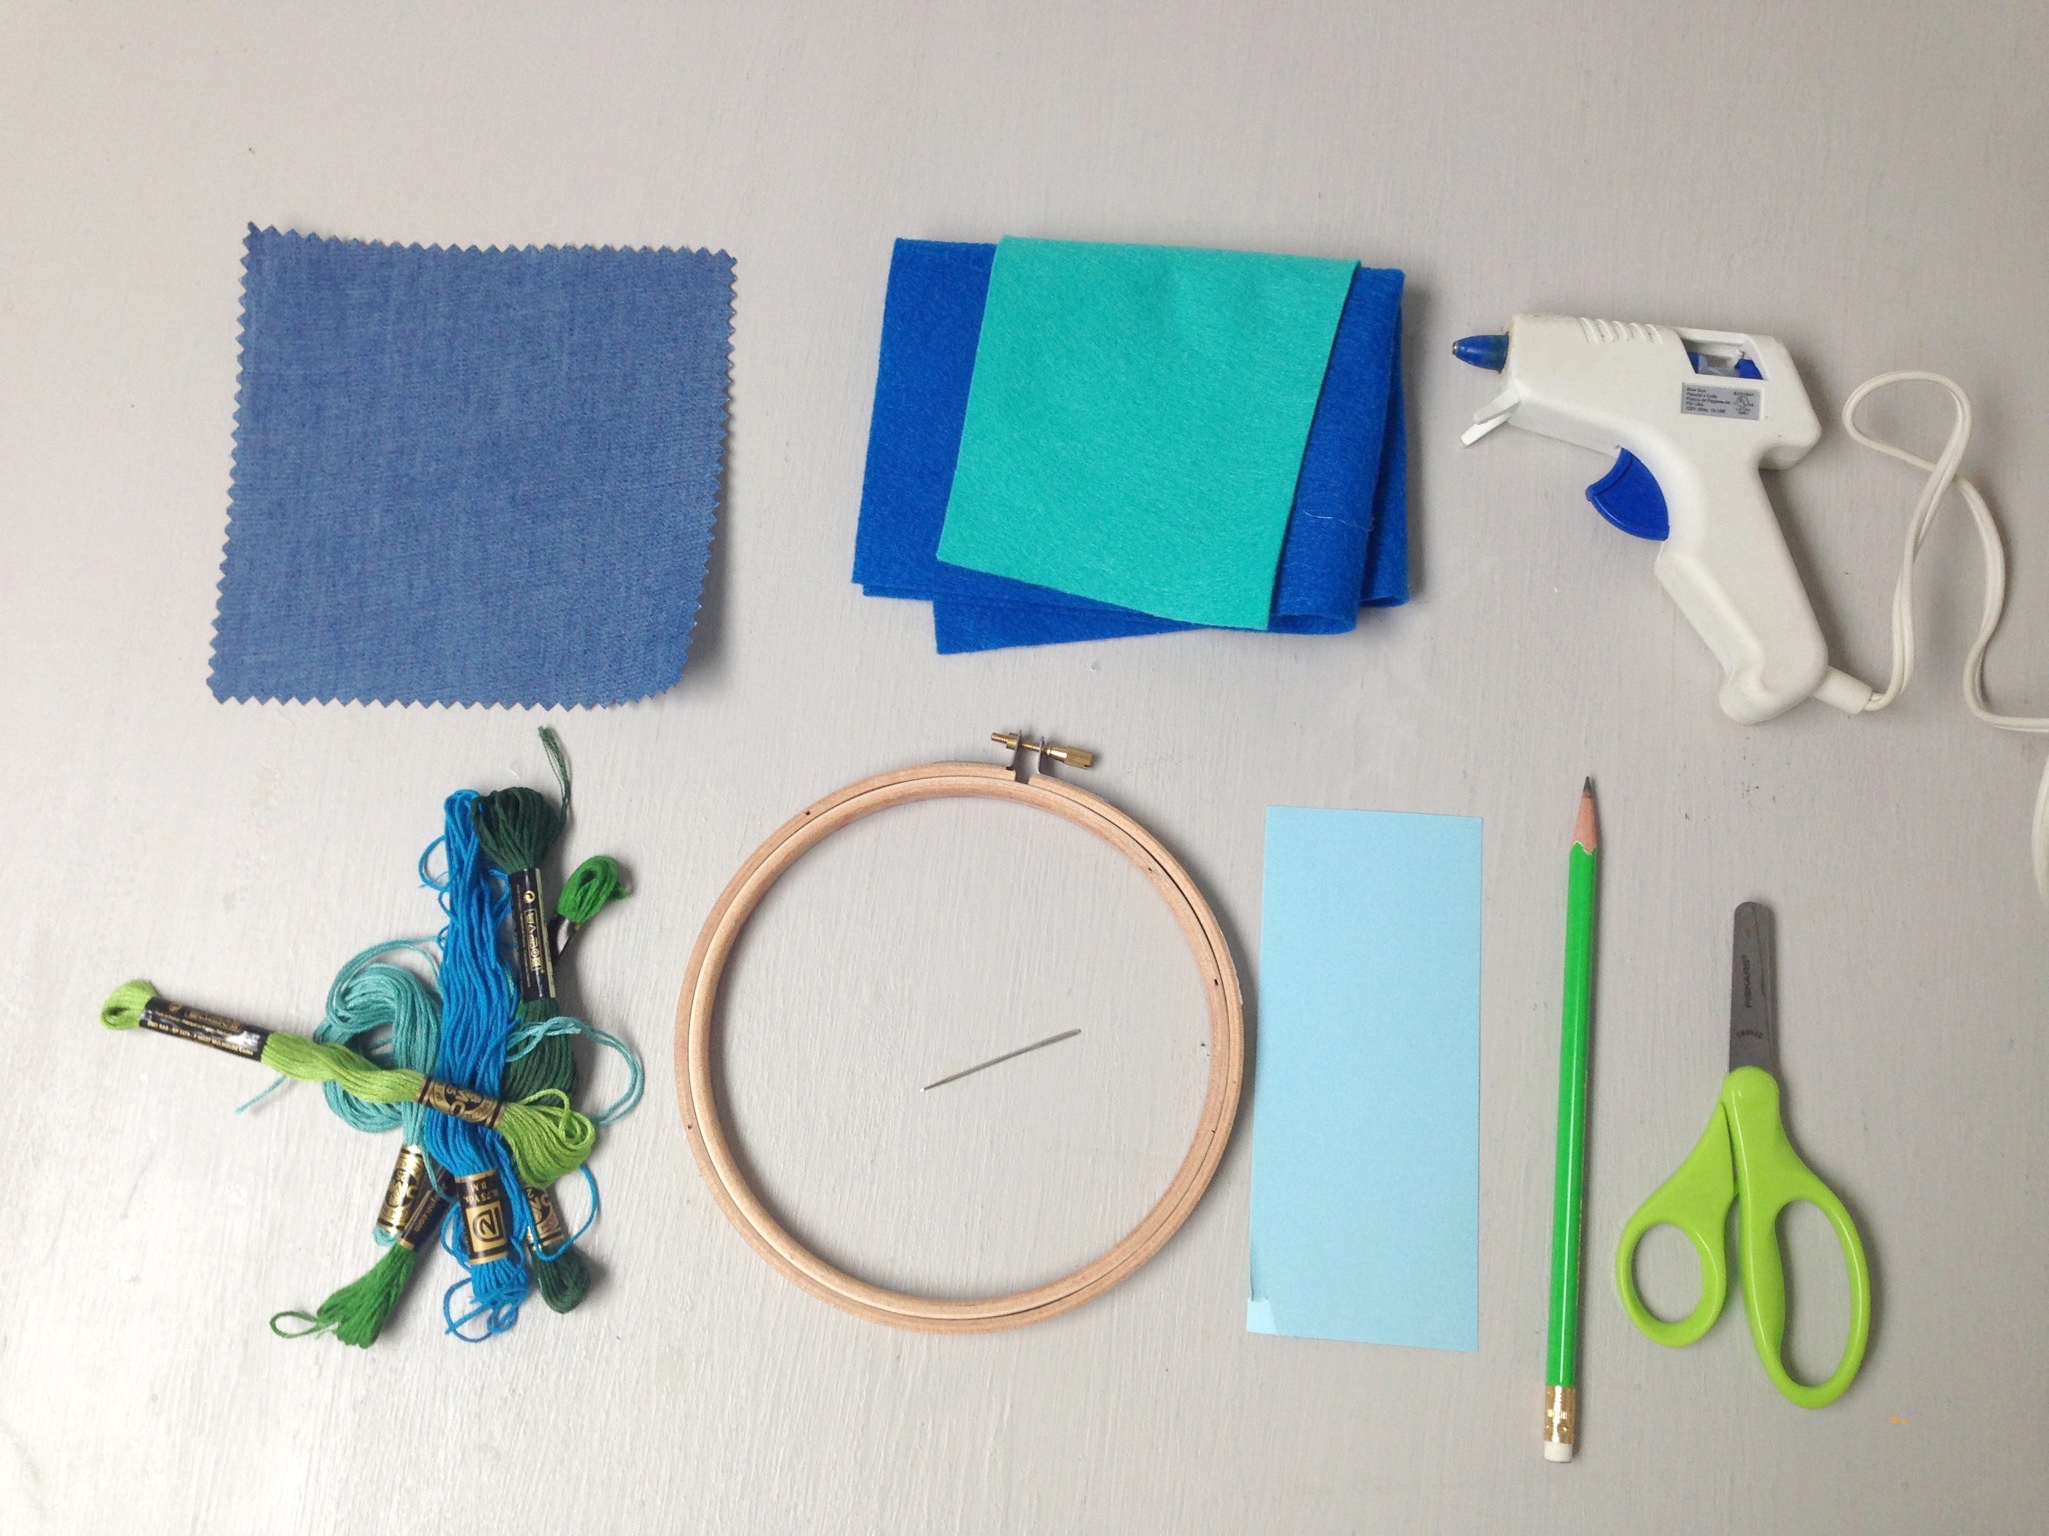
Gather your materials together. Start by planning out what you would like to embroidery on your luggage tag. You can use a pencil to plan out your designs or just freestyle them! You will also want to keep in mind the shape you want the final tag to be, such as a circle, square, or rectangle. Keep in mind the overall size of your luggage tag, too. If it is too small, it will be difficult to see from far away and hard to write on.

Step 2
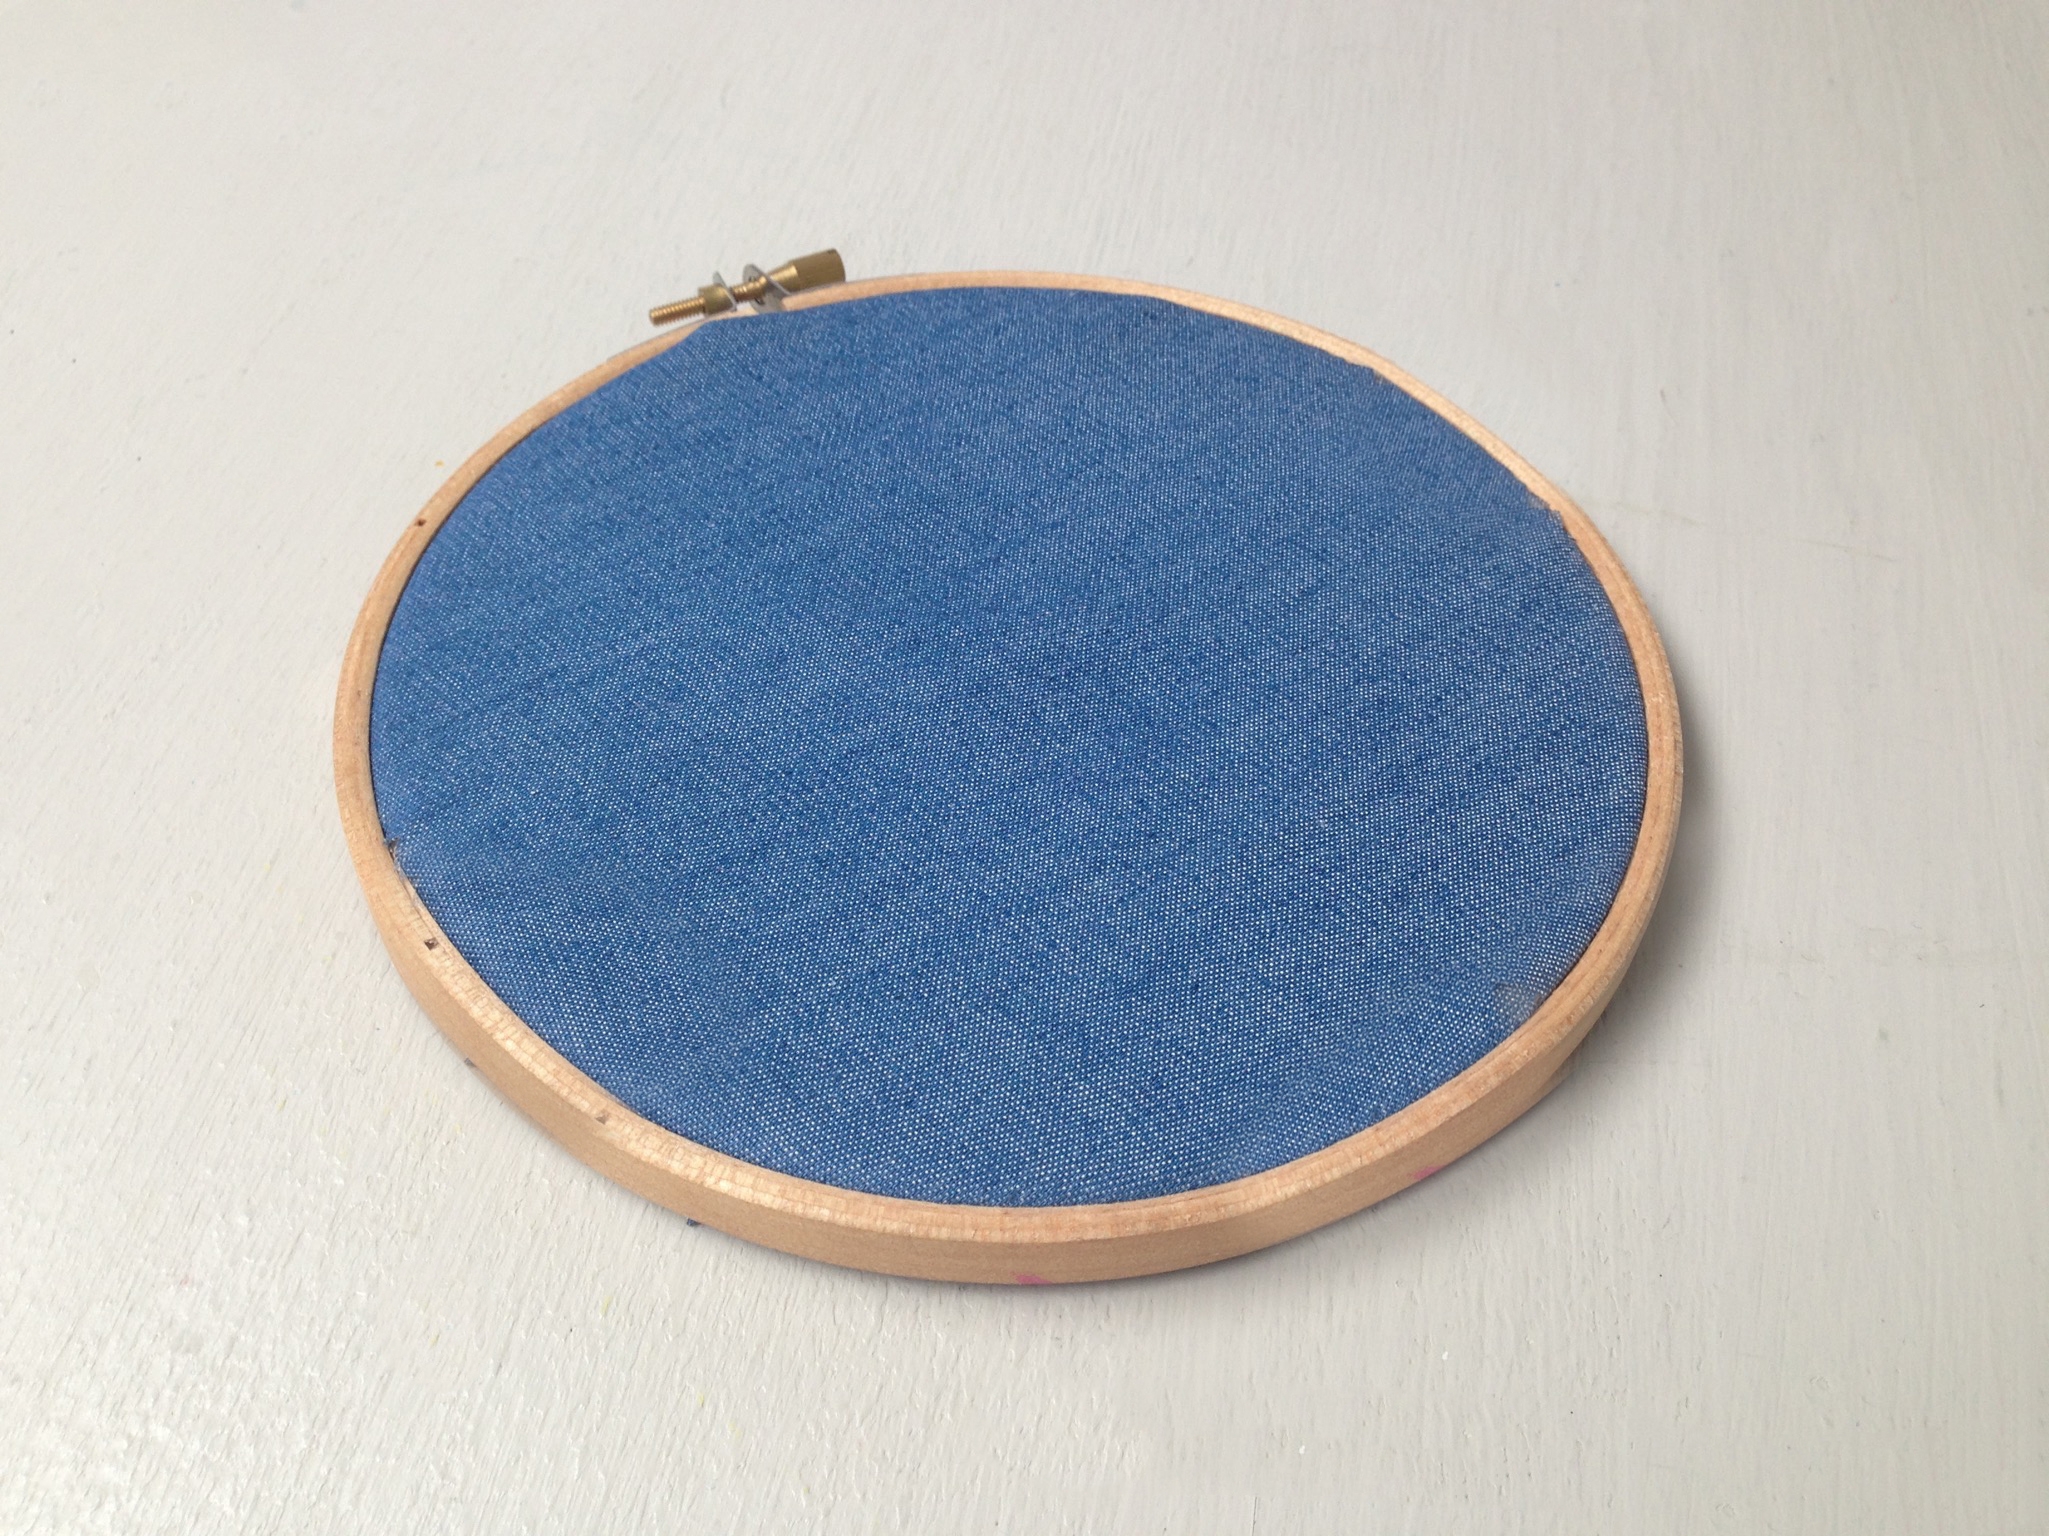
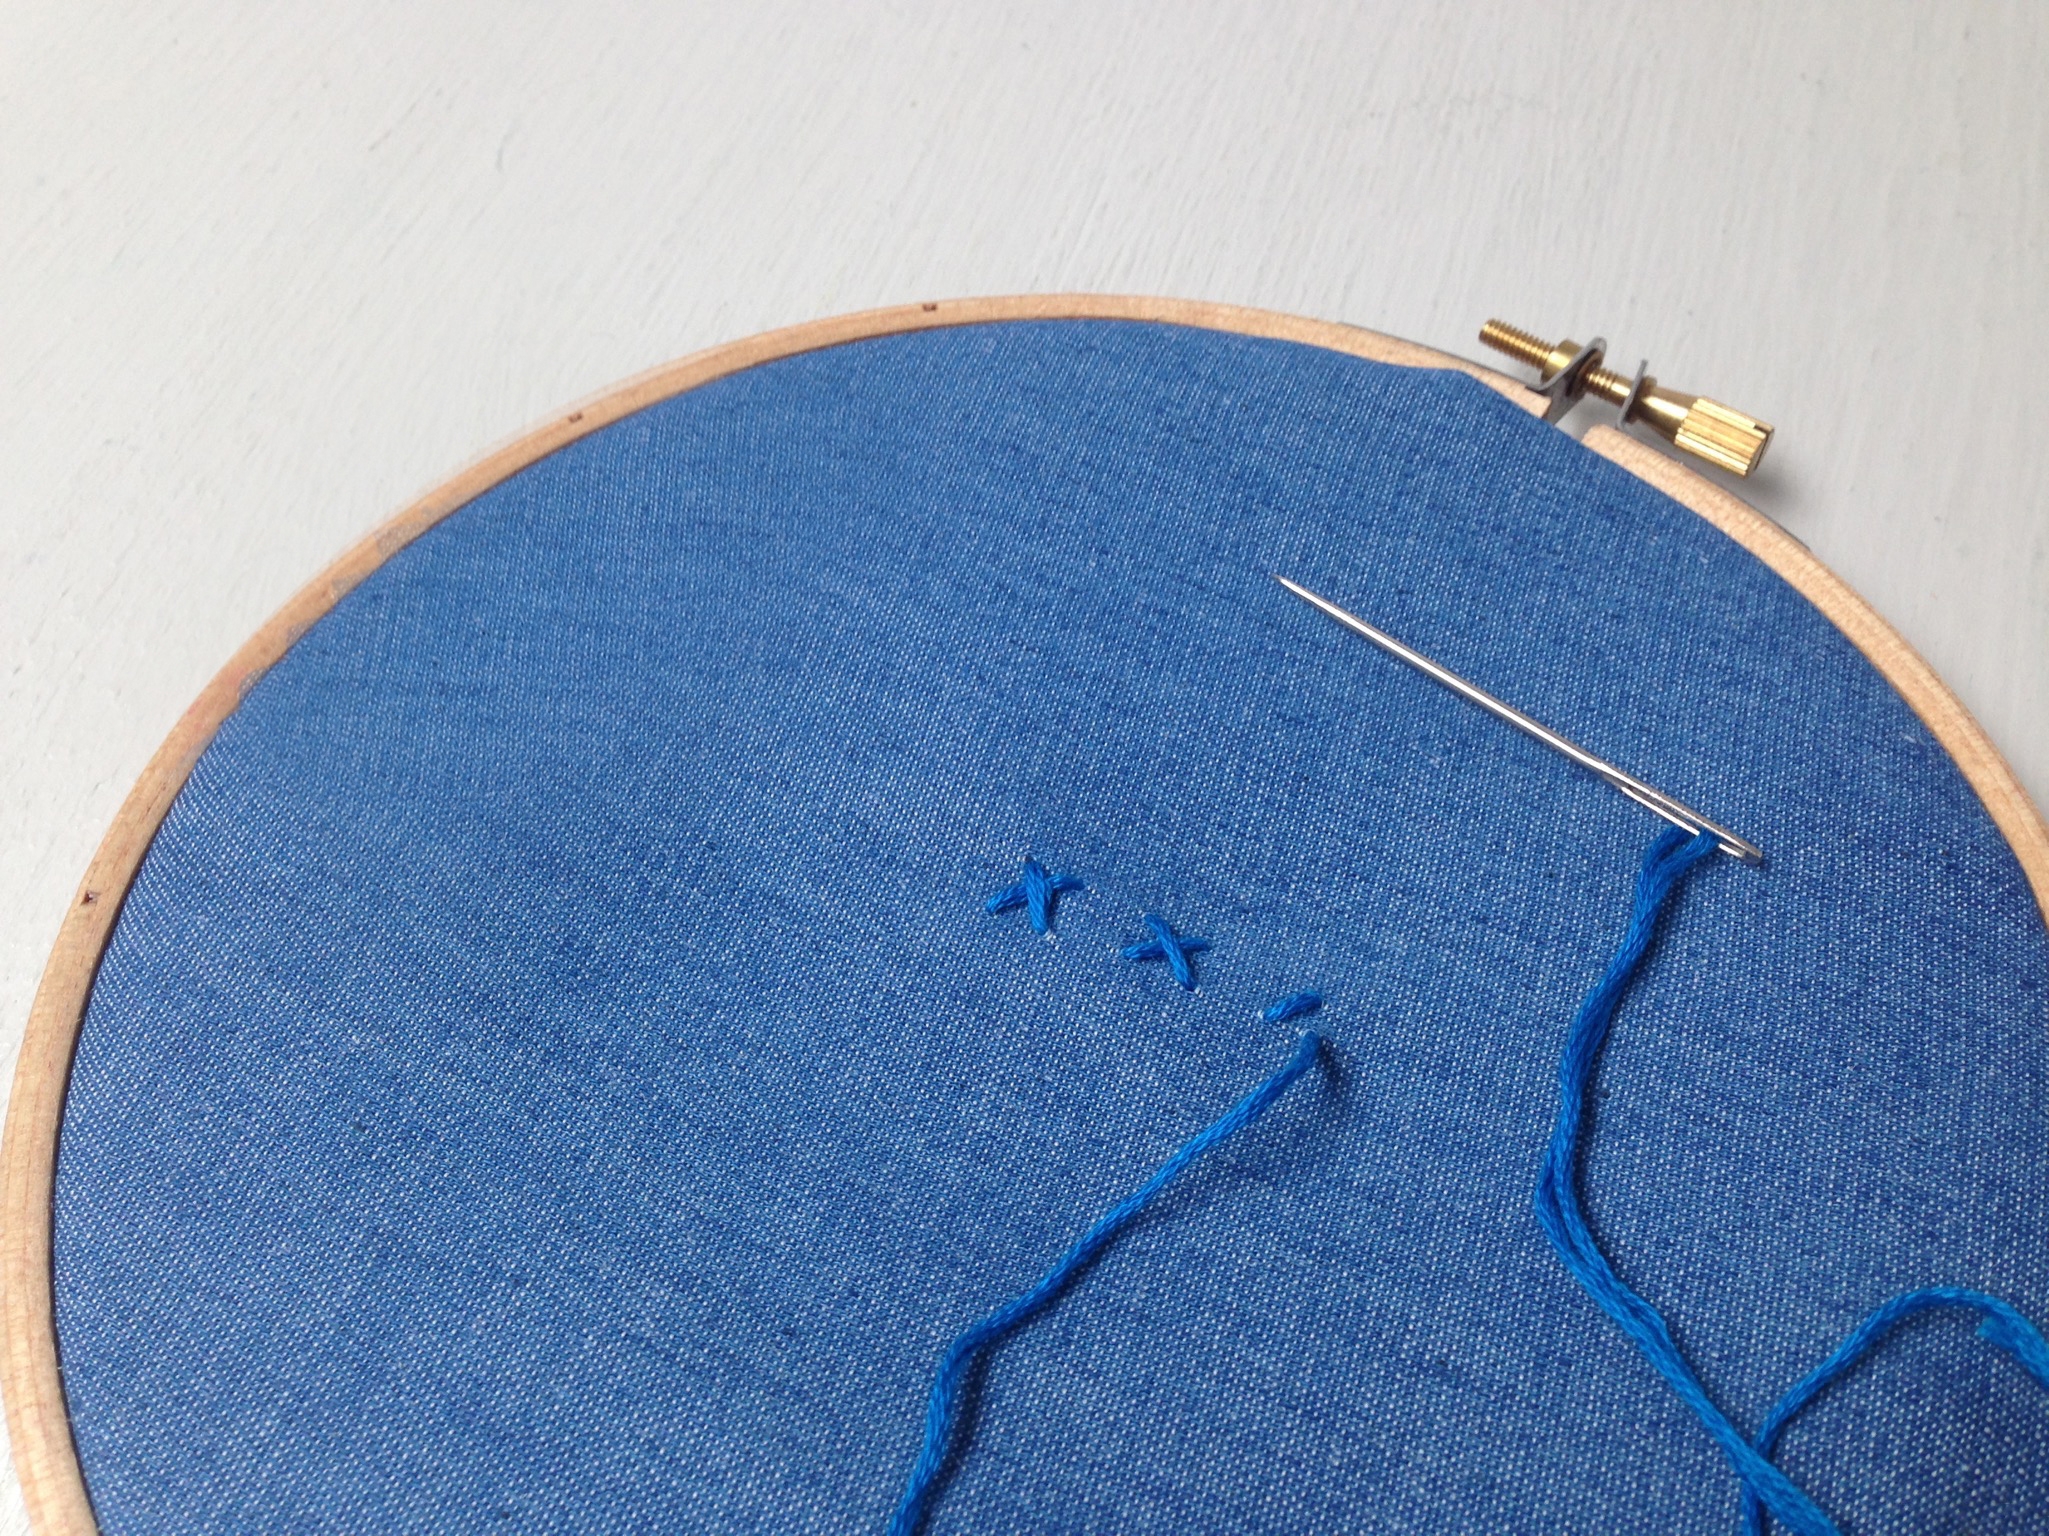
Place your fabric swatch in an embroidery hoop. Make sure the fabric is tight. This makes it easier to embroider your personalized luggage tag design.
Step 3
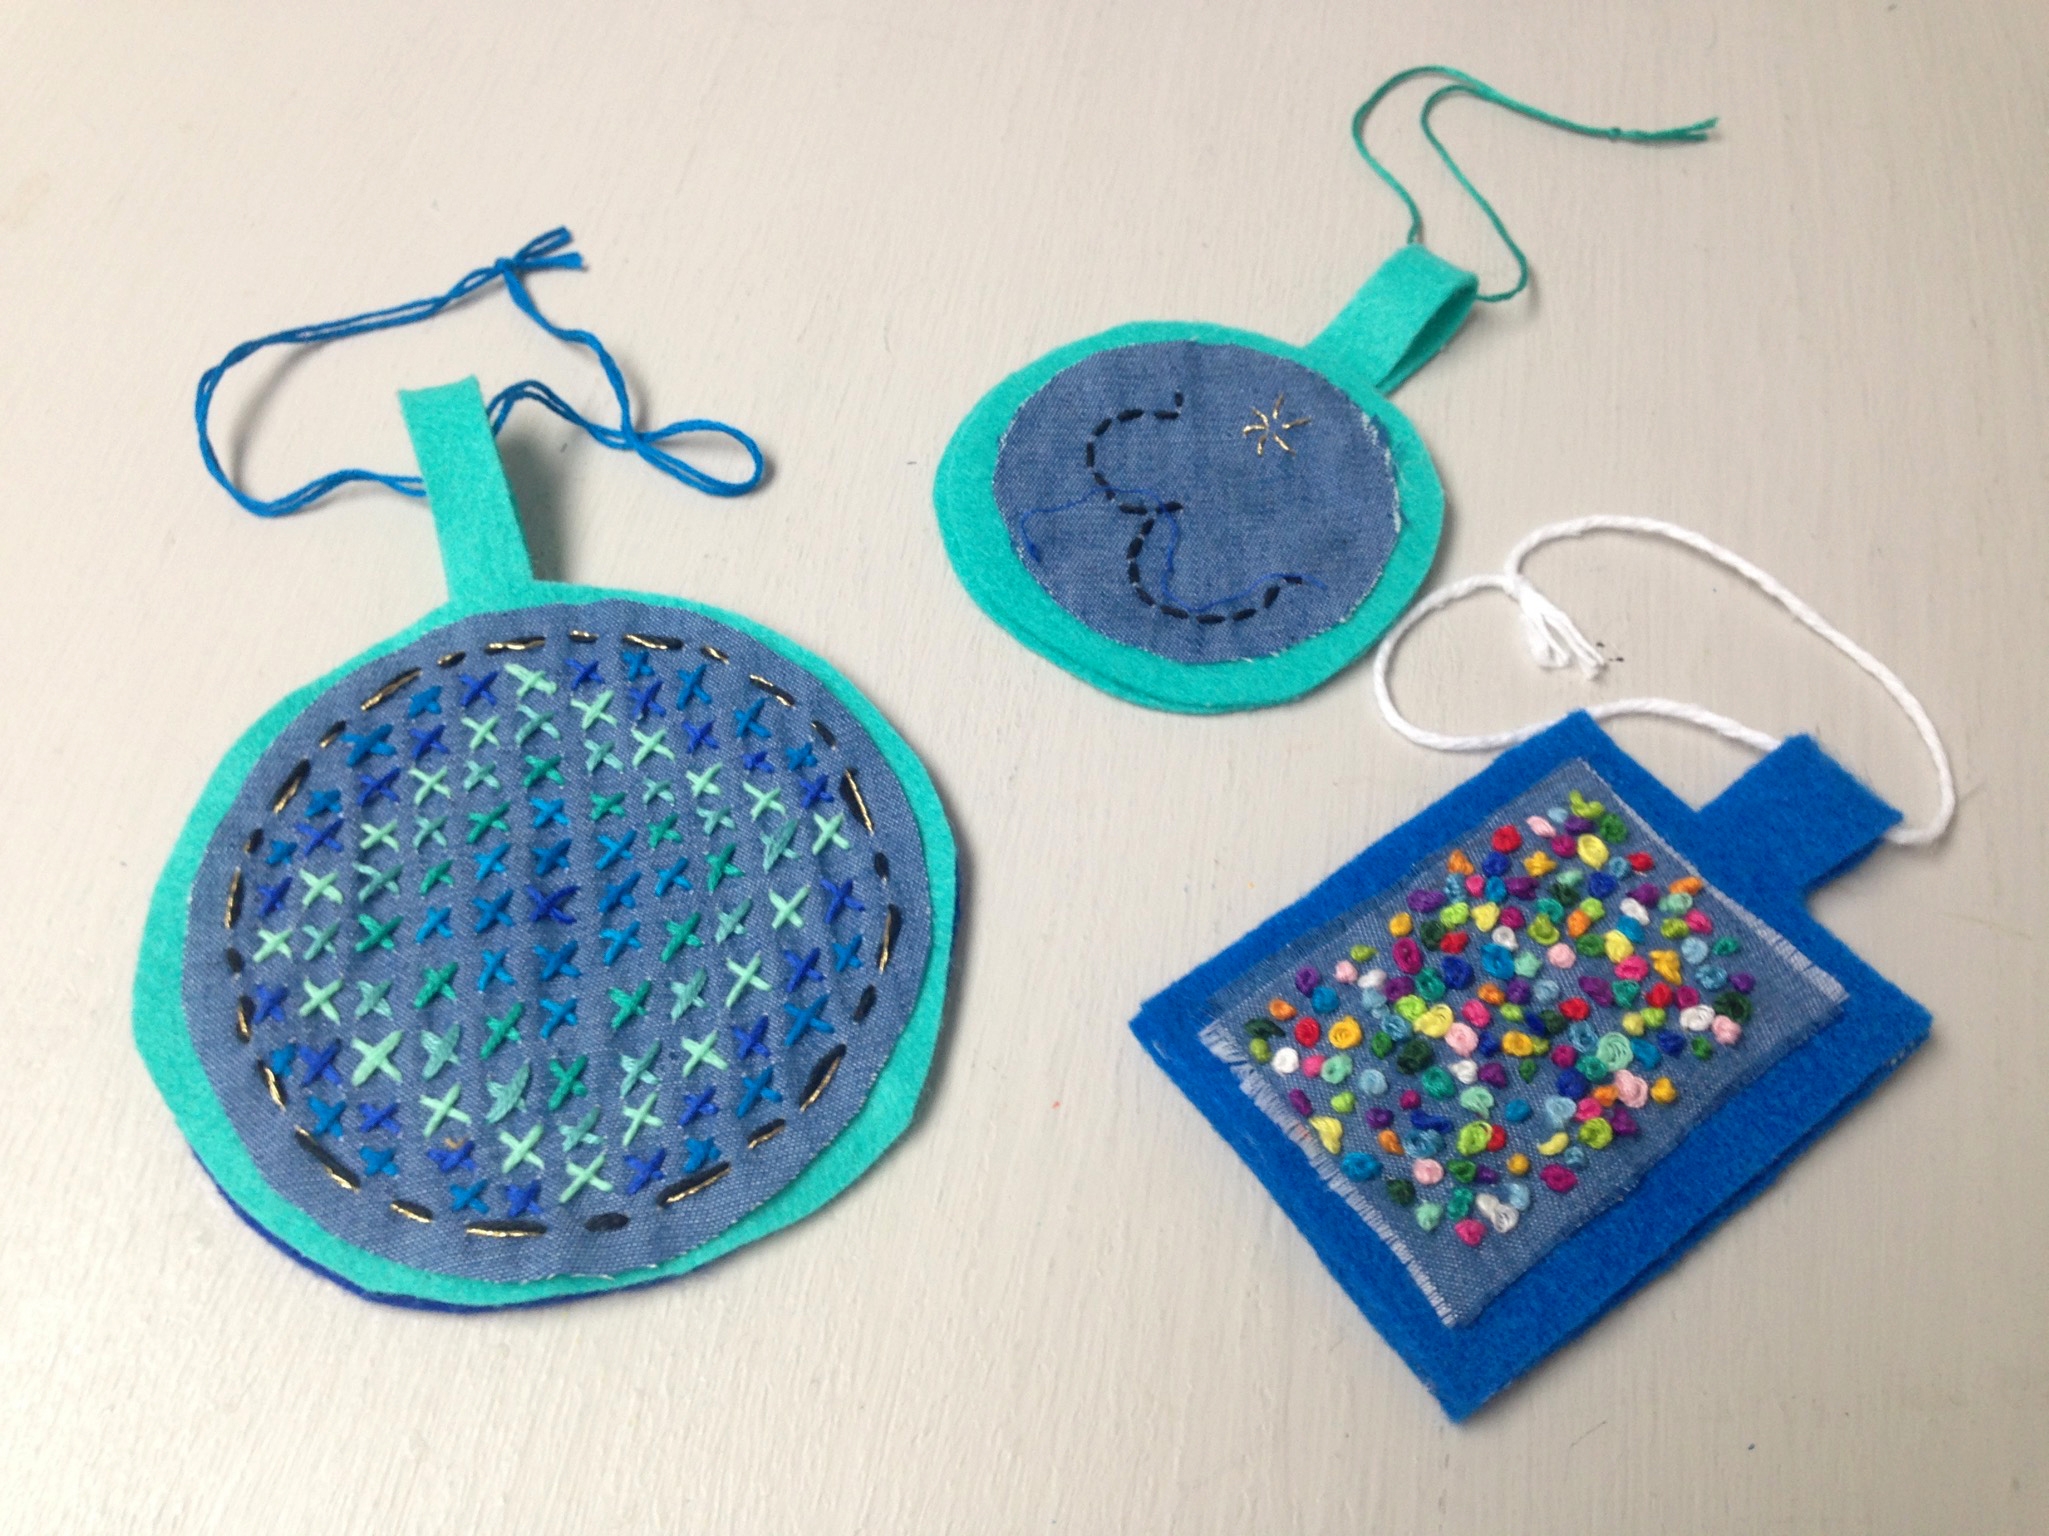
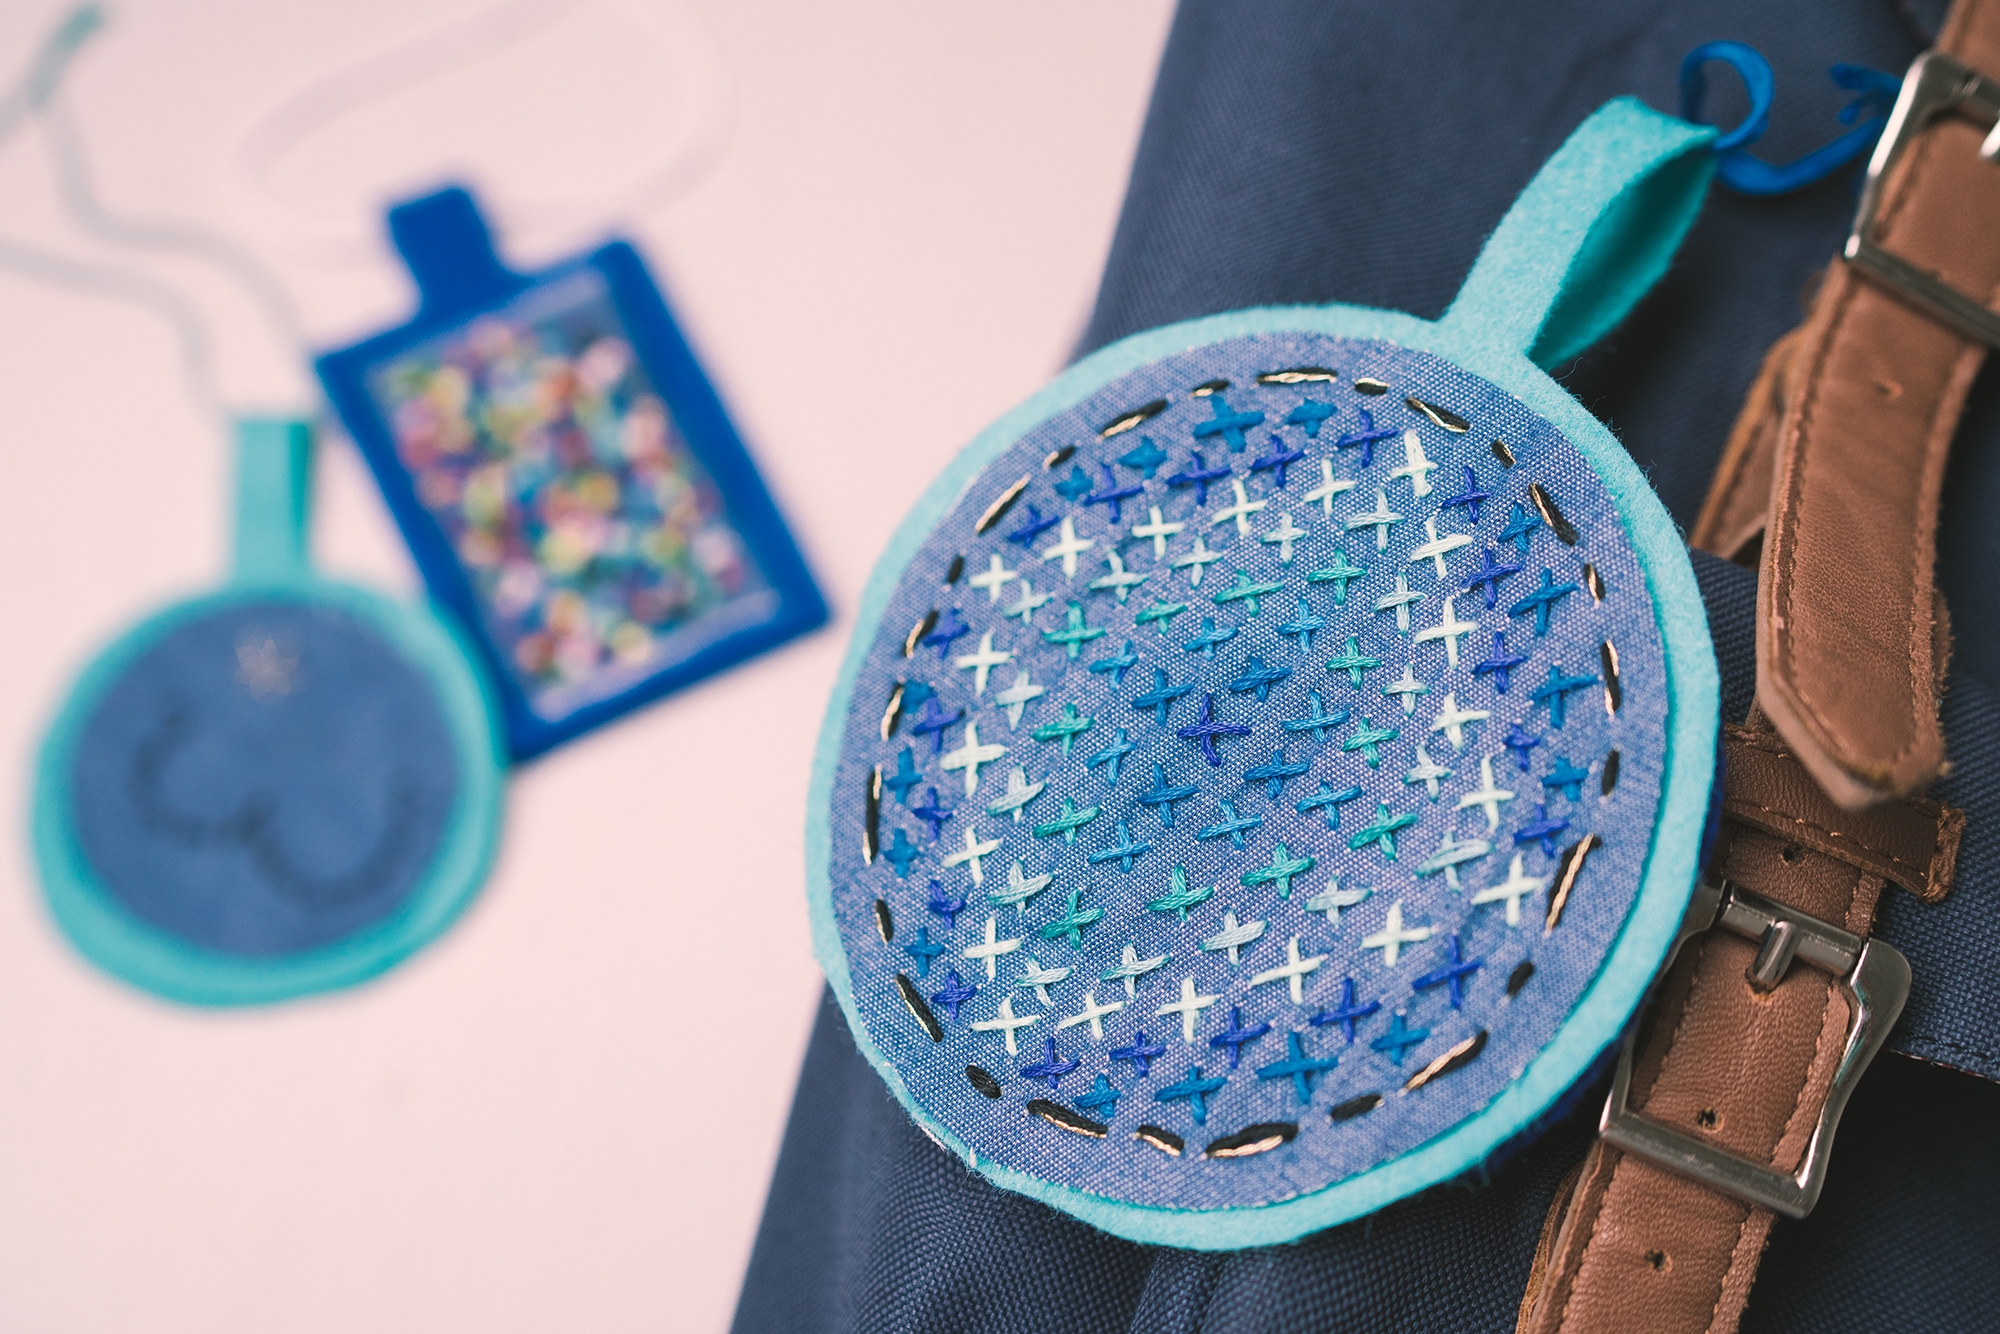
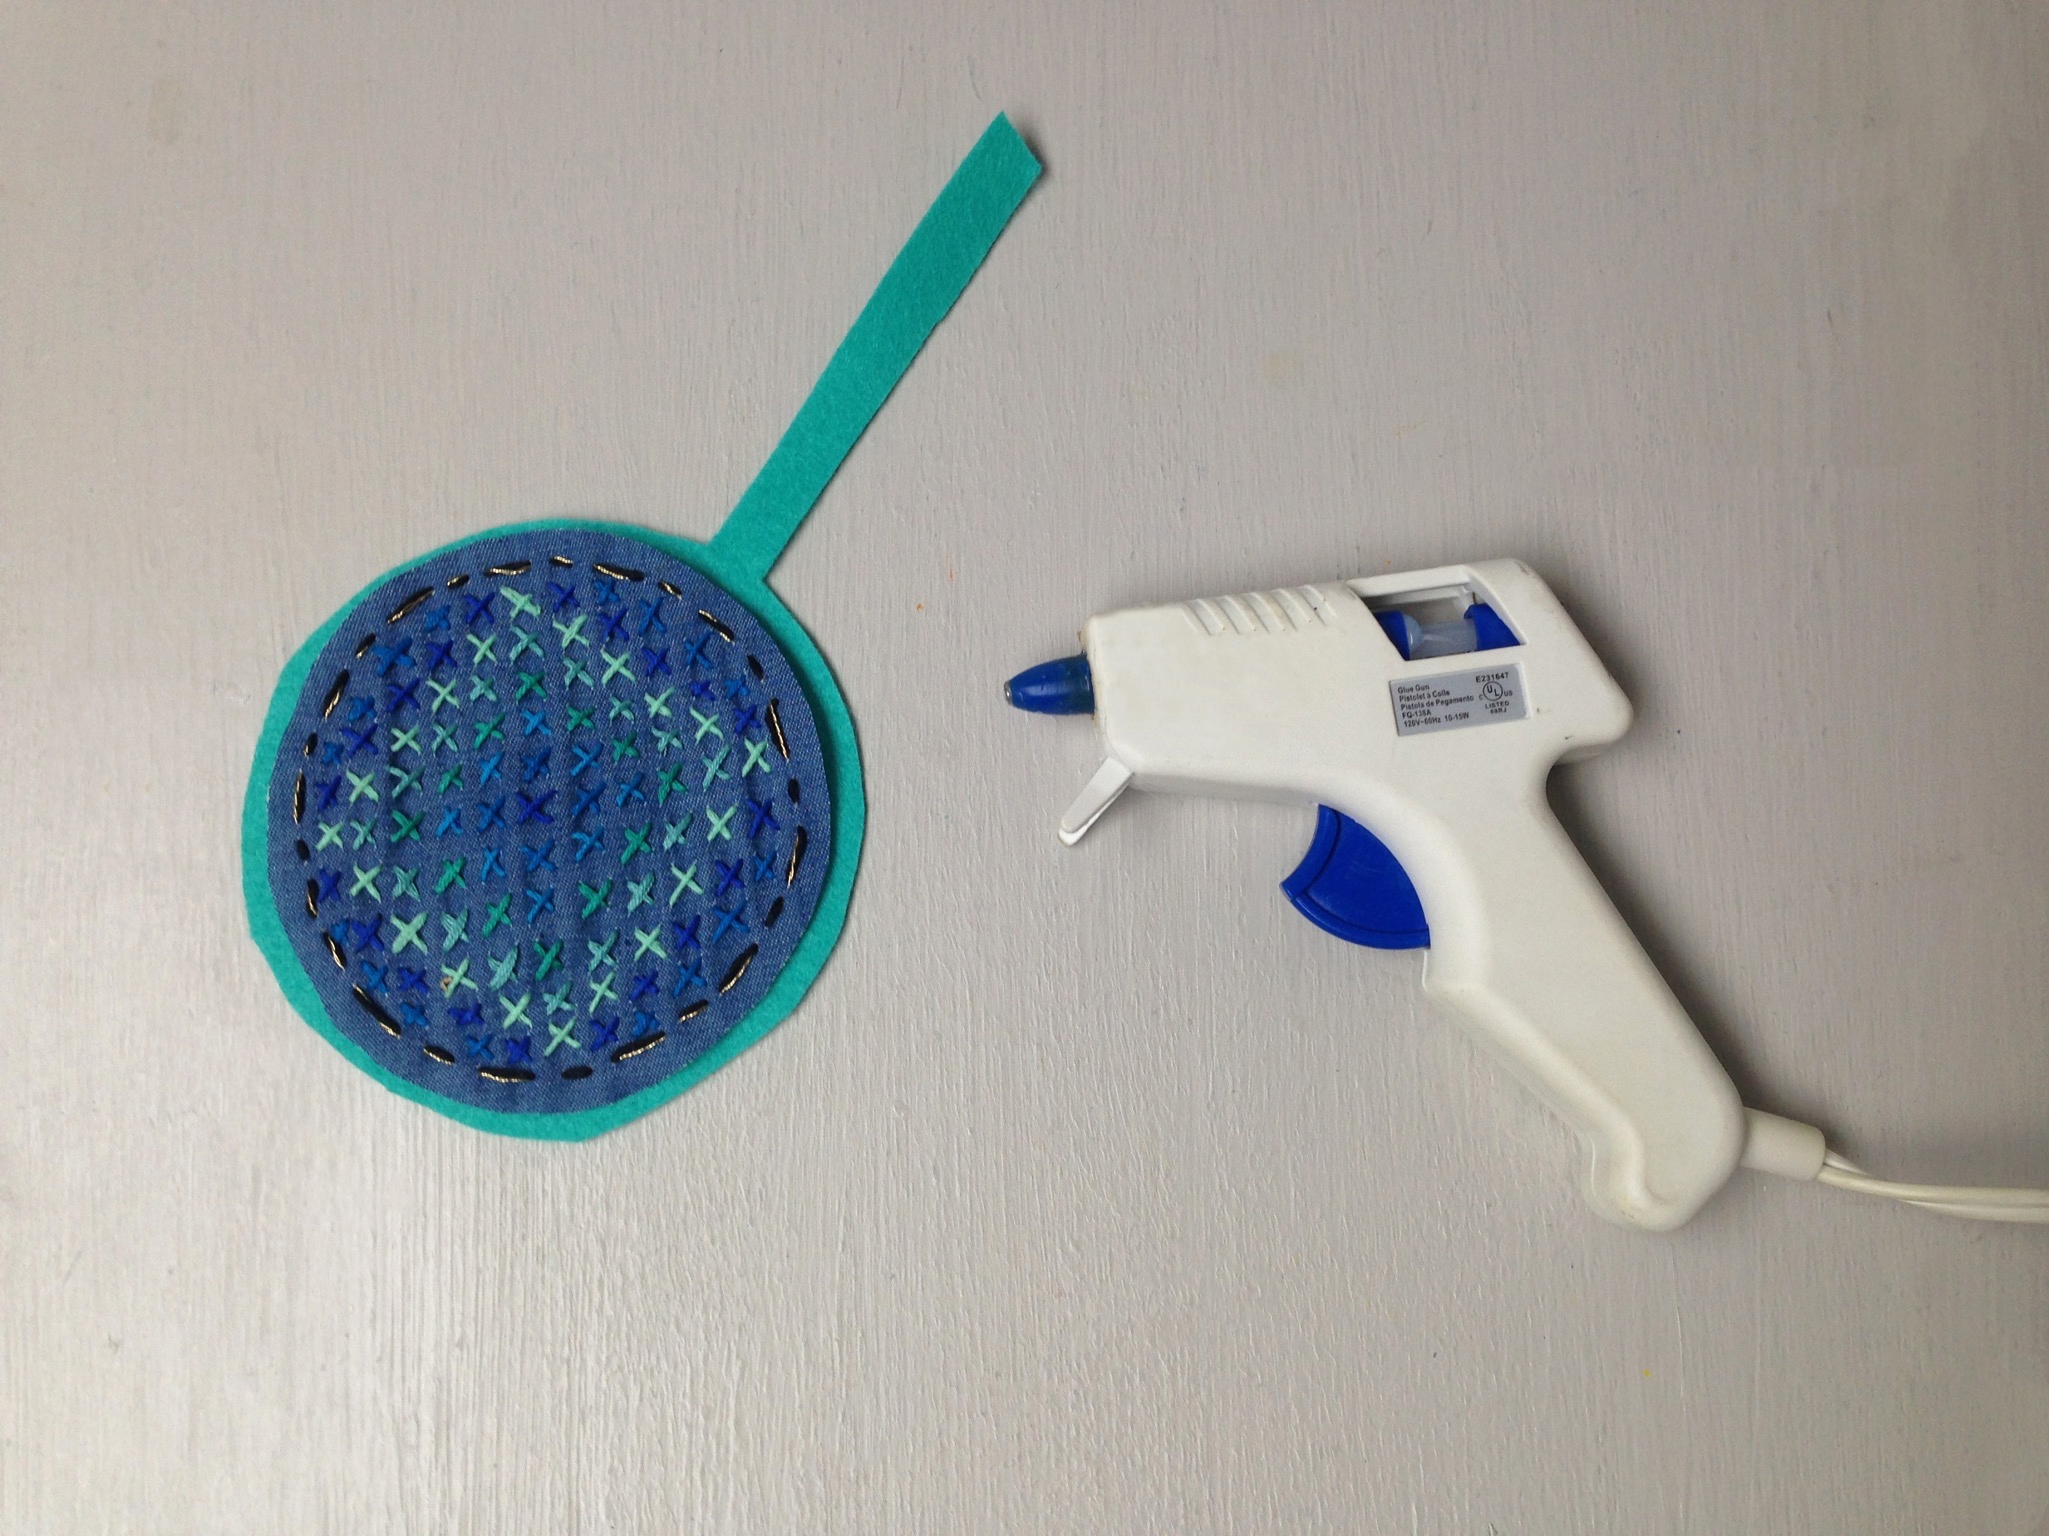
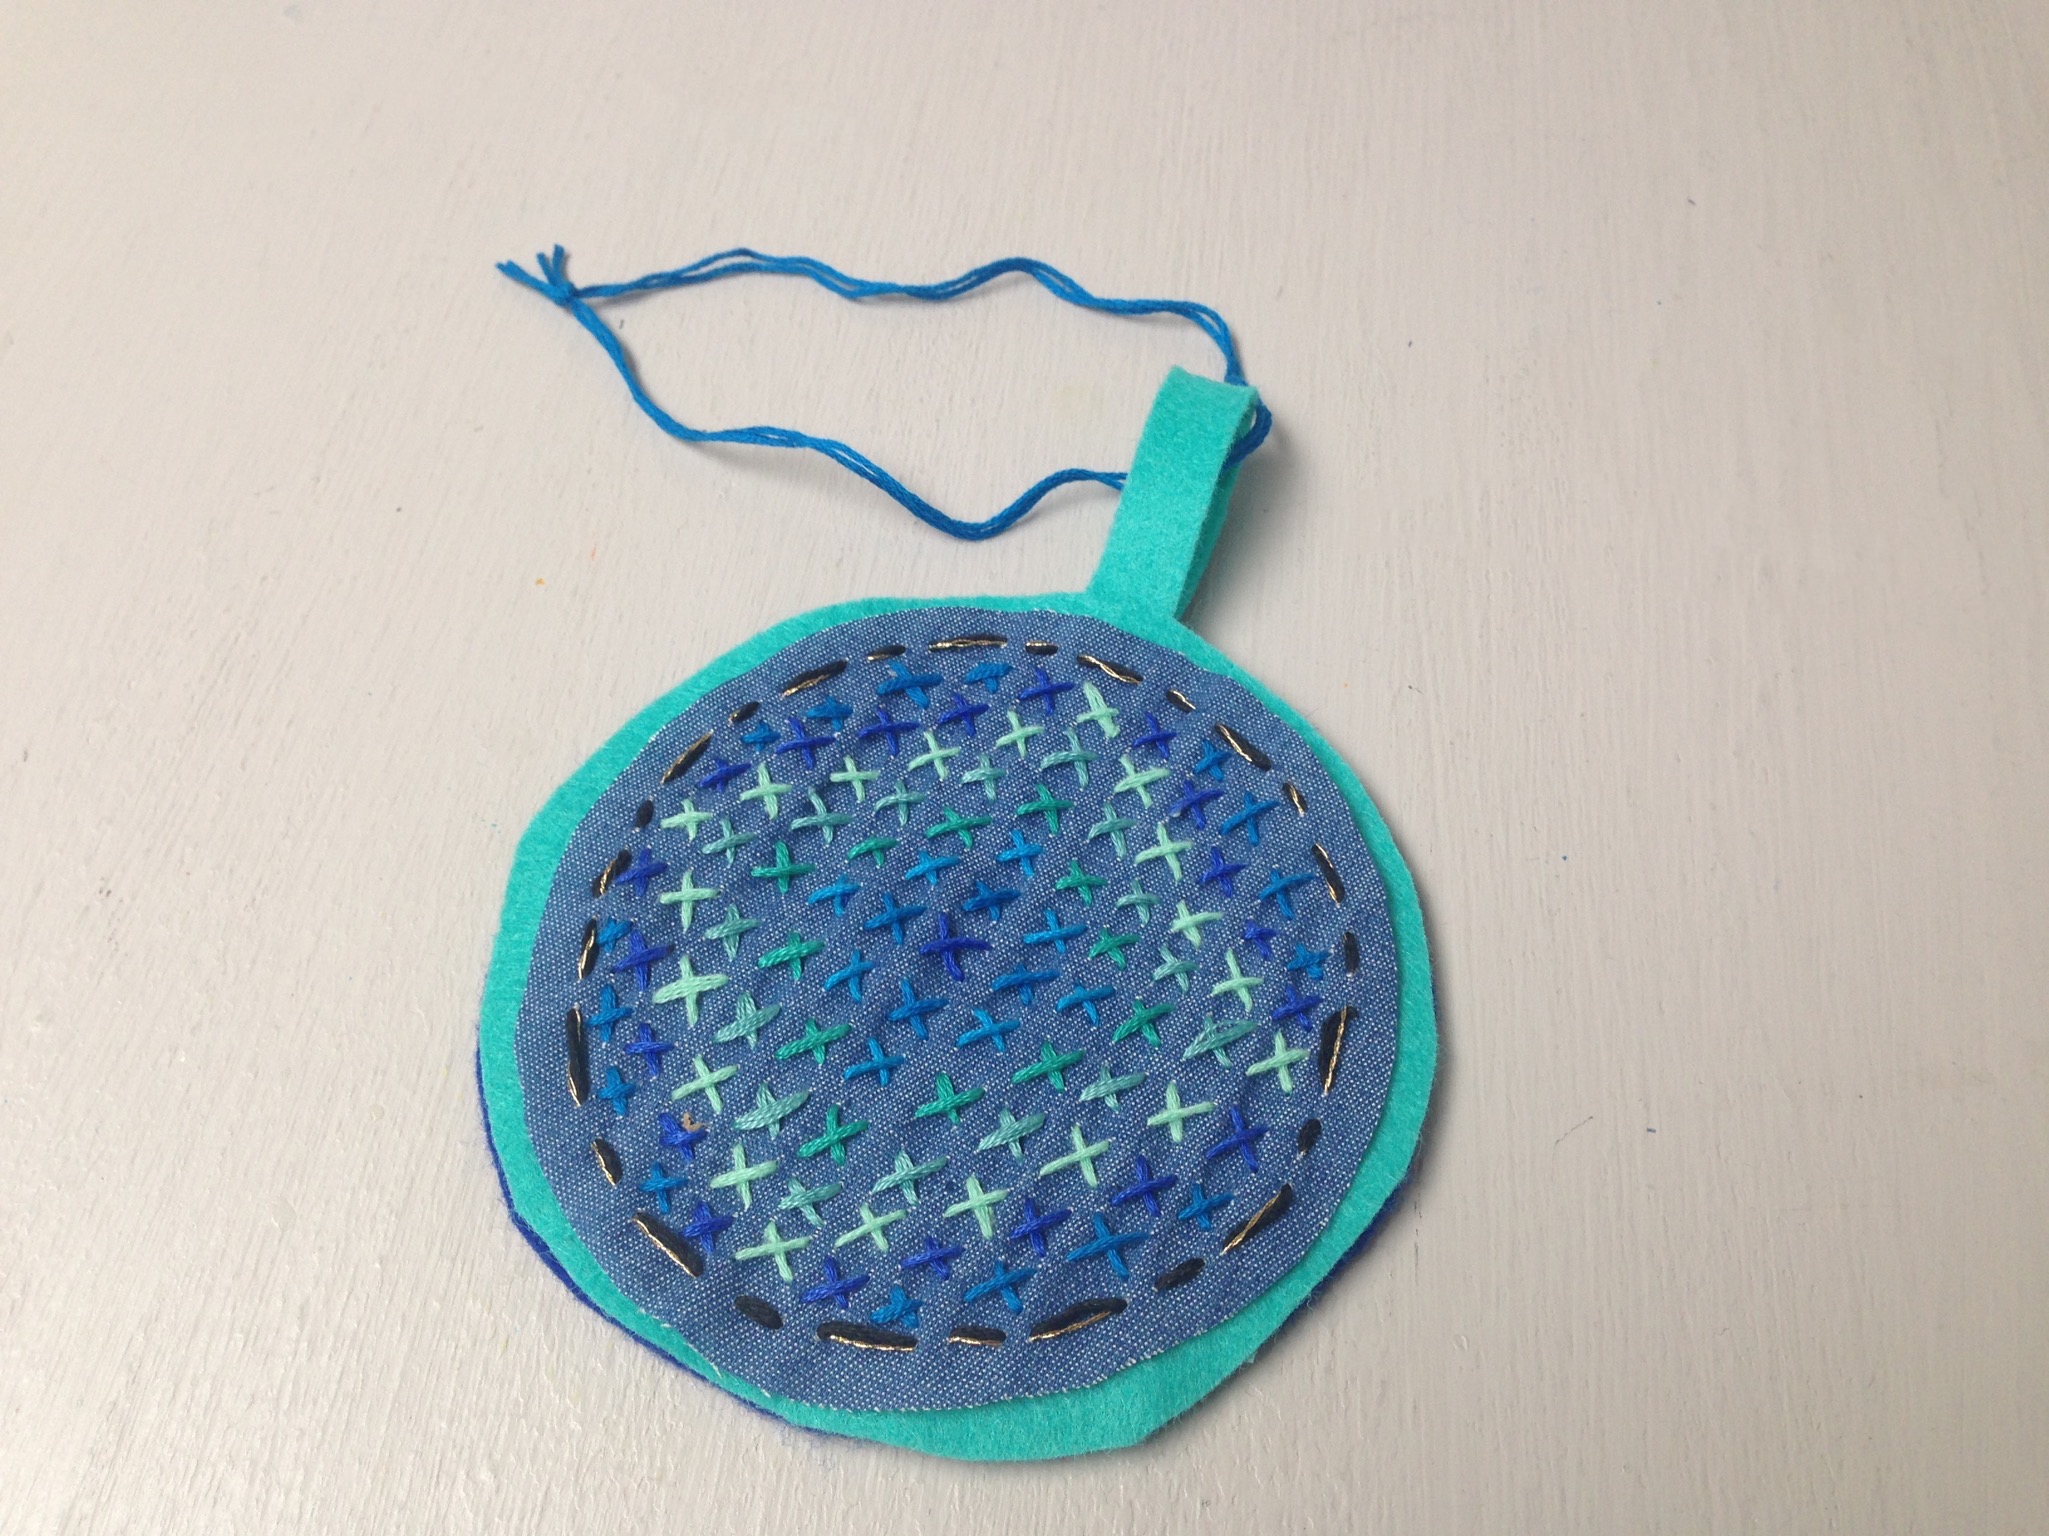
Start stitching! A running or cross stick is easiest if you are a beginner. A simple example is writing your initial on your swatch. I made a large circular tag using cross stitch technique to made a colorful pattern.Feel free to explore different embroidery stitches.
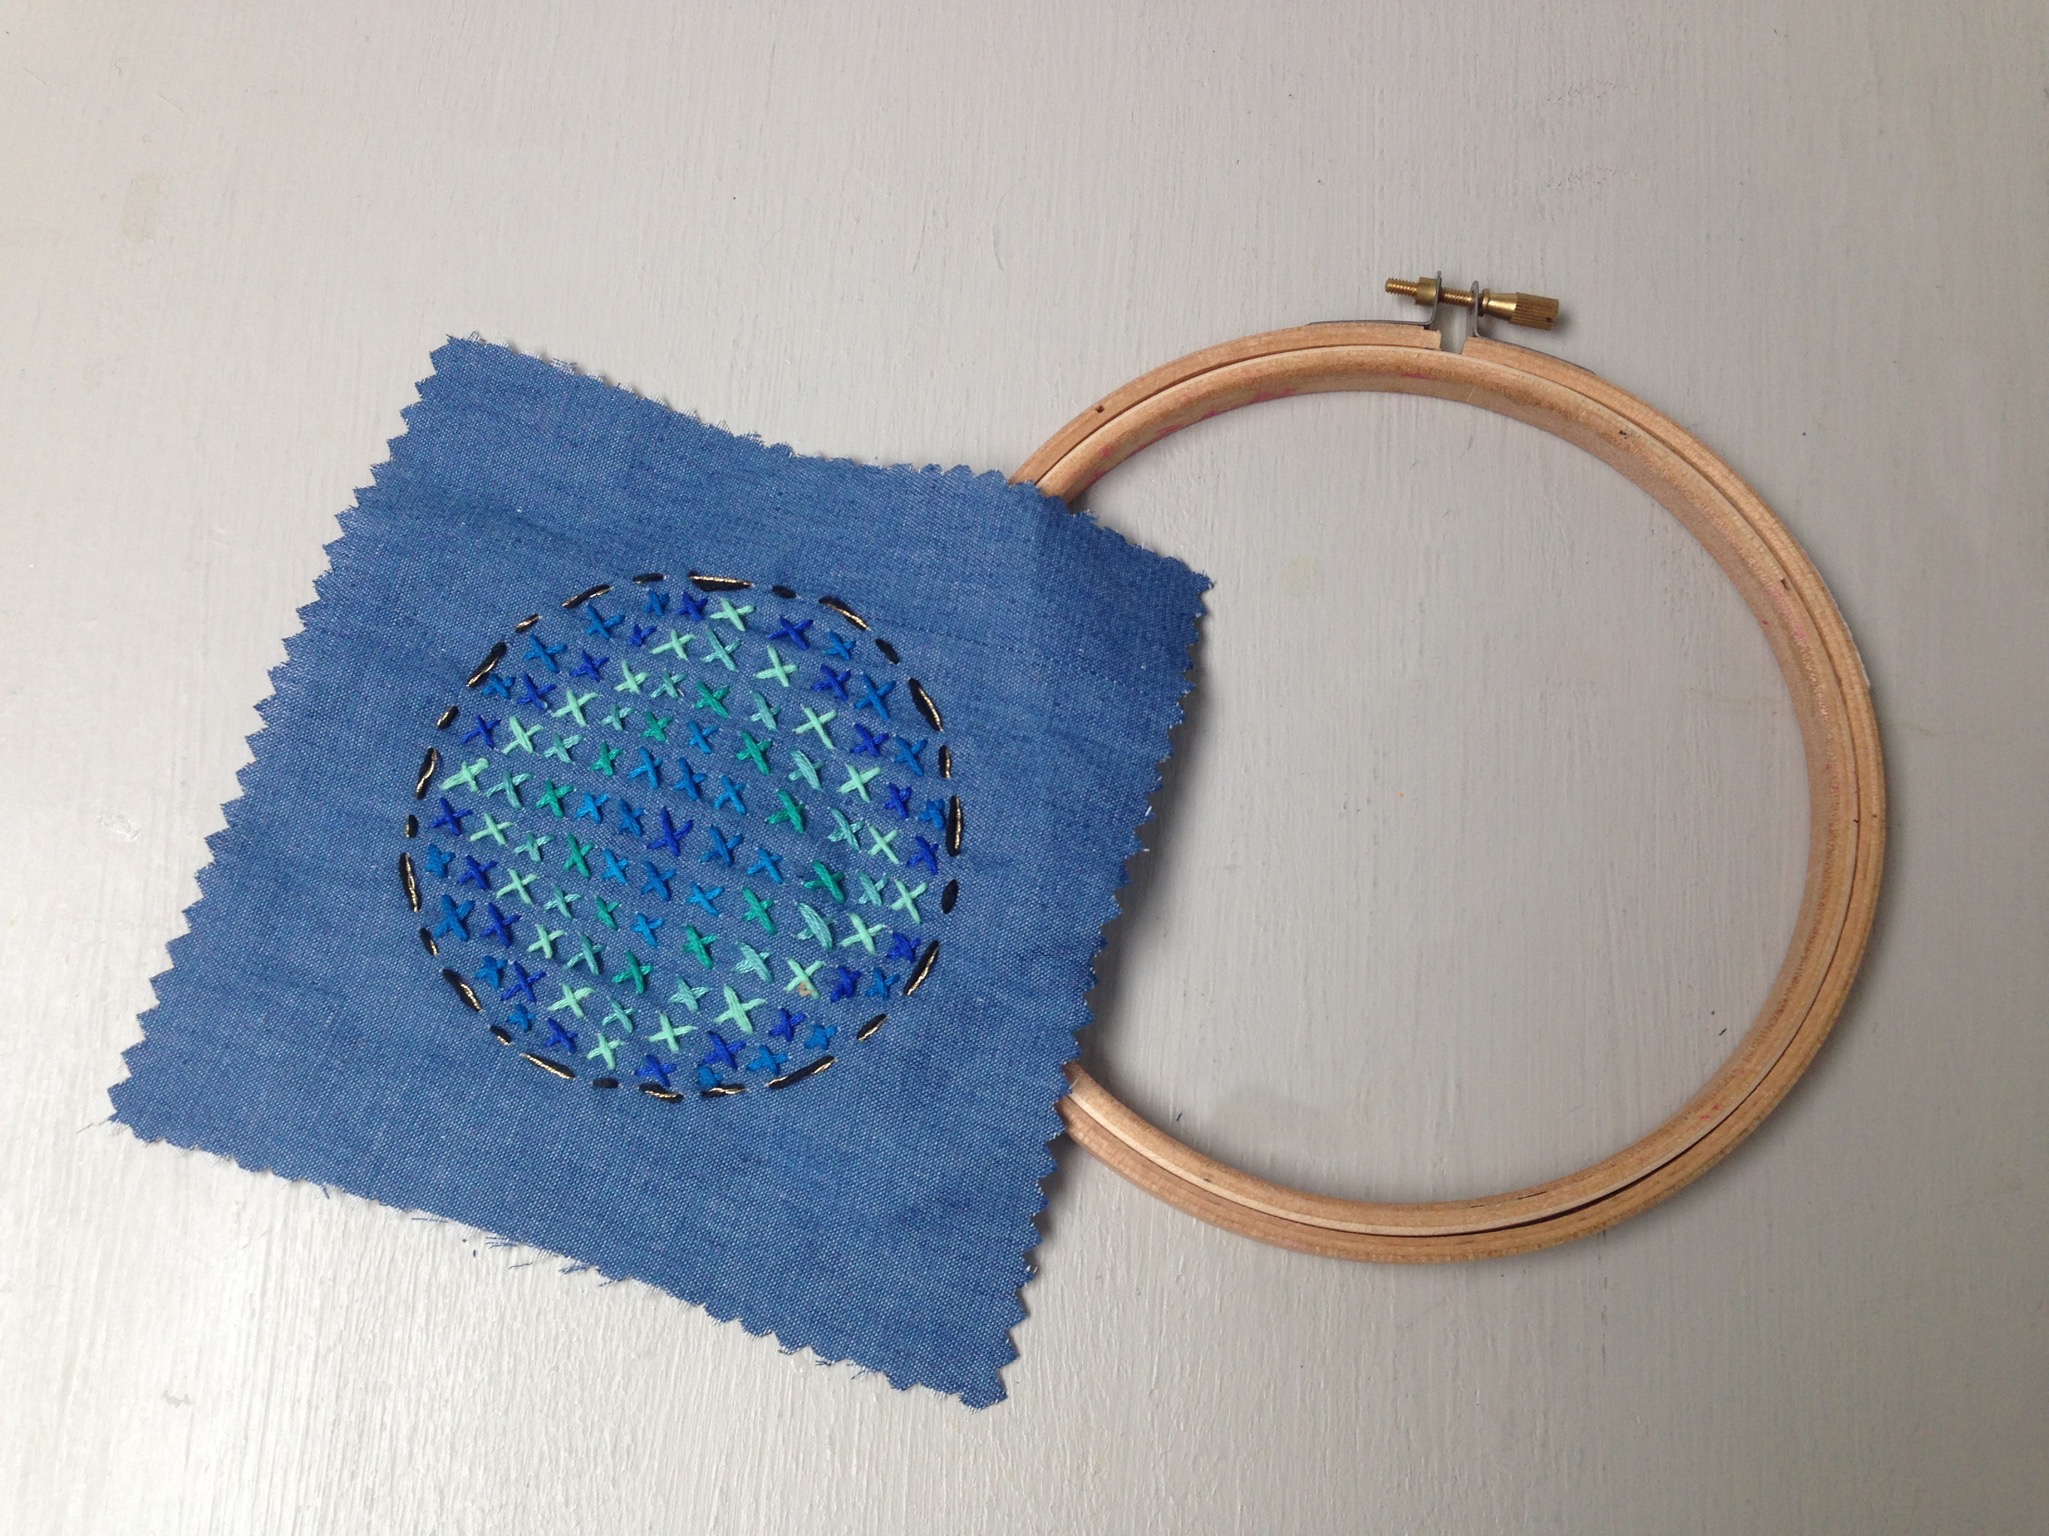
Step 4
Once you are finished stitching, remove the embroidered swatch from the hoop.
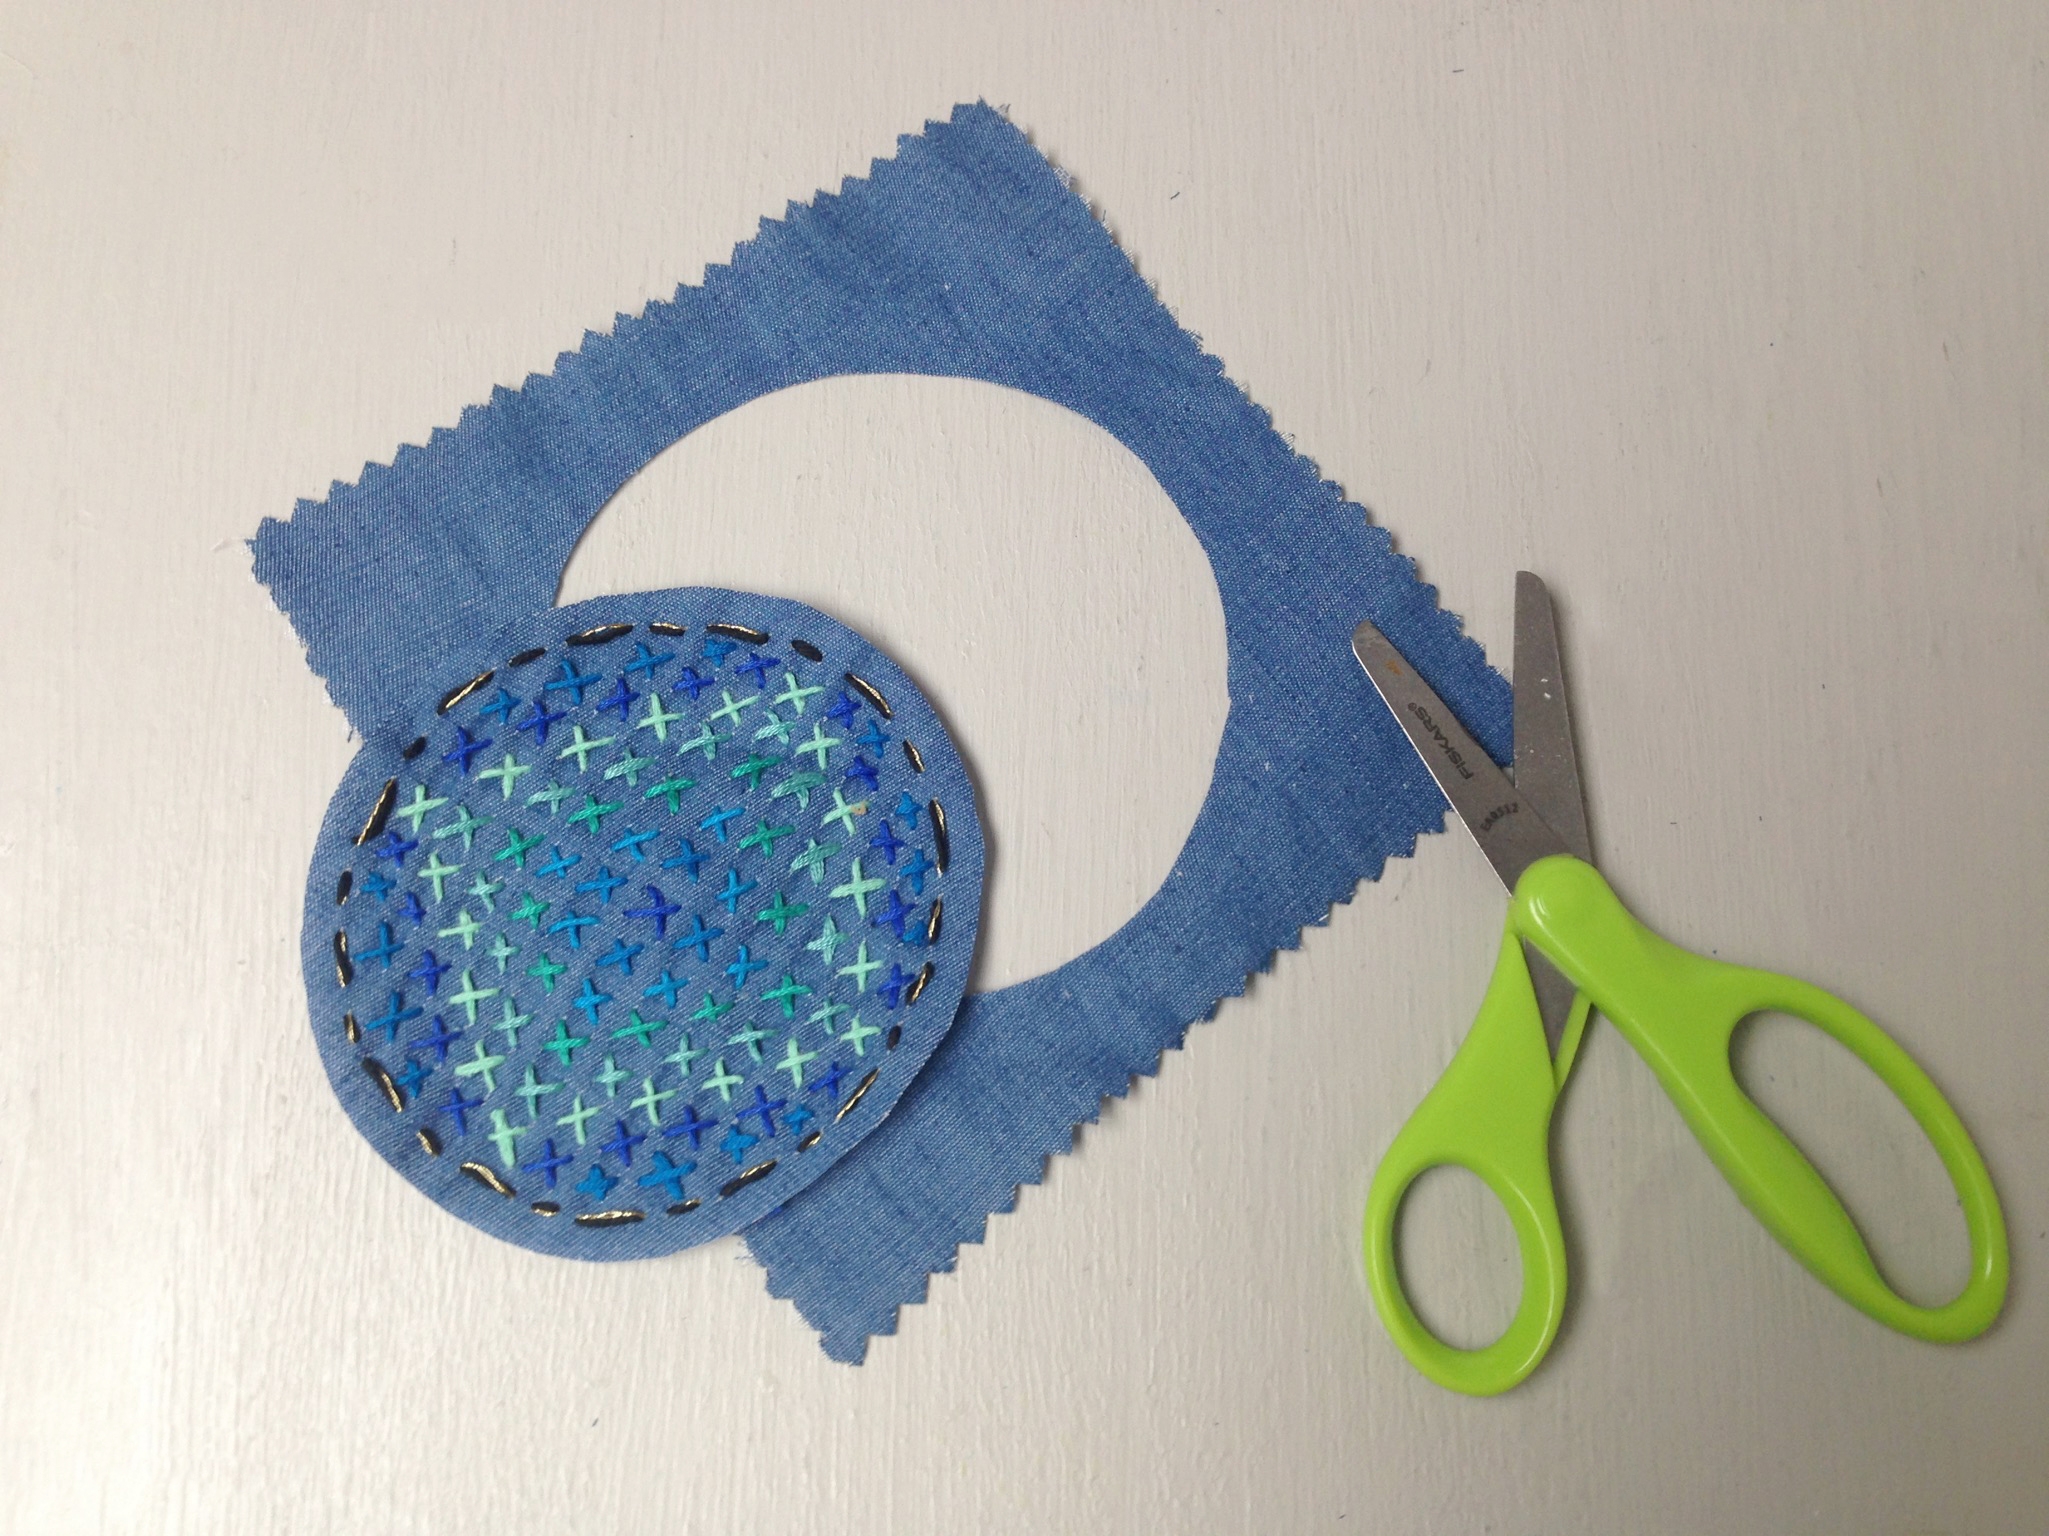
Step 5
Cut out the shape, leaving at least a 1/4-inch border.
Step 6
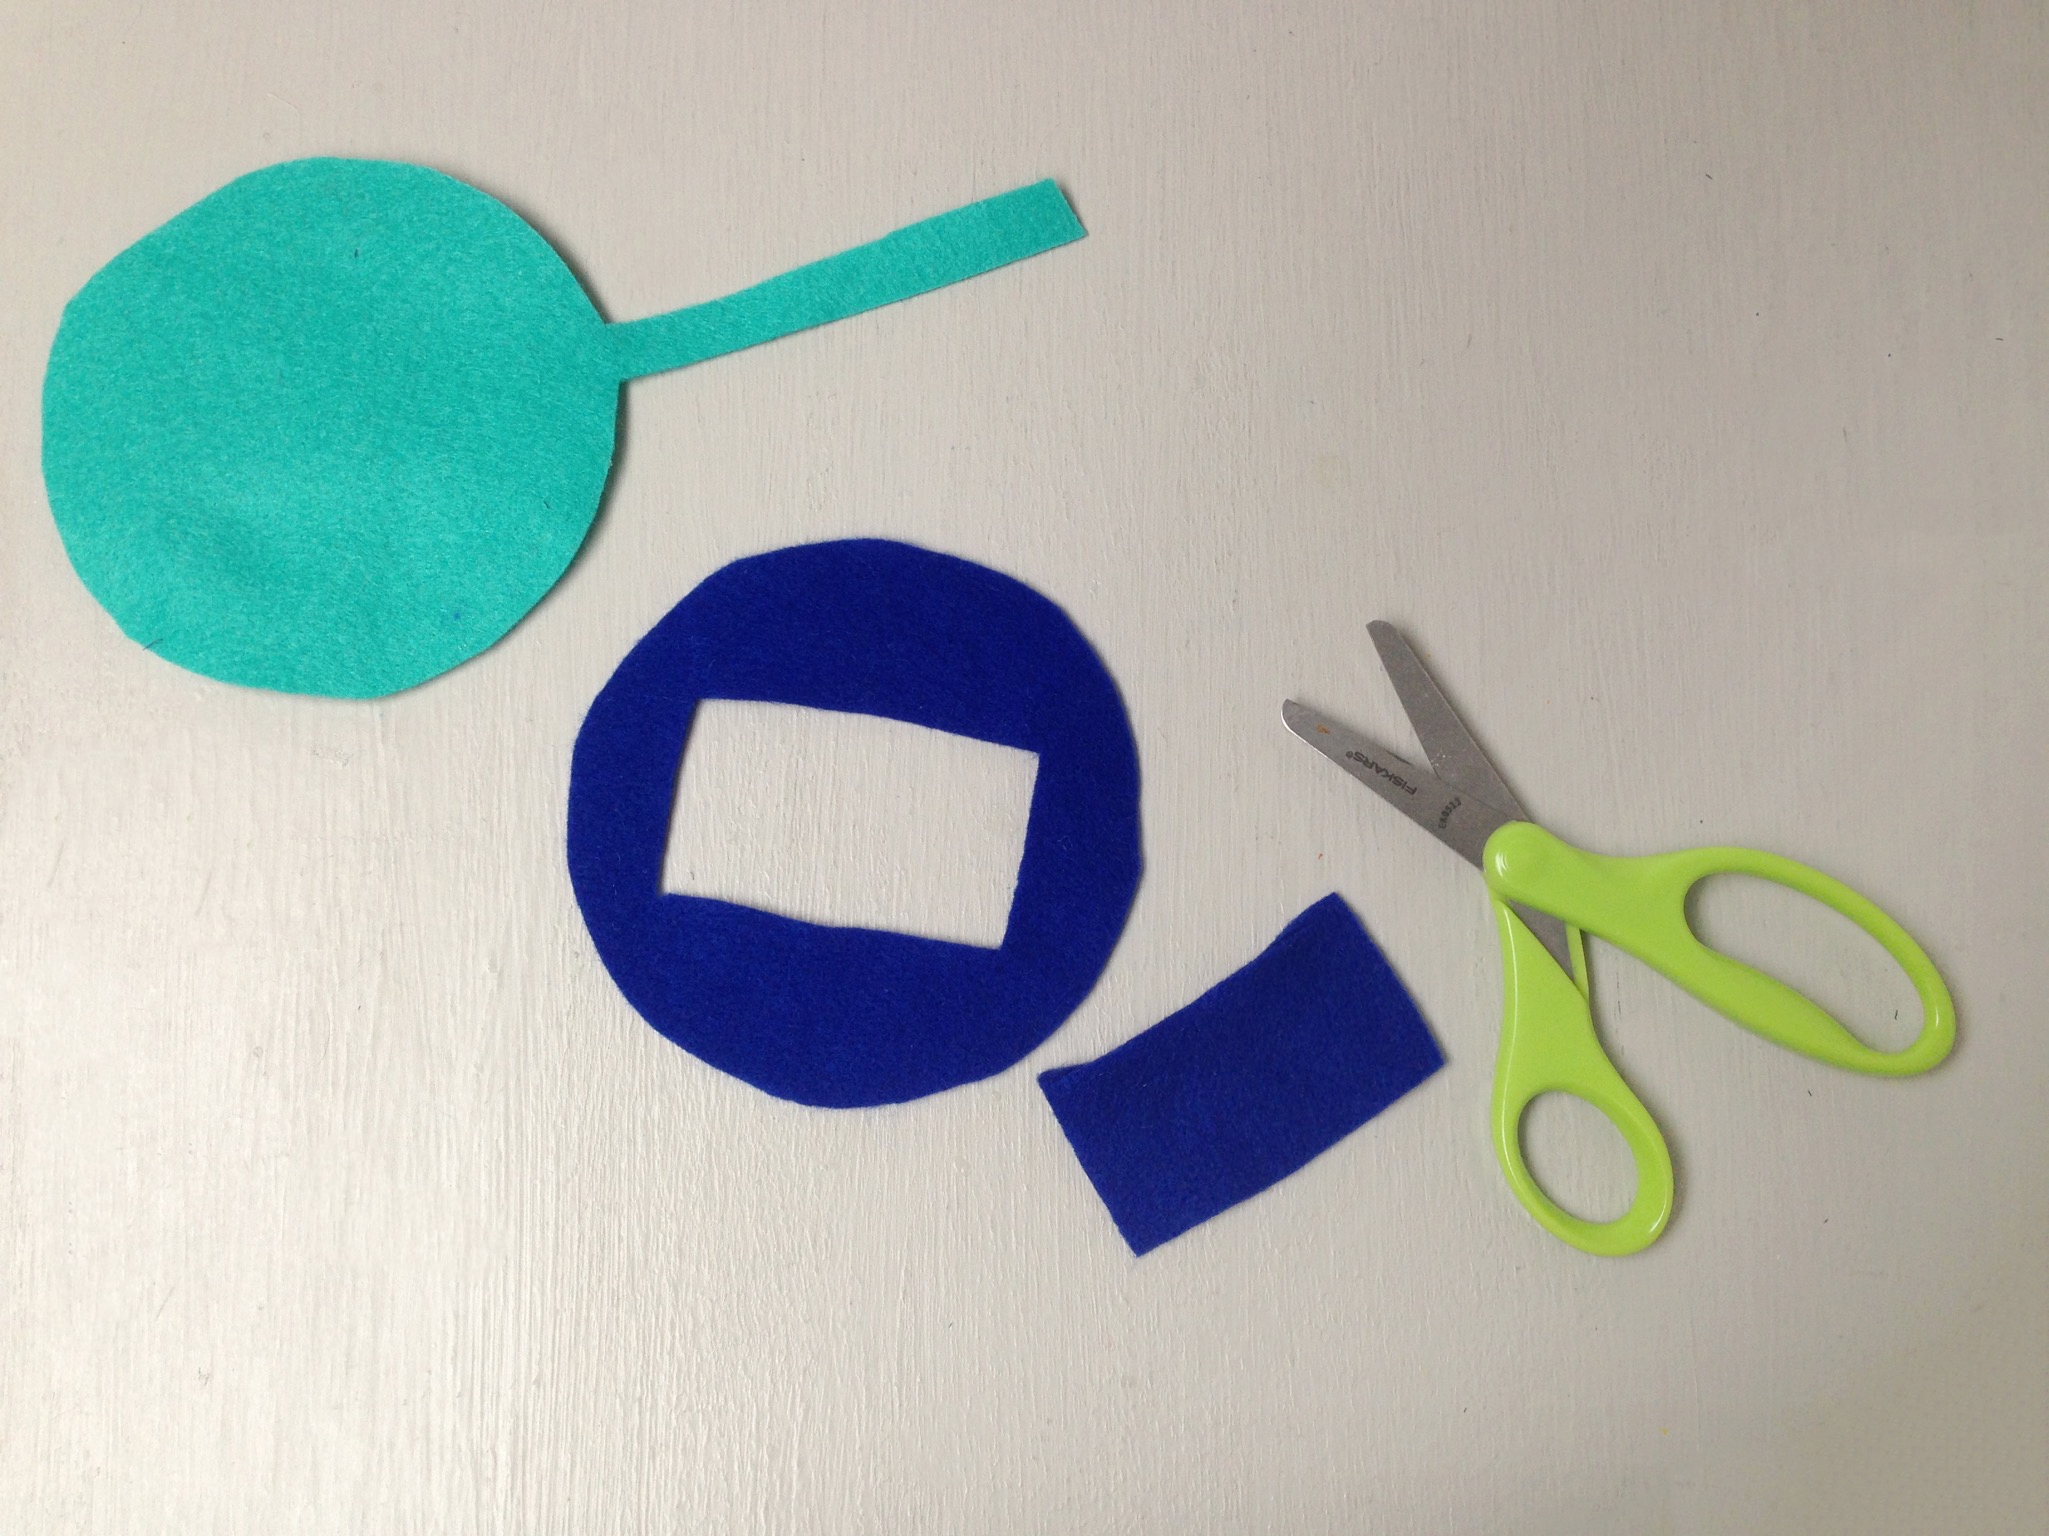
Take your felt sheet and cut out the shape you'd like your luggage tag to be. This will be the base of your luggage tag. The size of your tag will depend on the embroidered shape you cut out.
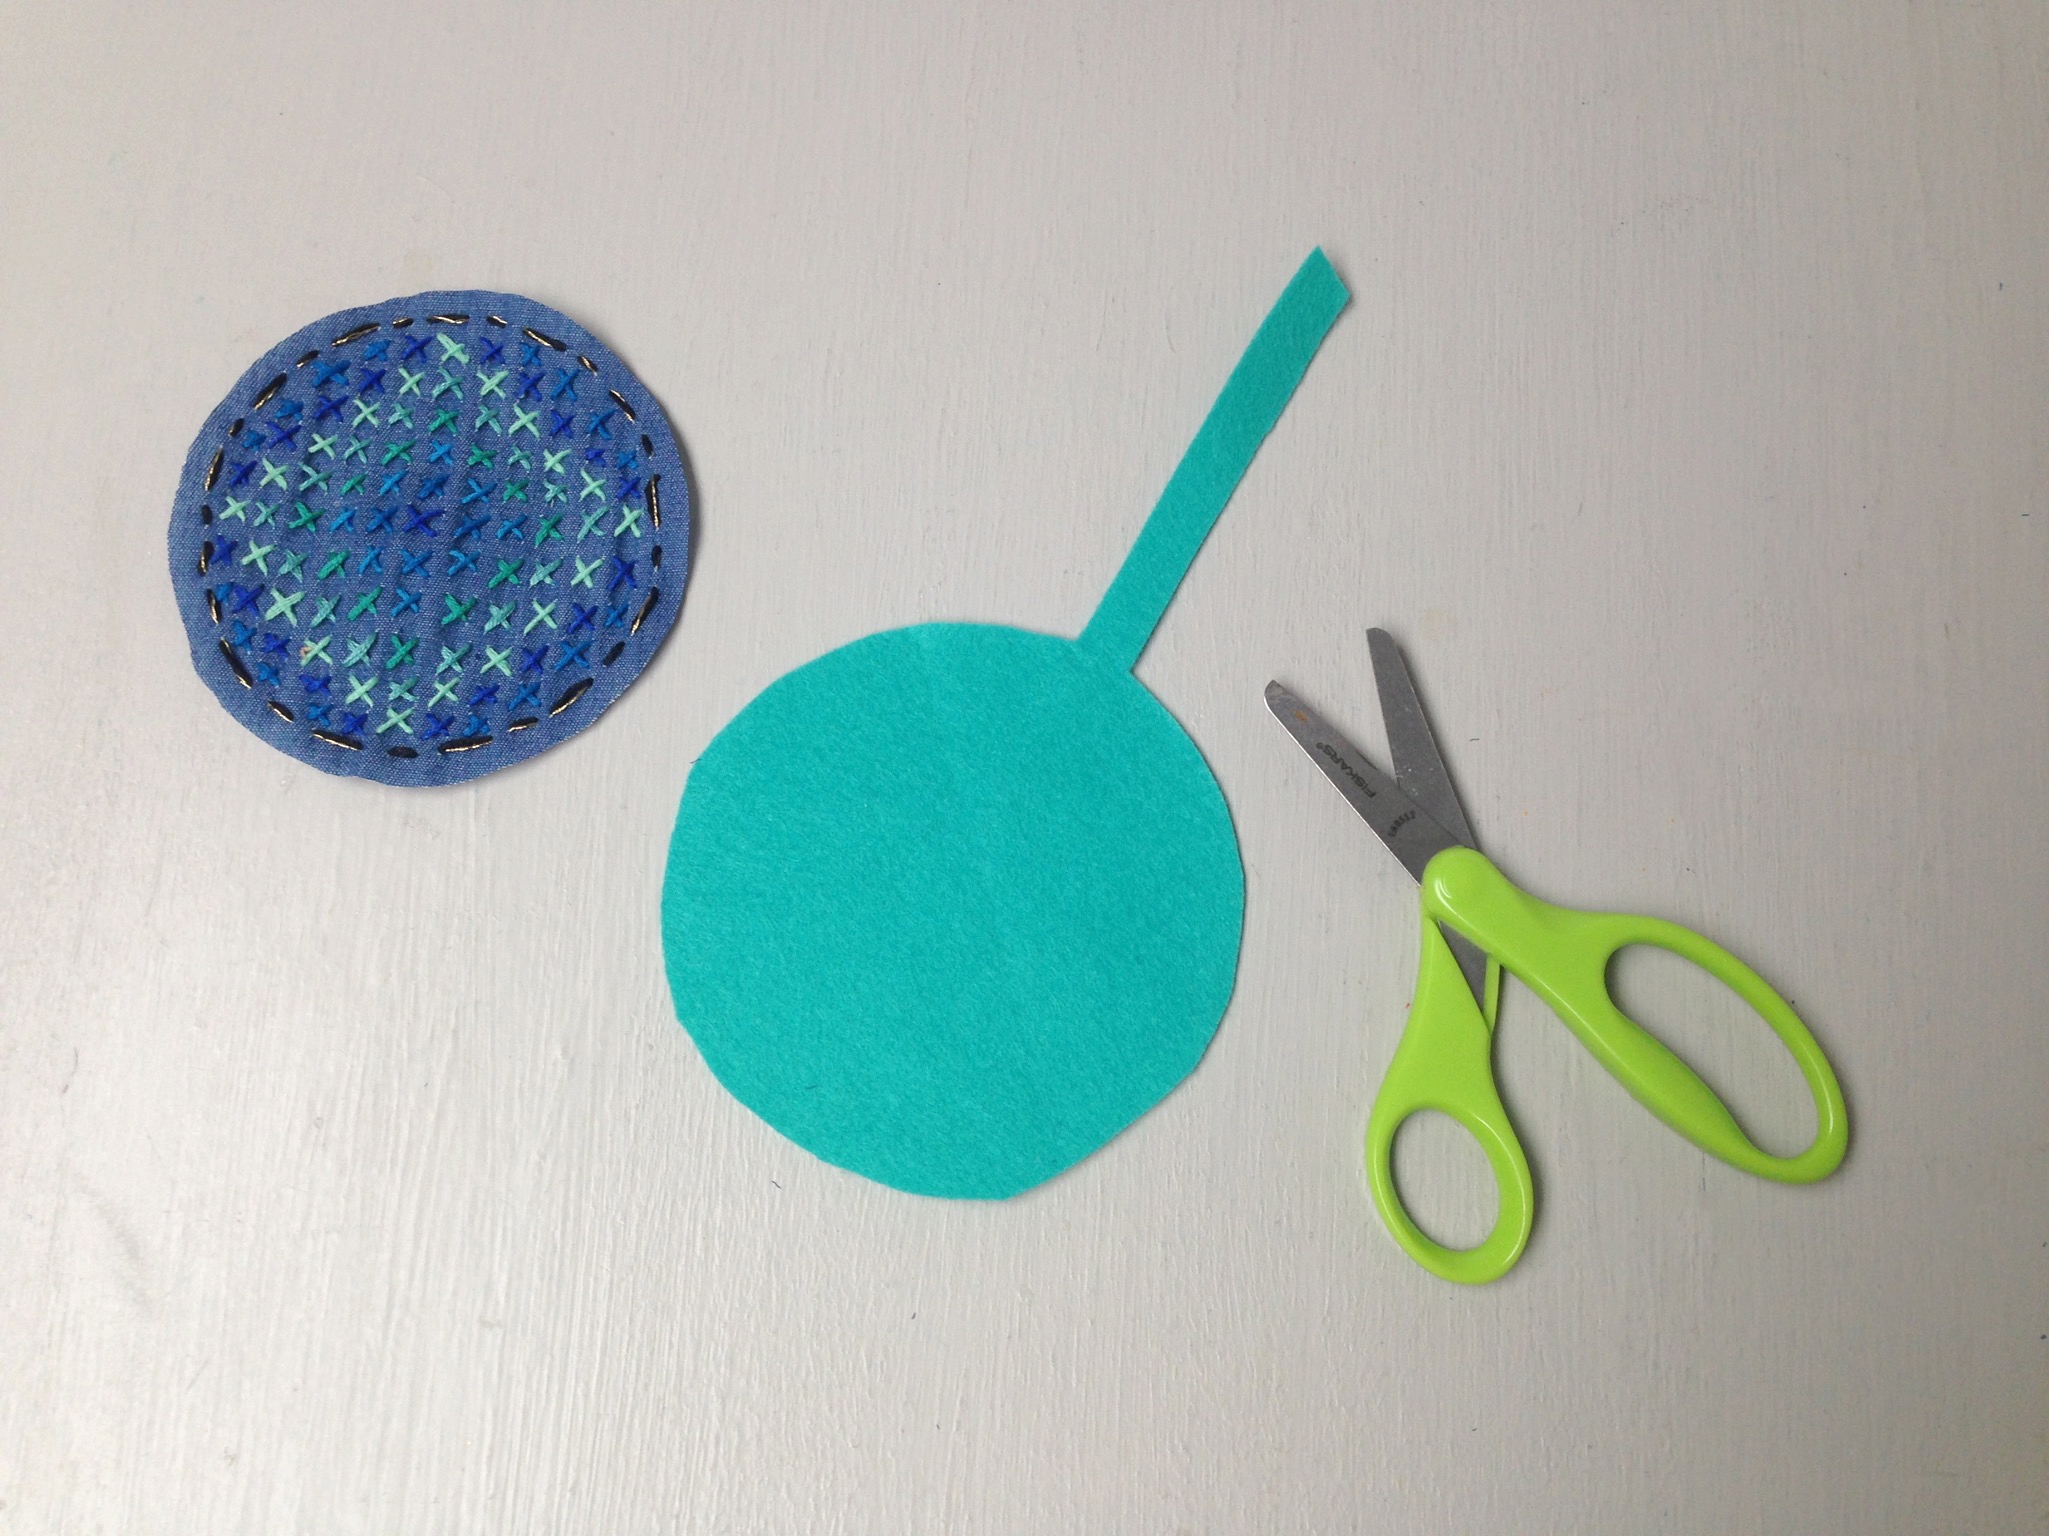
Tip
You can leave a tail to make a loop or punch a hole in the felt to create a place to hang the tag. I left a tail on mine.
Step 7
Using a hot glue gun, glue the embroidered swatch onto the felt base of your luggage tag.
Step 8
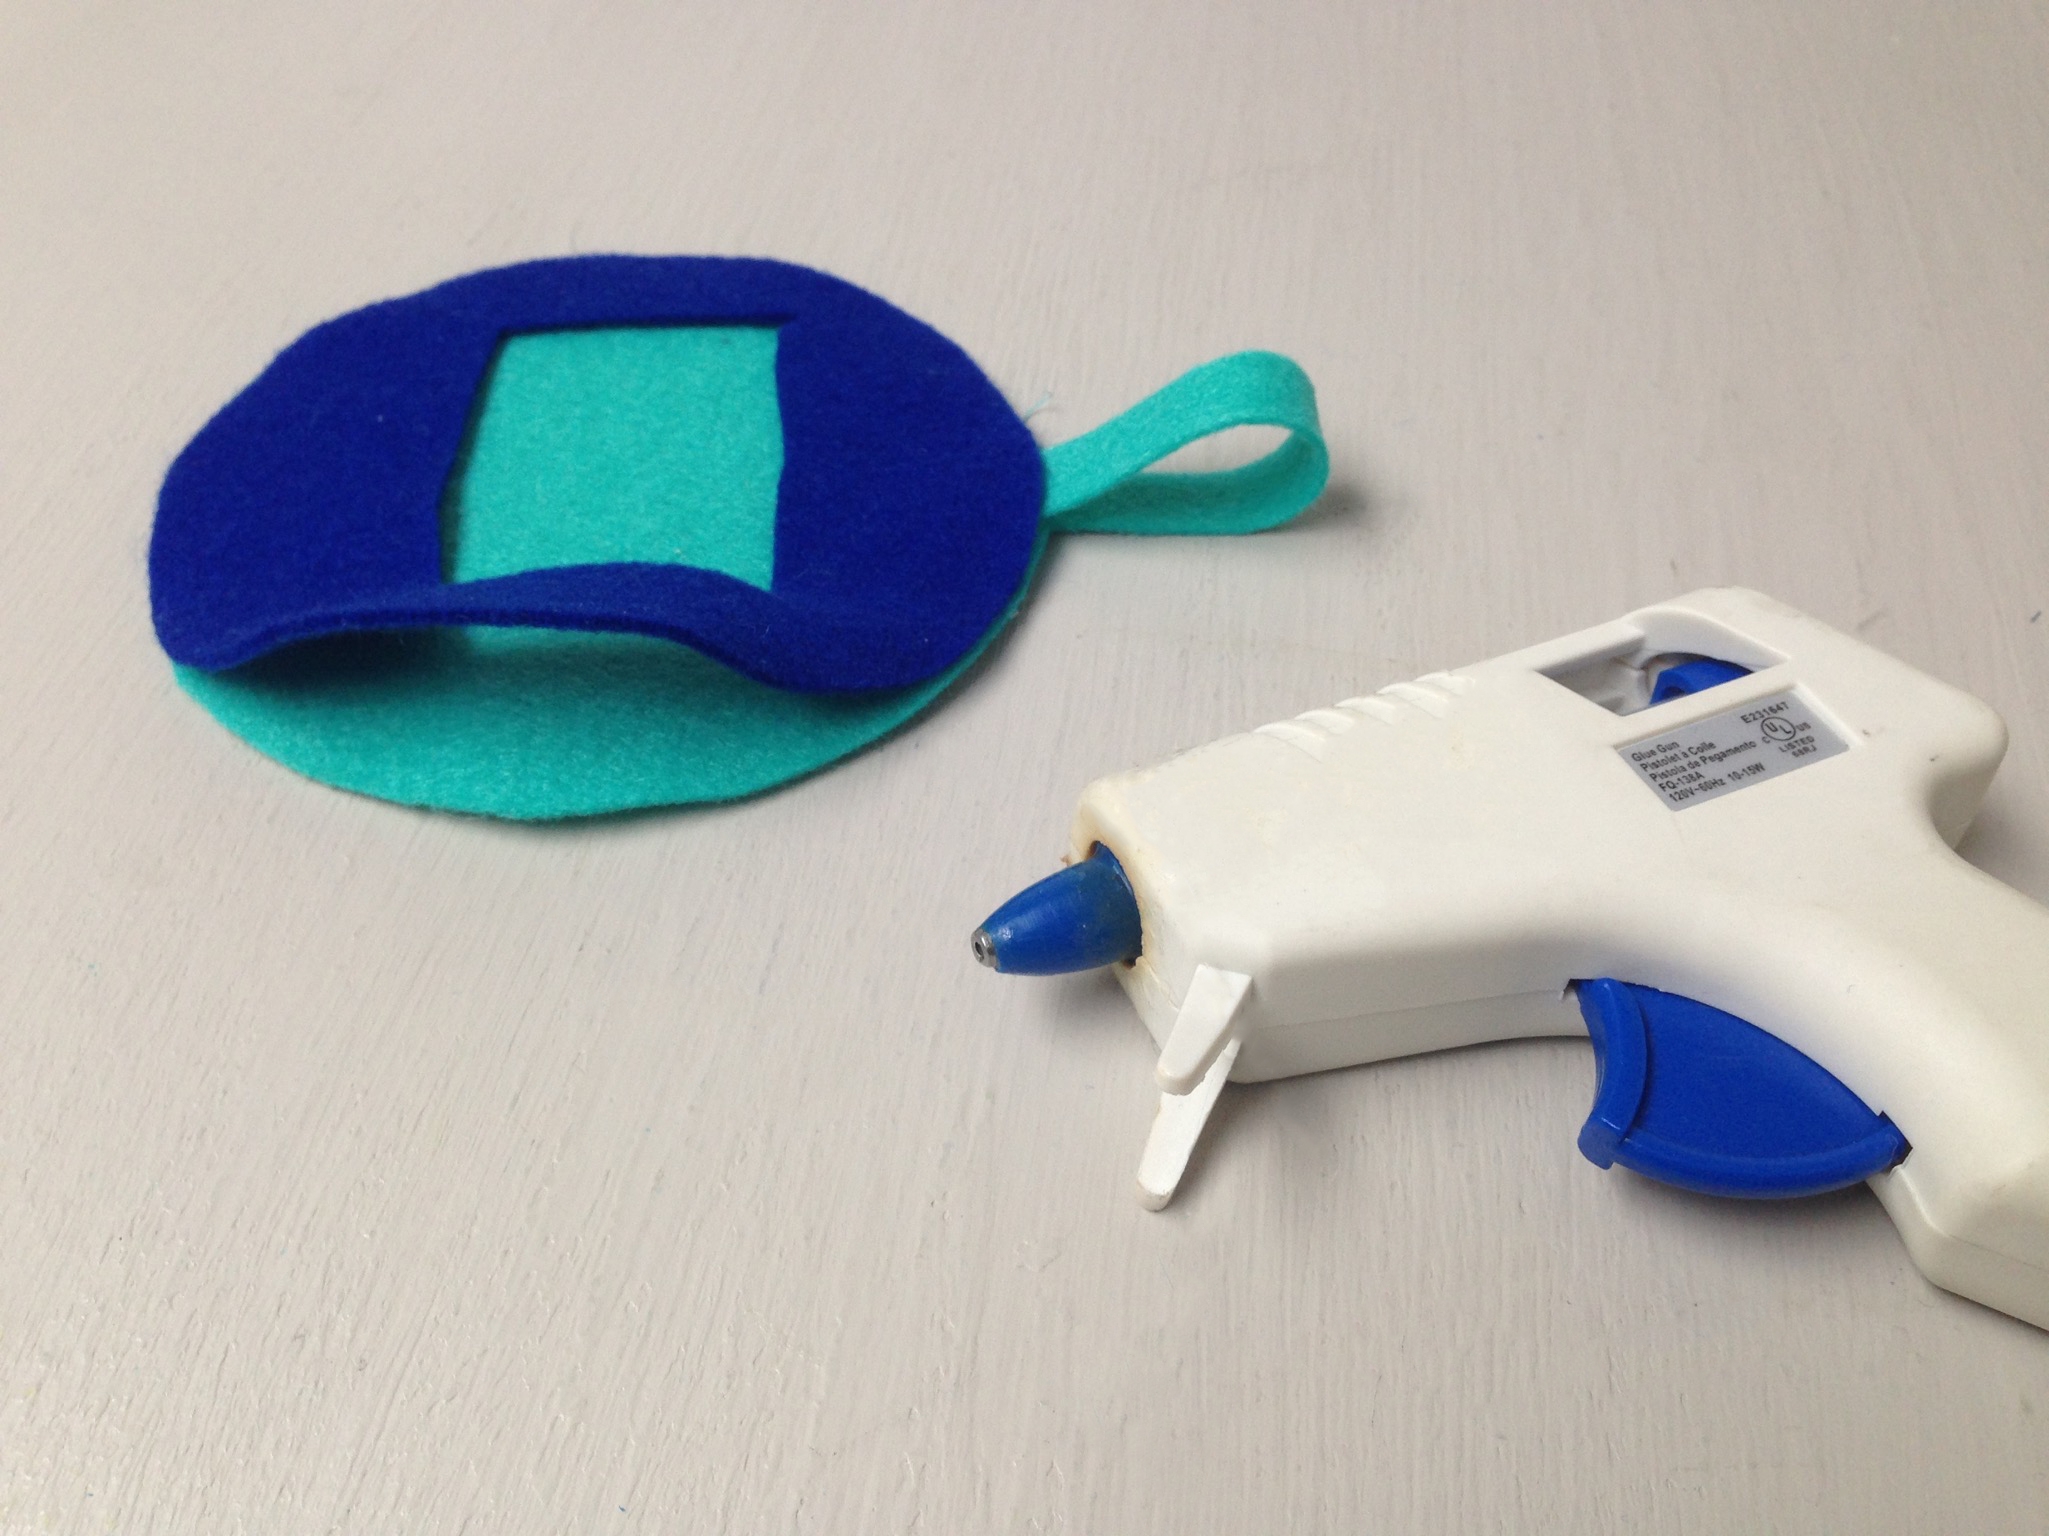
Cut another piece of felt that will act as a frame for your luggage tag. Make sure it matches up to the base shape you cut in step 5. Cut out a rectangle from the center, this will act as a window for your cardstock insert.
Step 9
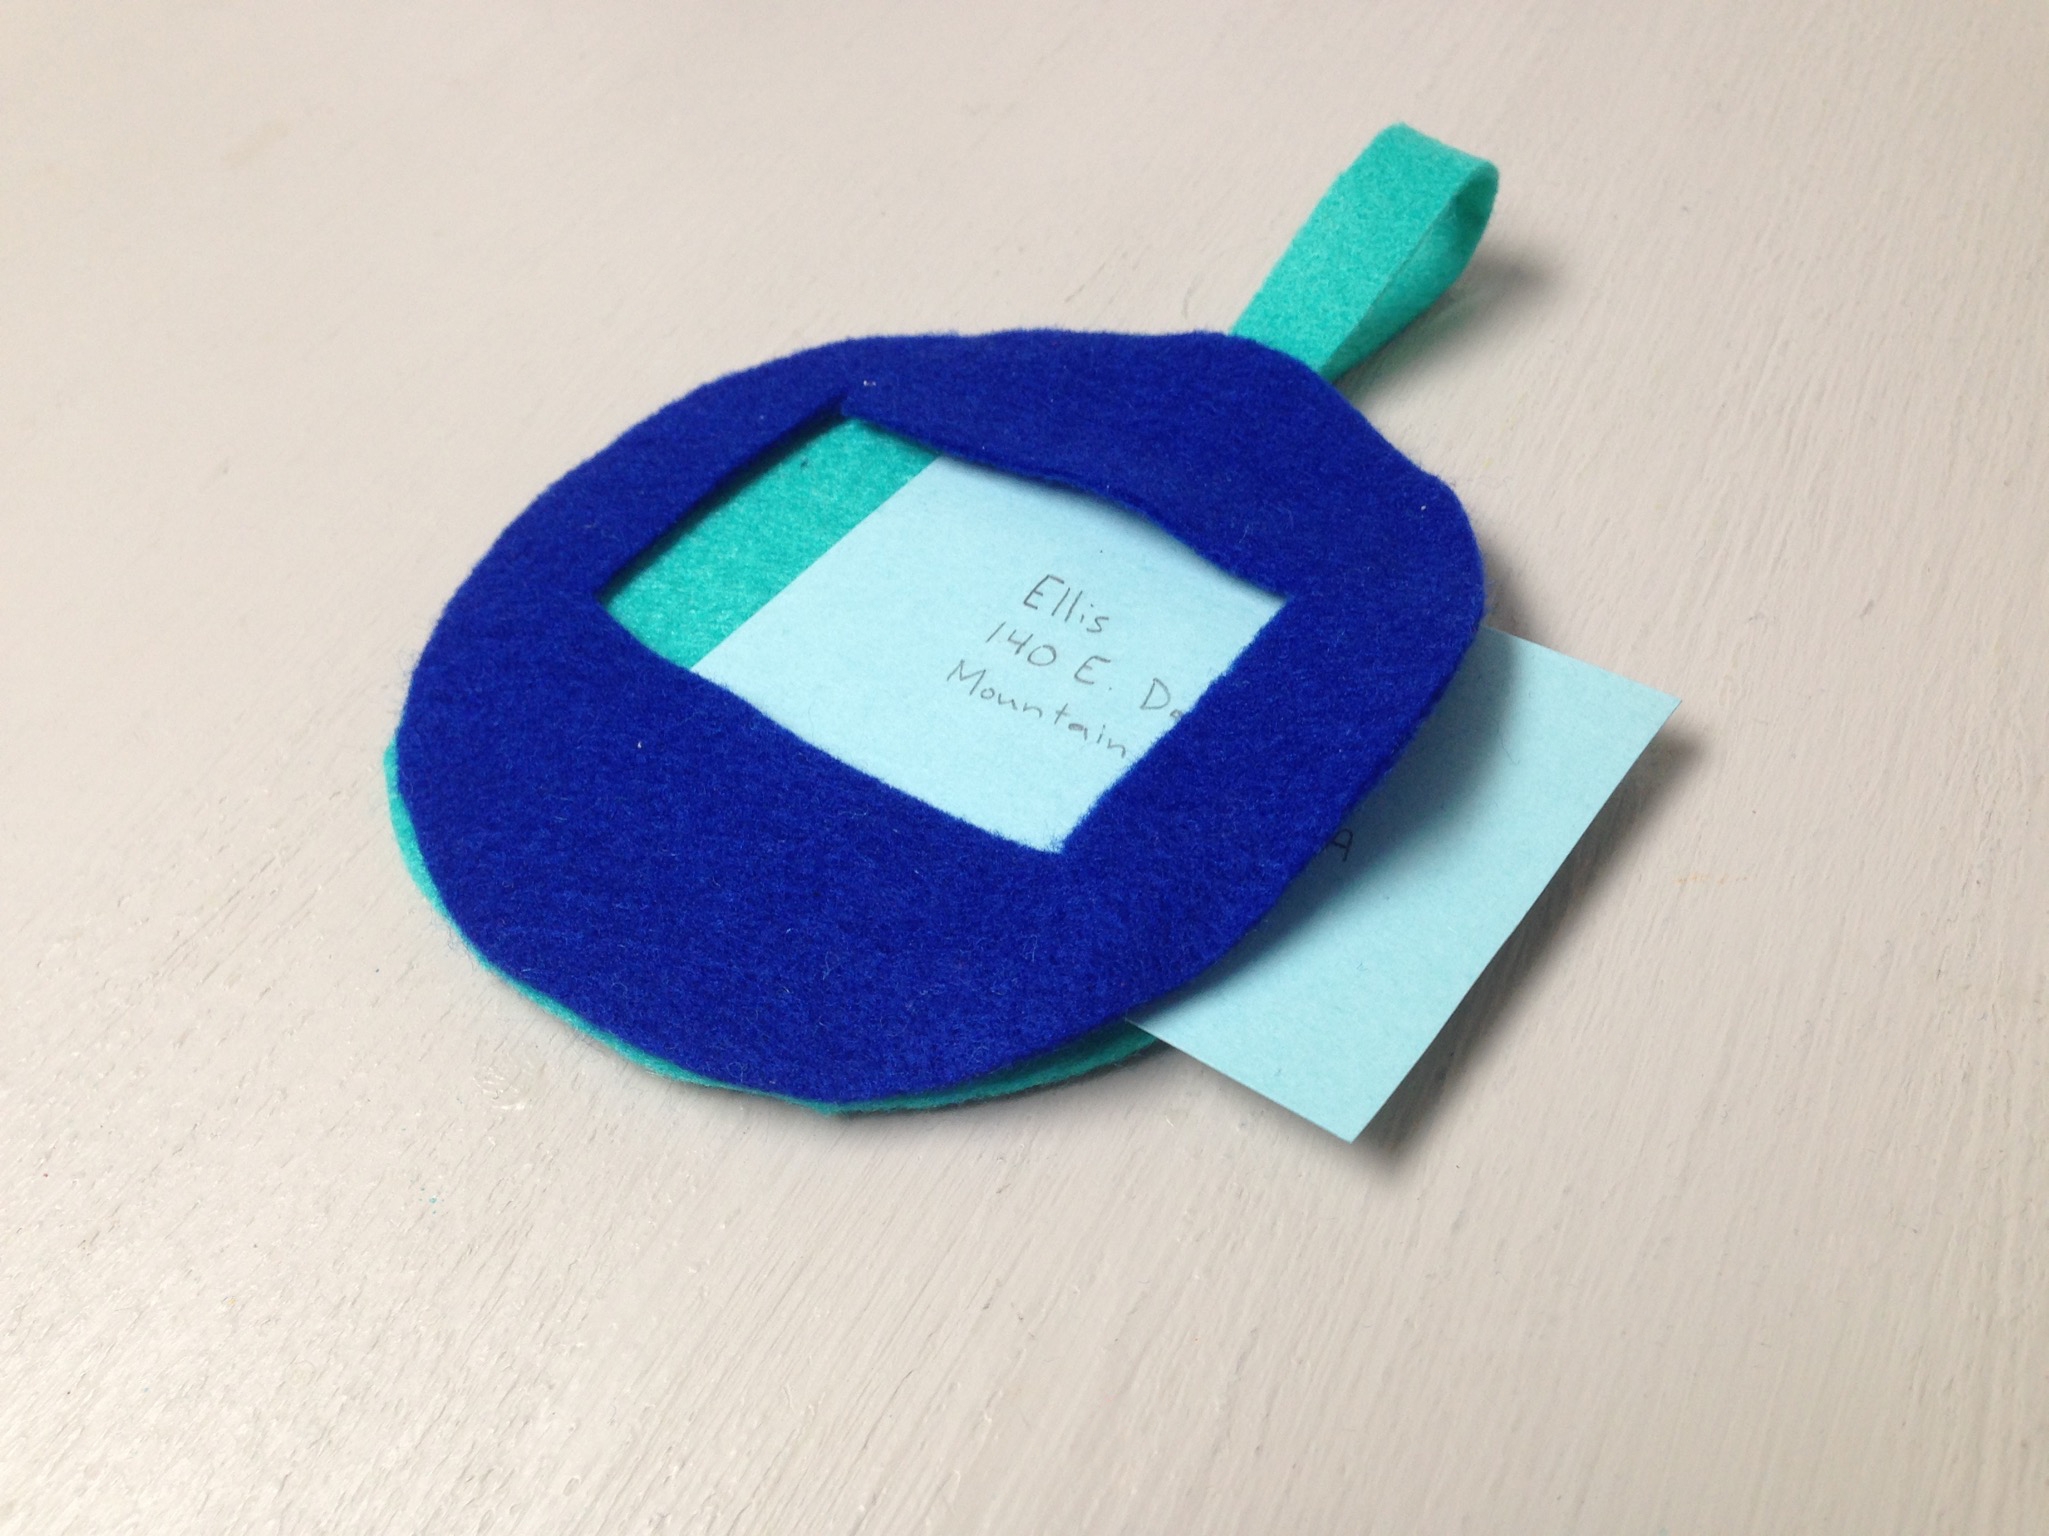
Glue down the edges of your felt frame, leaving one side open so you can slide a piece of paper into the frame. If you left a piece to create a loop, sandwich it between your two layers of felt and glue it between them.
Step 10
Cut a piece of cardstock to fit behind the frame of your personalized luggage tag. The card should be larger than the cutout in the frame, but smaller than the outer edges of your tag.Then, you can write your contact information onto the card of your luggage tag.
Step 11
Cut a piece of thread that is long enough to either tie to your bag or to loop the tag onto a strap of the bag.
Done!
Make more handmade luggage tags for all of your other bags, or create them for the rest of your family and friends. That way you will all have personalized luggage tags.