Step-by-step tutorial
Step 1
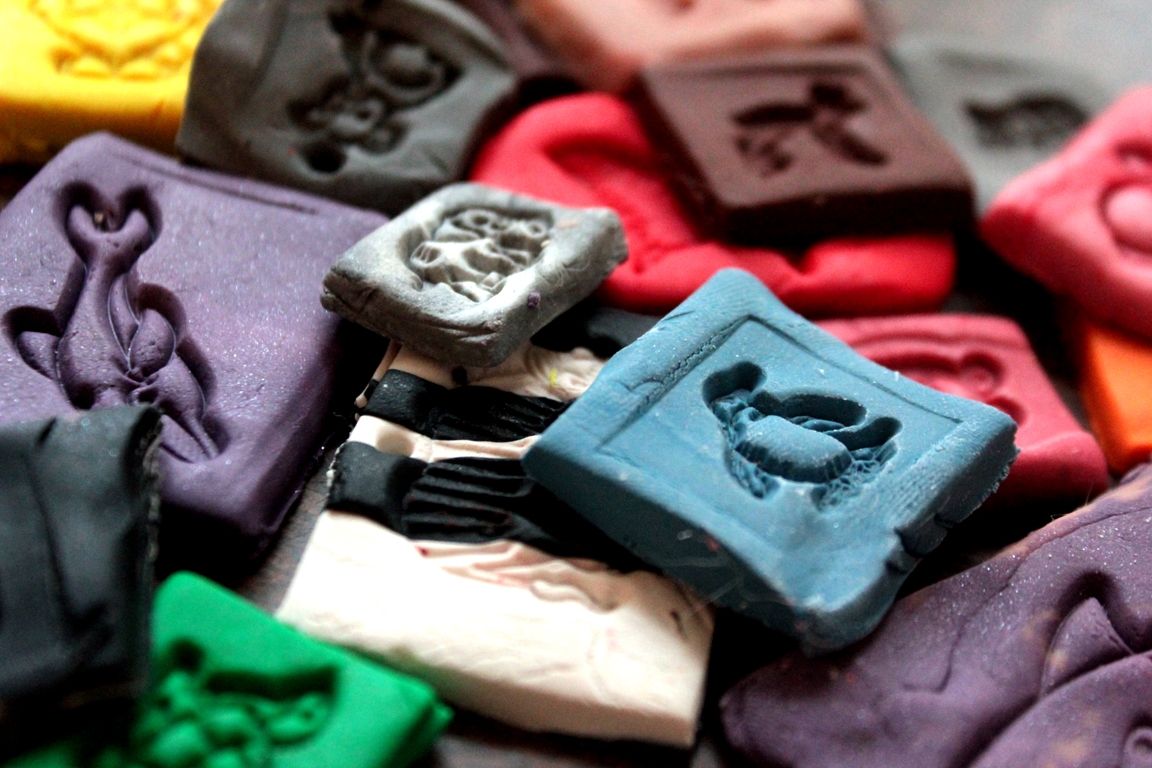
I so love these oh-so-adorable and oh-so-simple projects!


Step 2
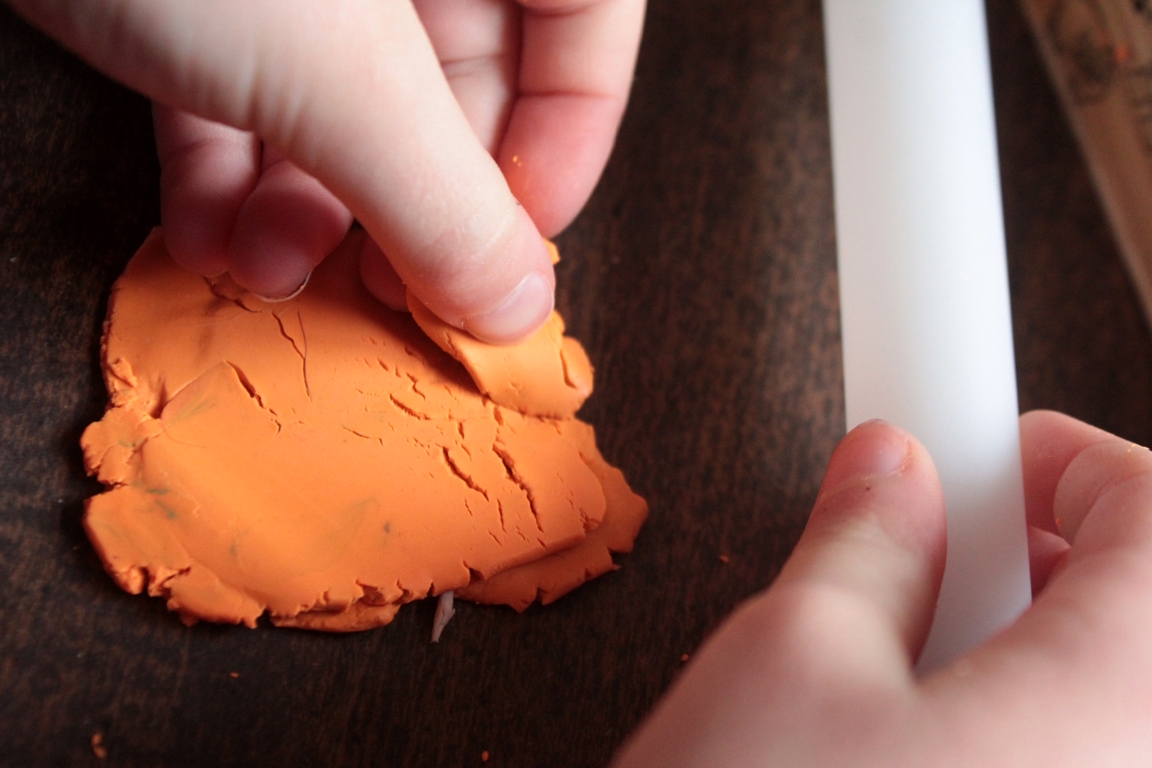
We worked the clay until it was warm and pliable. Then we flattened it with our palms onto the table. Maddie rolled hers a bit.
Step 3
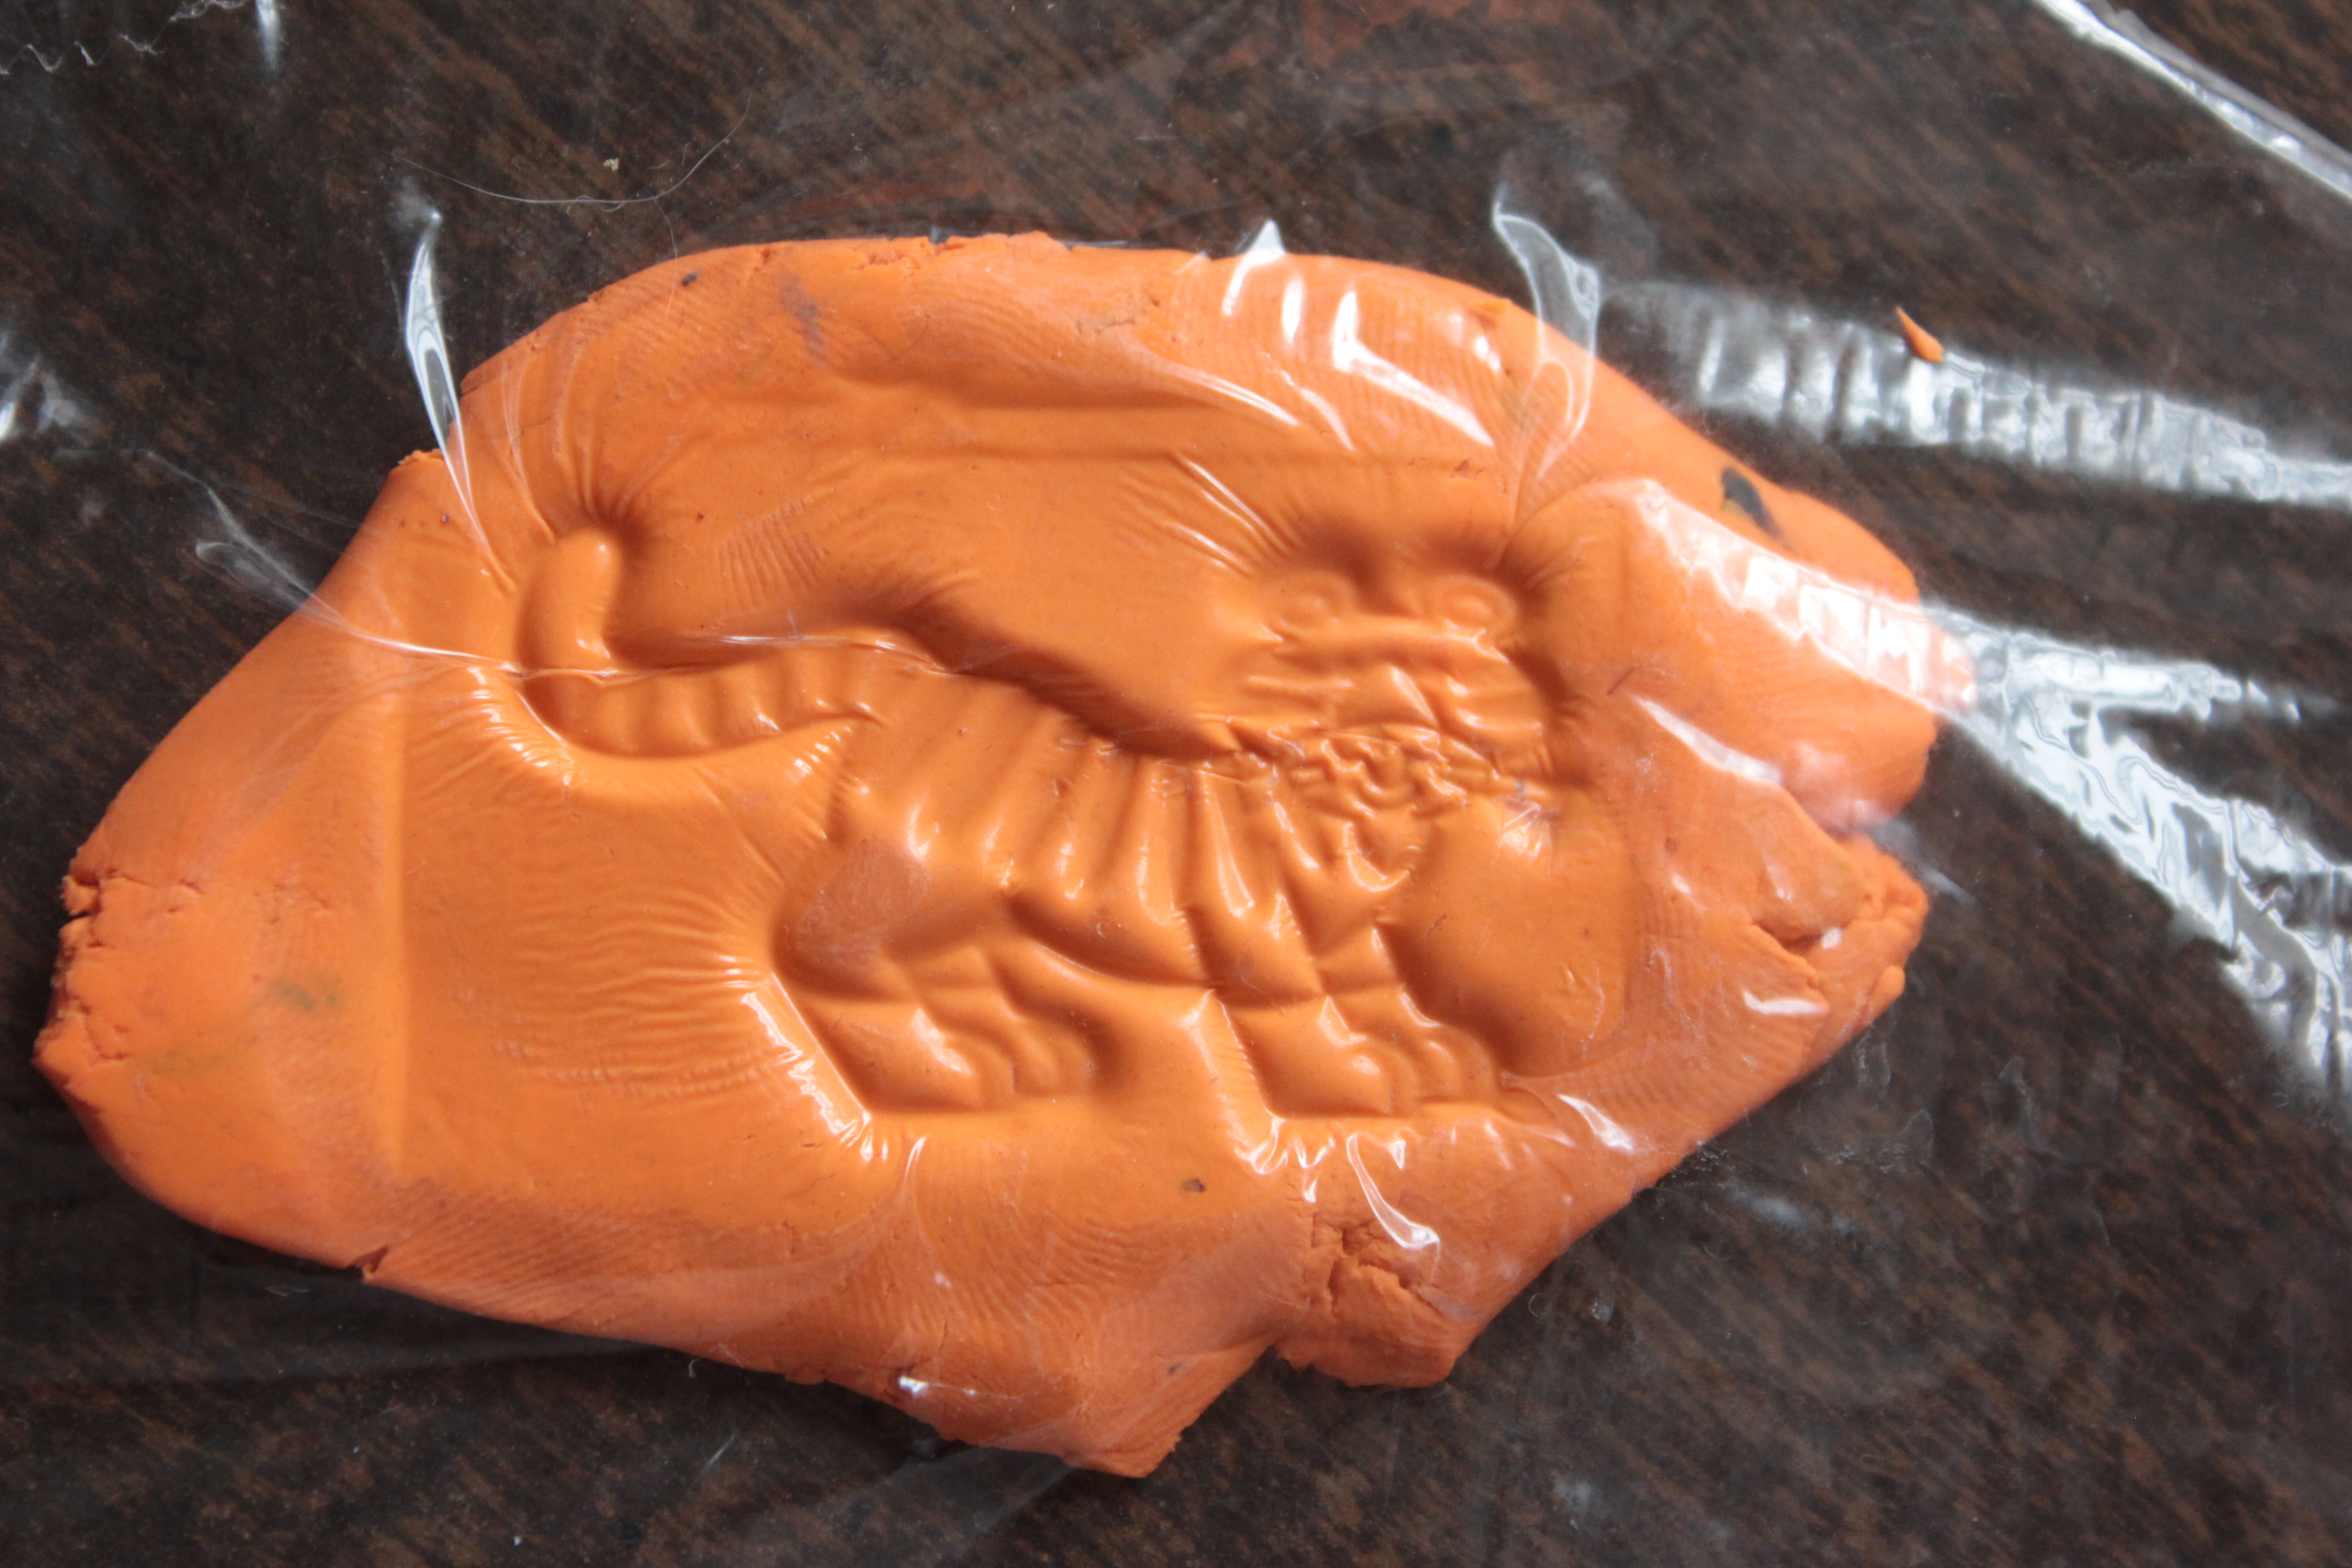
While I was very careful to use saran wrap between the rubber stamps and the clay, Madeleine skipped that step entirely (while her Mama wasn't looking), and our stamps came through just fine! So you may want to test yours....or not....
Step 4
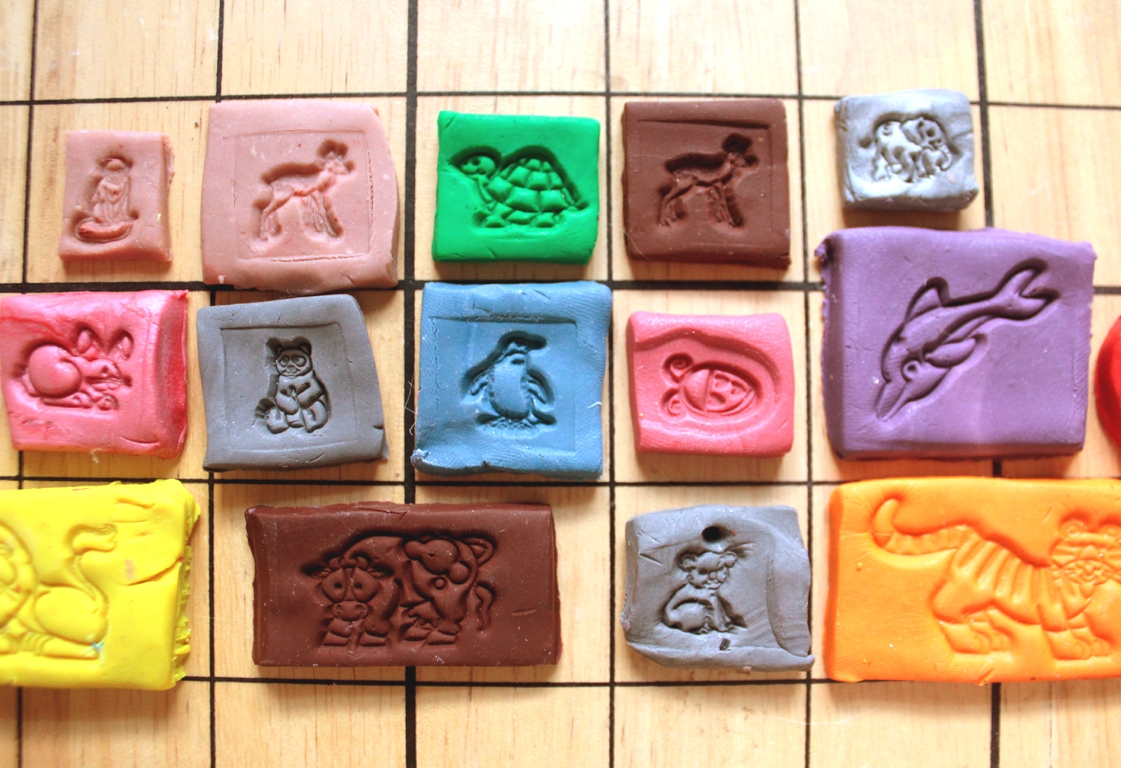
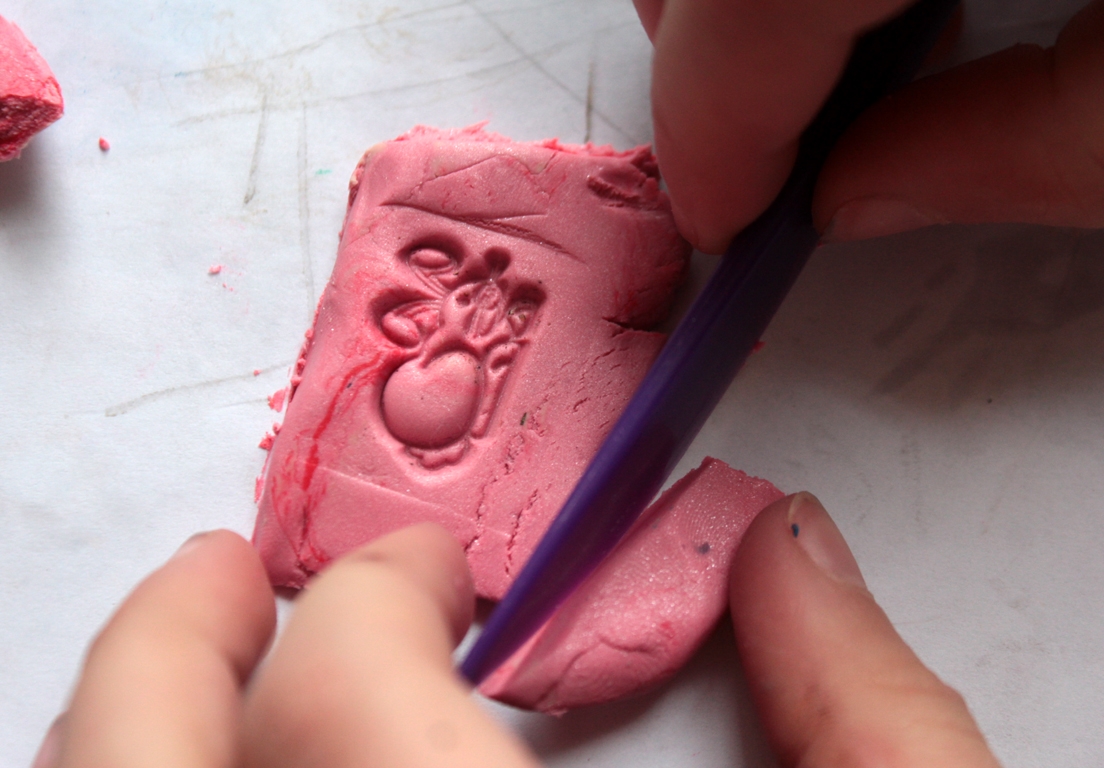
Maddie trimmed them into squares with her knife.
Step 5
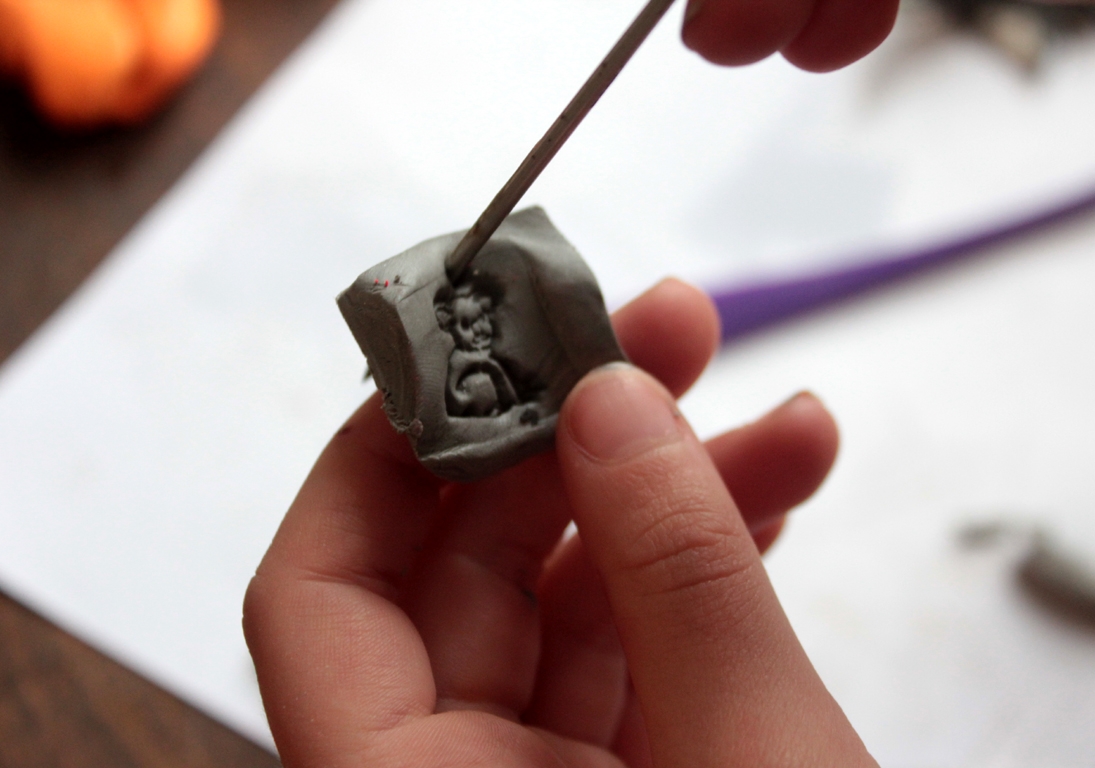
As each one was made, she decided if a hole should be made at the top for stringing, or if it should be a game piece. "What games can you think of for using these tiles?" I asked. "We can make a board, and the animals can find their proper habitats!" she said excitedly. "Oooh, good idea!"
Done!
We baked them according to our clay's instructions--275 degrees for 15 minutes. Concentration games, letter tiles, jewelry....so many possibilities!