Step-by-step tutorial
Step 1
It's always nice when we can make fine things with materials we already have!

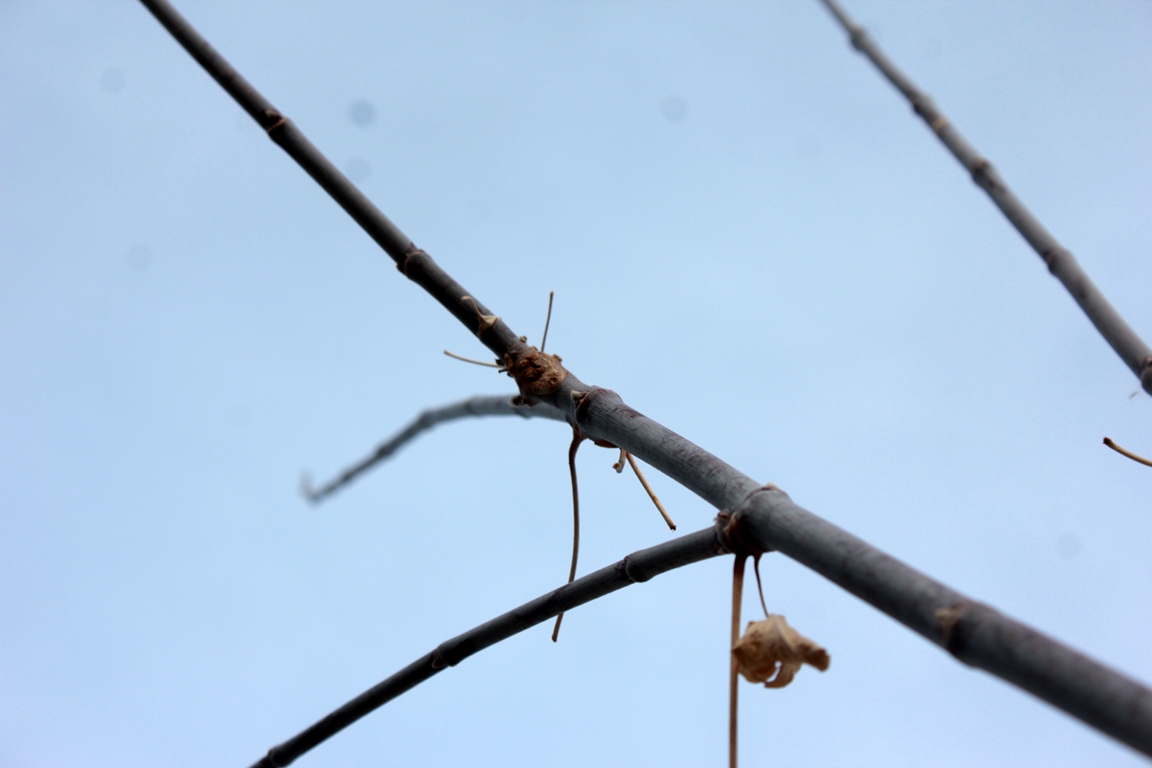
Step 2
Maddie and I went into the backyard, in search of sticks. "That one!" she firmly decided.
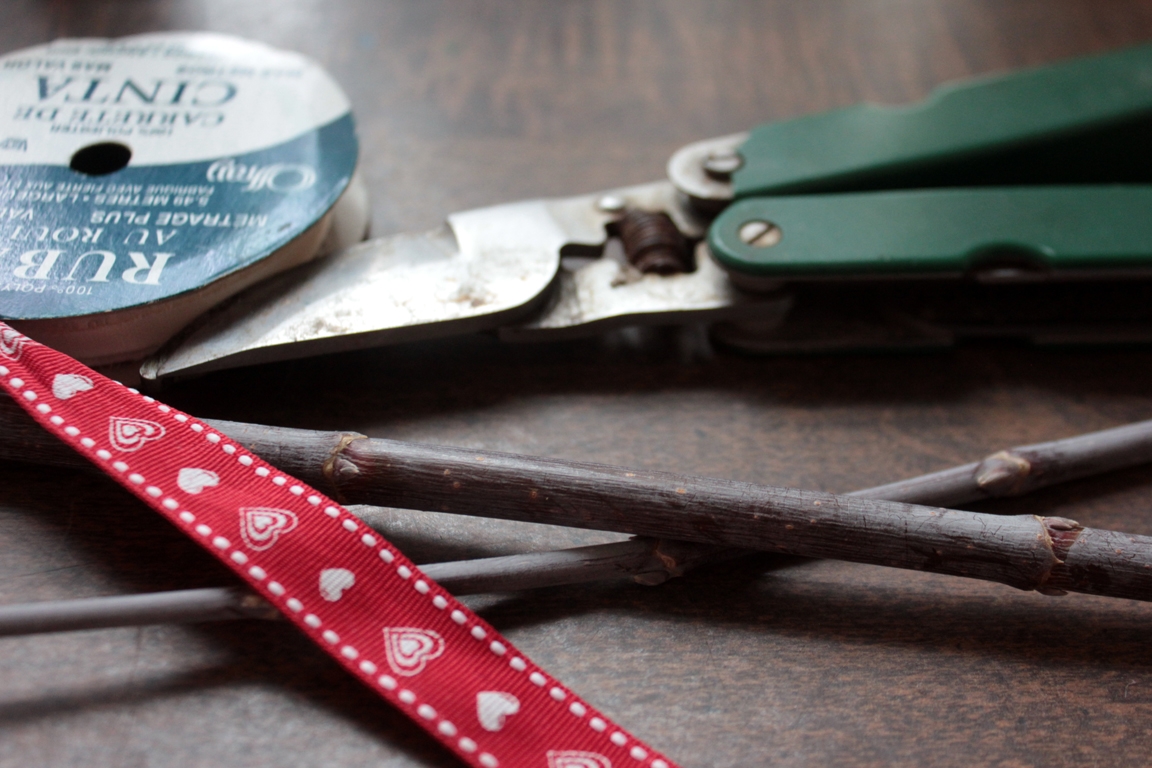
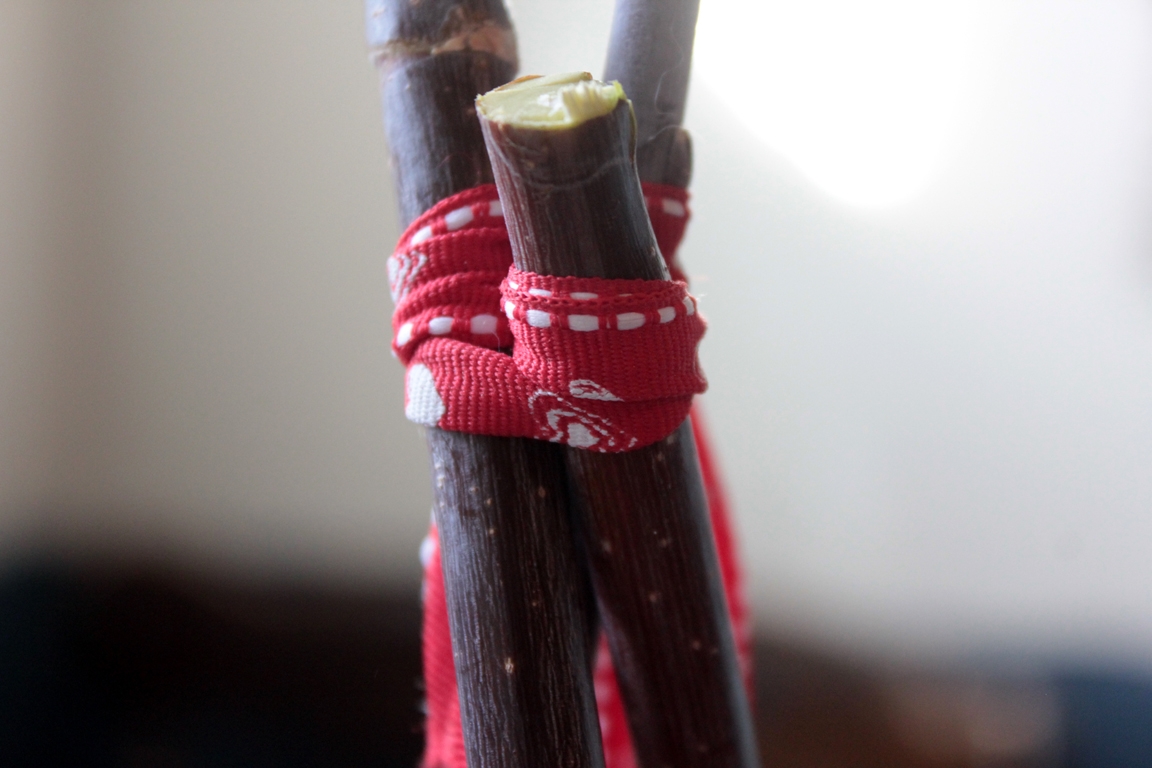
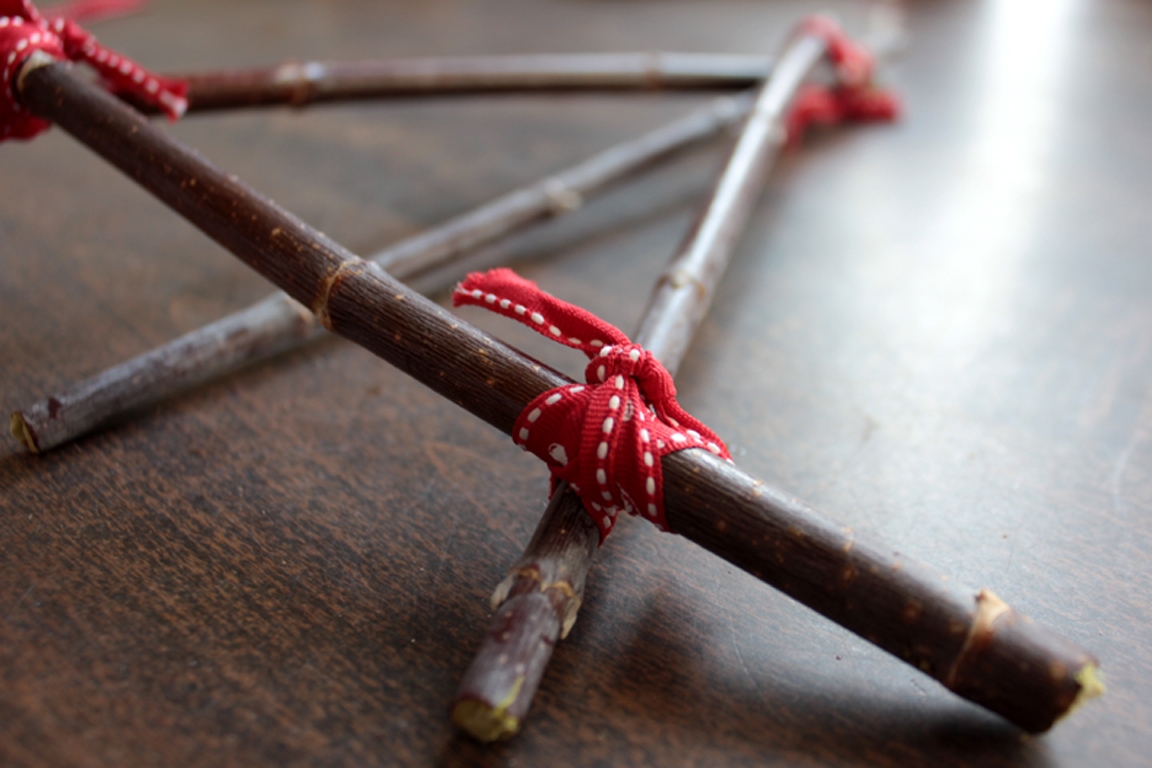
Step 3
Since it was much taller than she, I cut it down, and we brought it inside. She decided how tall the easel would be, and showed me where to cut the sticks. We cut four the same length. Three of them we wound together very tightly, and tied them.
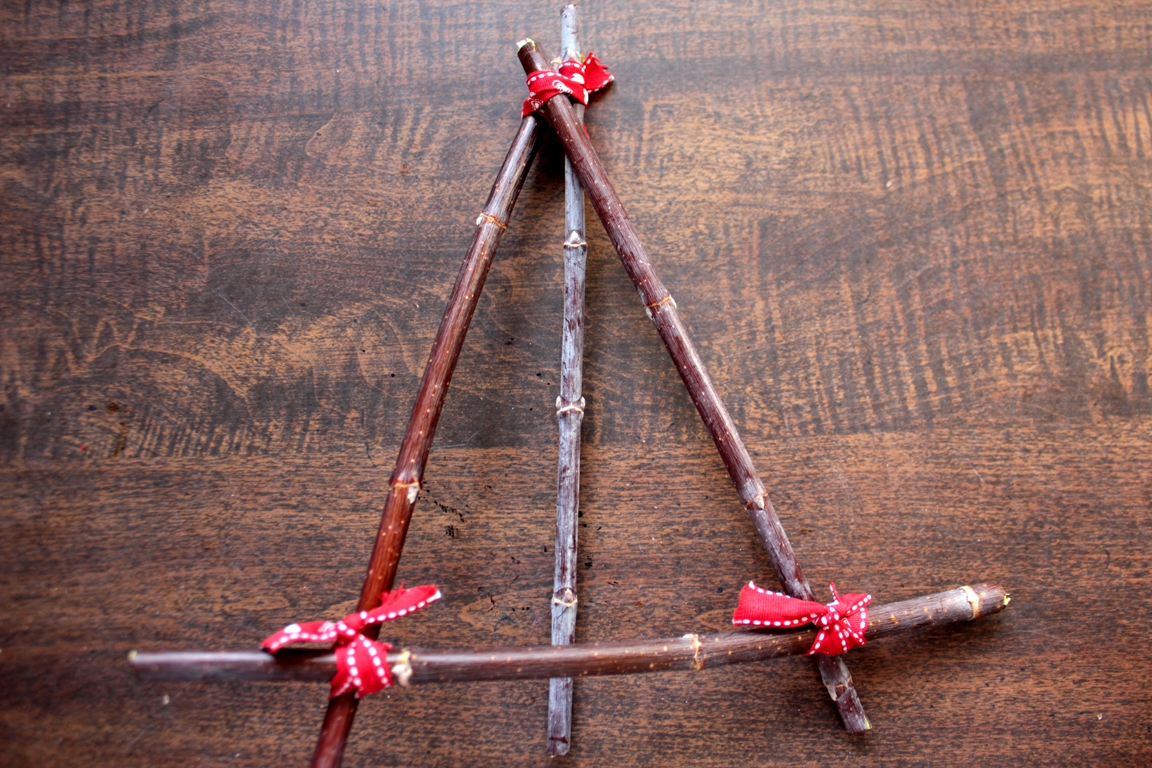
Step 4
Then we tied the fourth across the bottom of the front two, pulling tightly.
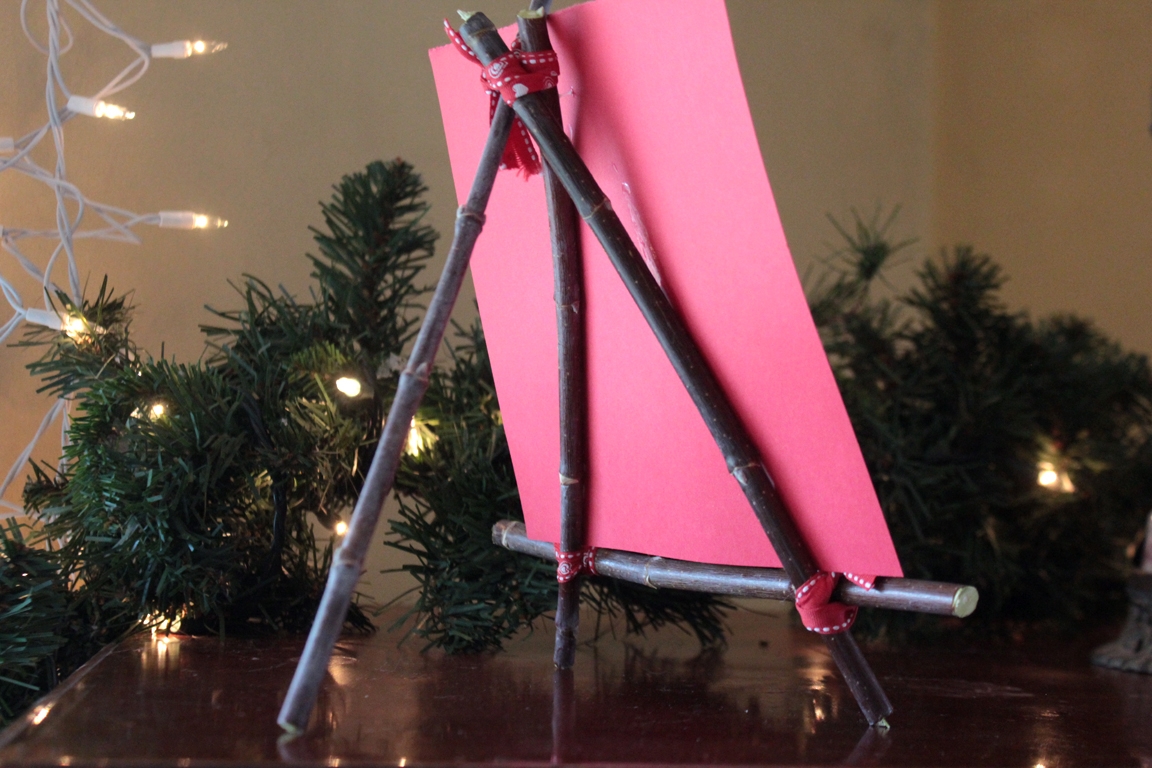
Step 5
We had an easel!
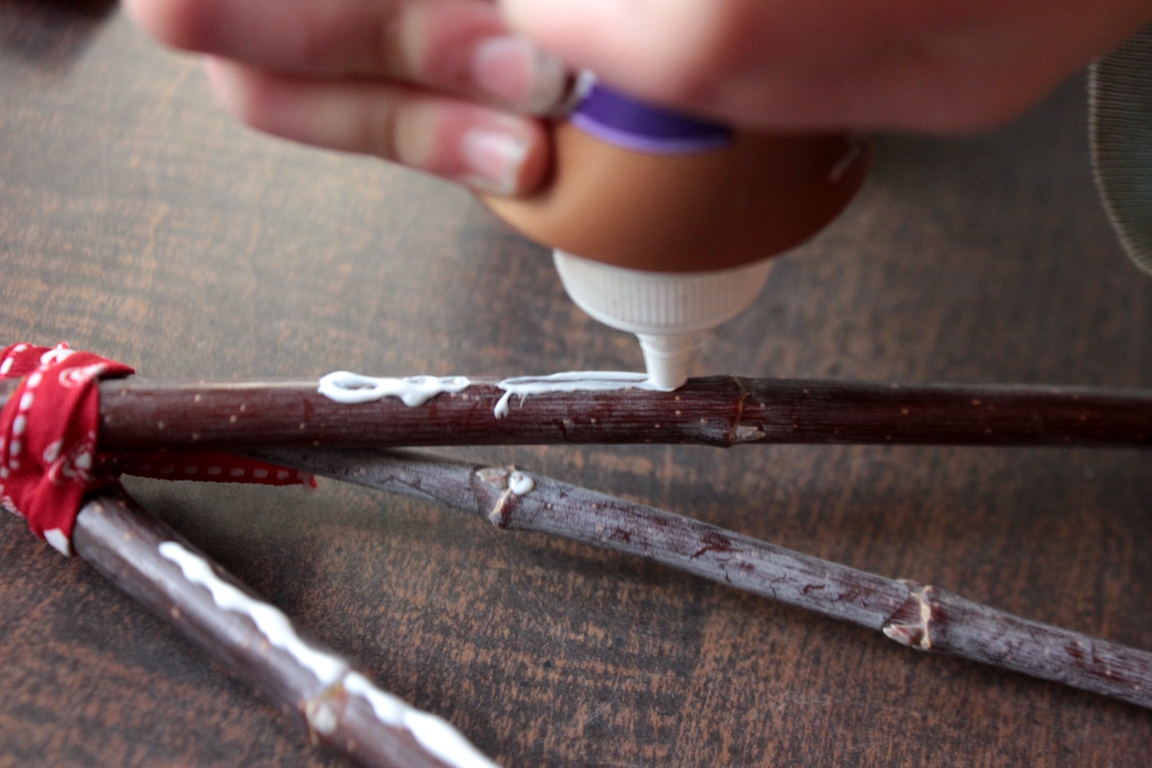
Step 6
Maddie thought it should have a permanent background, so she applied glue to the sticks,
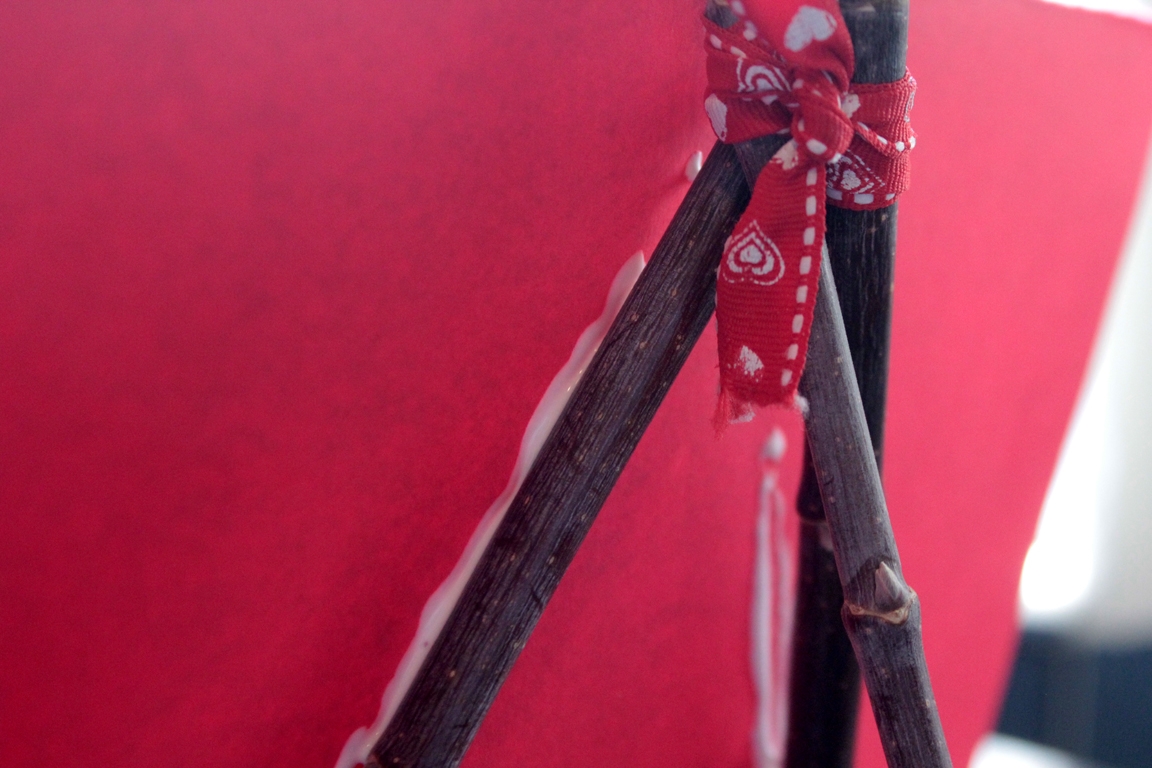
Step 7
and then pressed her background paper to it.
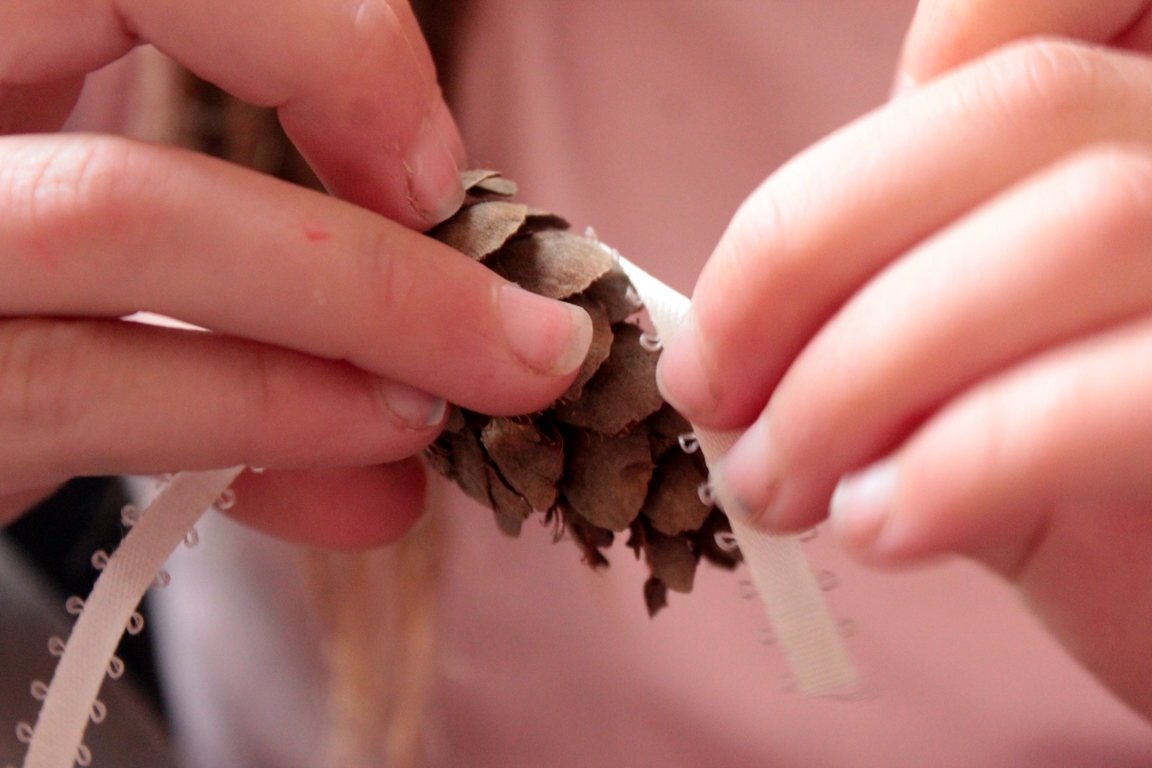
Step 8
Now we just needed something to hold the art or photo. "We need a weight. What do you want to use? A big button? A heart or star?" I asked. "A pine cone!" said she. So we tied a pine cone to one end of a ribbon,
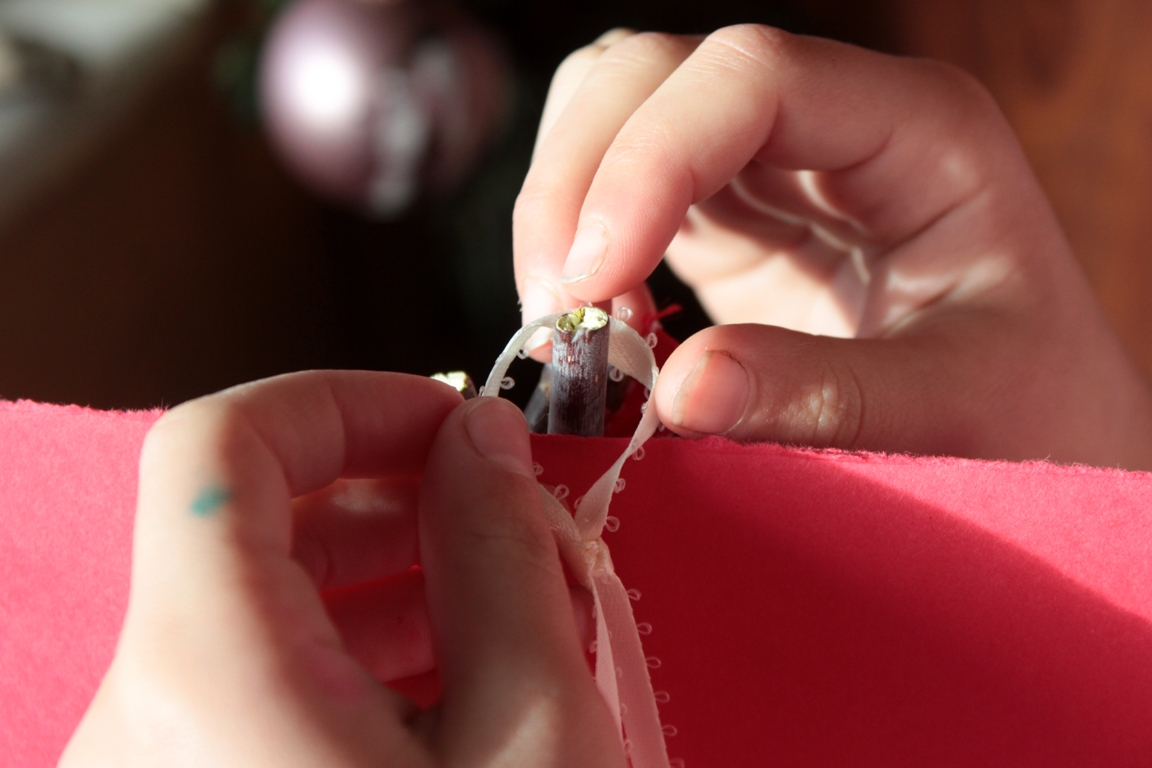
Step 9
and then attached the other end to the top of the easel.
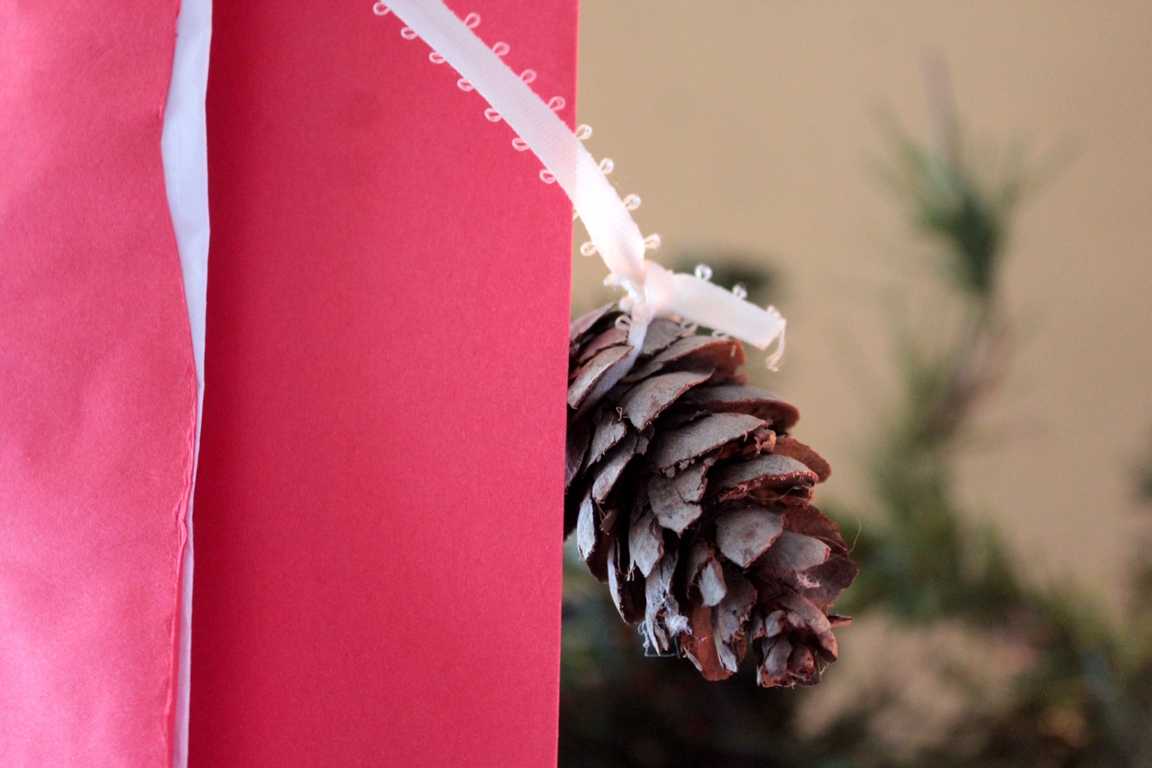
Step 10
There! That works perfectly!
Final result!
Of course, she had to create something to be displayed right away.... Now where should it go?
