Step-by-step tutorial
Step 1
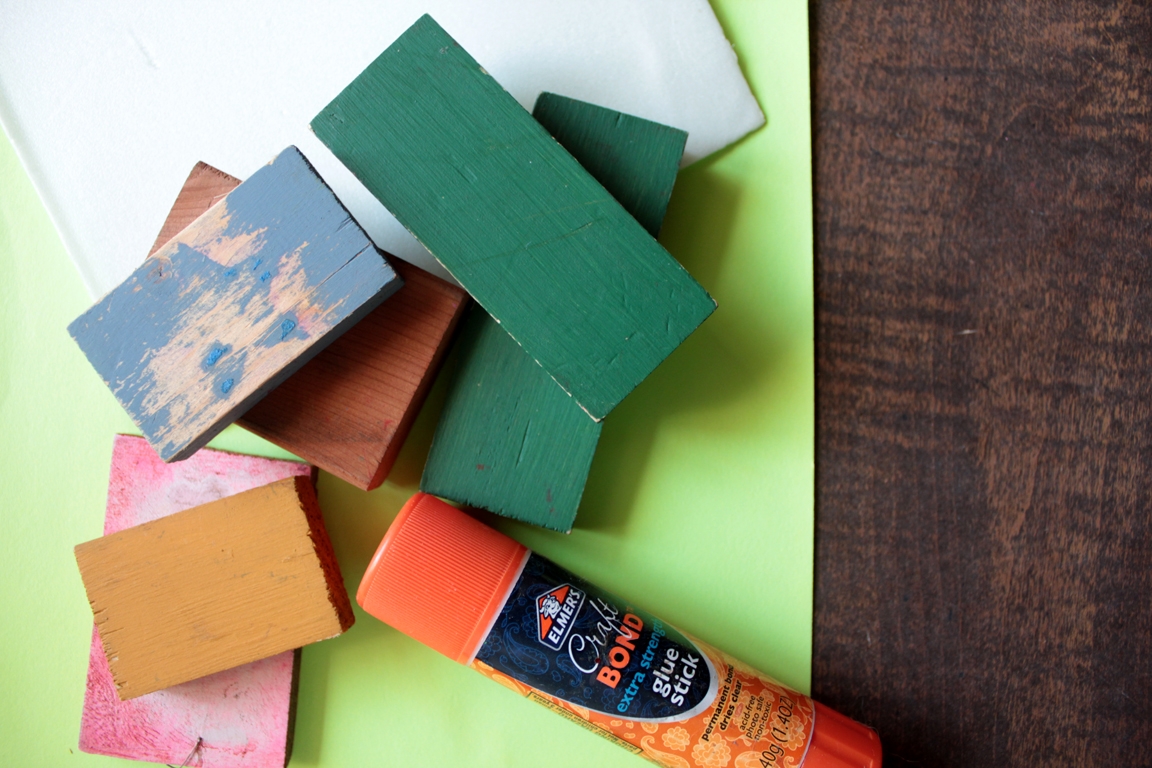
While gathering supplies, Madeleine and I talked about what kinds of stamps we planned to make. Seasonal? Holiday? Flowers? (And yup, I say "we," because often we enjoy creating side-by-side!)

Step 2
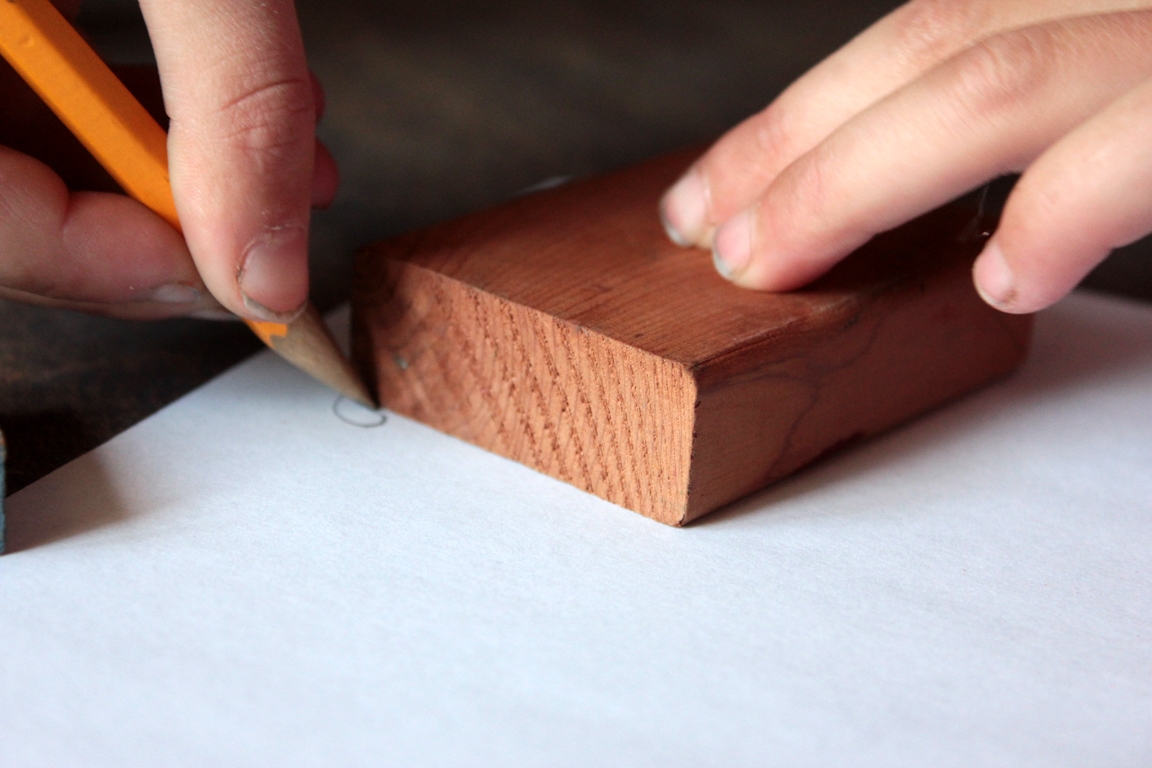
We traced the wooden blocks, so that we could ensure that our designs would fit without going over the edges.
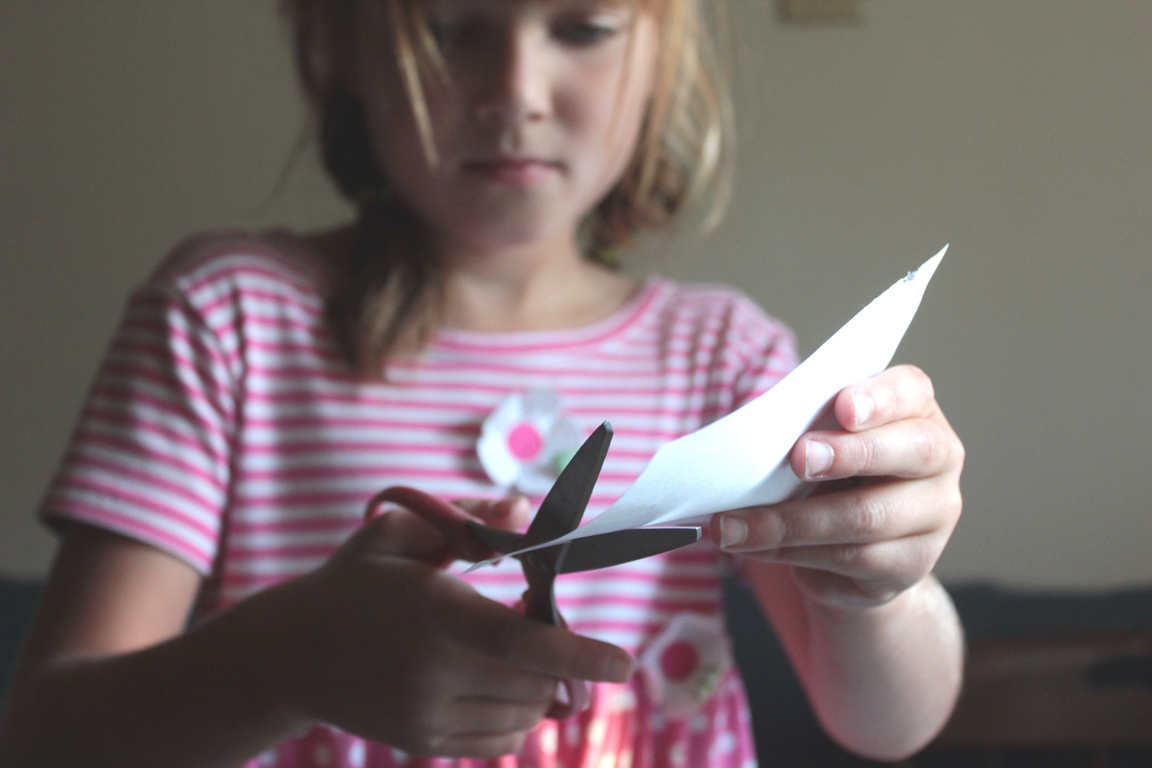
Step 3
Then Maddie cut out the paper templates. (She was quite pleased that these were both steps that she could do all by herself.) I was in charge of cutting the Styrofoam squares from the paper templates, as we really didn't have any foam to waste.
Step 4
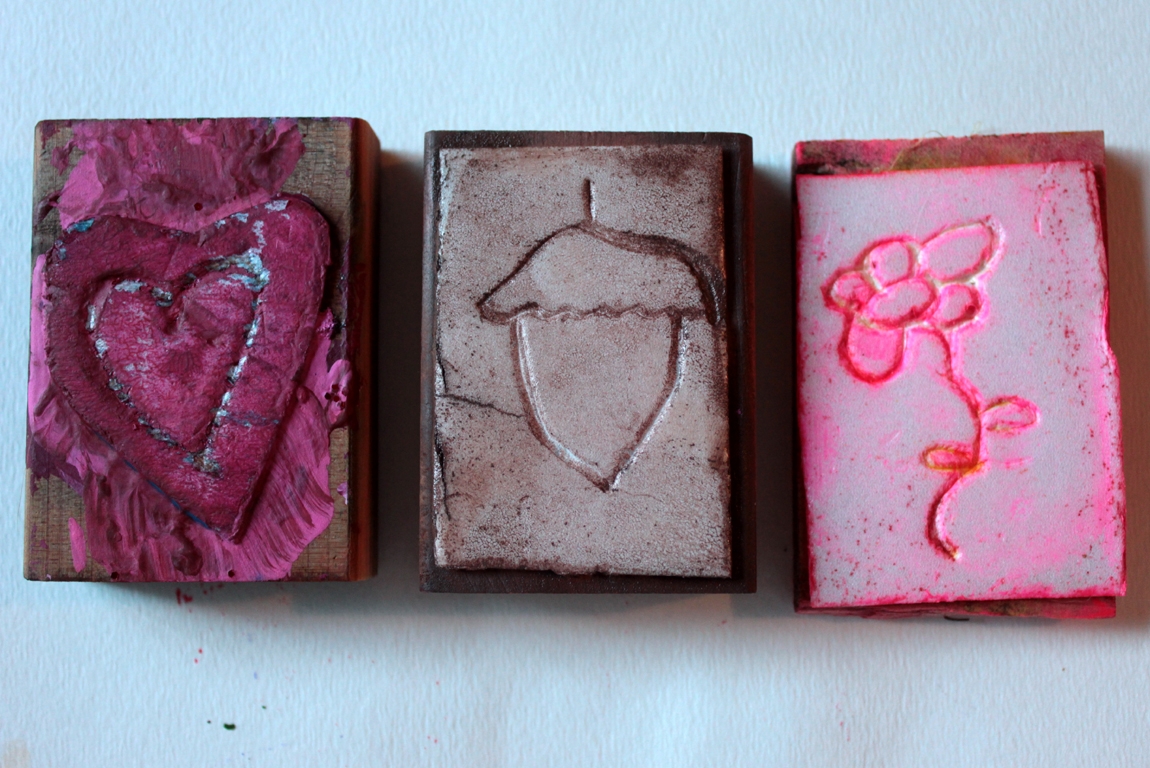
Next came drawing the designs. (This is the stage where I exclaimed "ooh" and "aah!" the most.... her drawings always make me so happy!) It's best to stick to simple designs, so that the shape they create when you stamp with them are recognizable.

Step 5
Next place the paper over the Styrofoam, and carefully trace the drawing, pressing lightly into the foam.
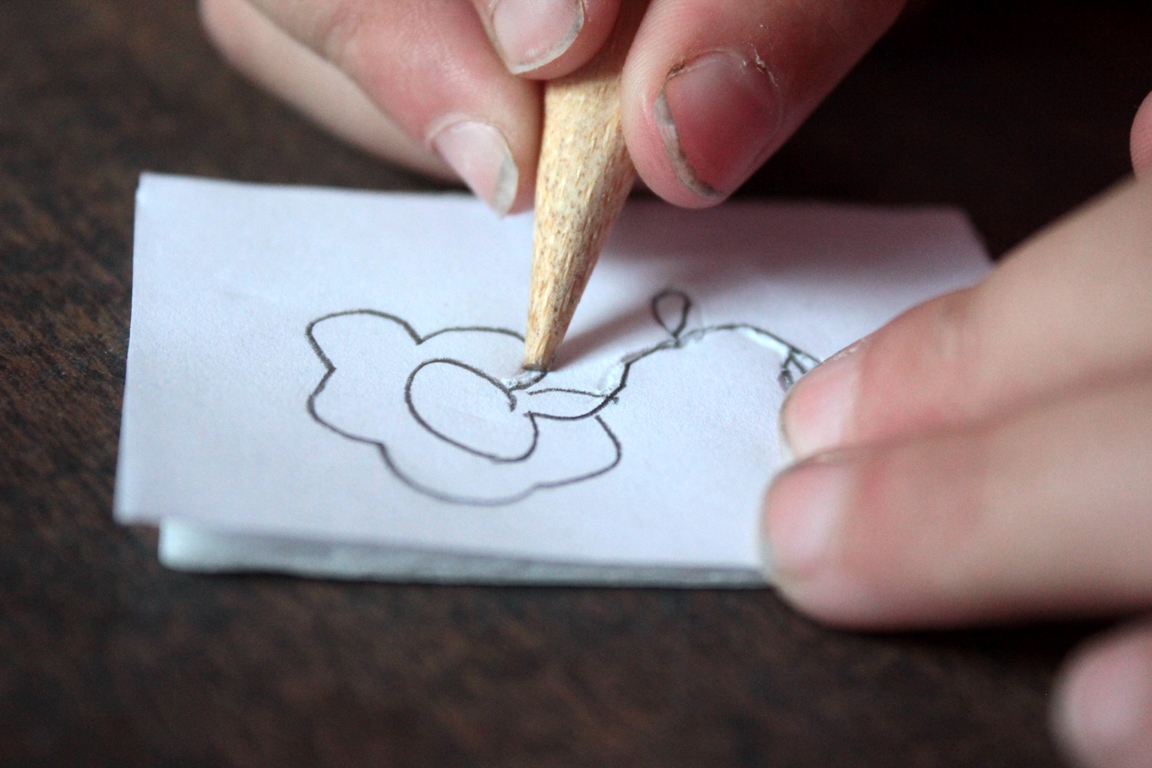
Step 6
If the pattern is not very defined, go over the pattern again without the paper, lightly indenting the Styrofoam a bit more. Put glue on the back of the design, and on the matching wooden block, and press it onto the block.

Step 7
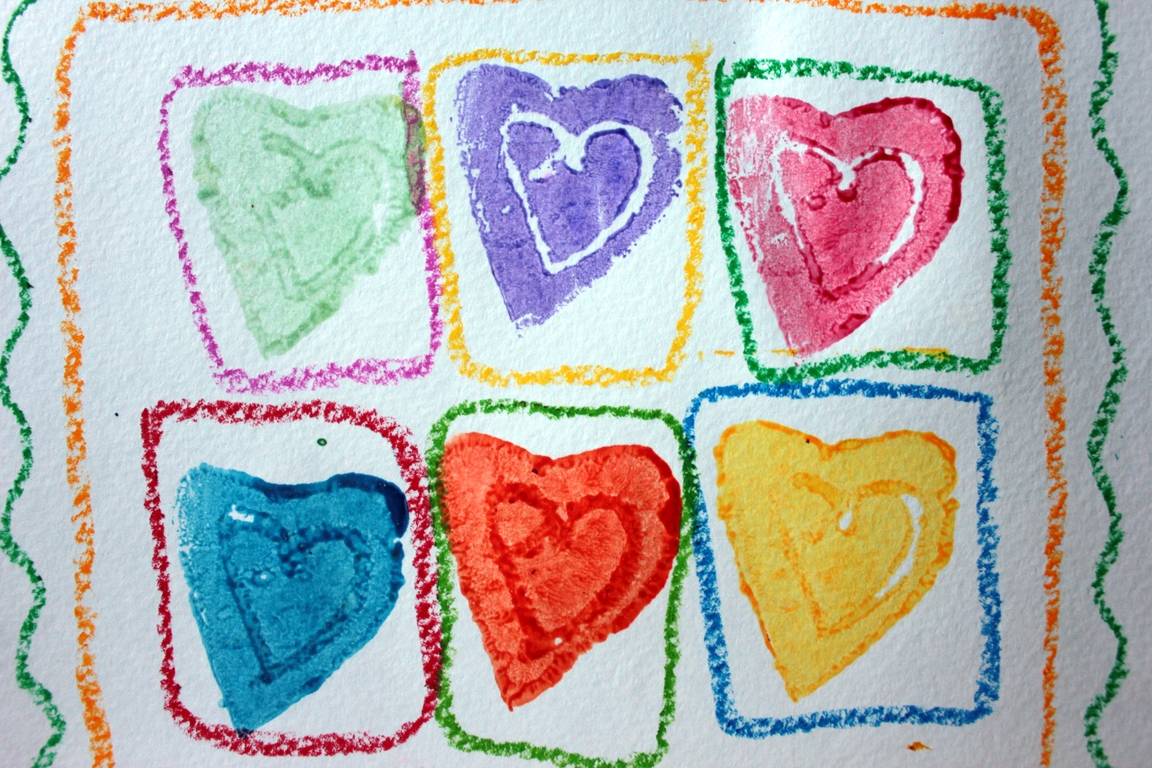
After making sure the glue is dry, try making art with your stamps. You could ink up your design with a stamp pad...
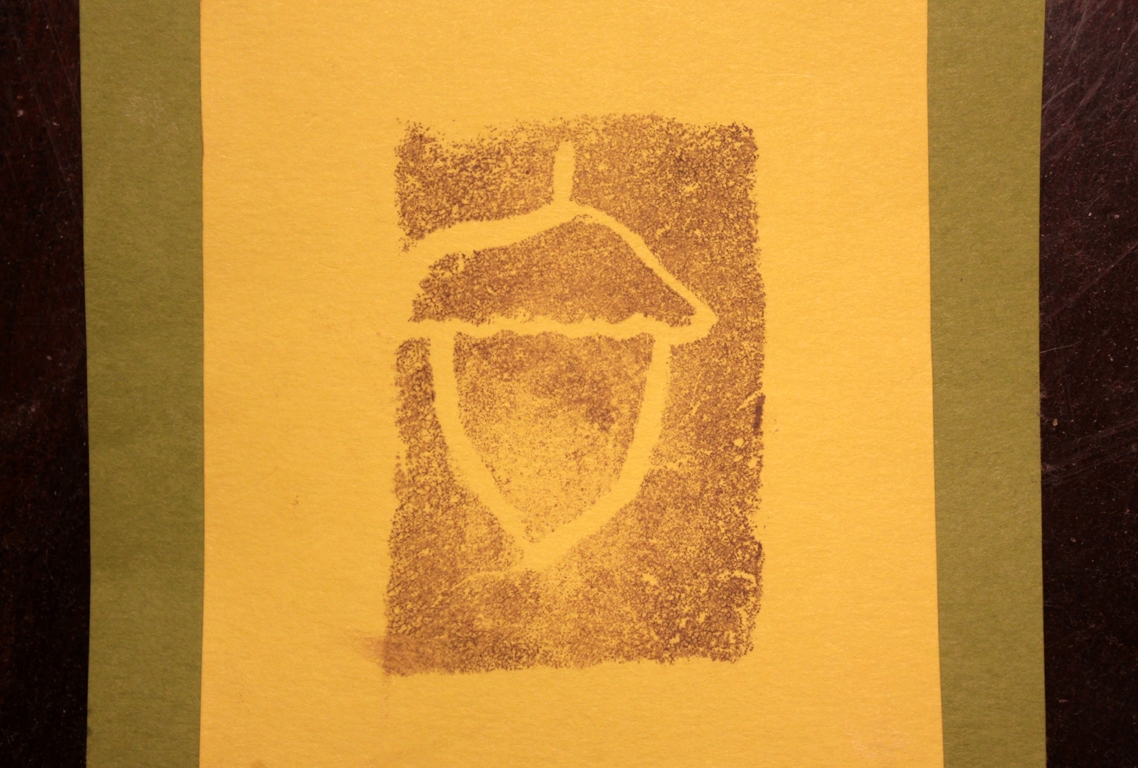
Step 8
.... or by using a paintbrush to add a dab of washable paint to your stamp. (Try to not paint on the areas that you've indented).
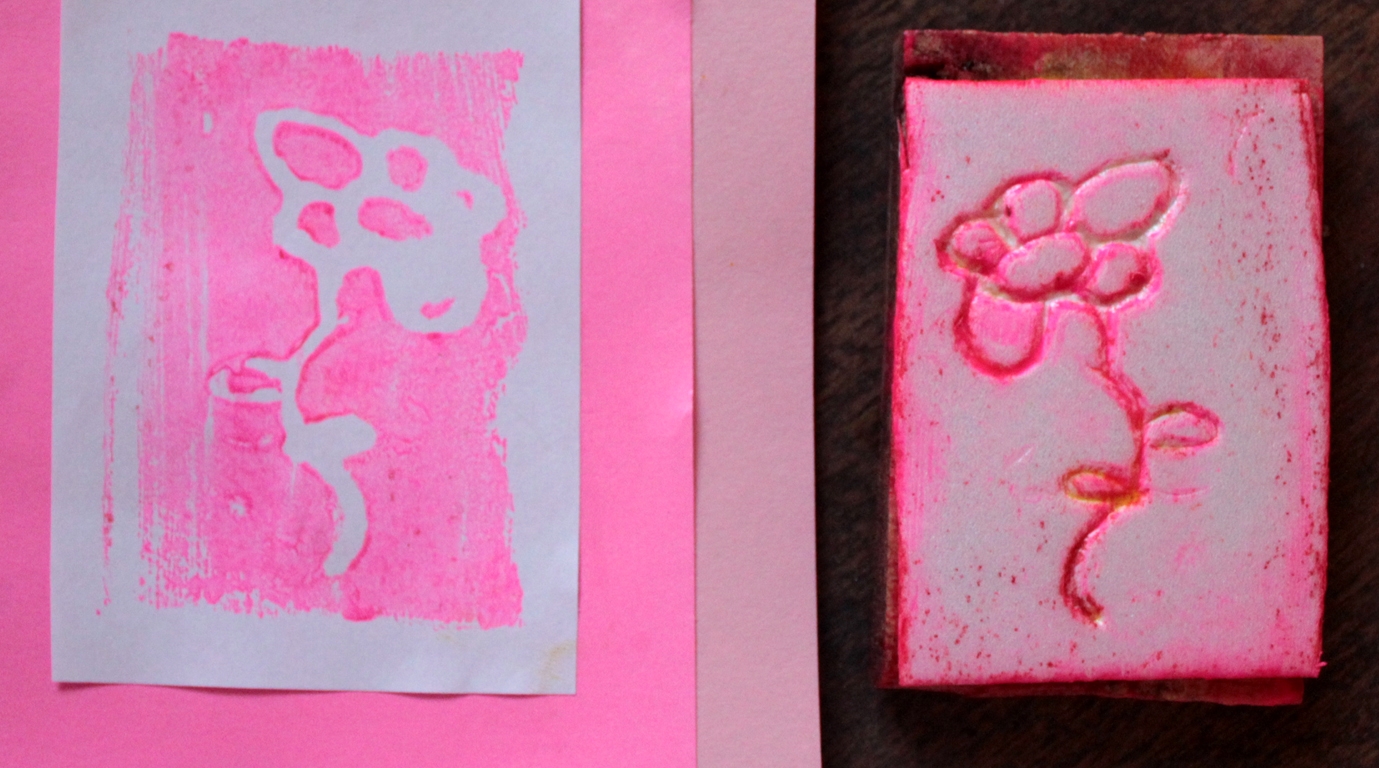
Done!
These hand-made stamps almost always make it to the "art table" when friends come over to play, and are the catalyst for so many creative projects--collages, invitations, illustrations for stories...so many possibilities!