Step-by-step tutorial
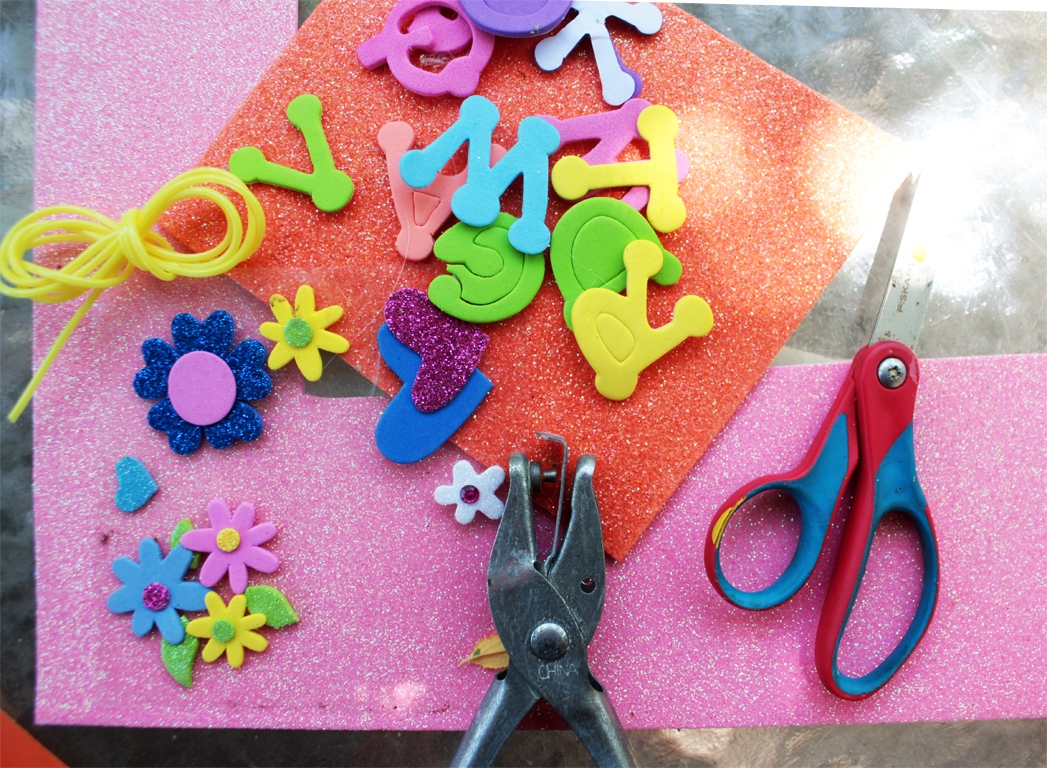
Step 1
I was a little worried that the sticky foam wouldn't adhere well to the sparkly foam sheets we had, but it did just fine! If you find it isn't working well, use some craft glue to make it work better for you.

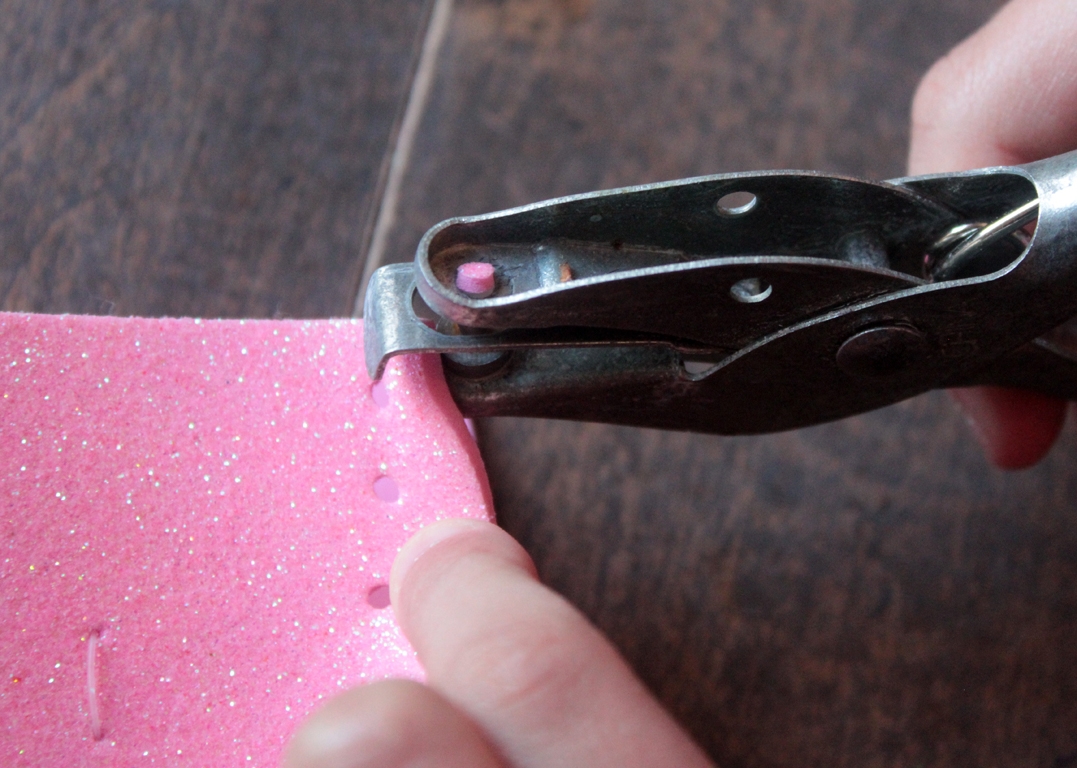
Step 2
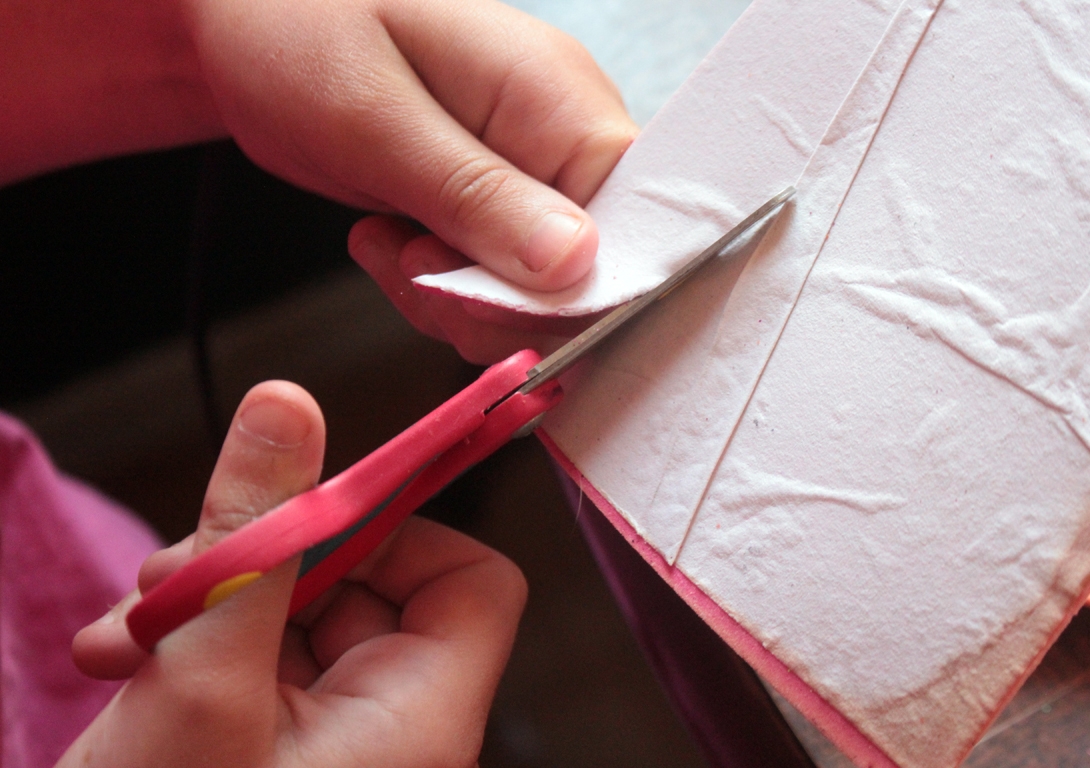
Madeleine decided she wanted her cover to lace up. So, first, we measured the foam. To do that, we wrapped the foam around the bottle and cut off the excess, leaving enough for both edges to overlap. We punched holes in both edges. (If you'd rather not lace yours, just leave an overlapping seam, and glue your two sides together.)
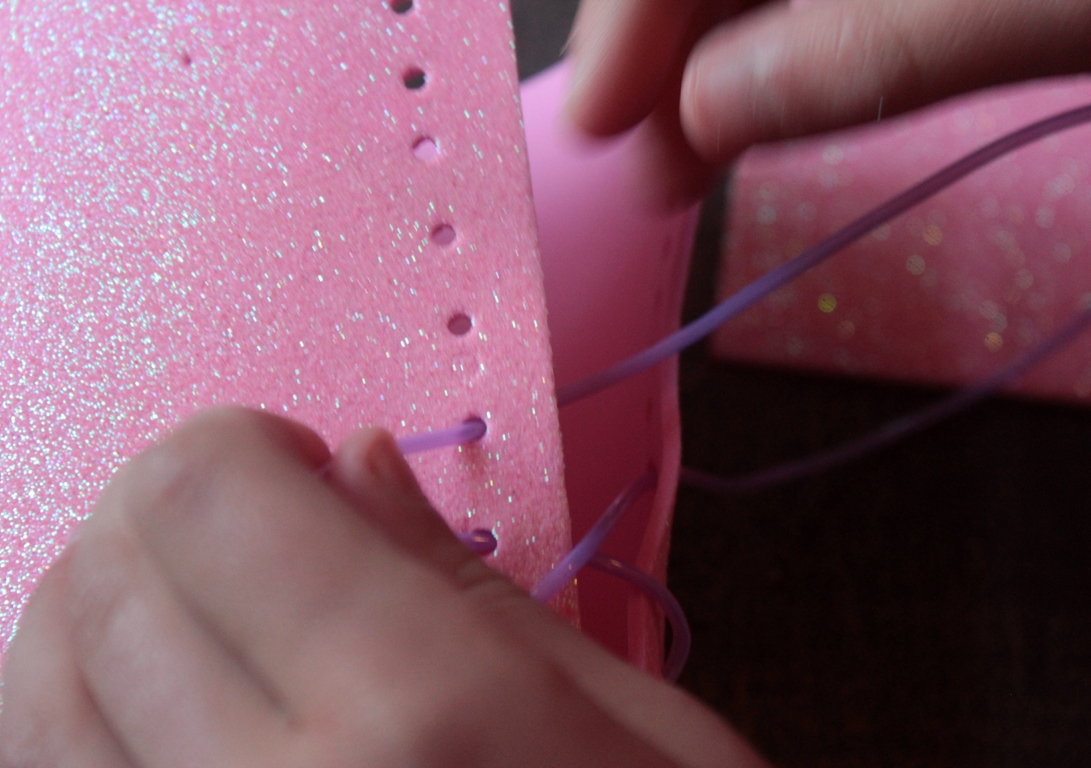
Step 3
I showed her how to find the middle of the lace, we put it through both bottom holes, and Maddie started lacing it up to the top.
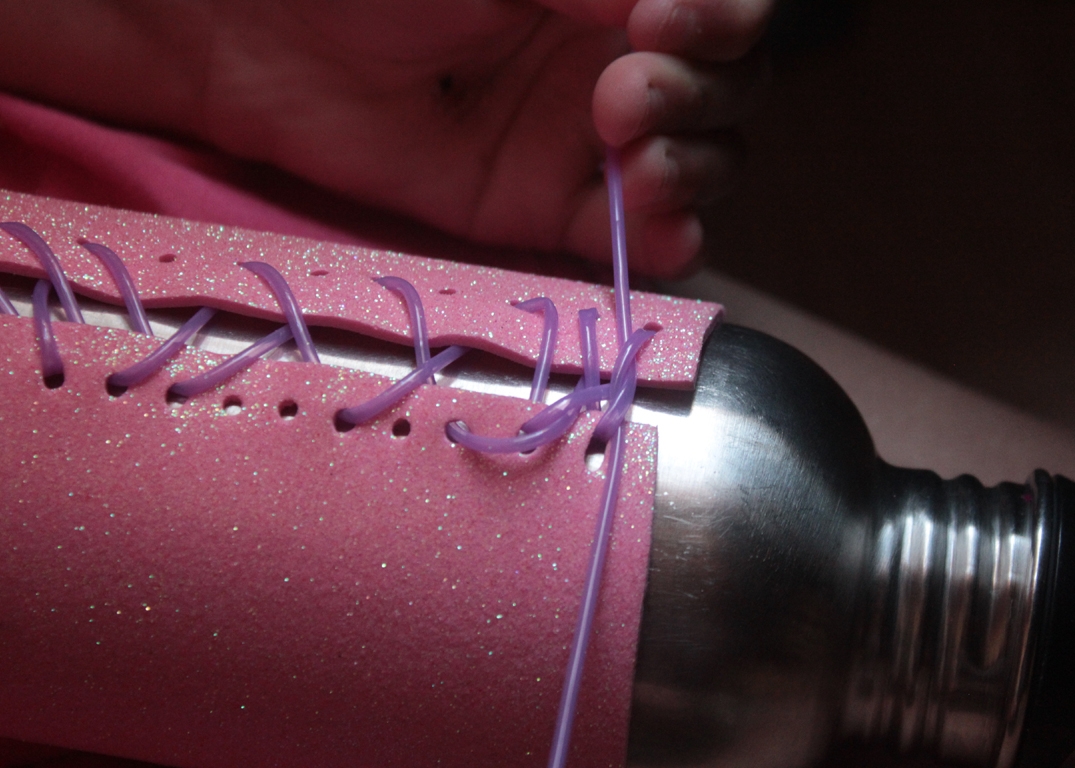
Step 4
When she got to the top, we put the bottle in, and she tied it. I reminded her not to pull too tightly--the foam tears pretty easily. (If you'd like an extra-sturdy cover, you could glue felt or heavy paper under the lacing. That would make the cover last longer, and prevent tears.)
Step 5
Maddie started deciding her design...
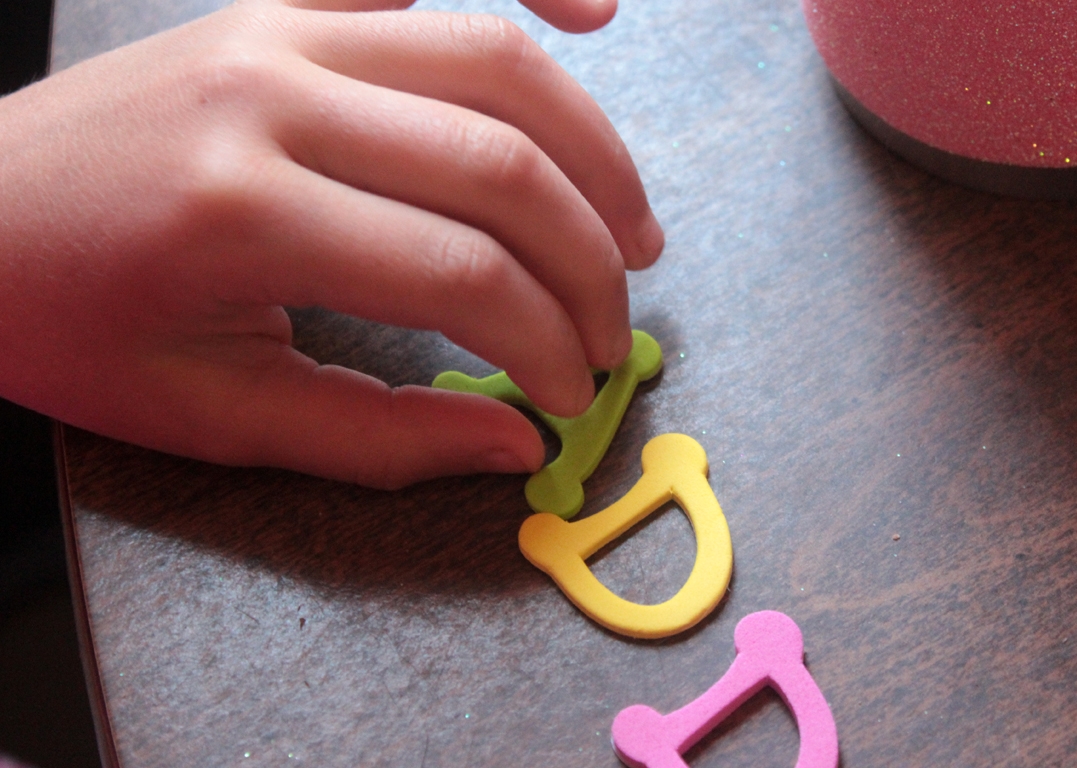
Step 6
chose some foam pieces...
Step 7
cut out other shapes...
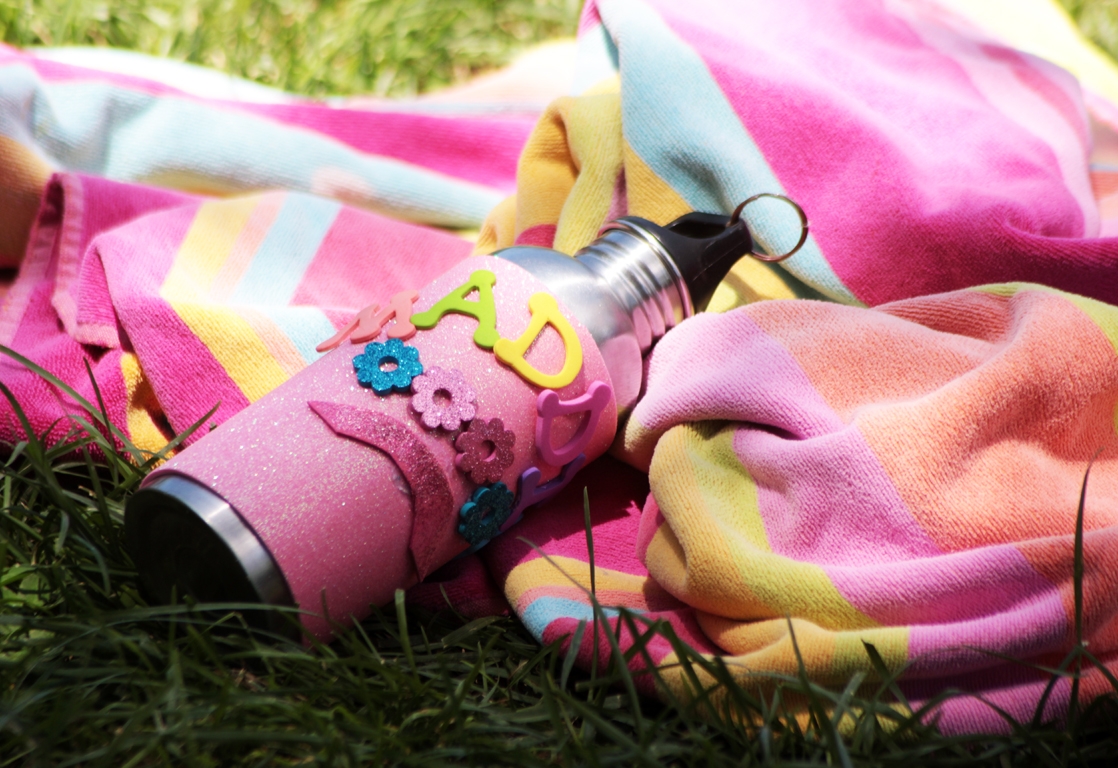
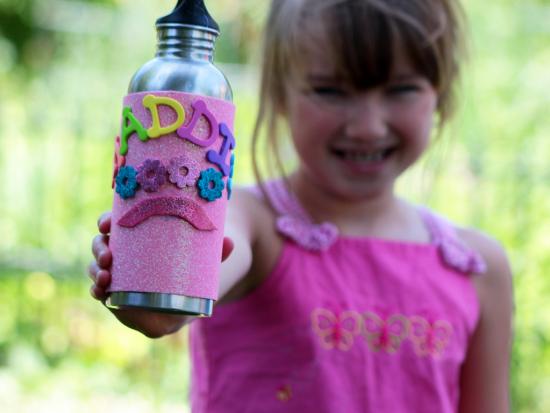
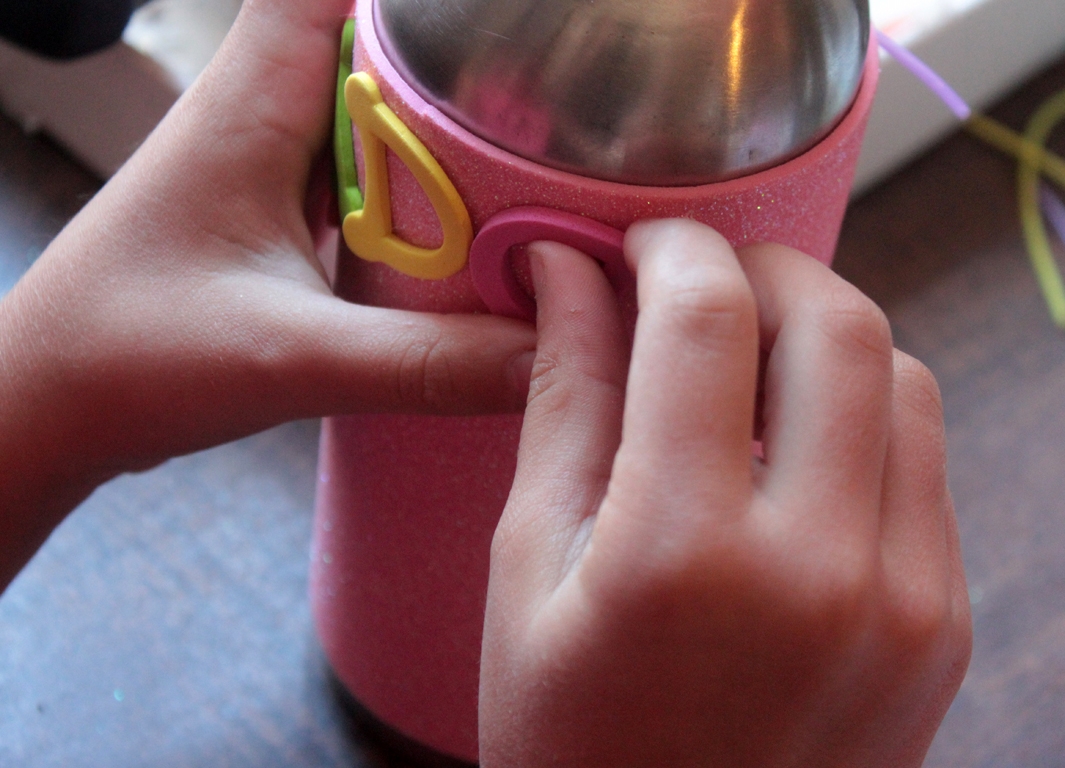
Done!
...and very soon it was all finished!