Step-by-step tutorial
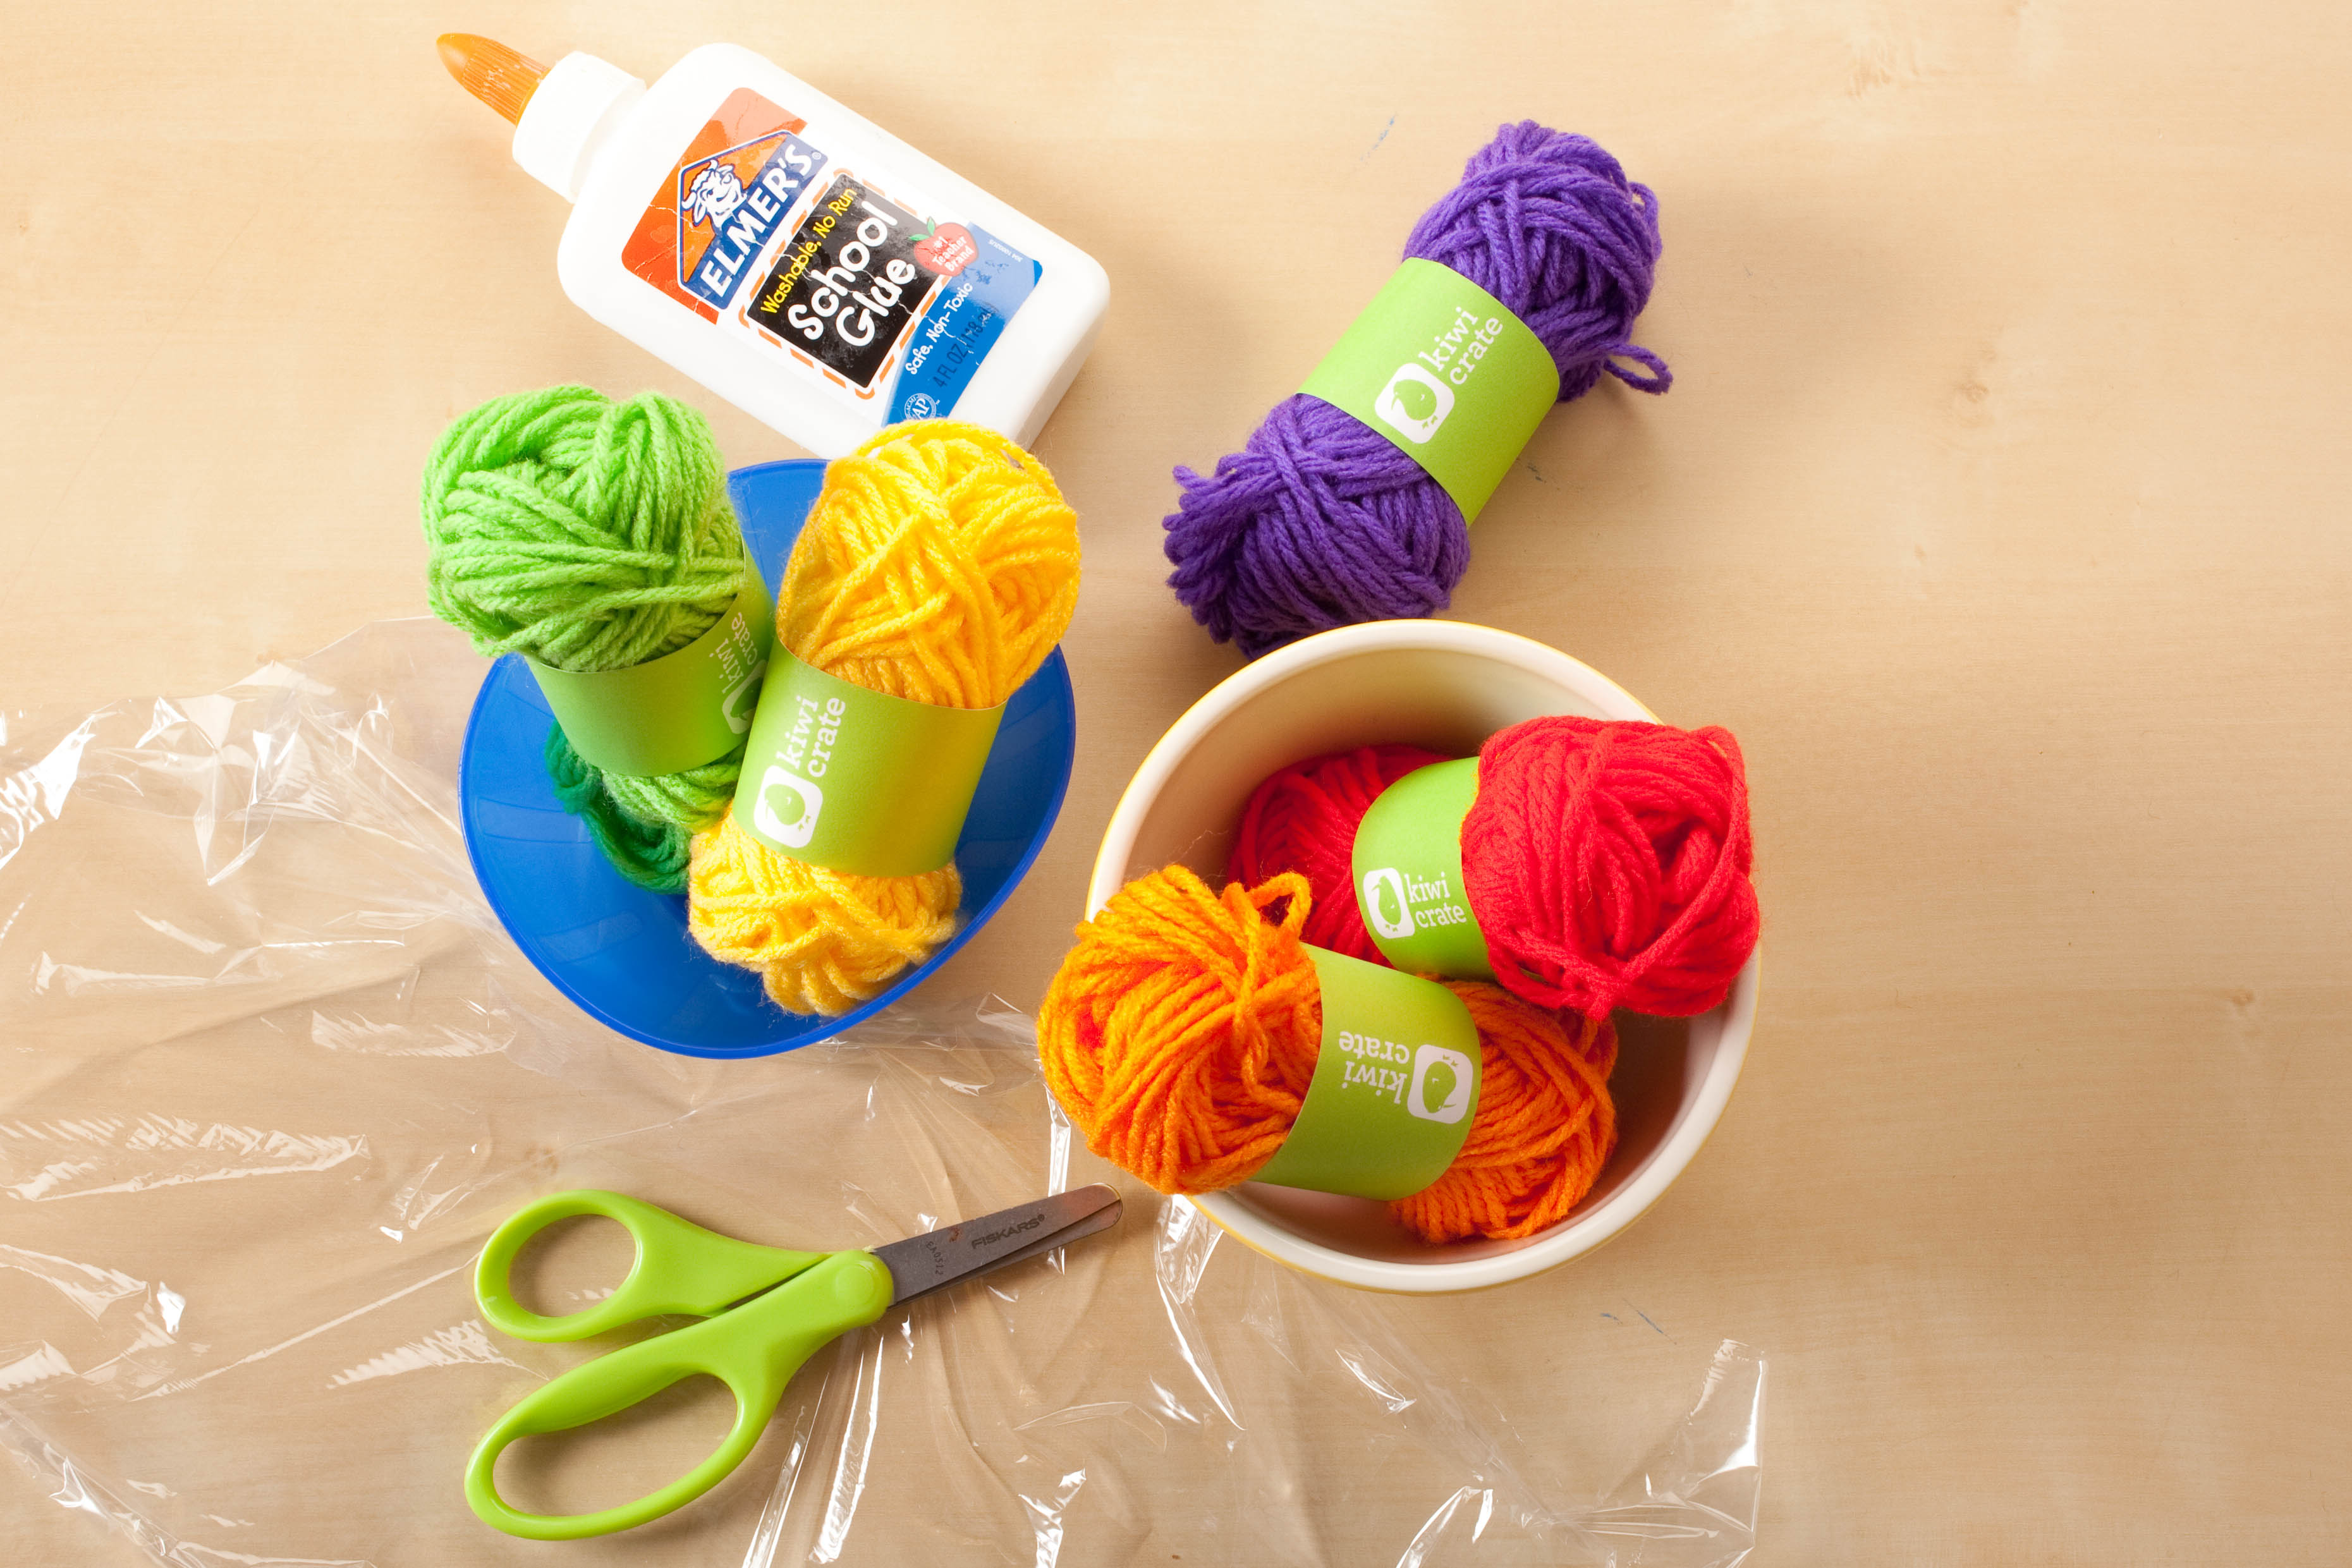
Step 1
Gather your materials. Protect your workspace by covering it with newspaper or a paper bag.

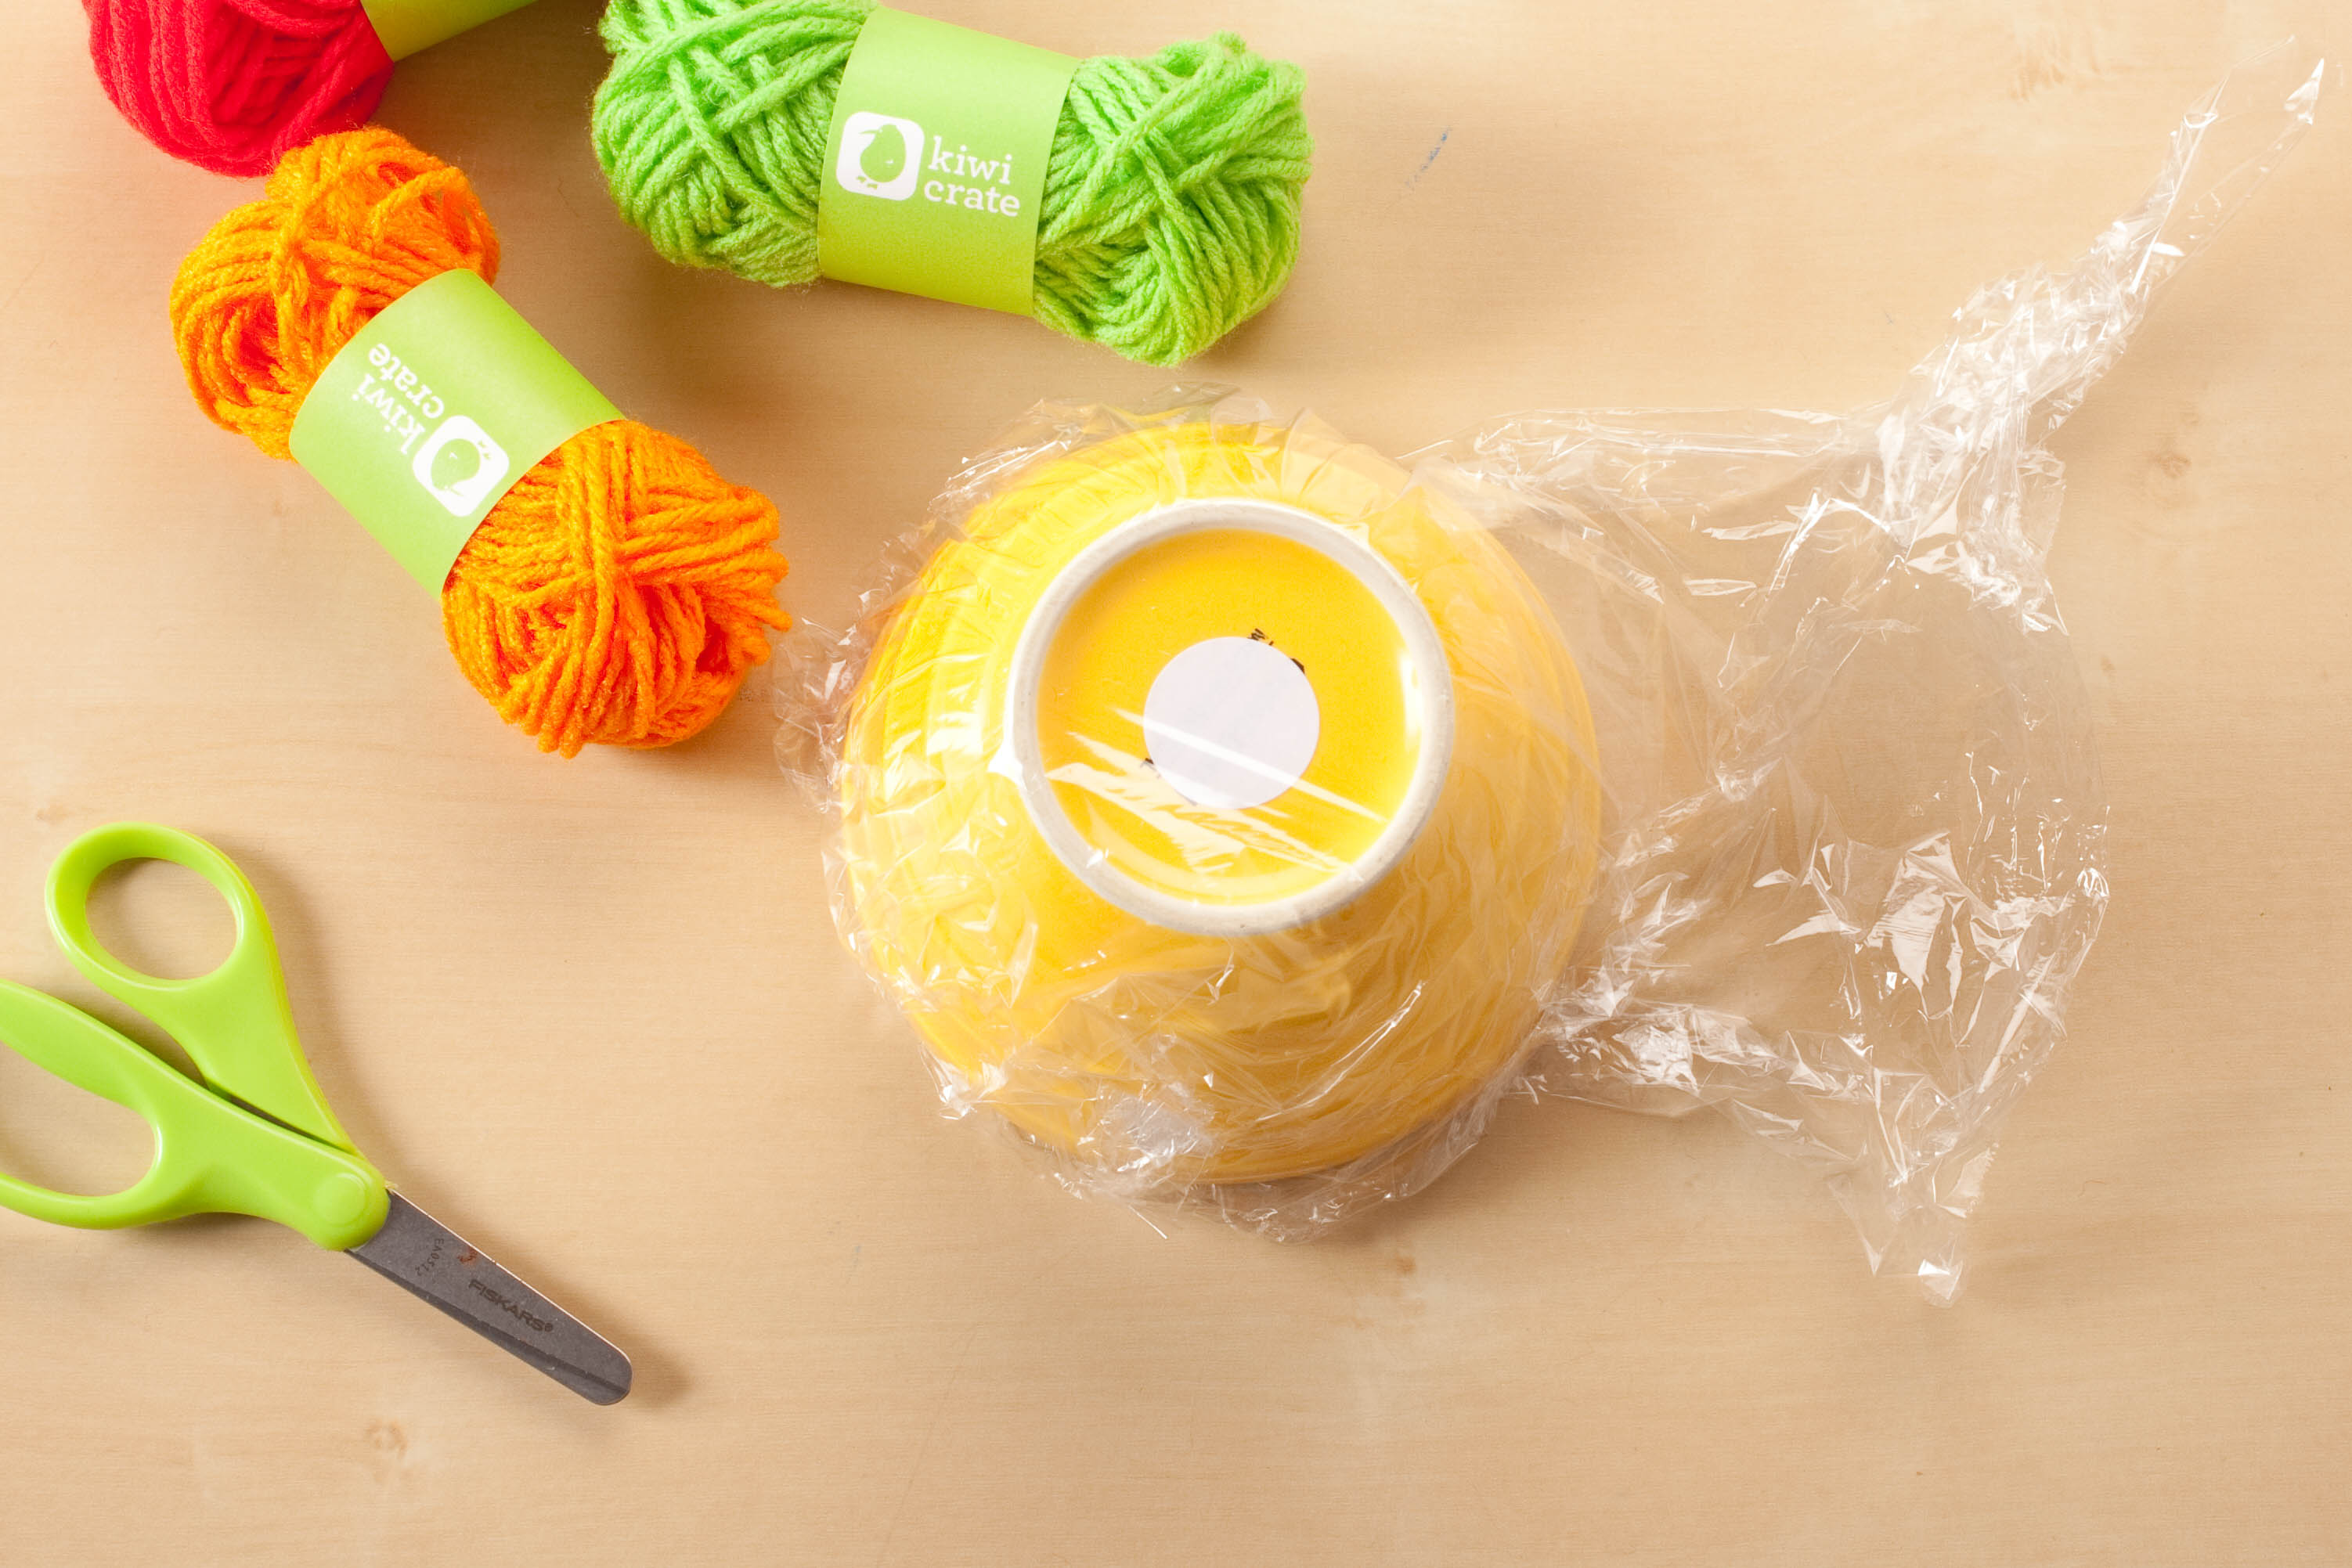
Step 2
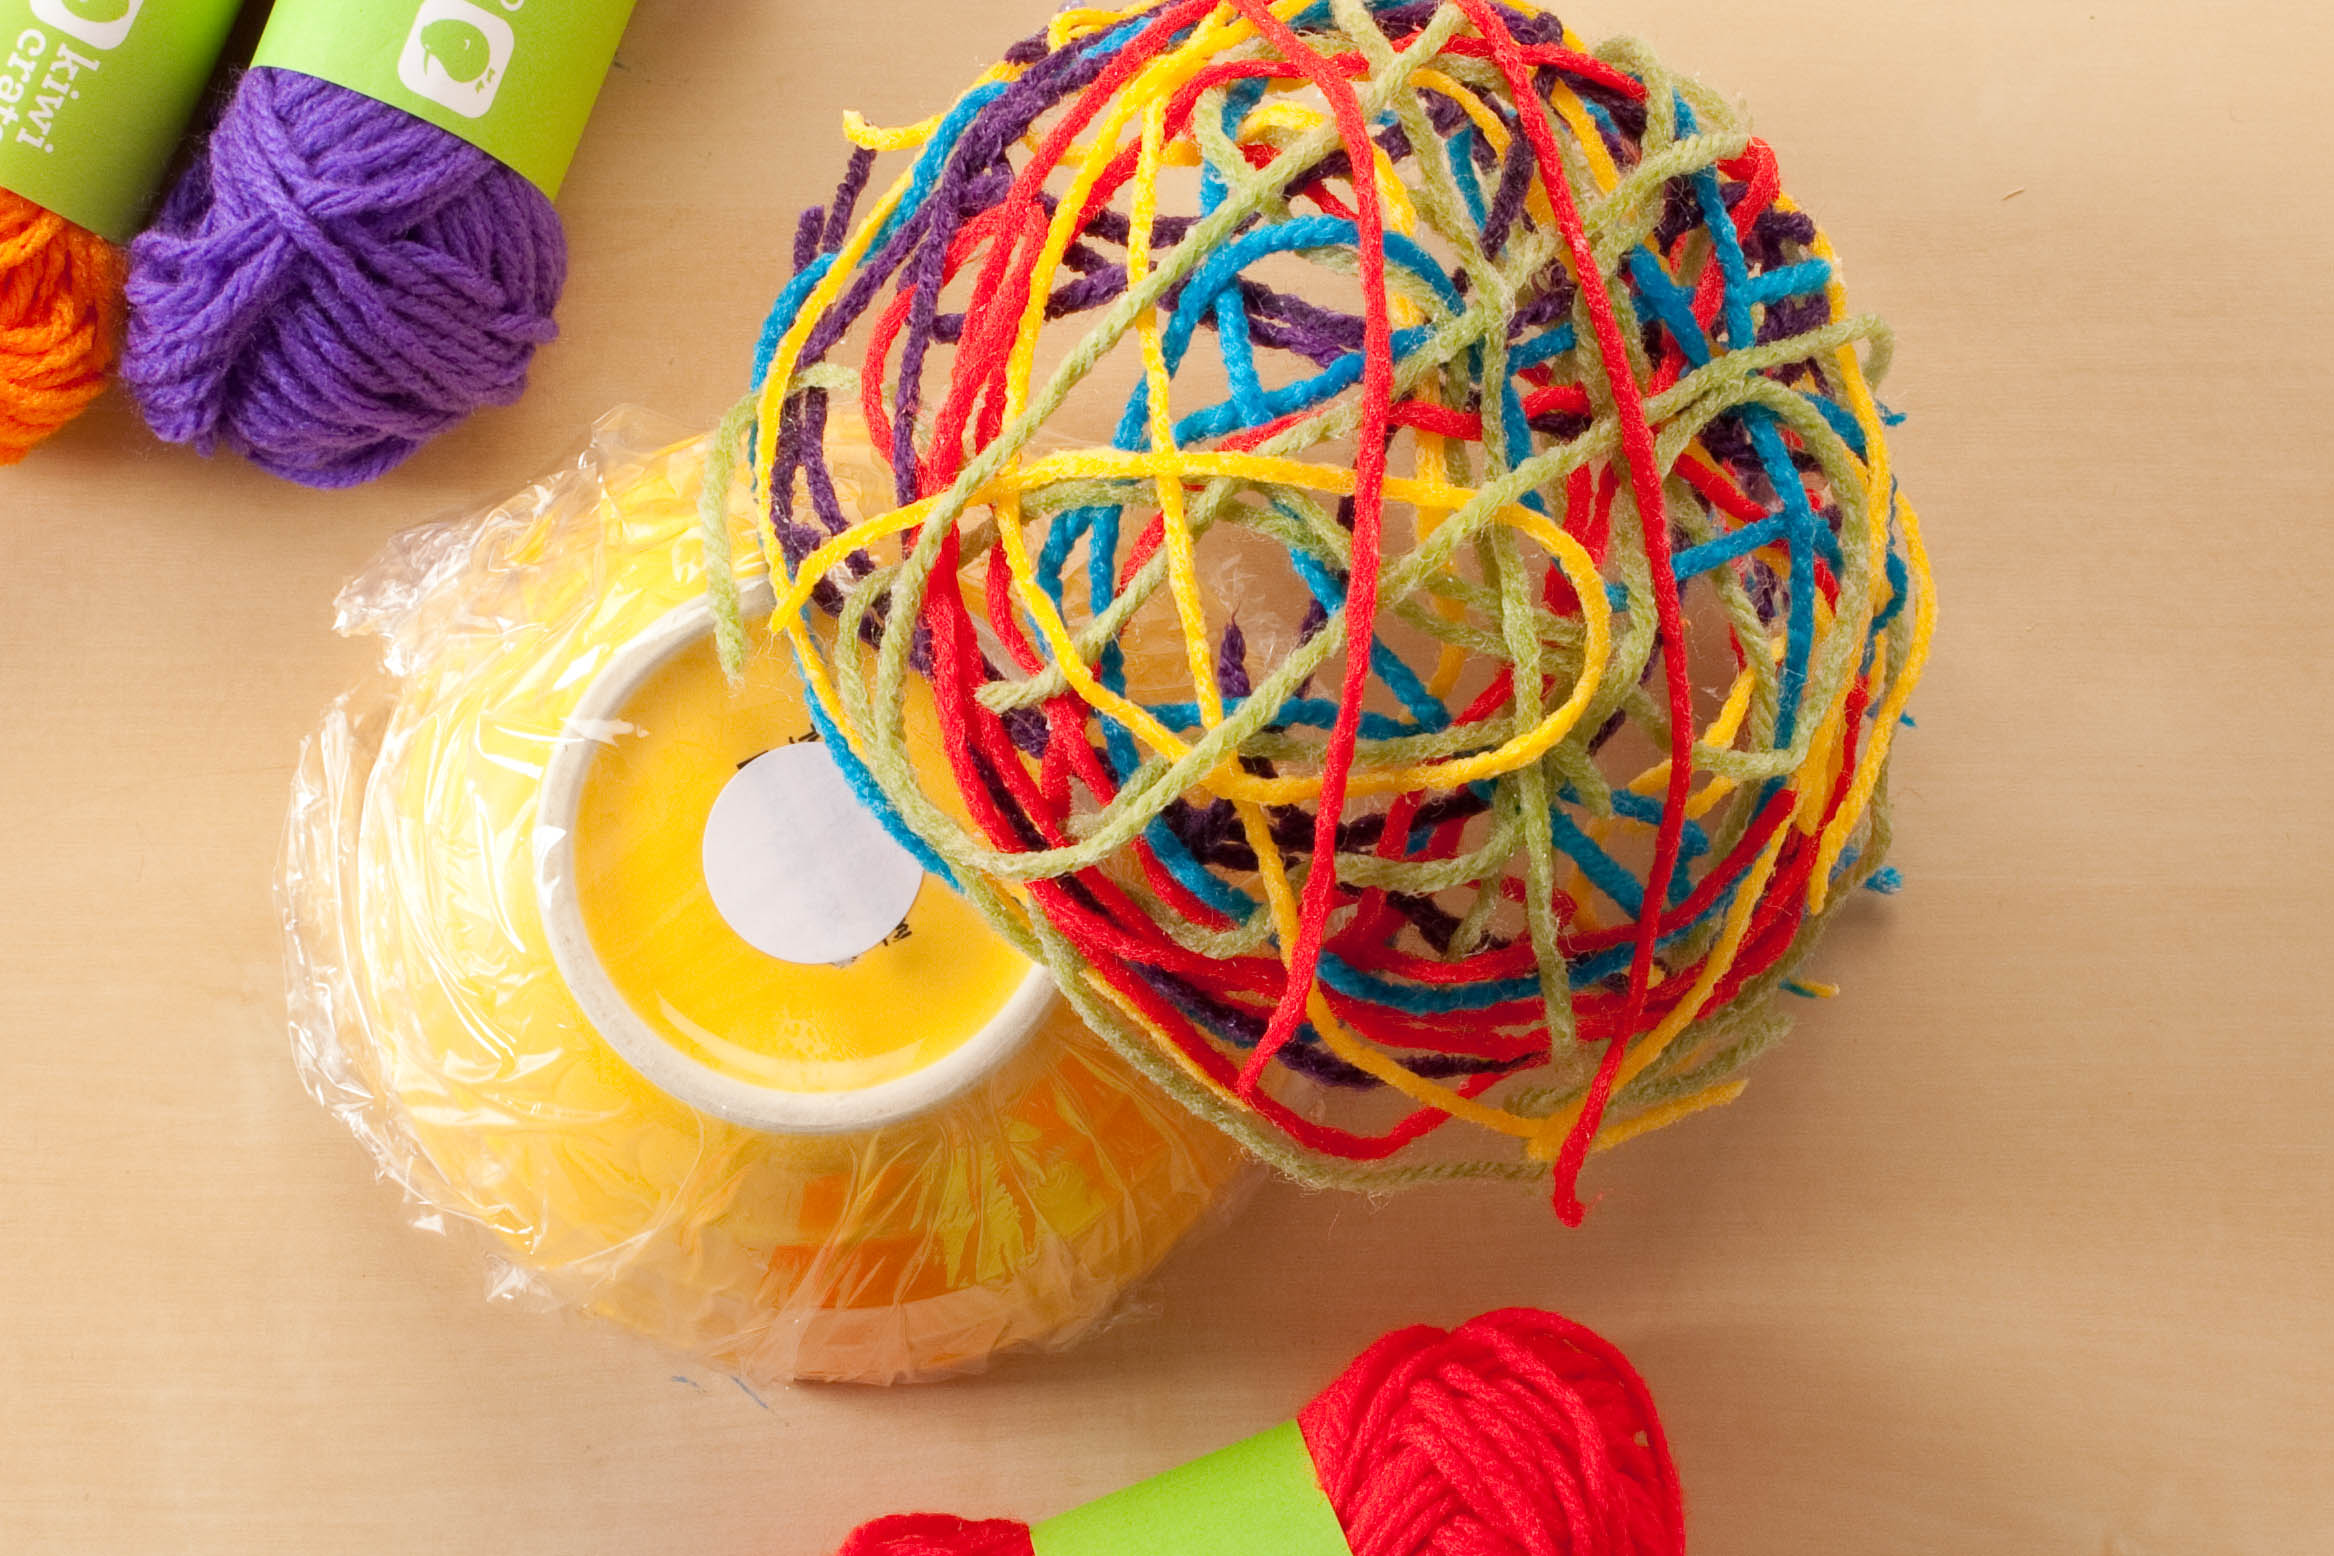
Normal 0 false false false EN-US X-NONE X-NONE /* Style Definitions */ table.MsoNormalTable {mso-style-name:"Table Normal"; mso-tstyle-rowband-size:0; mso-tstyle-colband-size:0; mso-style-noshow:yes; mso-style-priority:99; mso-style-parent:""; mso-padding-alt:0in 5.4pt 0in 5.4pt; mso-para-margin:0in; mso-para-margin-bottom:.0001pt; mso-pagination:widow-orphan; font-size:10.0pt; font-family:"Arial","sans-serif";} Flip one bowl upside down and cover it with plastic wrap completely. Fill the second bowl with glue and thin it with water so that it has a soupy consistency.
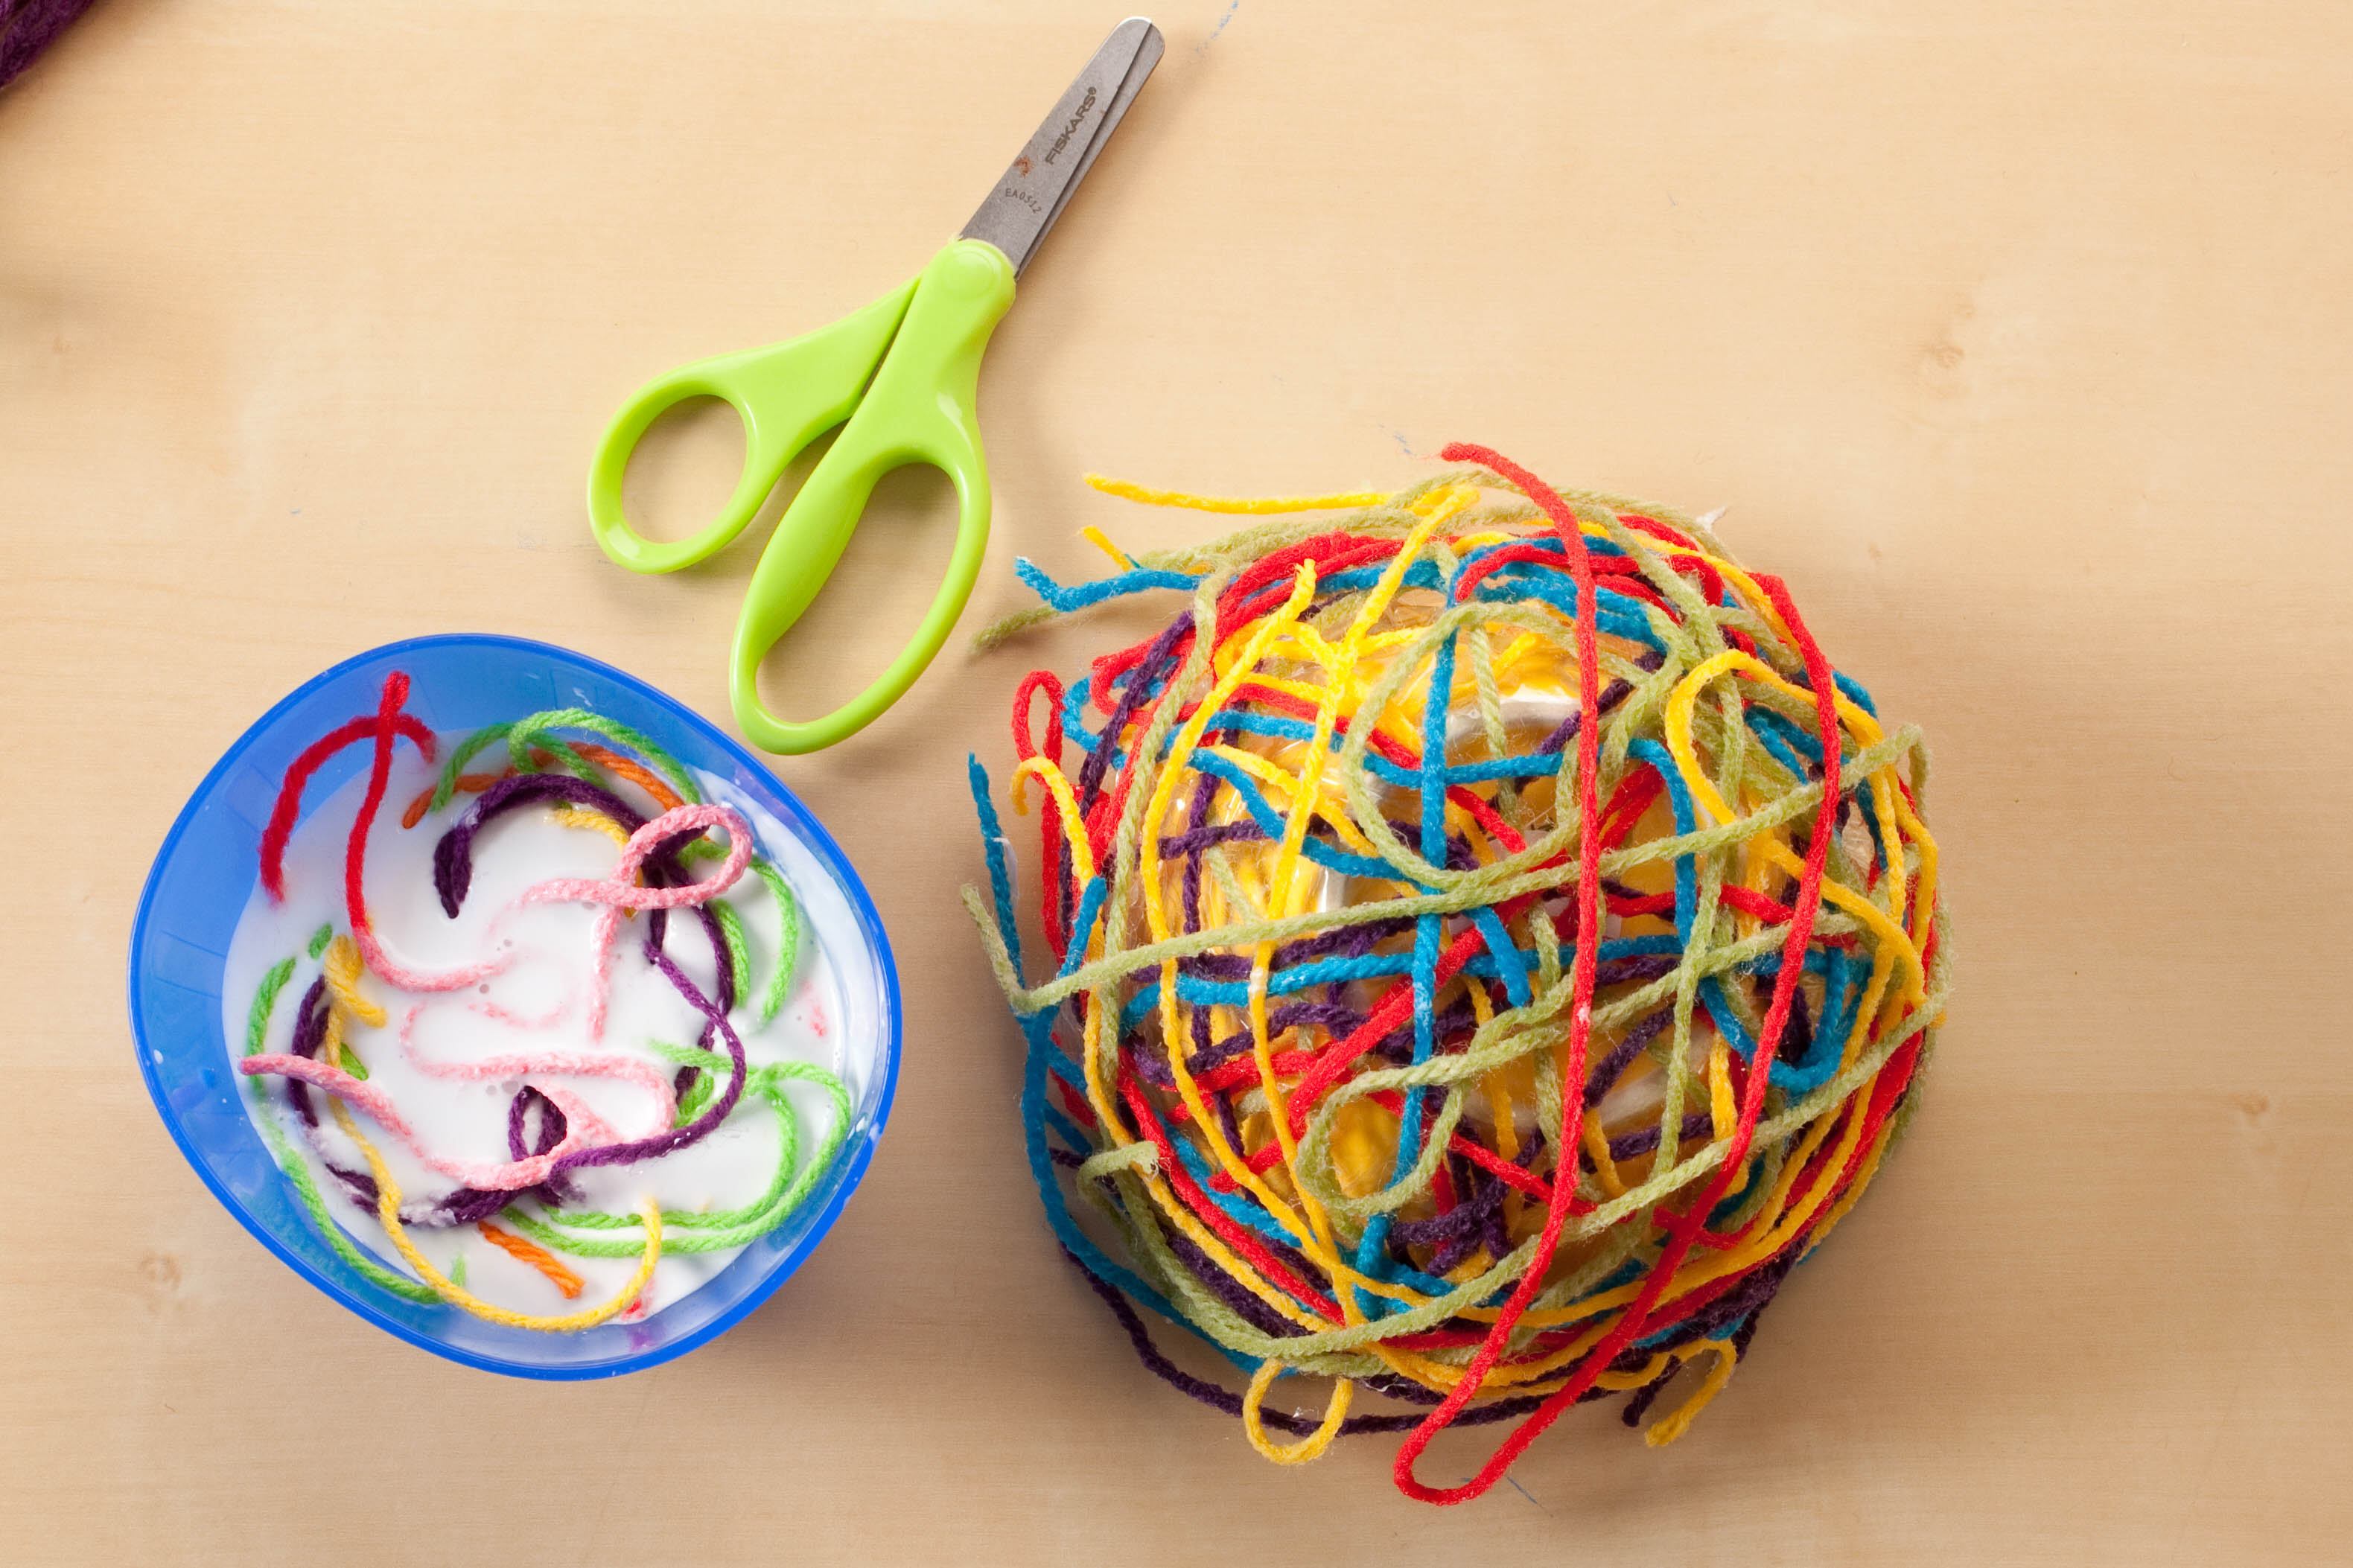
Step 3
Cut yarn pieces so that they each drape a few inches longer then the plastic-wrapped bowl. Soak the cut yarn in a bowl and then, one at a time, drape the pieces over the upside-down bowl until it is covered.
Step 4
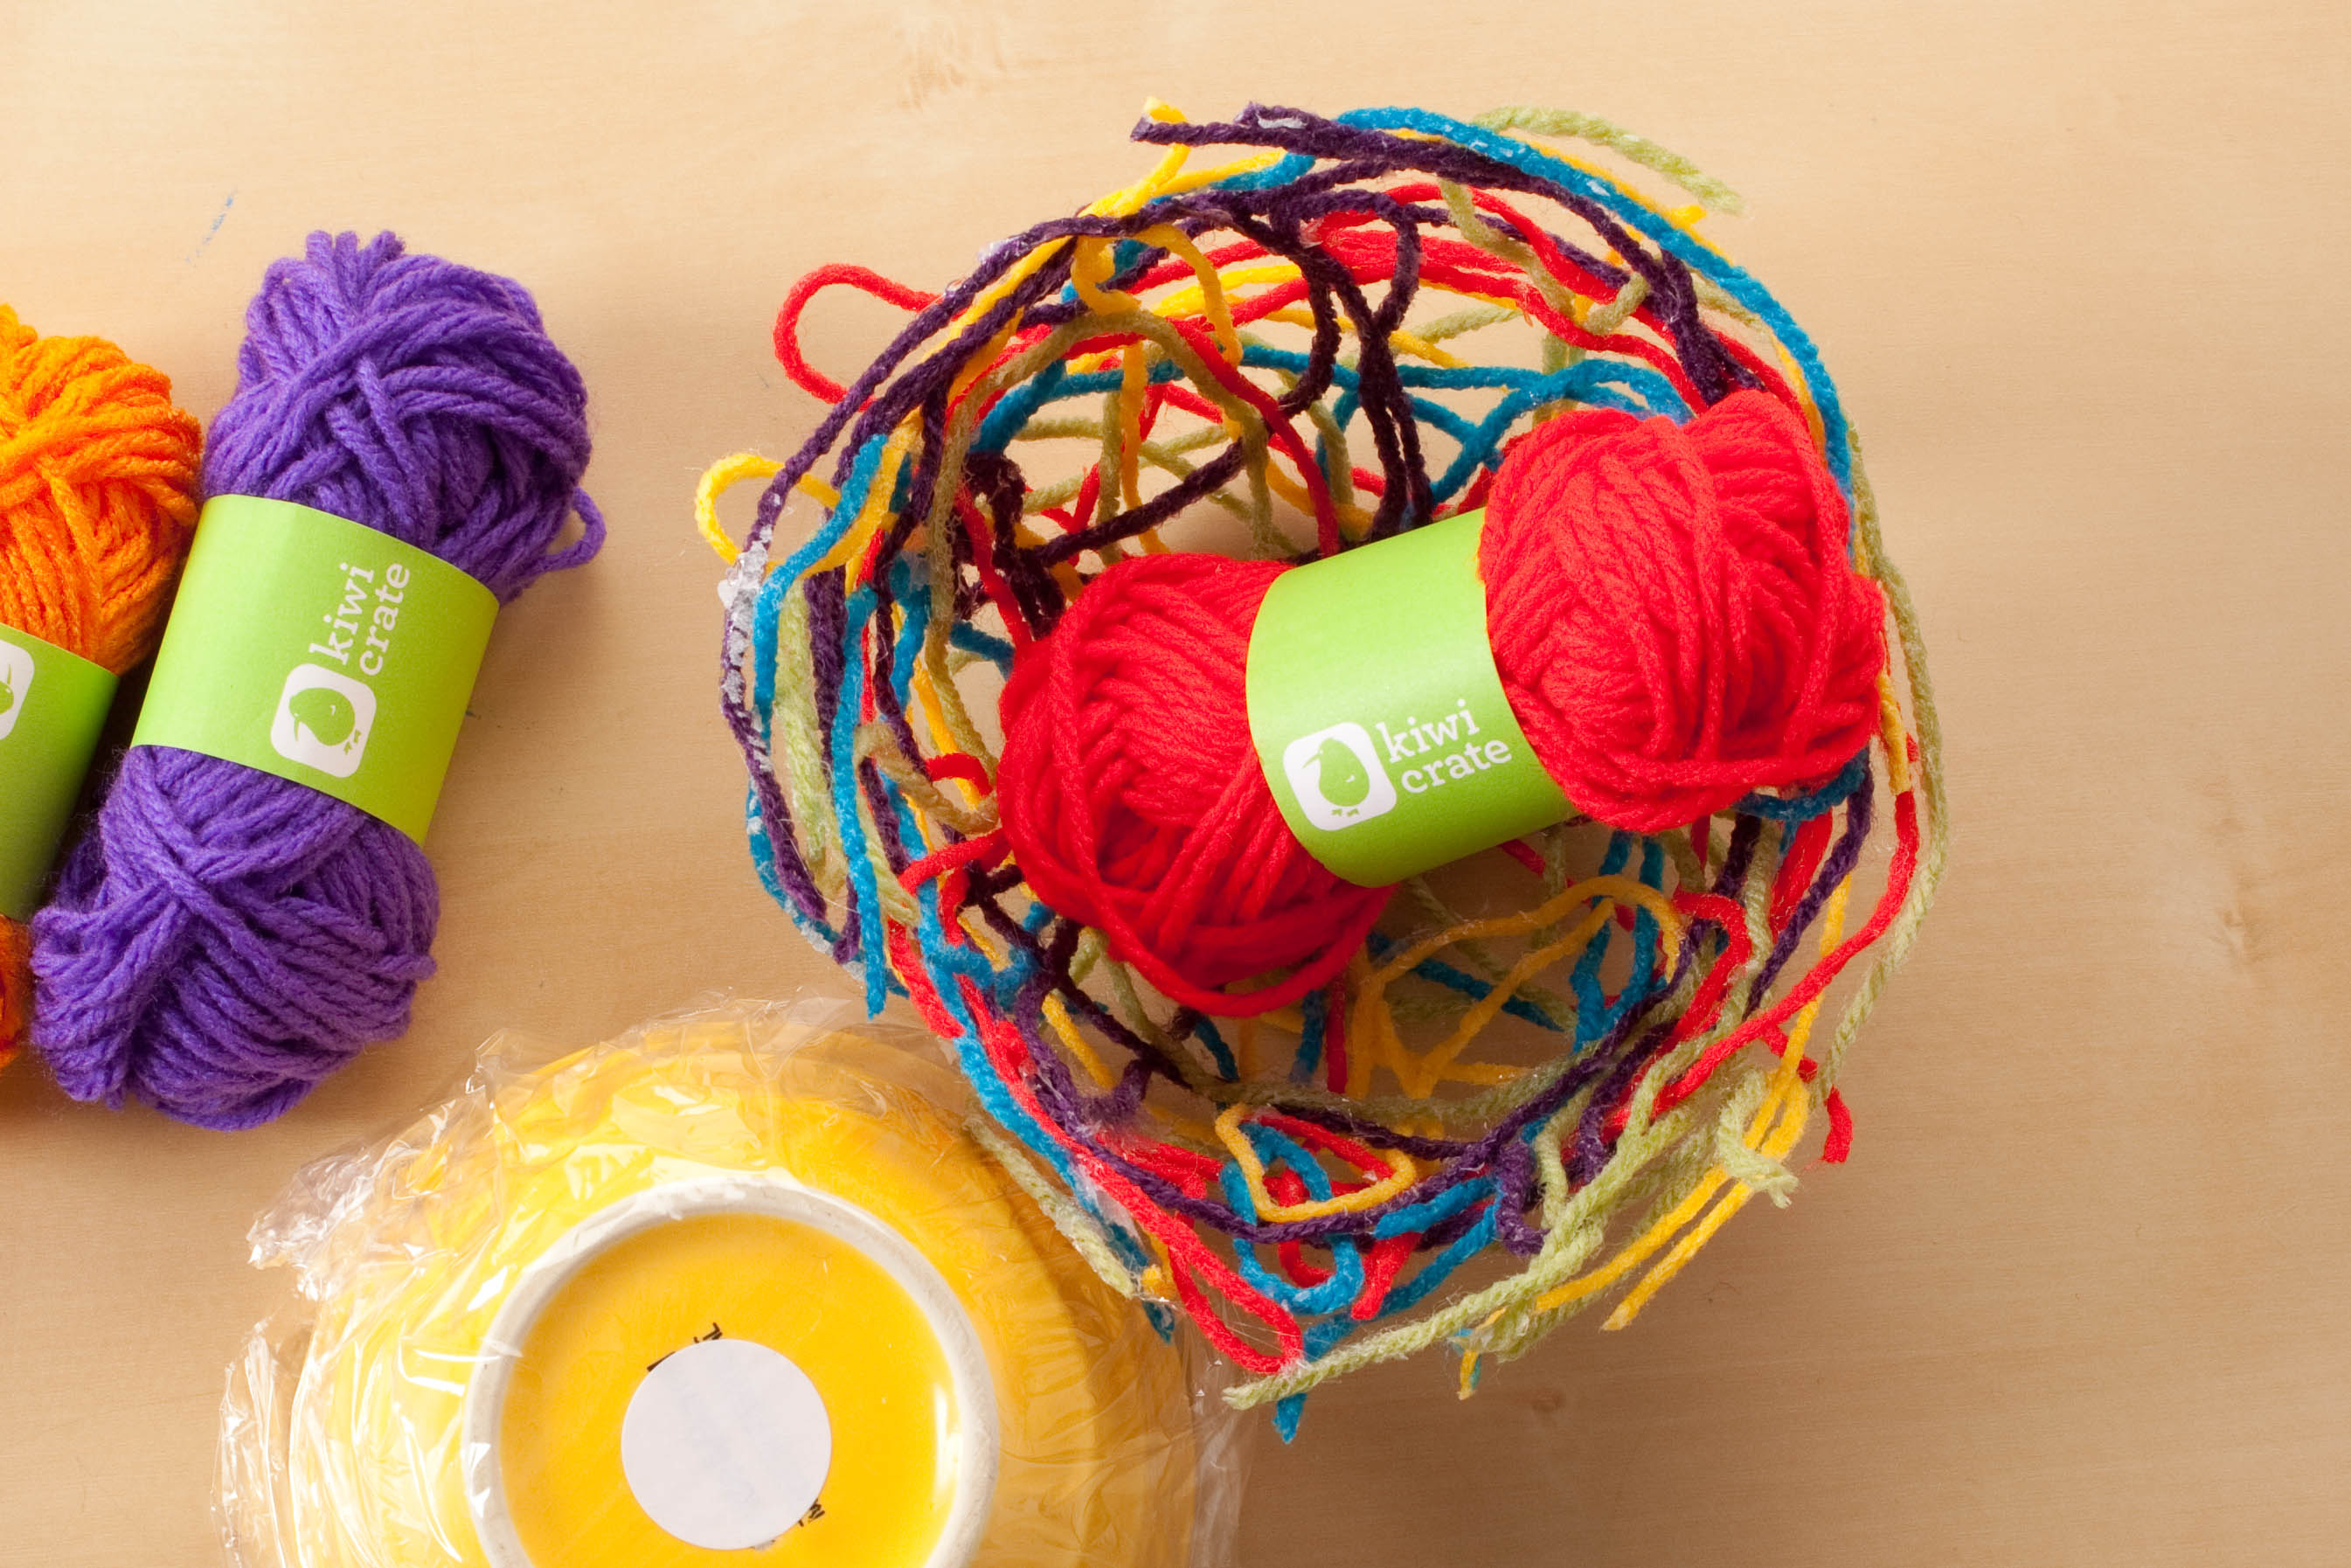
Allow the yarn bowl to dry overnight and then carefully remove it from the upside-down bowl.
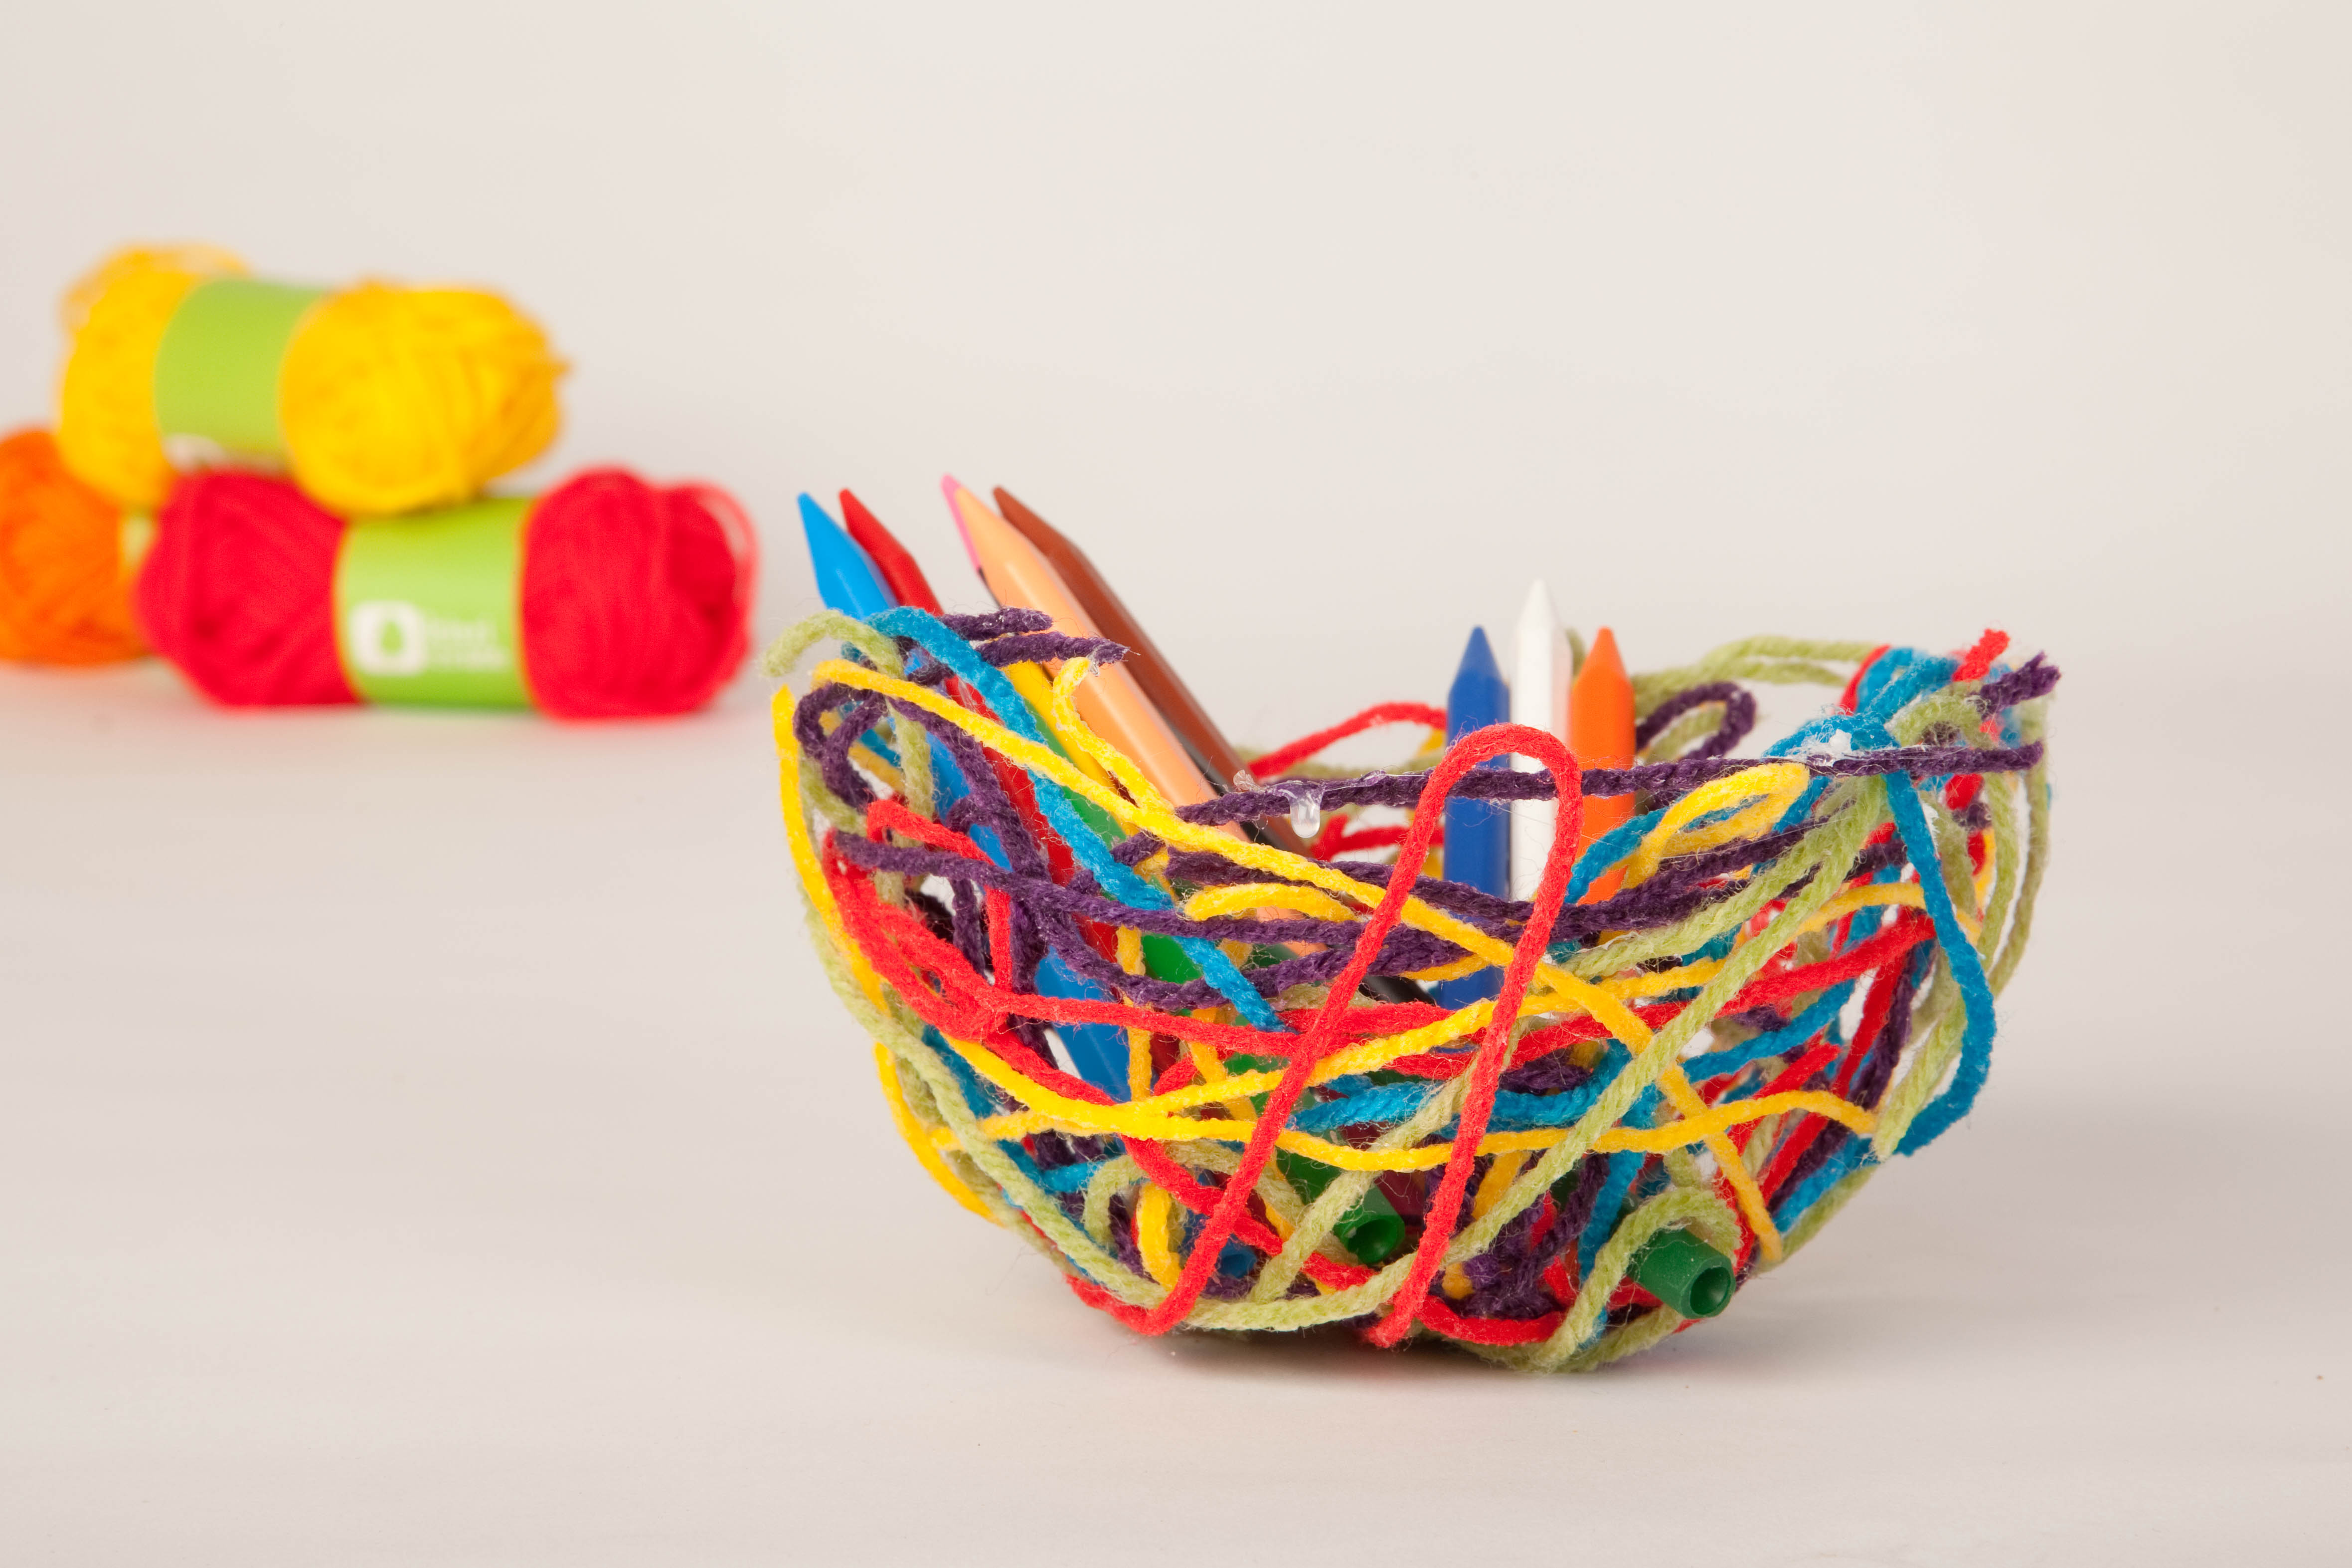
Done!
Now you have your very own yarn bowl!