Step-by-step tutorial
Step 1
Choose your theme, beads, paper pieces, and card colors according to your card design.
Step 2
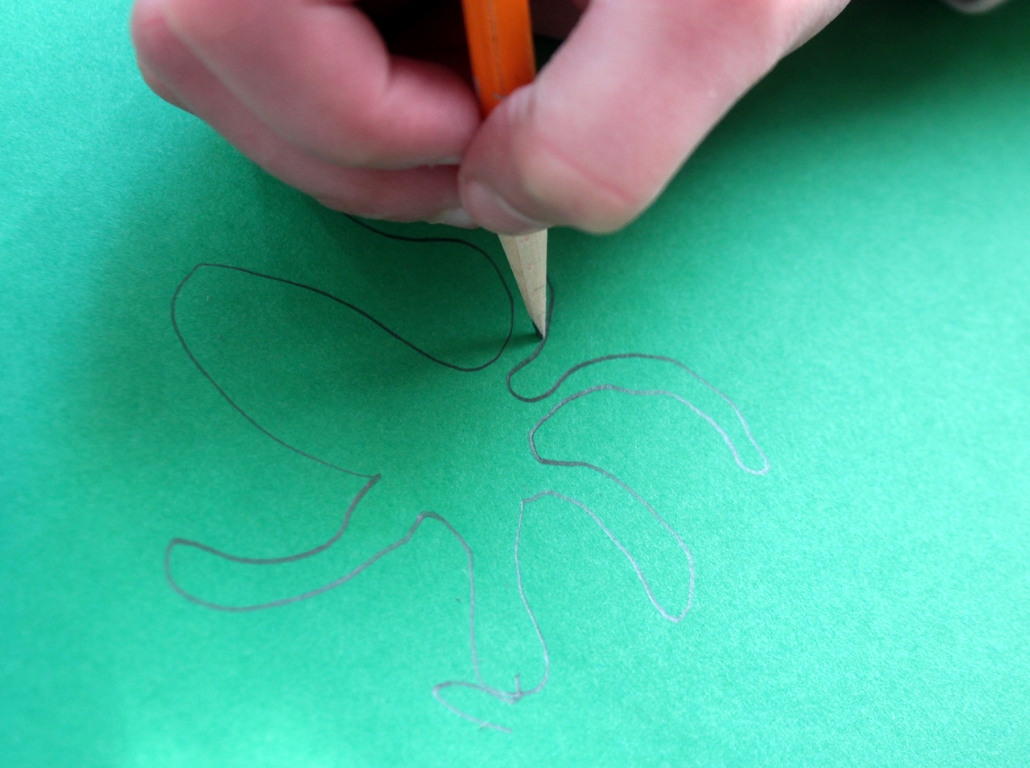
Maddie knew she wanted to go for a sea theme, so she chose a blue piece of paper to start with, with a rectangle hole. Since she isn't adept enough with scissors to cut a hole in the center of something, that was my job. I did so, after folding the paper in half to make the card shape and size. While I did that. she drew her sea creatures, and we folded the paper (to double it, so we'd have two), and cut them out.

Step 3
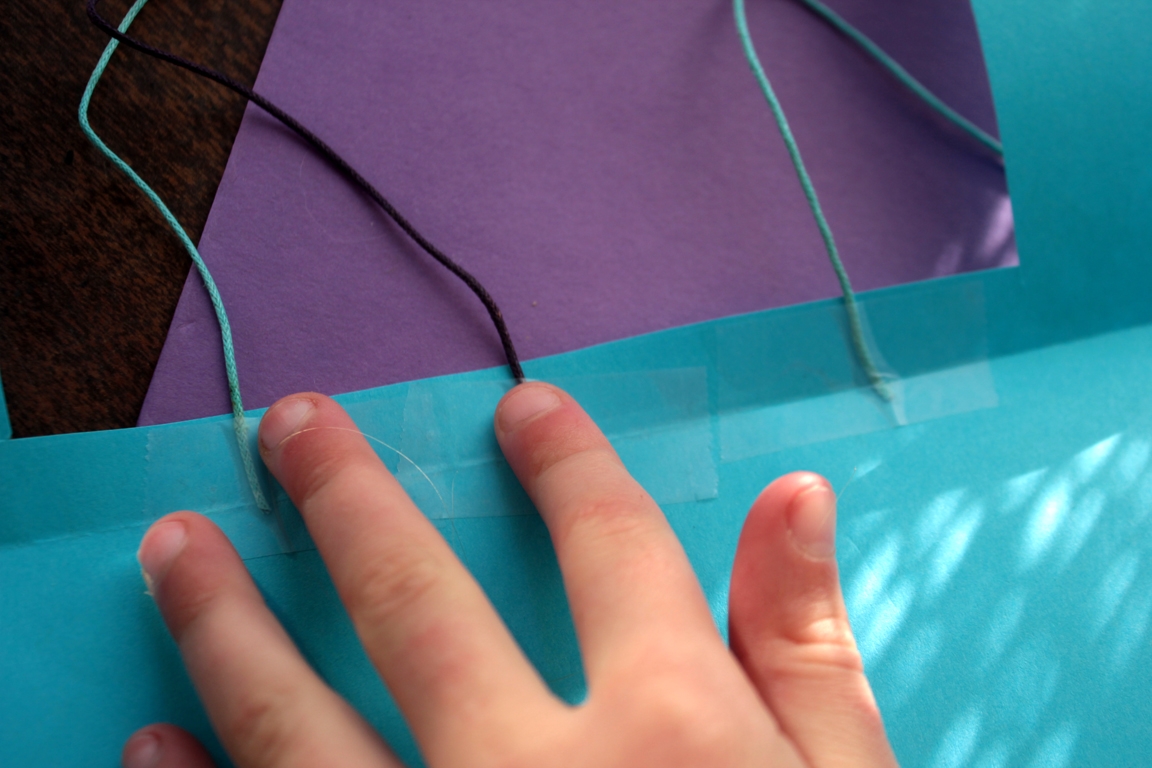
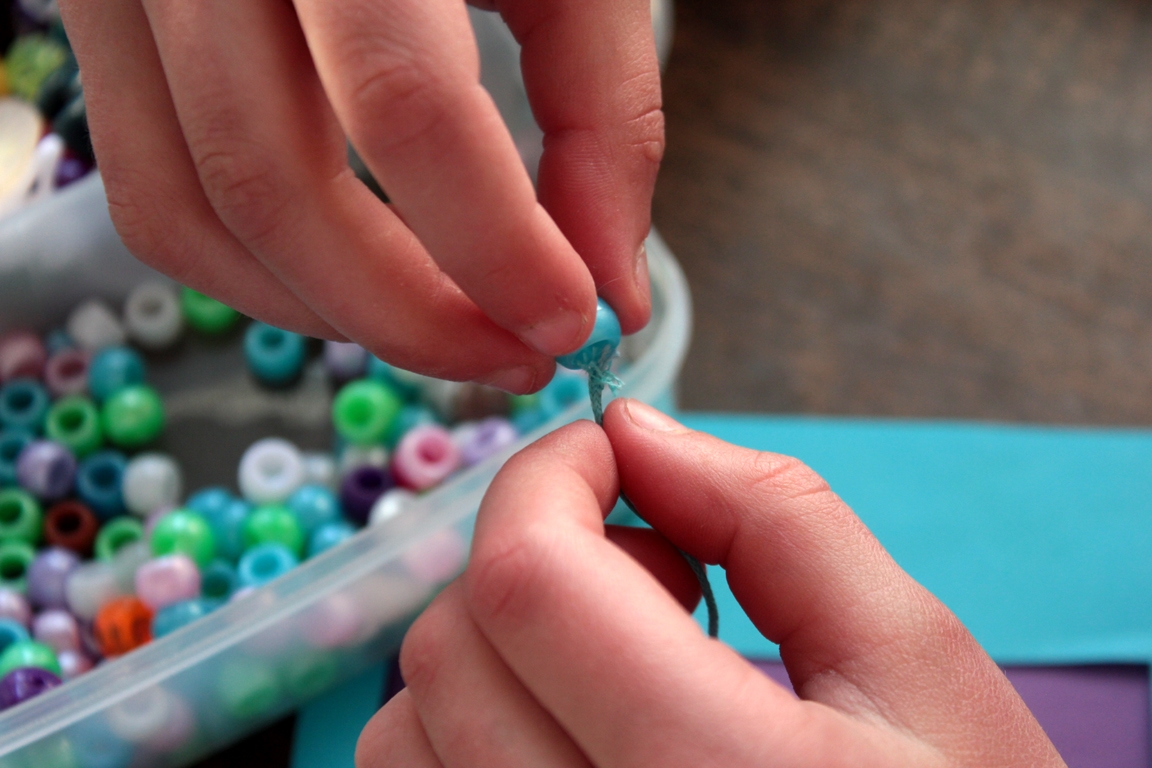
Next, she chose her background card and her string color. She measured the string pieces to fit the card, and we taped the bead strings on the inside top of the card.
Step 4
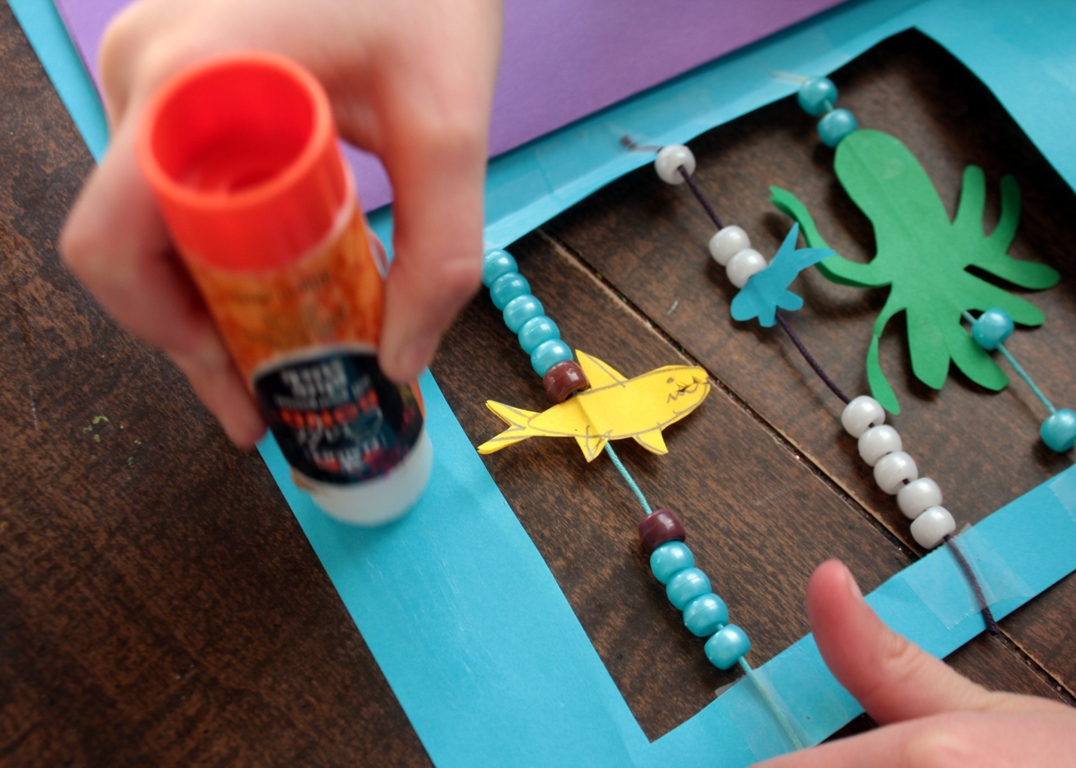
She put on a few beads, then pasted the first creature,
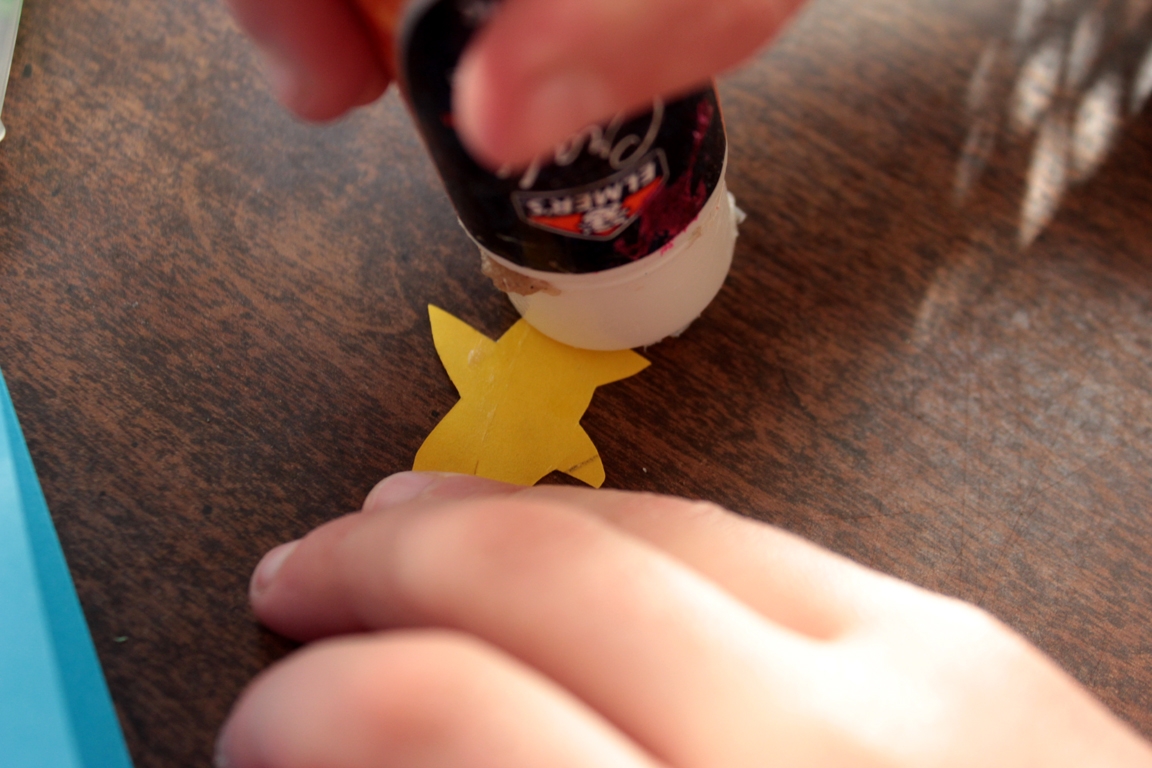
Step 5
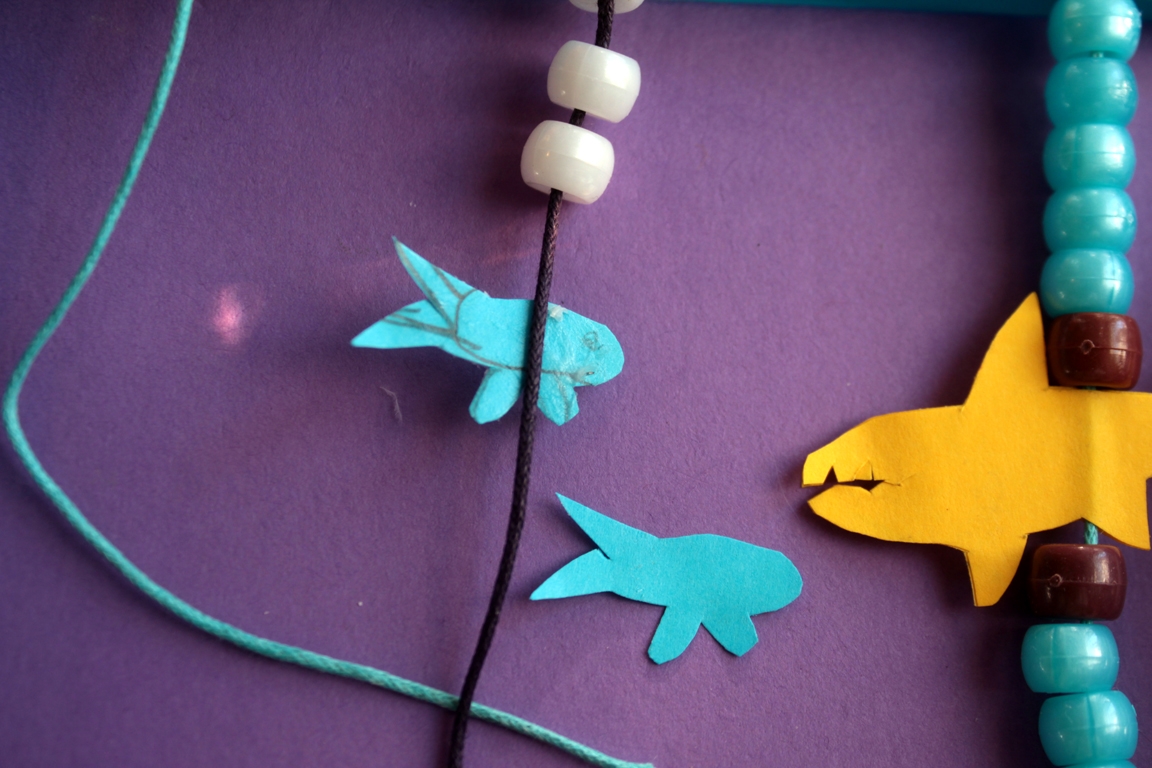
and we stuck it to the string. The second creature cut-out went directly on top of it, over the string. Younger children may want to adapt these cut-out steps by using foam shapes or other already-cut shapes or creatures.
Step 6
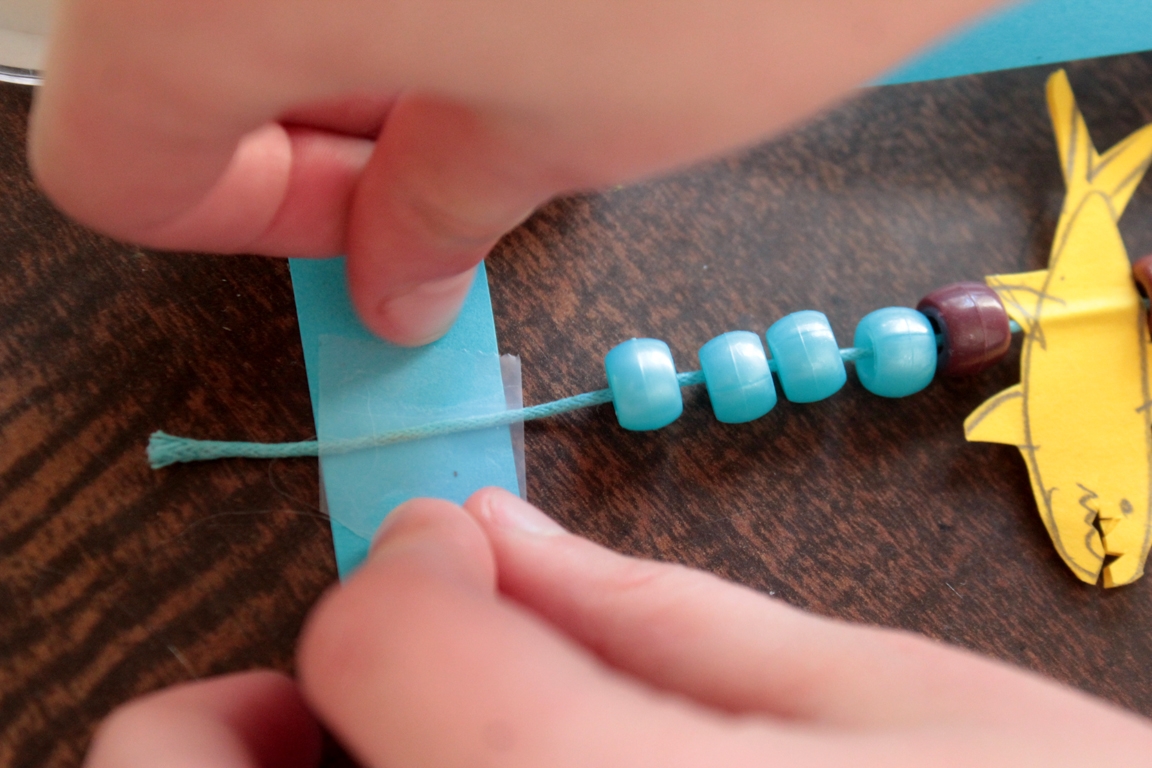
She finished the row of beads,
Step 7
then taped the bottom of the string to the bottom-inside of the card window.
Step 8
Maddie chose three rows, so this was done for all three.
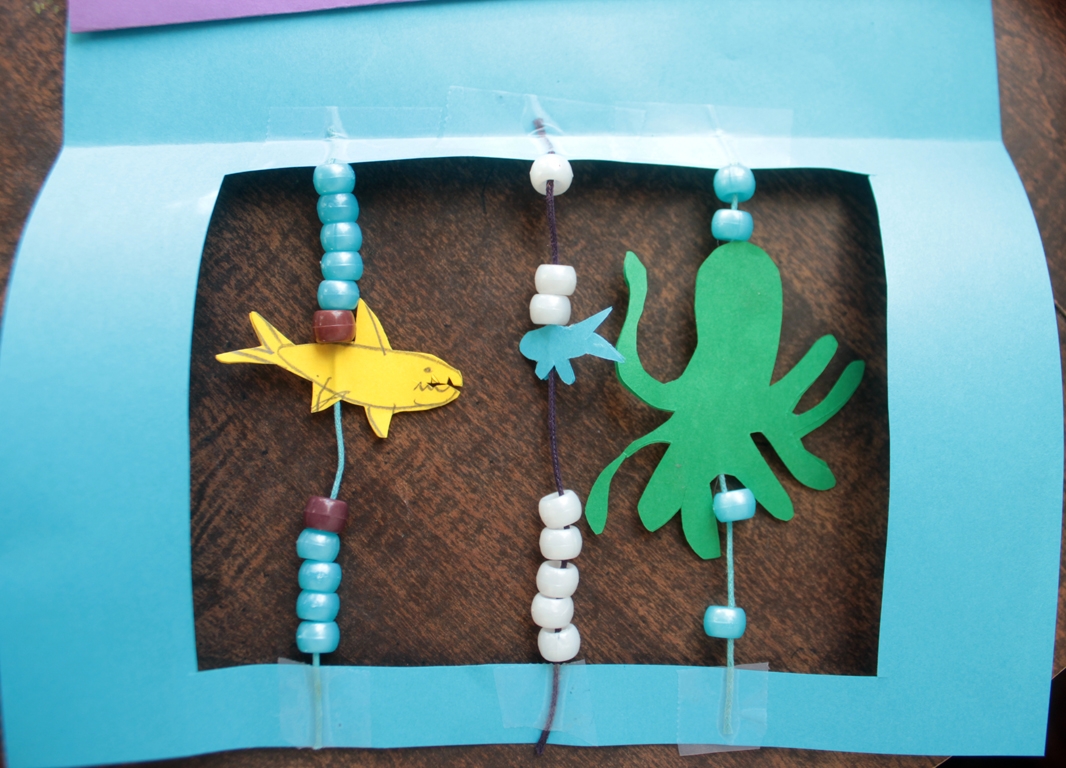
Step 9
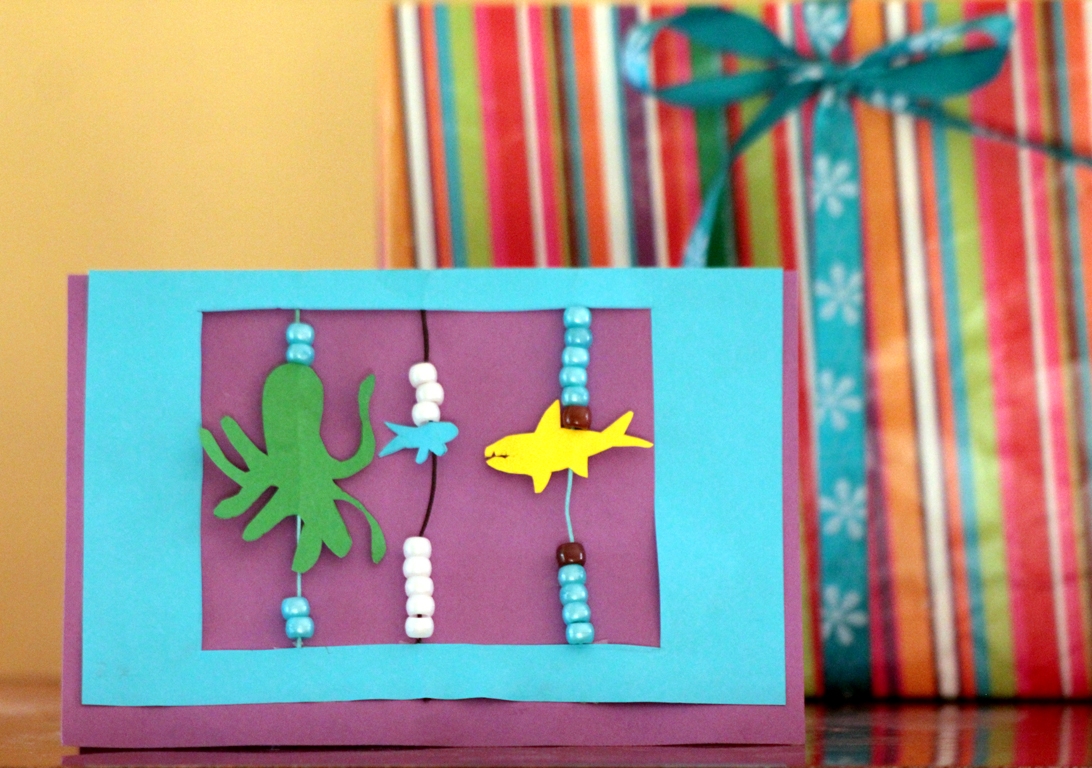
Lastly, she glued the window card at the edges to the background card.
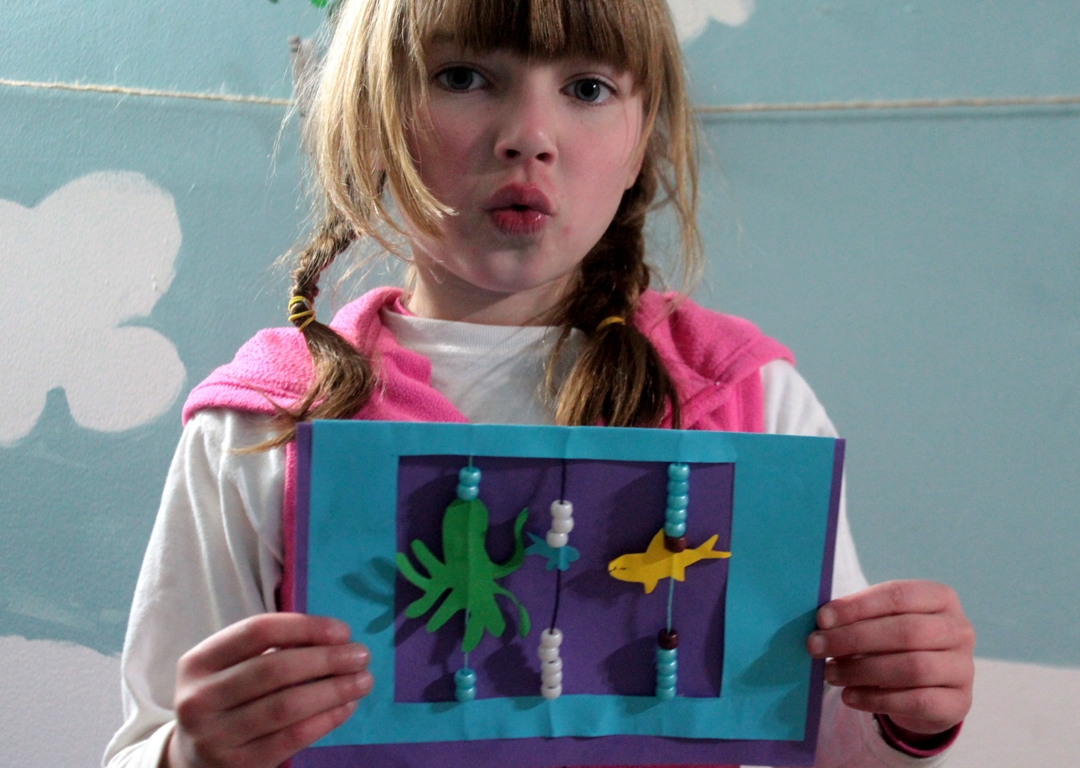
Done!
It's finished. And it even comes with a 'Happy Birthday" whistle!!