Step-by-step tutorial
Step 1
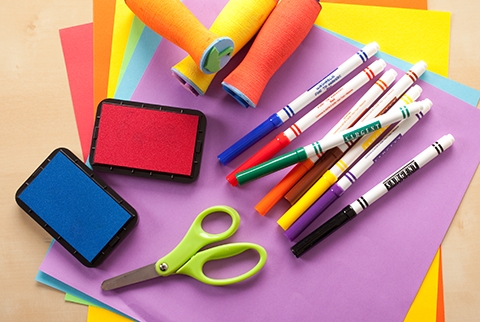
Gather your materials. Protect your workspace with newspapers or a paper bag.

Step 2
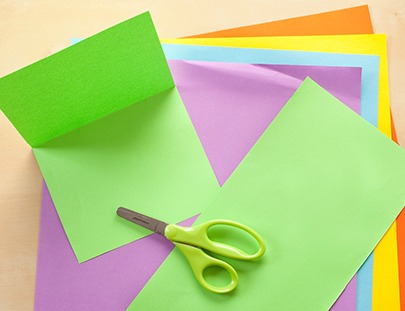
Fold a rectangular piece of colored paper in half (short sides together).
Step 3
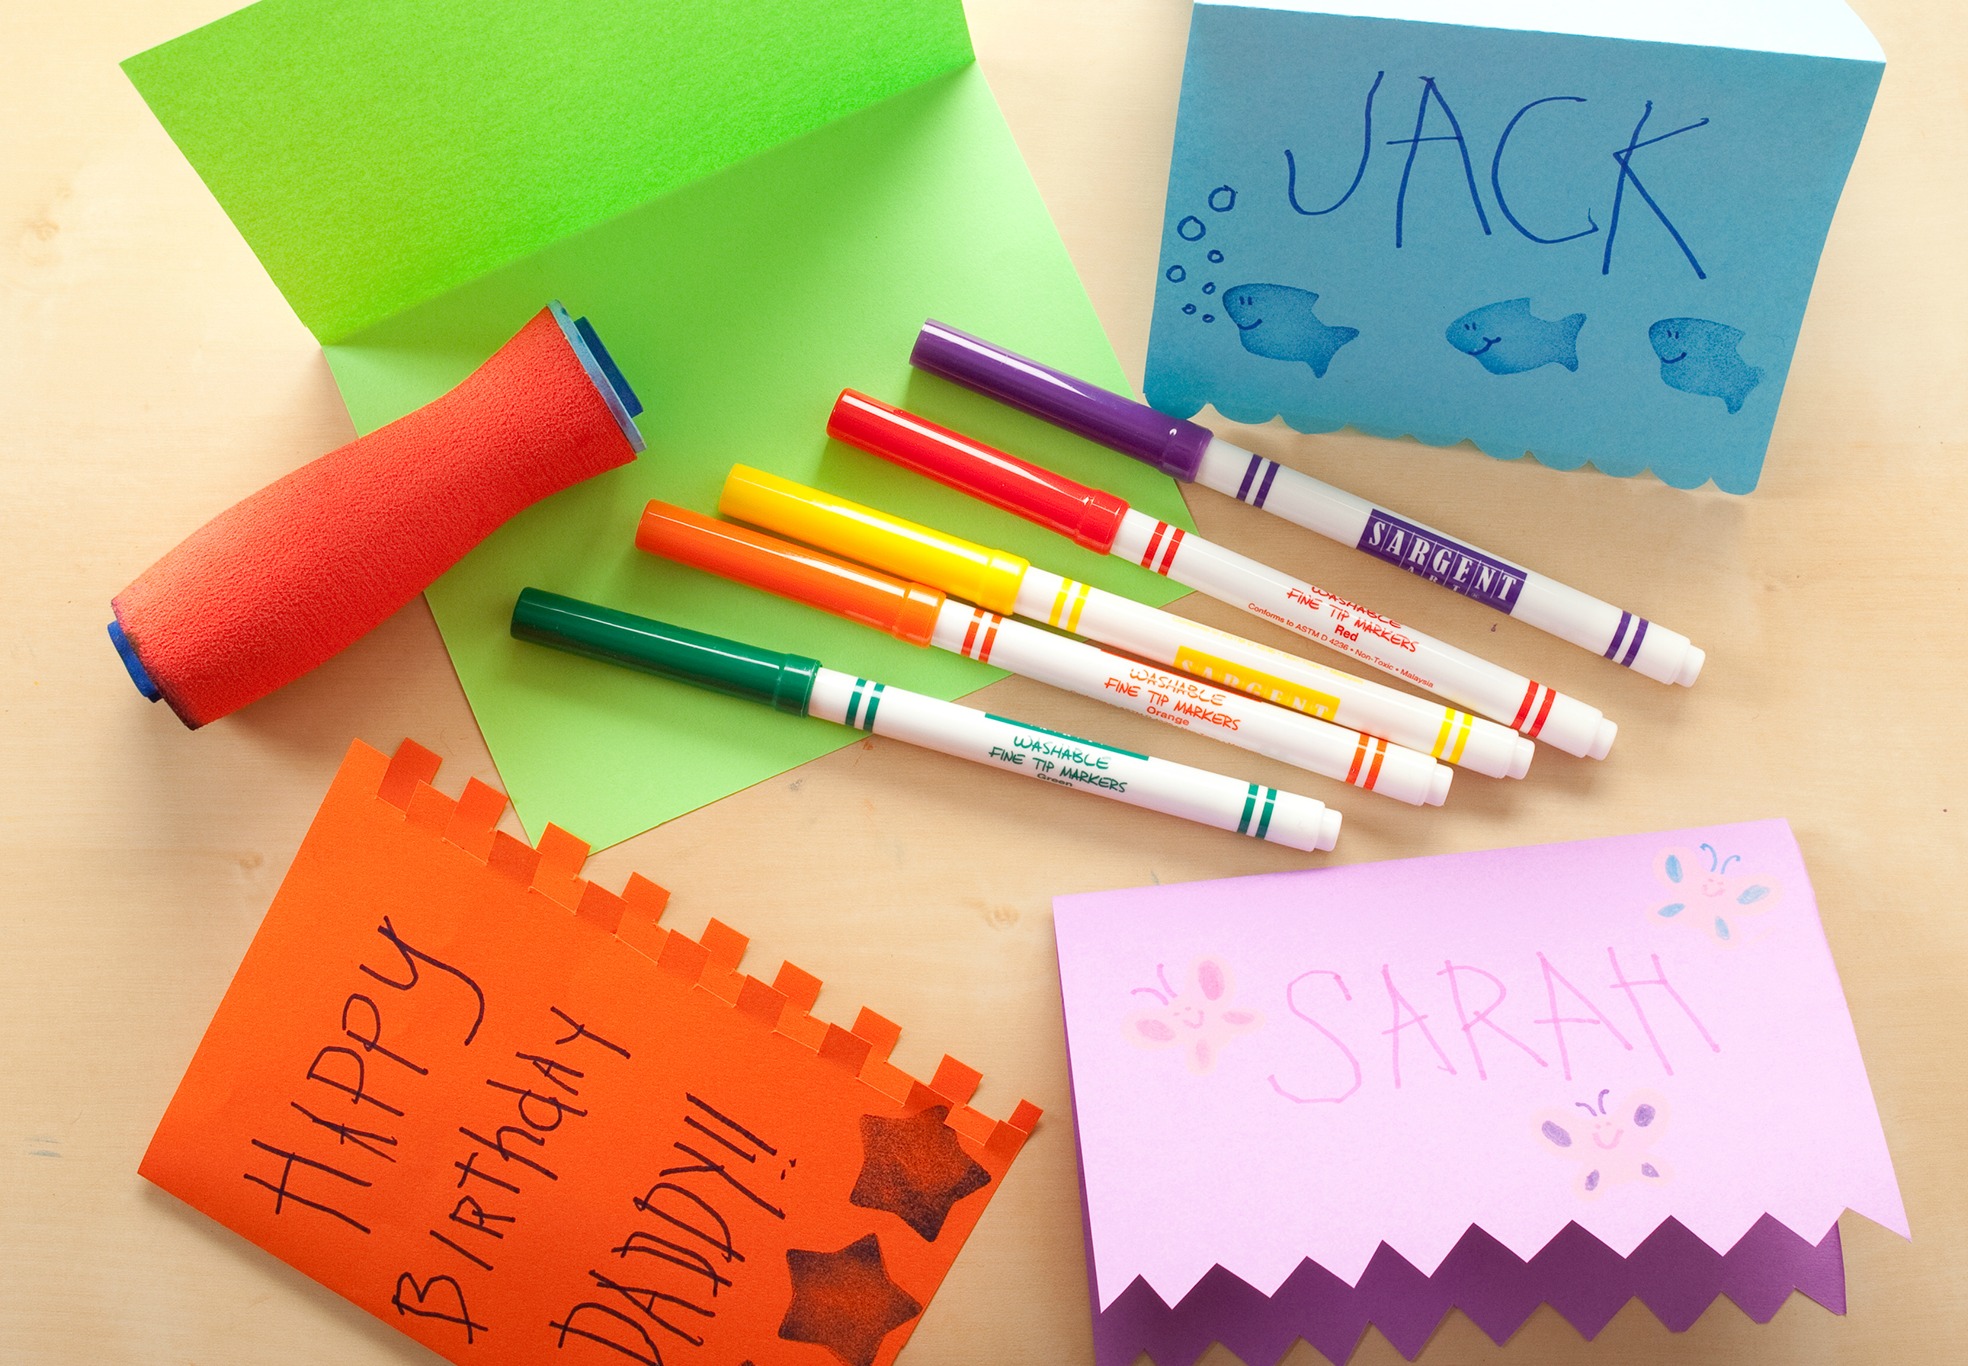
Decorate your card with stamps and write a message with markers. Try decorating the edges by cutting zig-zags, semi-circles or squares.

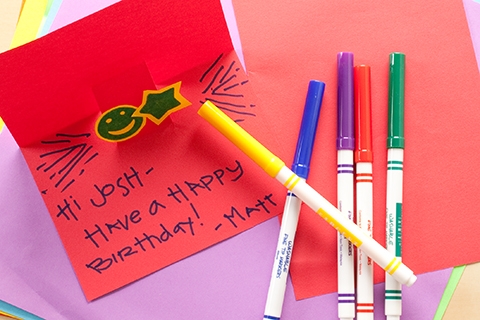
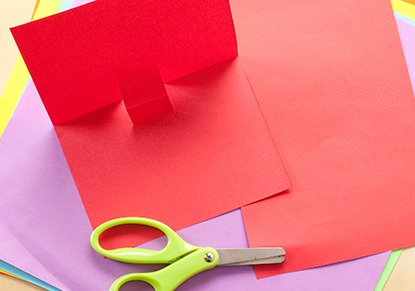
Step 4
Or, try making a pop-up card! Start by making two cuts along the folded edge of the paper. The cuts should be about 1-inch long. This will make a little flap; push the flap inside the card.
Done!
Cut out a heart, star or any shape you like. Decorate it with stamps and glue it to the flap. When you open the card, your shape will pop up!