Step-by-step tutorial
Step 1
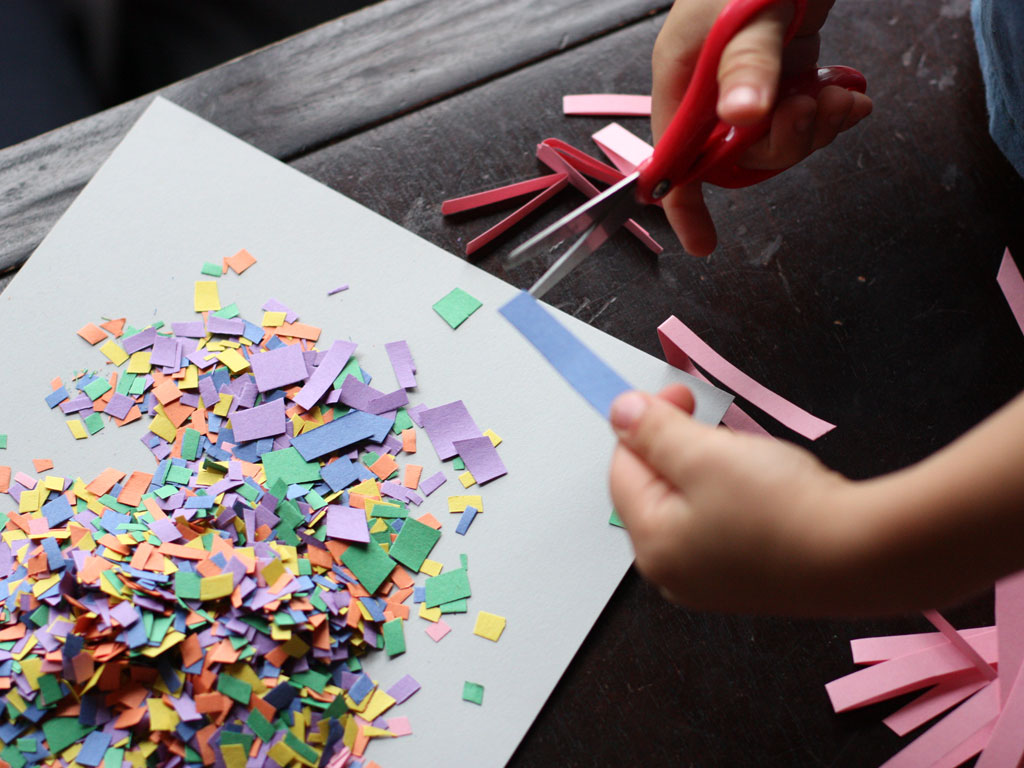
We gathered our scrap paper and cut it into teeny tiny pieces to mimic confetti. The best way to do this is to stack about four to five sheets of scrap paper together and cut the paper into thin strips. Then cut the thin strips into tiny squares. You can find out what works best for you; all you need are small pieces of paper. A hole puncher could also be used.

Step 2
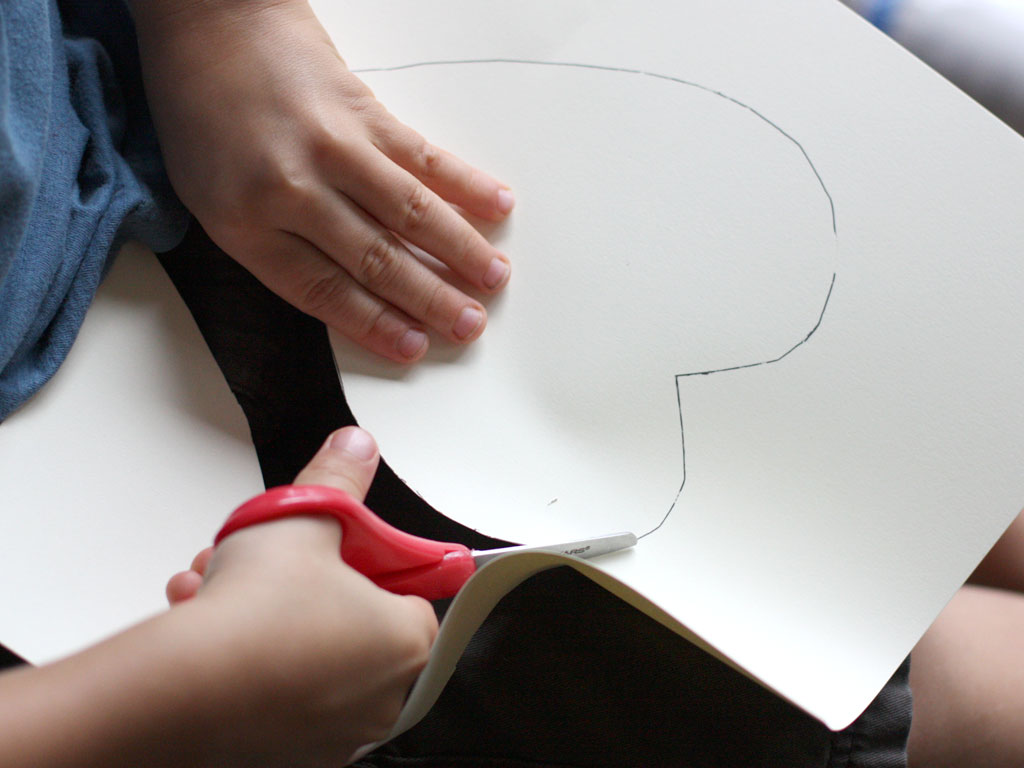
We traced the heart stencil onto one of the thick pieces of paper and cut it out. If you don't have a heart-shaped stencil, feel free to sketch one out yourself.
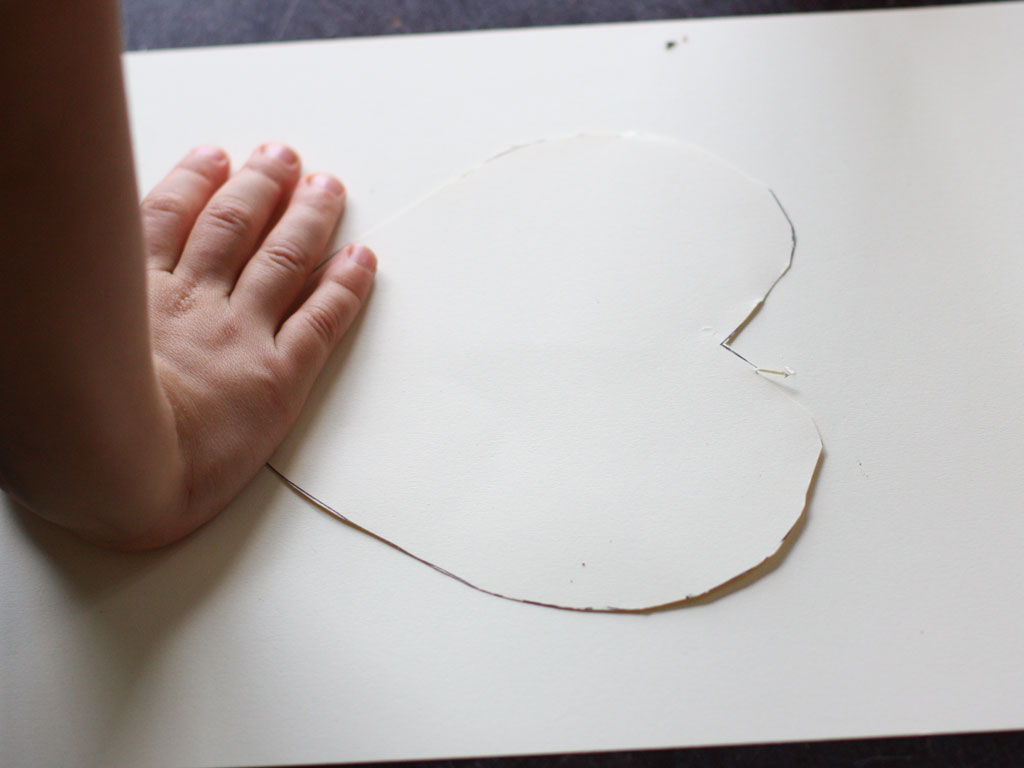
Step 3
We taped the heart shape onto the middle of the other piece of paper. We just needed a small piece of tape on the back.
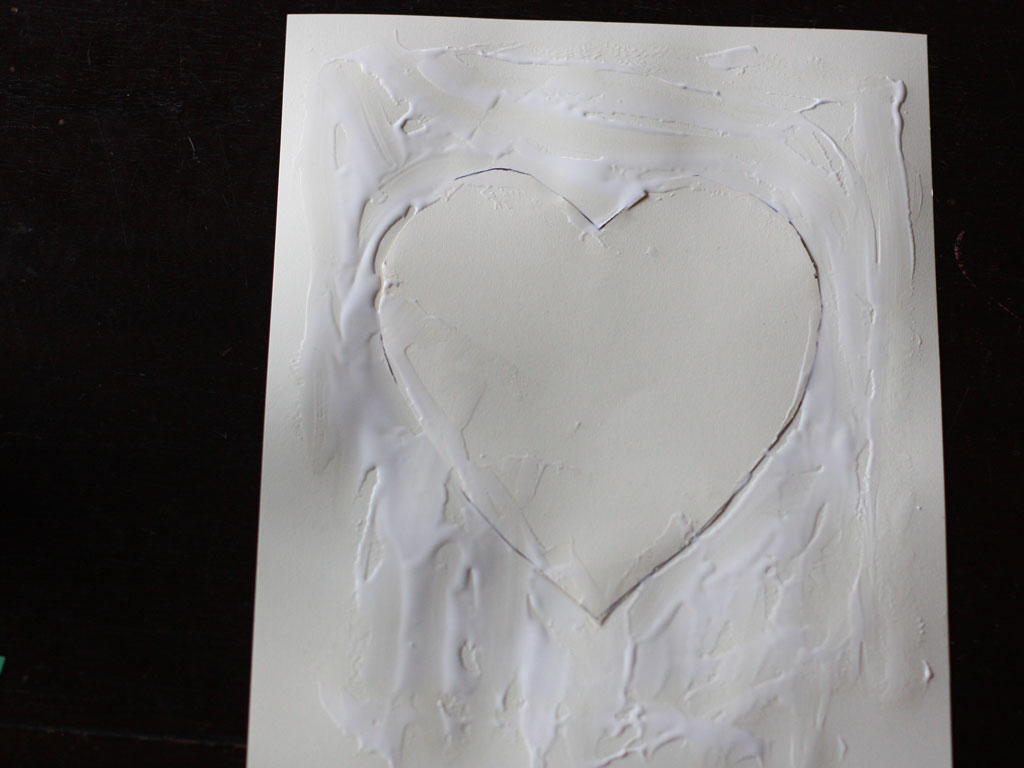
Step 4
Our son glued all around the paper up to the heart. He enjoyed me saying "use more, use more." Keep in mind: You do not need to put any glue on the heart.
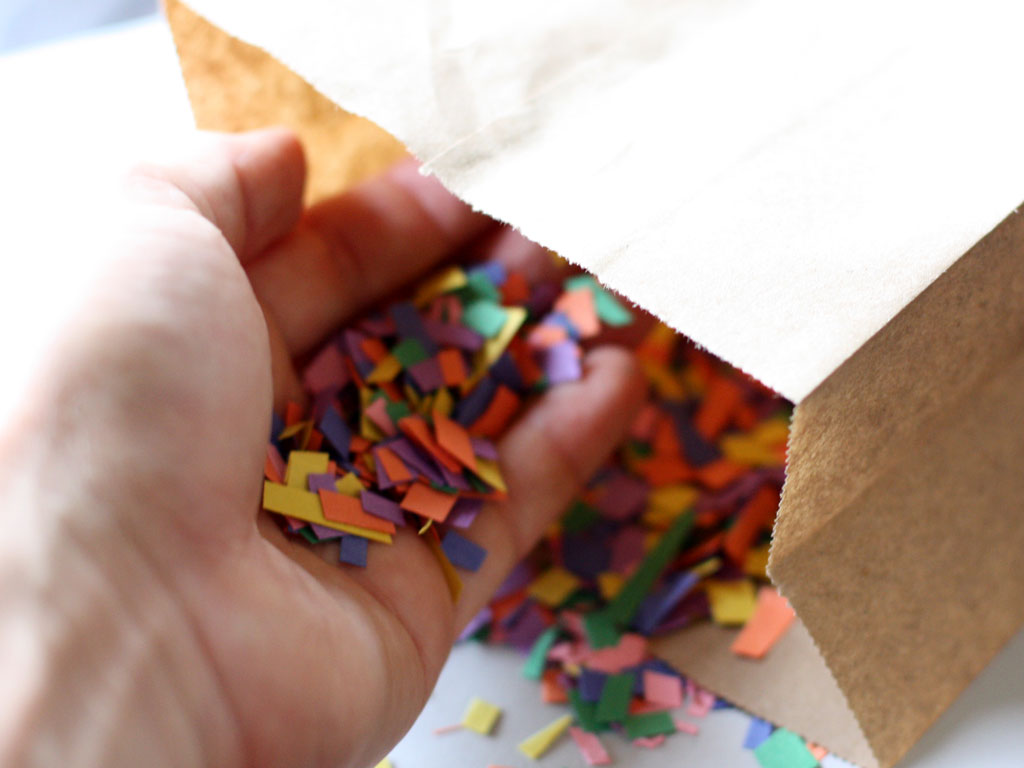
Step 5
Then it was time to load the confetti bombs. All we did was place a handful of confetti into each paper bag (not as exciting as it sounds, but the kids still loved it).
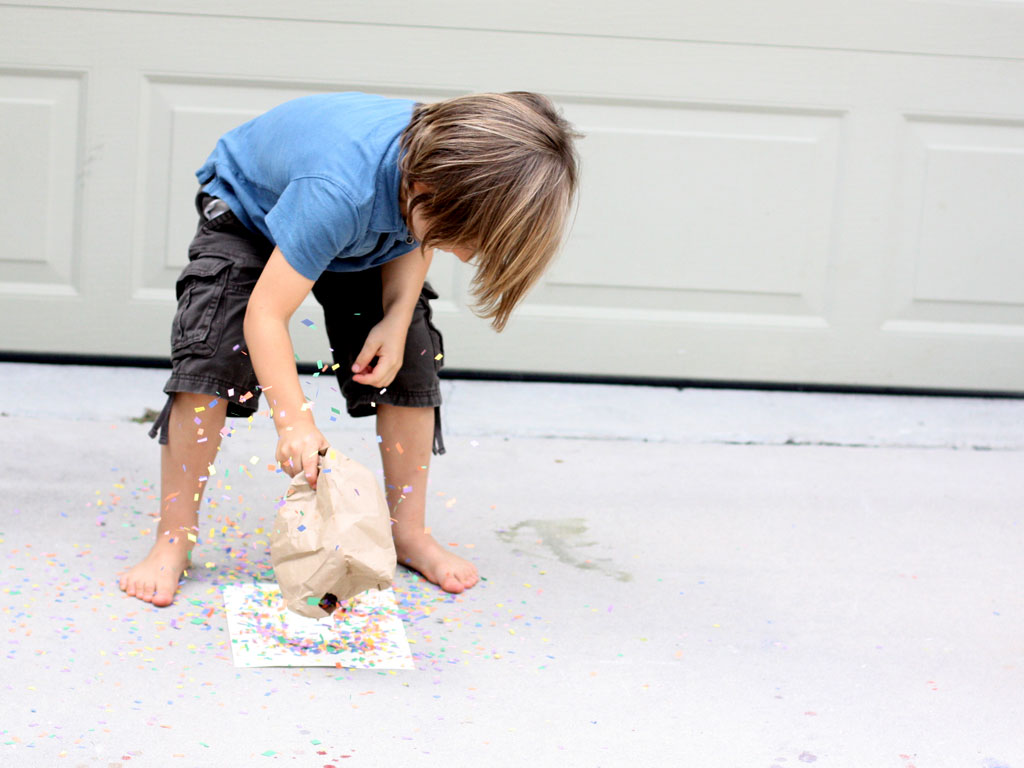
Step 6
At this point, we moved the craft outside onto an area that is easy to sweep with a broom. Our son was in charge of blowing up the paper bag.

Step 7
Then he held it shut with one hand and smacked his hands together to pop the bag. It took a few whacks before the confetti started falling out.
Done!
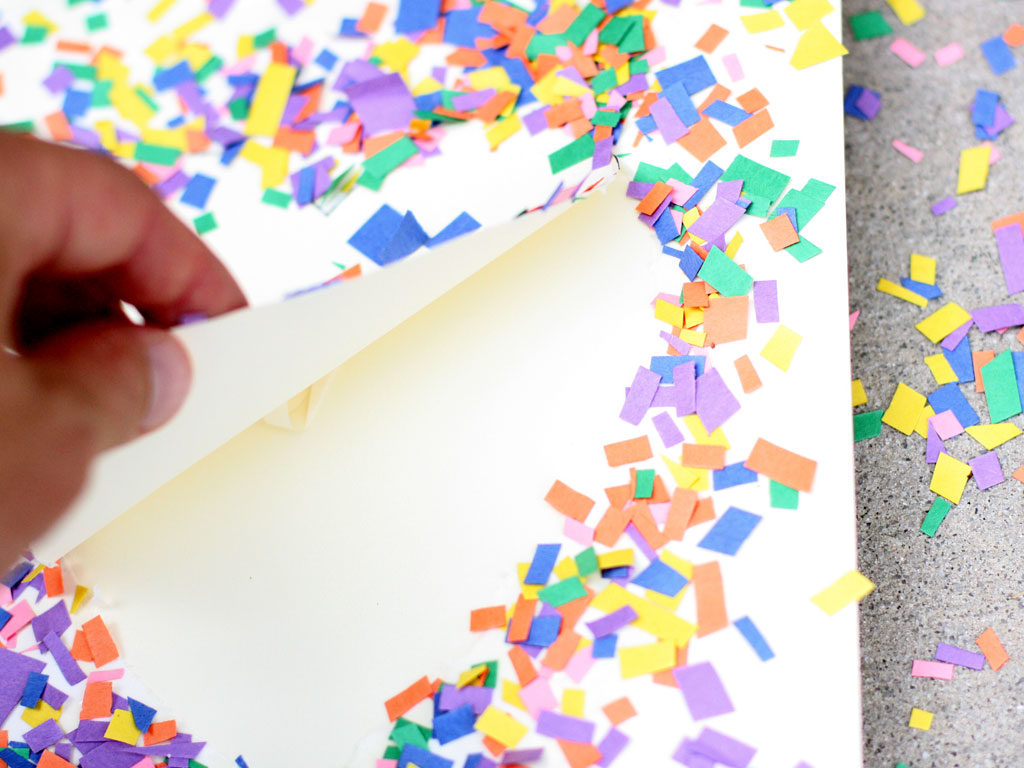
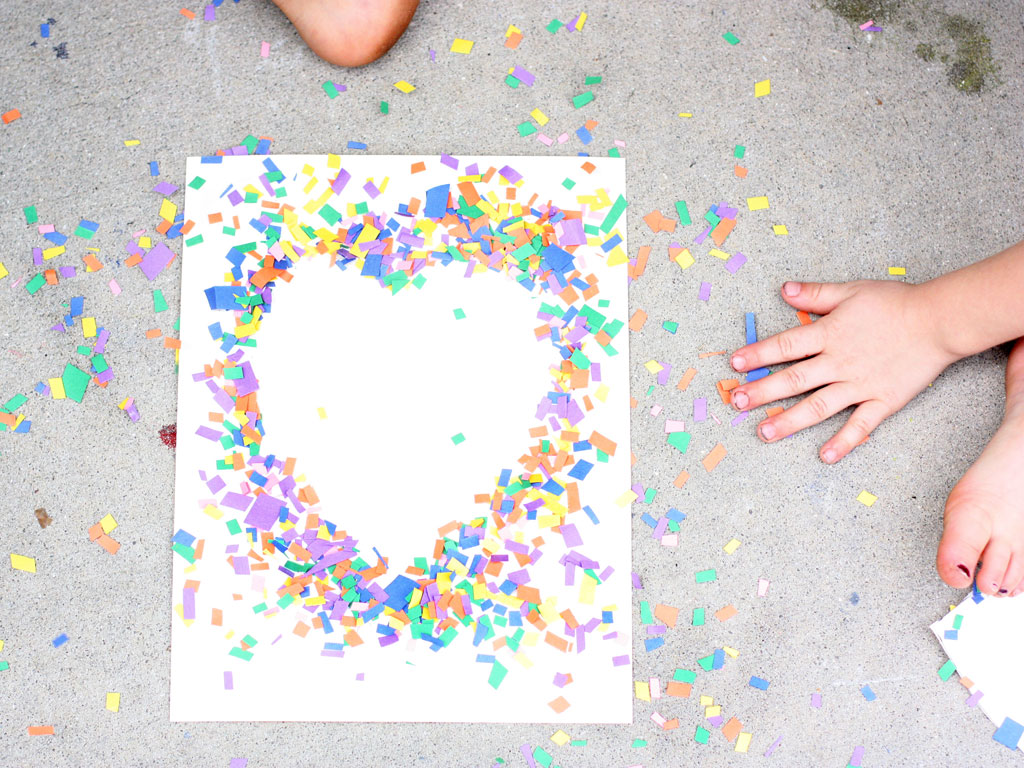
We moved the confetti off the heart and pushed it down around the edges to make sure it stuck to the glue. Then we removed the heart stencil (it was taped on) and were left with a colorful (and fun to make!) sheet of heart art.