Gratitude Box

In preparation for this Thanksgiving, I thought I would try a new project from Meri Cherry to share with my loved ones - mini gratitude boxes! While in past holiday seasons, I've expressed my love and gratitude for my family through baking or cooking, I thought it would be fun to mix things up this year. I loved using a simple watercolor technique to create a vibrant and unique gift.

  1. Ages: 5 - 16

  2. 30 minutes - 1 hour

  3. A little messy

Tags:

Materials you'll need

Step-by-step tutorial

  • Step 1

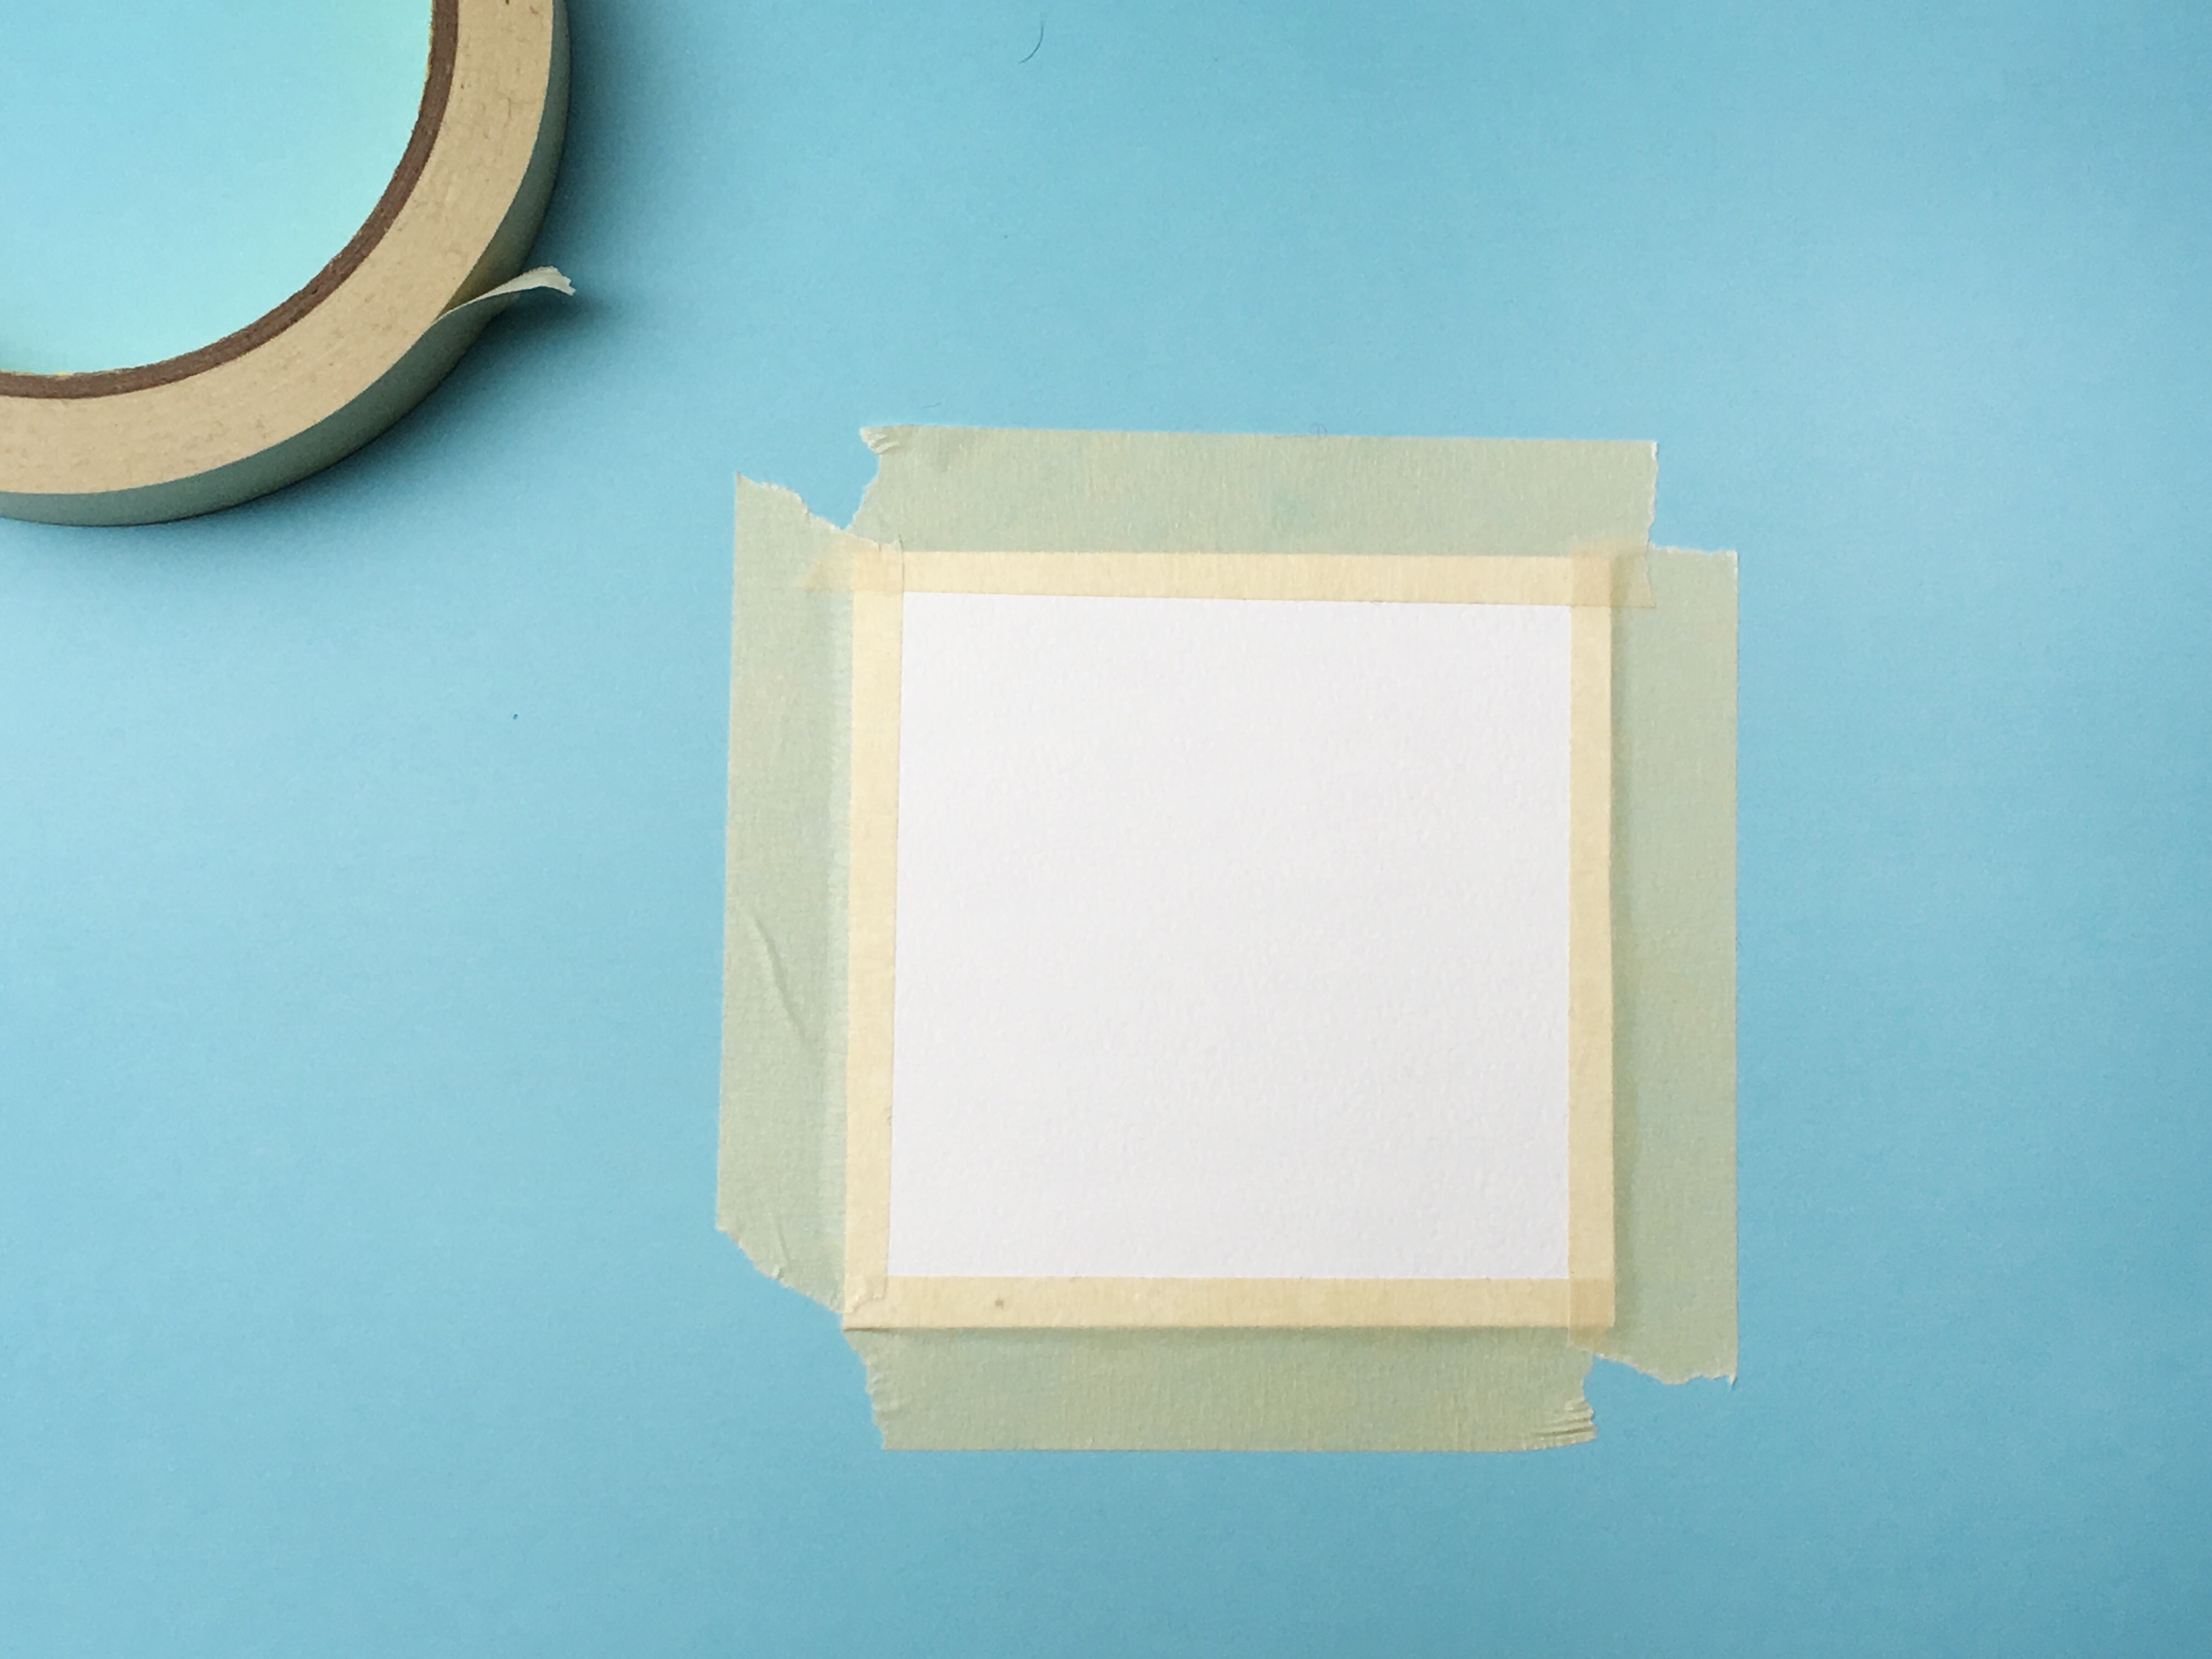
    Trim the watercolor paper into a sheet size that would fit inside the box. Our box was 3.25" by 3.25" (8.3 by 8.3 cm), so we cut our paper down to that size.

    Photo reference of how to complete step 1

  • Step 2

    Mask the edges of the paper with masking tape.

    Photo reference of how to complete step 2

  • Step 3

    Paint your paper squares with water colors!

    Sprinkle some salt on your watercolor paint while it's still wet. When the paint dries, the salt will create an interesting texture to the painting.

    What will salt do to other kinds of paint? Experiment and see!
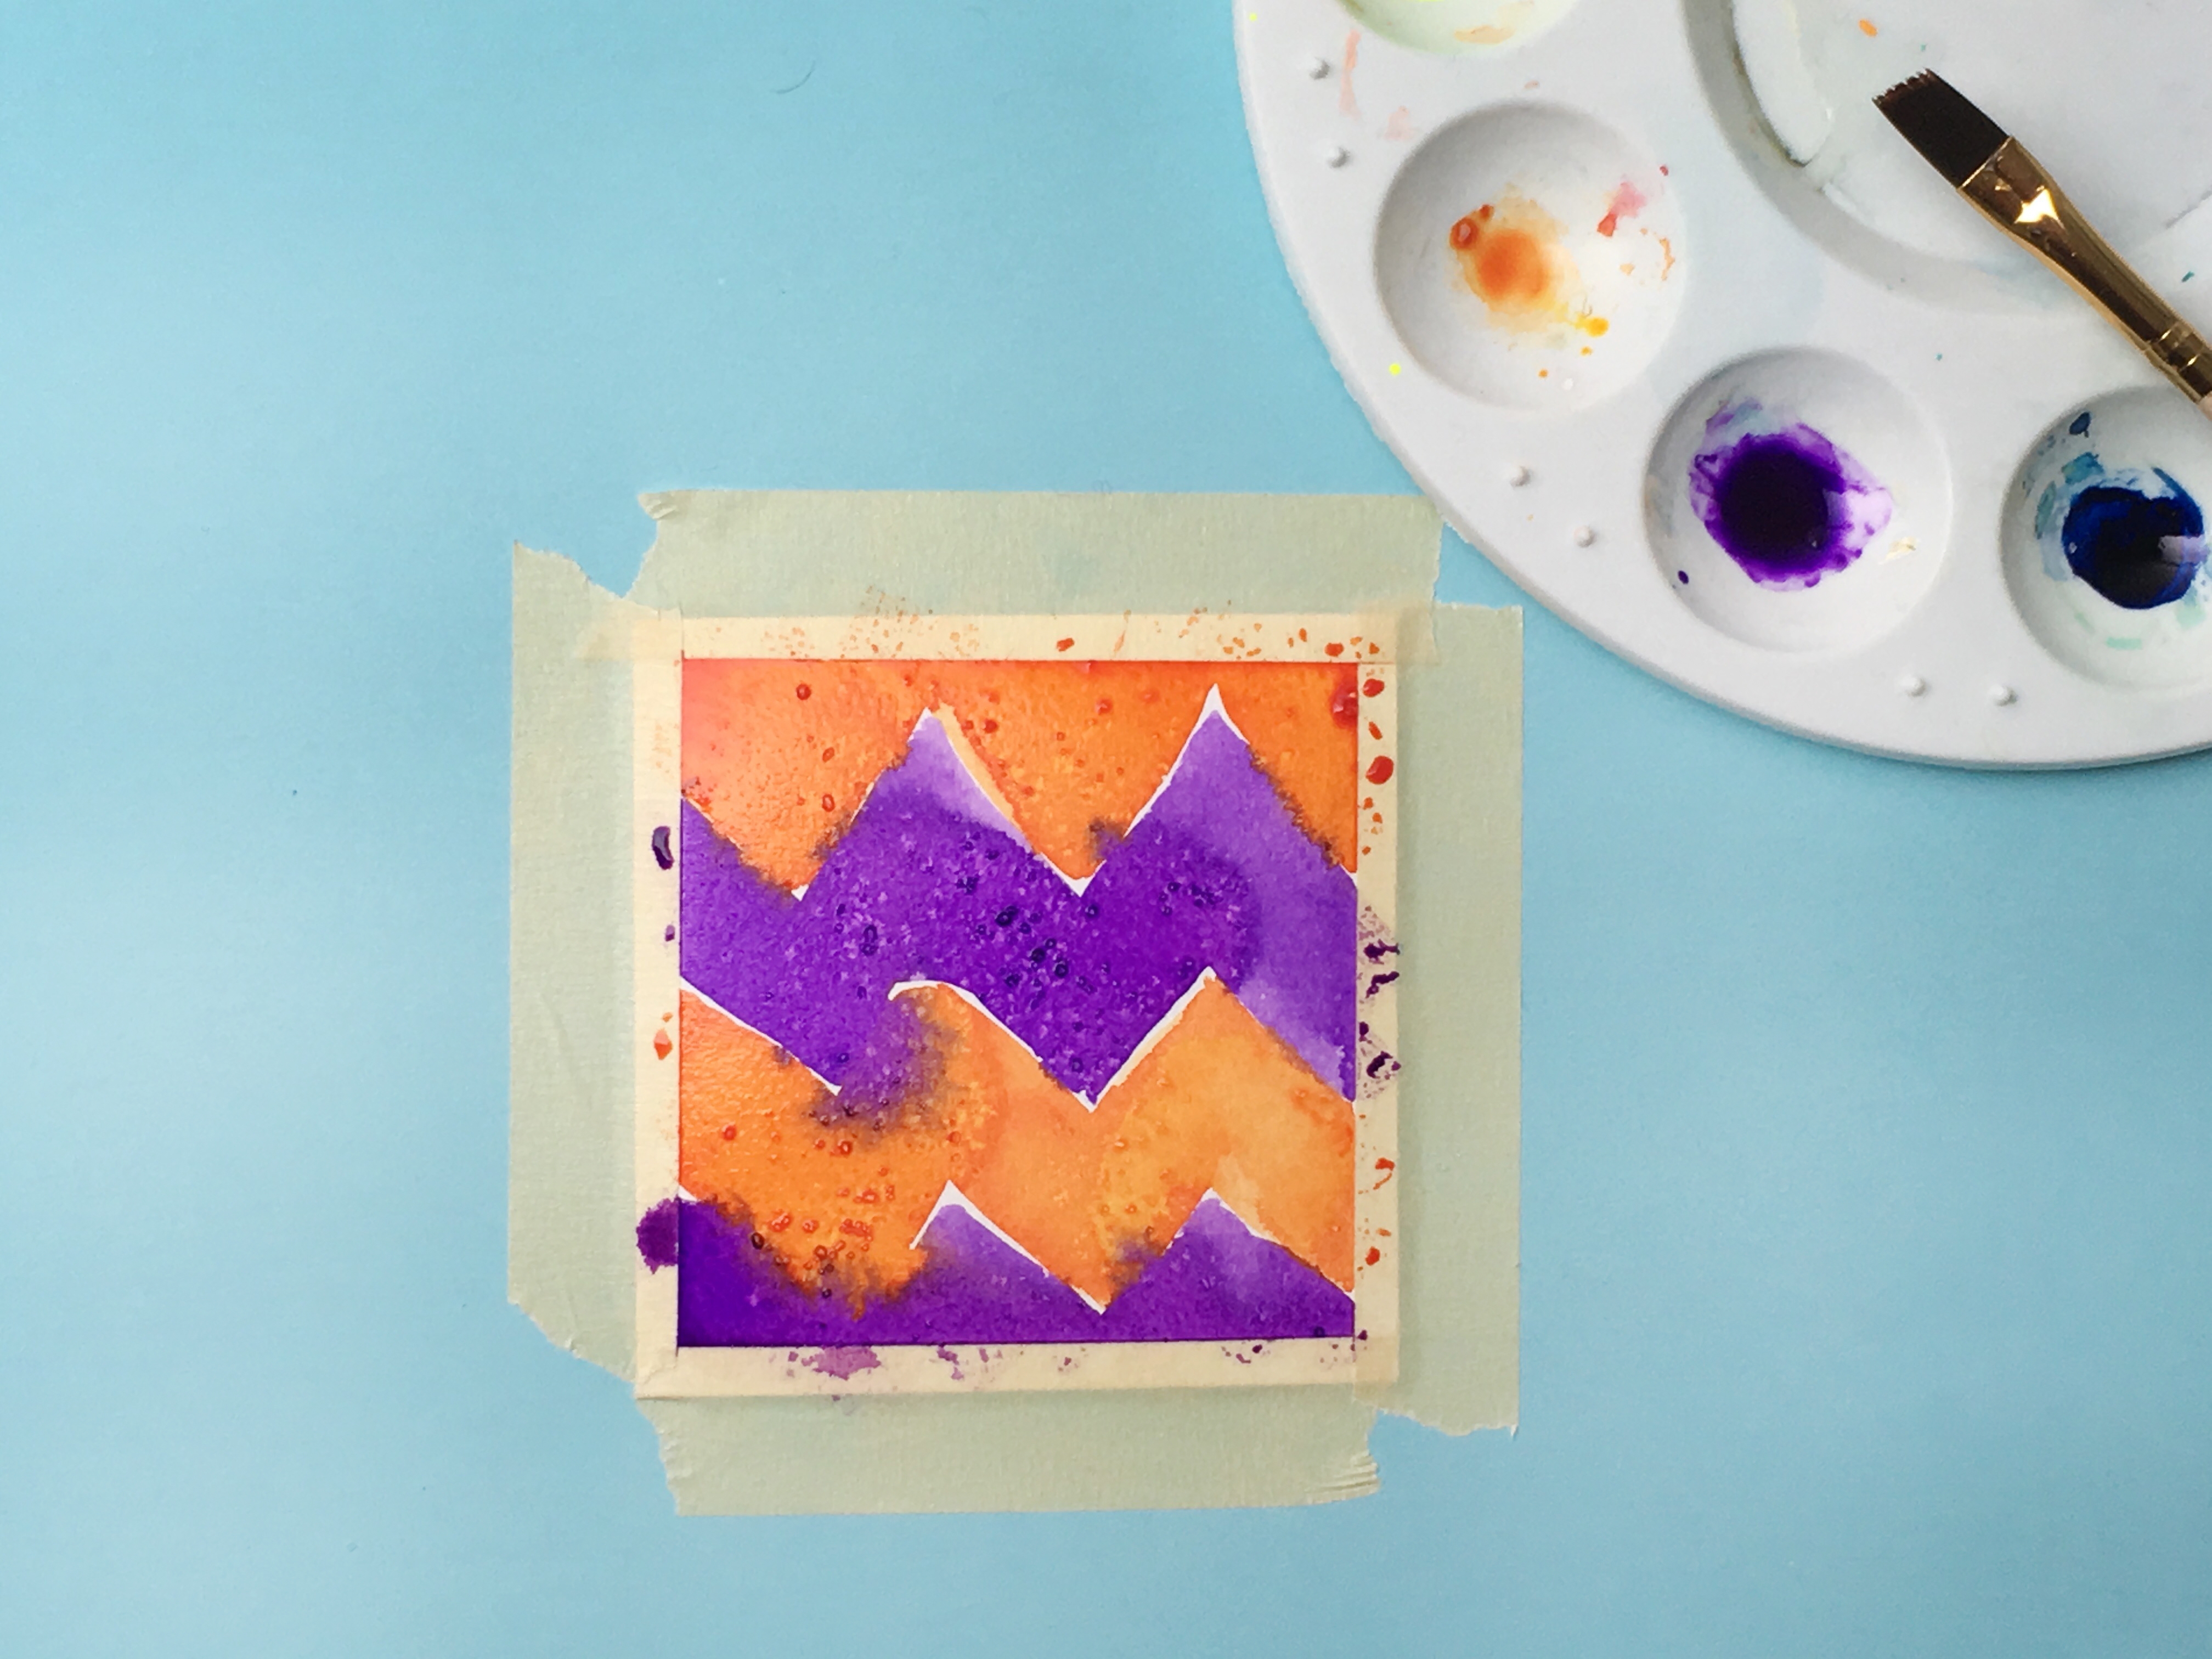
    Photo reference of how to complete step 3

  • Step 4

    When your painting is dry, peel off the masking tape. The masked areas will create a framed border around your painting.
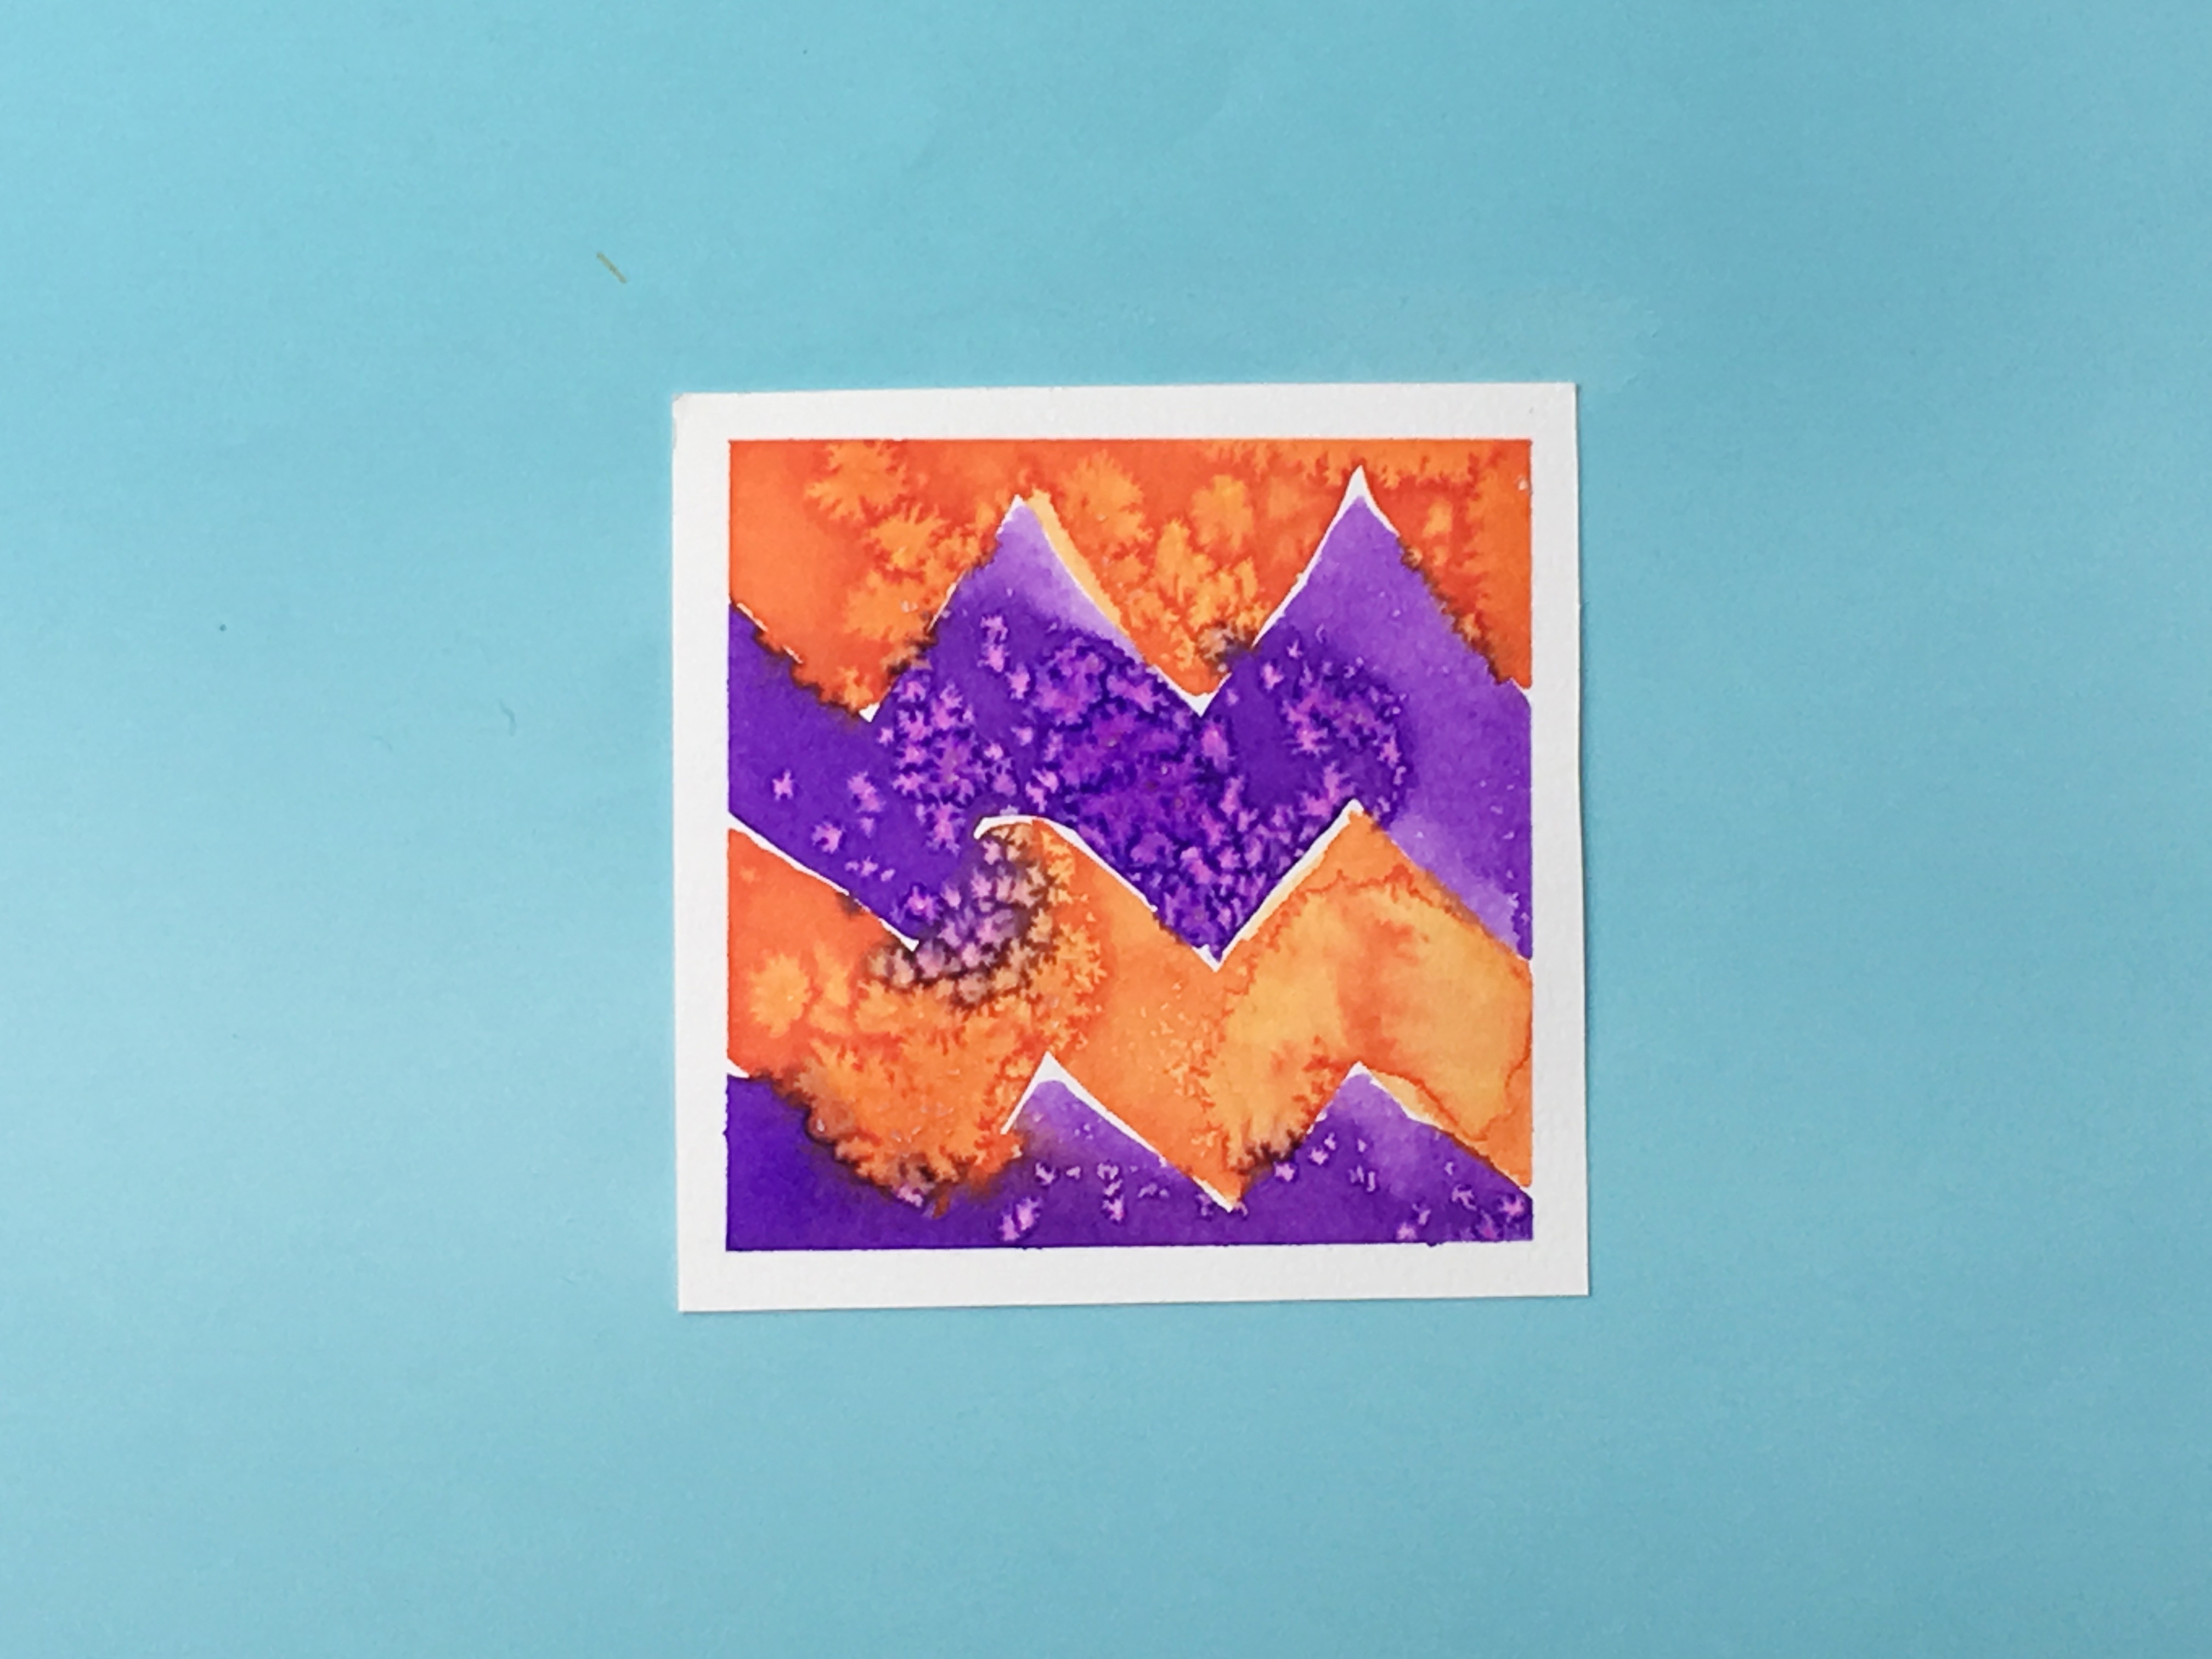
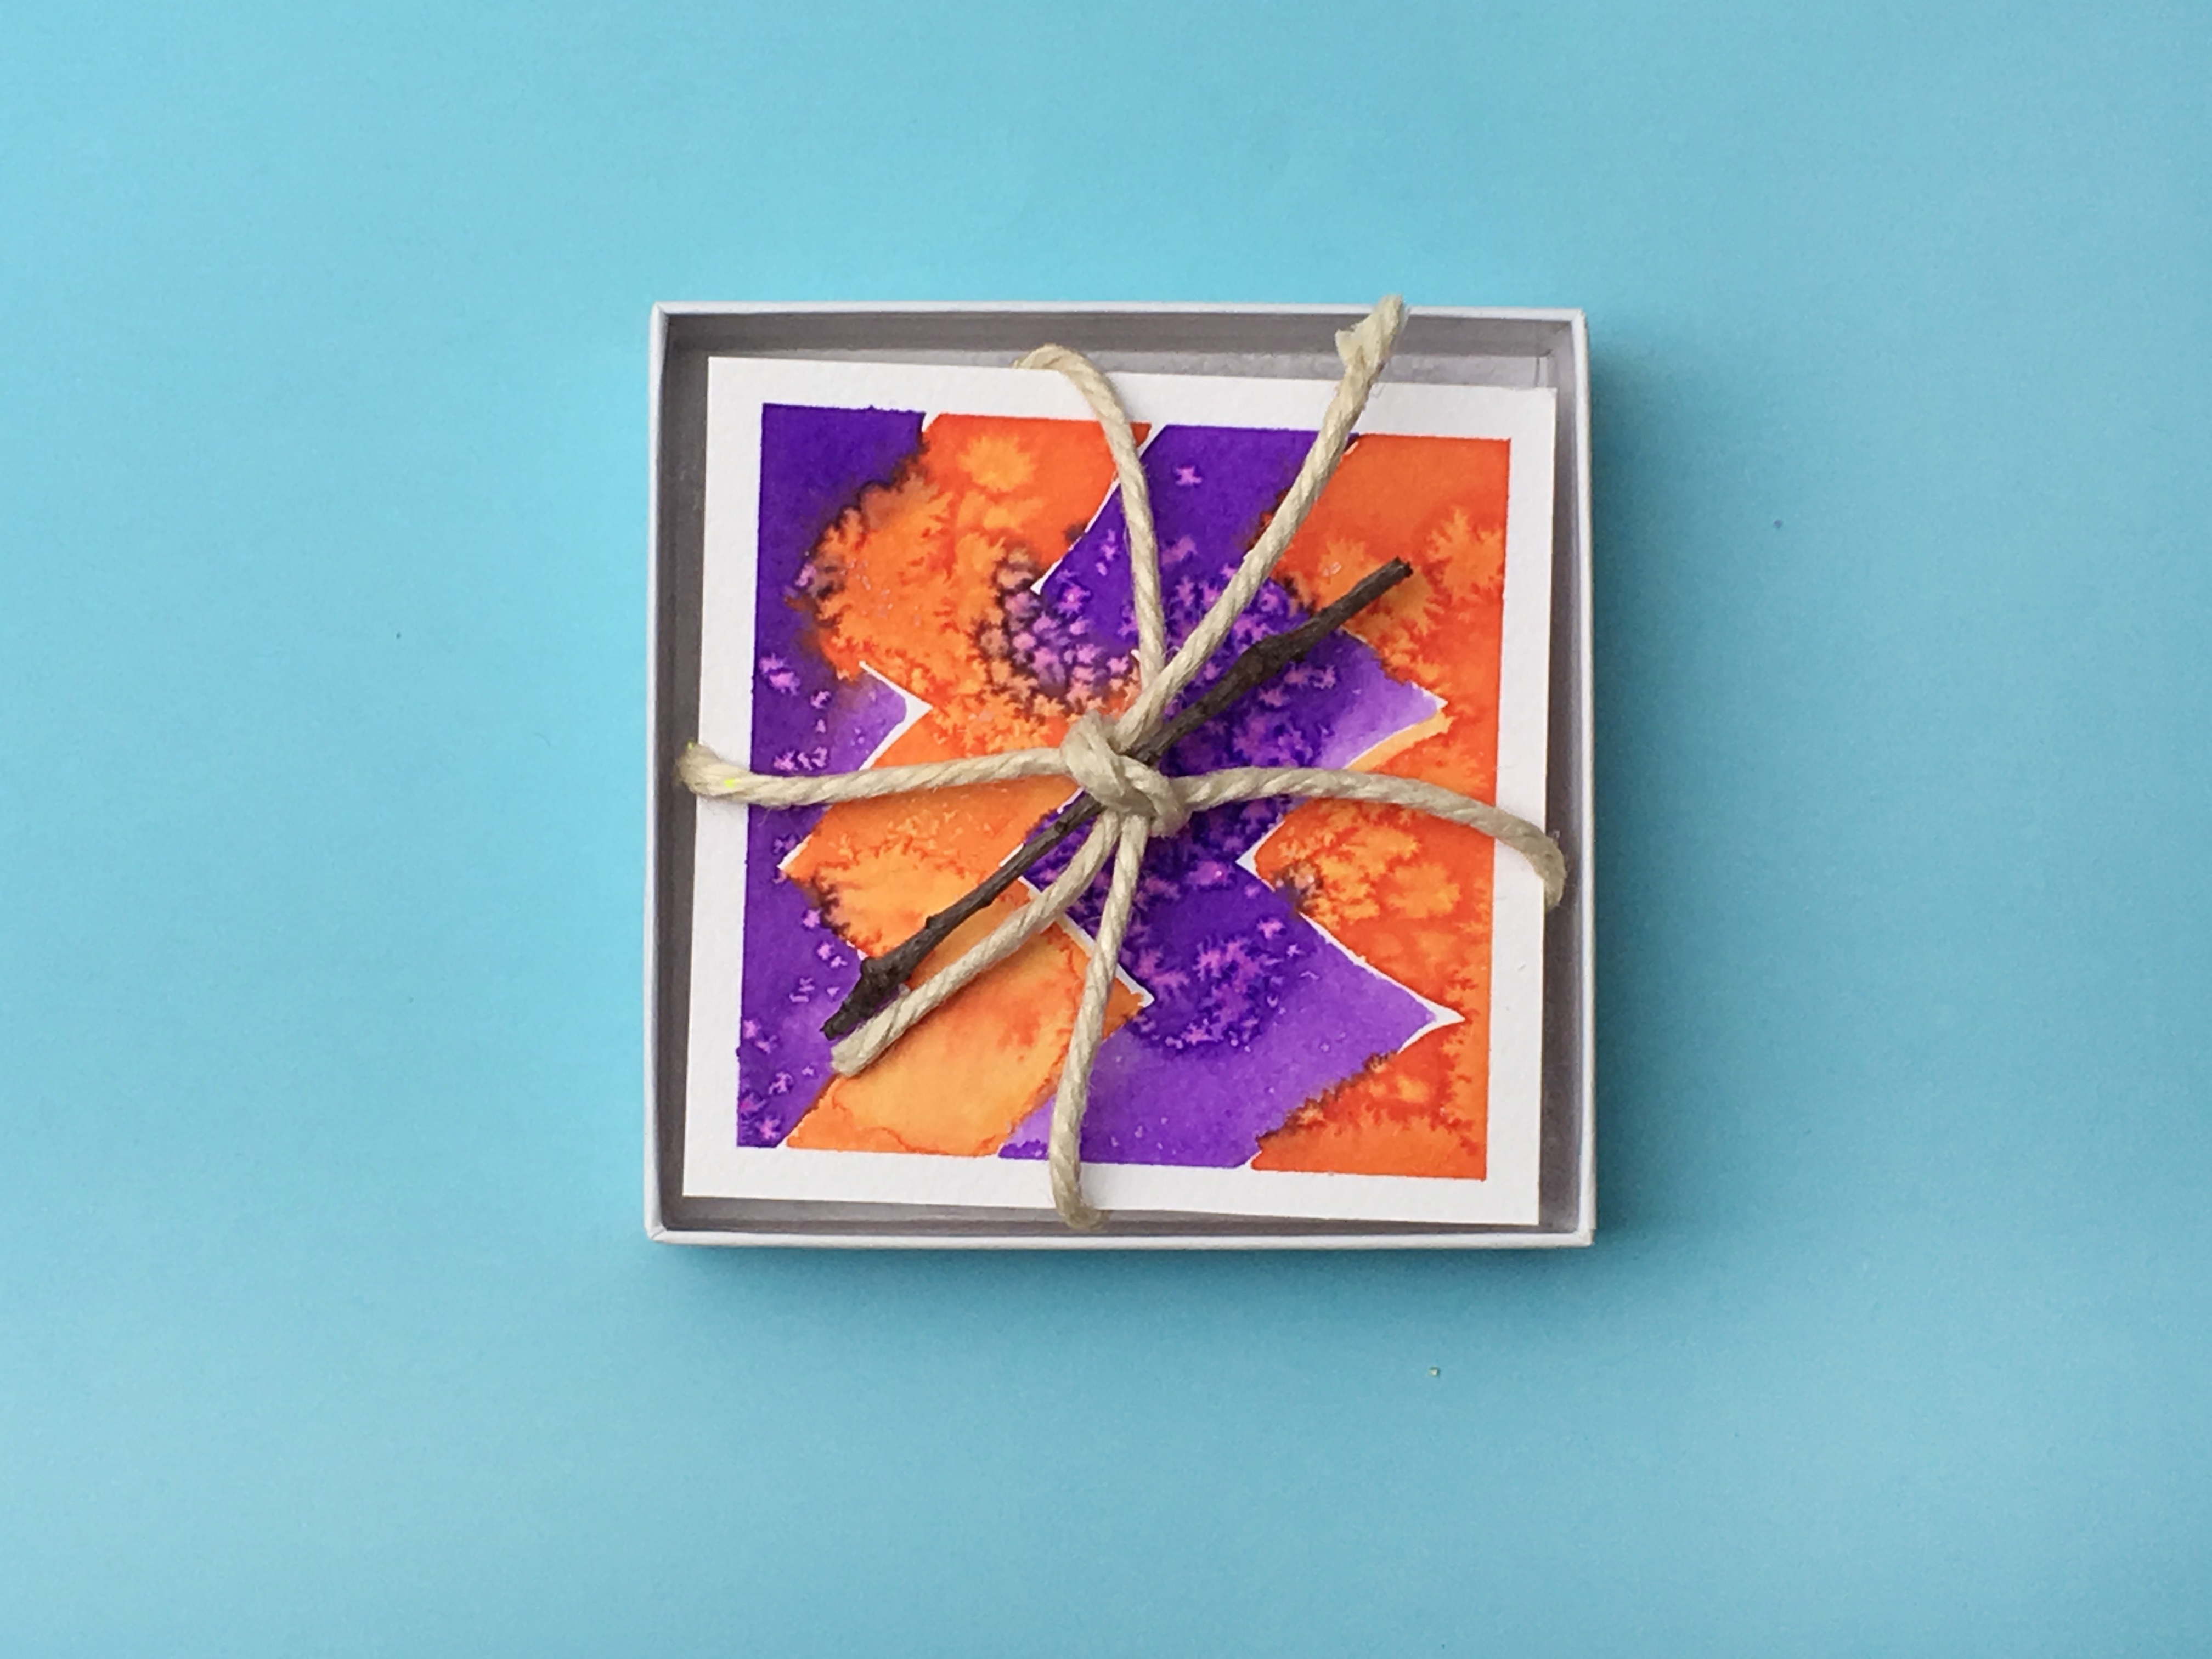
    Photo reference of how to complete step 4

  • Final result!

    Wrap up your mini painting; we used twine and twig to create a natural look and feel. Place the final wrapped painting in the box to complete the look. Present your gift to someone you are thankful for!

    Photo reference of how to complete step 5

You might also like

Top categoriesBurst graphic

Share what you made & tag us at!

;