Step-by-step tutorial
Step 1
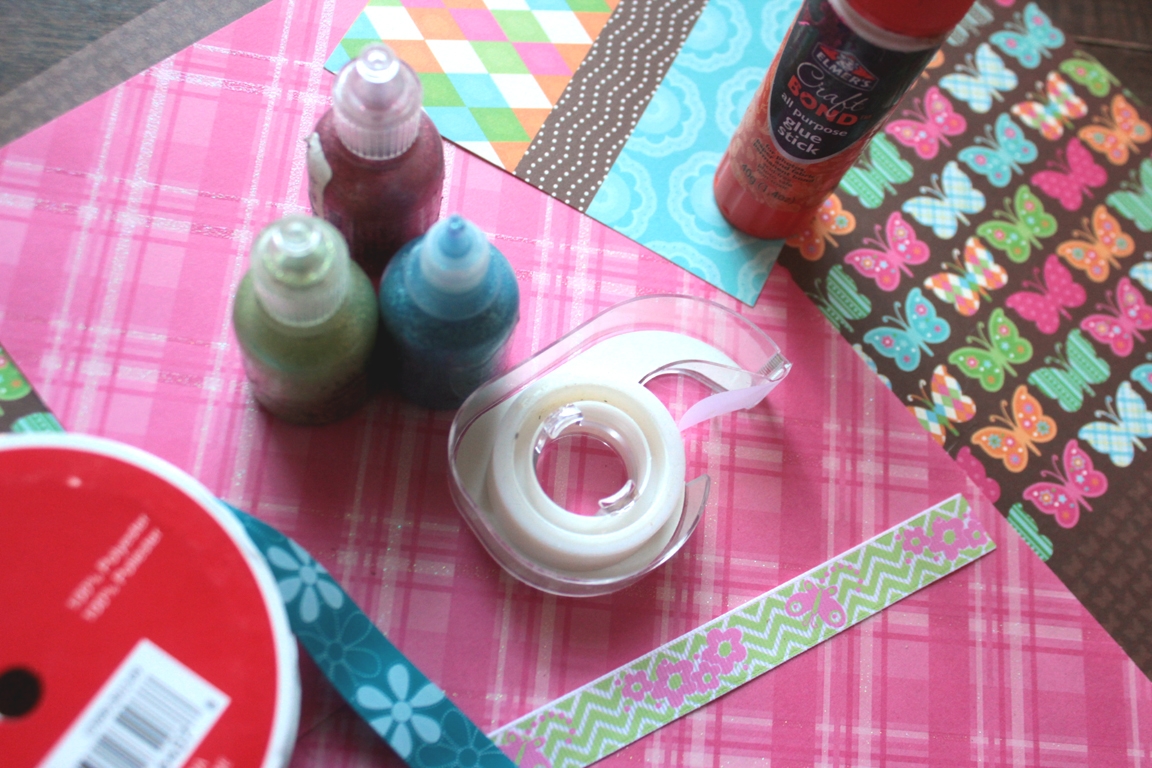
Another project for Maddie's treasured new stack of paper! She chose one for the card, and four others to make the weave. We cut out lots of paper strips to get started.

Step 2
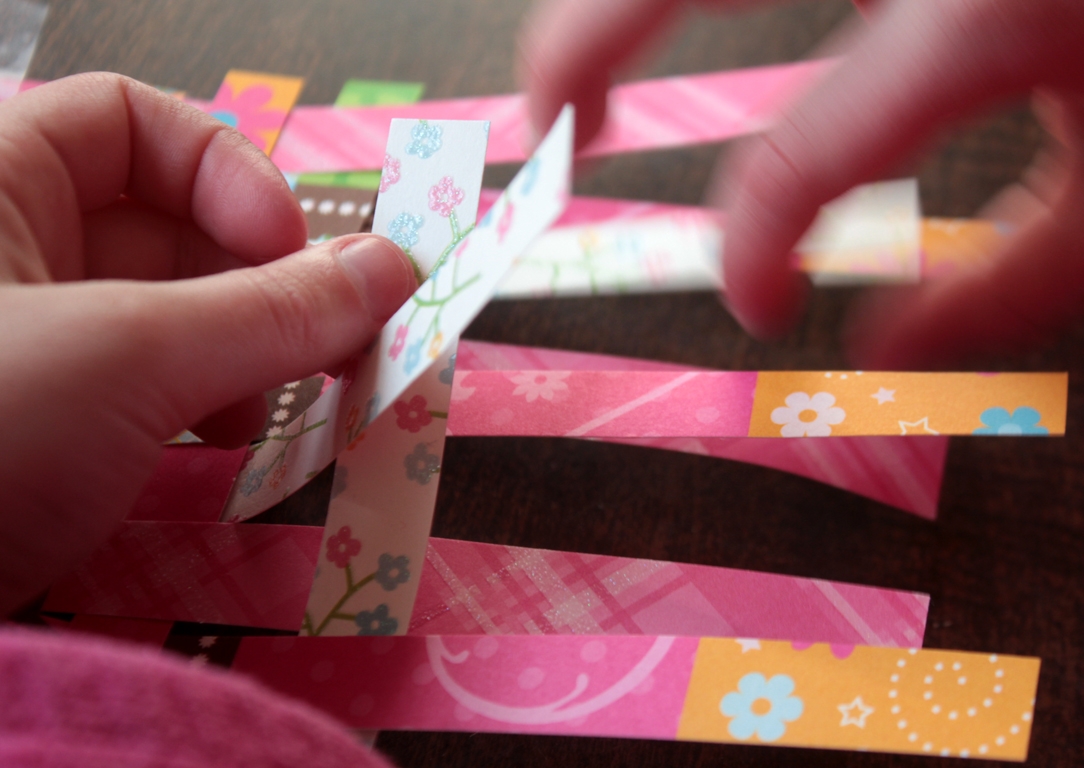
For a simpler project, make parallel horizontal cuts across a piece of paper, stopping 1" from the edges. For our more advanced version, we lined up paper strips on a table and taped them to the table along the top edge. This made our paper "loom". Okay! Ready to start!
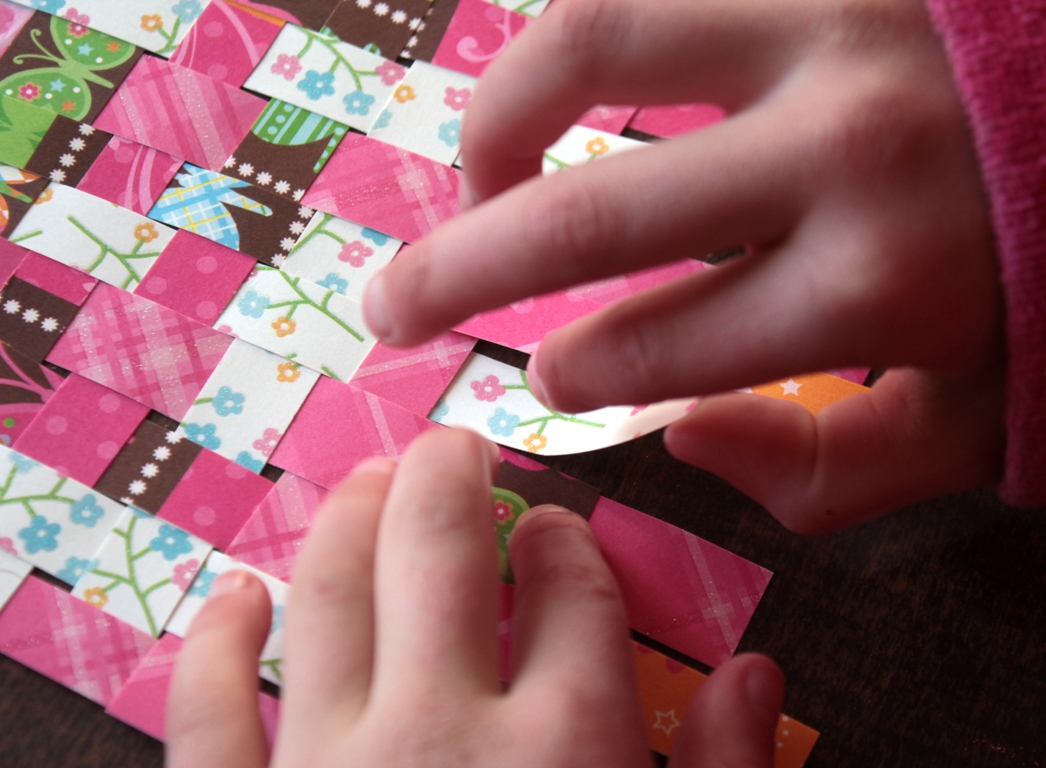
Step 3
She wove strips over and under until the "loom" was full. After she remembered how it was done (it had been a while since our last weave), it went very quickly!
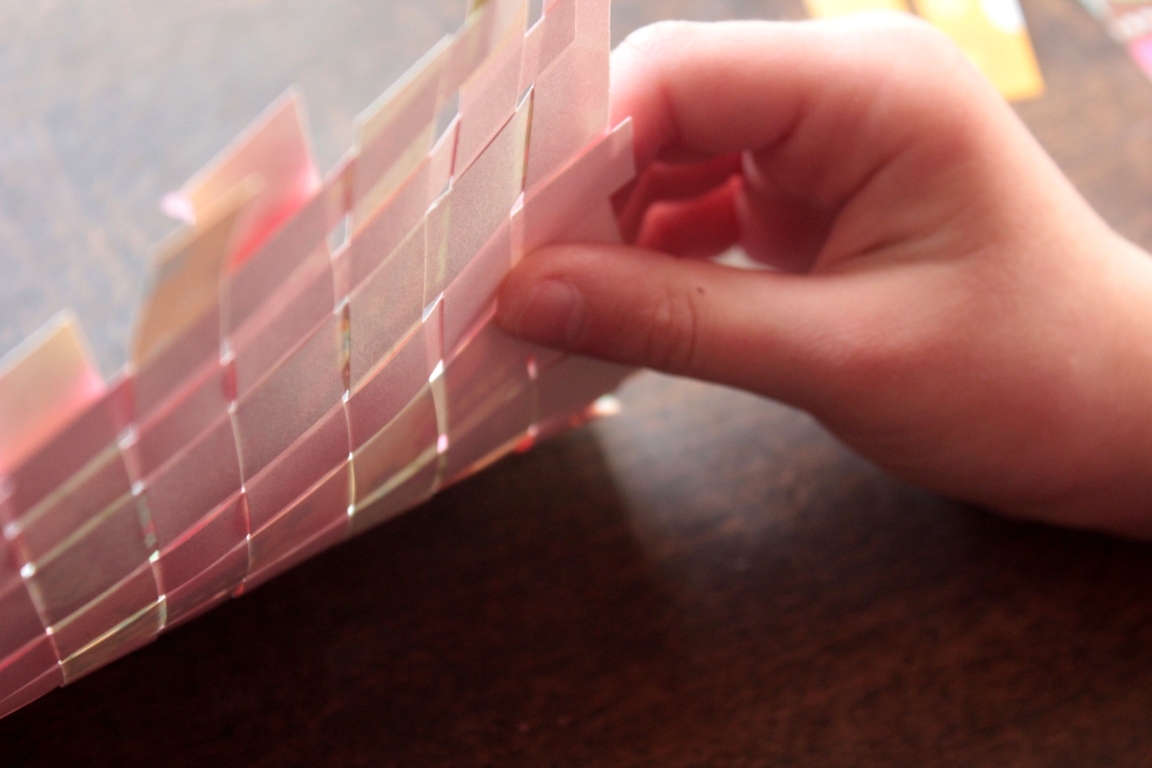
Step 4
When she was done, we carefully flipped up the finished paper (it was still attached to the table),
Step 5
got the tape,
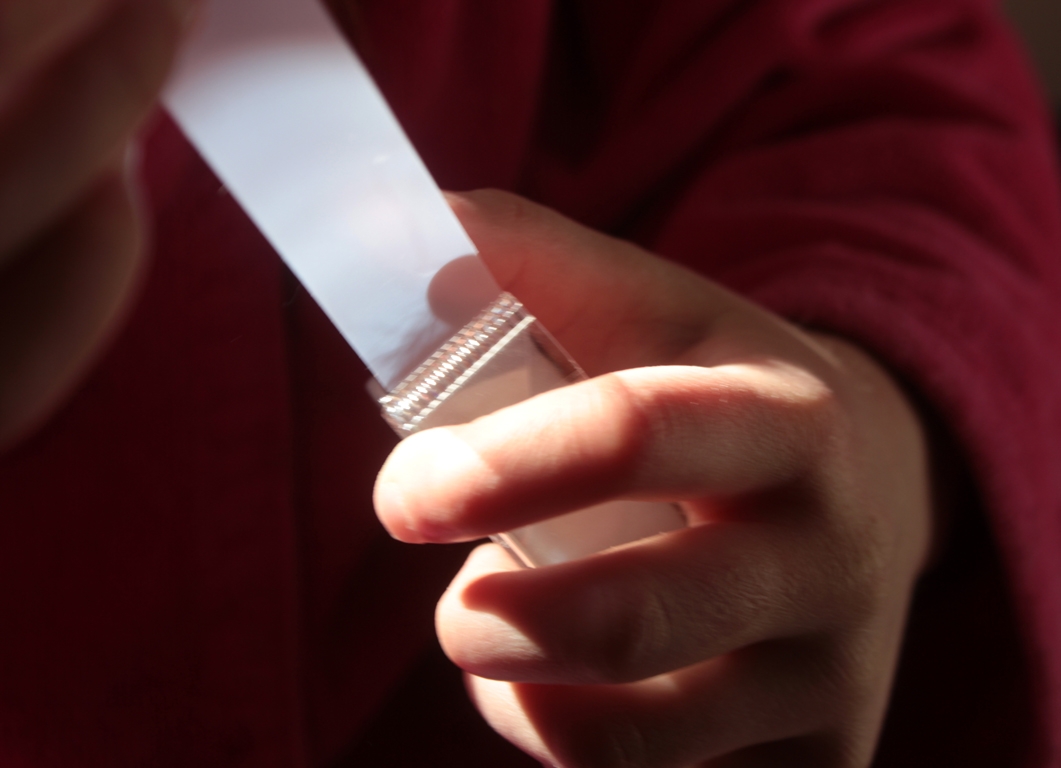
Step 6
and Madeleine started taping the back to keep the weave from falling apart.

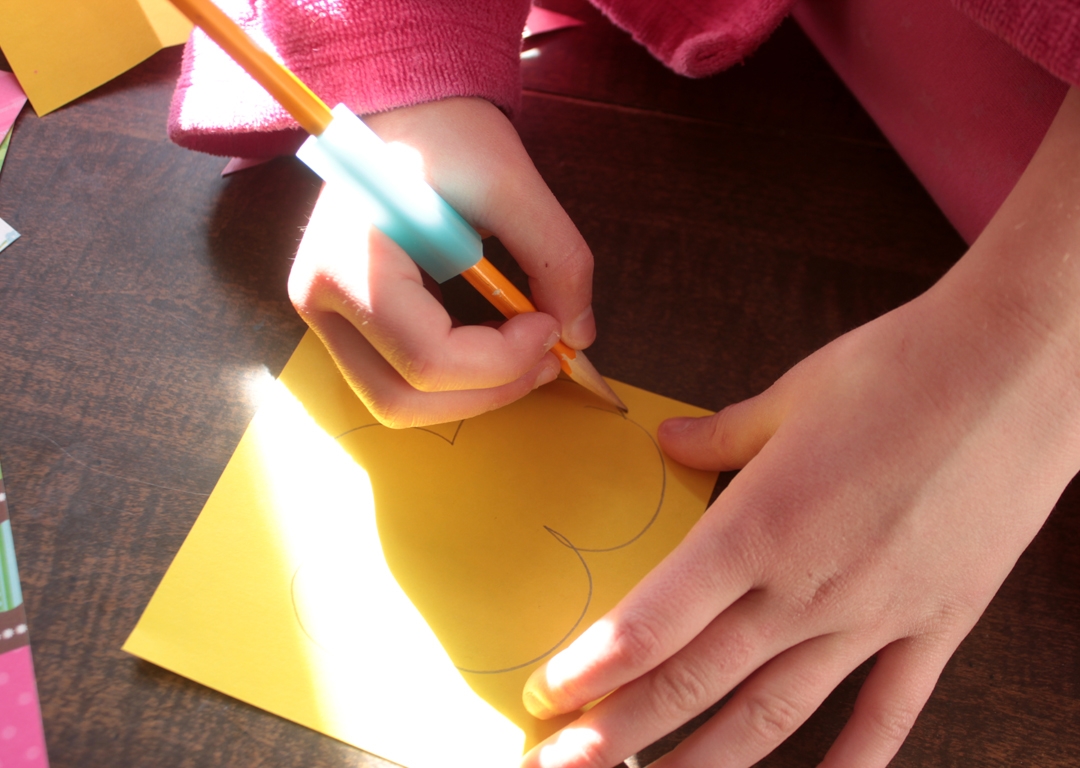
Step 7
When the weave was secure, she drew a flower shape on scratch paper. Maddie cut it out,
Step 8
and I traced around the template onto her woven paper. (It was kind of tricky for her to trace with all of those bumps.)
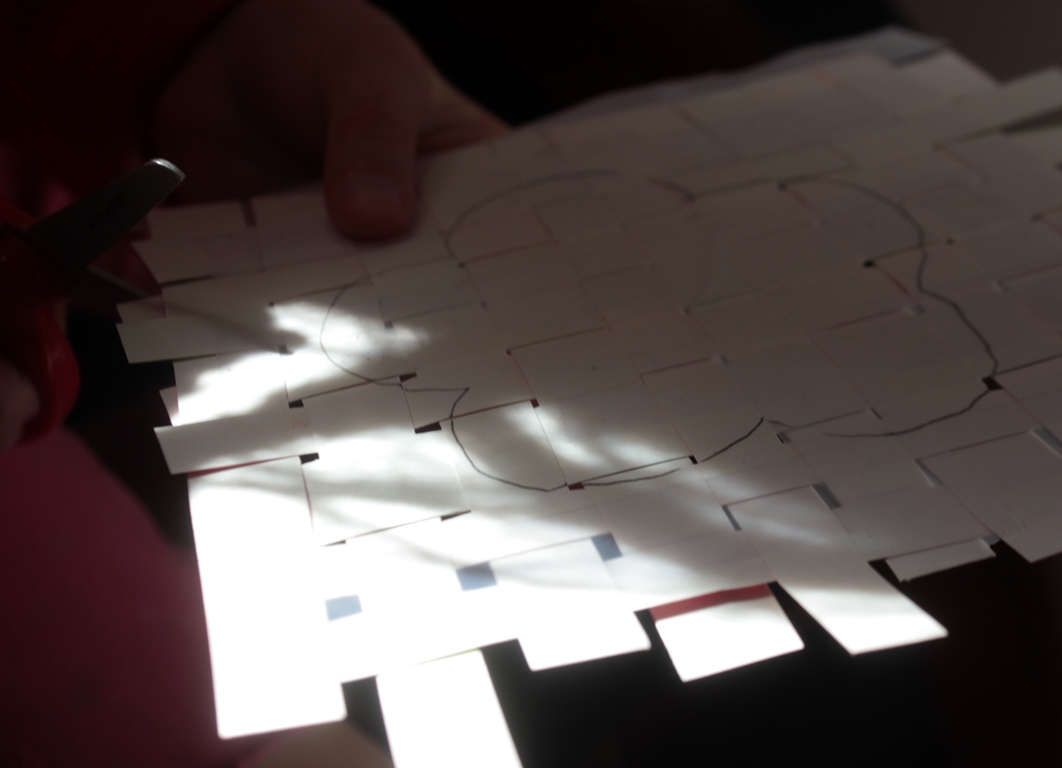
Step 9
It's ready to cut out!
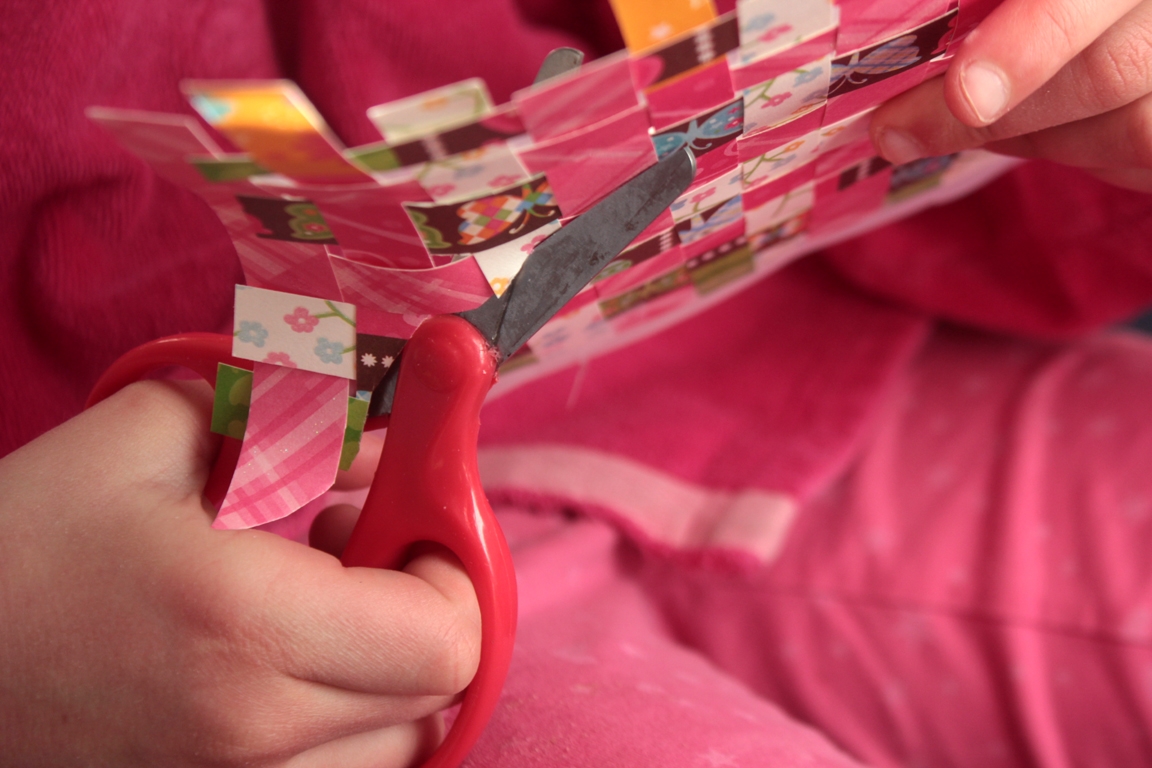
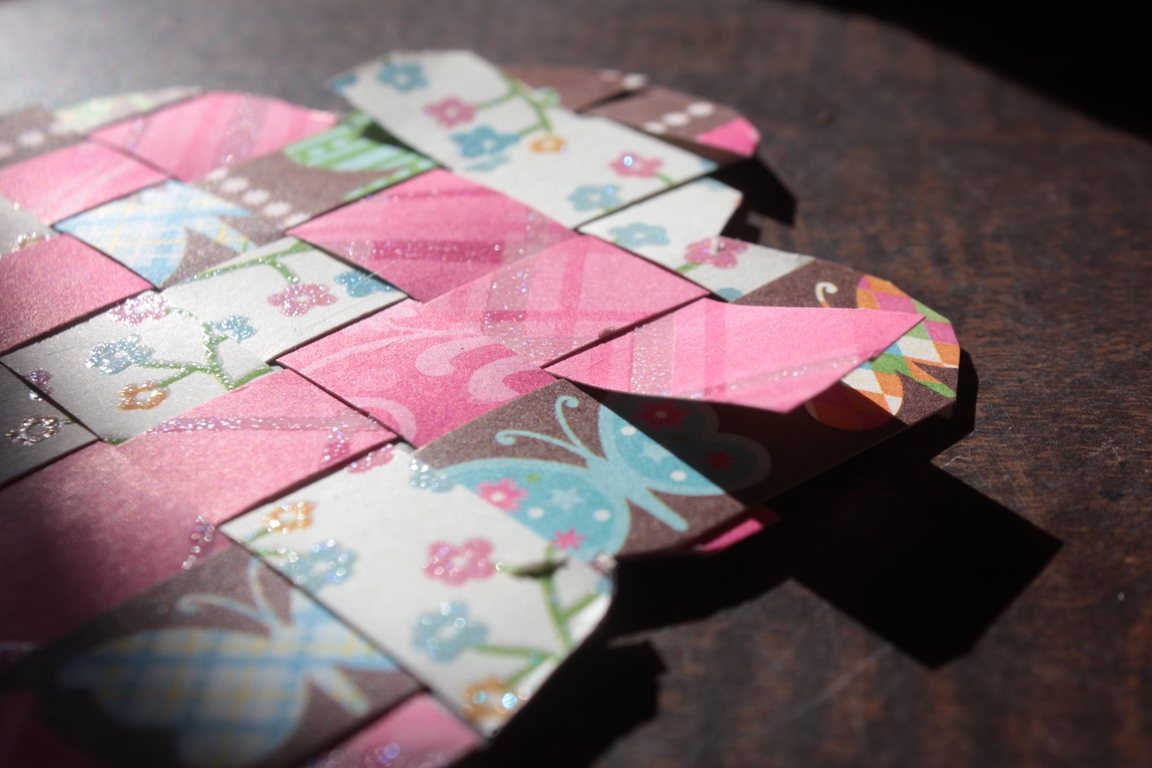
Step 10
When it was cut into the desired shape, we looked for any pieces of the weave that were loose, and used a glue stick to glue them down.
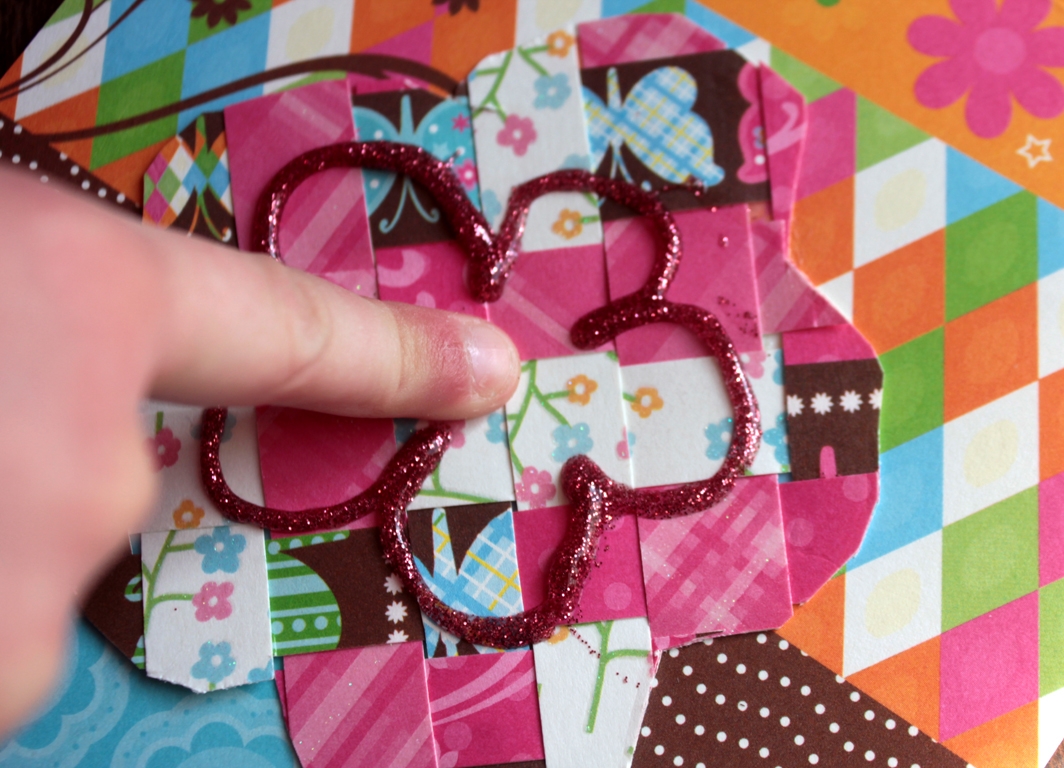
Step 11
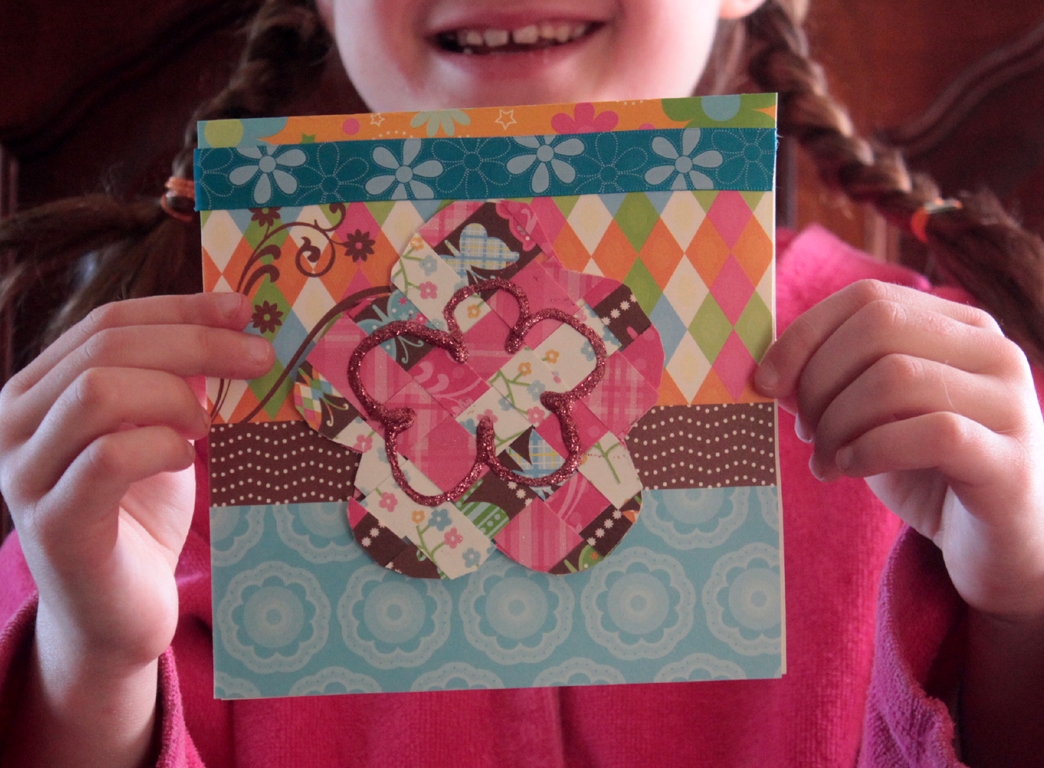
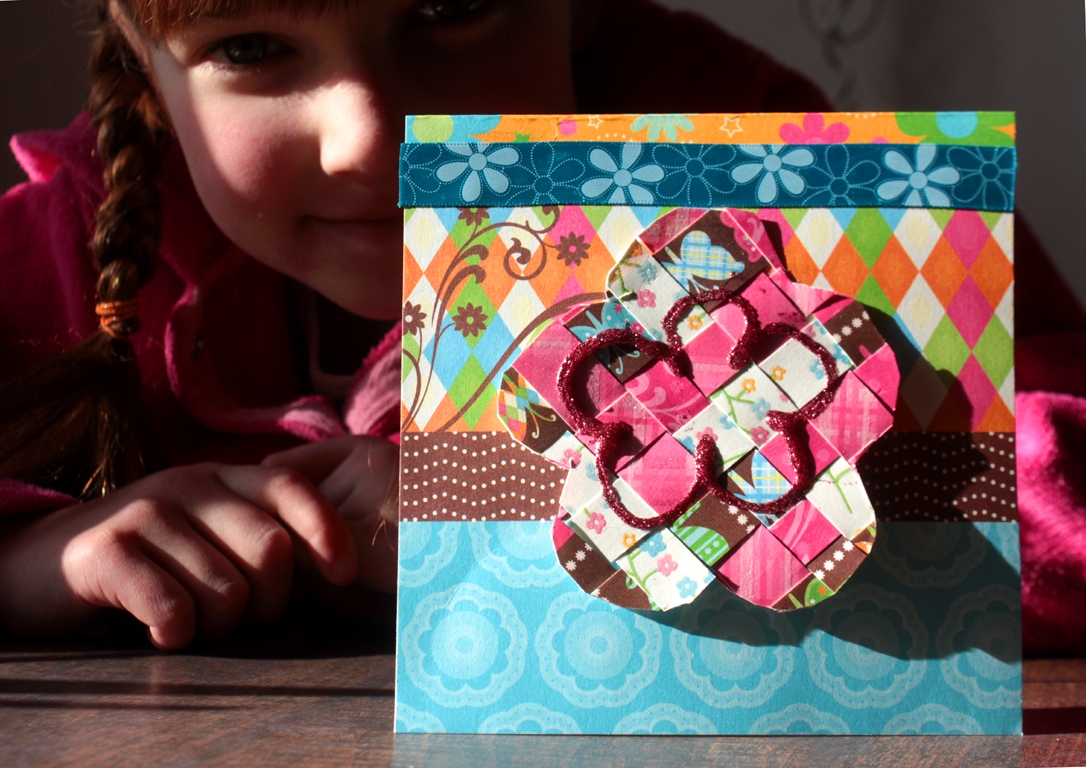
Maddie folded a piece of paper in half to make a card. Then she arranged her weaving on the card...glued it down...and trimmed it with a bit of glitter glue and ribbon.
Final result!
It's all done. Now who gets the first one?