Step-by-step tutorial
Step 1
Let's start by making some bunny ears.
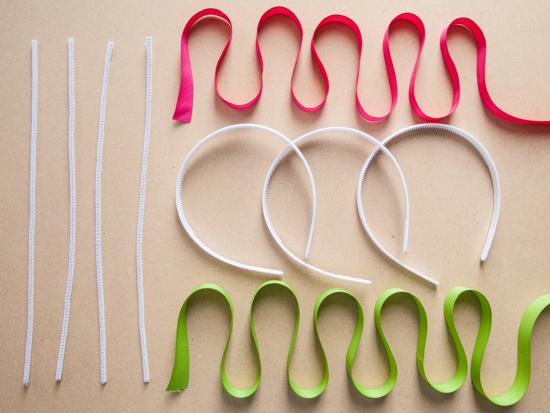
You'll need white pipe cleaners, ribbons, and a glue gun with glue sticks.
Step 2
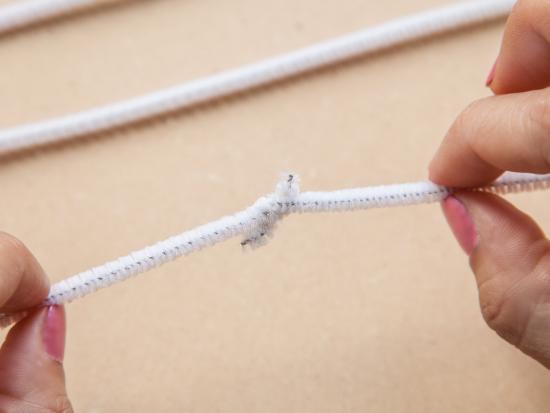
For each ear, twist two white pipe cleaners together, and then fold the pipe cleaner in half at the twist to create an ear shape. You'll need two of these per headband.
Step 3
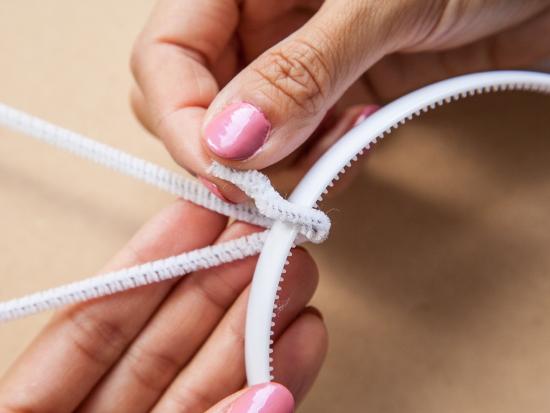
To attach the ears, gently twist the open the pipe cleaner ends about 1-inch up and then wrap it around the headband.
Step 4
The size of your headband will determine how long of a piece of ribbon you'll need to use. Hold off on trimming the ribbon down until you've finished wrapping the headband. Using a hot glue gun, adhere one end of the ribbon to the bottom end of the headband. Begin wrapping the ribbon up and around the band, making sure to cover where the pipe cleaners are attached.
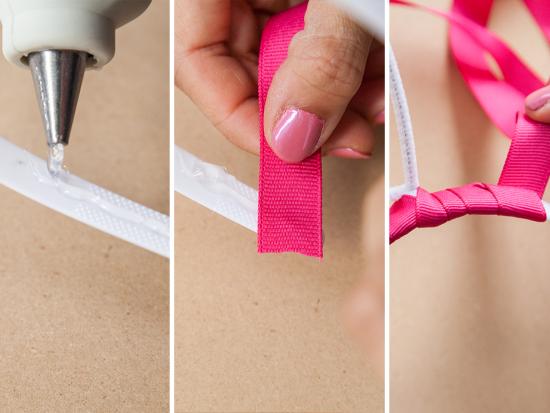
Step 5
When you reach the other end of the headband, trim your ribbon. Use a dab of hot glue to seal the end.

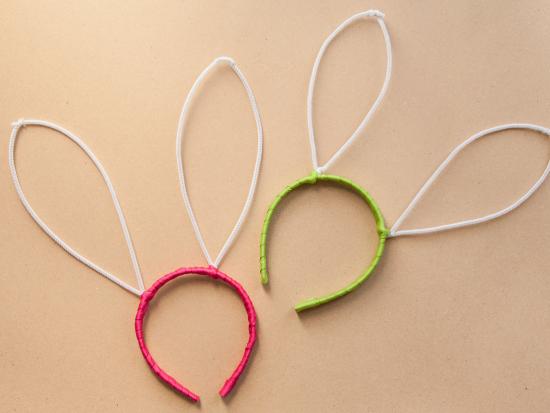
Step 6
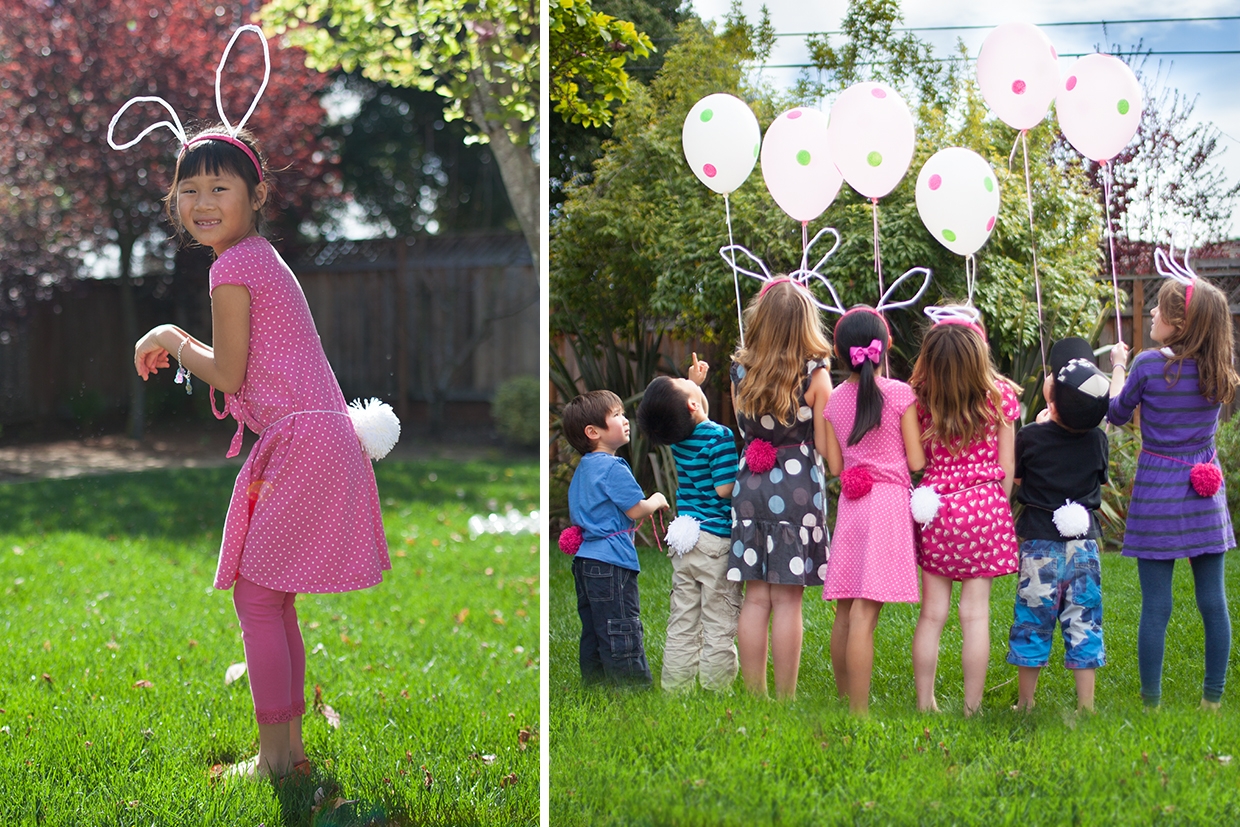
Your ears are ready to wear!
Step 7
Let's move on to the fluffy tails!
You'll need some yarn, a pom-pom winder, and scissors.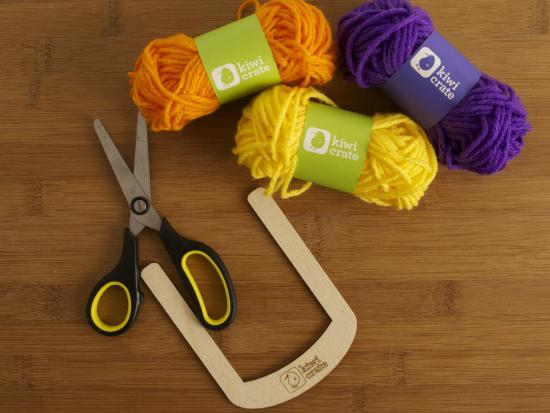
Tip
If you don't own a pom-pom winder, you can read about how to make your own cardboard version in this project post.
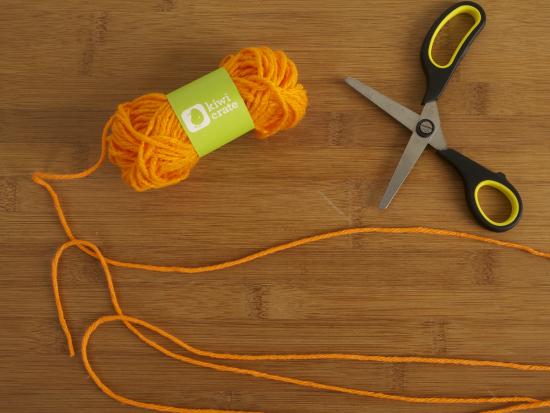
Step 8
Take your scissors and cut a piece of yarn that is about 4 feet (1.2 meters) long. This will act as a belt to secure your pom-pom tail. Put it aside.
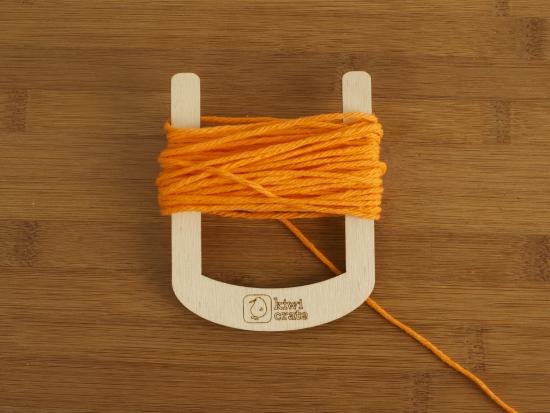
Step 9
Hold the pom-pom winder in one hand. Using your dominant hand, start winding the yarn from the skein around and around. Don't wrap it too tightly or it may be difficult to remove from the winder. Keep winding! We used about 25 yards (22.9 meters) of yarn to create a big fluffy tail, but if you are using thicker yarn you may not need as much.
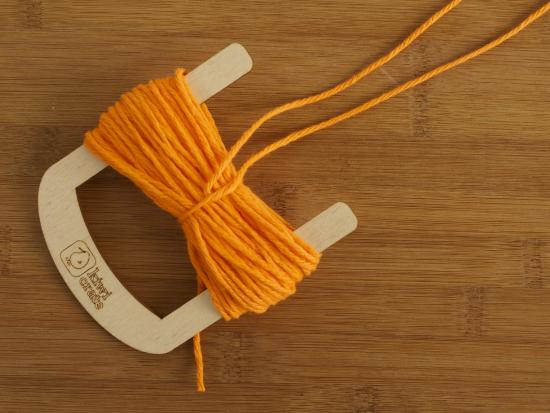
Step 10
When you are done winding, take the 4-foot-long piece of yarn and tie it around the middle of the looped yarn between the arms of the pom-pom winder. The long string of yarn will act as a belt, so make sure to secure the bunny tail to the center of the yarn string. Double knot it to make sure it is extra secure.
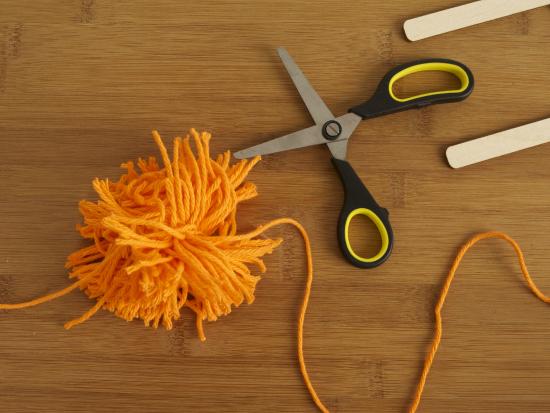
Step 11
Pull the yarn off the pom-pom winder. Take the scissors and cut both ends of the looped yarn. Adult assistance may be required! As you do this, make sure not to cut the piece of yarn that was used to tie the middle. Once the loops are cut, you will have your tail!
Done!
Take the long string and tie it around your waist to secure the tail in place. Now get hopping!