Step-by-step tutorial
Step 1
It's always so great when a project needs just a few around-the-house ingredients!

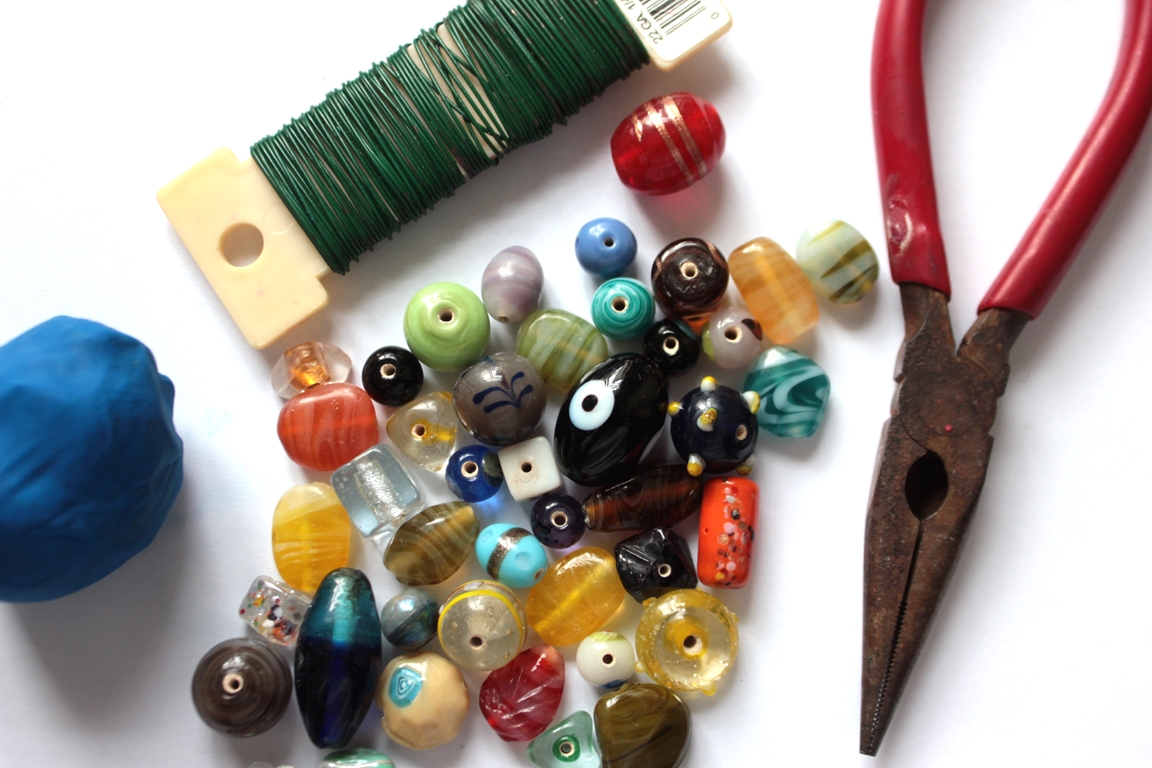
Step 2
The first step belongs to the biggest person! I cut a few pieces of wire around seven inches or so, then took the needle-nose pliers and curled the end around. This serves two purposes: it rounds the edge so there are no pokey edges, and is a stopper for the beads.
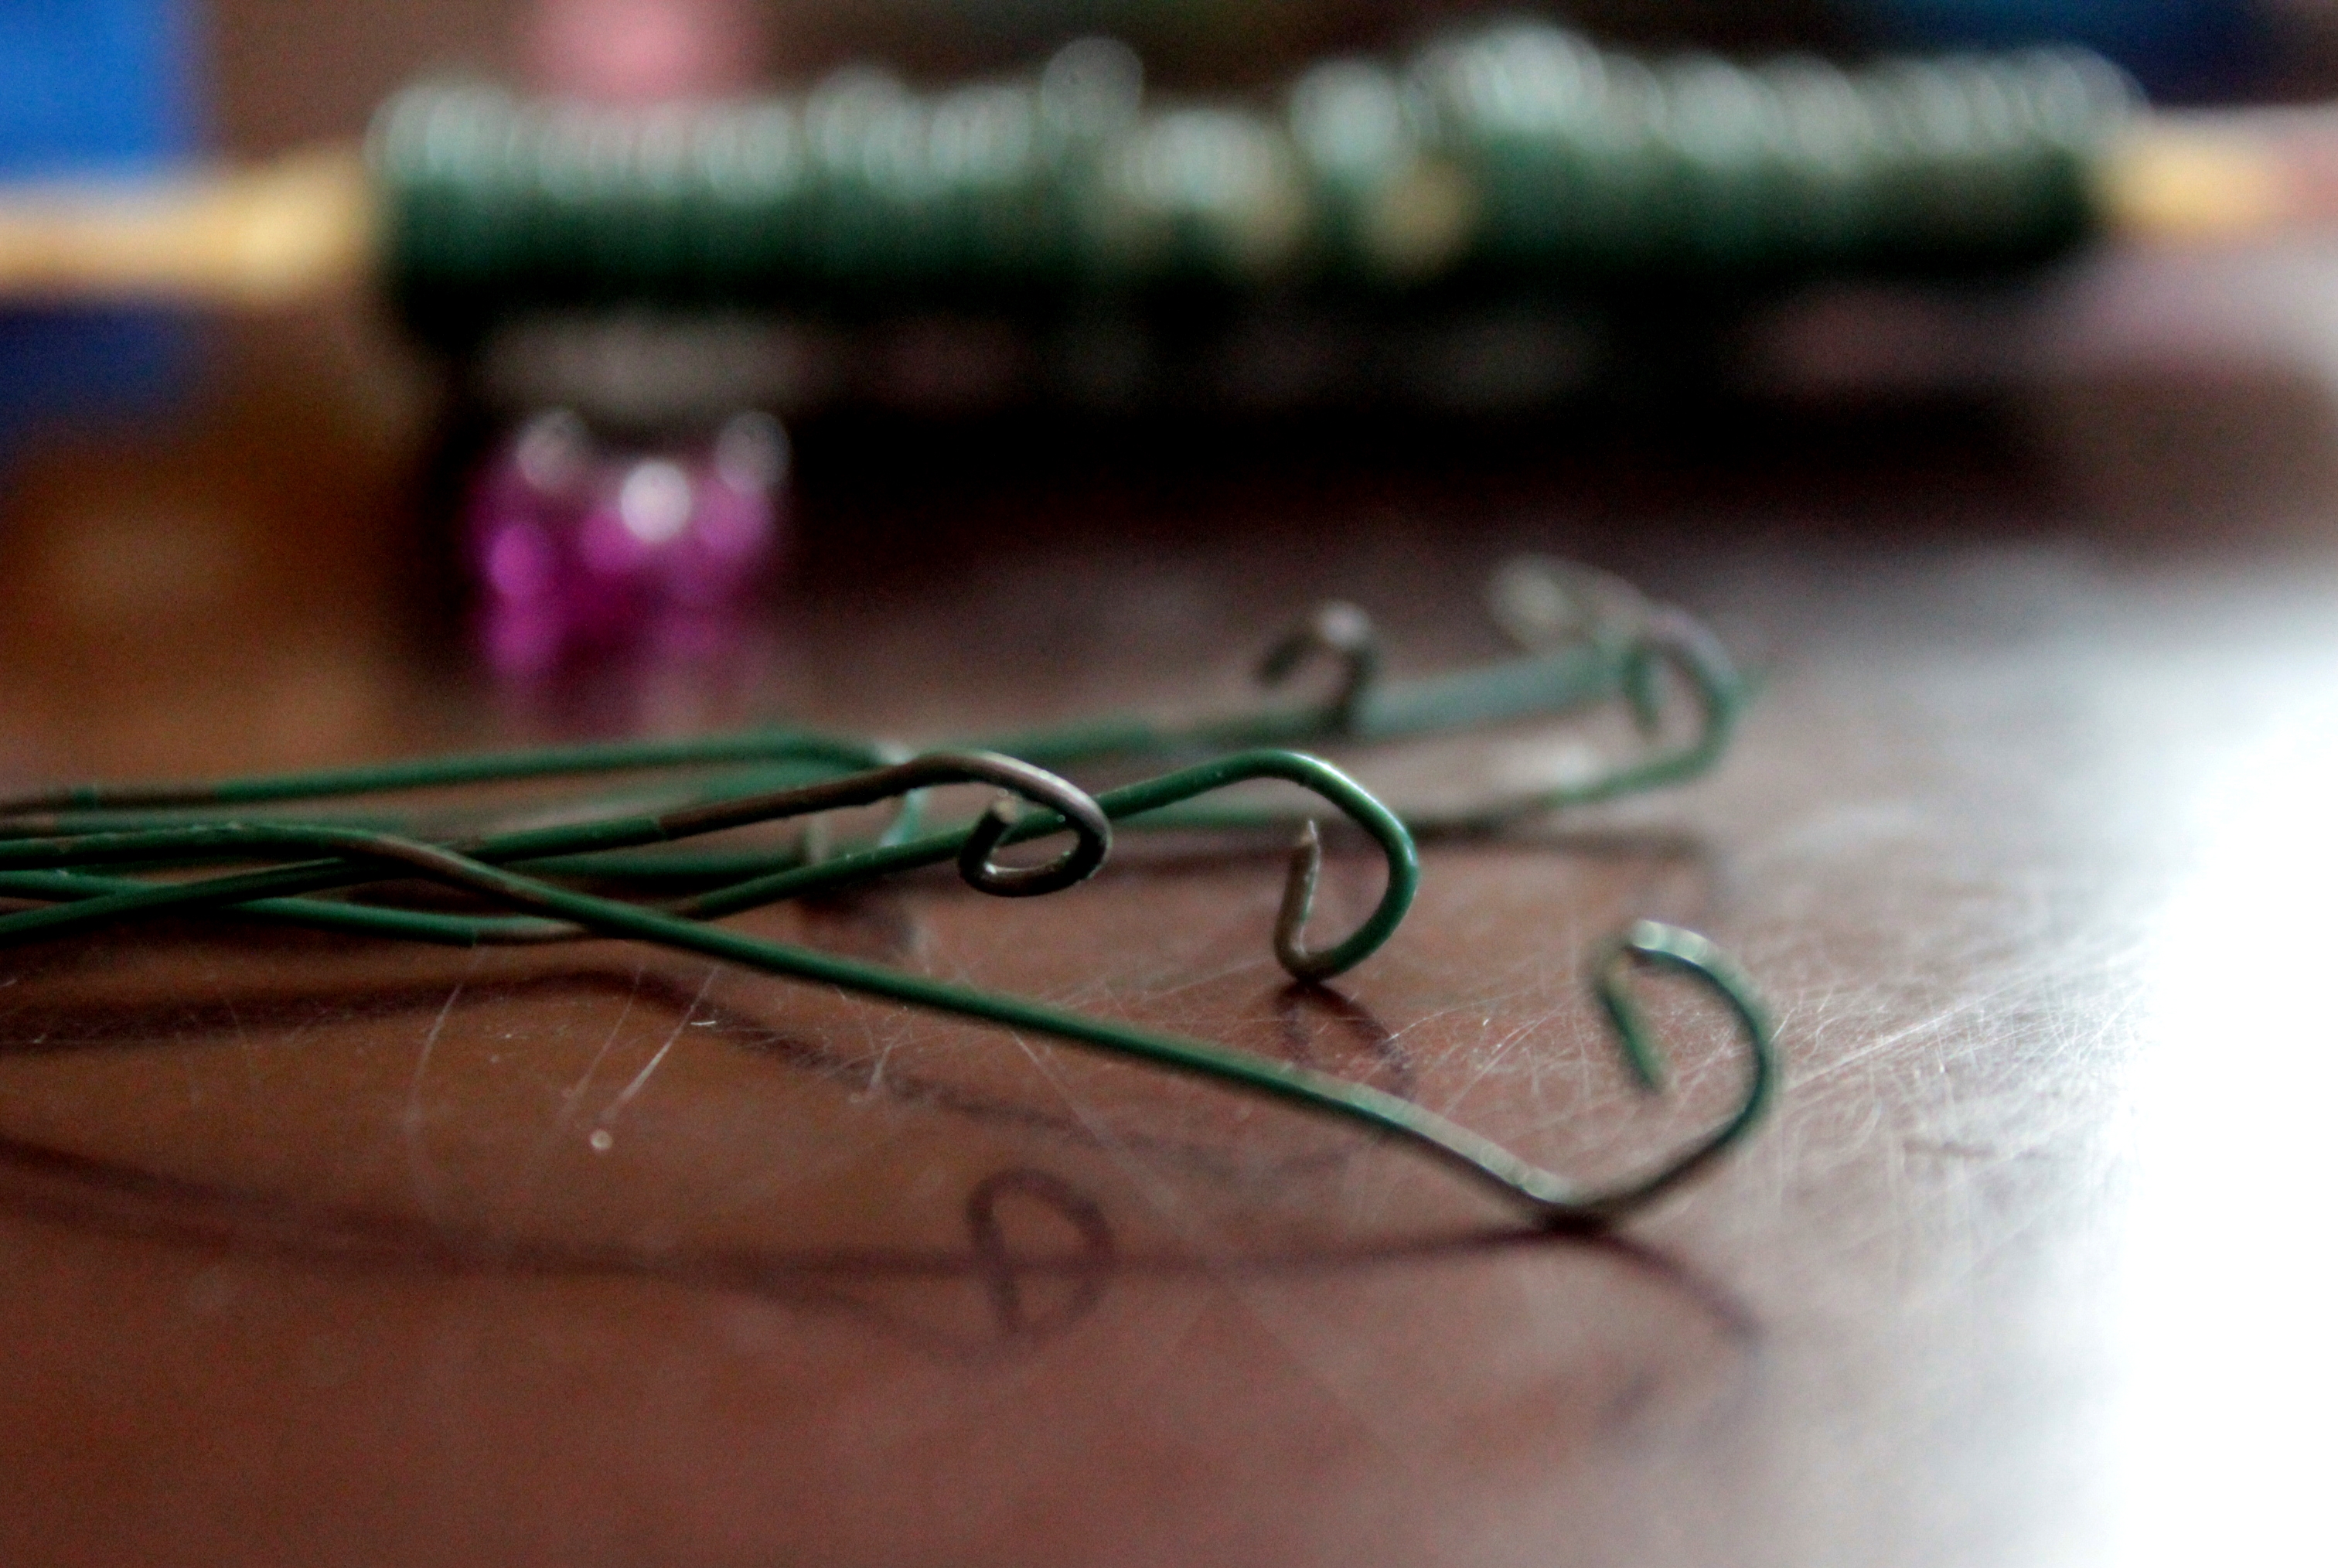
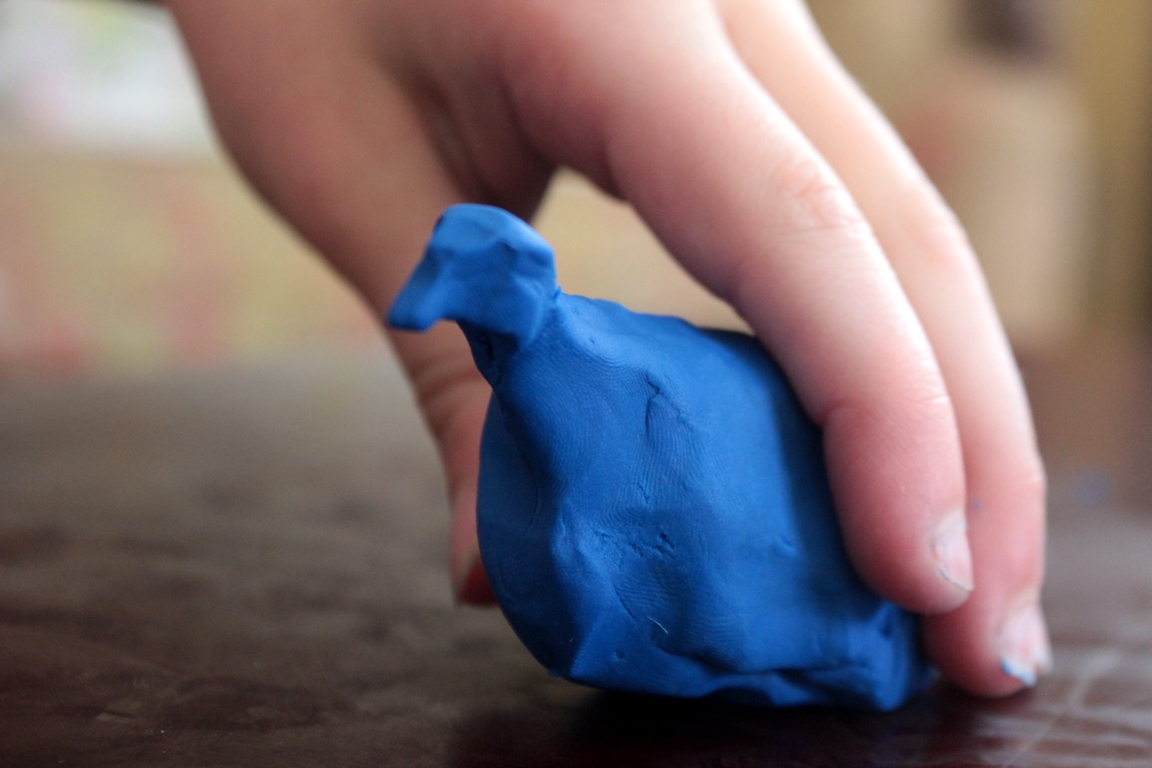
Step 3
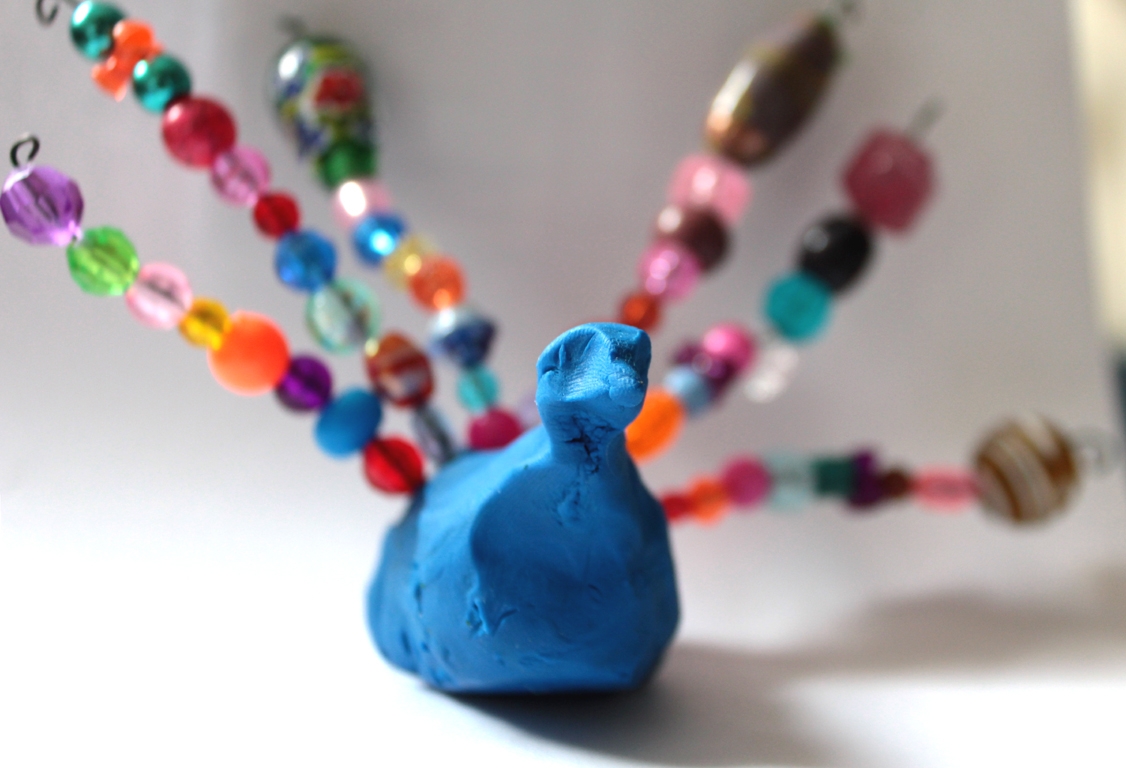
Maddie molded the peacock's body, using blue non-hardening clay. I asked her if she'd like plain air dry clay, and told her she could paint and add glitter-glue to it after it was dry, but she liked the blue clay.
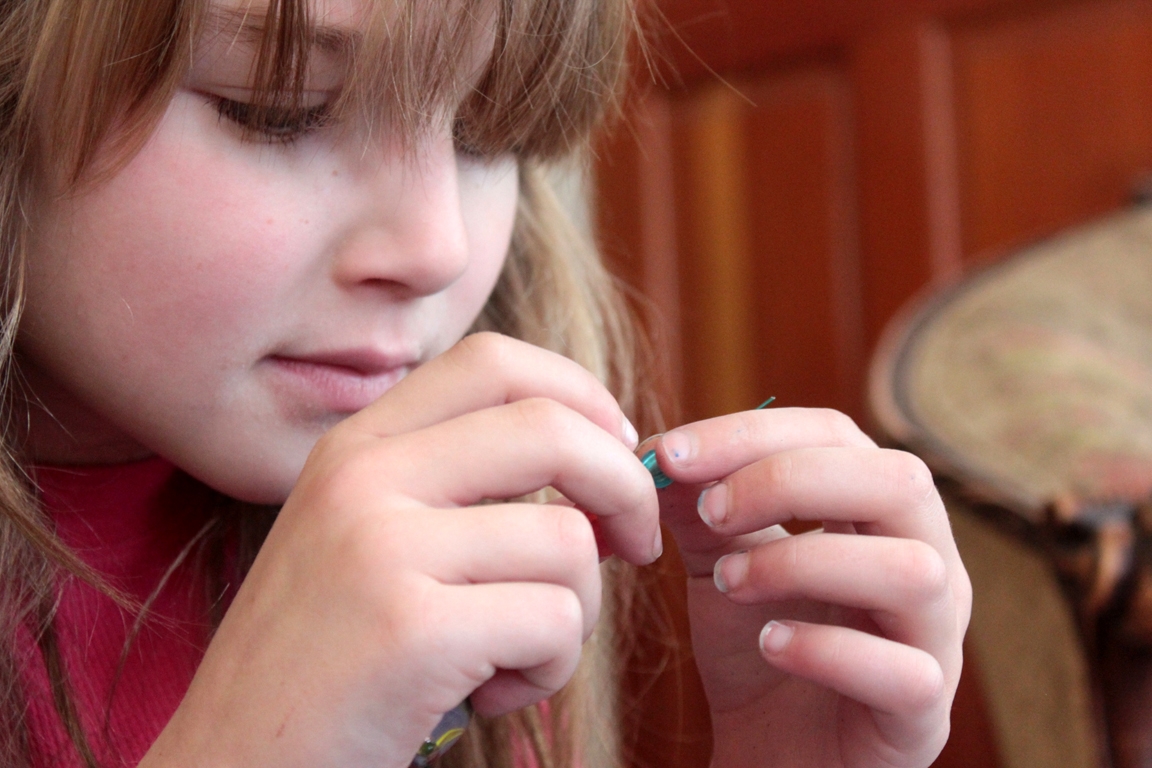
Step 4
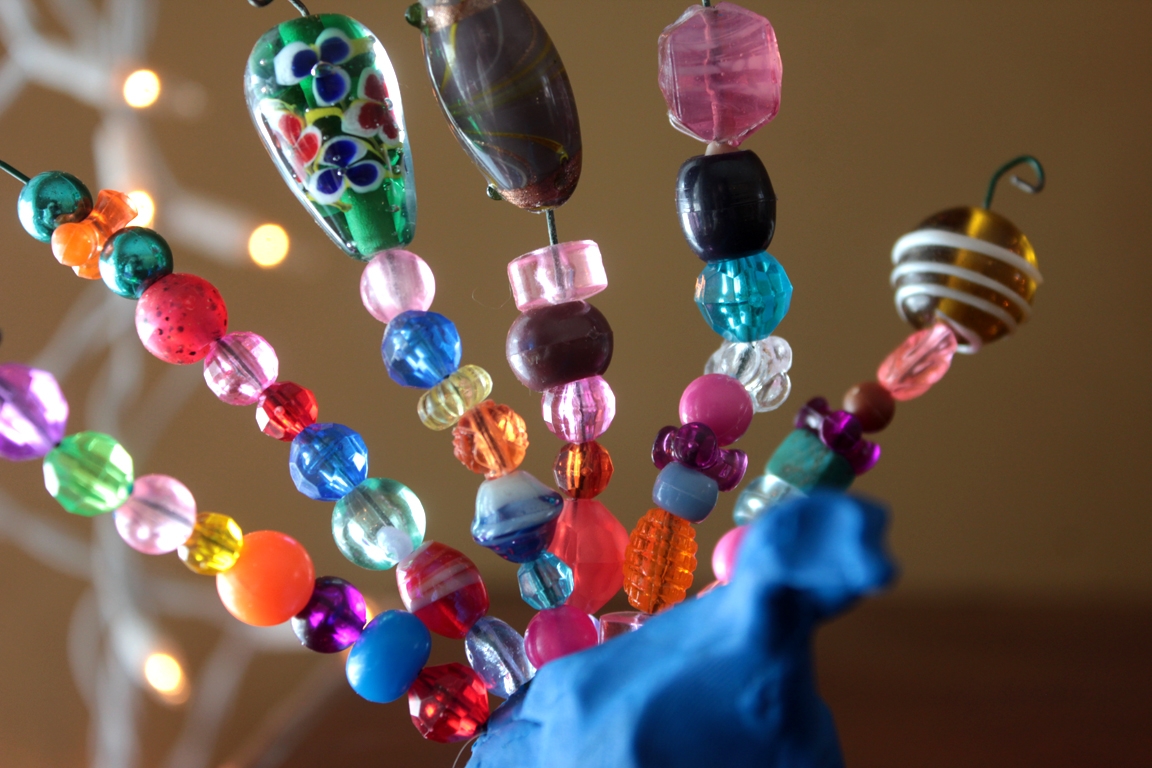
When she had her bird's body just right, she started on the glorious feathers, putting beads on the wire.
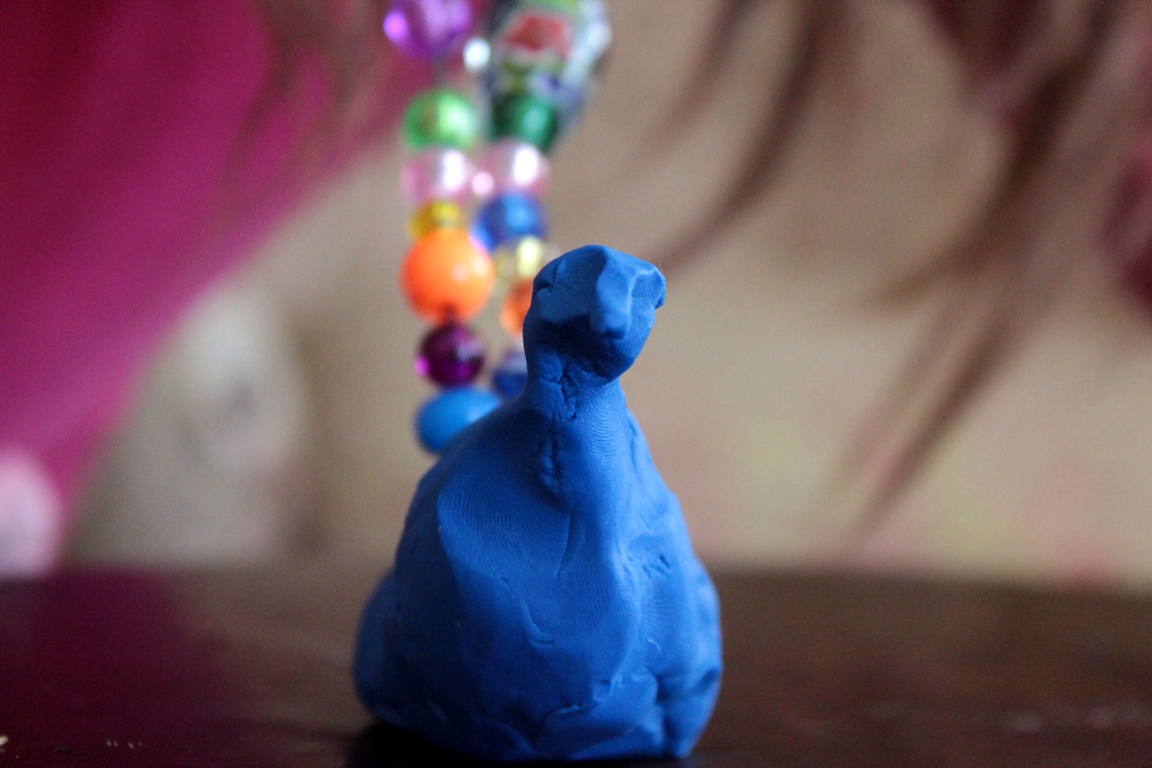
Step 5
I showed her how the first bead would actually be the top of the peacock's feather.
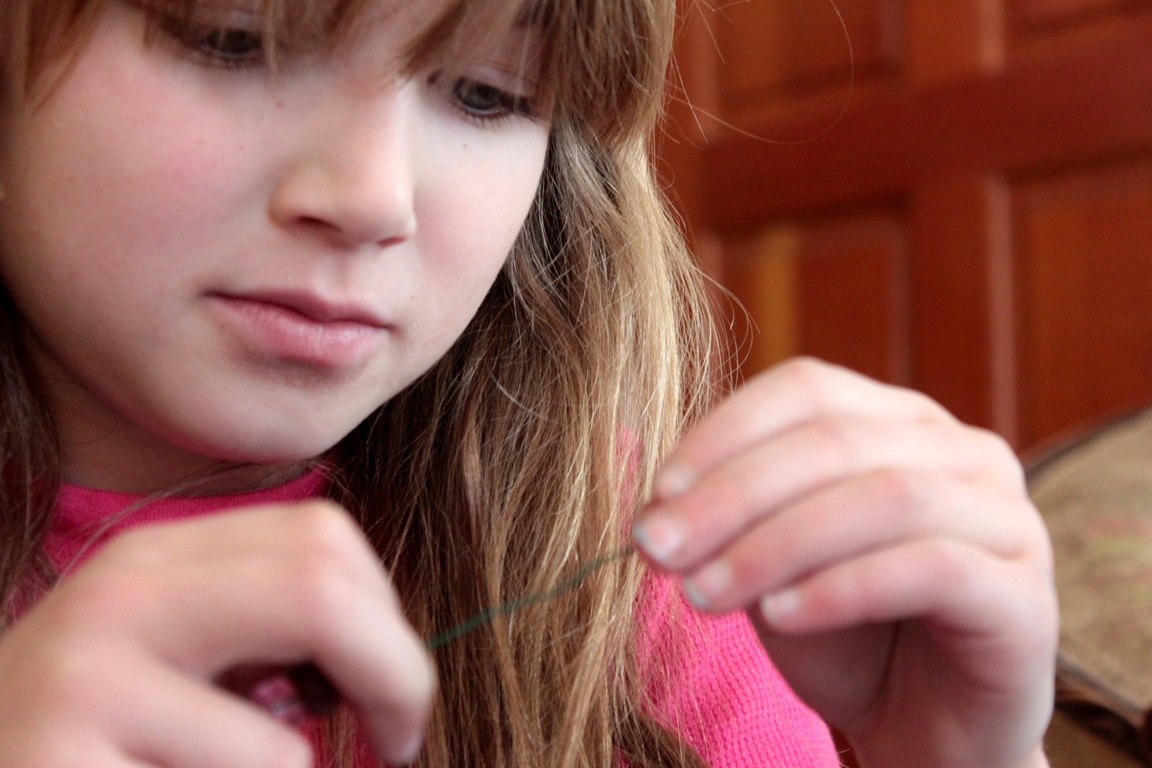
Step 6
She worked through several wires....
Done!
Until she was satisfied with her gorgeously fine fellow!