Step-by-step tutorial
Step 1
Bulky, fluffy yarns work really well for this project!

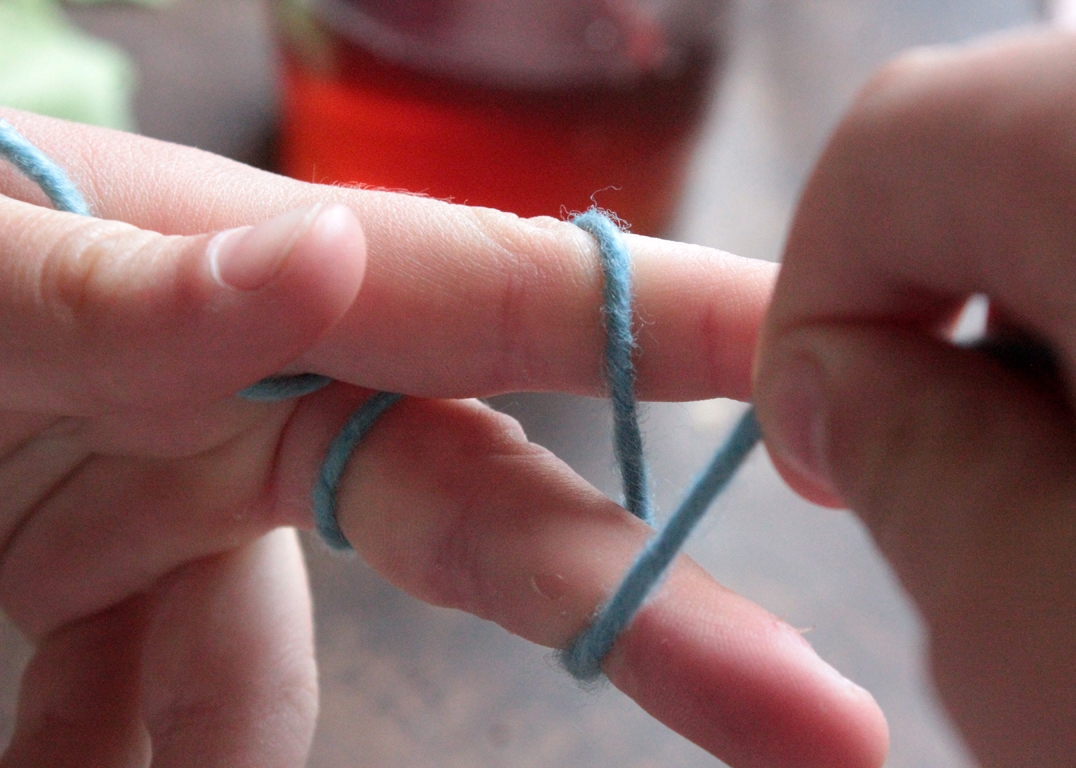
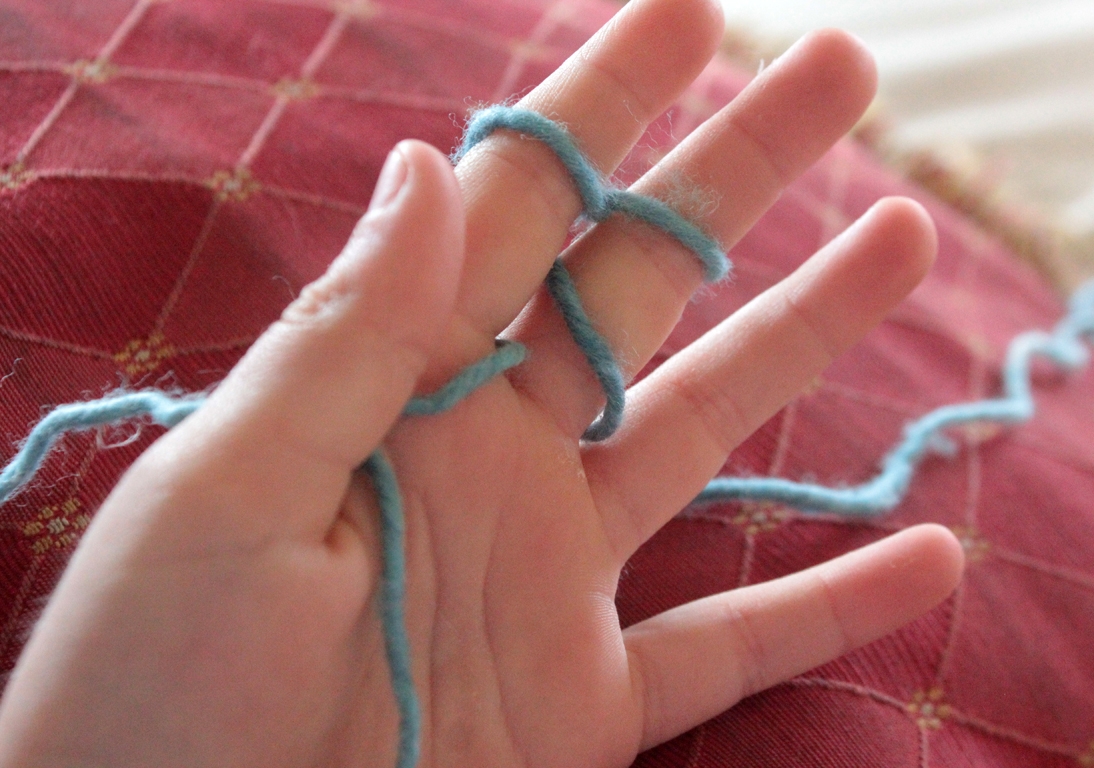
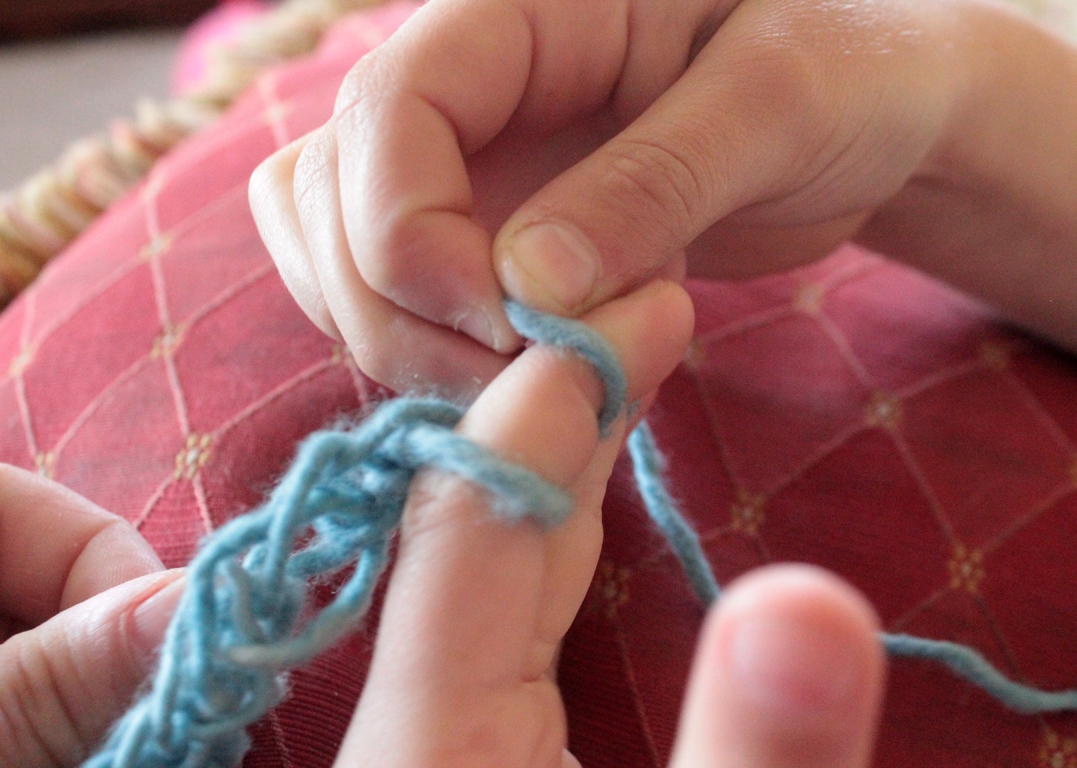
Step 2
You can use anywhere from two to four fingers. For the sake of simplicity, we used two fingers. First, Madeleine held the end of the string down with her thumb, then pulled the other end between her forefinger and middle finger.

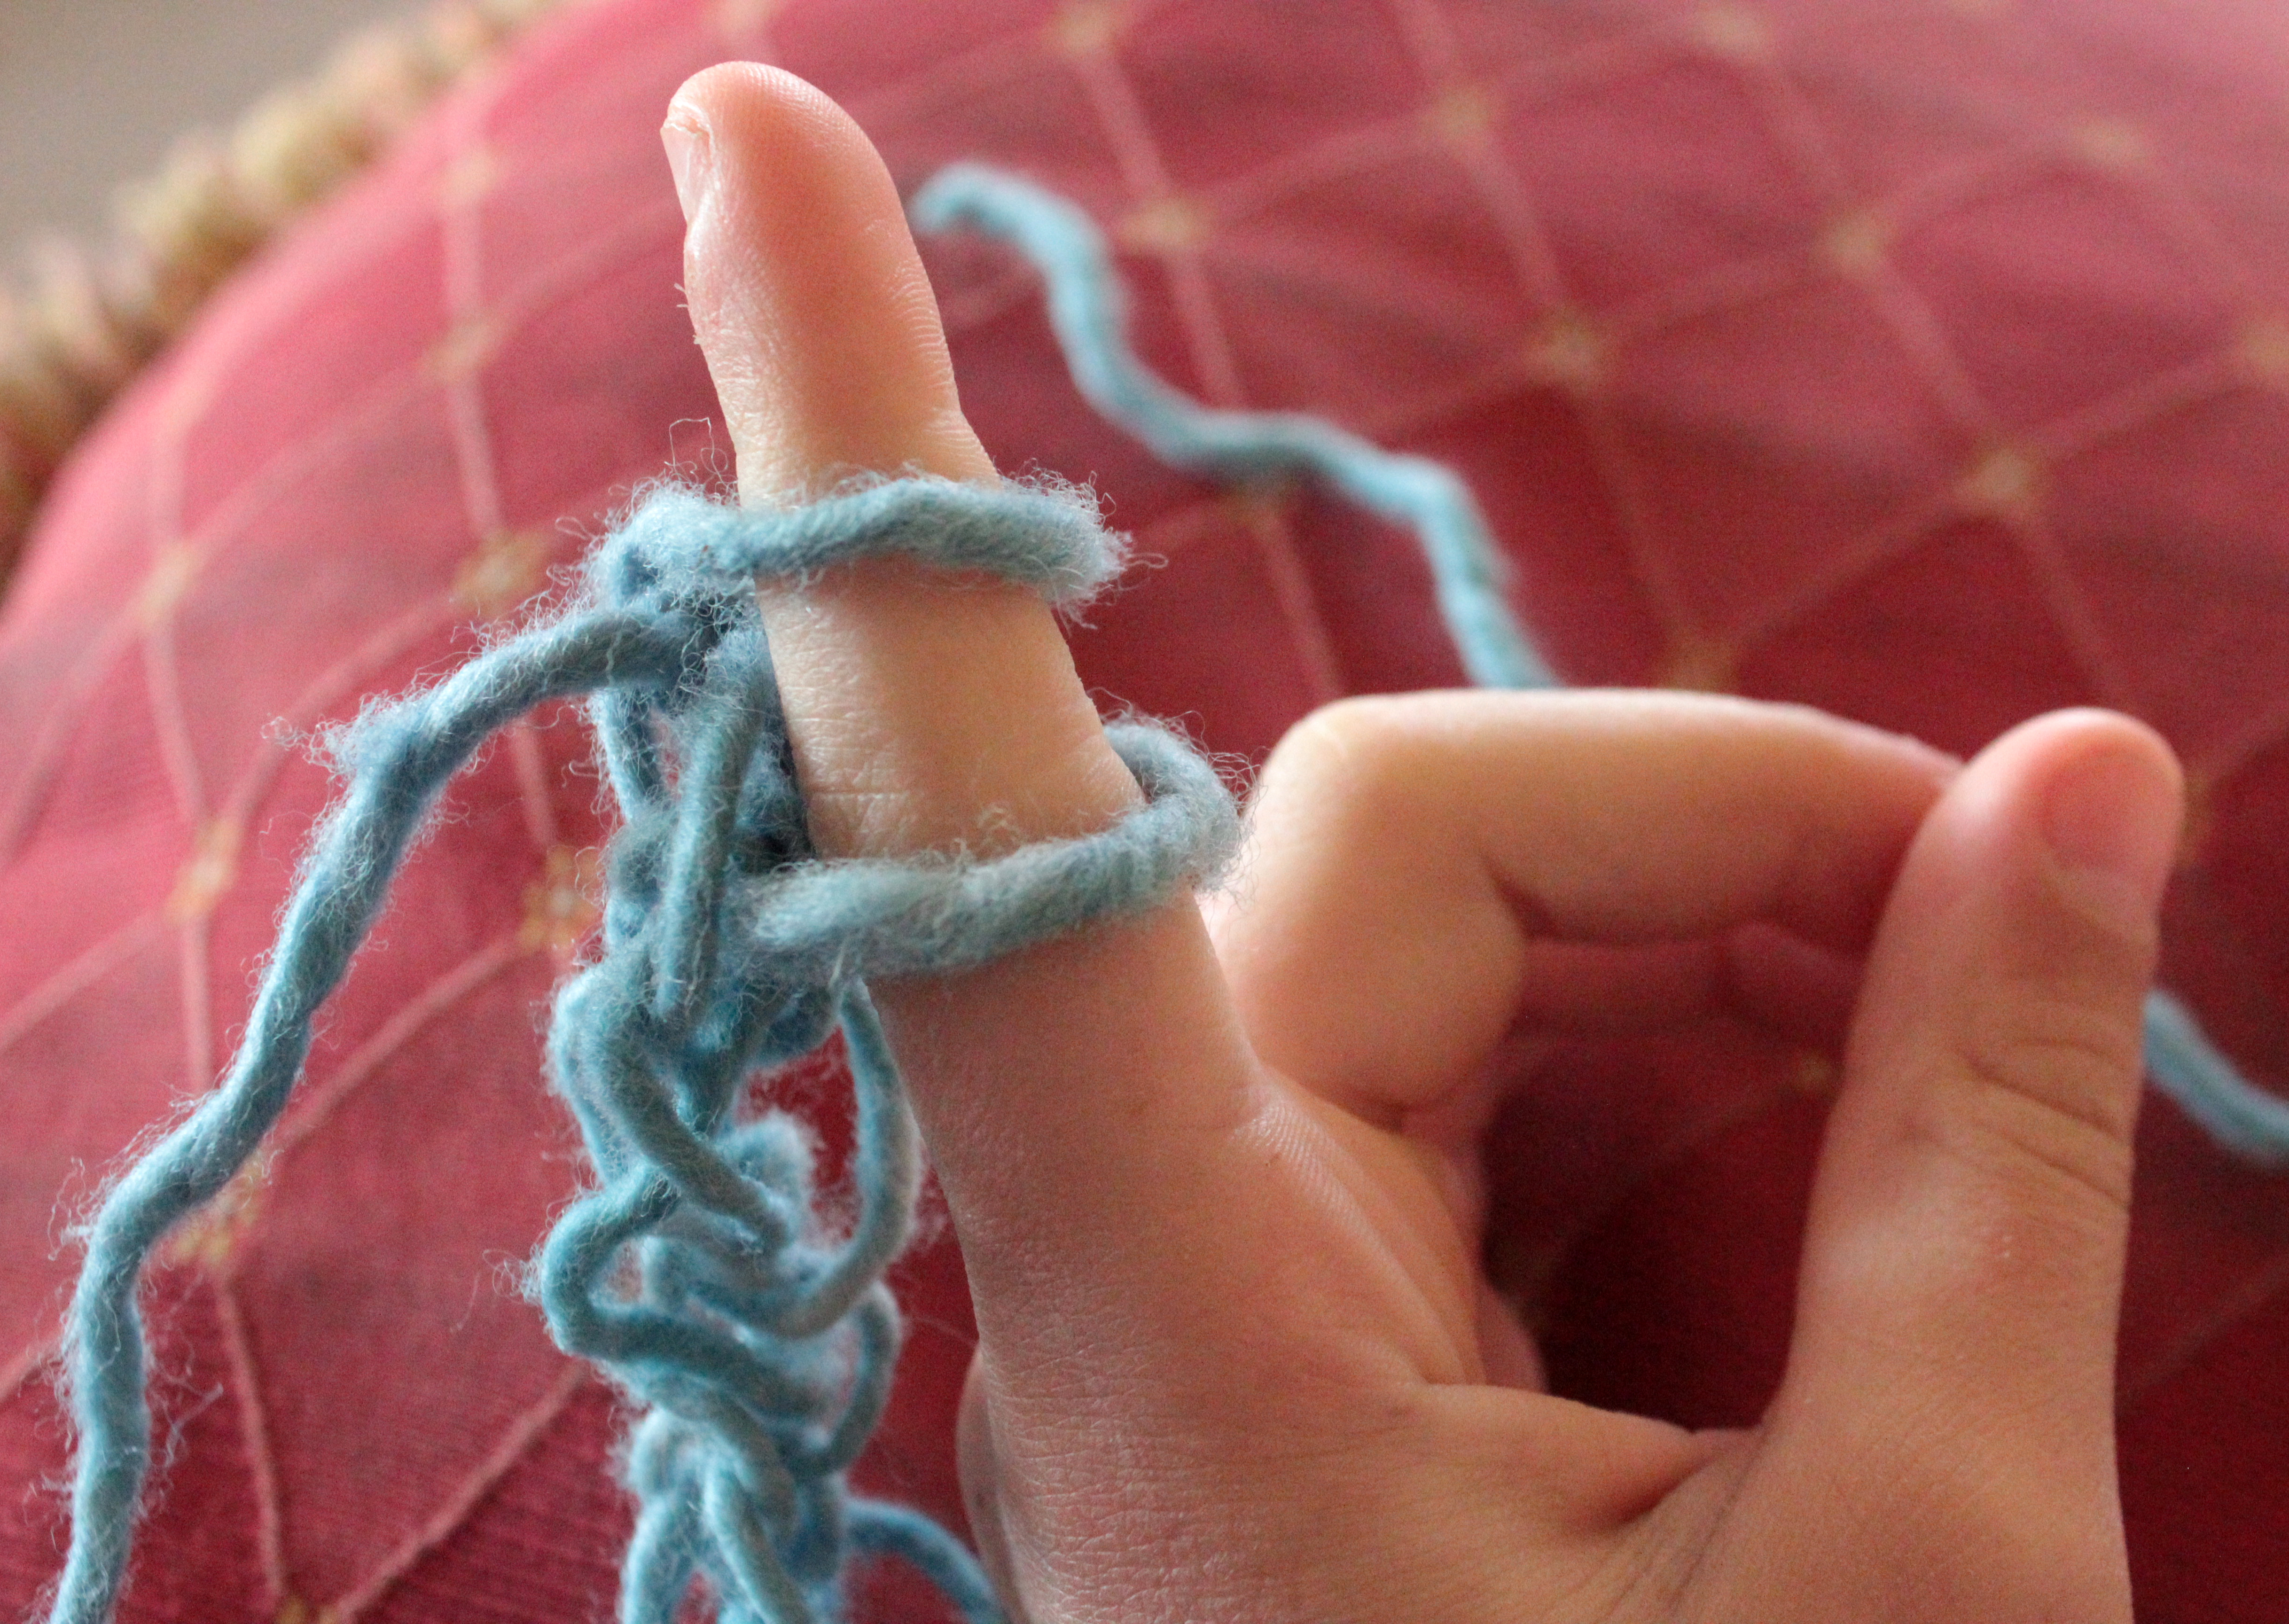
Step 3
She wound the yarn under her middle finger, between her middle finger and ring finger, and back over her middle finger, forming a loop. Next, she looped the yarn under her forefinger and back over it, forming a second loop. Then she did the same thing again -- under and over her middle finger, under and over her forefinger. She then pulled the yarn between her forefinger and middle finger and let it go, allowing it to rest behind her hand for the next steps.
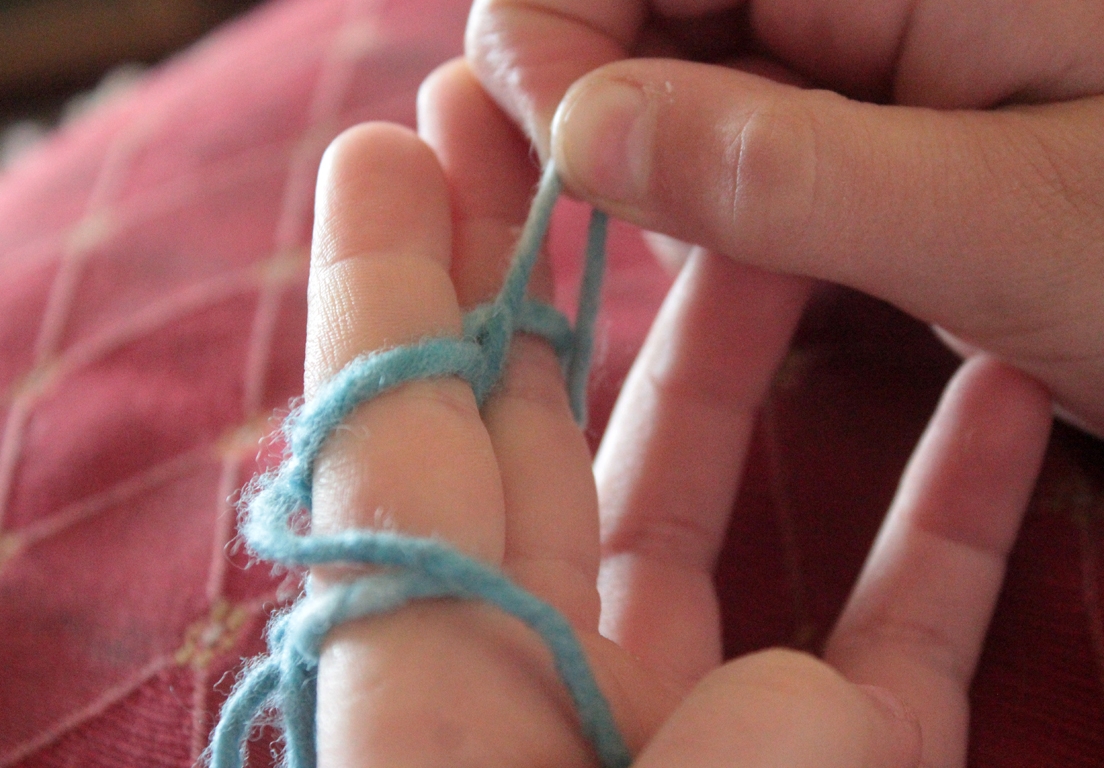
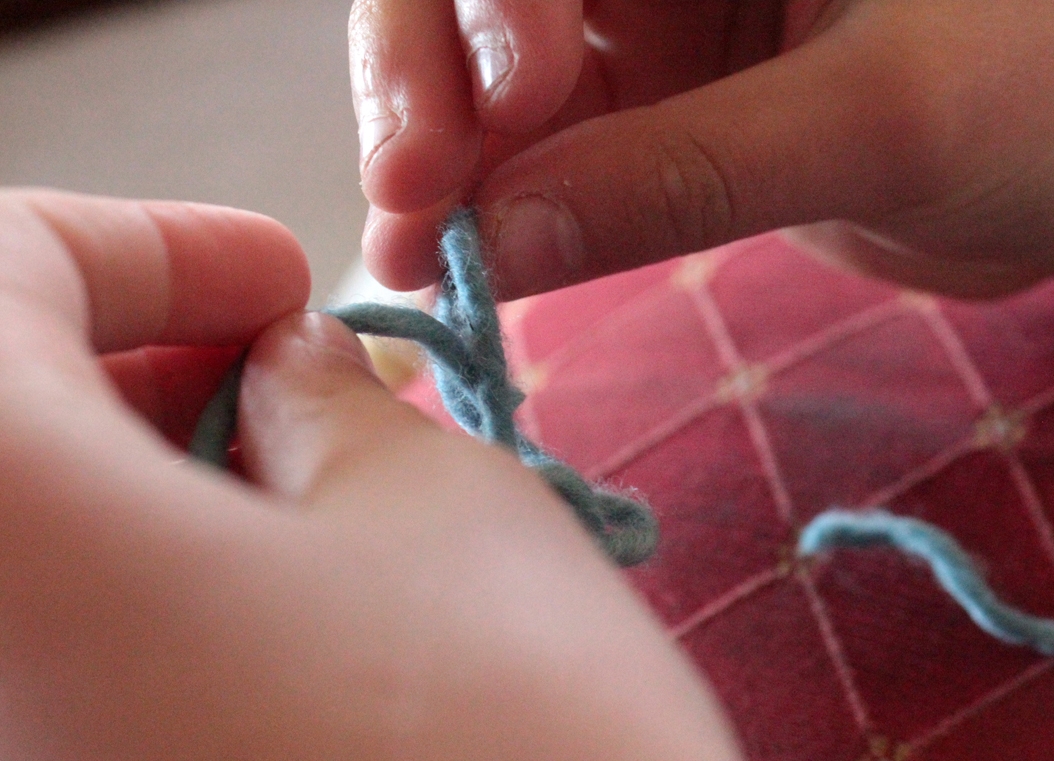
Step 4
Now there were two loops on each finger. She grabbed the bottom loop on the middle finger,
Step 5
and pulled it over the top loop and right off her middle finger. Then she did the same thing on her pointer finger: lifted the bottom loop over the top loop and slid it right off. This made her first stitch!
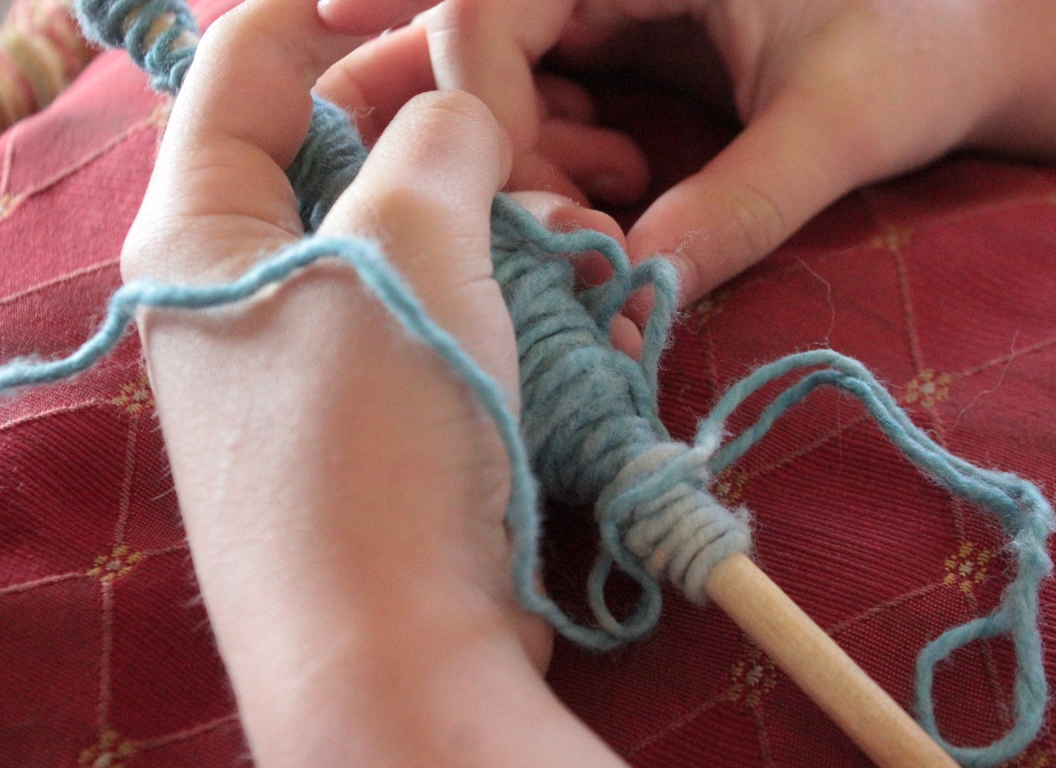
Step 6
So with one loop on each finger, now she needed to make another top set of loops. She did this by weaving the yarn under and then over her middle finger, and under and then over her forefinger. As before, she then pulled the working yarn down between her fingers and let it rest behind her hand.
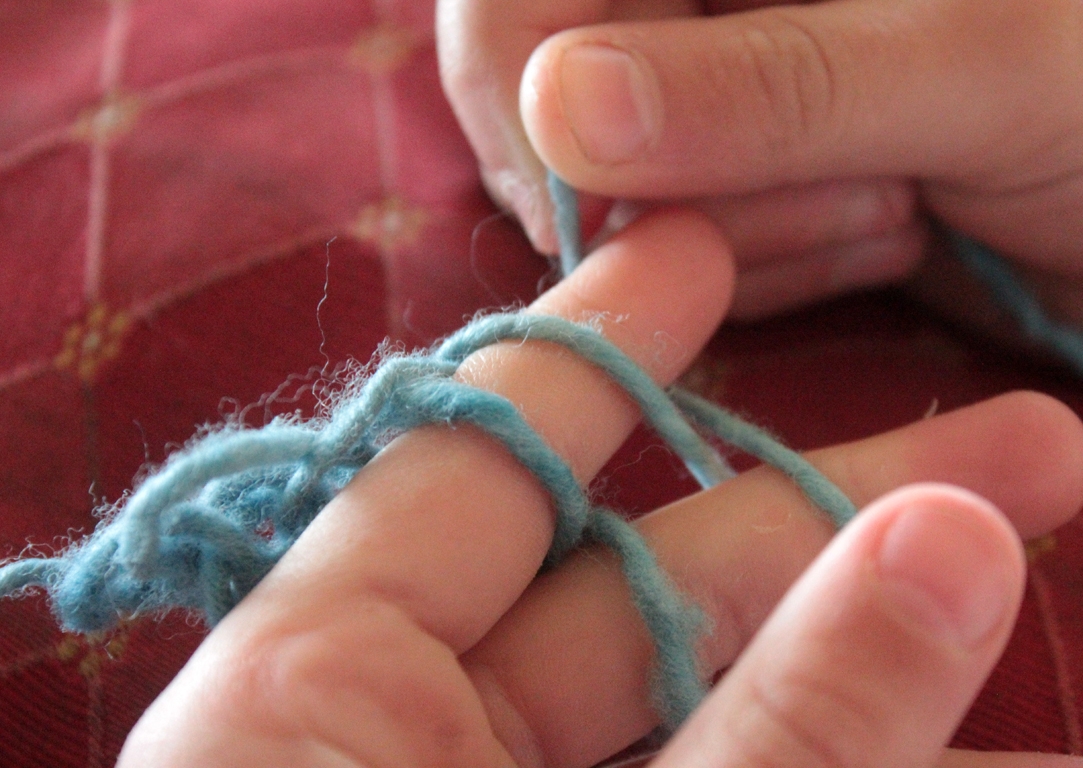
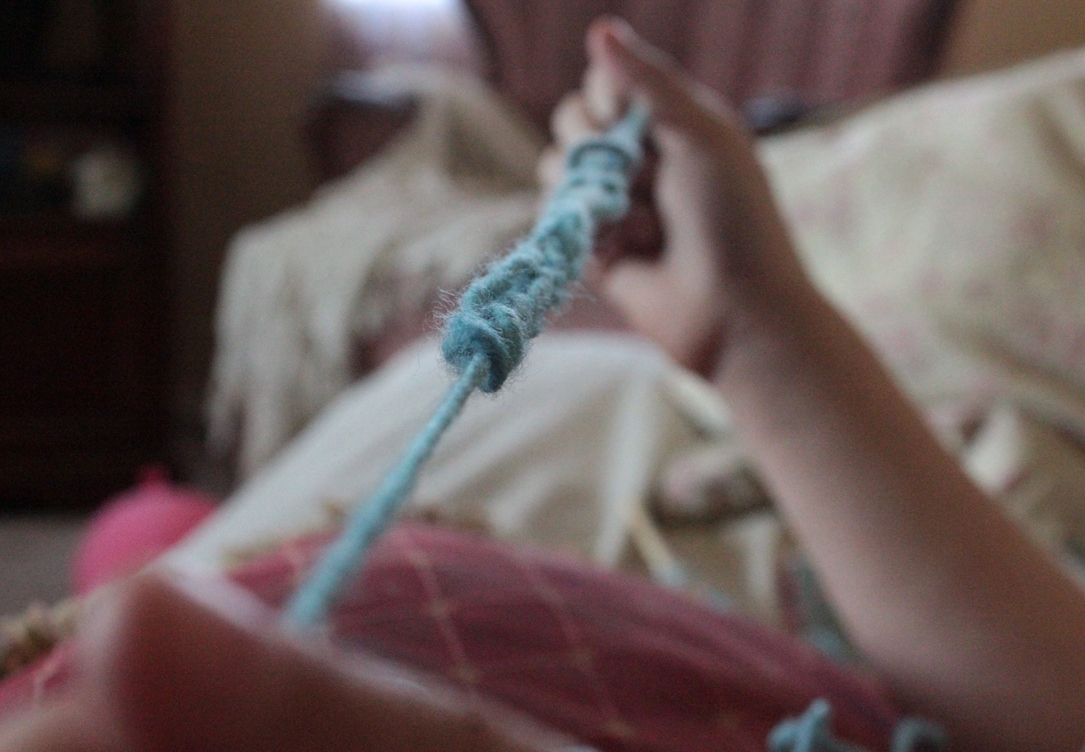
Step 7
On she went, weaving and lifting bottom loops over, until she had the length she wanted for a bracelet.
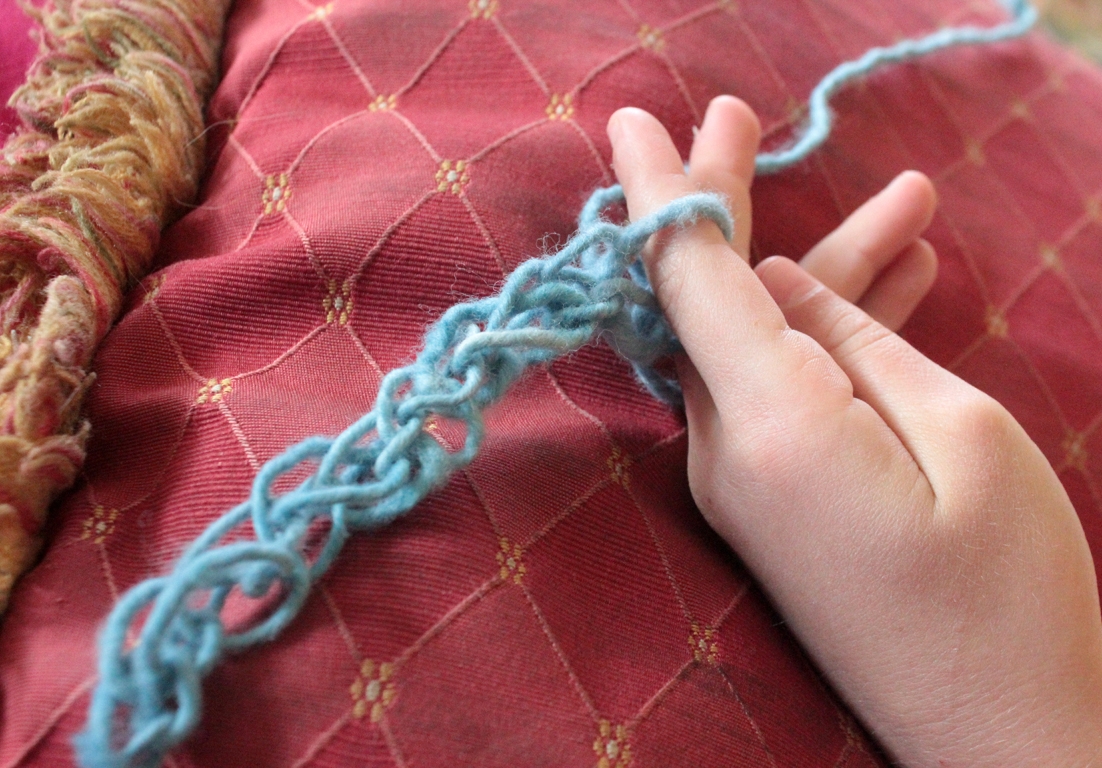
Step 8
To bind off, she stopped when she had a single loop on each finger. Then she took the loop off the second finger, and placed it on the first finger.
Step 9
Then she pulled the bottom loop over the top loop.
Step 10
She cut the yarn about 5" (12.7 cm) away from the knitting, pulled the last loop off her finger, and pulled the string through the loop.
Step 11
She pulled each end of the yarn tightly, to tie off the piece. Then (with a little adult help) she tied the strings together around her wrist to make a bracelet and trimmed the ends.
Done!
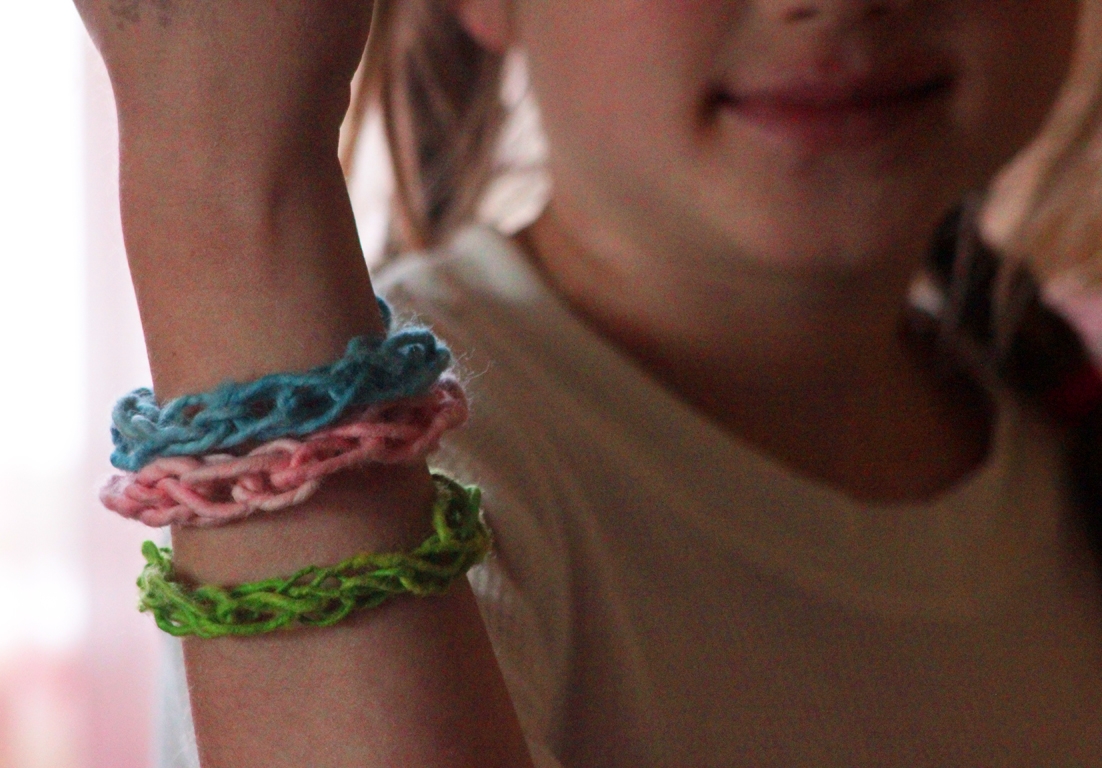
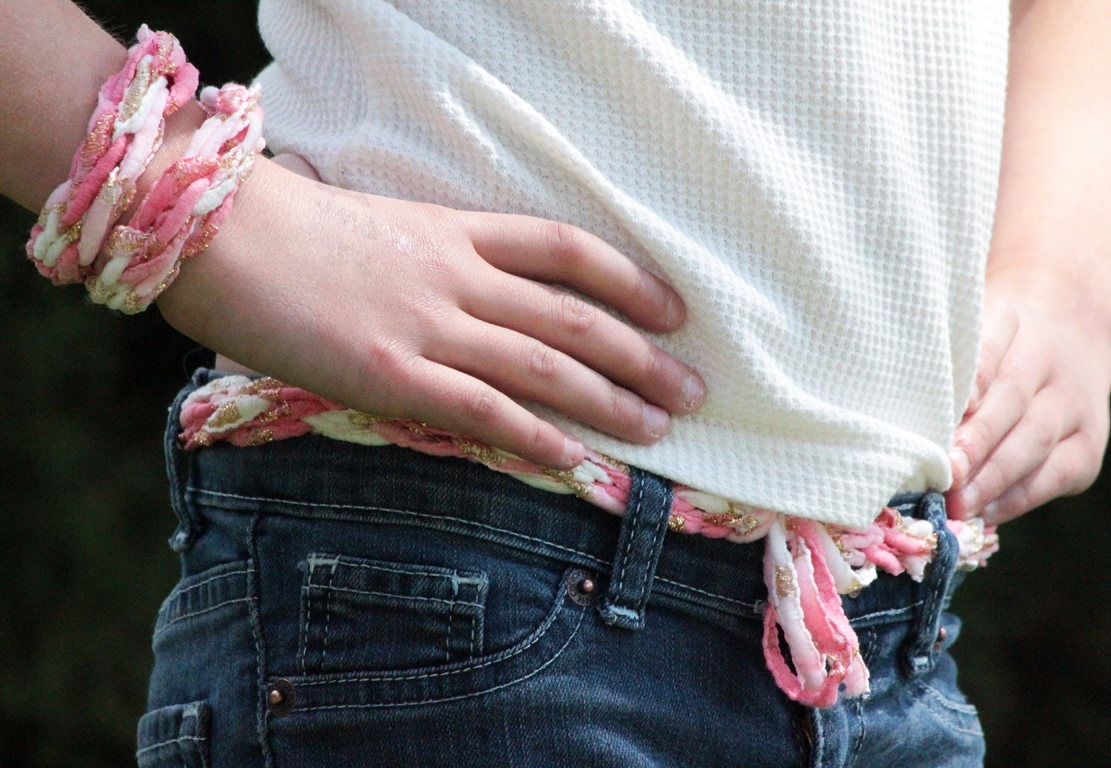
After the first few passes of the yarn, Madeleine understood well how it went, and started doing it while watching something else. She has quite a collection!