Step-by-step tutorial
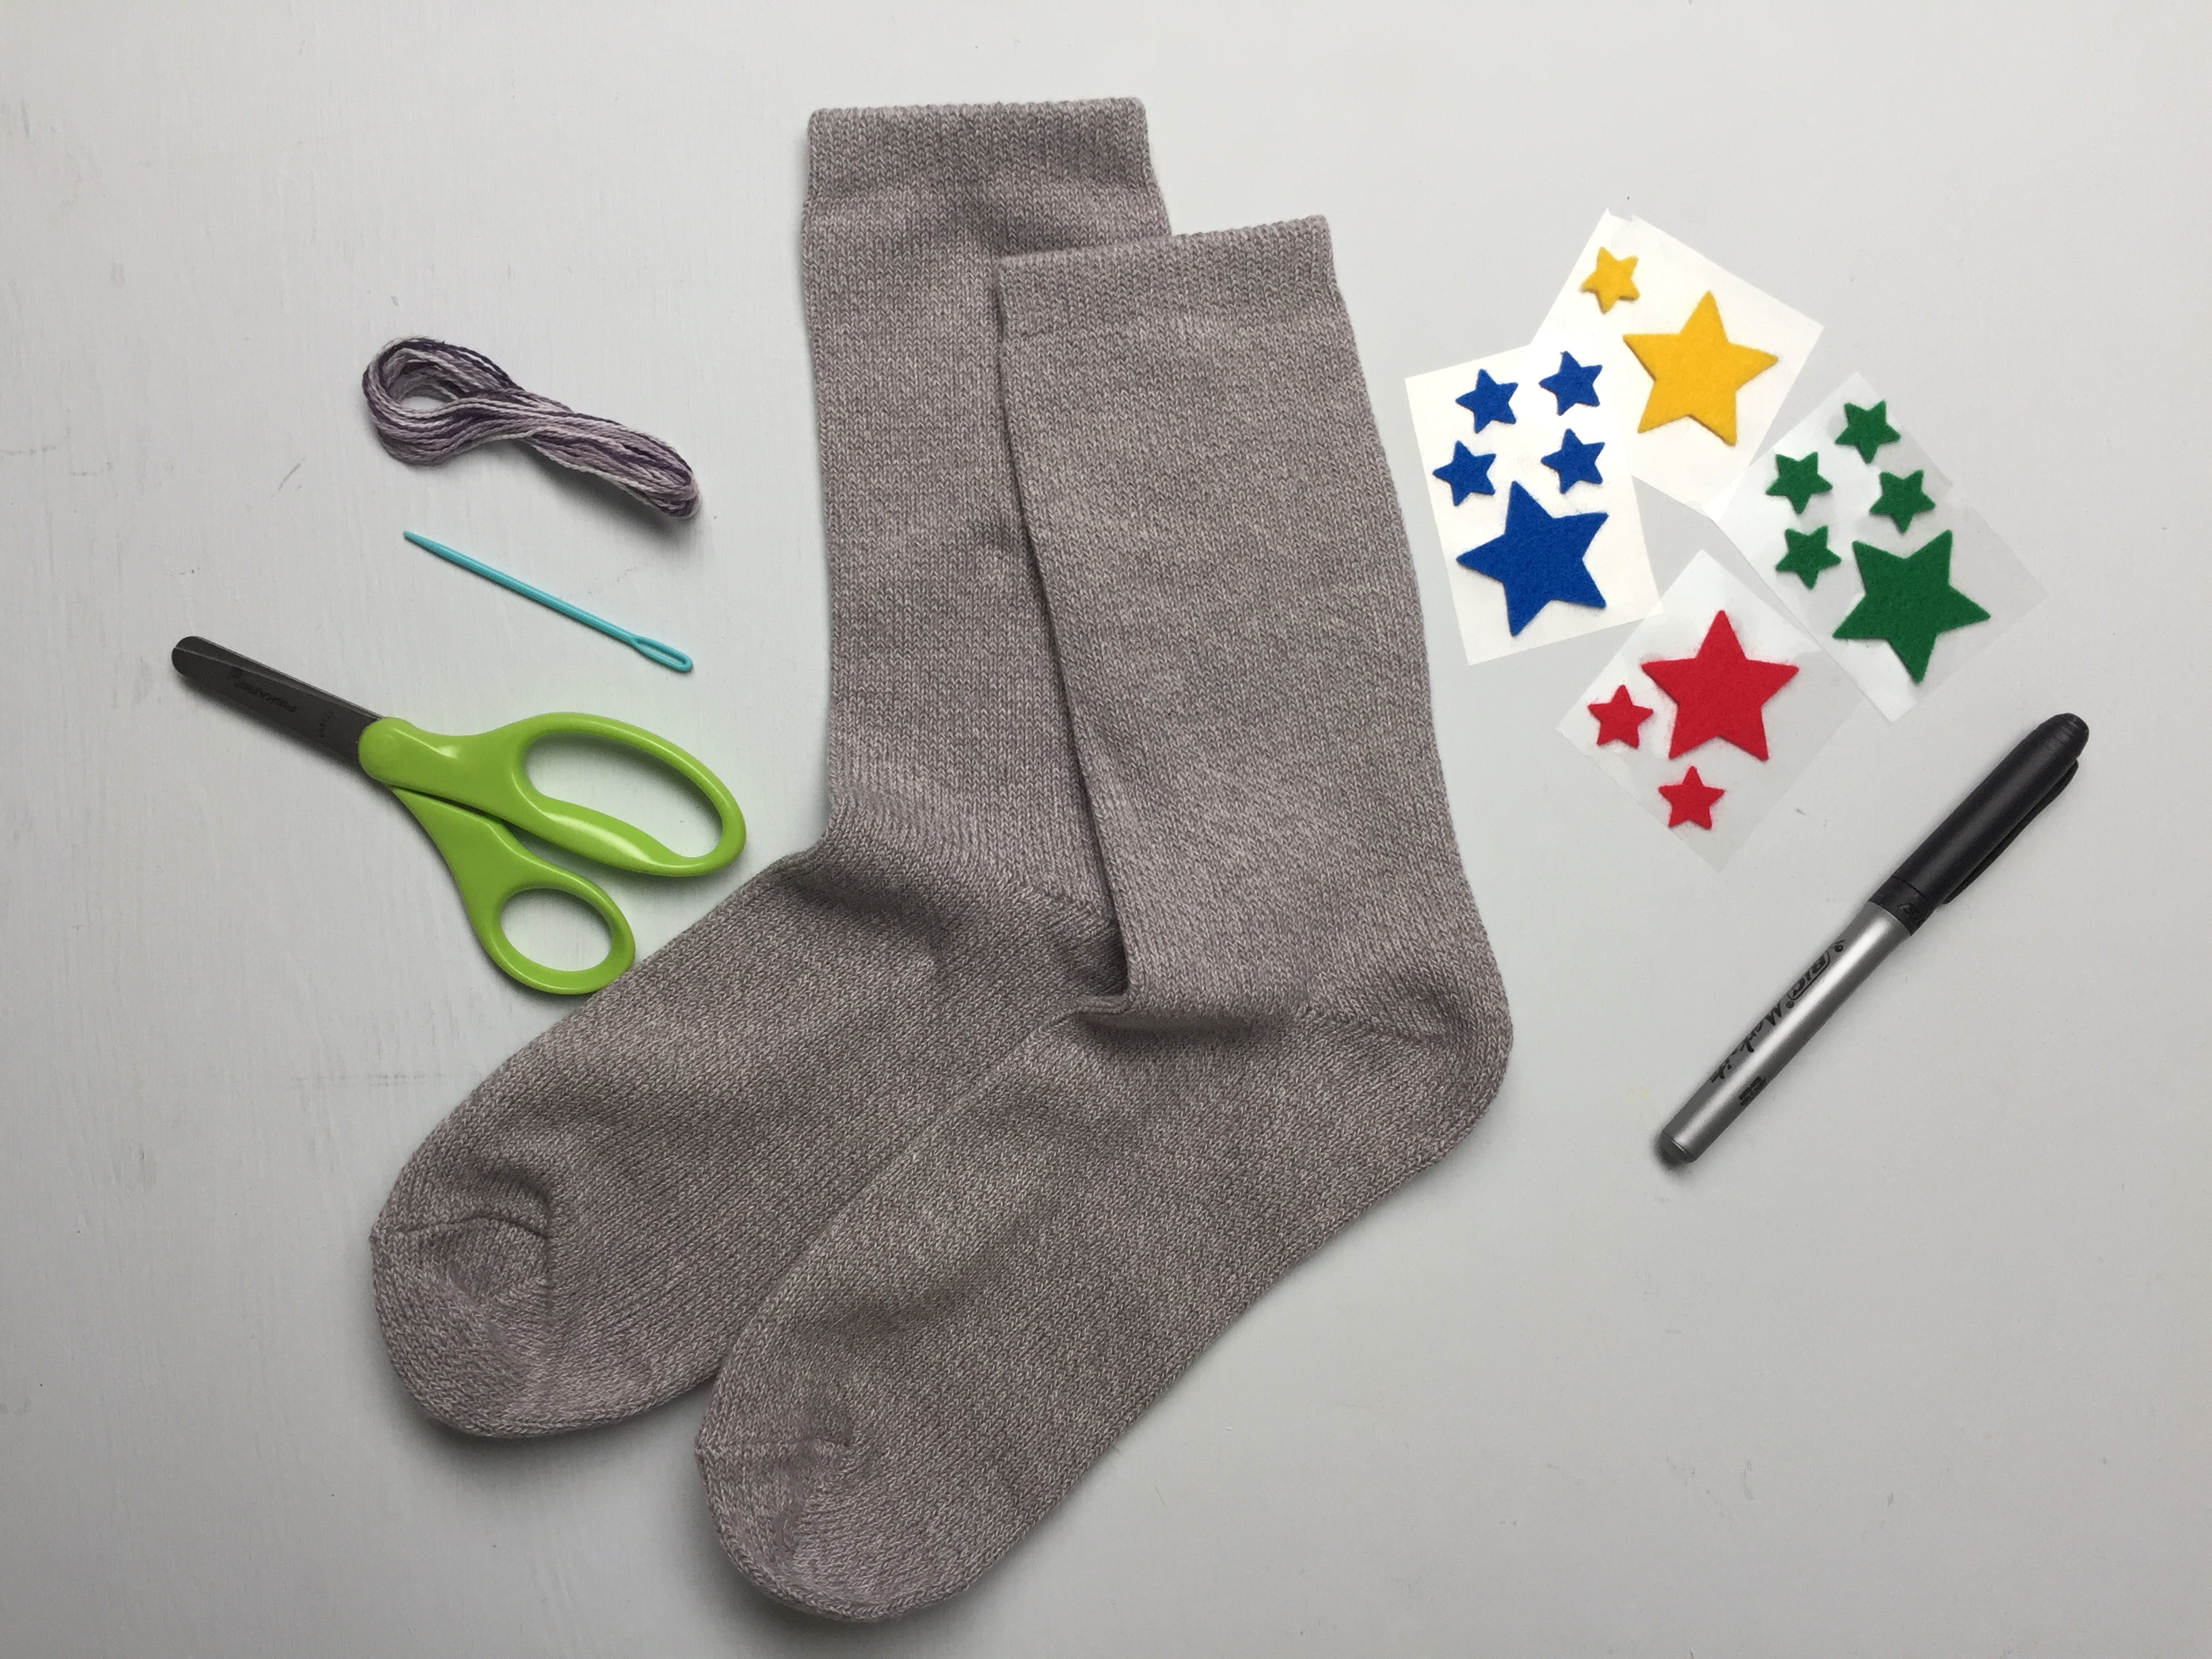
Step 1
Gather your materials.

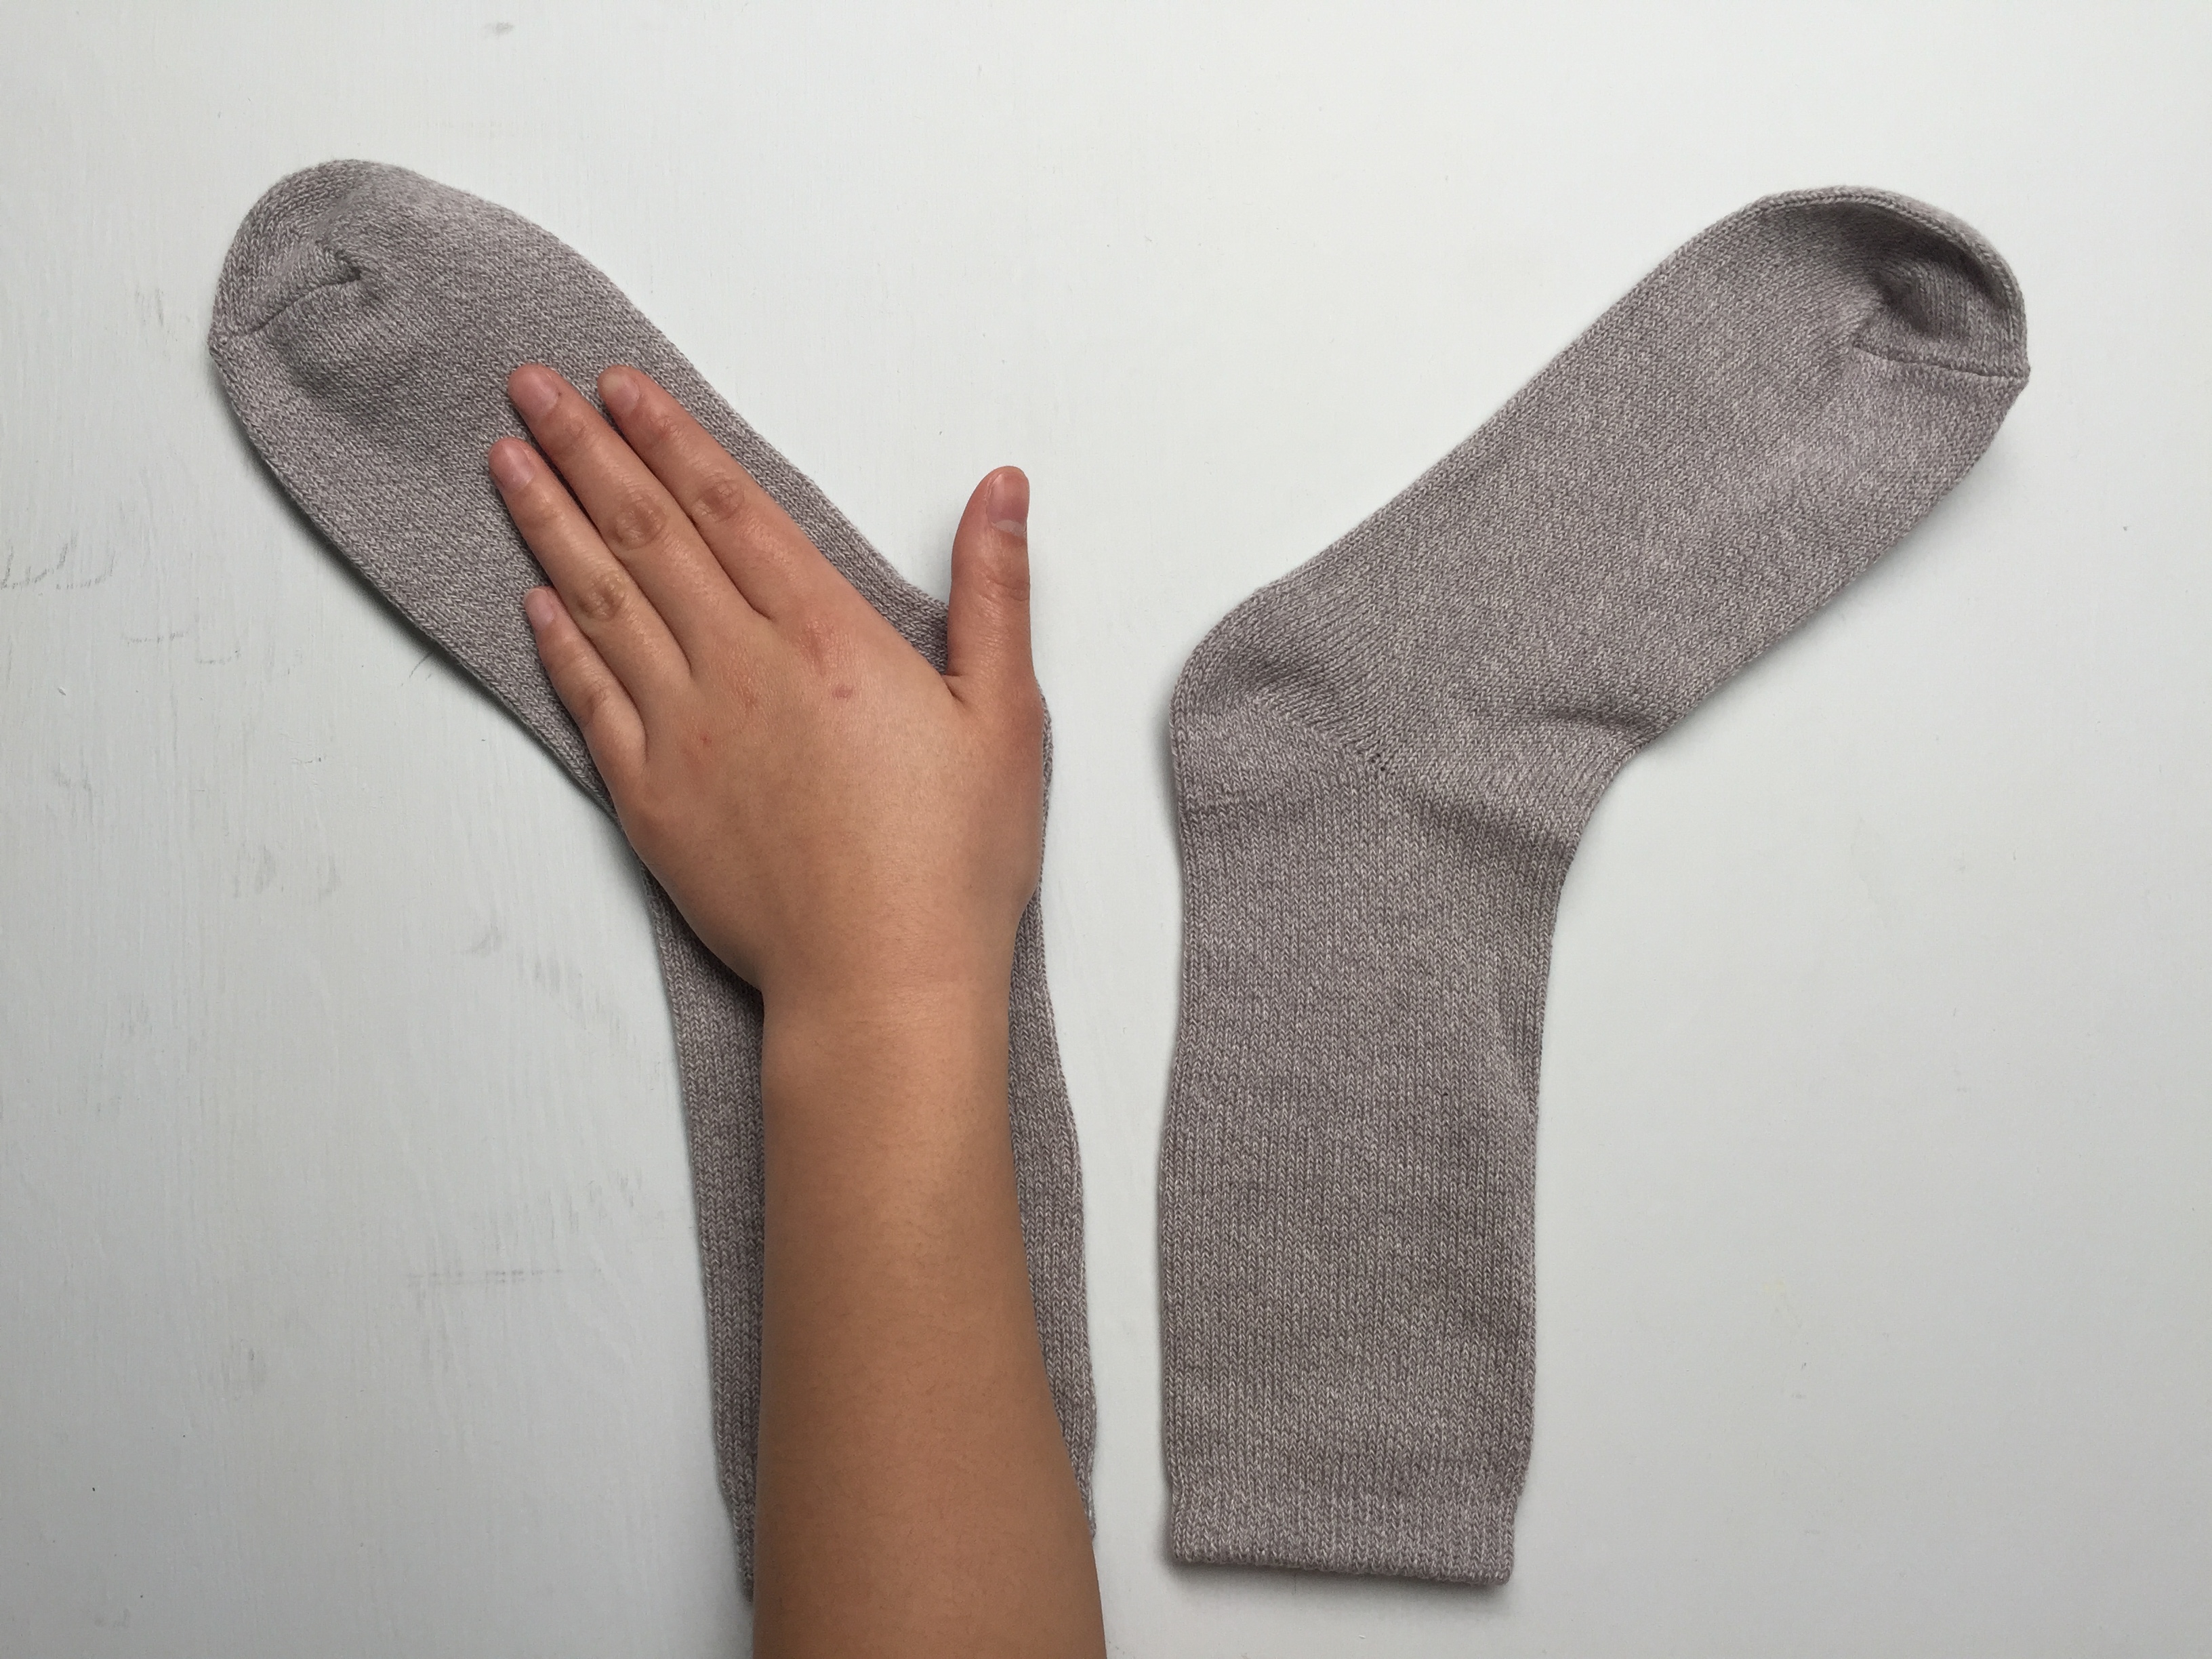
Step 2
Lay your socks down flat, so that they mirror each other. The heels of the socks should face inward and the toes pointed up.Tip: When selecting your socks, make sure your hands and wrists easily fit into your socks. This will ensure that your gloves won’t be too tight.

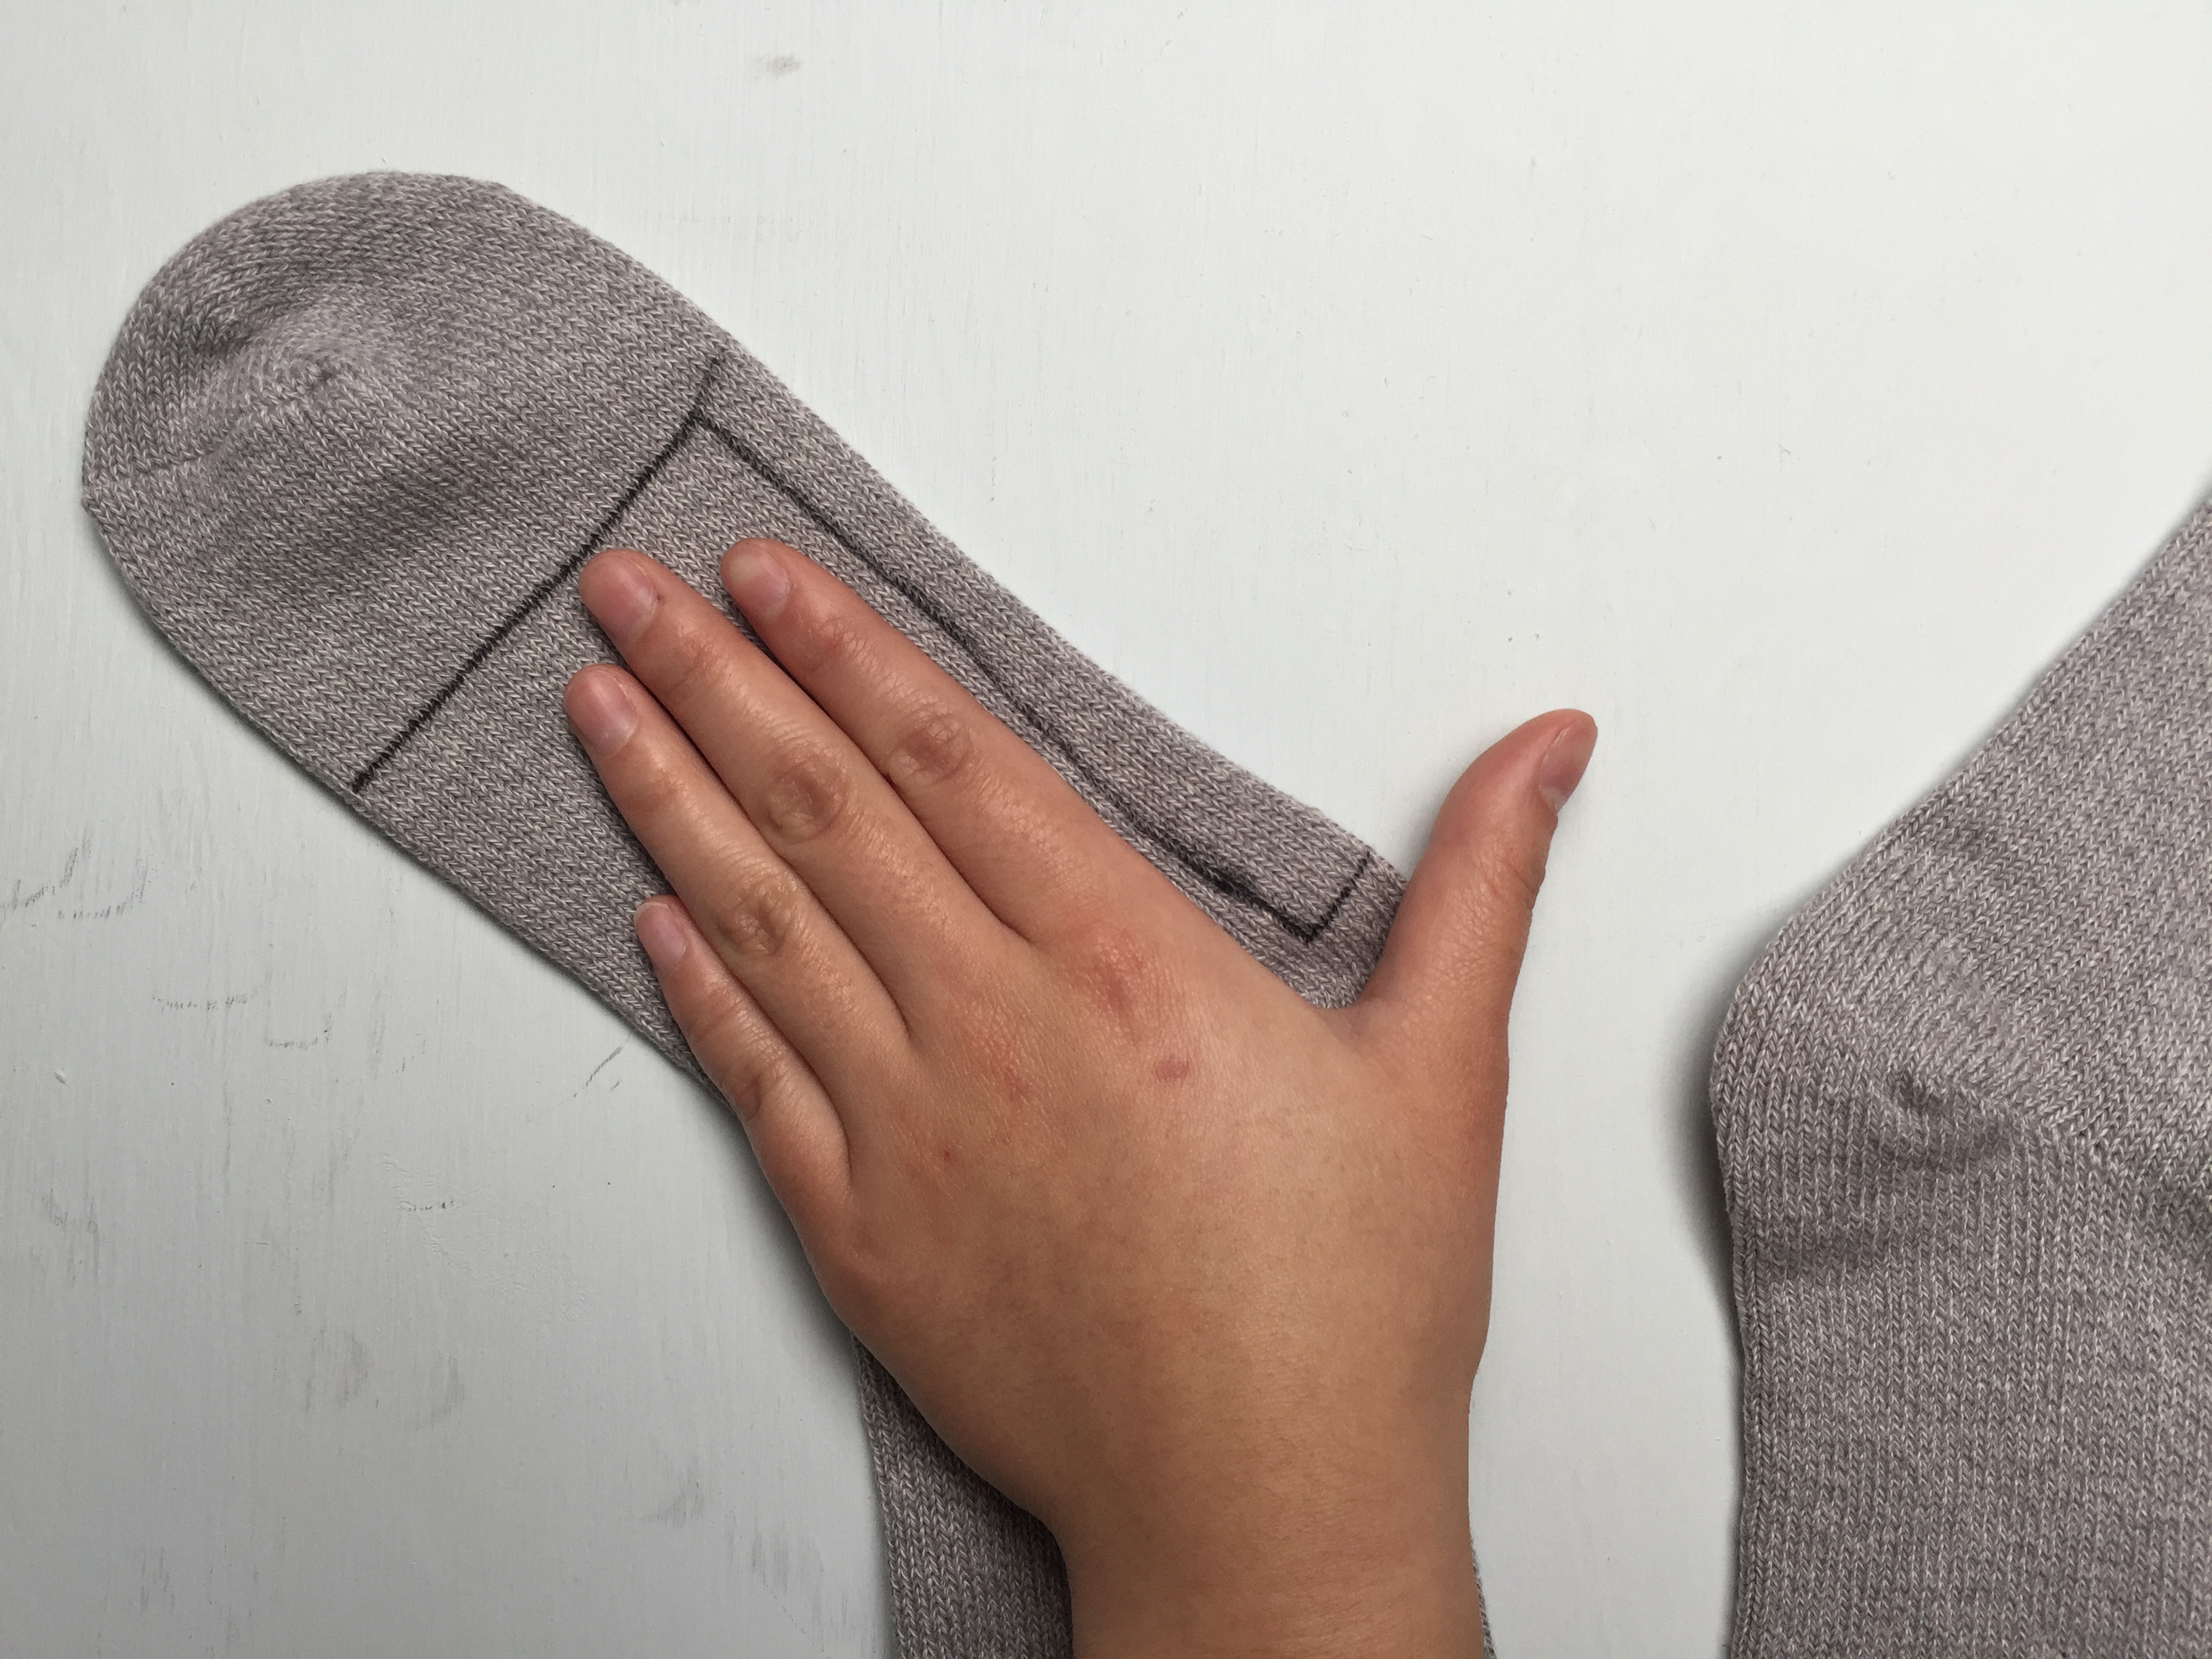
Step 3
Starting with the left hand, place it on top of the left sock. Your thumb should lay over the heel of the sock and your four fingers should reach out towards the toes of the sock.
Step 4
To get the right fit, take a marker and draw a line to mark off the tips of your fingers.Then, draw an L-shape along the length of your index finger to your thumb. This L will mark the excess fabric you will cut off.
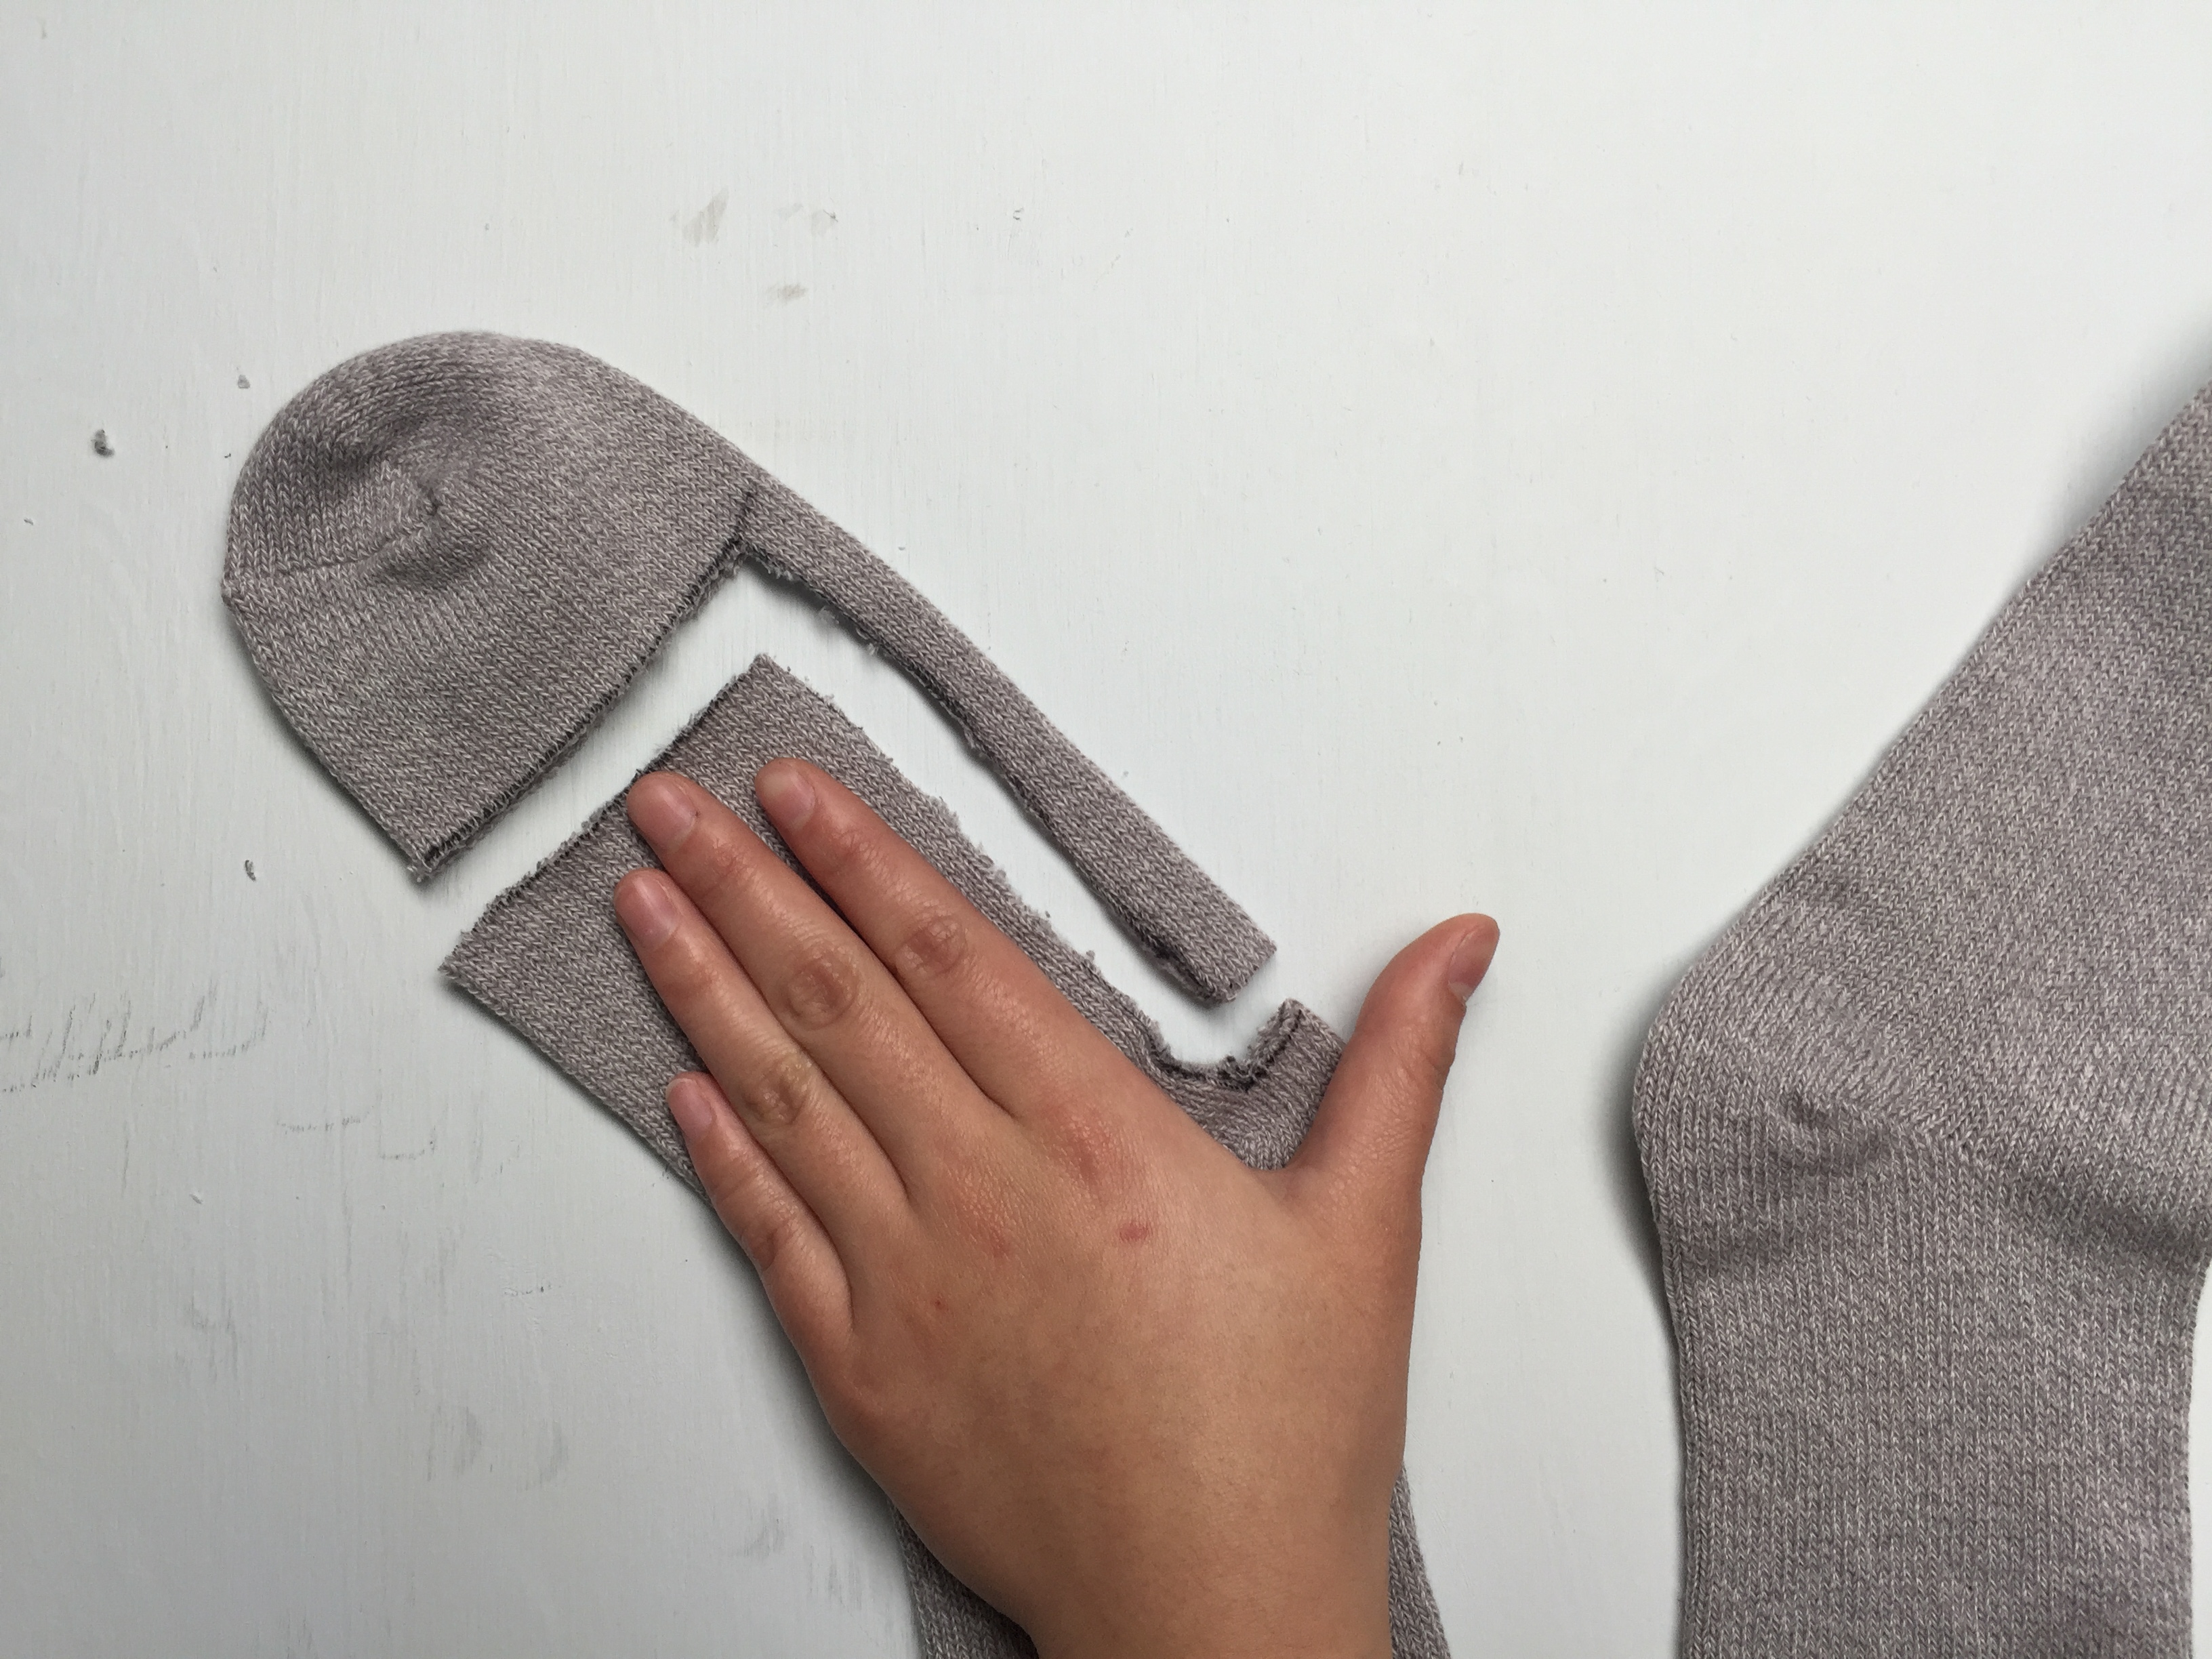
Step 5
Cut along the drawn line and turn the sock inside out.
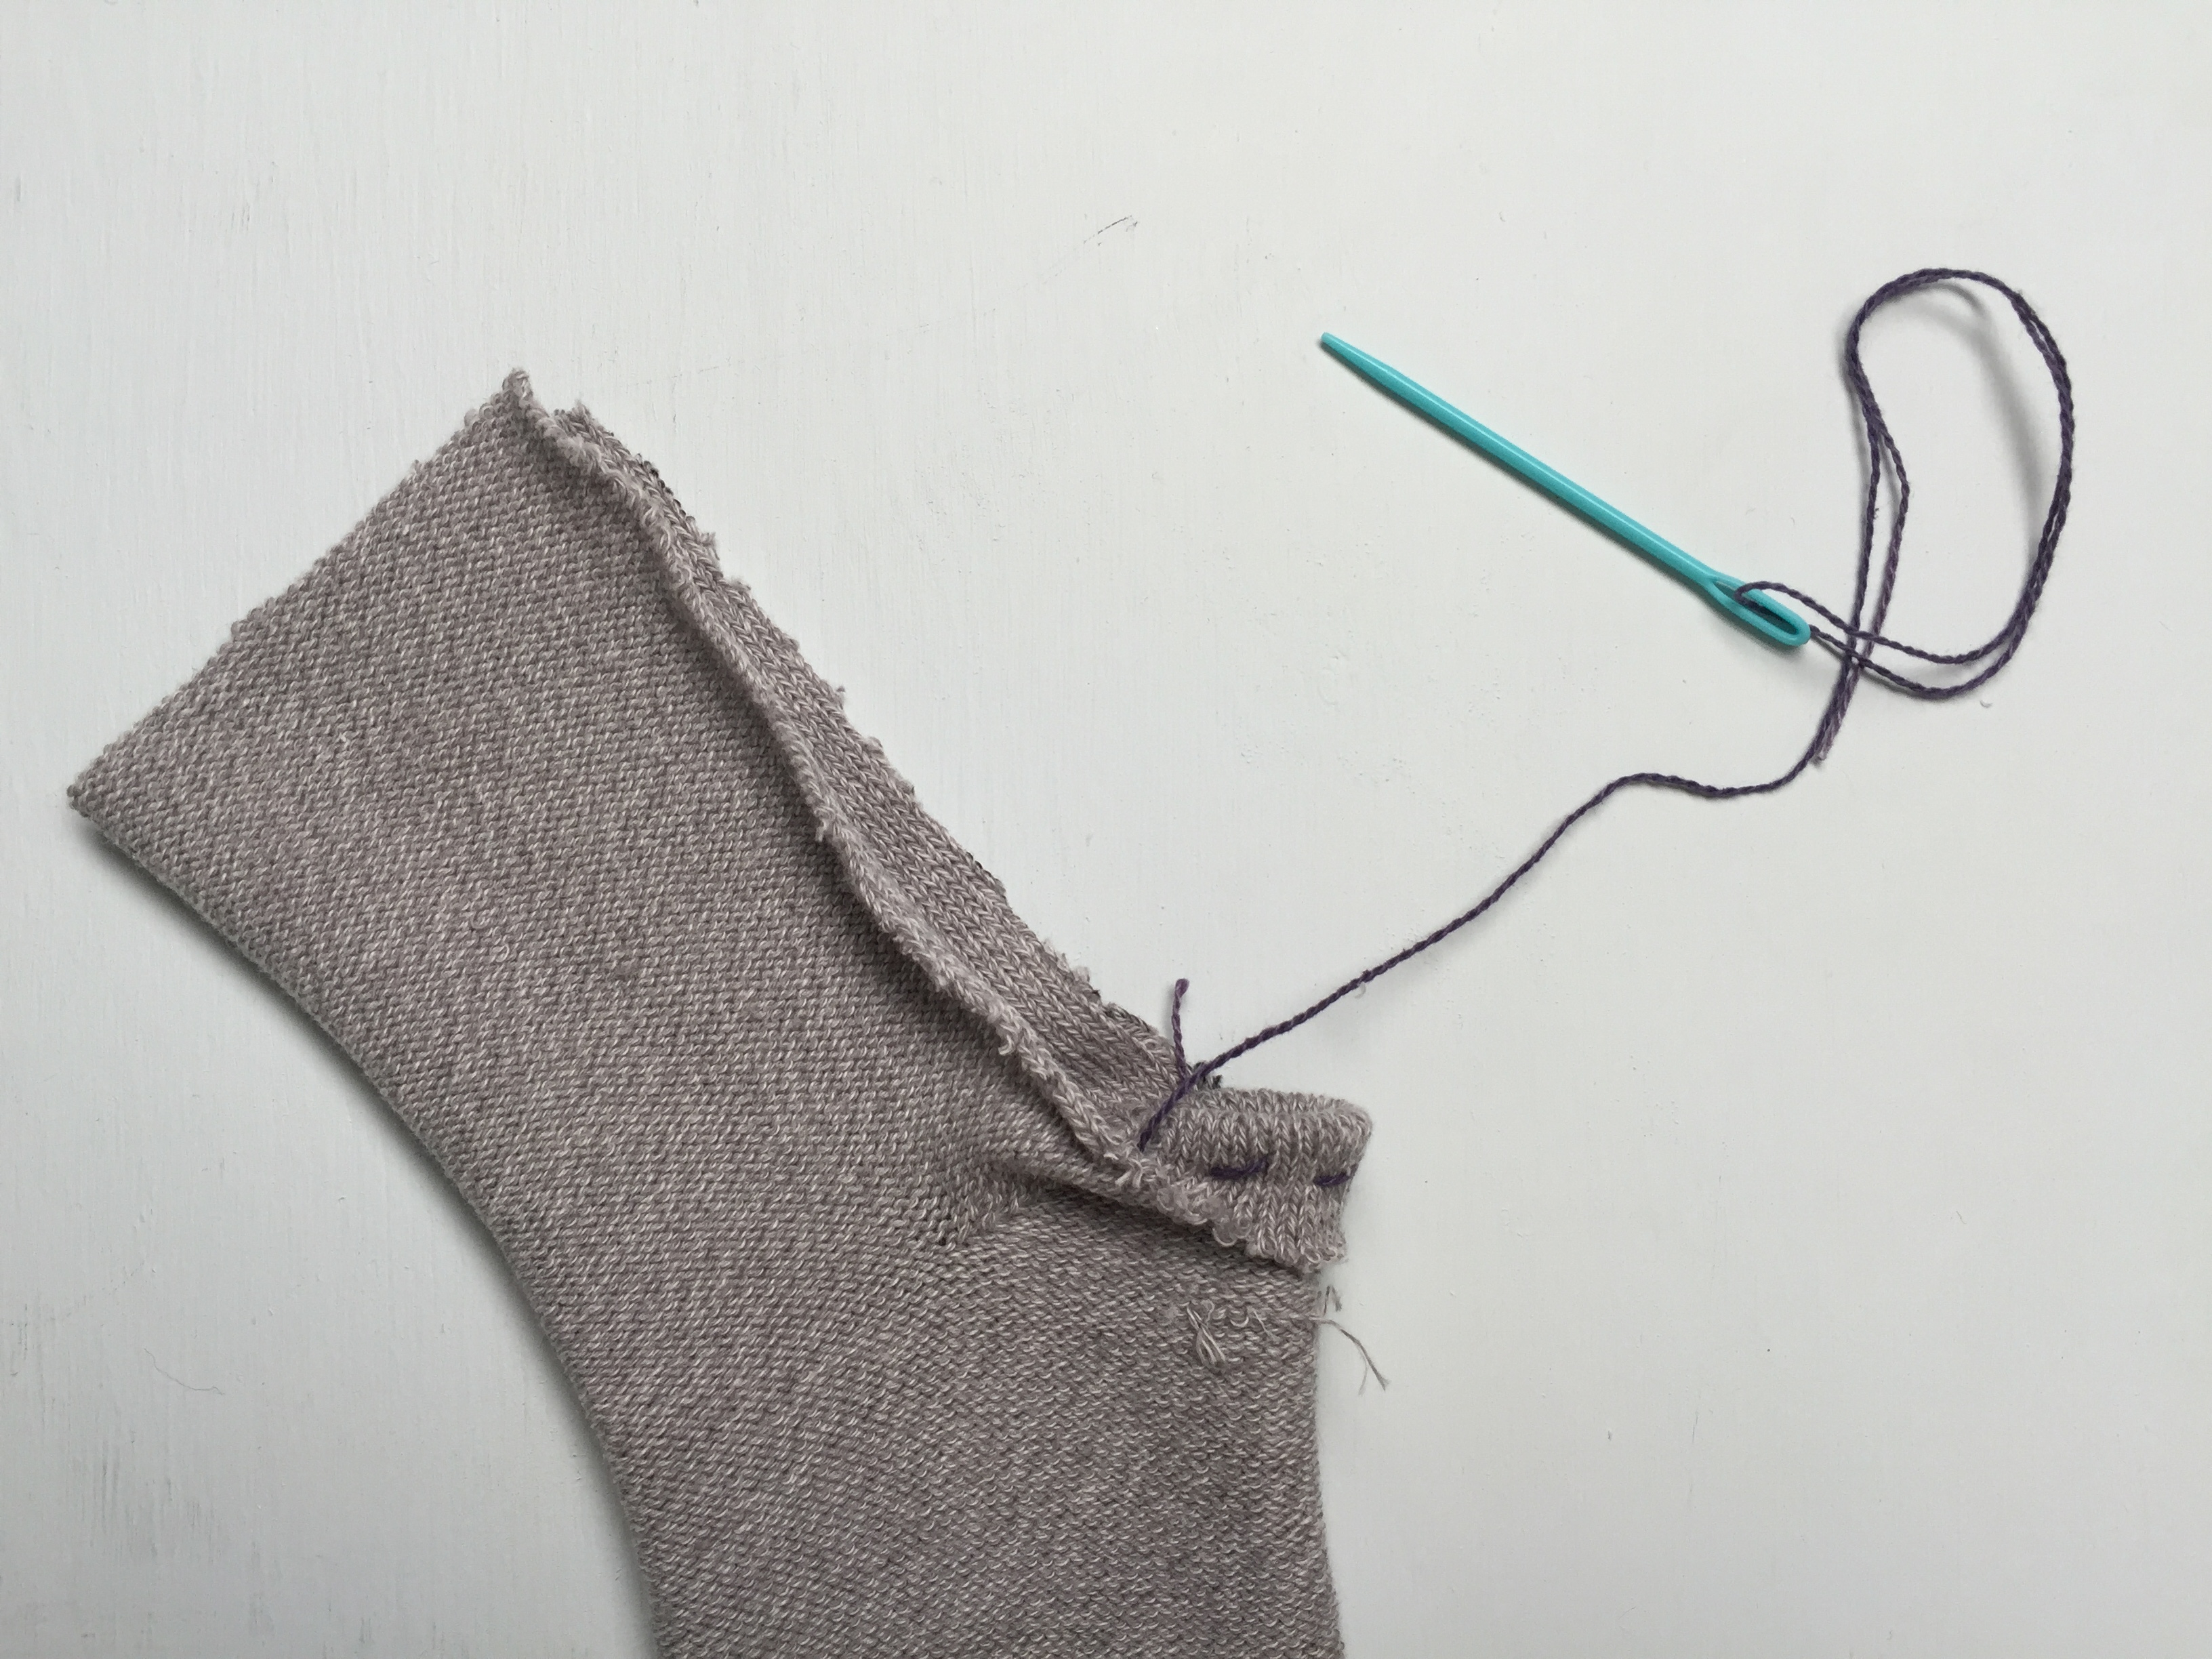
Step 6
Thread your needle and knot one end of the thread.Fold over a half-inch of fabric by the heel of the sock (this is the hole for your thumb). Sew along this folded fabric. (You should only be sewing through two layers of fabric.)We used a basic running stitch, which is created by passing the needle in and out of the fabric. Tie off the end and cut off the extra string.
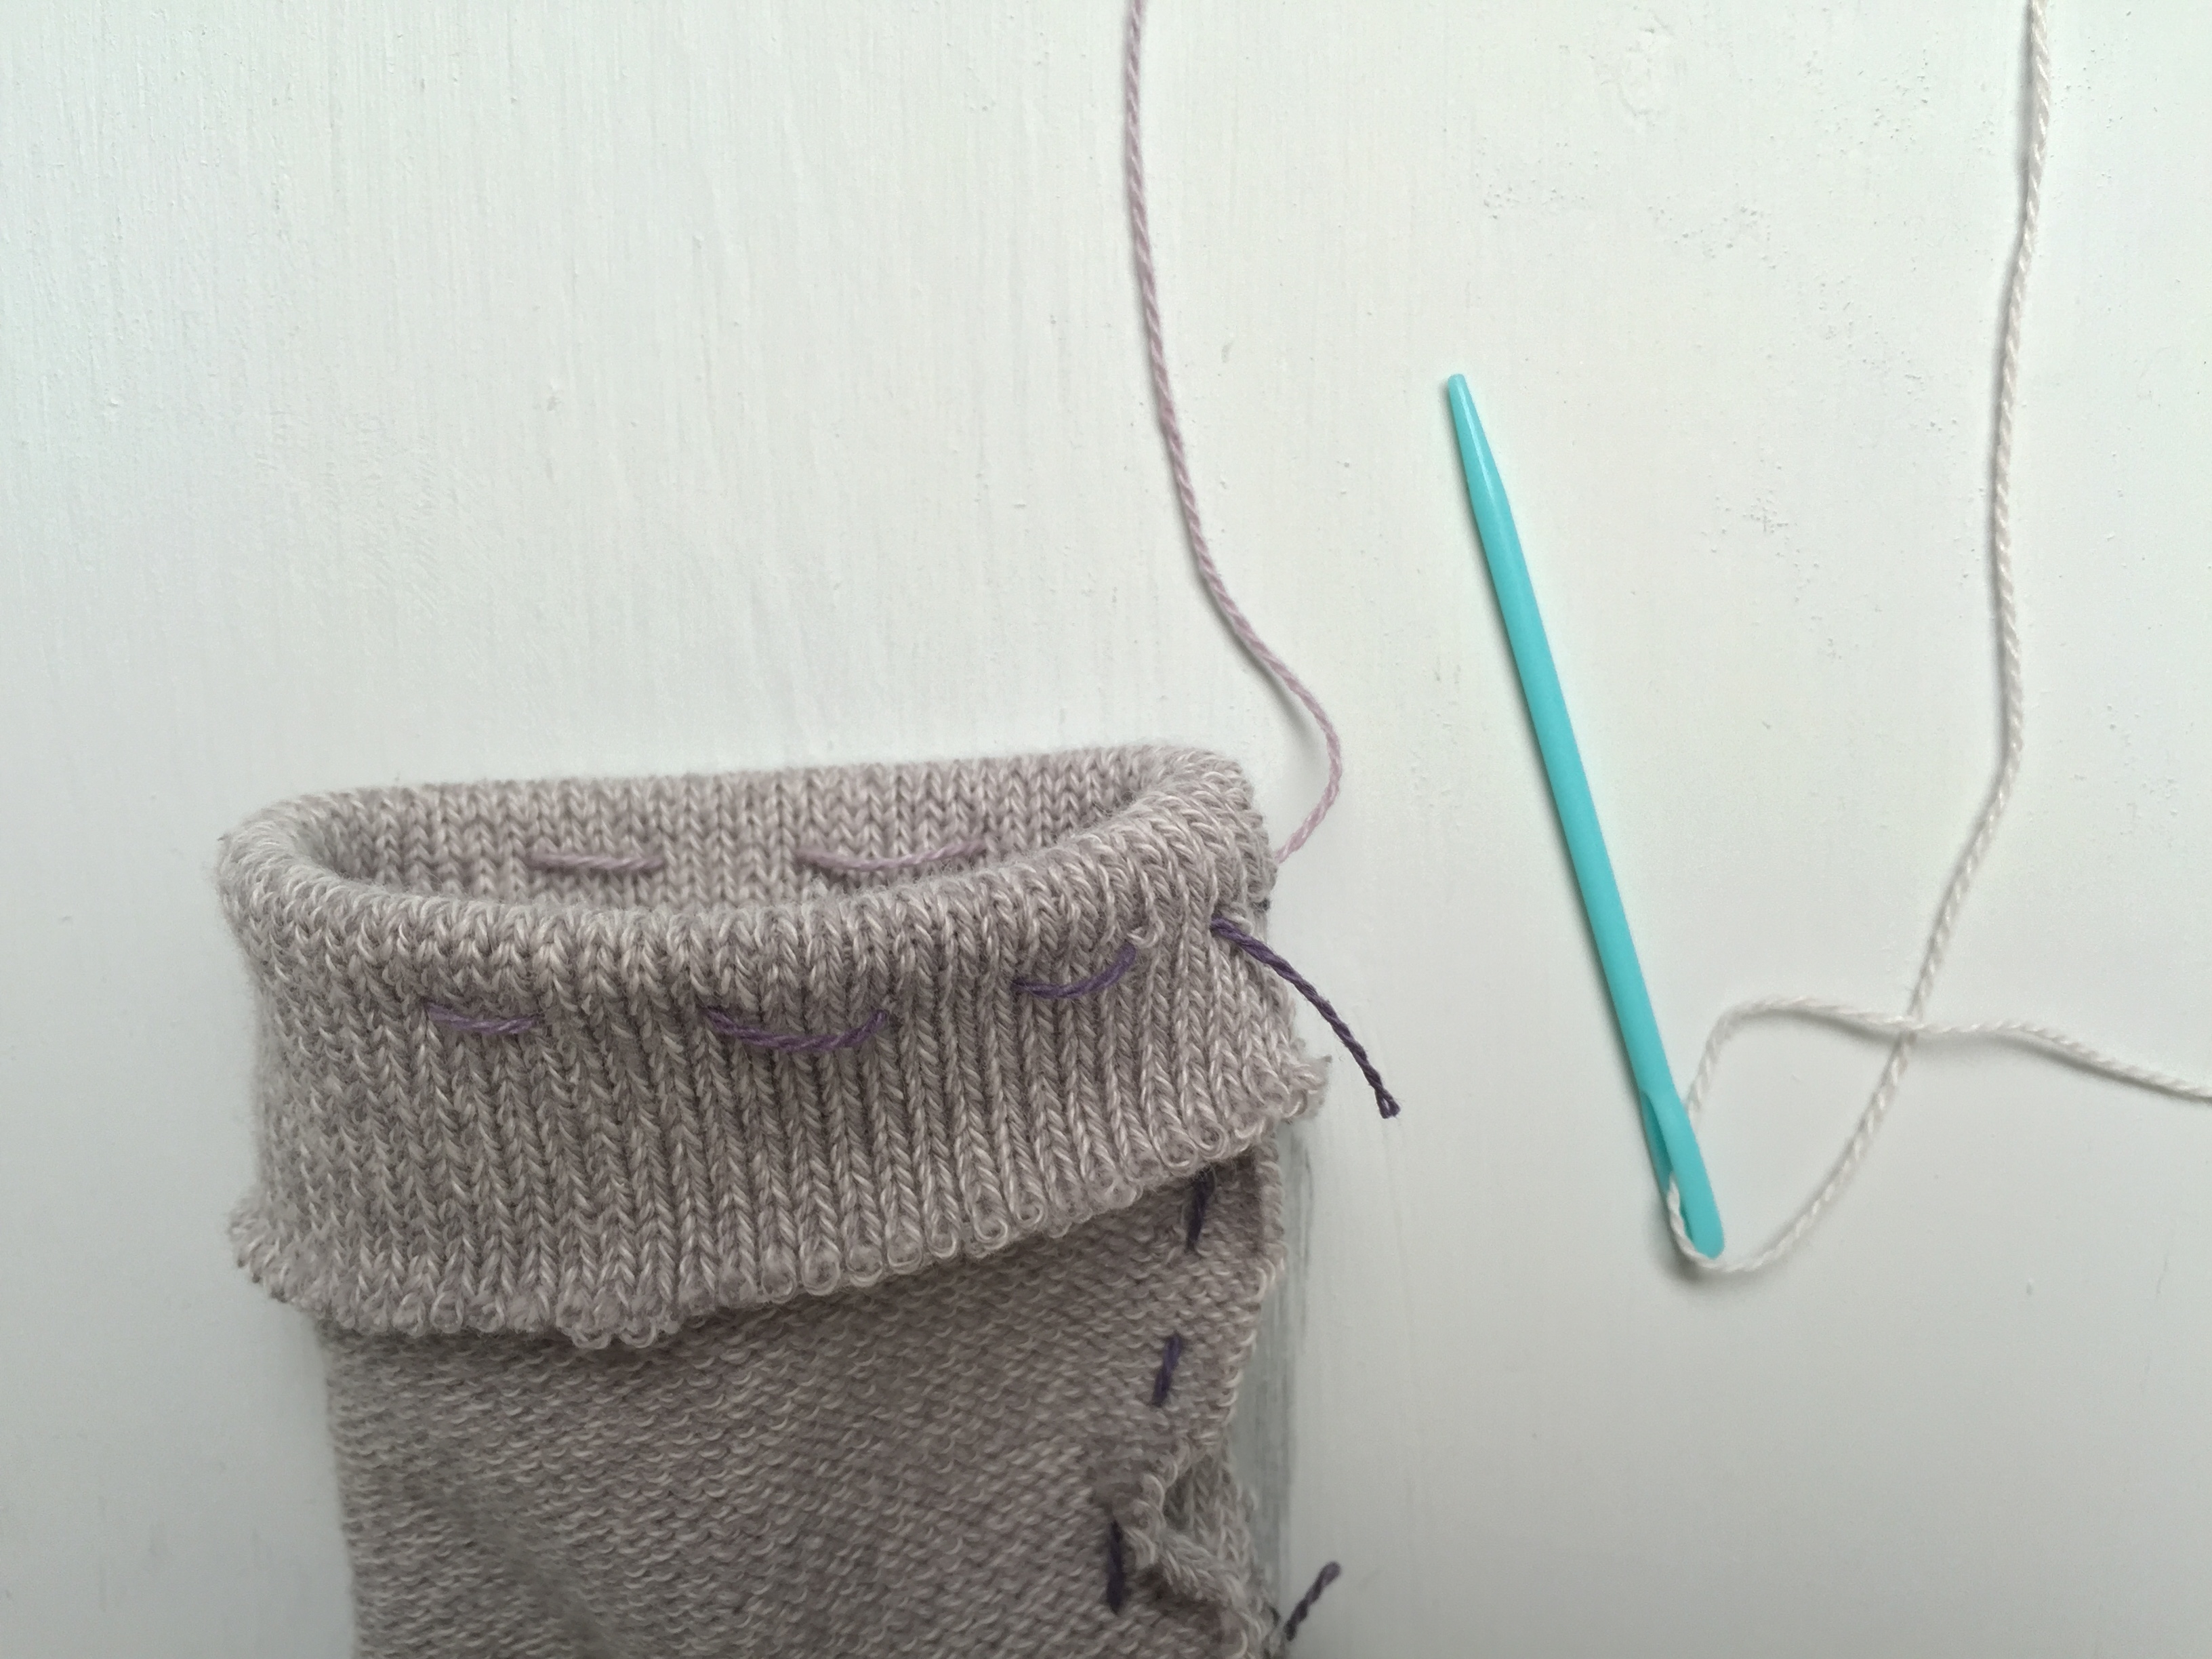
Step 7
Thread your needle with a new piece of thread and knot one end of the thread. Start sewing up the sock (along where your index finger was). Stop when you reach the end. Tie off the end and cut off the extra string.Tip: While it might be tempting to continue sewing with the same piece of thread from step 5, it’s important to stop, tie, and start with a new piece of thread. The gloves will come together much better this way!

Step 8
Thread your needle with a new piece of string and knot one end of the thread.Fold over about an inch of fabric at the top of the sock (where the tips of your fingers were). Sew along this folded fabric. (You should only be sewing through two layers of fabric.) Tie off the end and cut off the extra string.
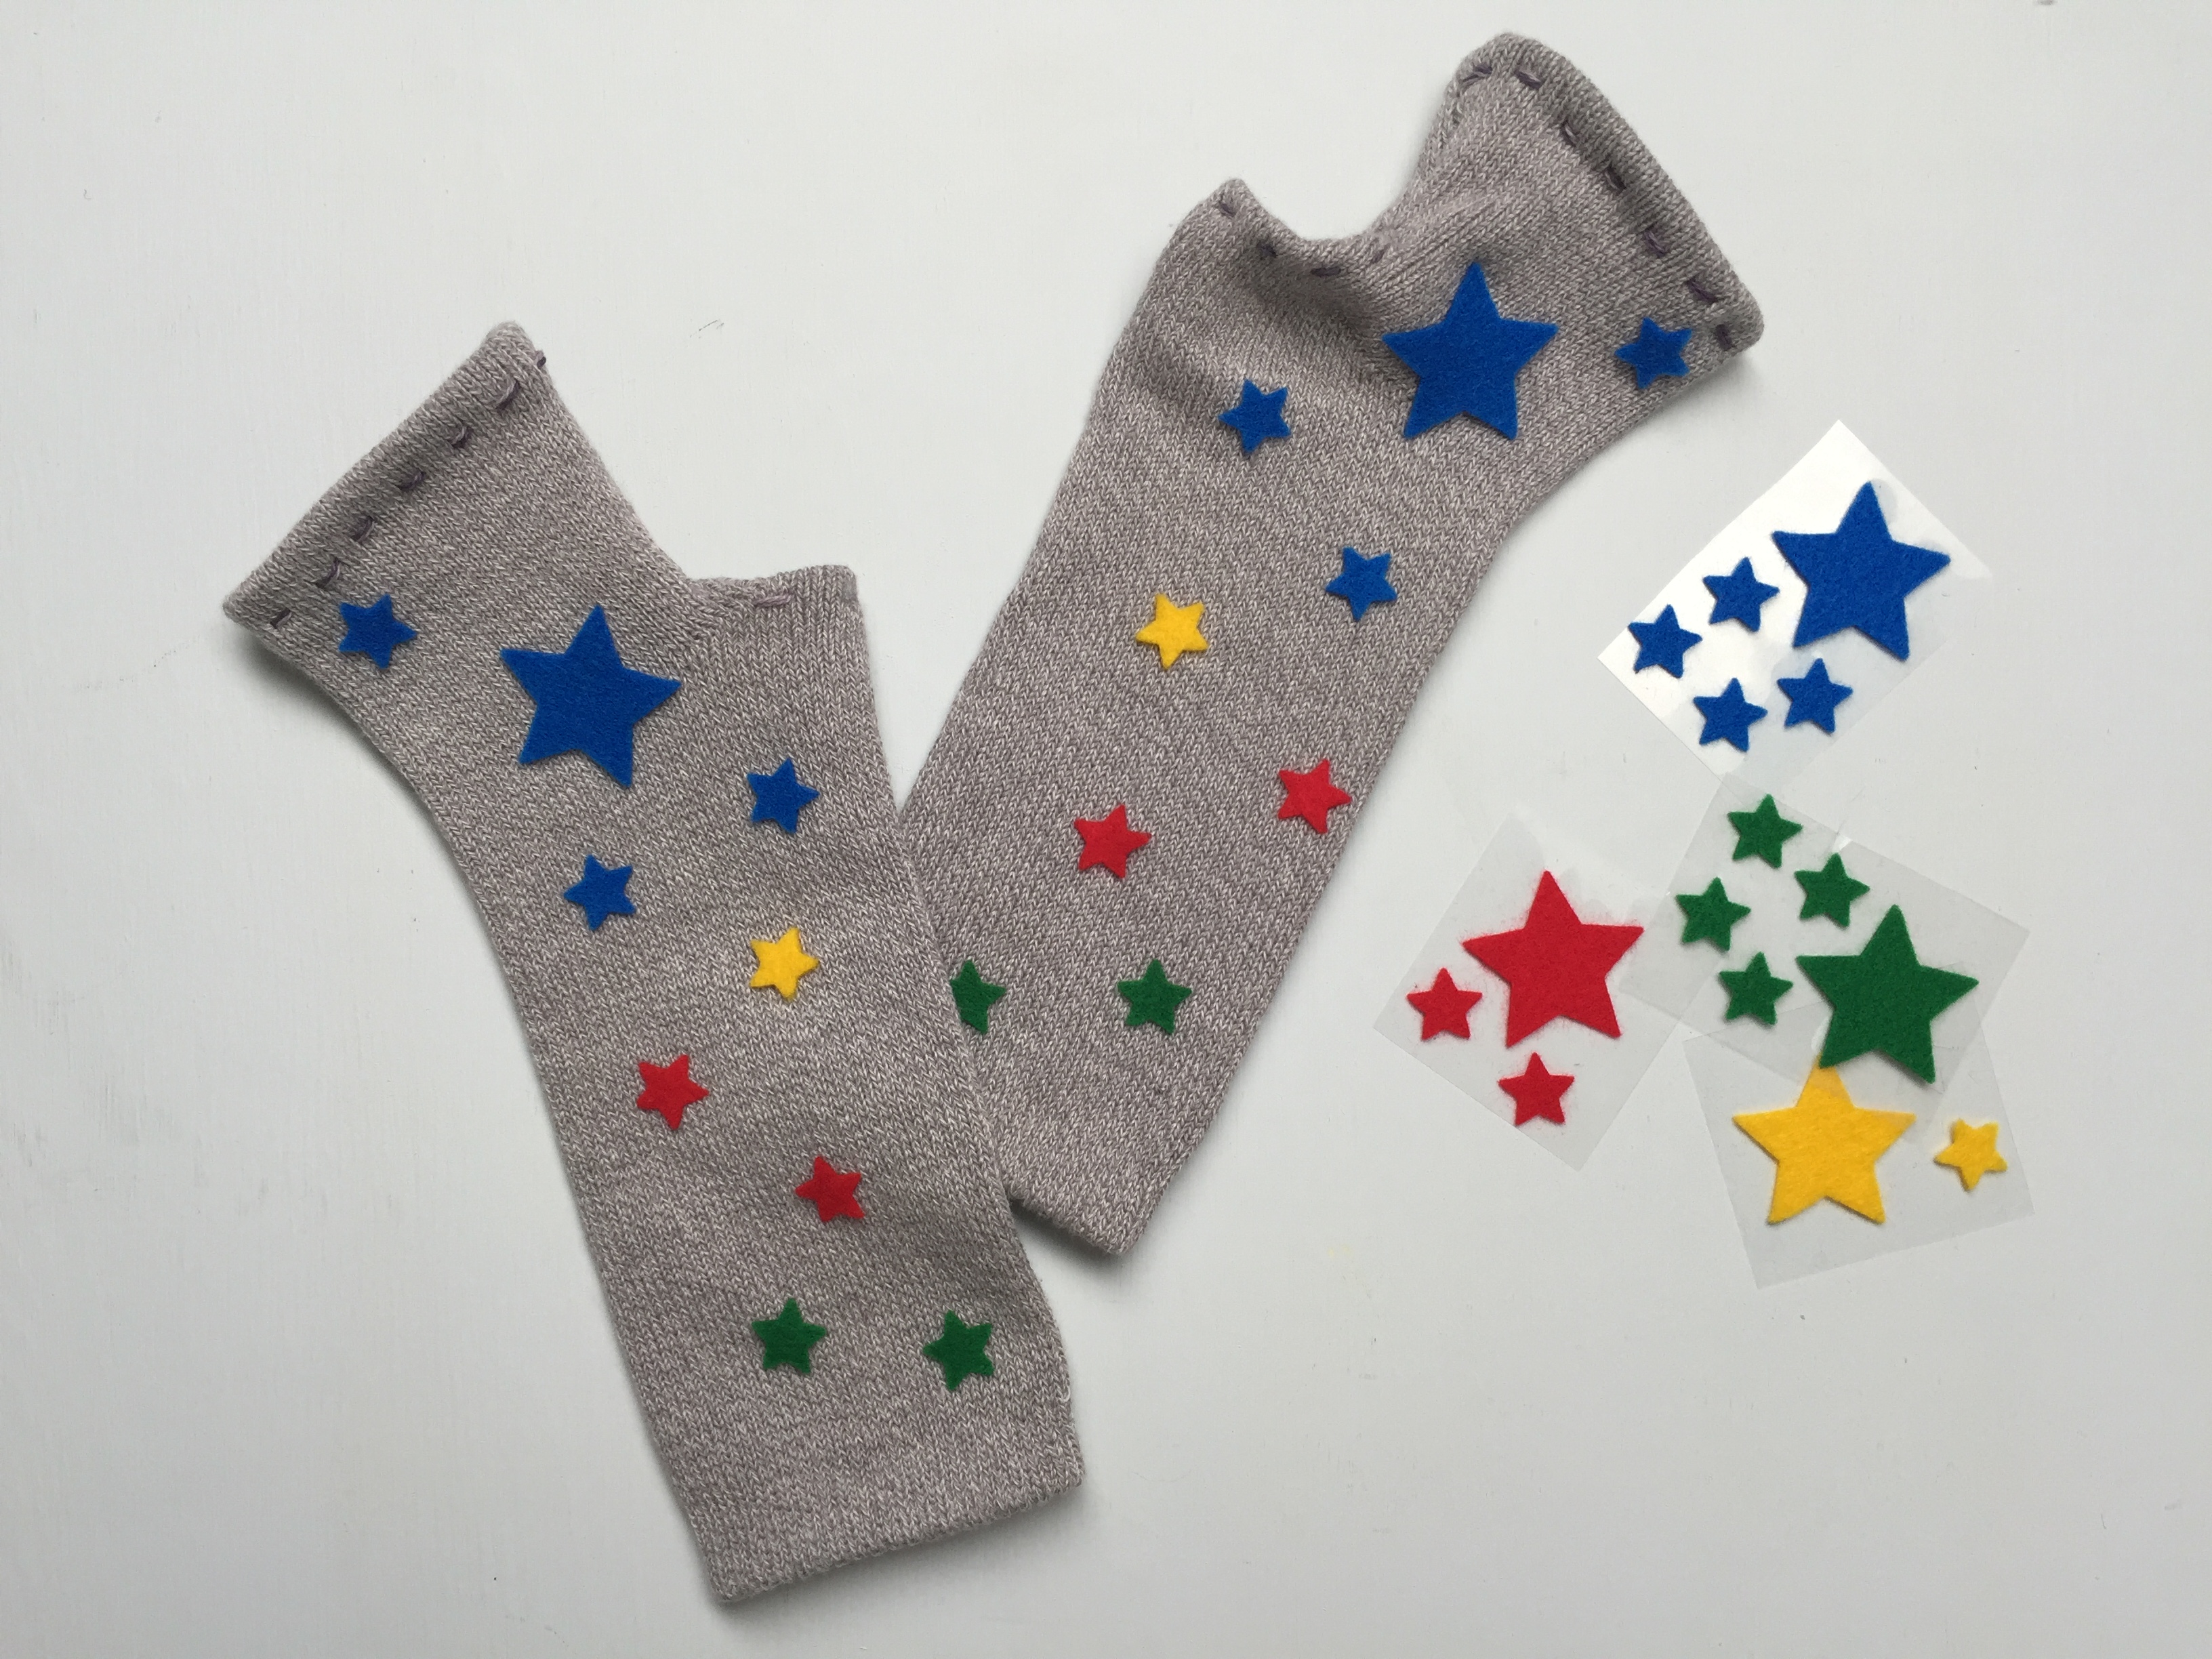
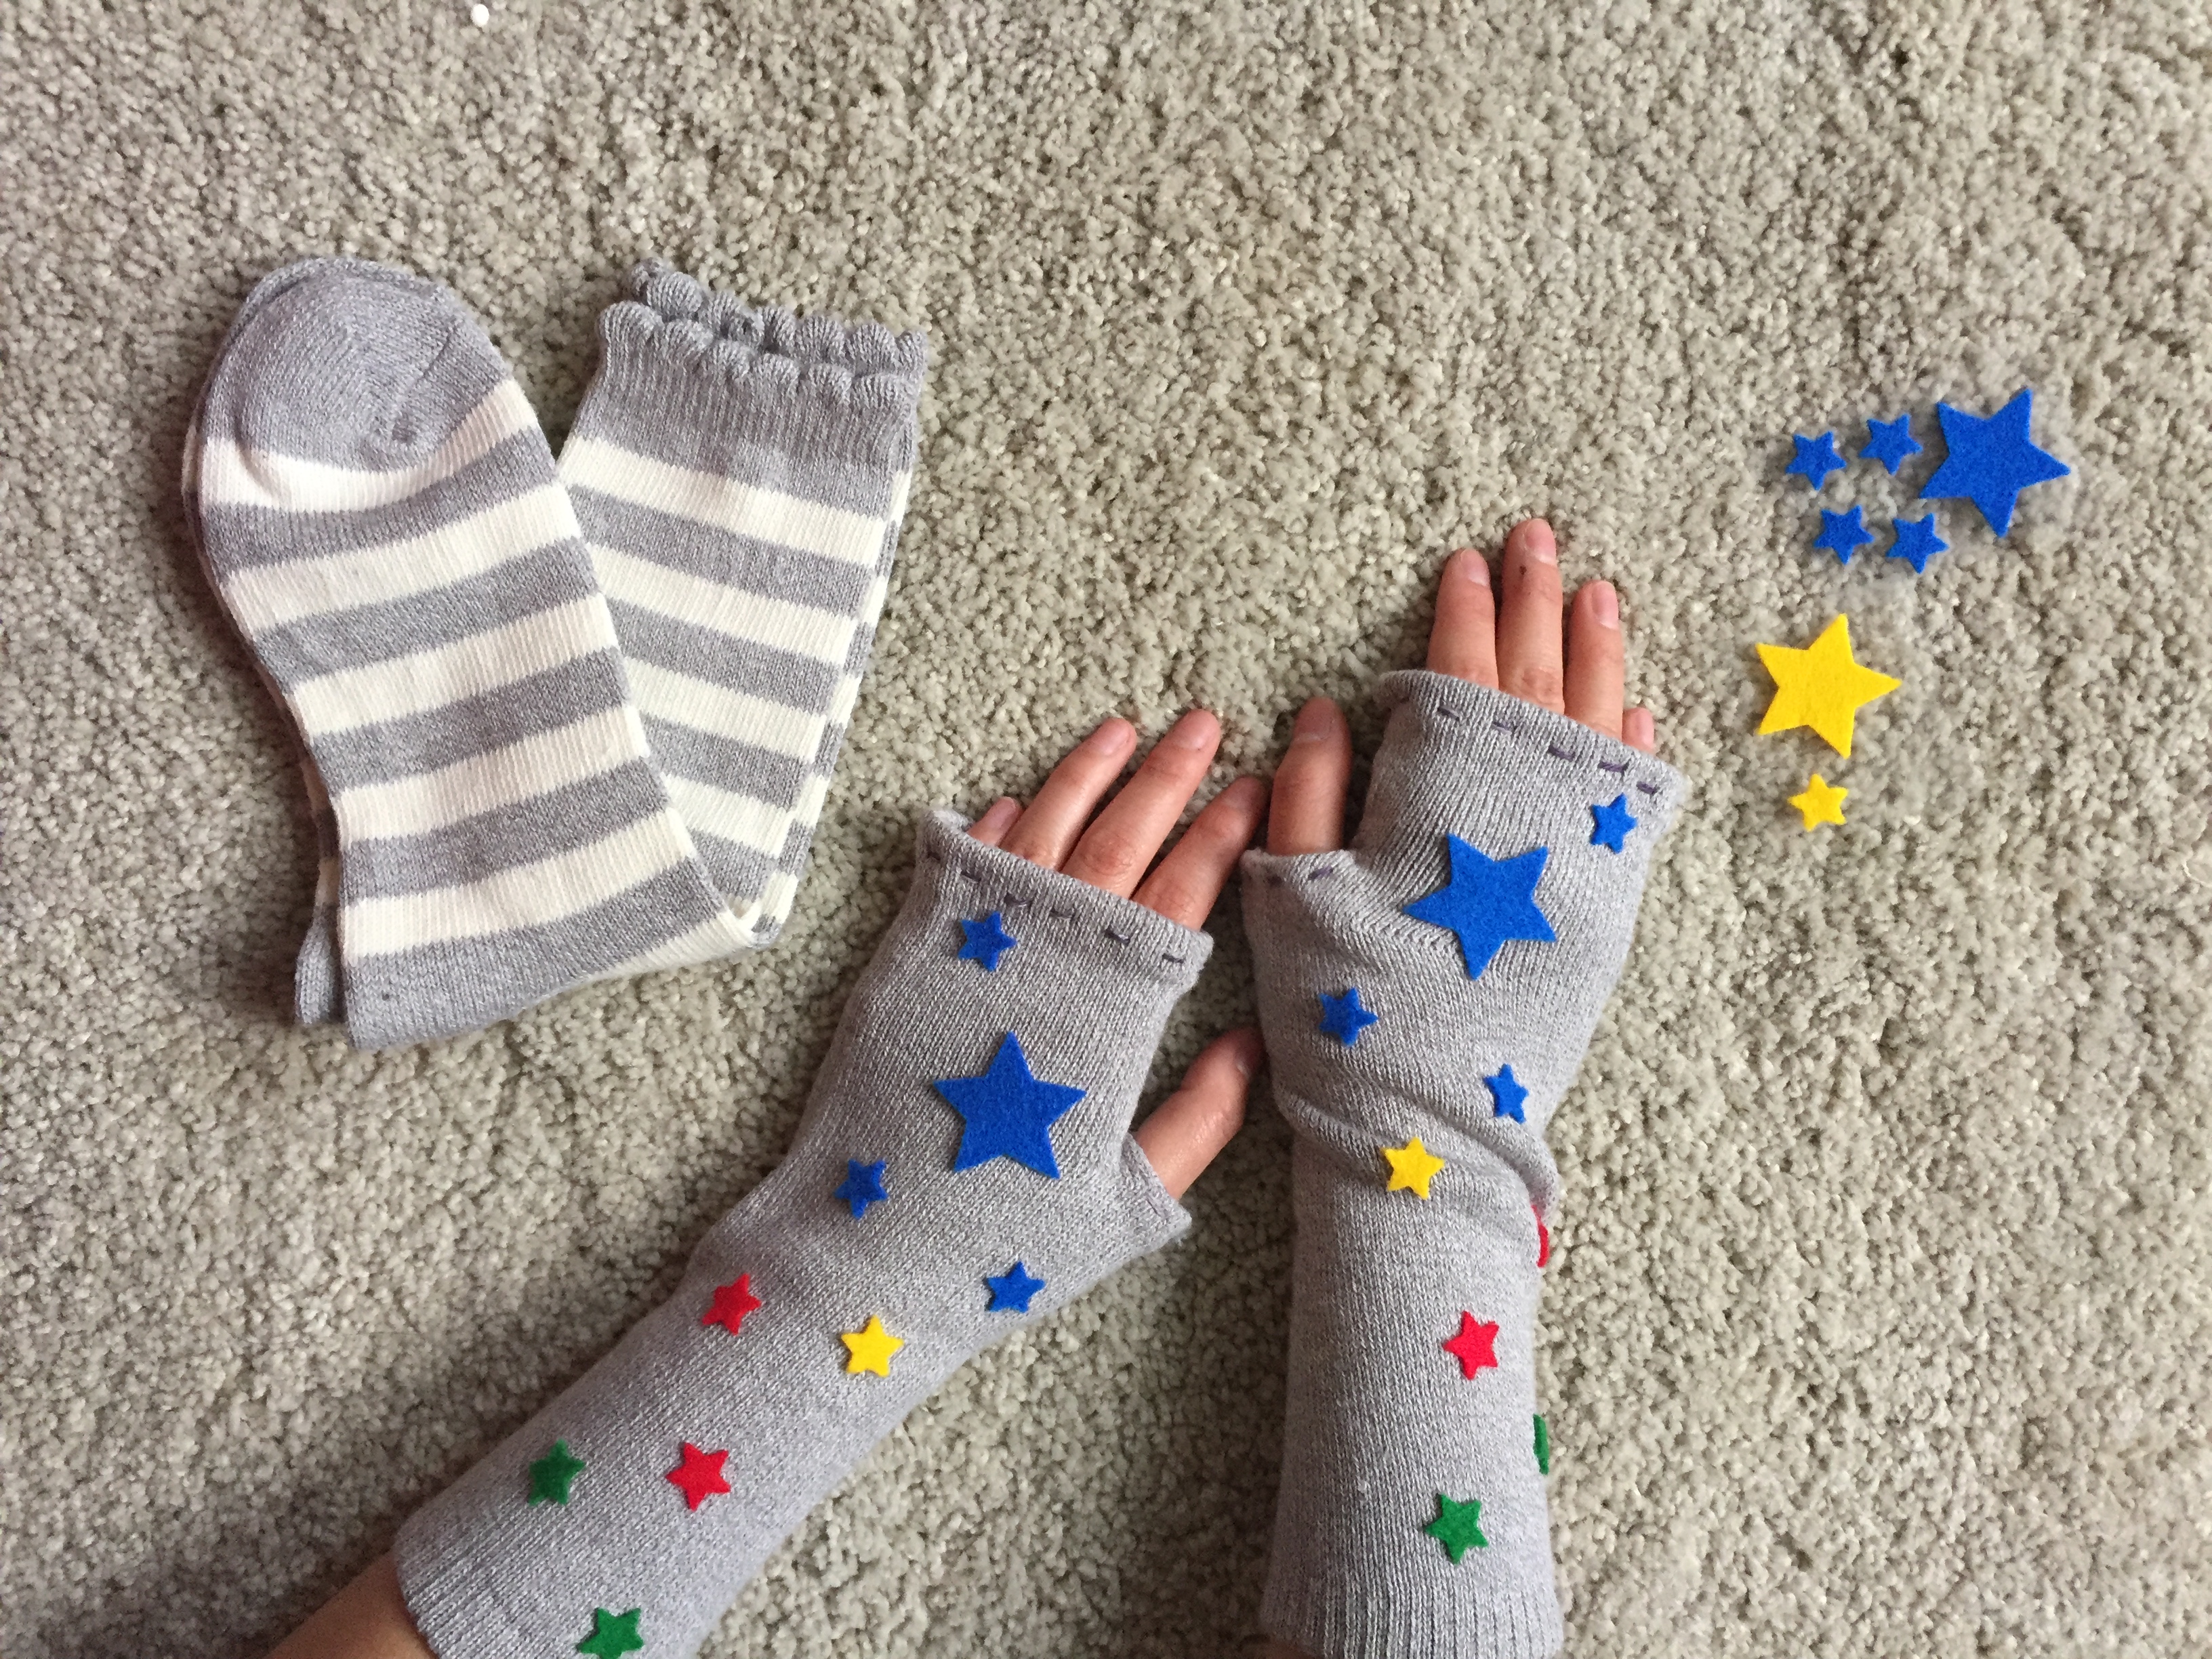
Final result!
Turn the sock inside out again and repeat the same steps for the other sock to create the second glove.We decorated our gloves with extra felt stickers we had, but you can add any other embellishments you like!