Step-by-step tutorial
Step 1
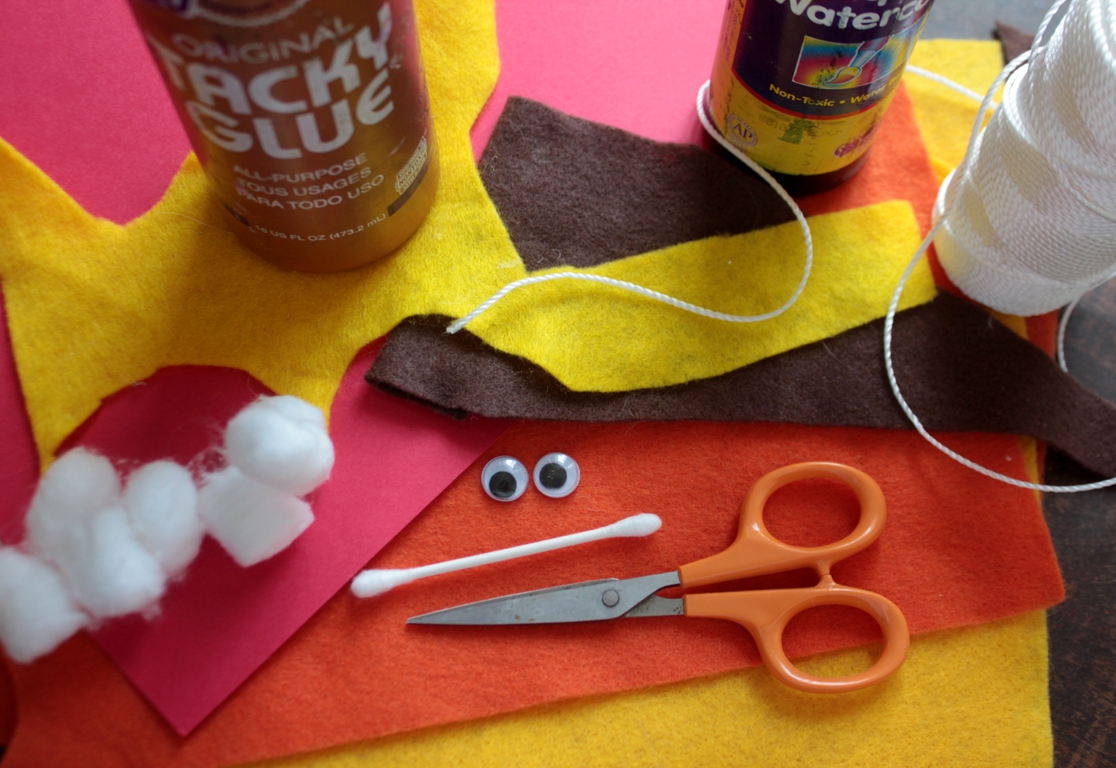
We cut small strips of felt for making the lion's mane. You may choose to use yarn, instead.

Step 2
The first thing we did was to dip our cotton swabs and one cotton ball into black watercolor. If you don't have watercolor, you could try a watered-down black paint-- don't use anything thick, or it won't be soft when it's dry. We set them aside for drying.

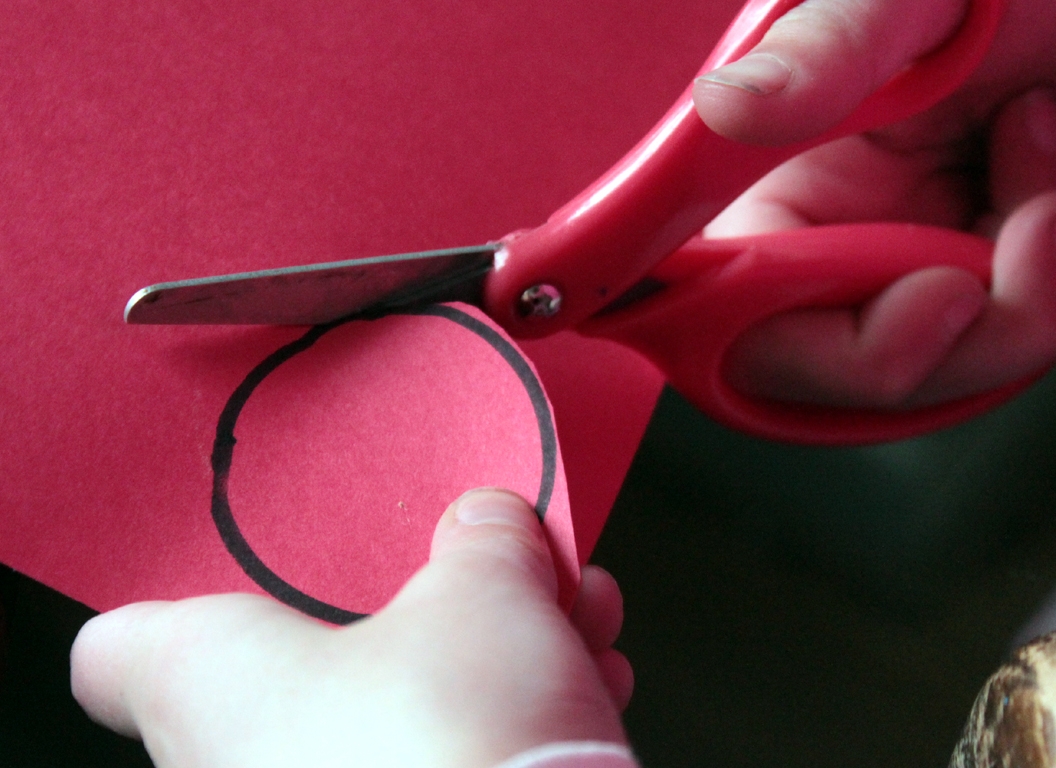
Step 3
First Madeleine decided upon the size of her lion and lamb. We found something round (about two inches) that seemed like the right size to her. She traced around it on the heavy paper and cut it out. Then she made another for the lamb.
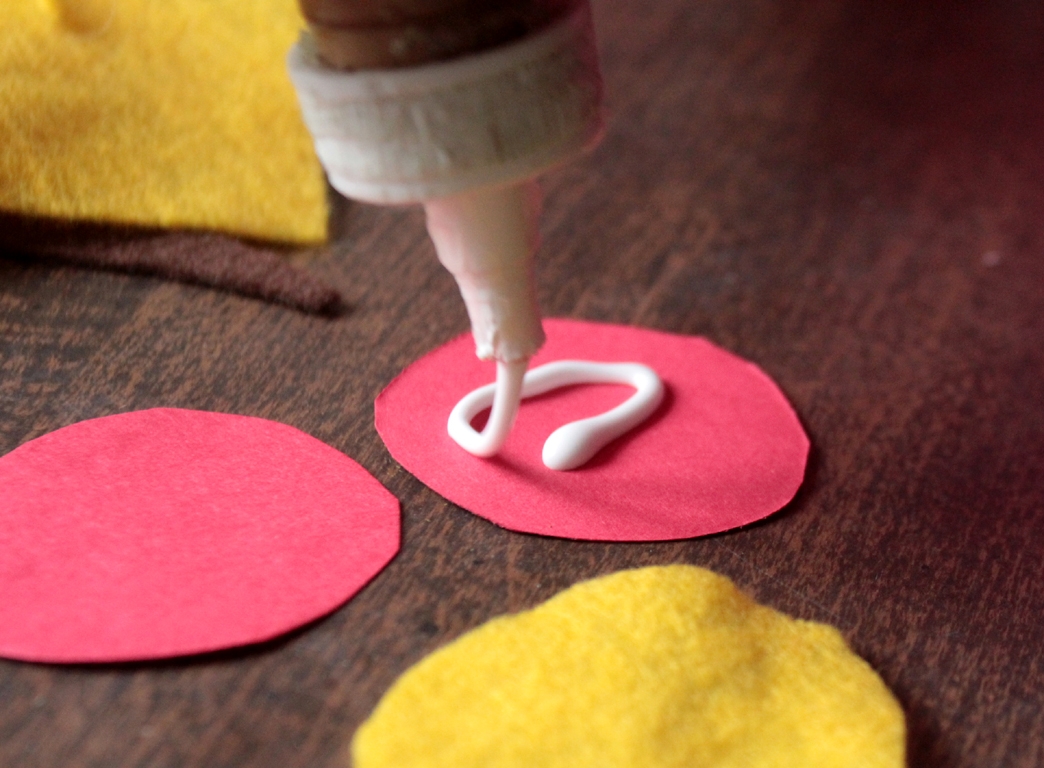
Step 4
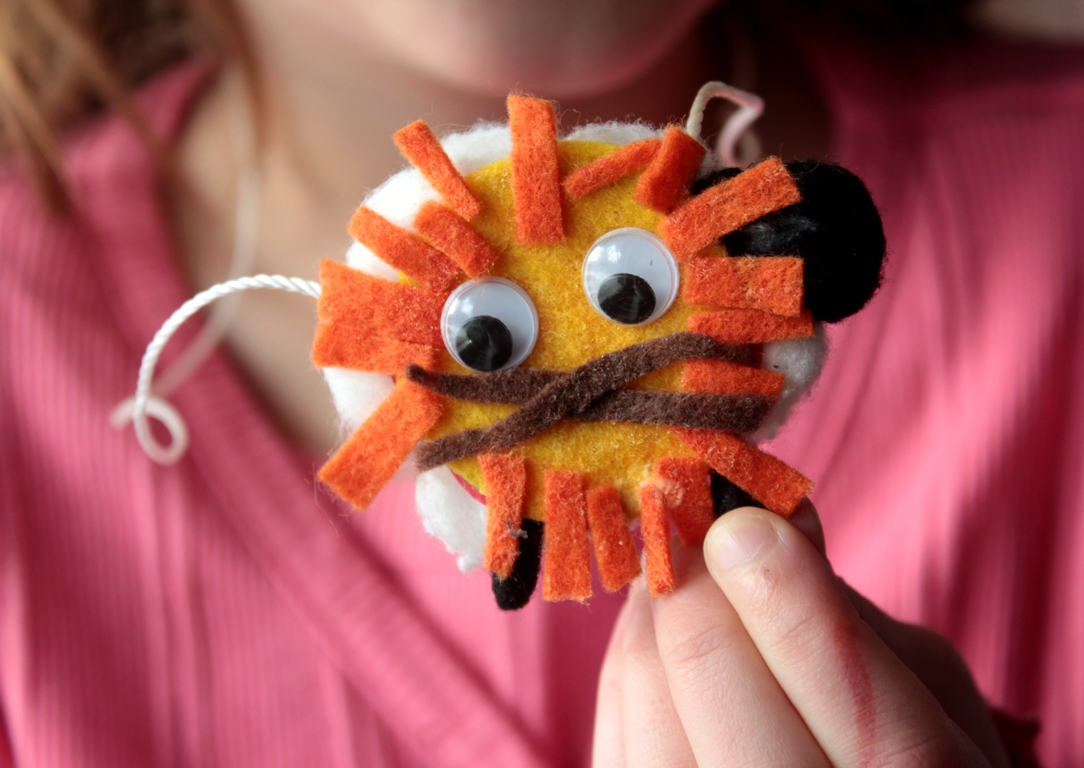
Felt is sometimes hard for Maddie to cut, so I used the paper as a template to cut the lion's head for her. She chose yellow. Maddie put glue on the paper, and she pasted the felt onto it.
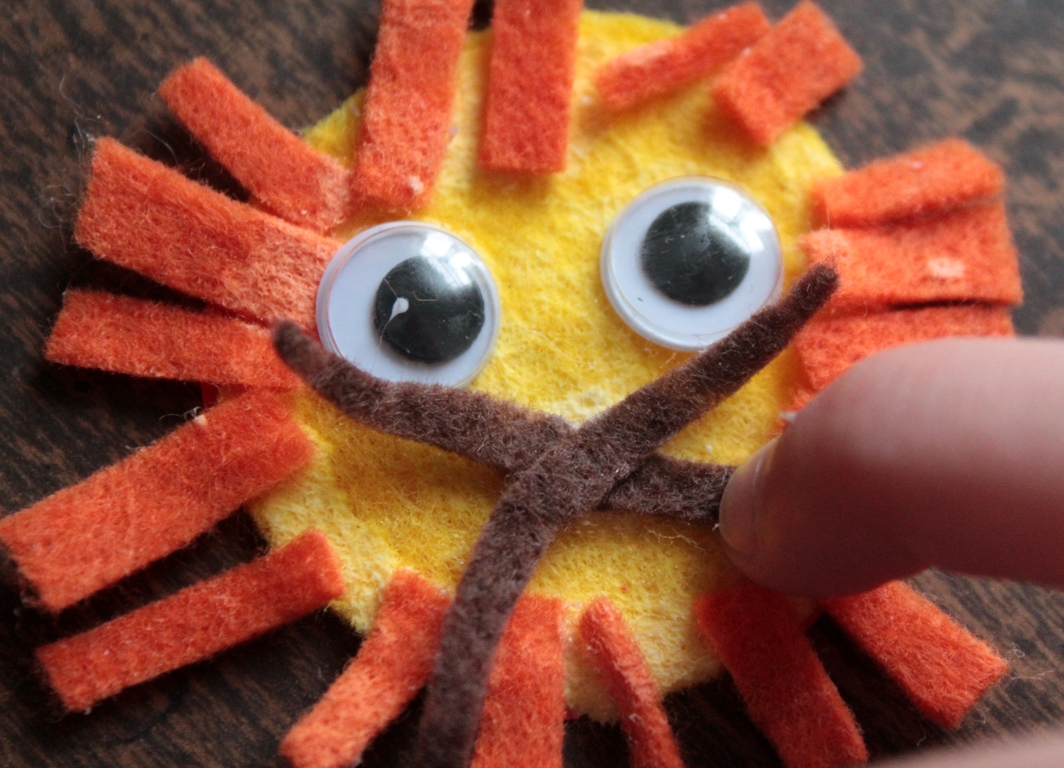
Step 5
We (I helped, here) cut snips of felt for the lion's mane...

Step 6
...and Maddie glued on bits for the mane, eyes, and whiskers. The felt was tricky to work with, so she tried not to touch it too much. While it was wet, the felt came off the other felt very easily, but when it was dry, it had adhered well. "Oh," said she, "He's soooo cute!"
Step 7
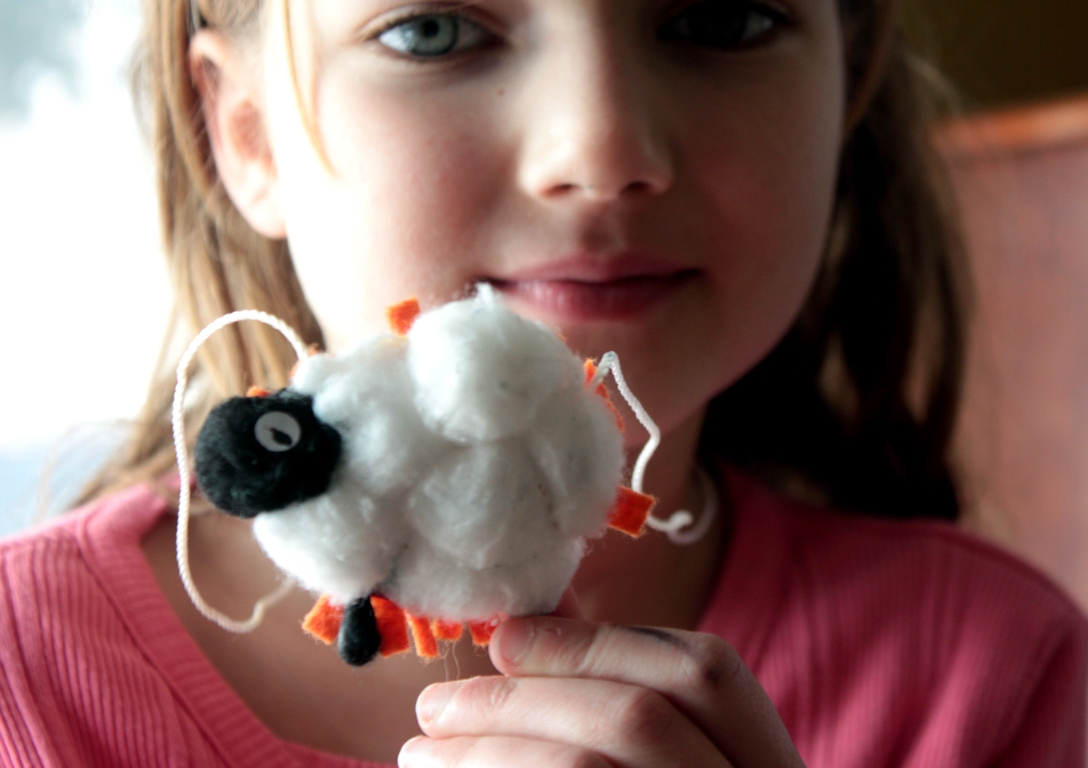
Now for the lamb! She put glue all over the heavy paper and then put on the ends of the cotton swab for the legs.
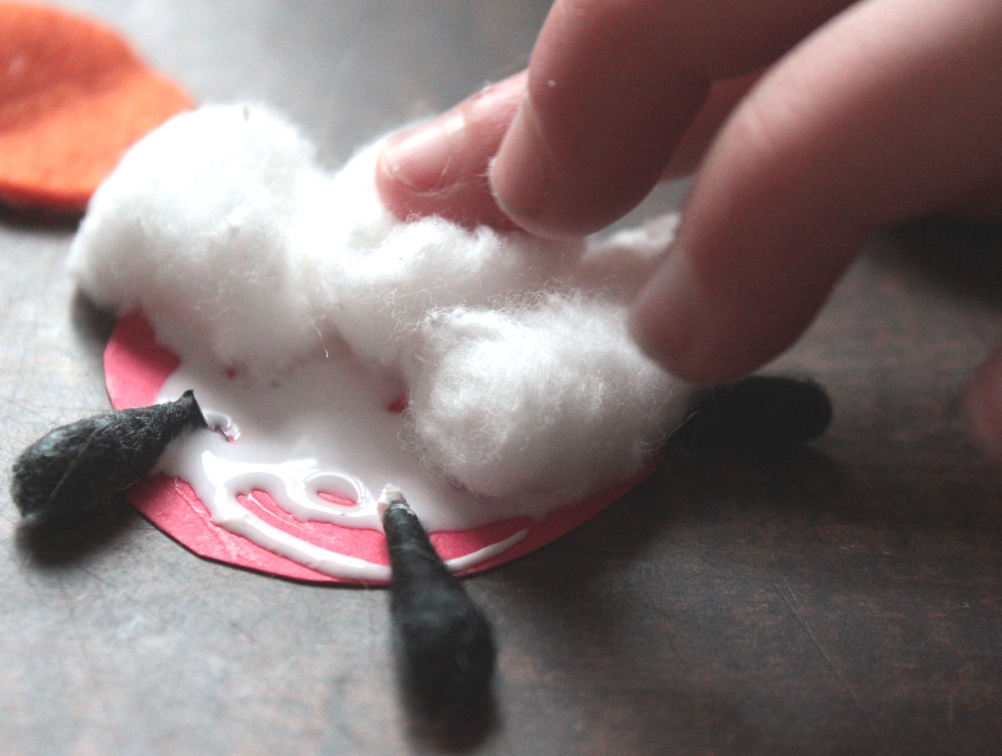
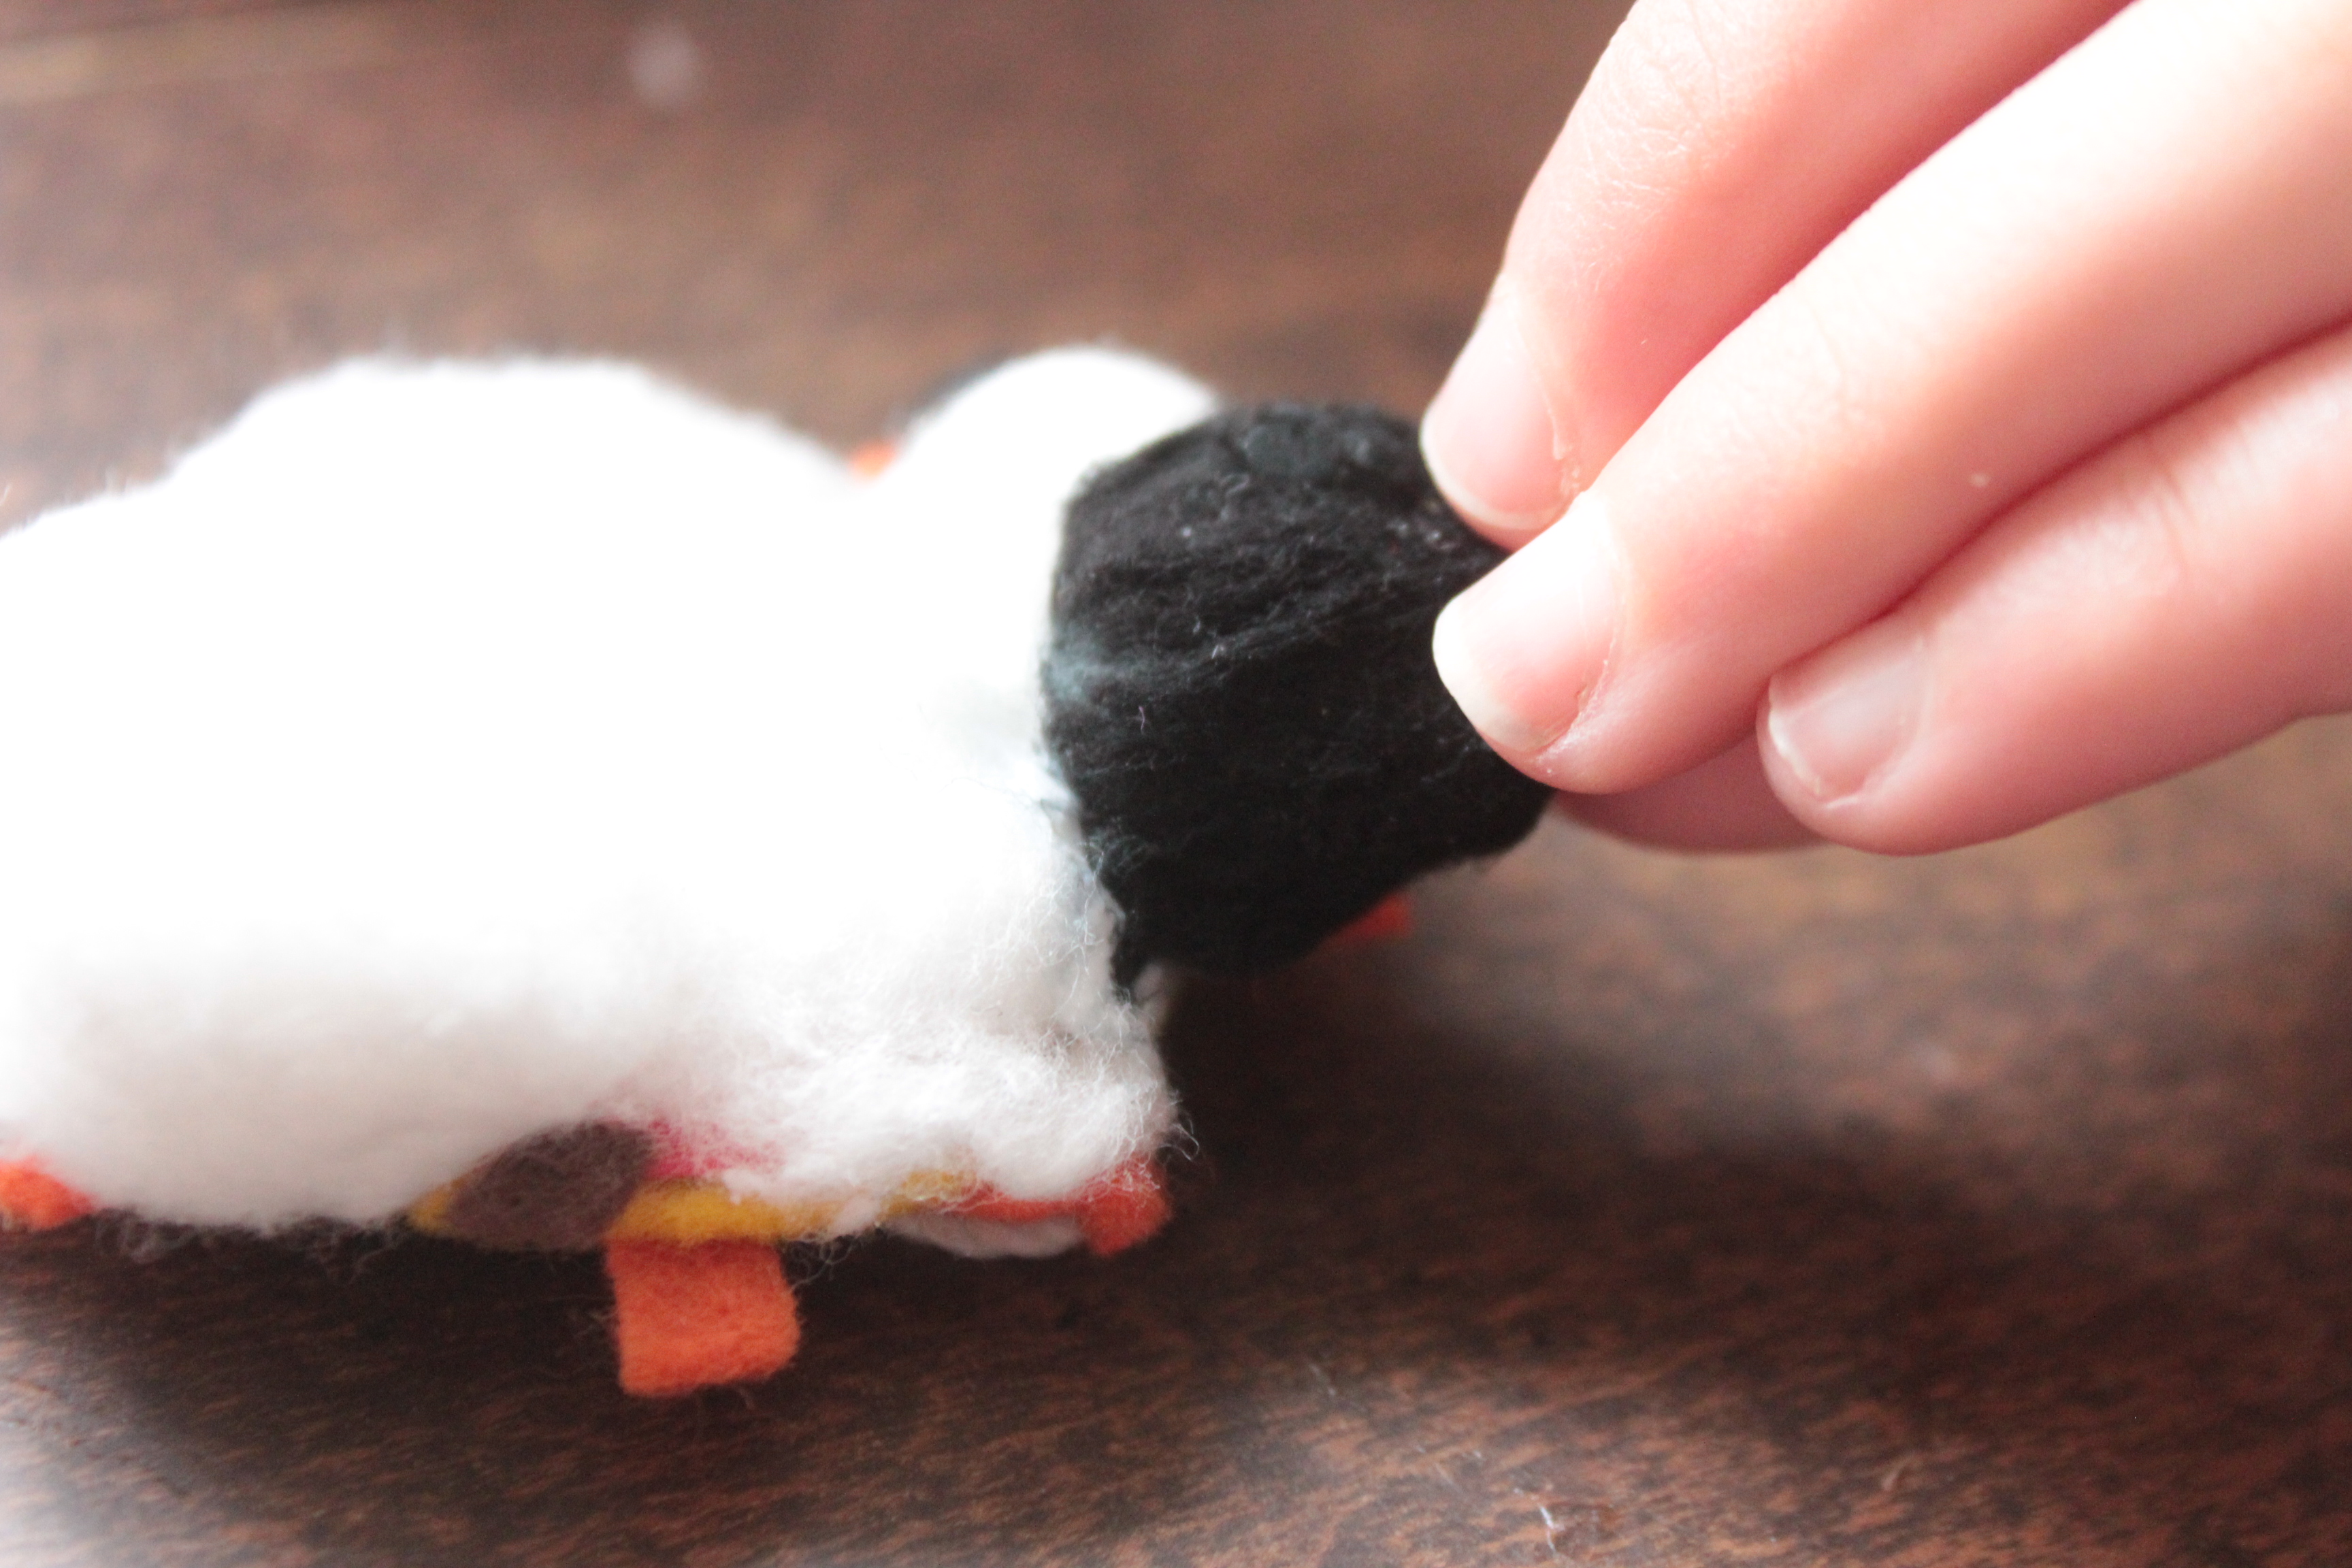
Step 8
The black cotton ball was used for the head. "Now I think I like the lamb better!" she said, so excited.
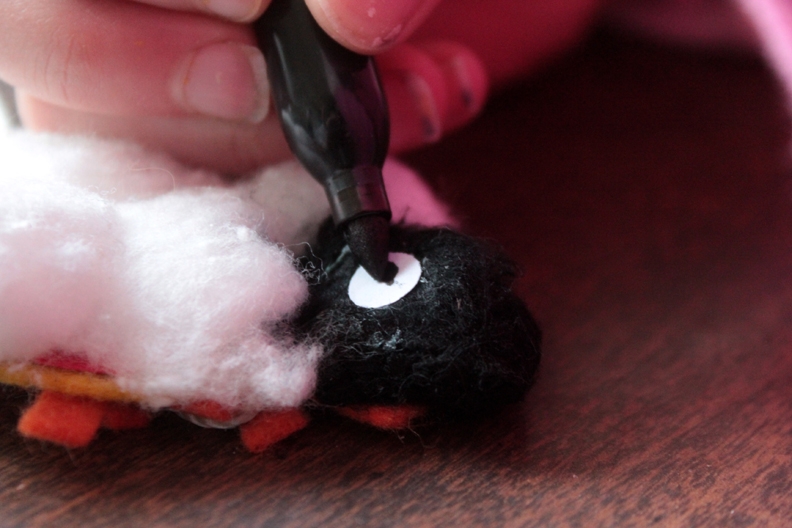
Step 9
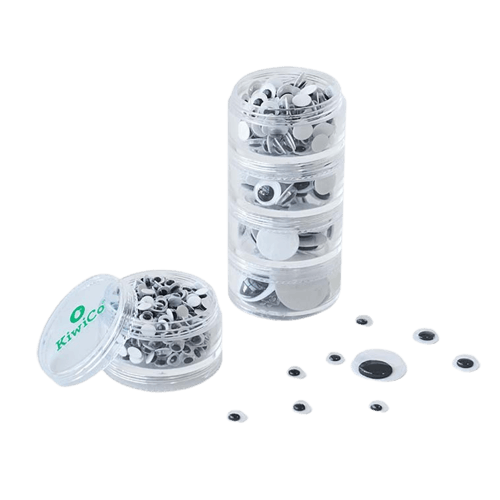
We didn't have any tiny googly eyes, so she used a hole punch to make a small circle, then pasted it onto the lamb's head. When the glue was dry, she drew the rest of the eye. (If the eye is drawn first, it may smear when pasted onto the gluey cotton ball.)
Final result!
Everything's dry! She put glue onto one of the paperbacks, put a string between the papers (the backs of the lamb and lion), and then pressed together. We let that dry, and it's done! Now we have to wait for March to arrive!