Step-by-step tutorial
Step 1
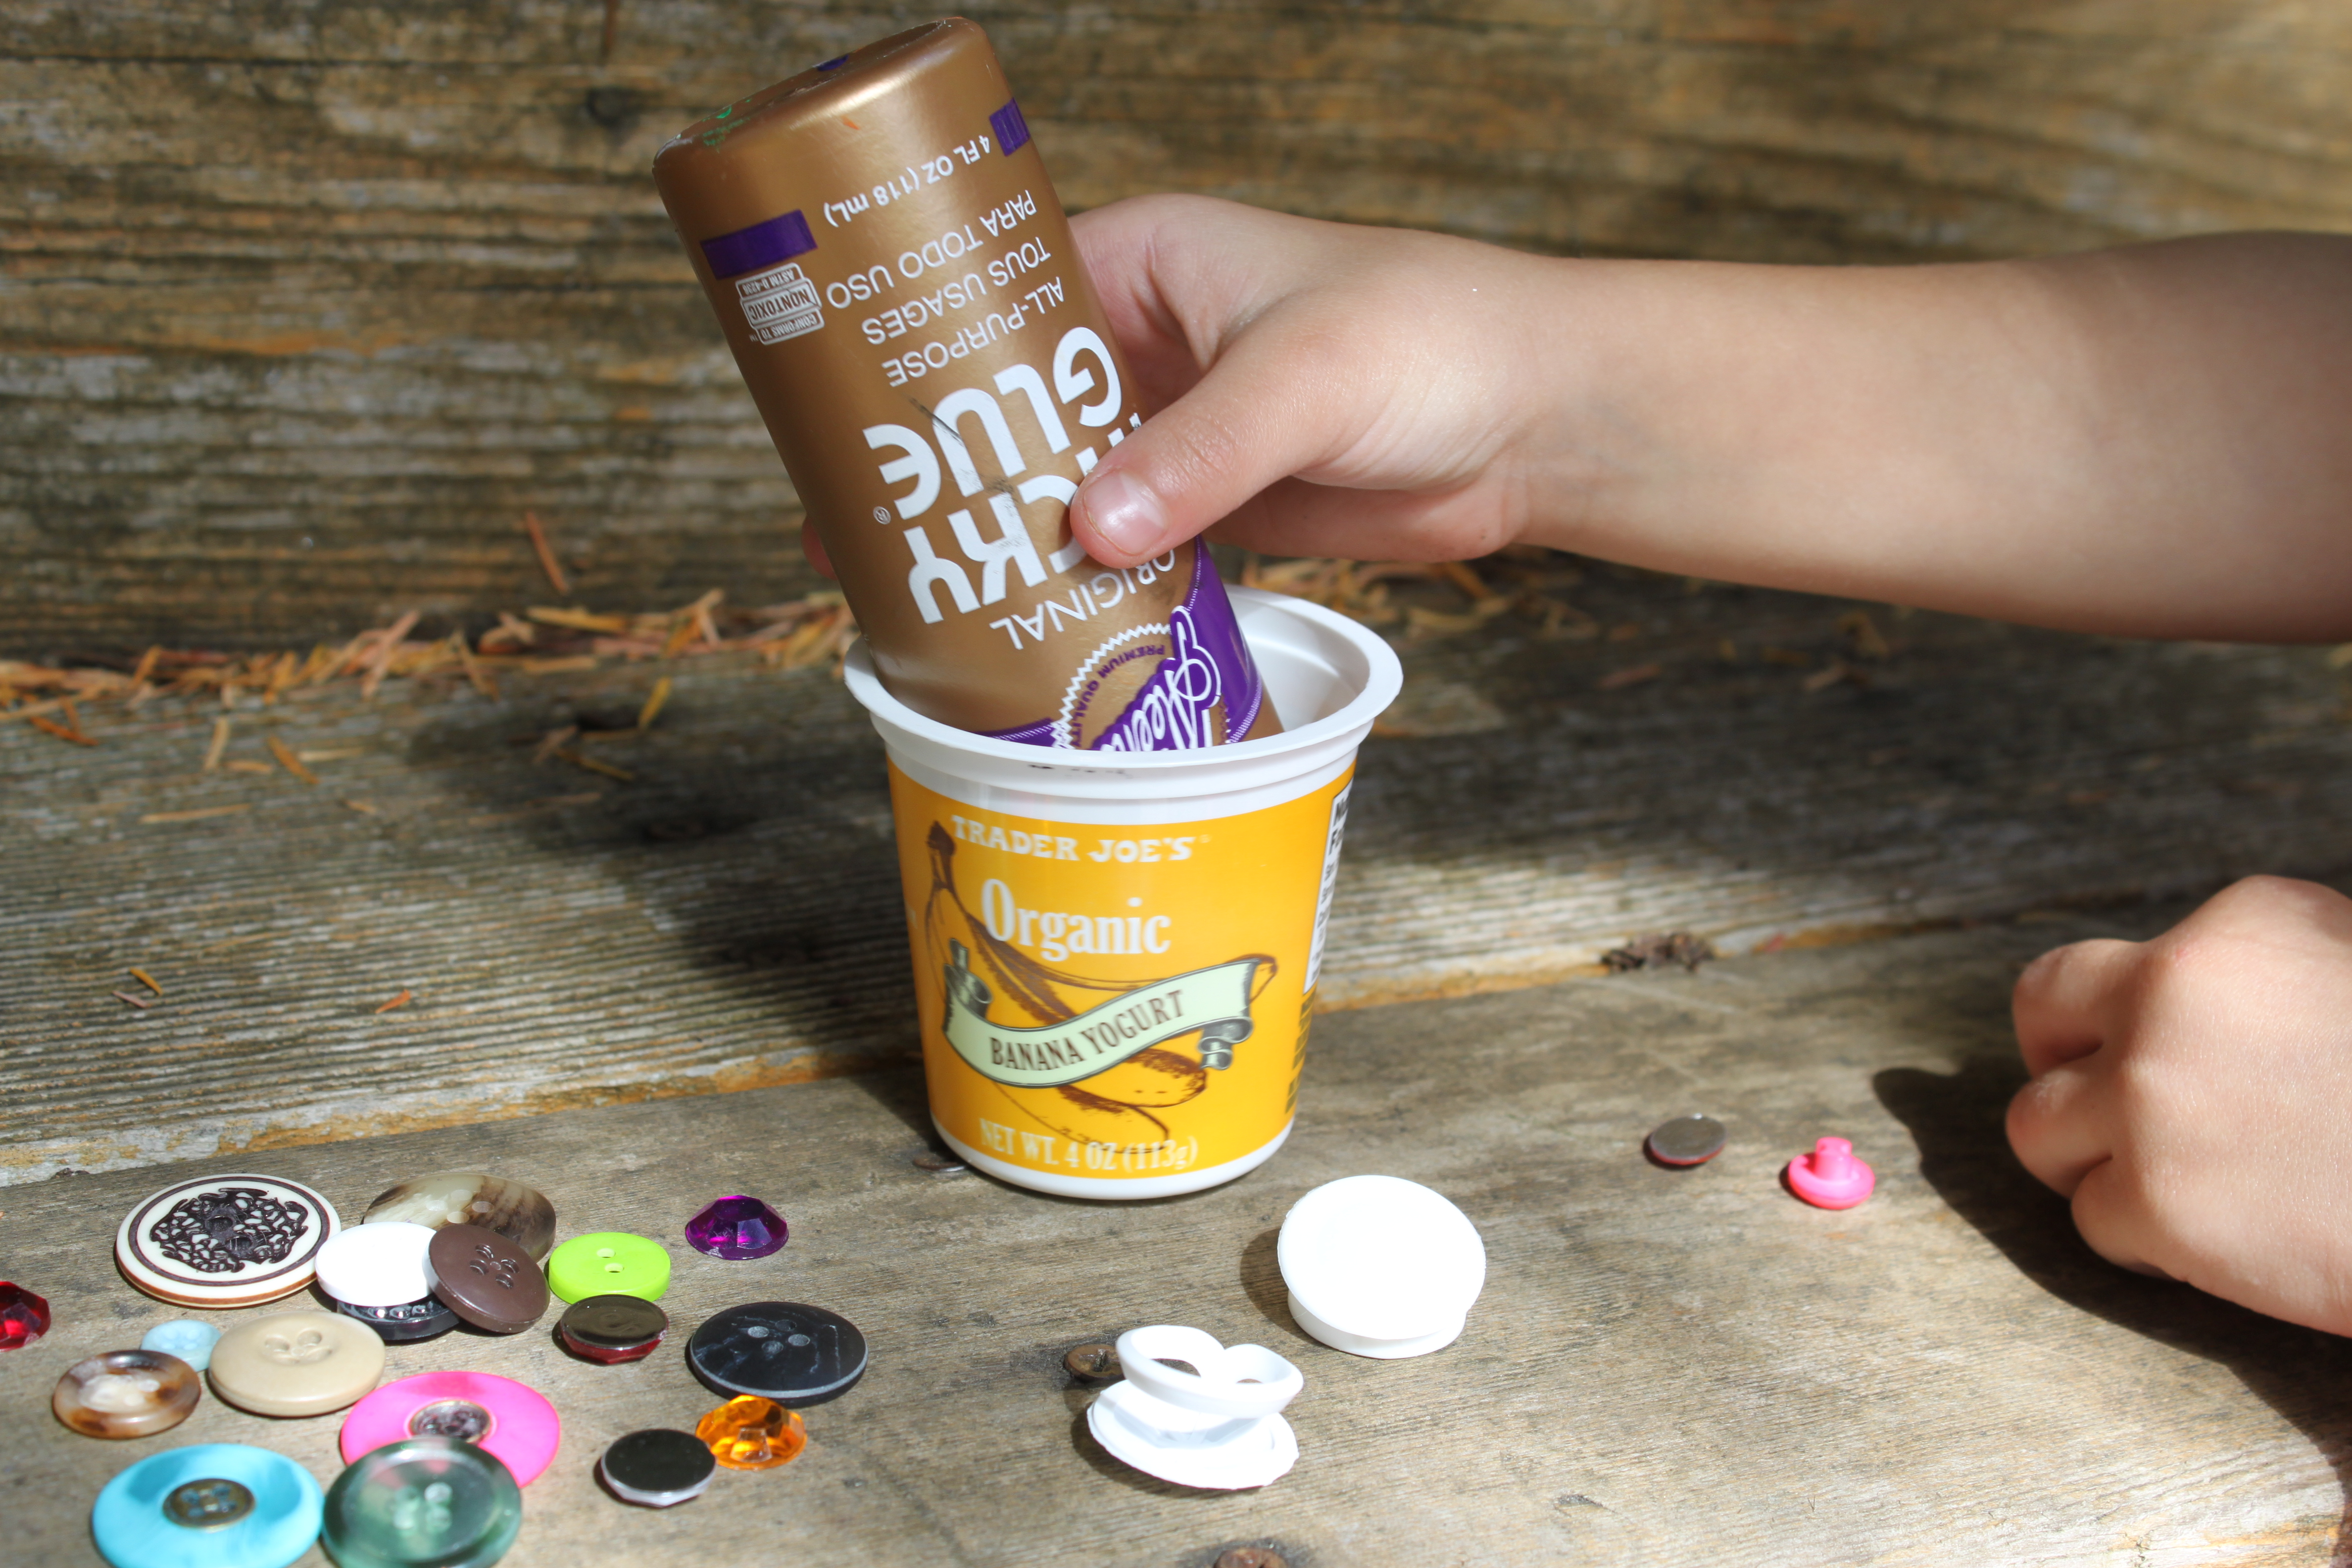
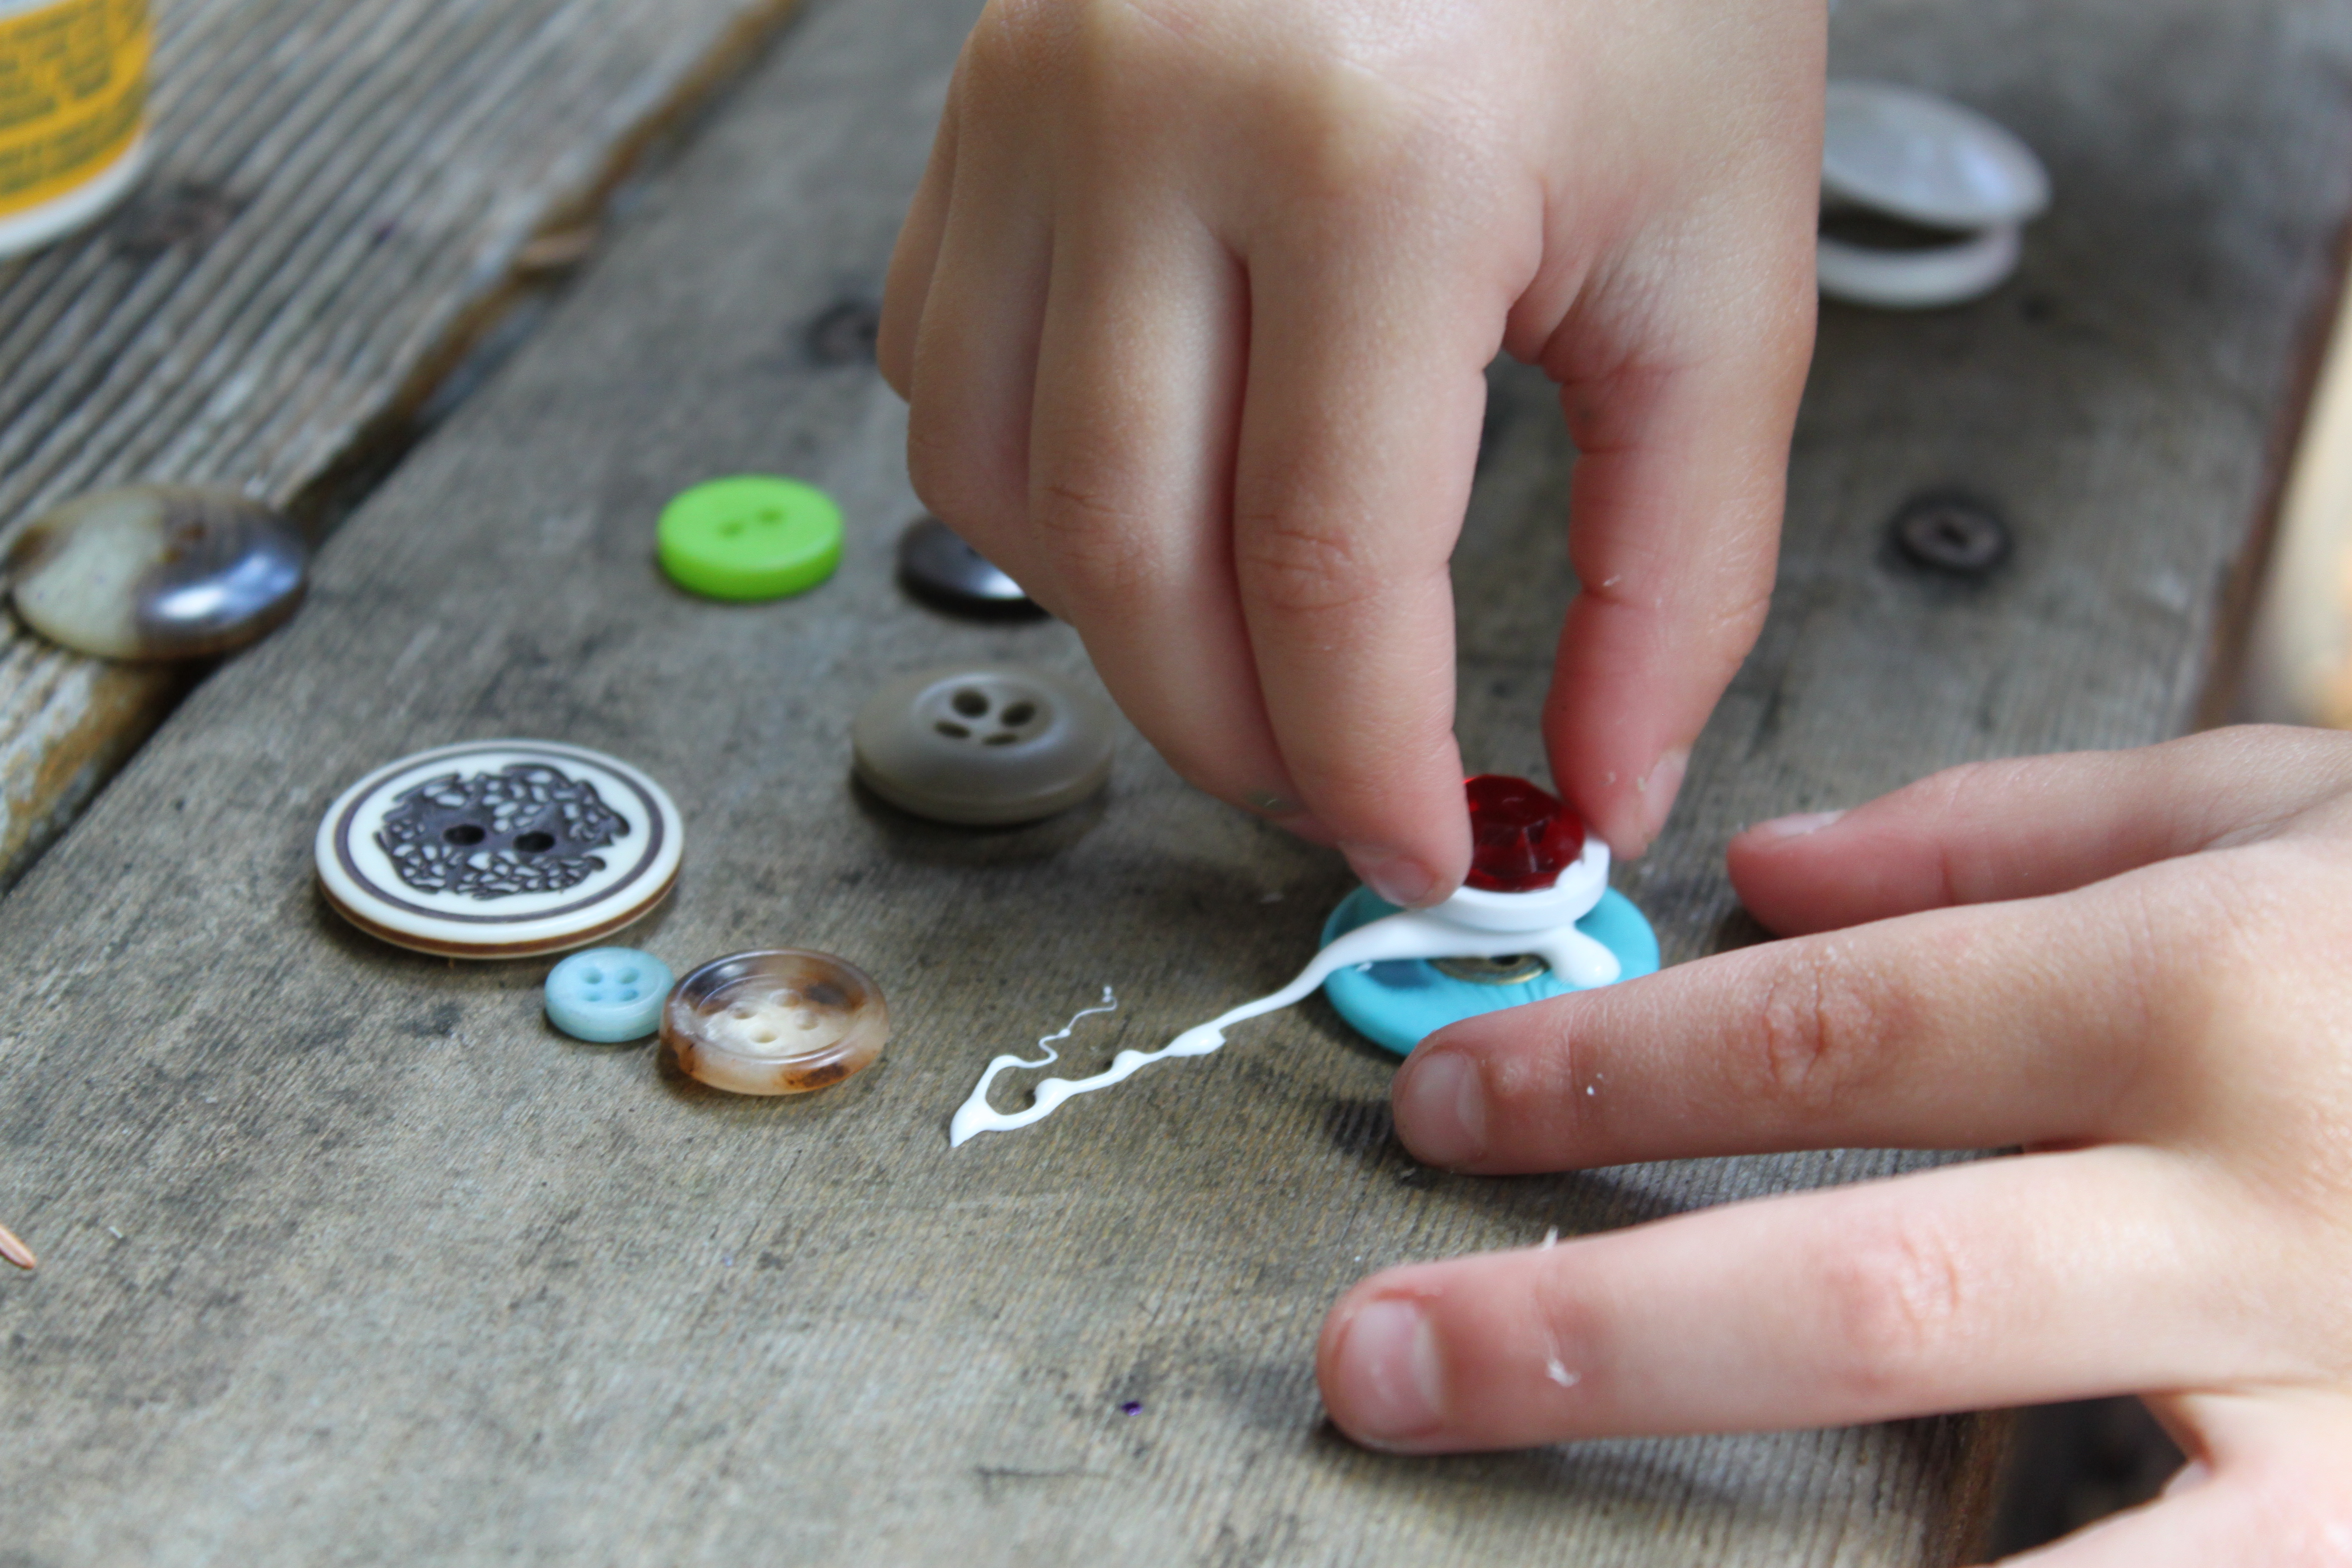
Here's a tip for using tacky glue without having to squeeze each drop out for your child. Use an empty yogurt container to hold the bottle upside down while the kids are crafting.

Step 2
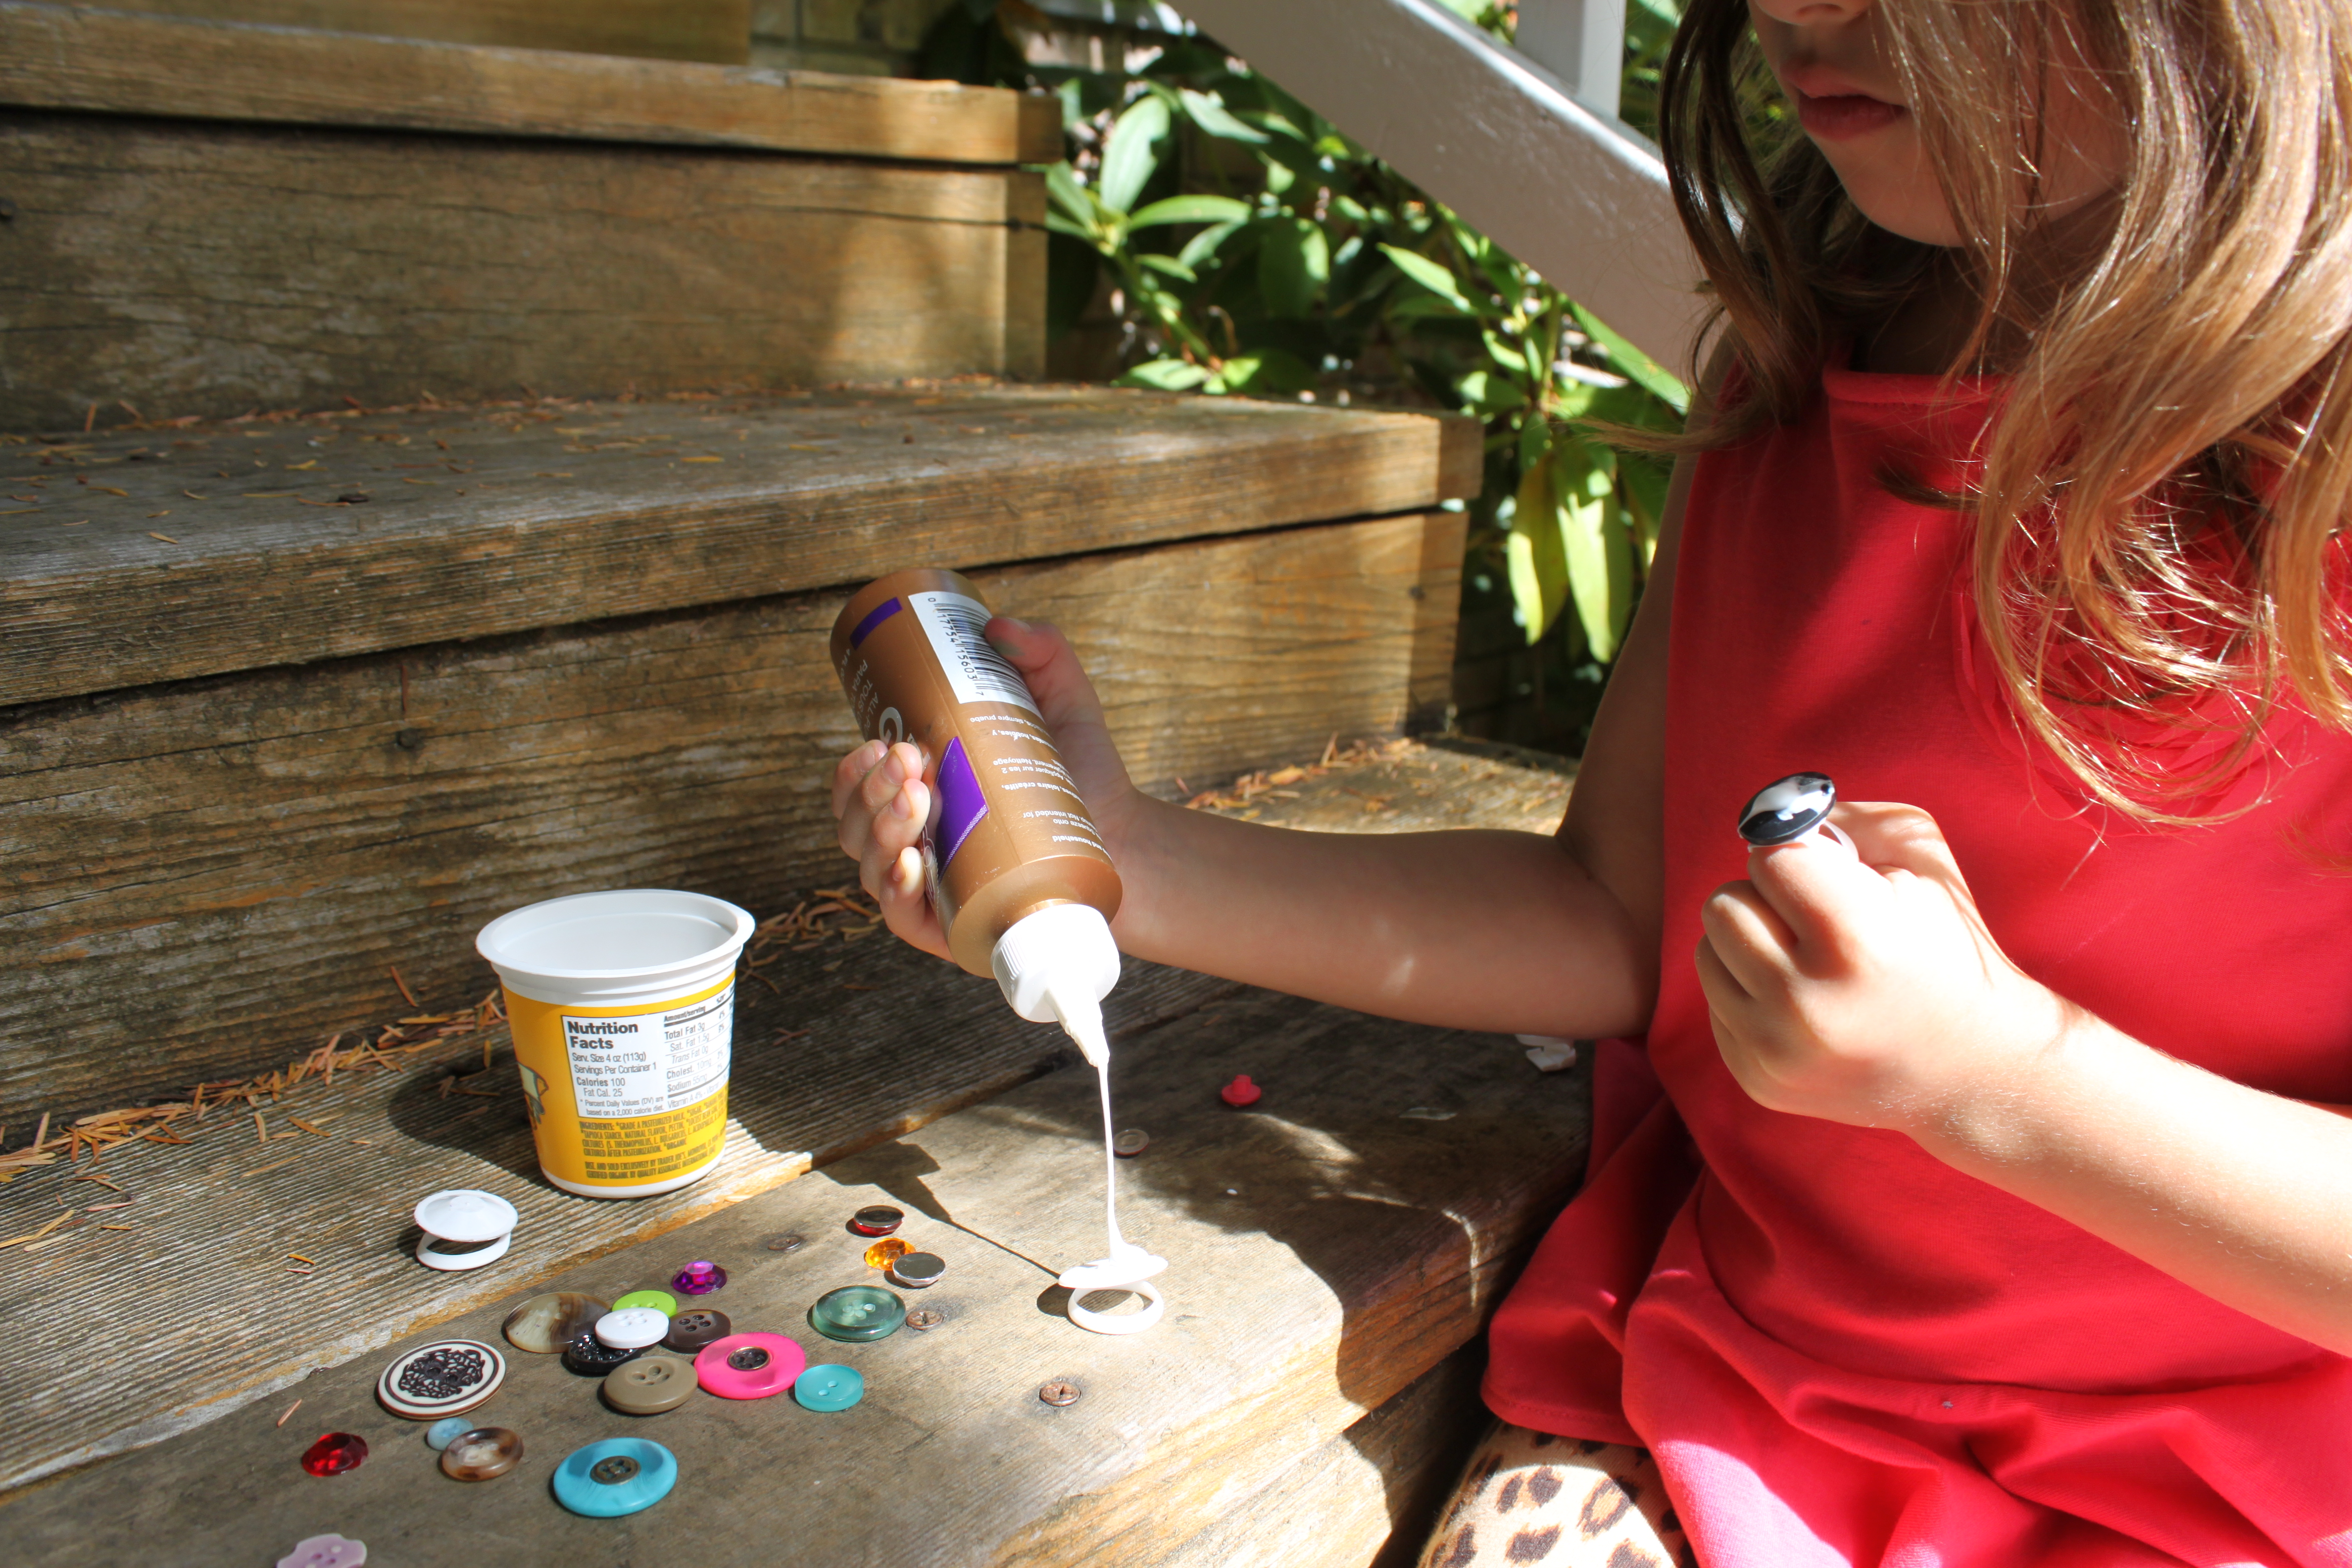
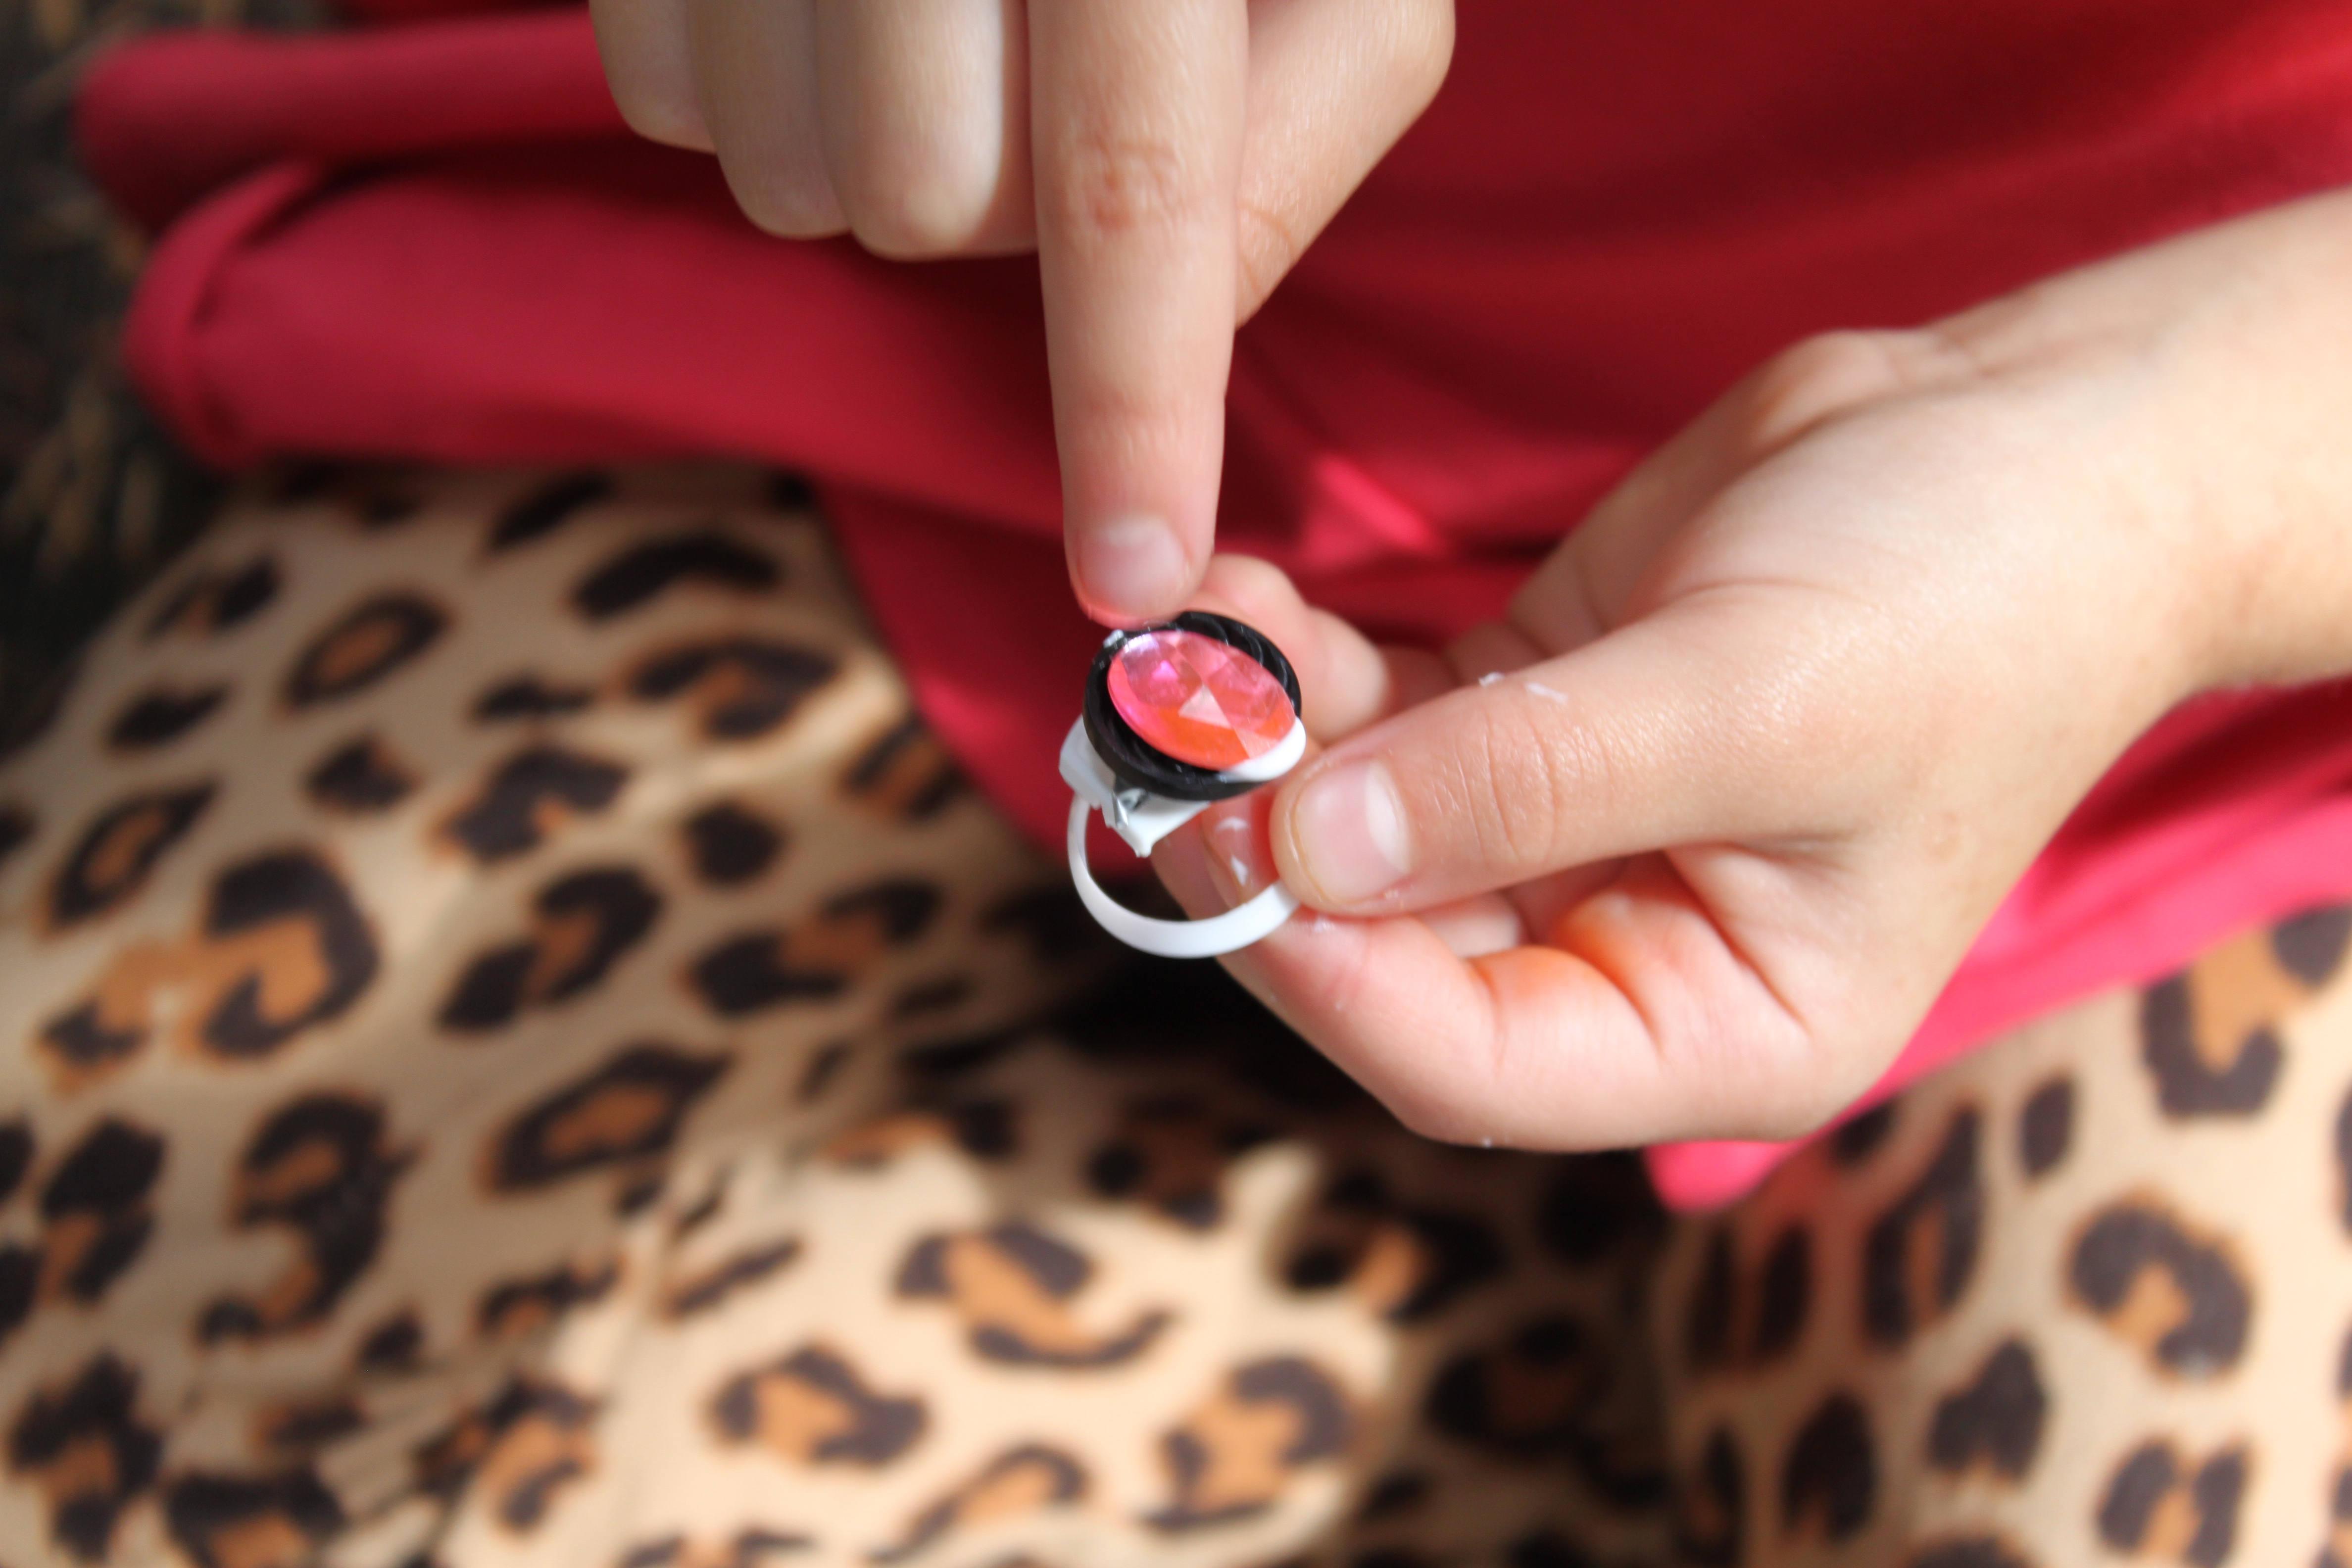
Emma took a lot of time choosing the perfect buttons and gems to layer on her rings. She really enjoyed styling her very own ring exactly the way she wanted.
Step 3
We used the tacky glue right on the flat side of the cap and got to work layering the gems on the rings. This was a perfect craft for her to do while her little brother was napping.
Step 4
The color and texture of the rings are so fun to watch come together. Emma started making some for friends and she was excited to choose just what she thought each friend would like.
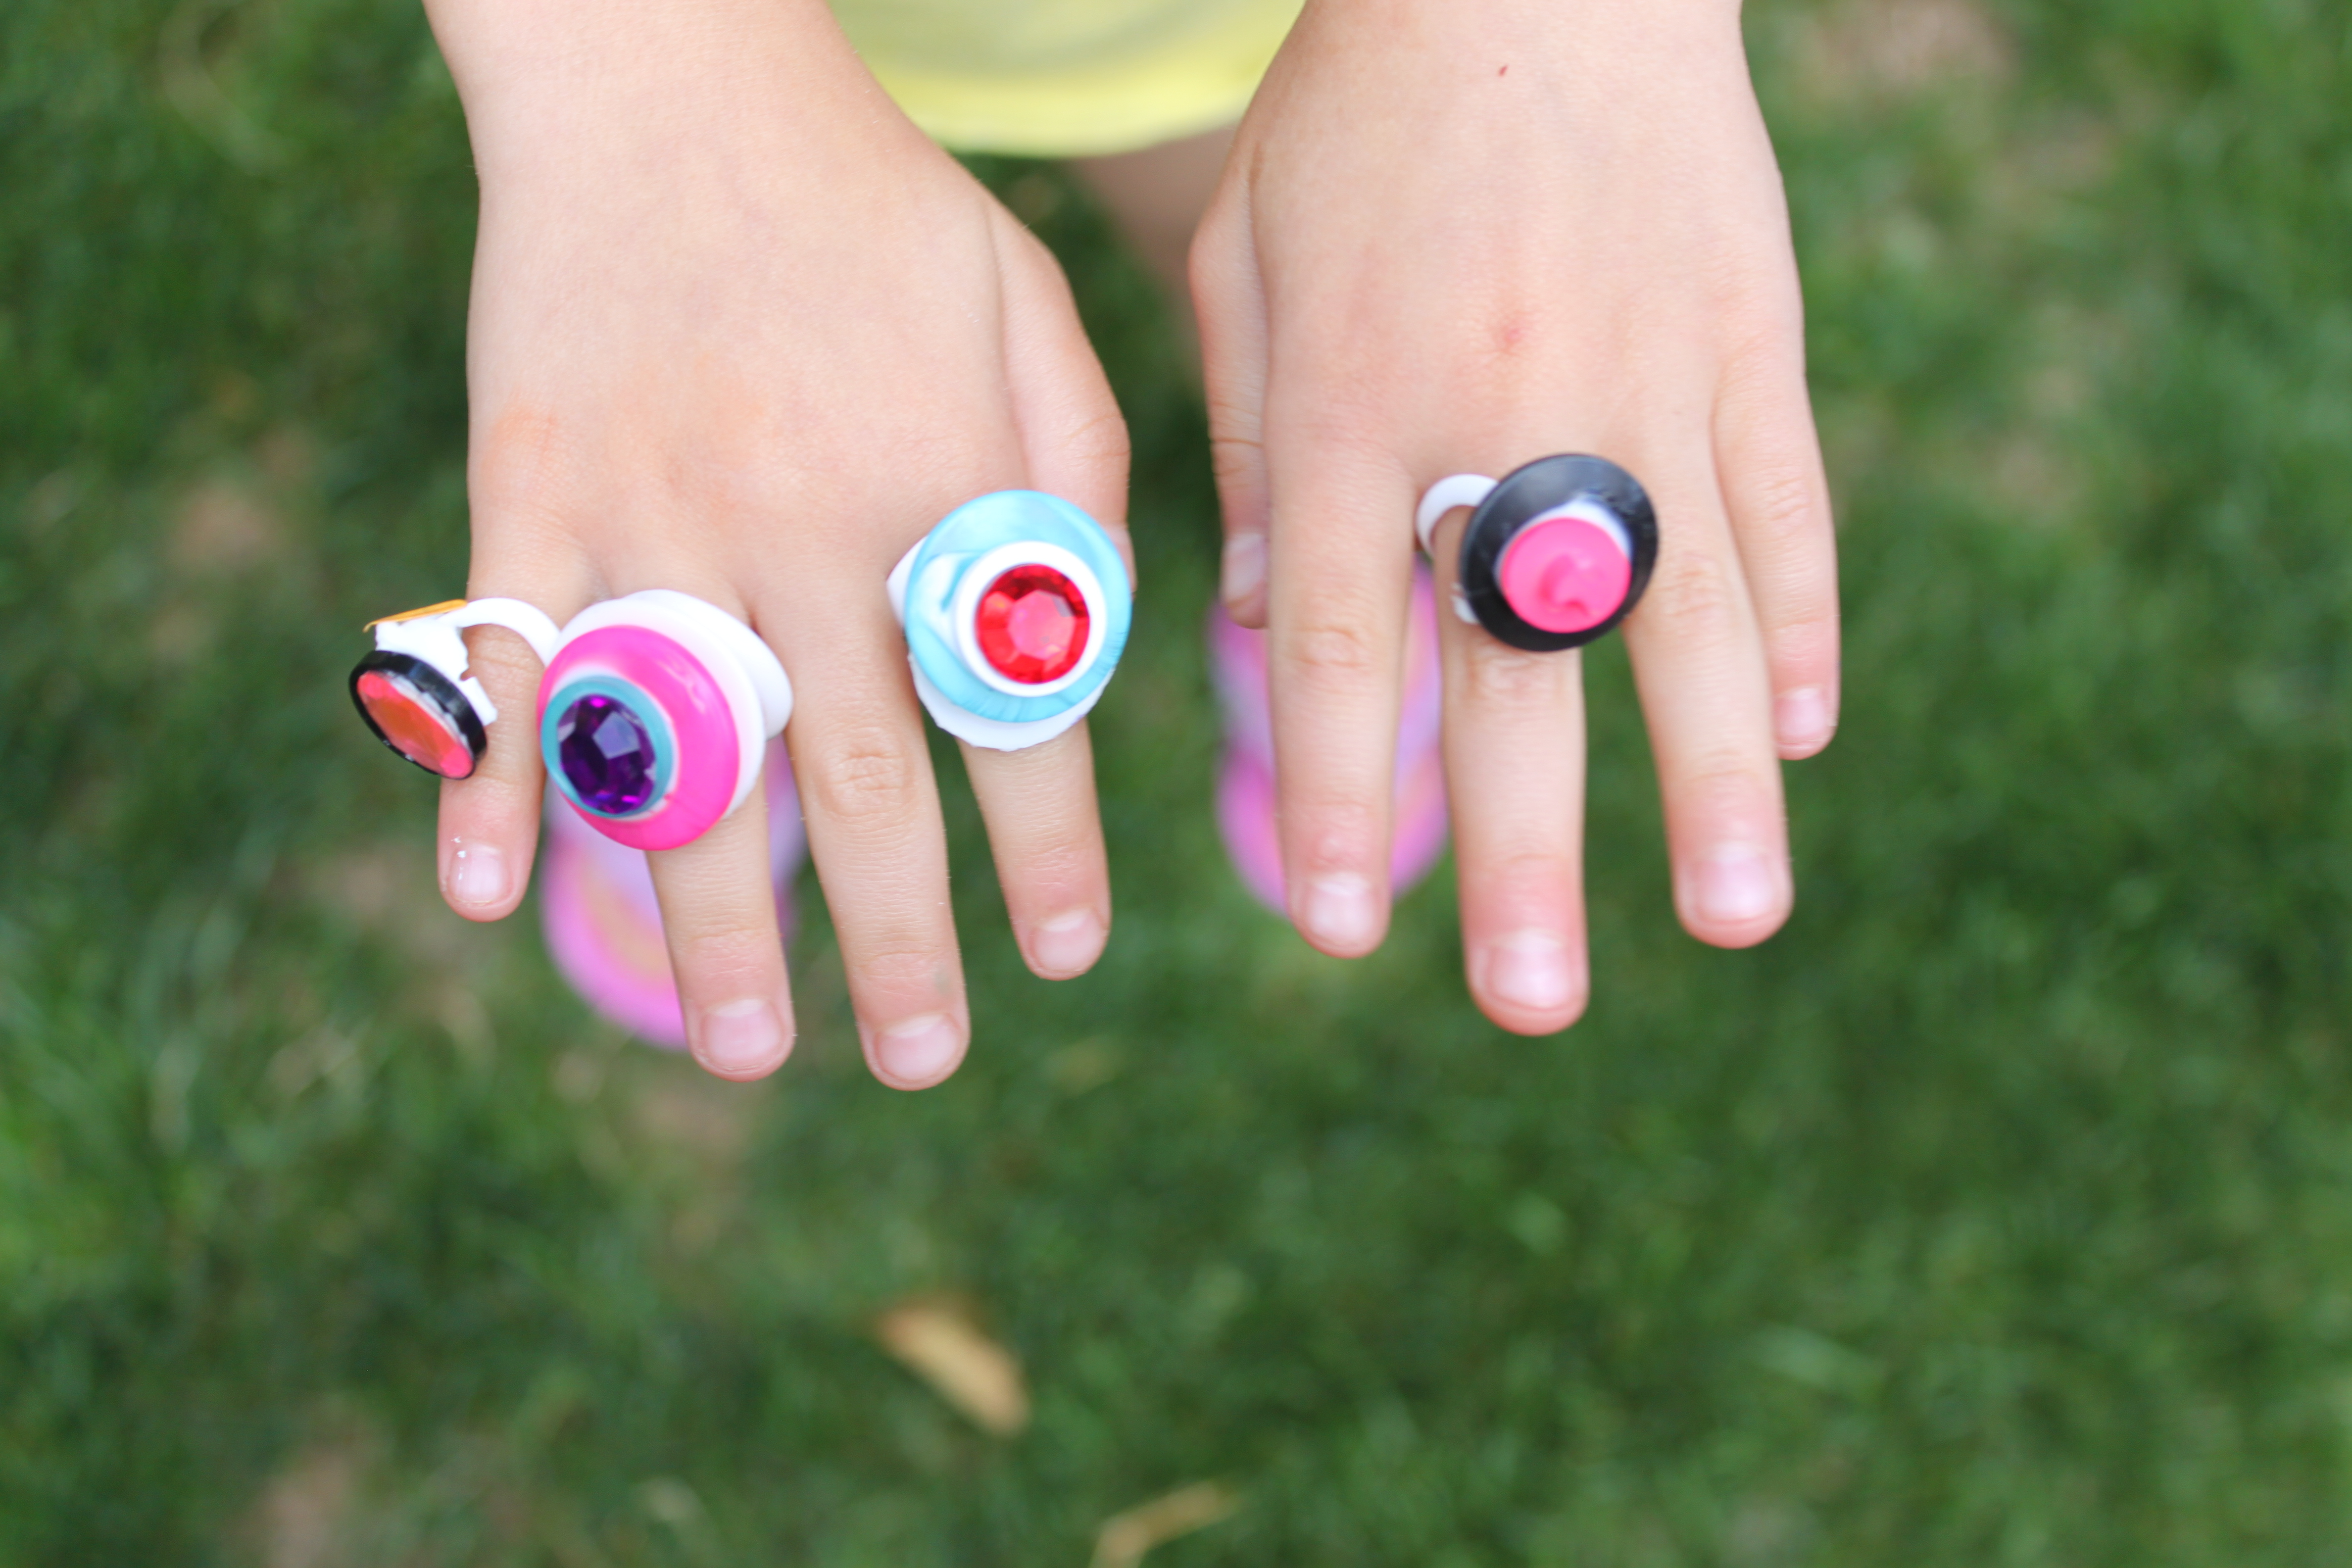
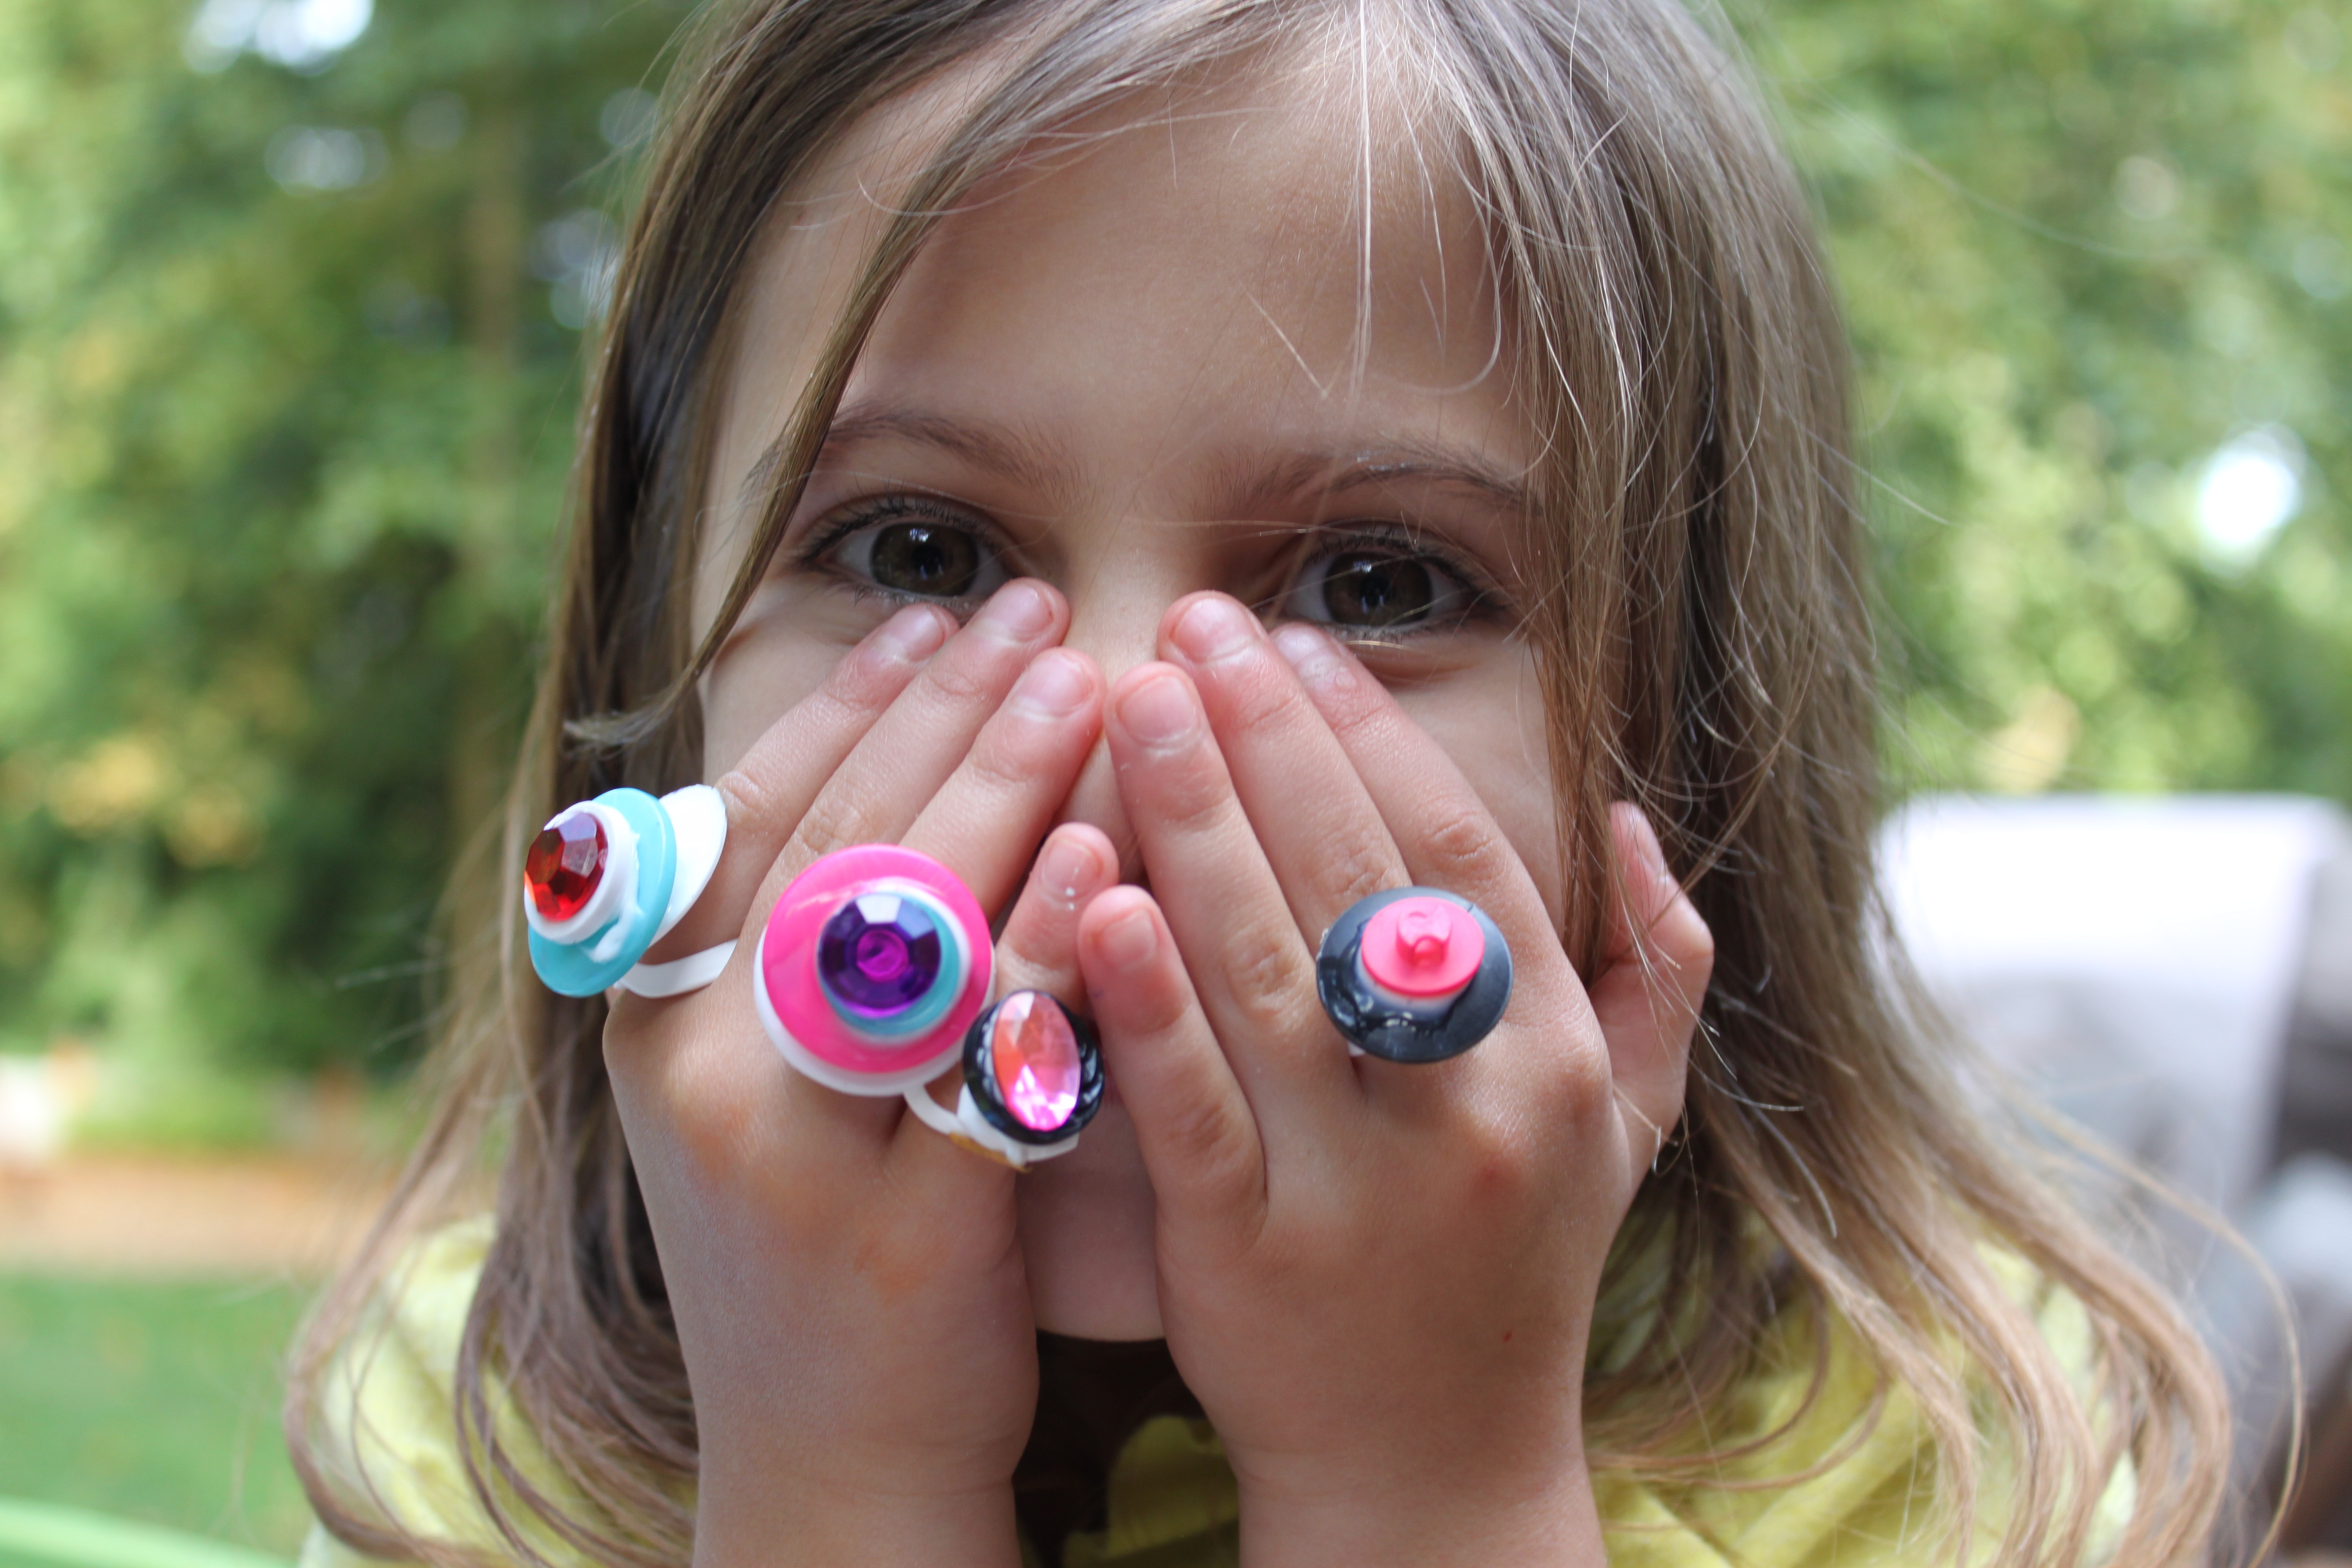
Done!
Waiting until they are completely dry is important, otherwise, your gems will slide off. It was hard for Emma to wait, but once dry she could not get enough of these beautiful new rings. She of course went right into pretend grown-up mode and her name became Penelope. I think that name fit her new fashion perfectly.