Step-by-step tutorial
Step 1
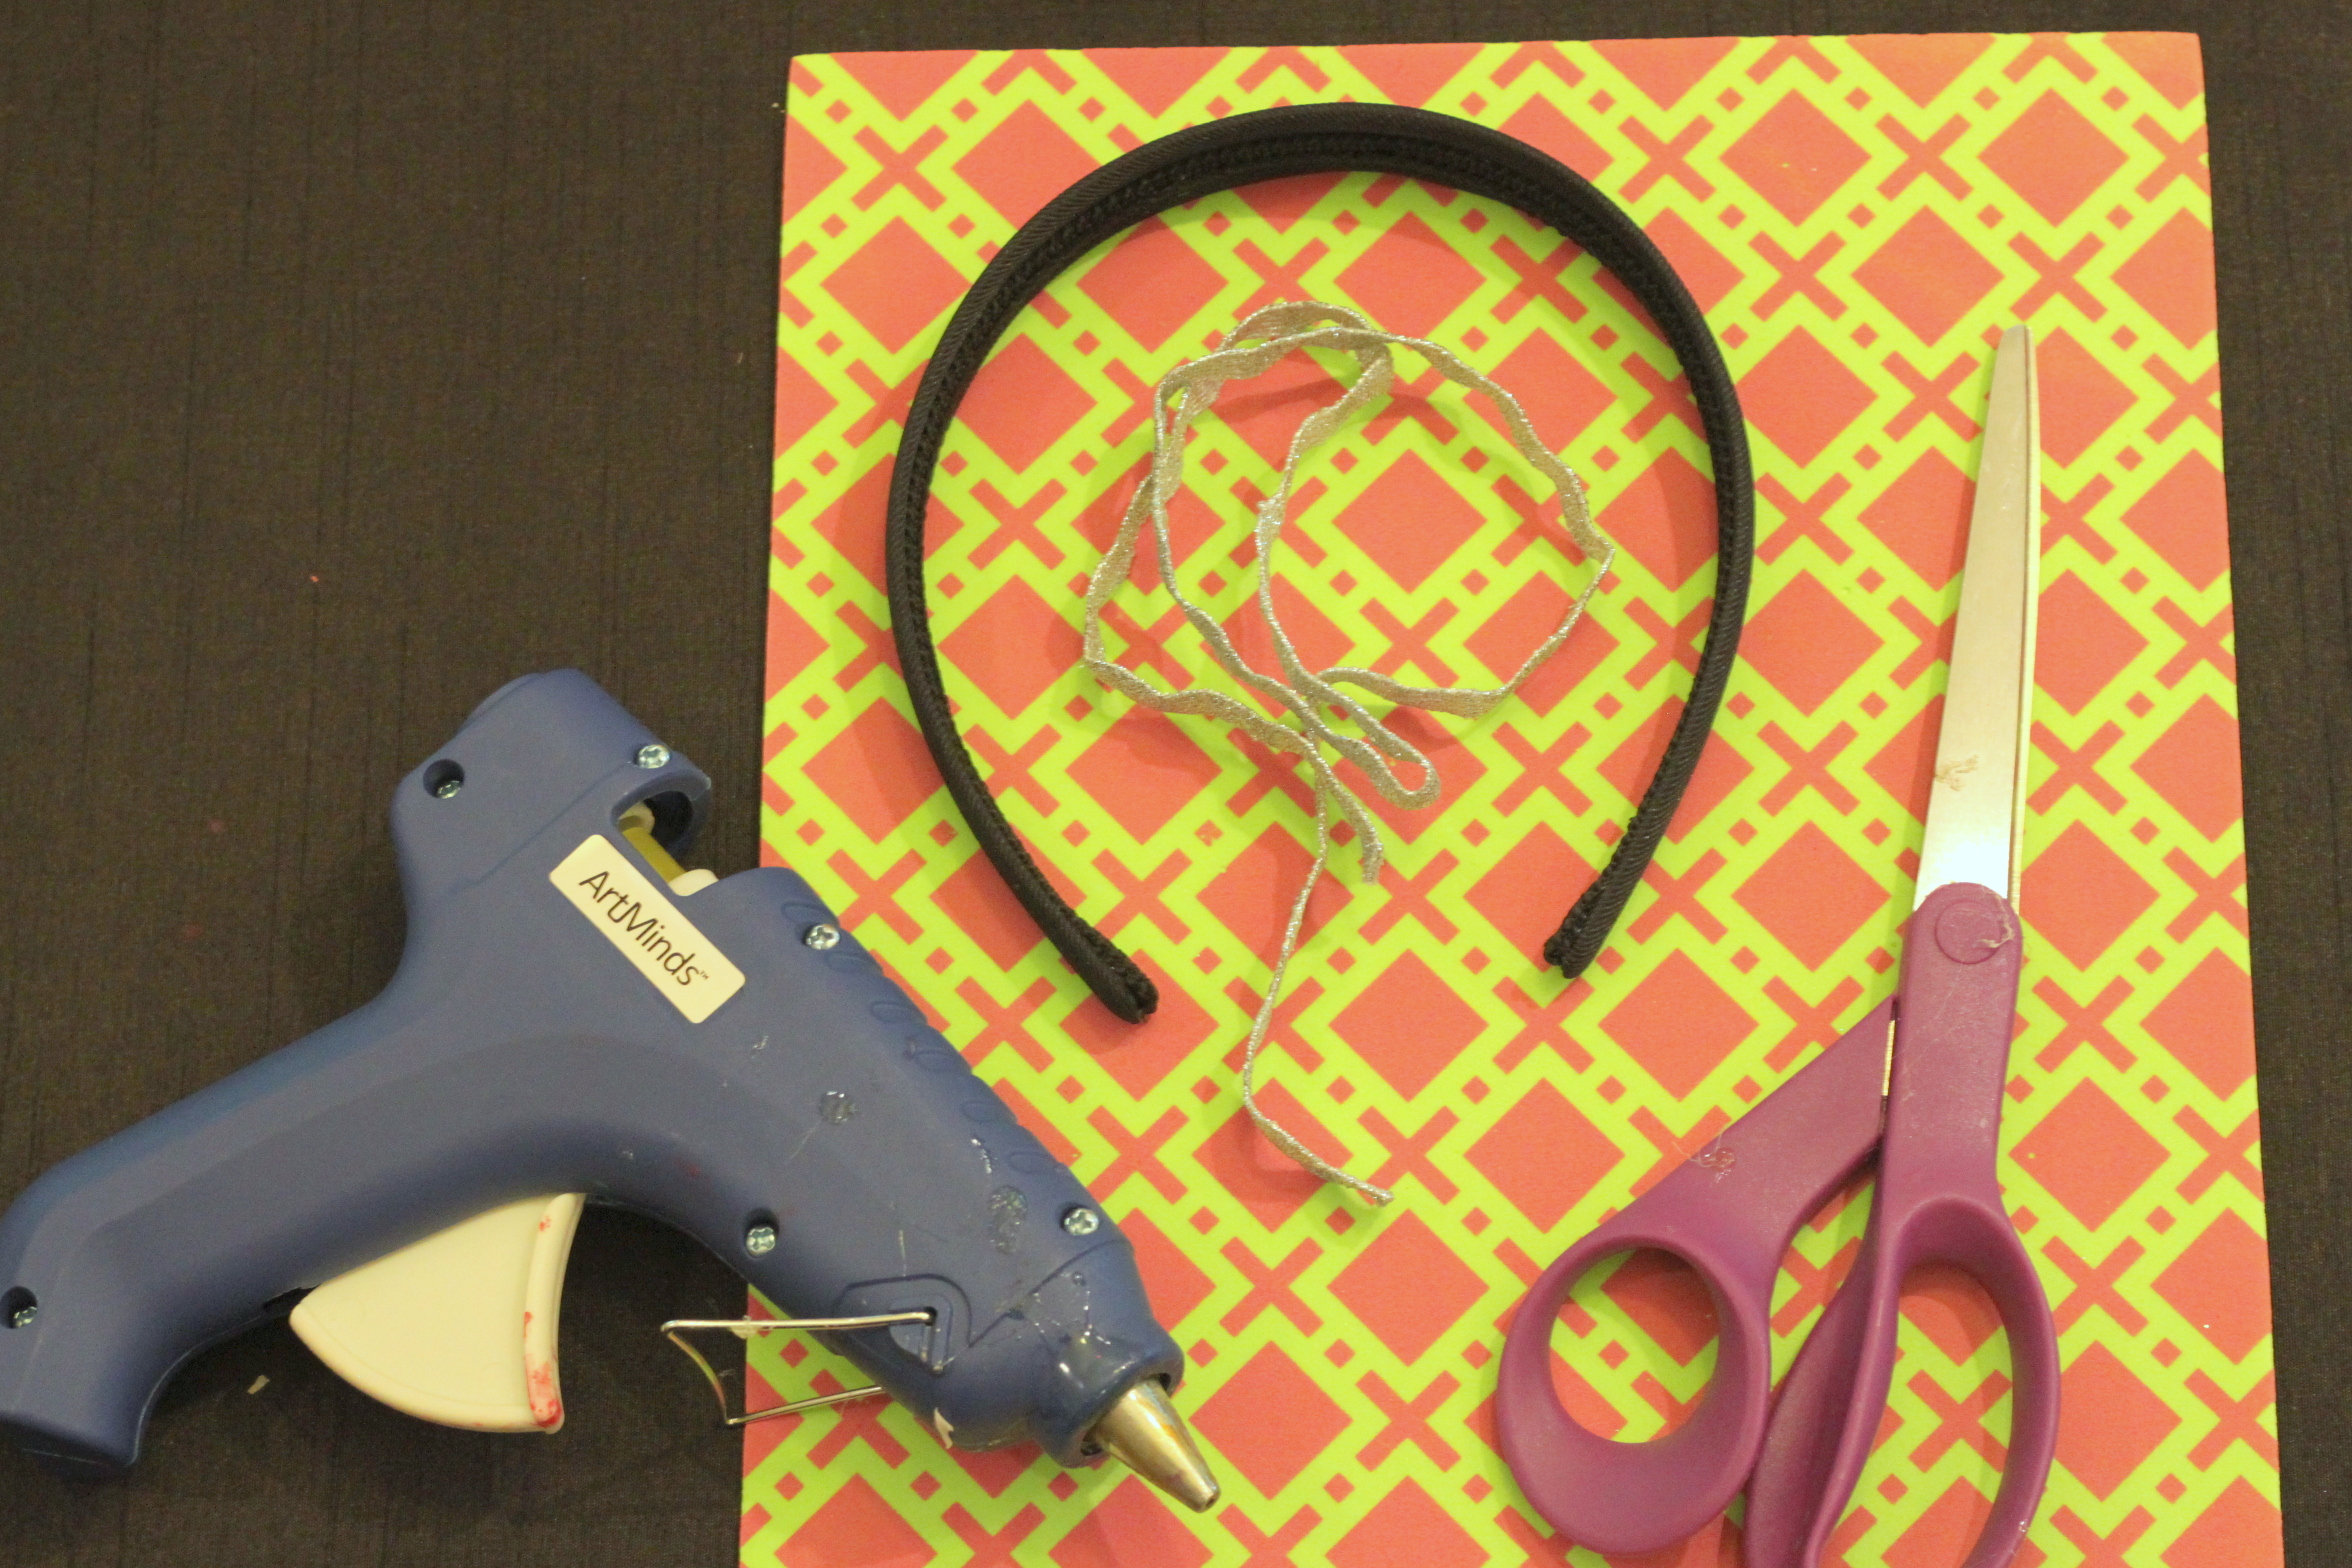
You do need hot glue to make this headband sturdy, so adult assistance is a must.

Step 2
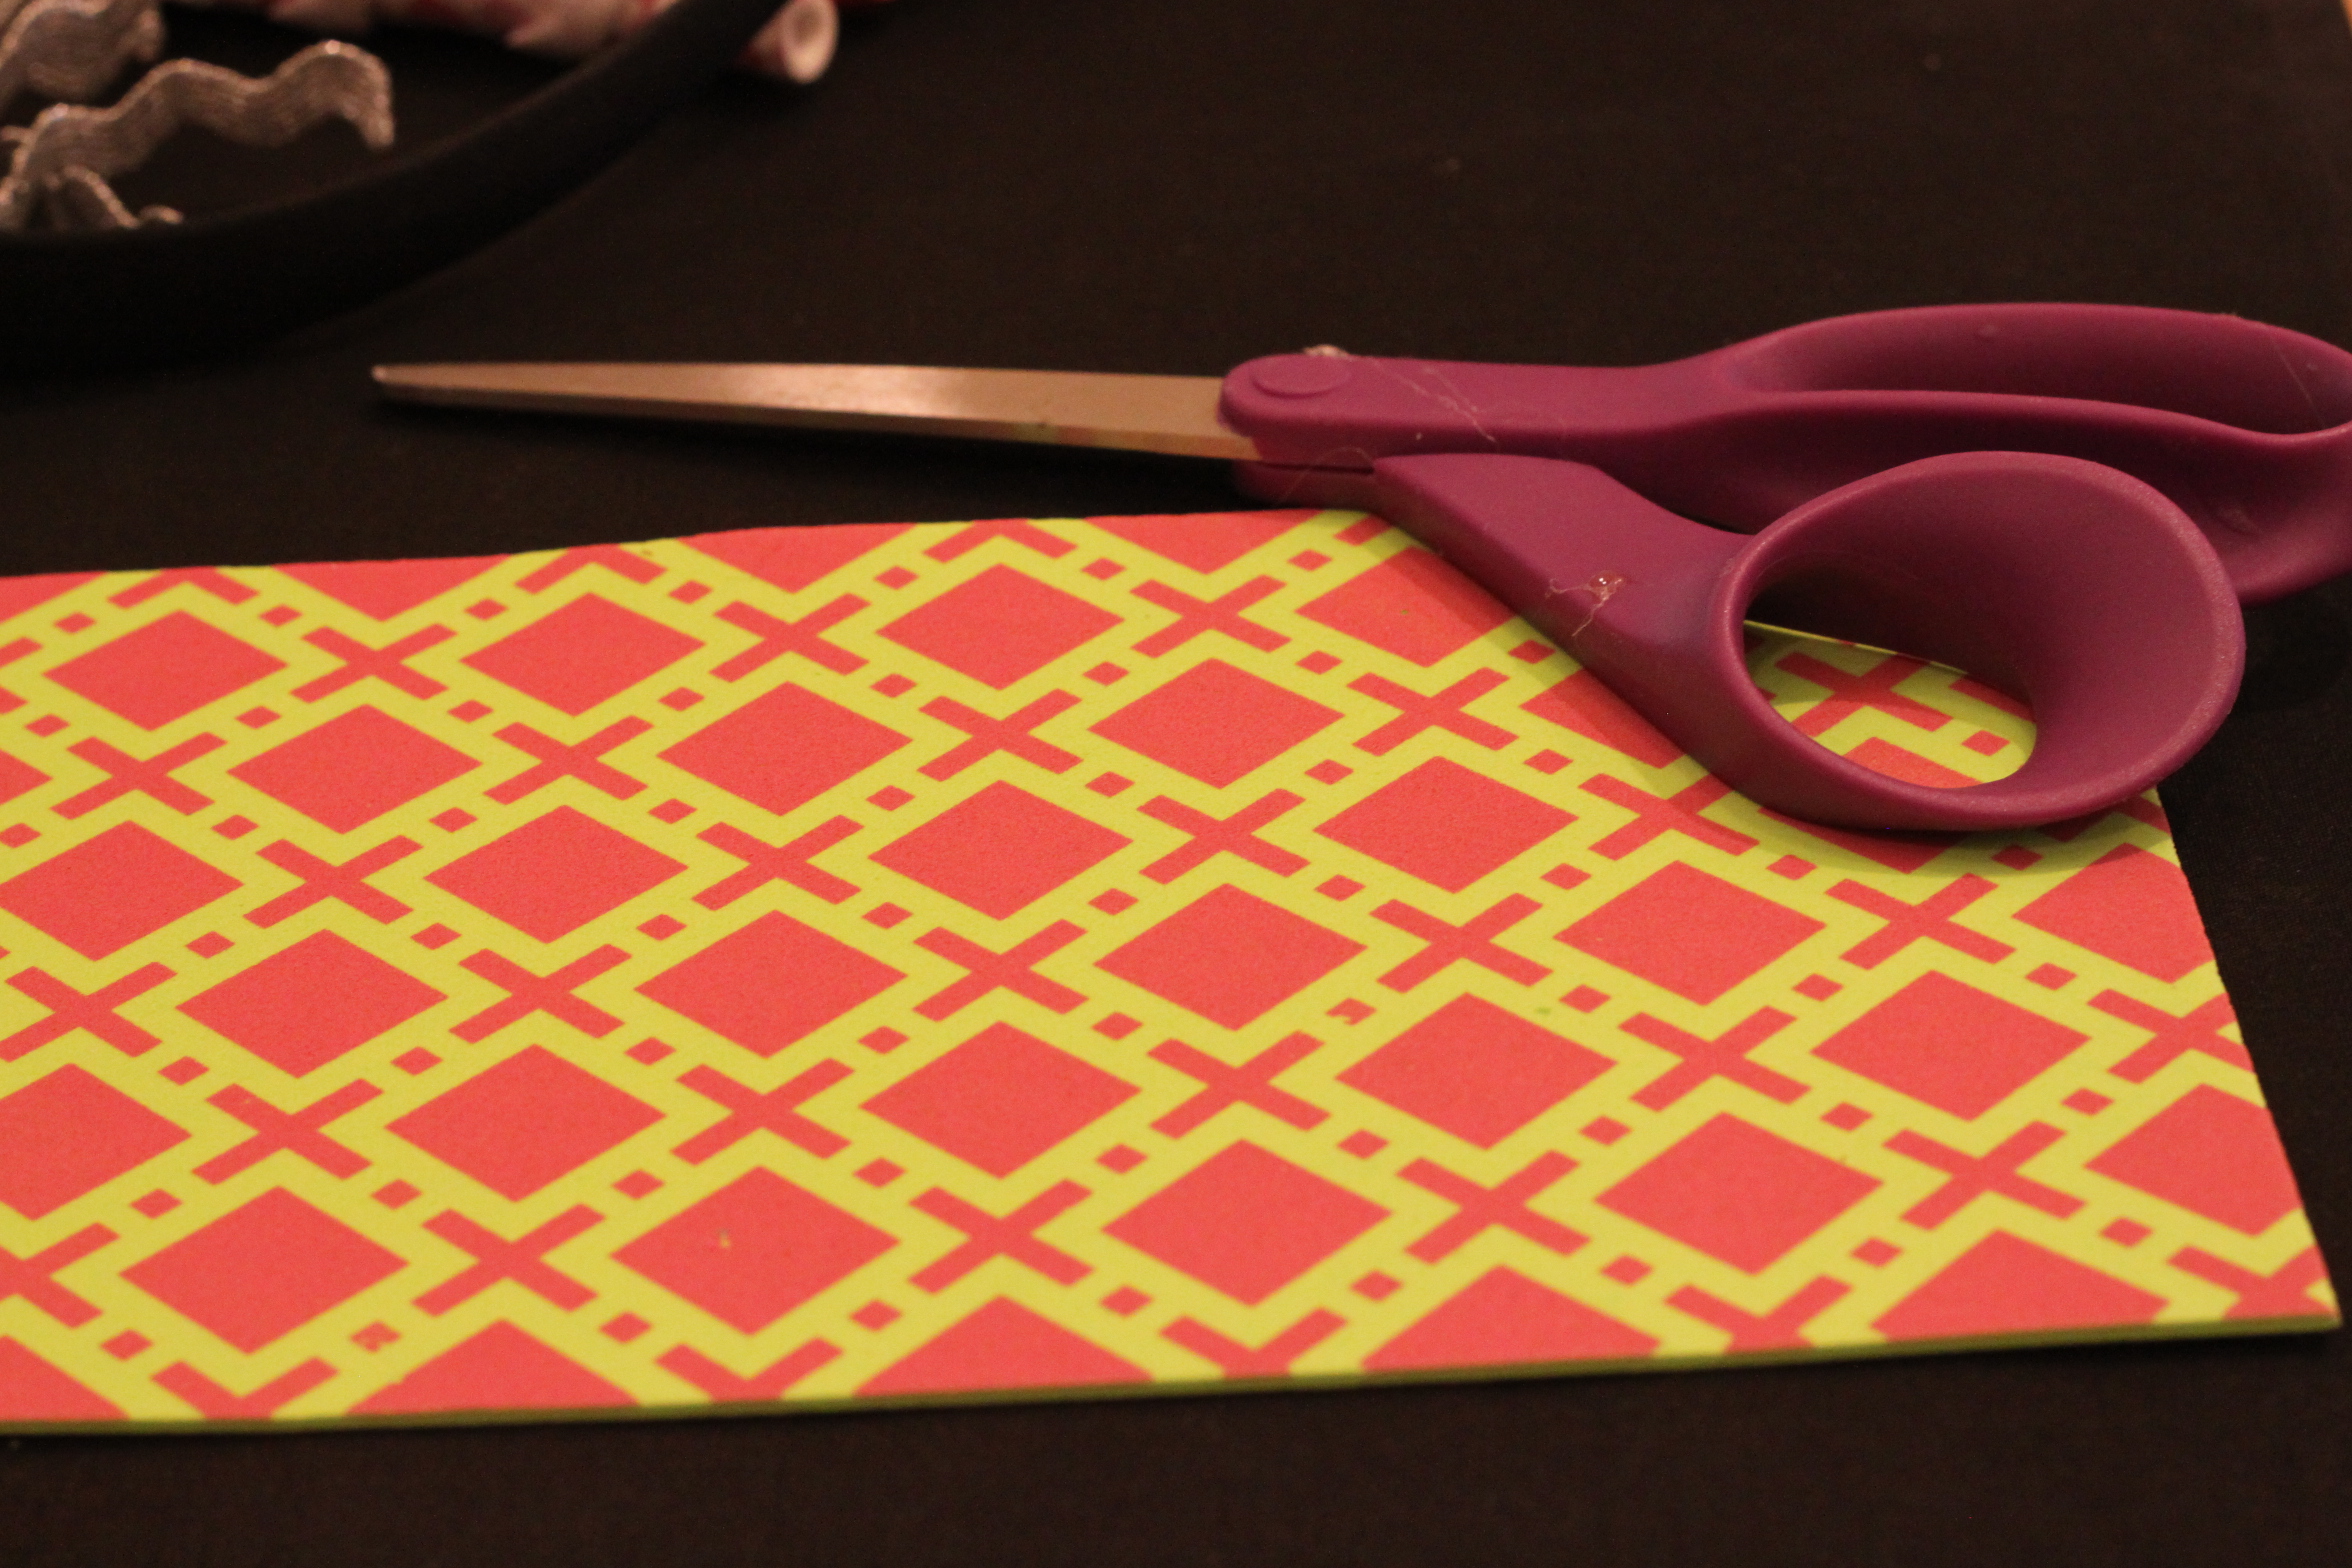
First, I cut different patterns of foam sheets in half.
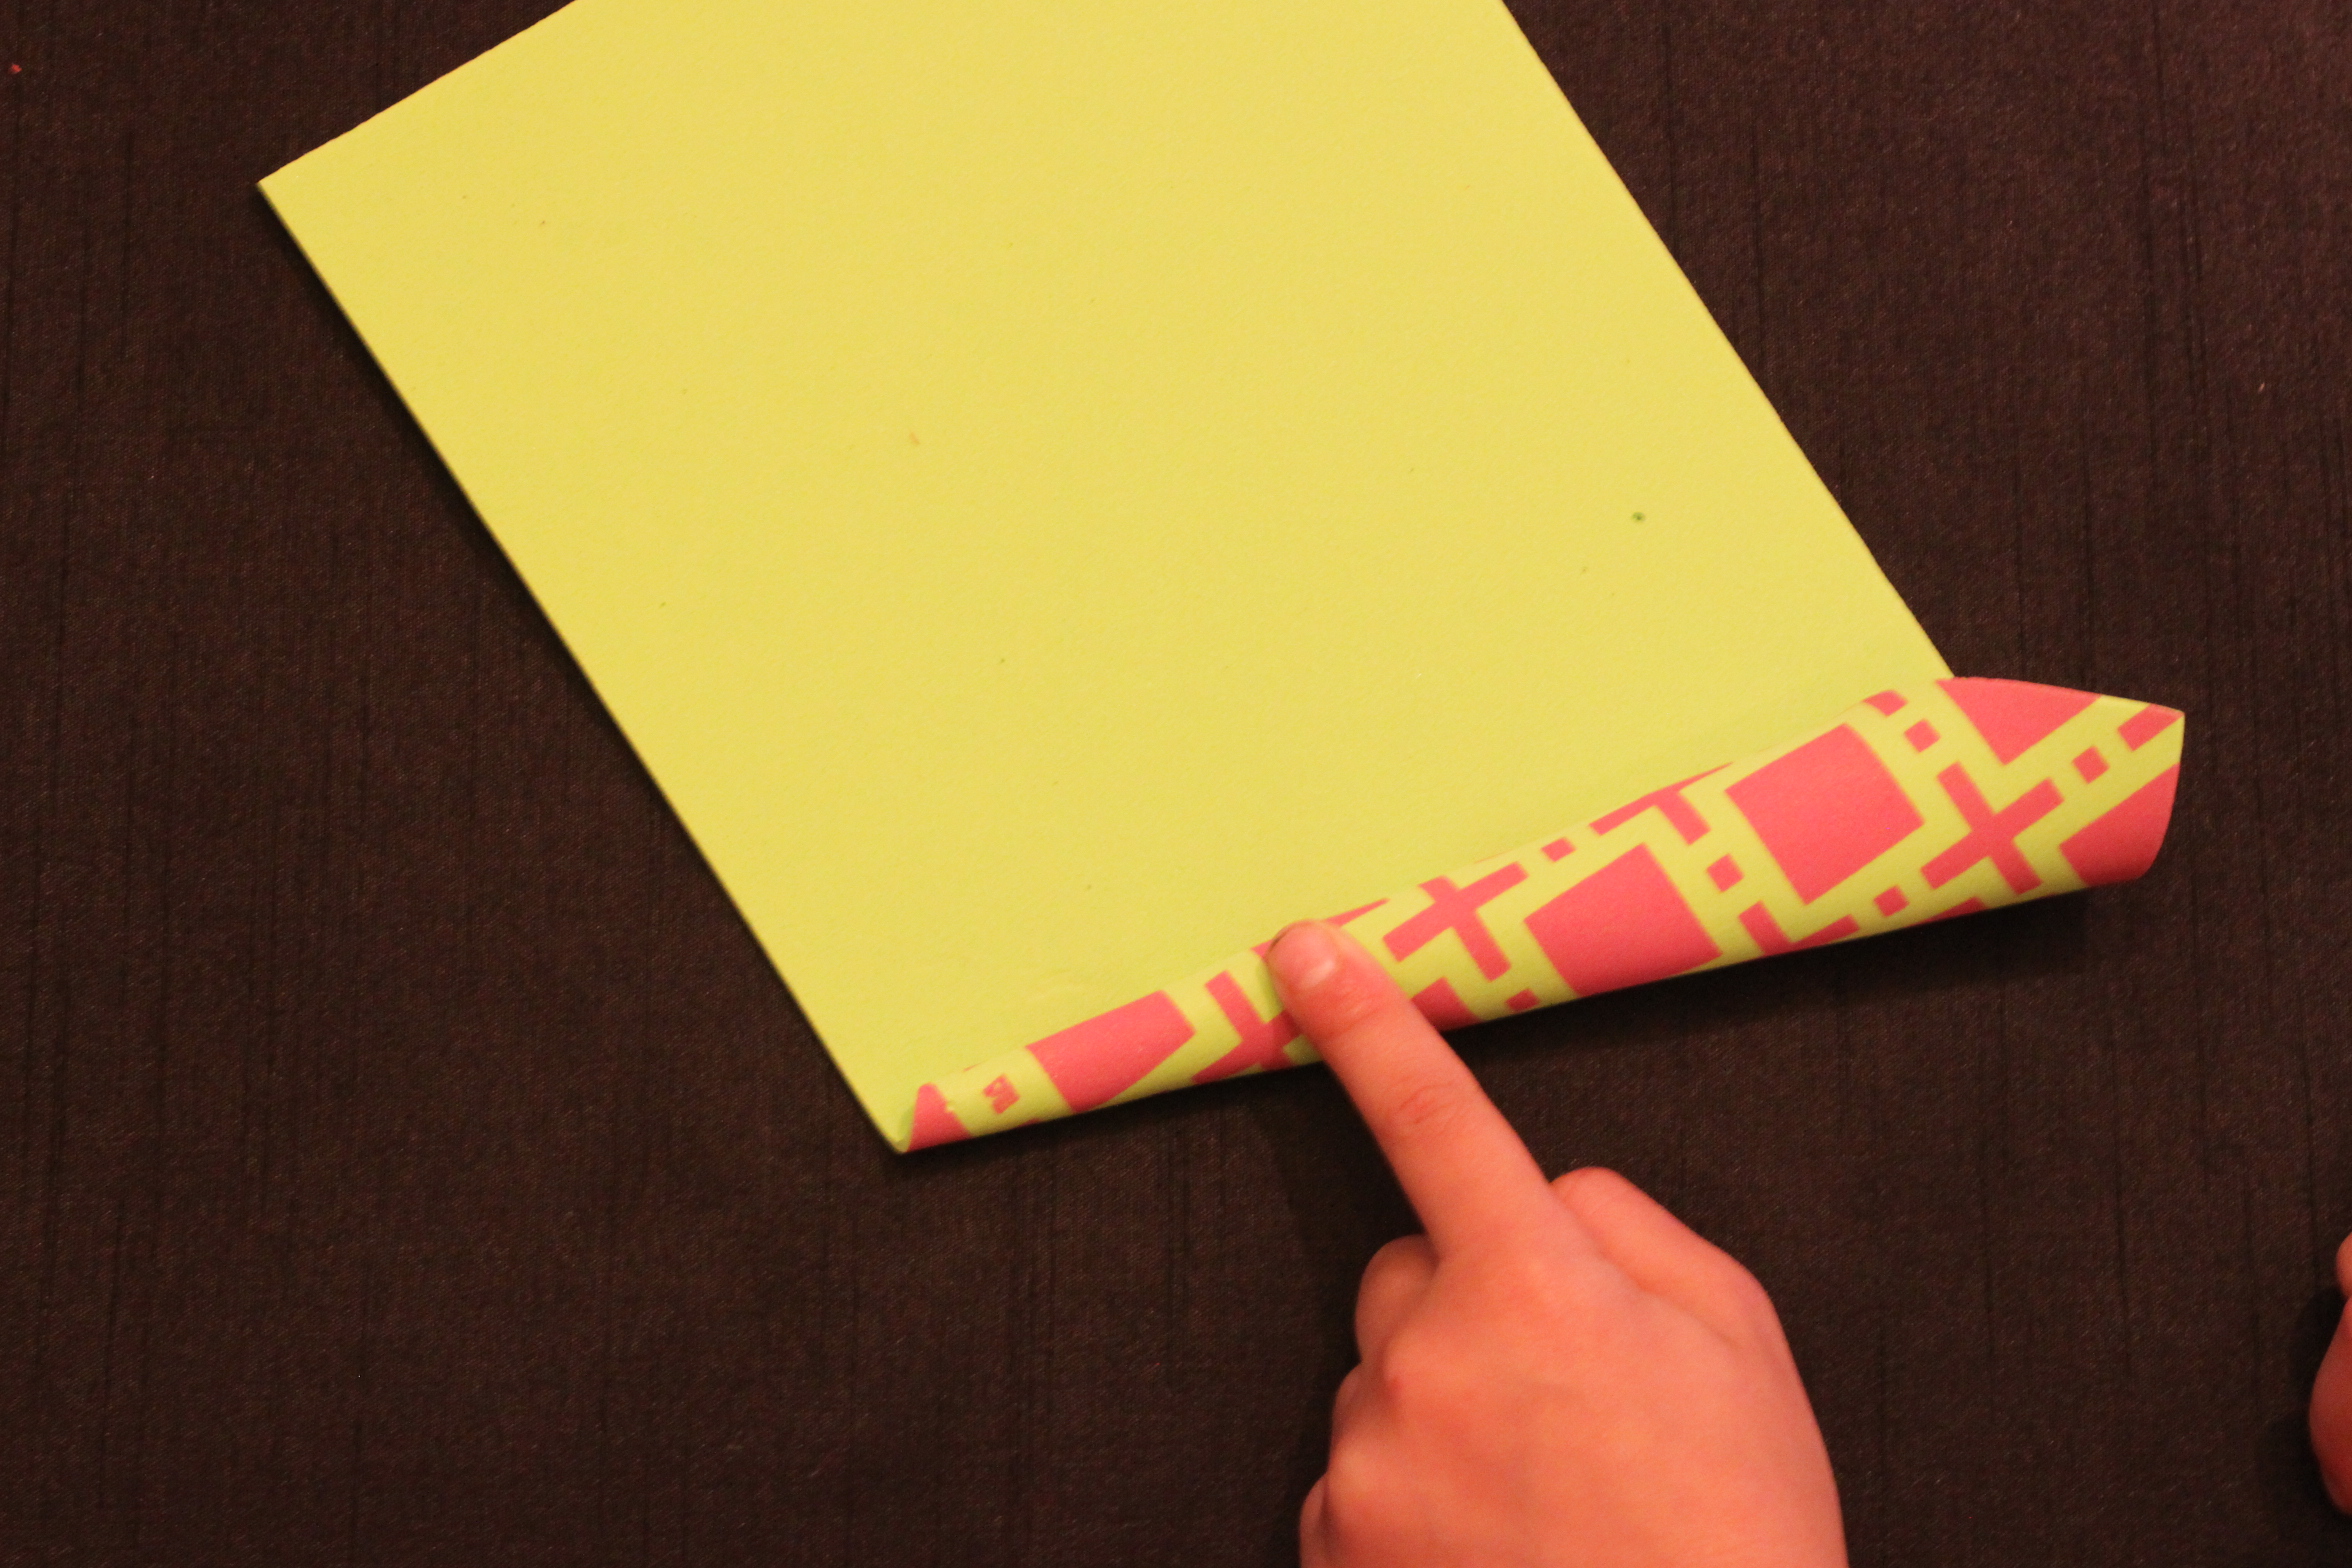
Step 3
Next, we started rolling. My daughter helped keep a tight roll and I added hot glue as we went.
Step 4
Once you get to the end add a good amount of glue to keep it closed and trim the bottom to make an even end.
Step 5
We cut a round piece of foam and glued it to the bottom so we have a flat surface to attach to the headband.

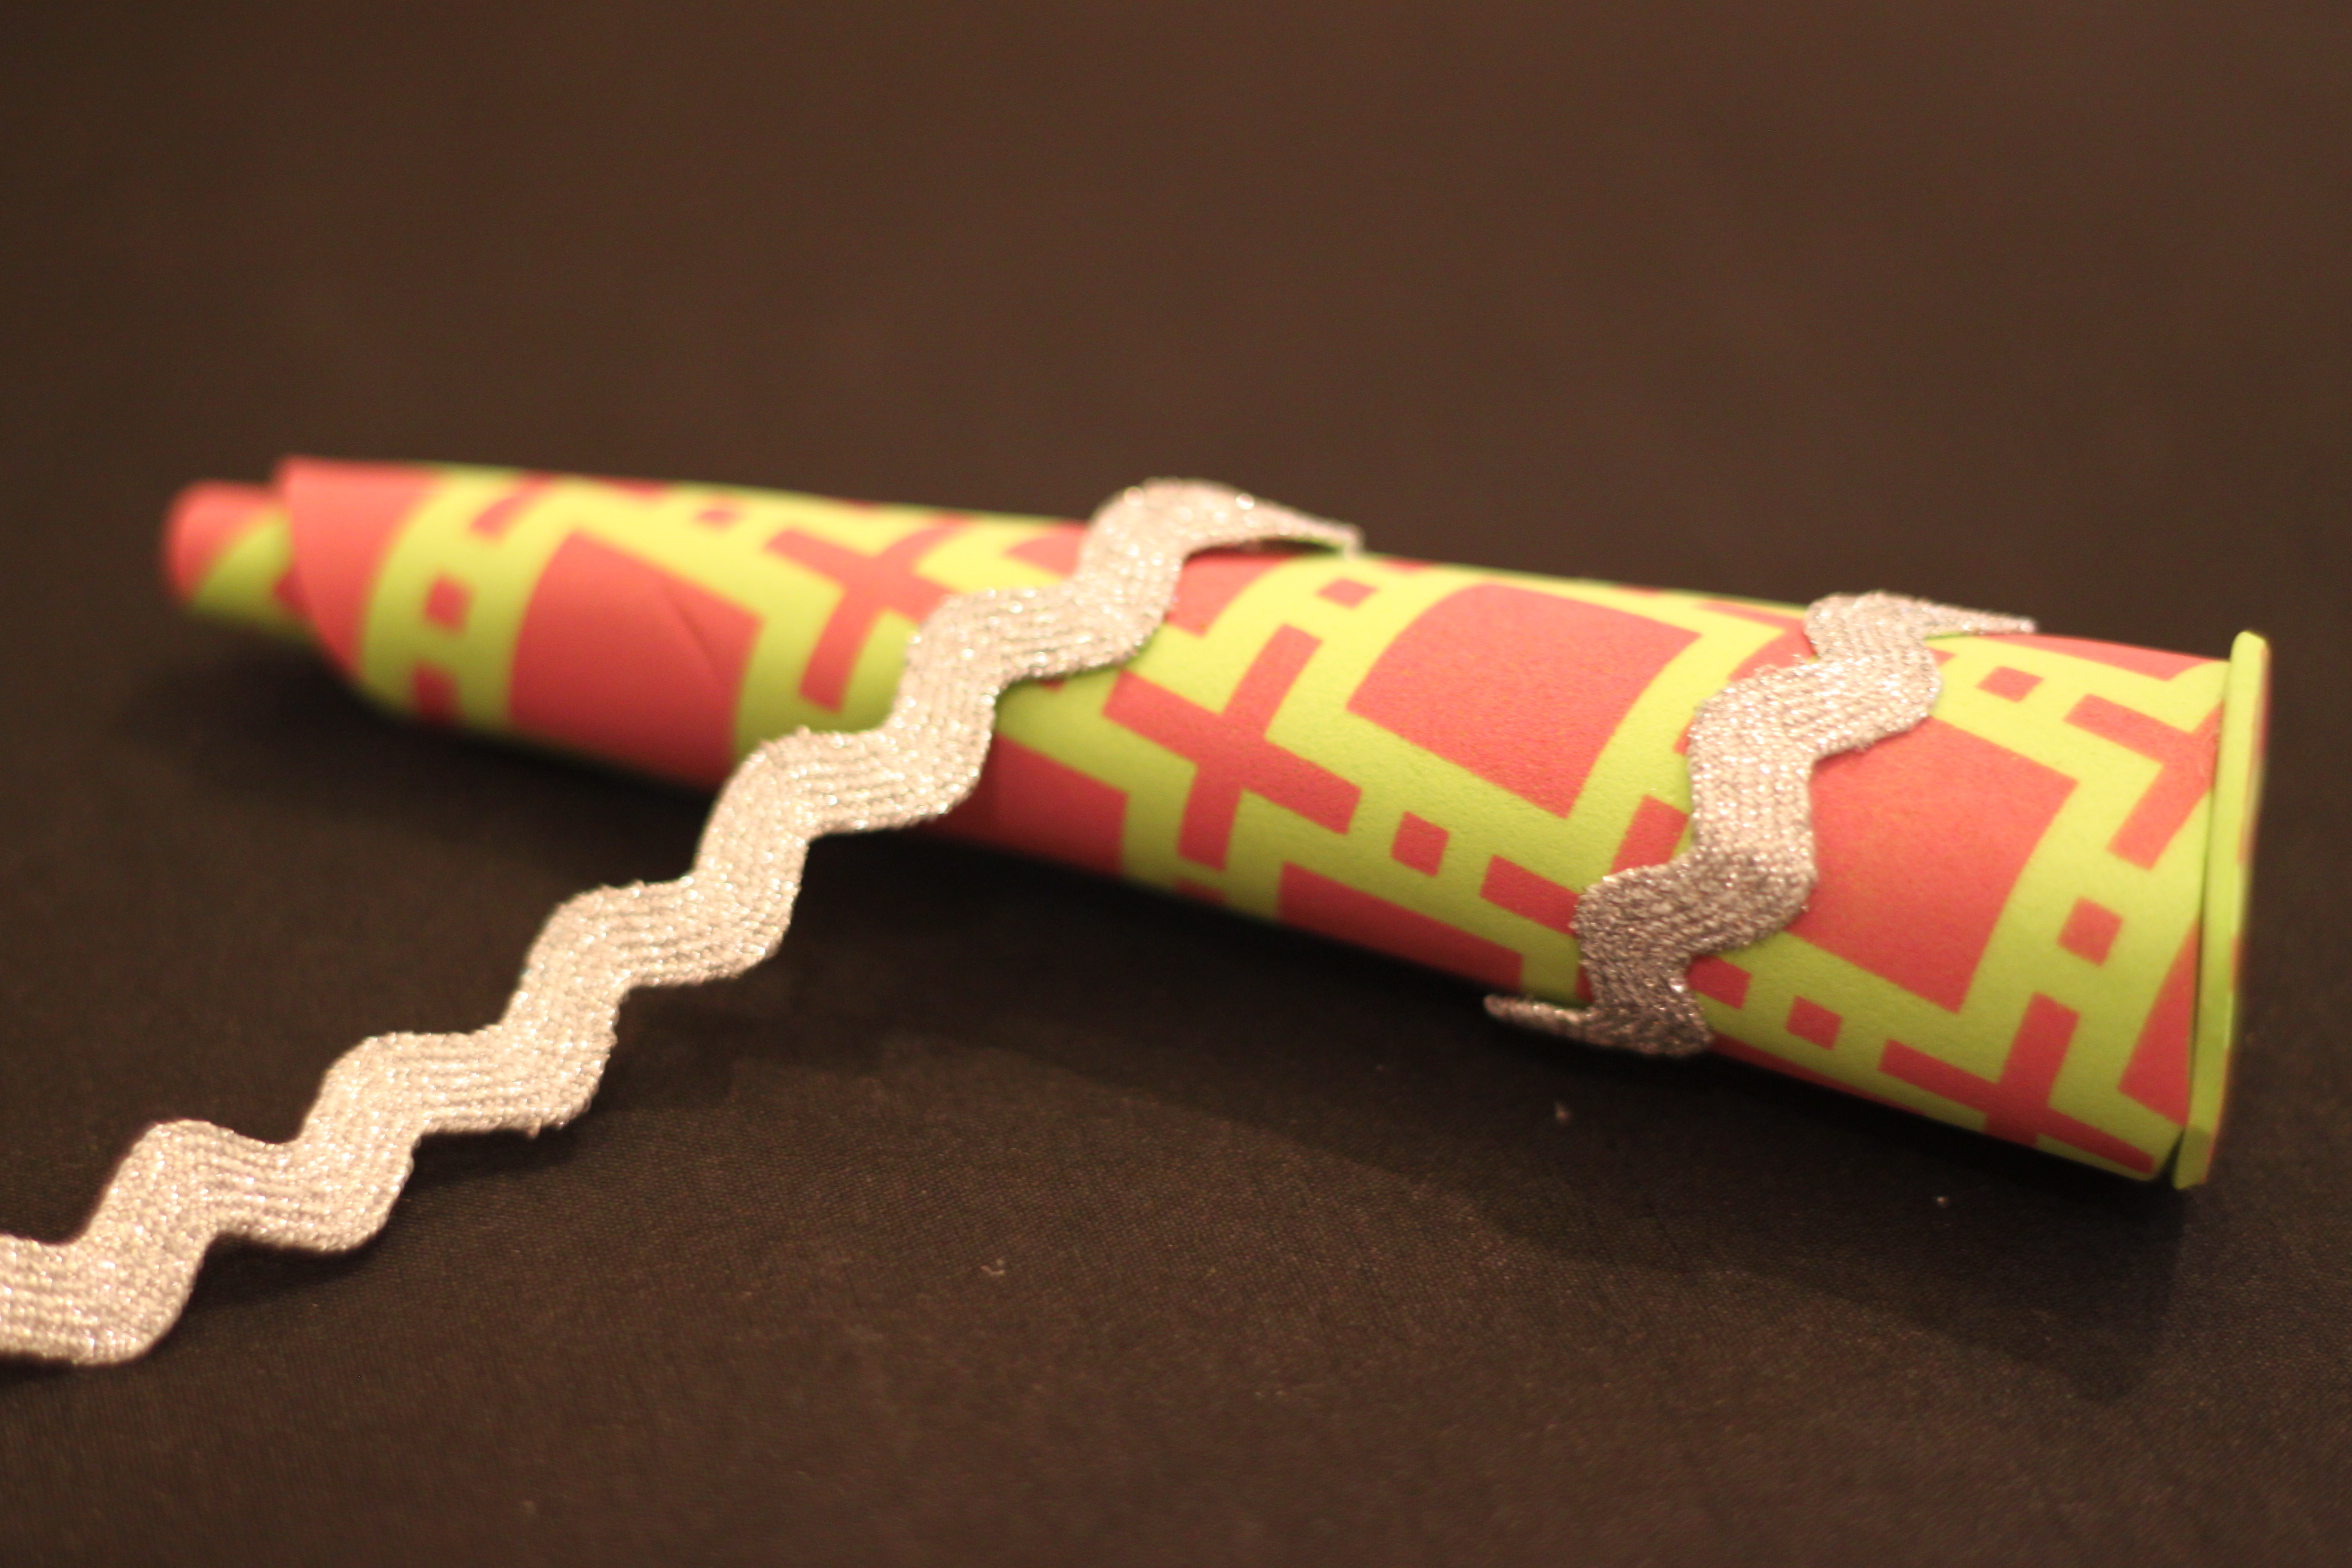
Step 6
Next, some ribbon added just the right fancy unicorn touch! I used hot glue to attach this as well. My daughter just loved designing these herself!
Step 7
Once we had our horns done all we had to do was attach them right to the headband with some more hot glue. Fabric headbands work best for this.
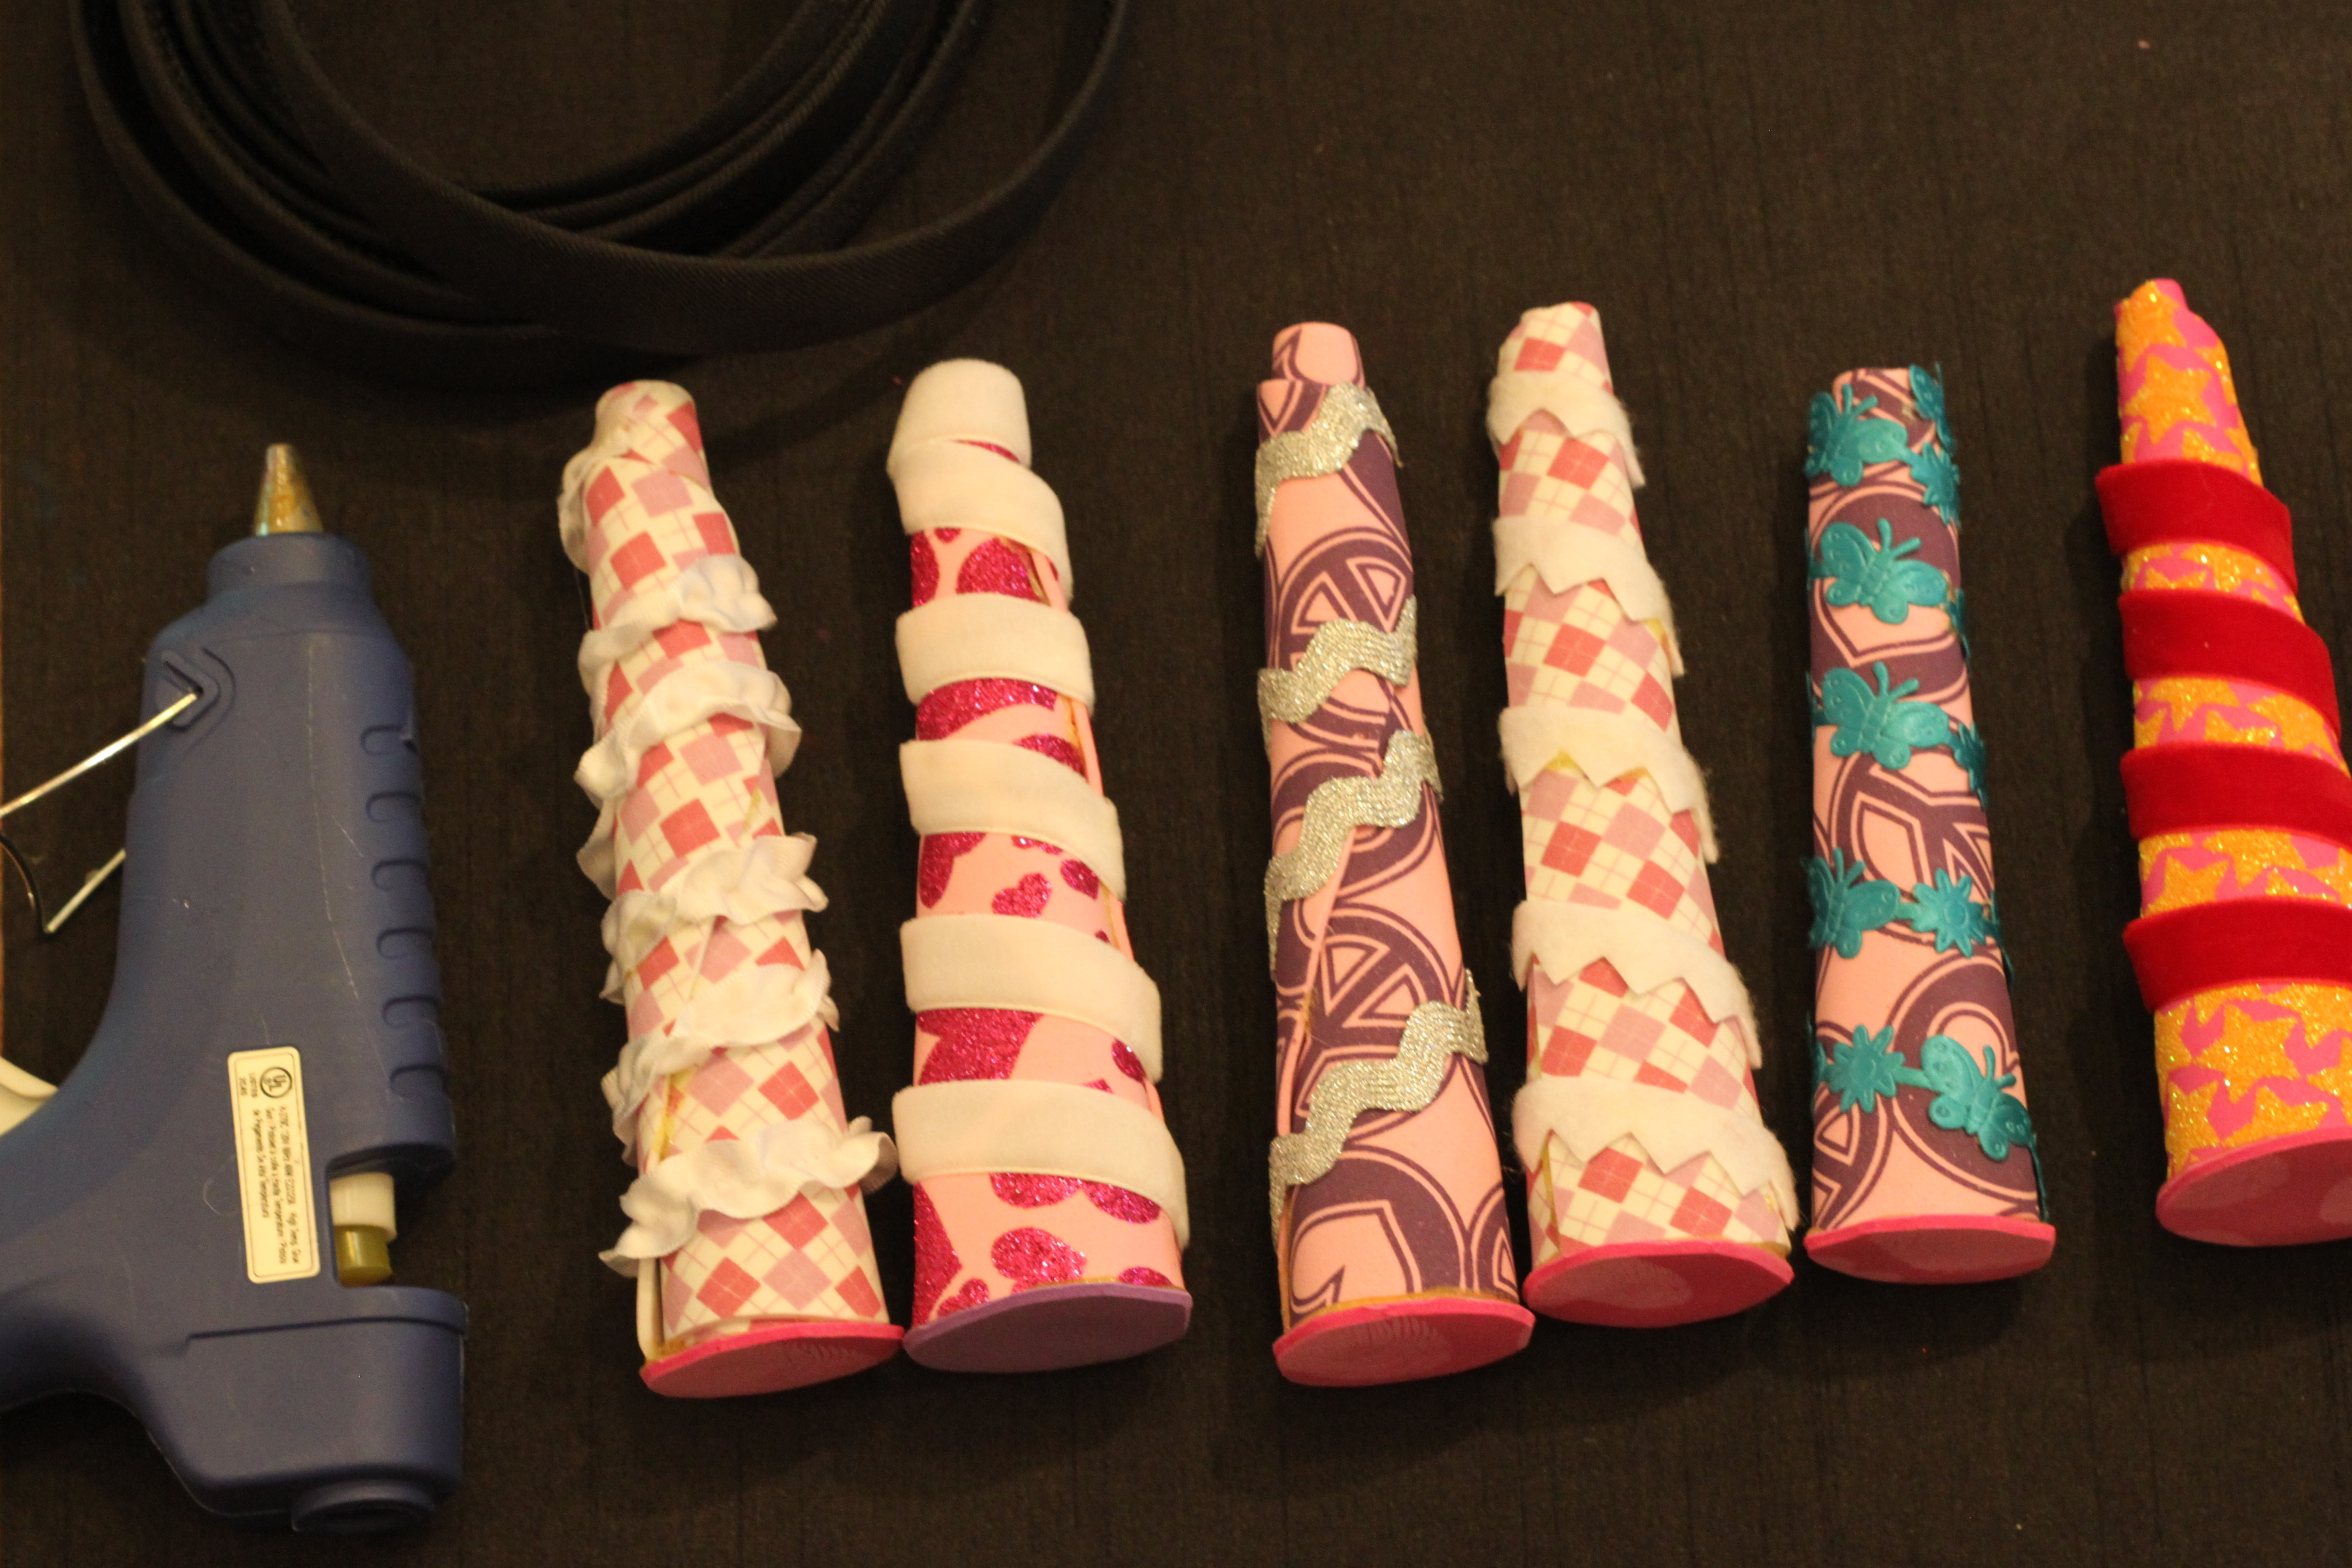
Step 8
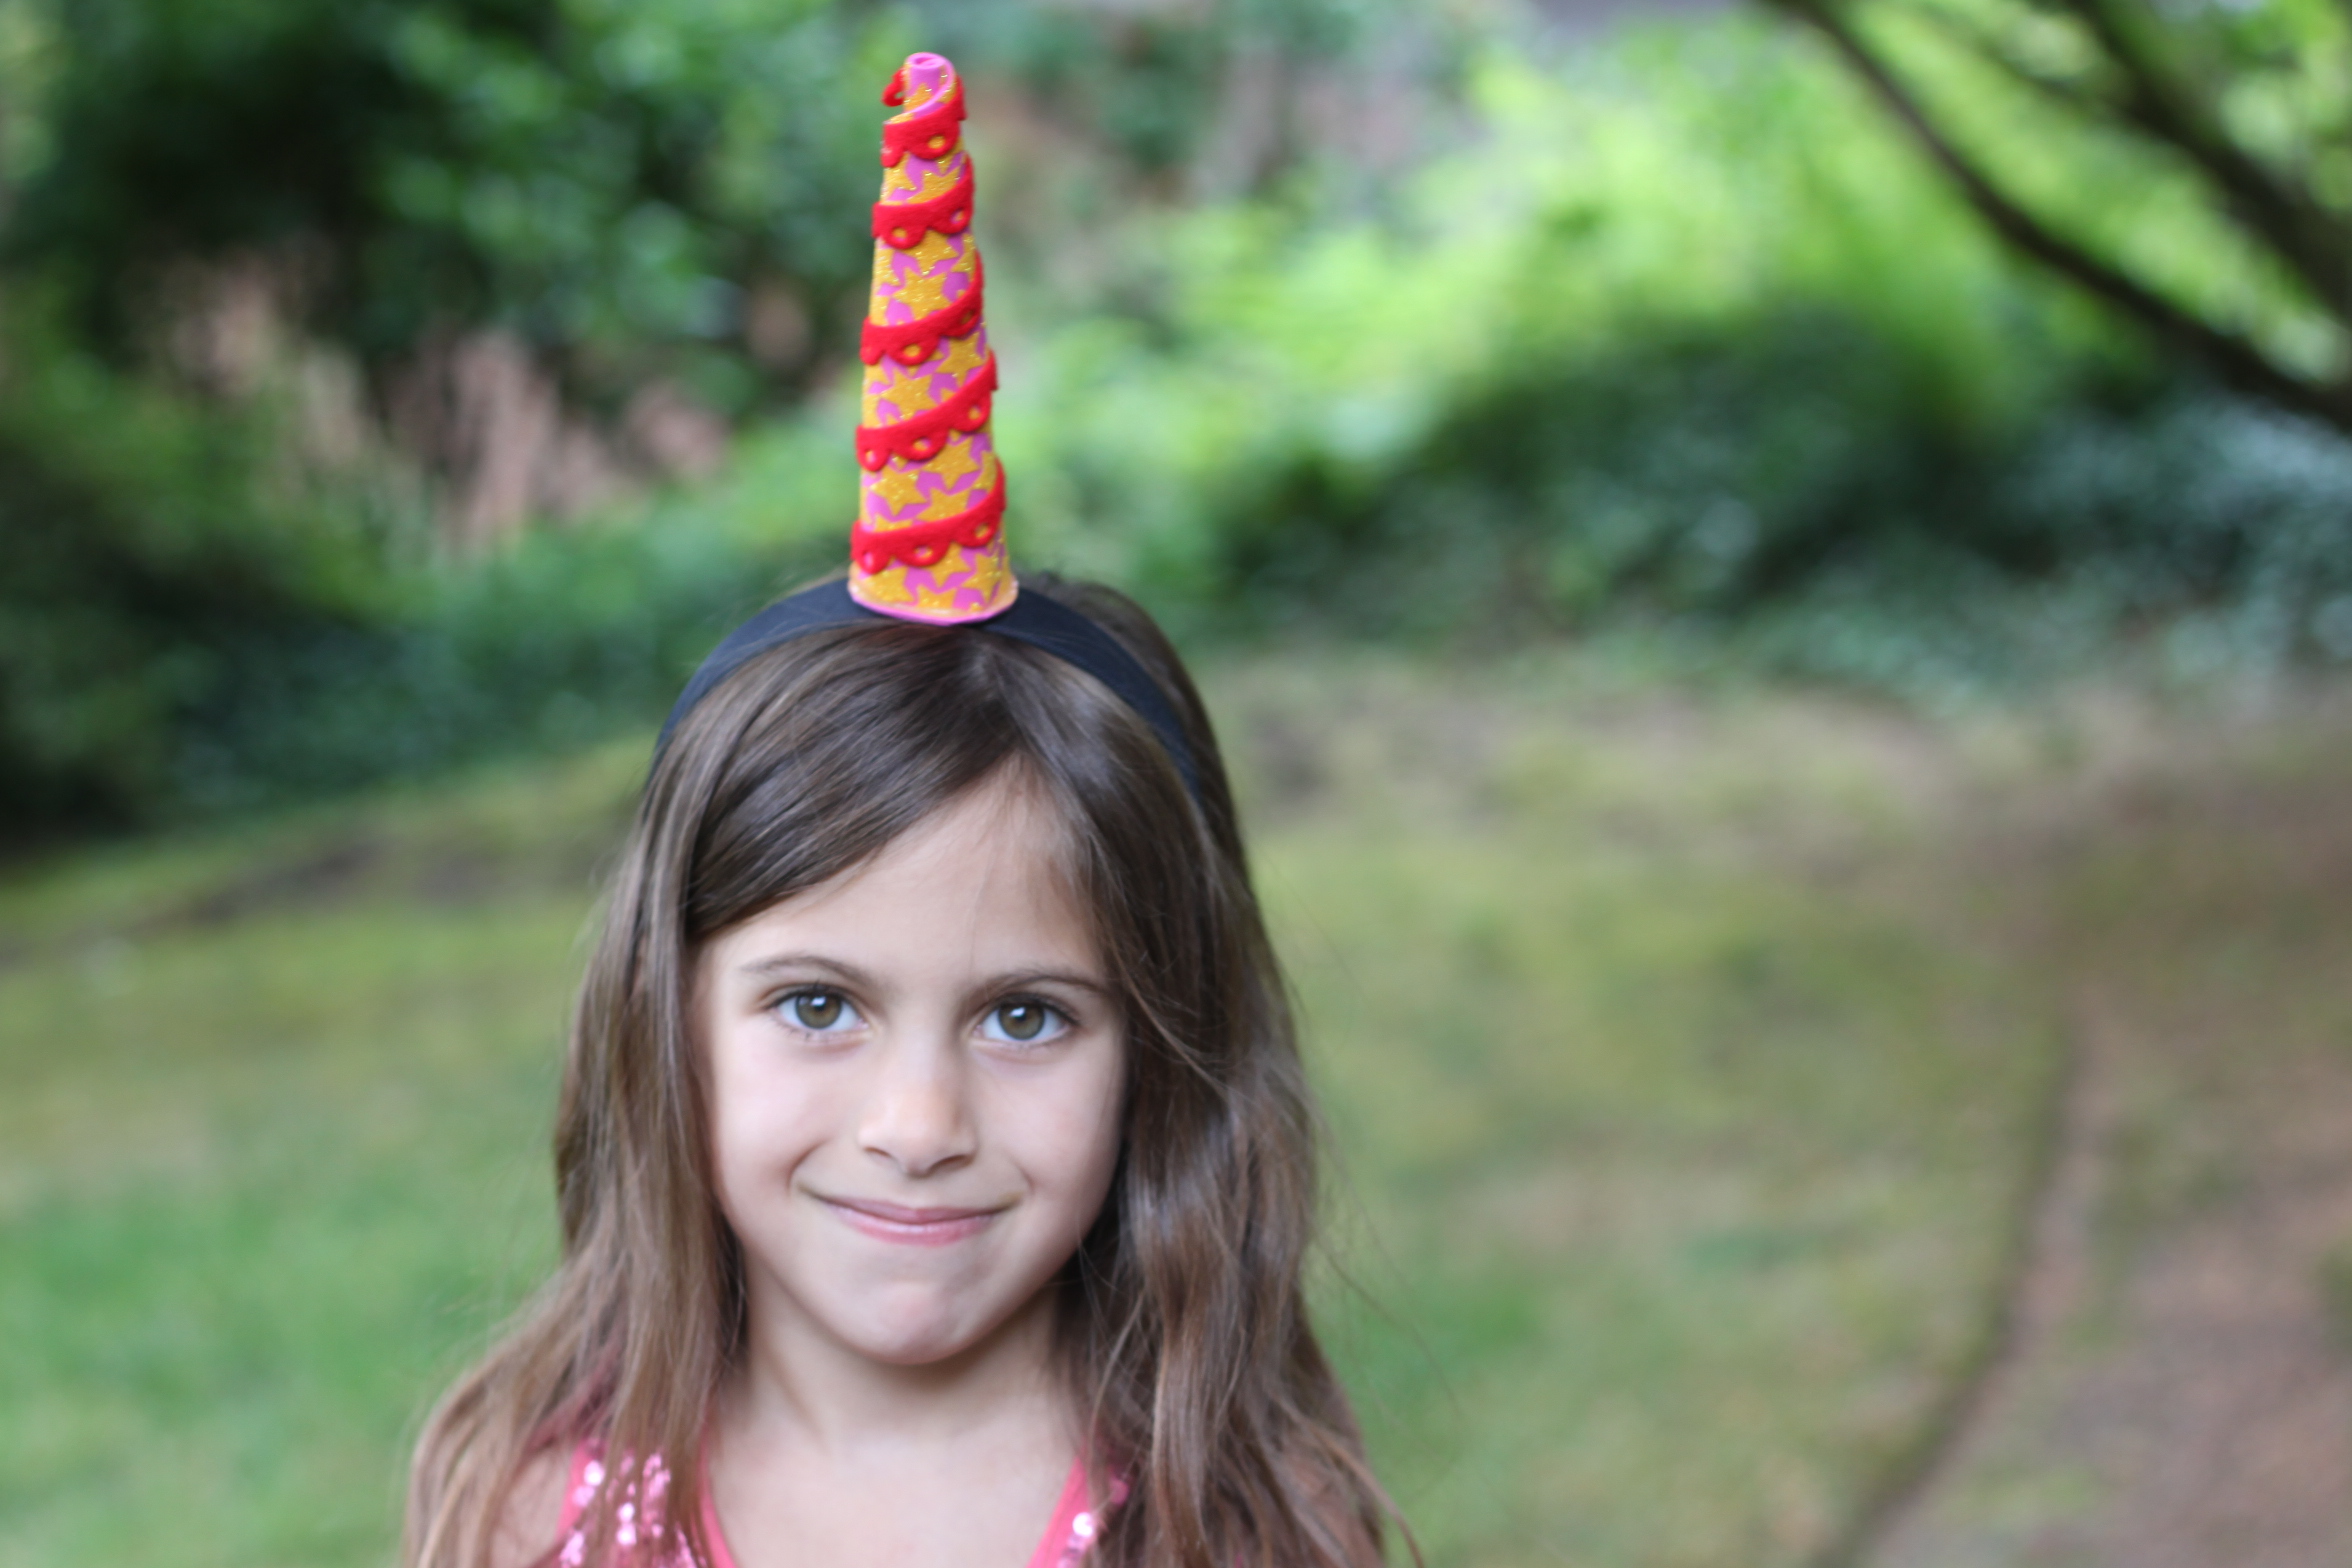
They all came out great. I love the colors and patterns my daughter chose.
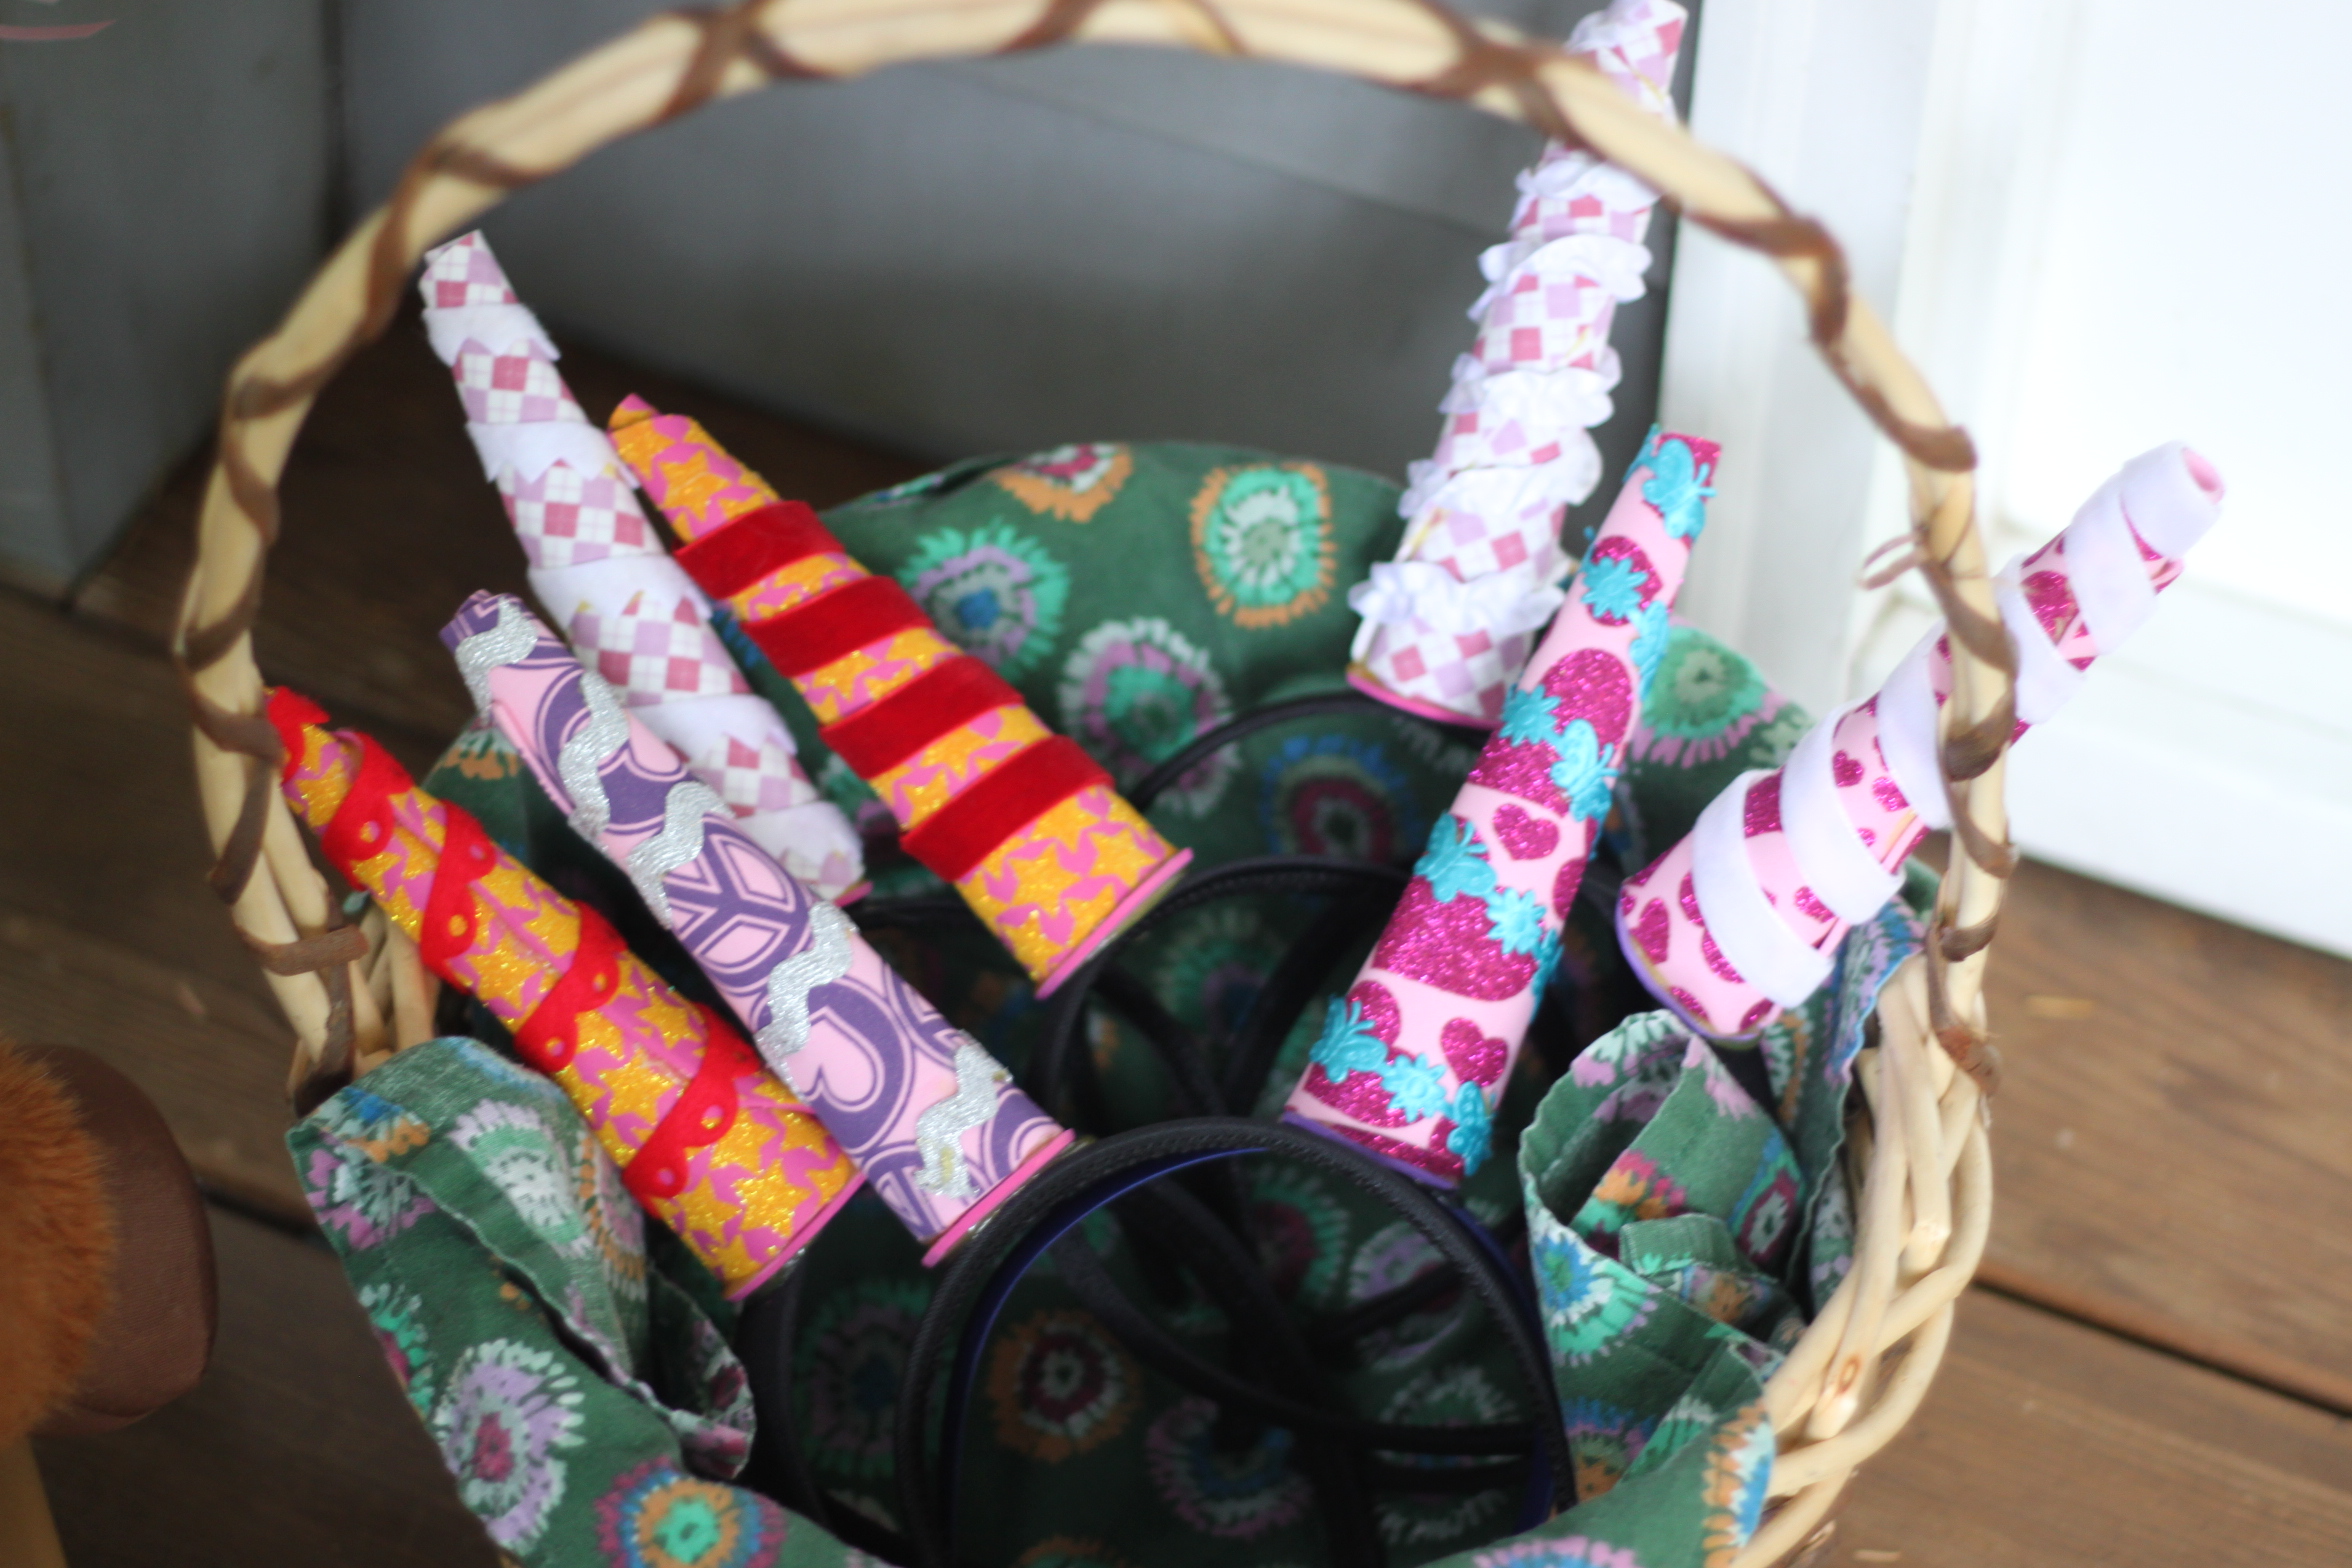
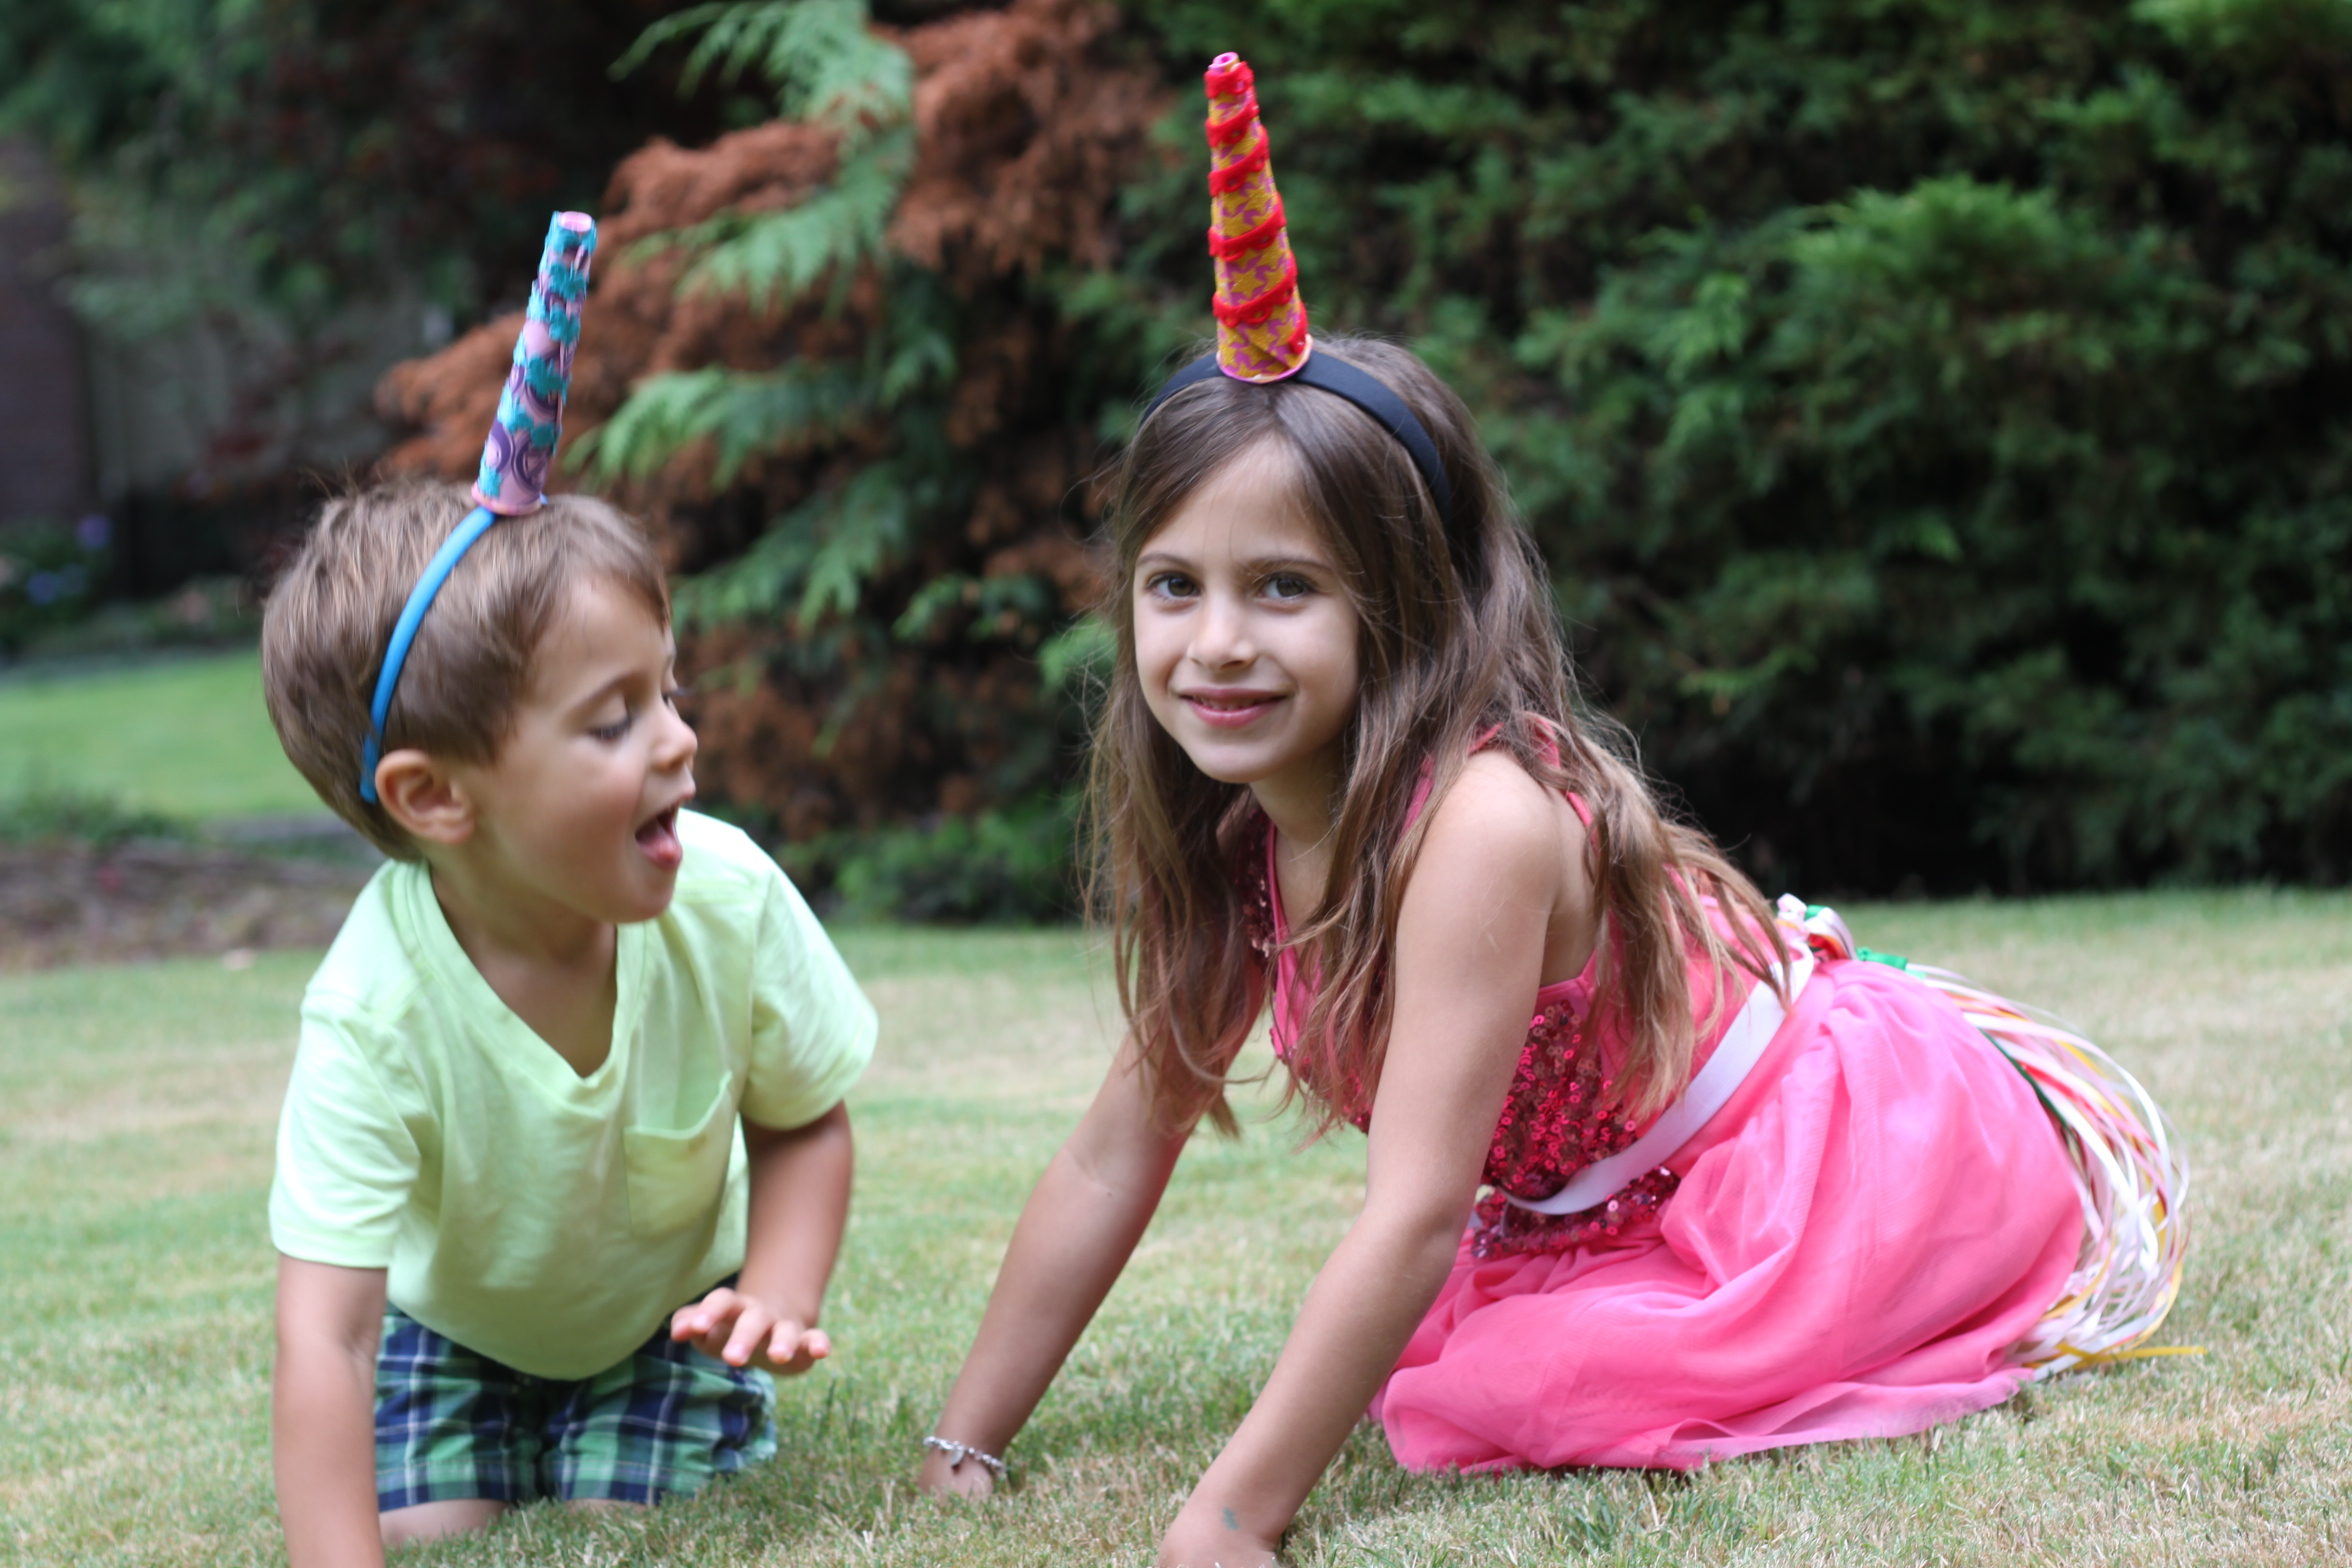
Final result!
What a great way to stir up some imaginative play and they continued to get used after the party was over.