Step-by-step tutorial
Step 1
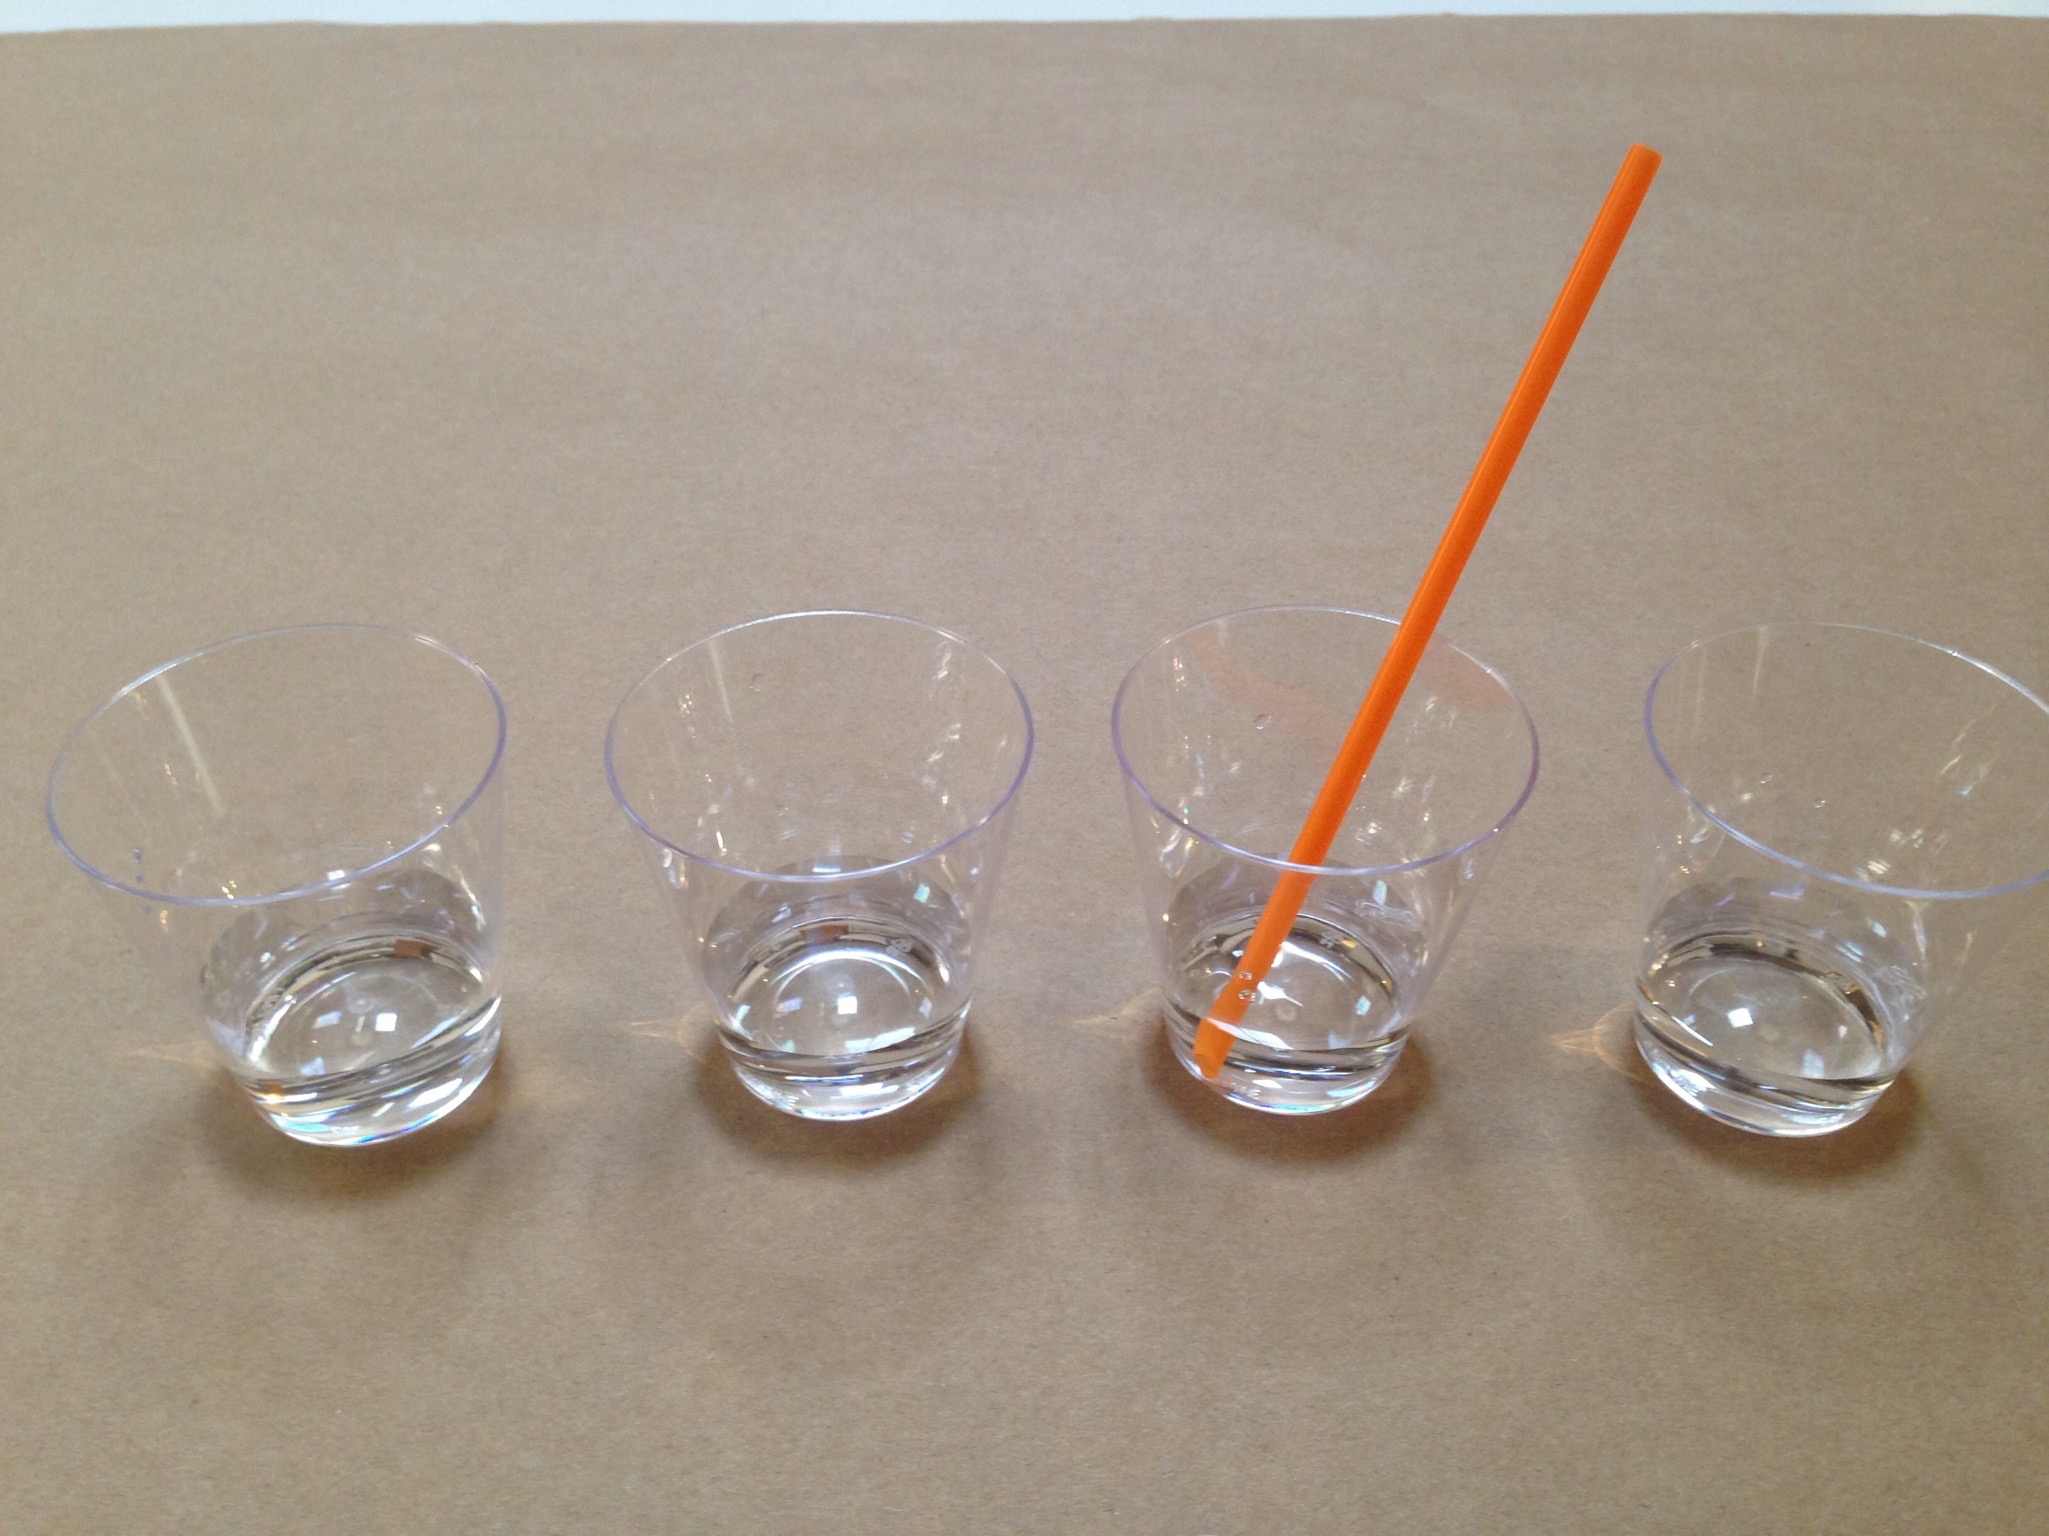
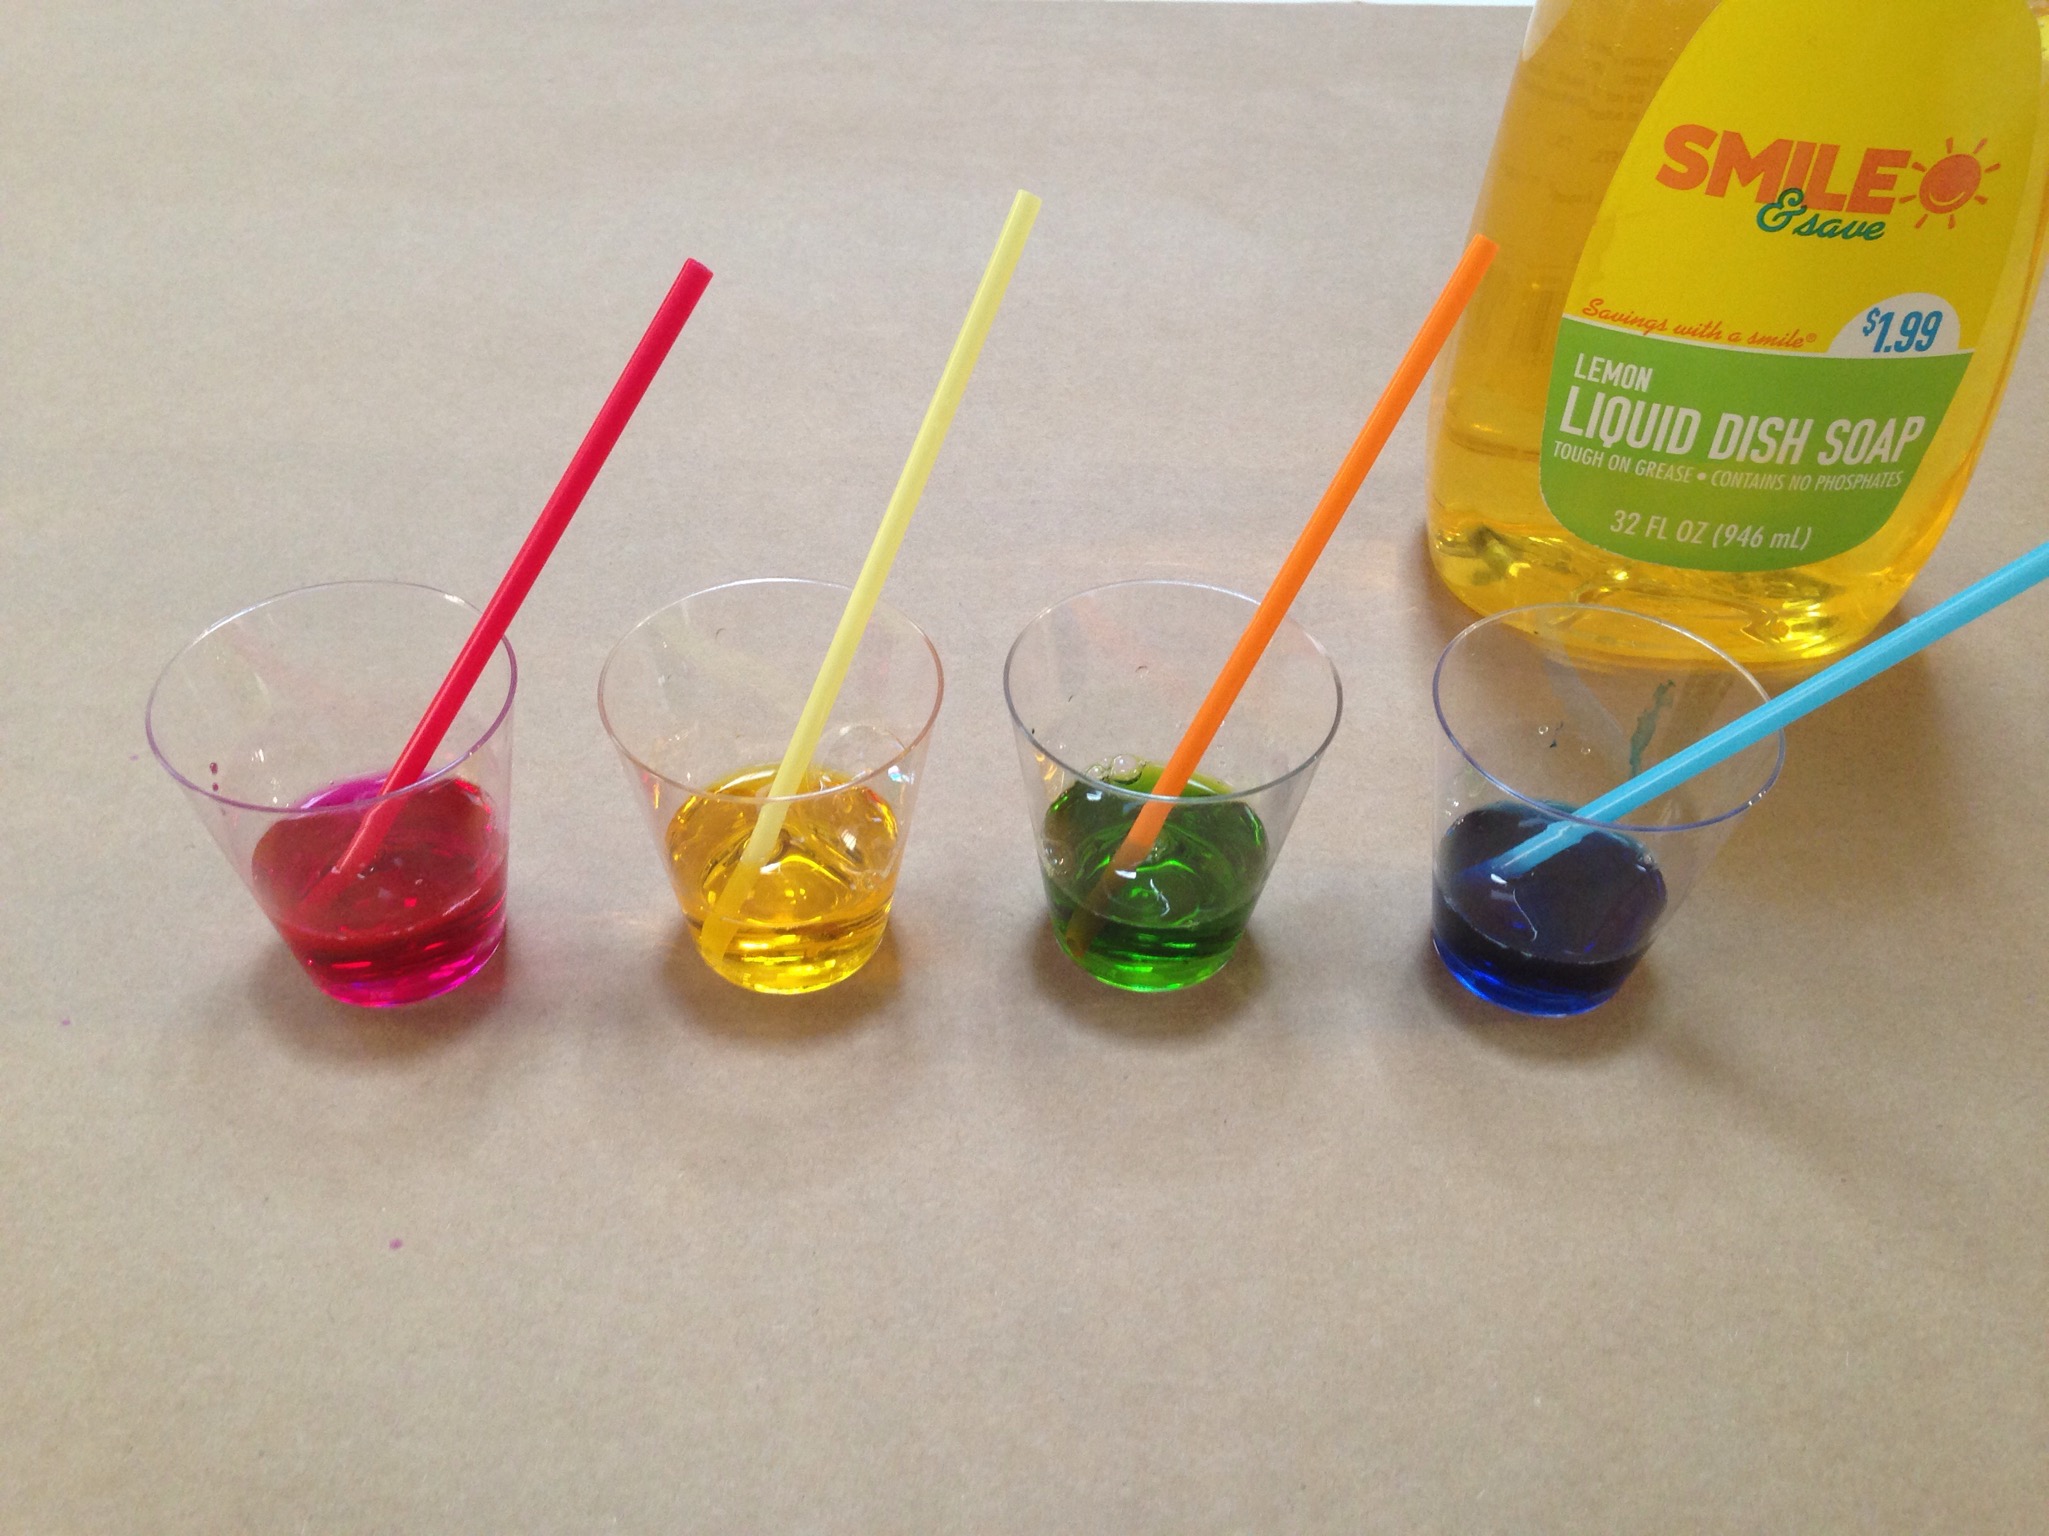
Cover your work surface before starting the project, or work outdoors. As you know, bubbles can sometimes get a little messy!Fill the disposable cups about 1-2 tbsp of water, leaving enough room for the bubbles you'll be blowing into the cups later. Tip: Stick a straw in the cup to make sure one end of your straw is completely immersed in water.

Step 2
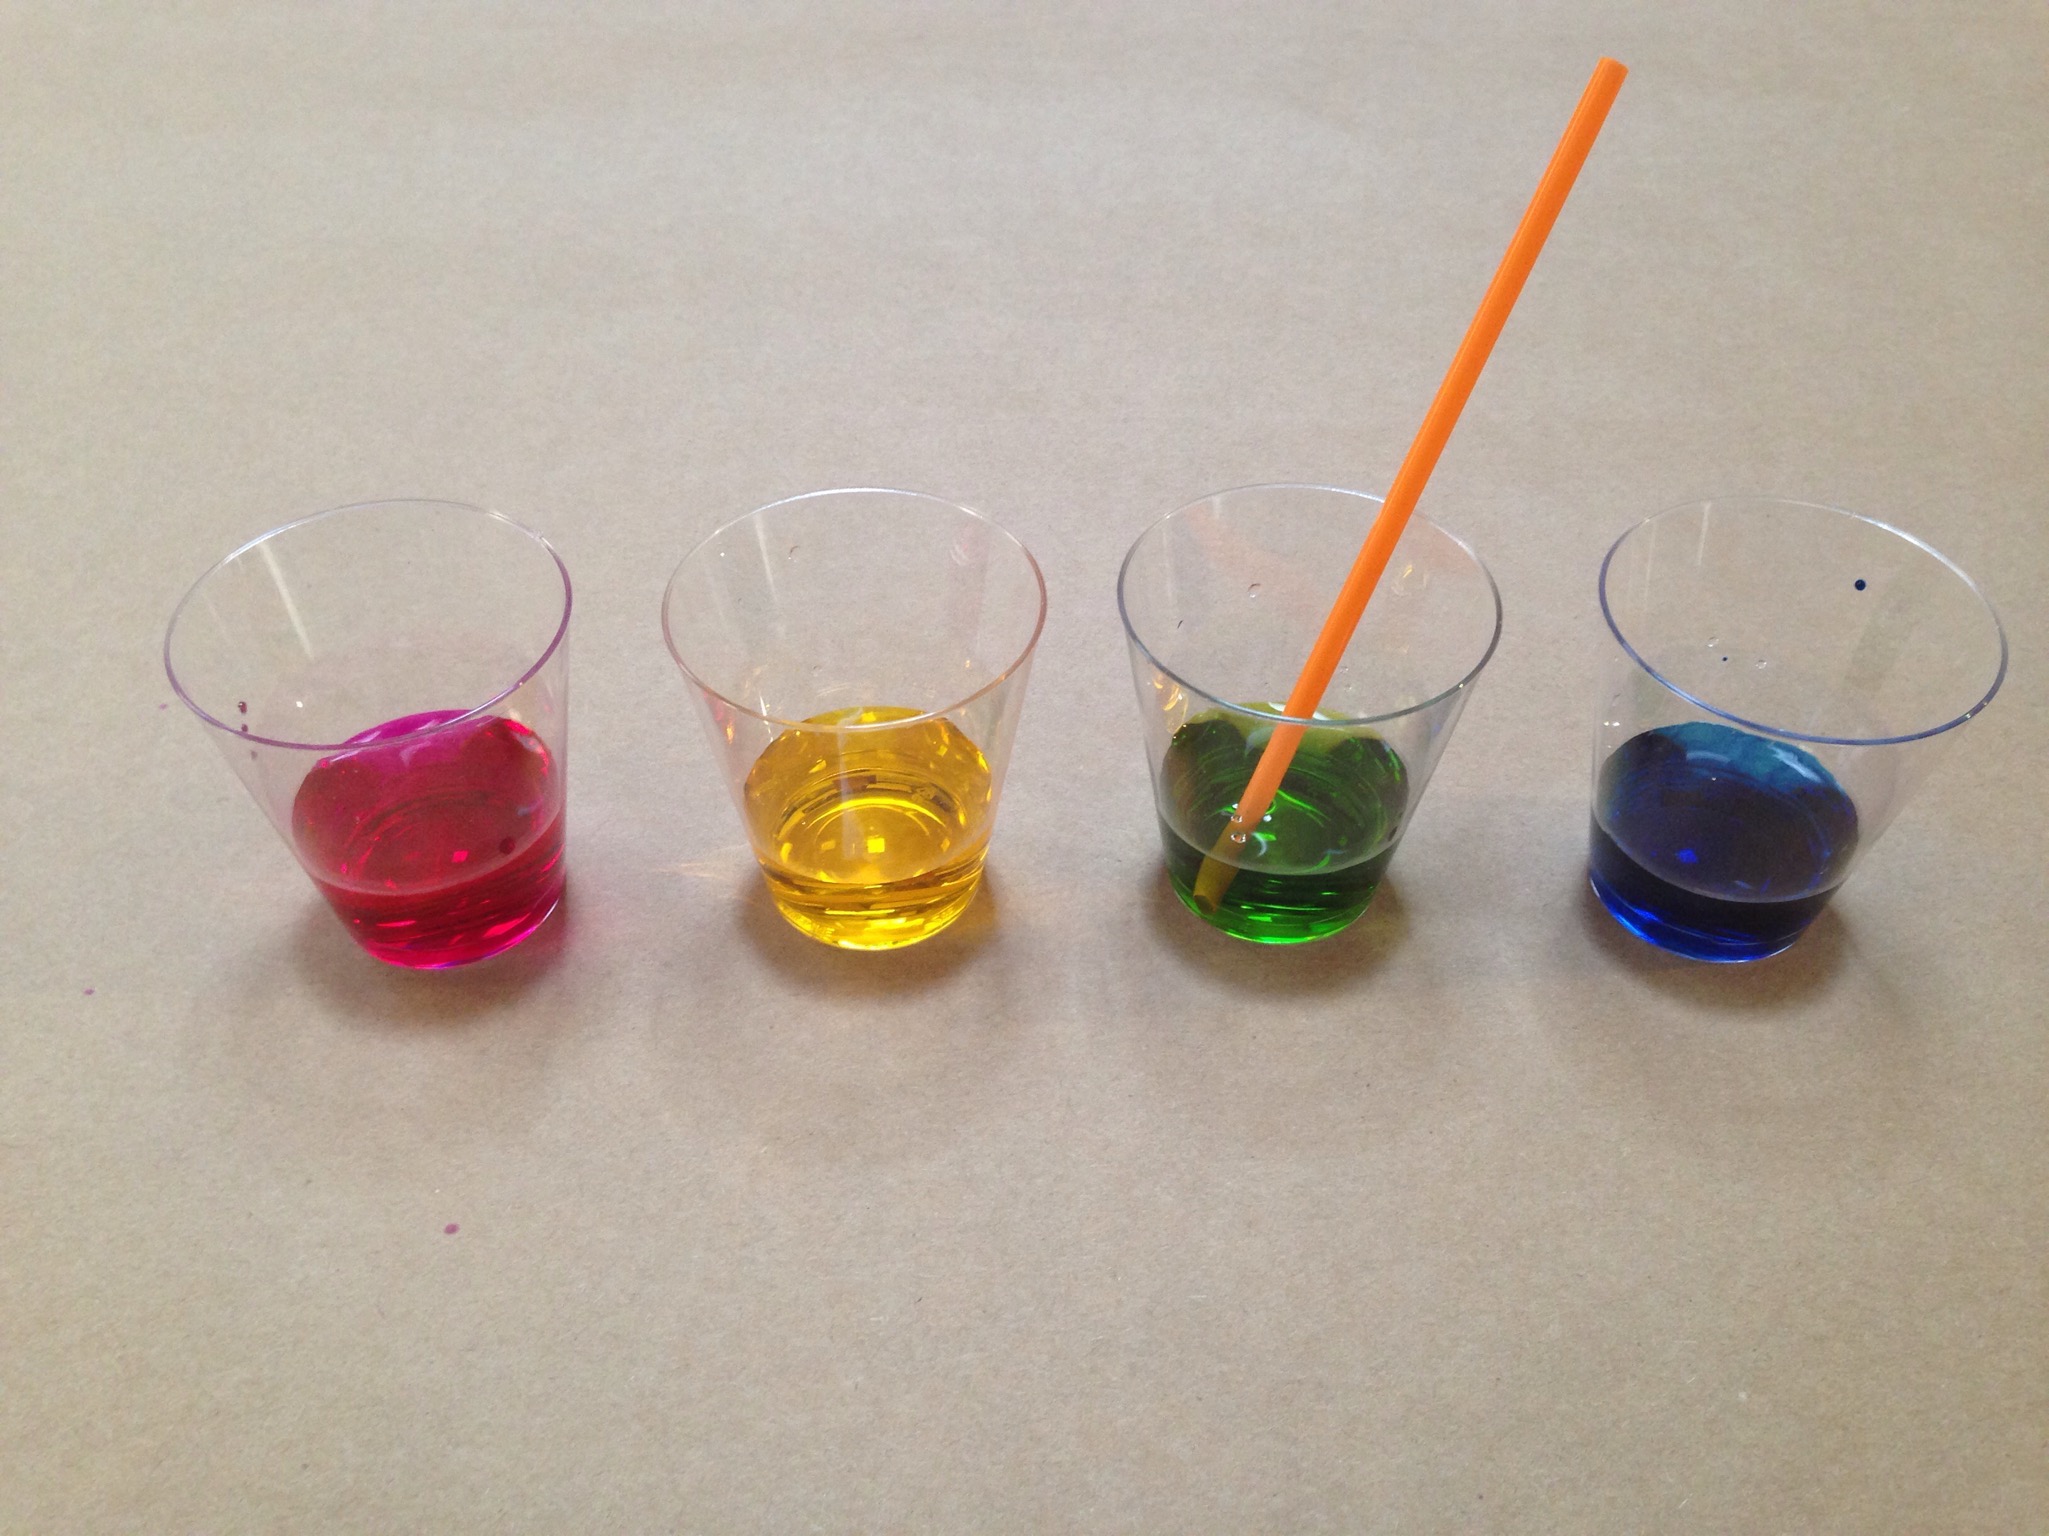
Add in a few drops of liquid watercolor in each cup. The more you add the more vibrant your painting will be.
Step 3
Add a few drops of dish soap into each cup and use the straws to mix well.
Step 4
Give the bubbles a test! Gently blow into the straw to create bubbles inside the cups. If the bubbles don't hold together and quickly pop, add more soap.Once the bubbles look good, keep blowing until the bubbles rise above the lip of the cup.Tip: Make sure to only blow out when your mouth is on the straw. Remove your mouth from the straw before taking another breath. Any younger children should be carefully supervised when doing this part.

Step 5
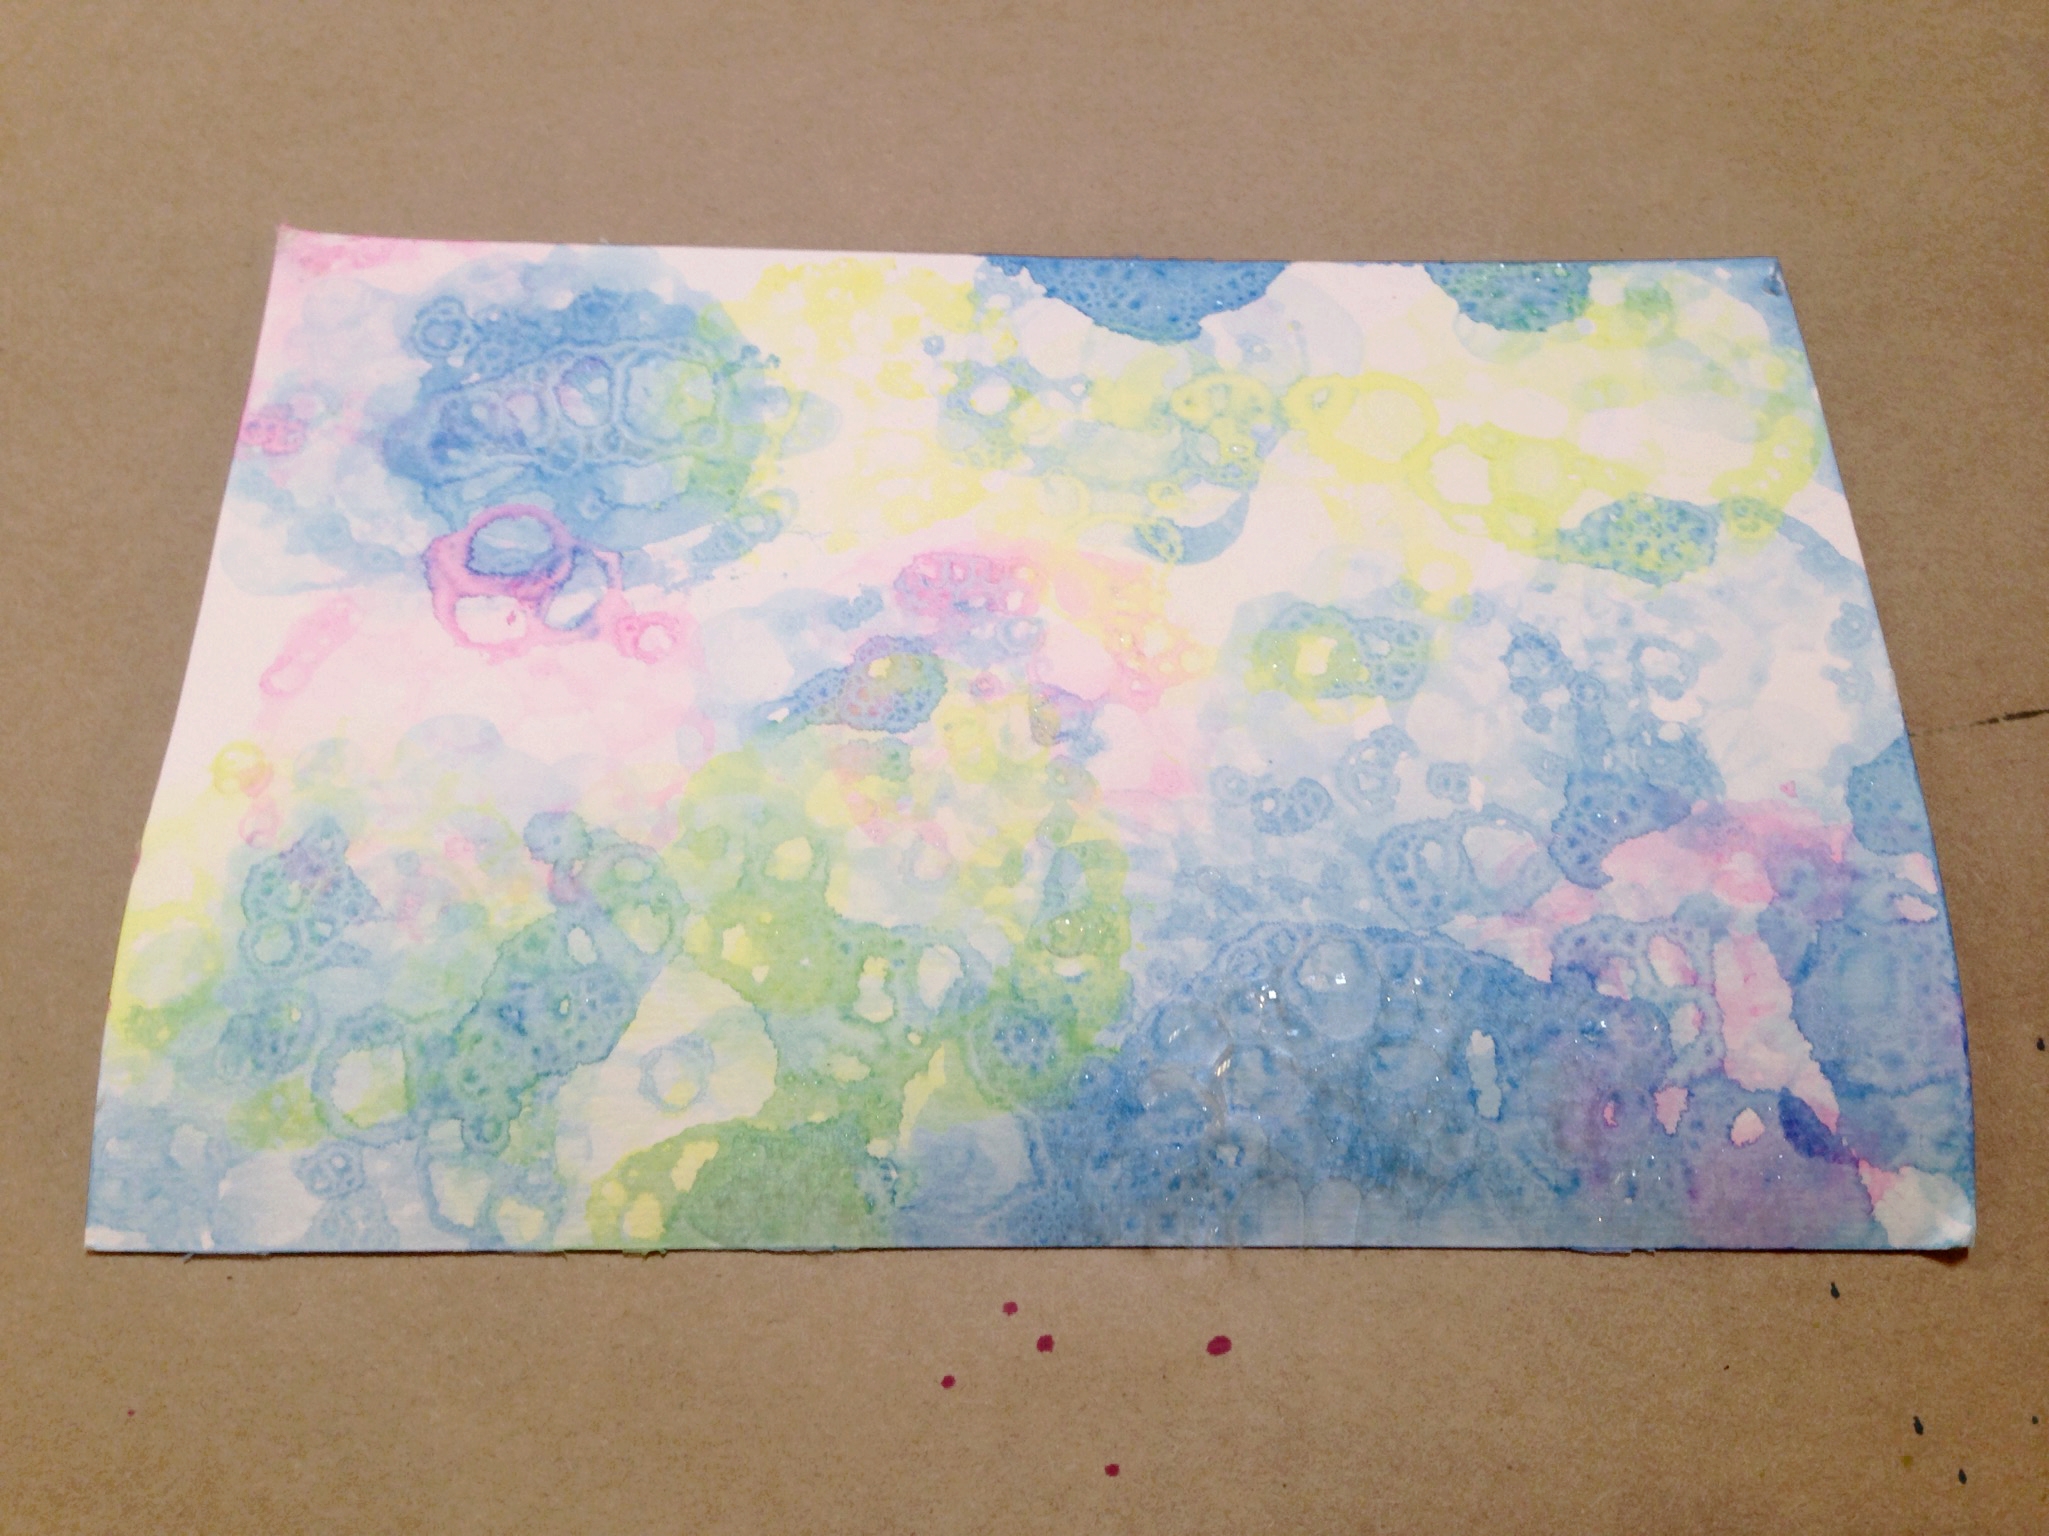
Remove the straw from the cup. Carefully hover your paper over the cup and lower it to make contact with the bubbles. The top layer of bubbles will pop, and you can flip your paper over to see your first bubble print!Add more watercolor to the mixture if you want to deepen the color of the print.

Step 6
Continue blowing bubbles and creating prints to fill the page. Try mixing different colors or making patterns.
Done!
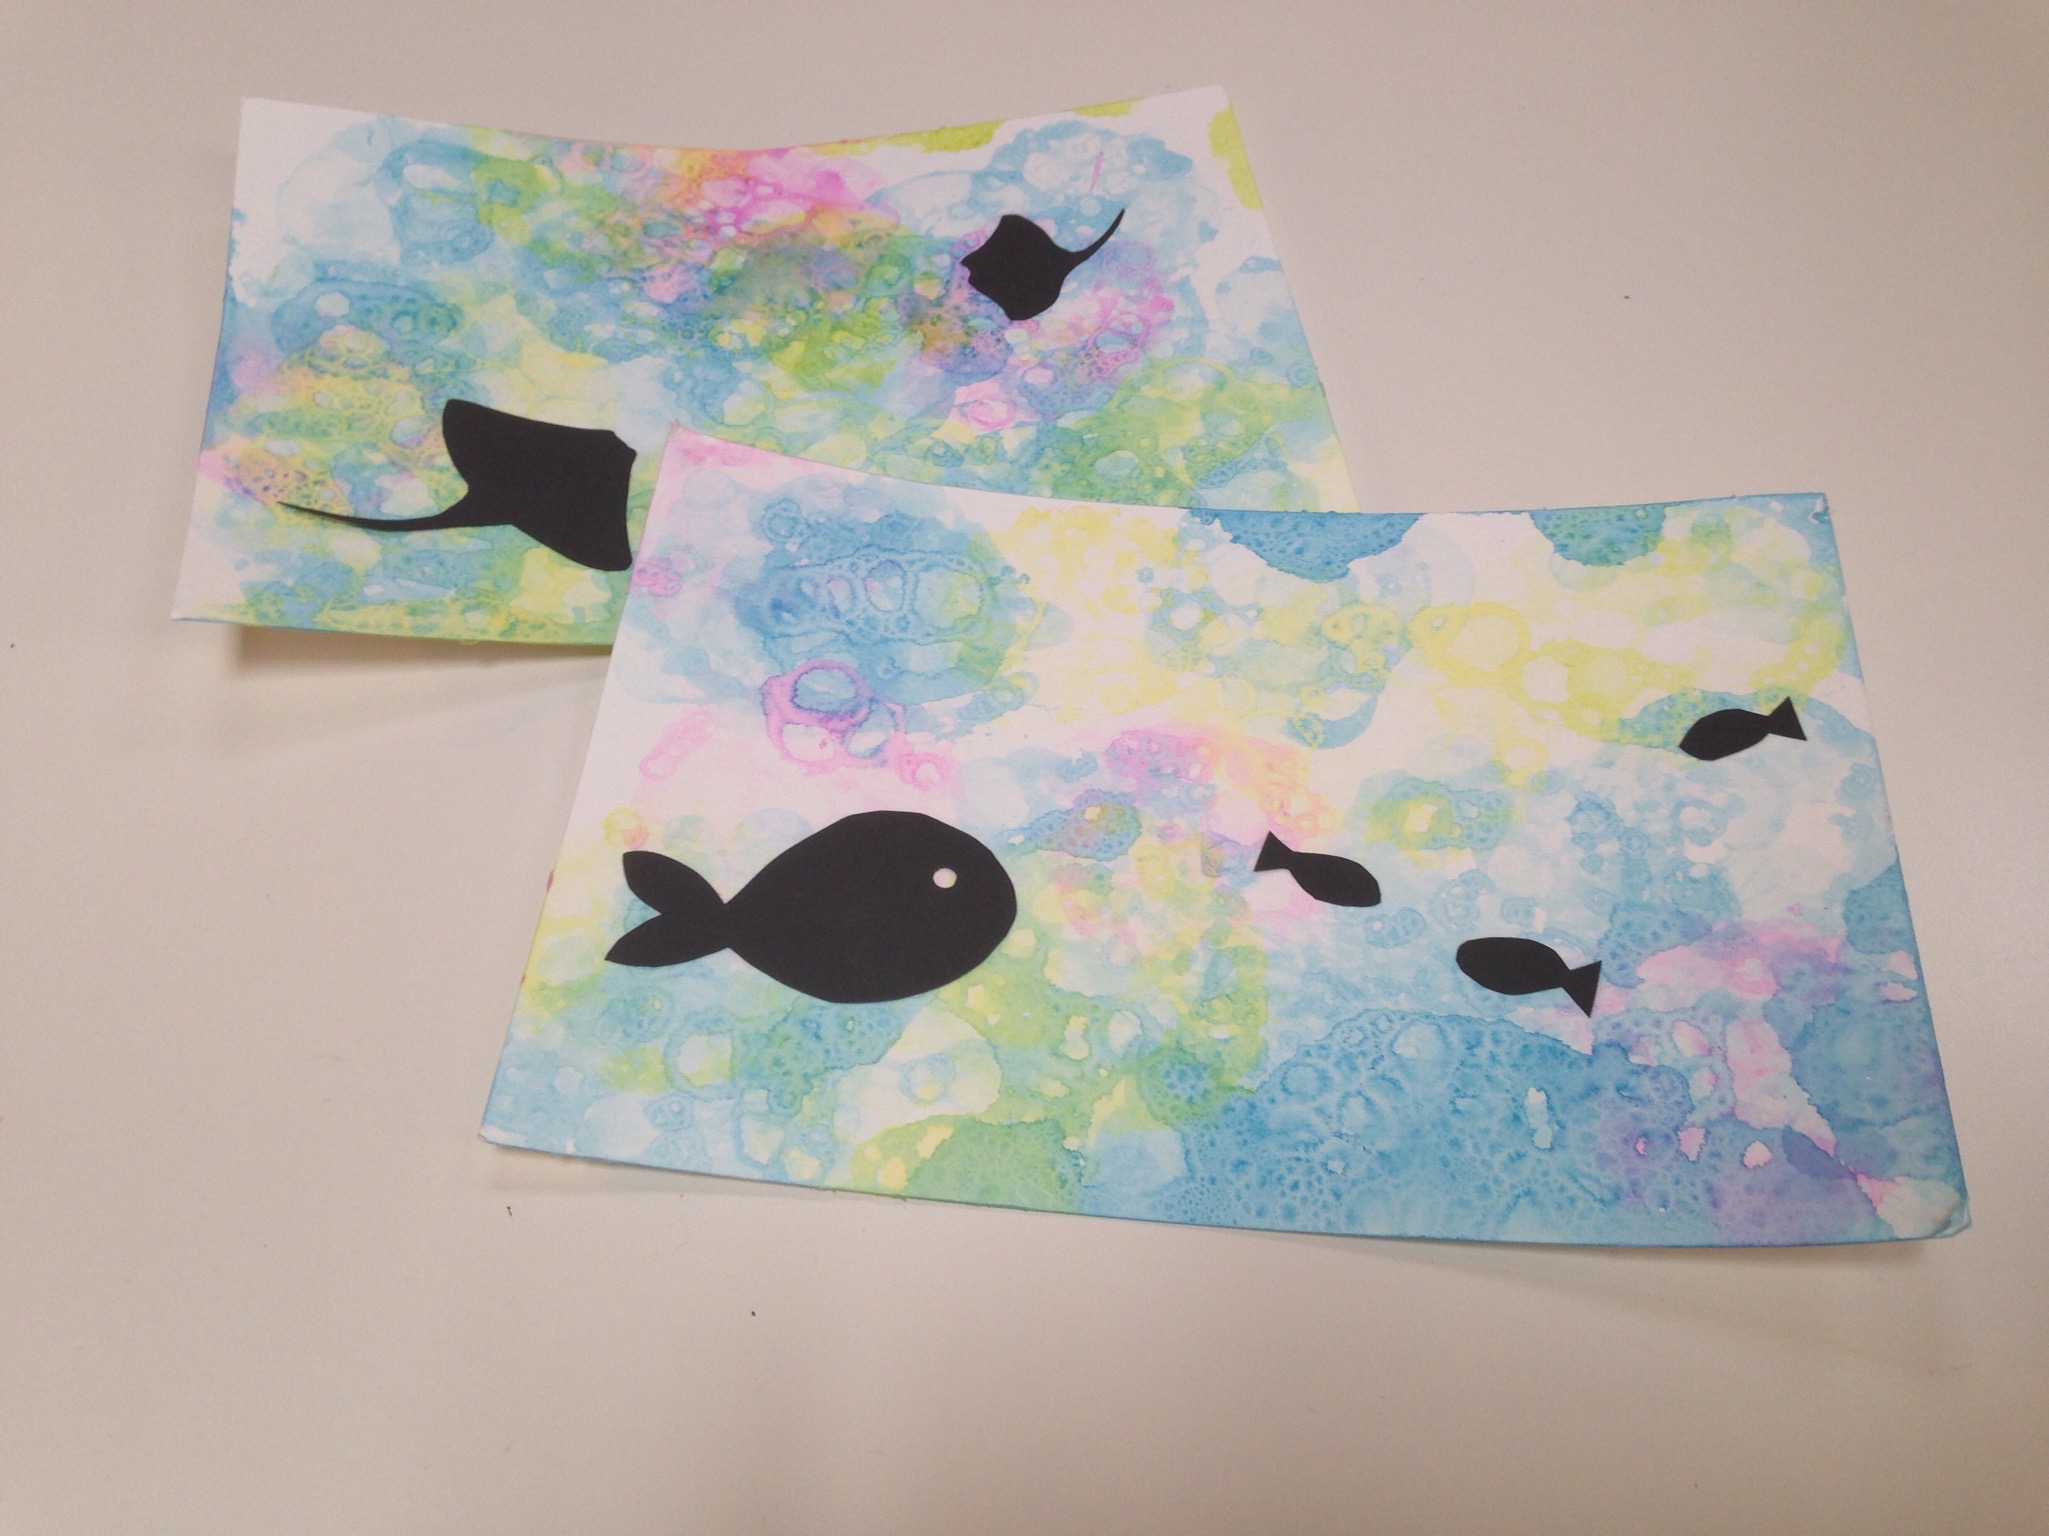
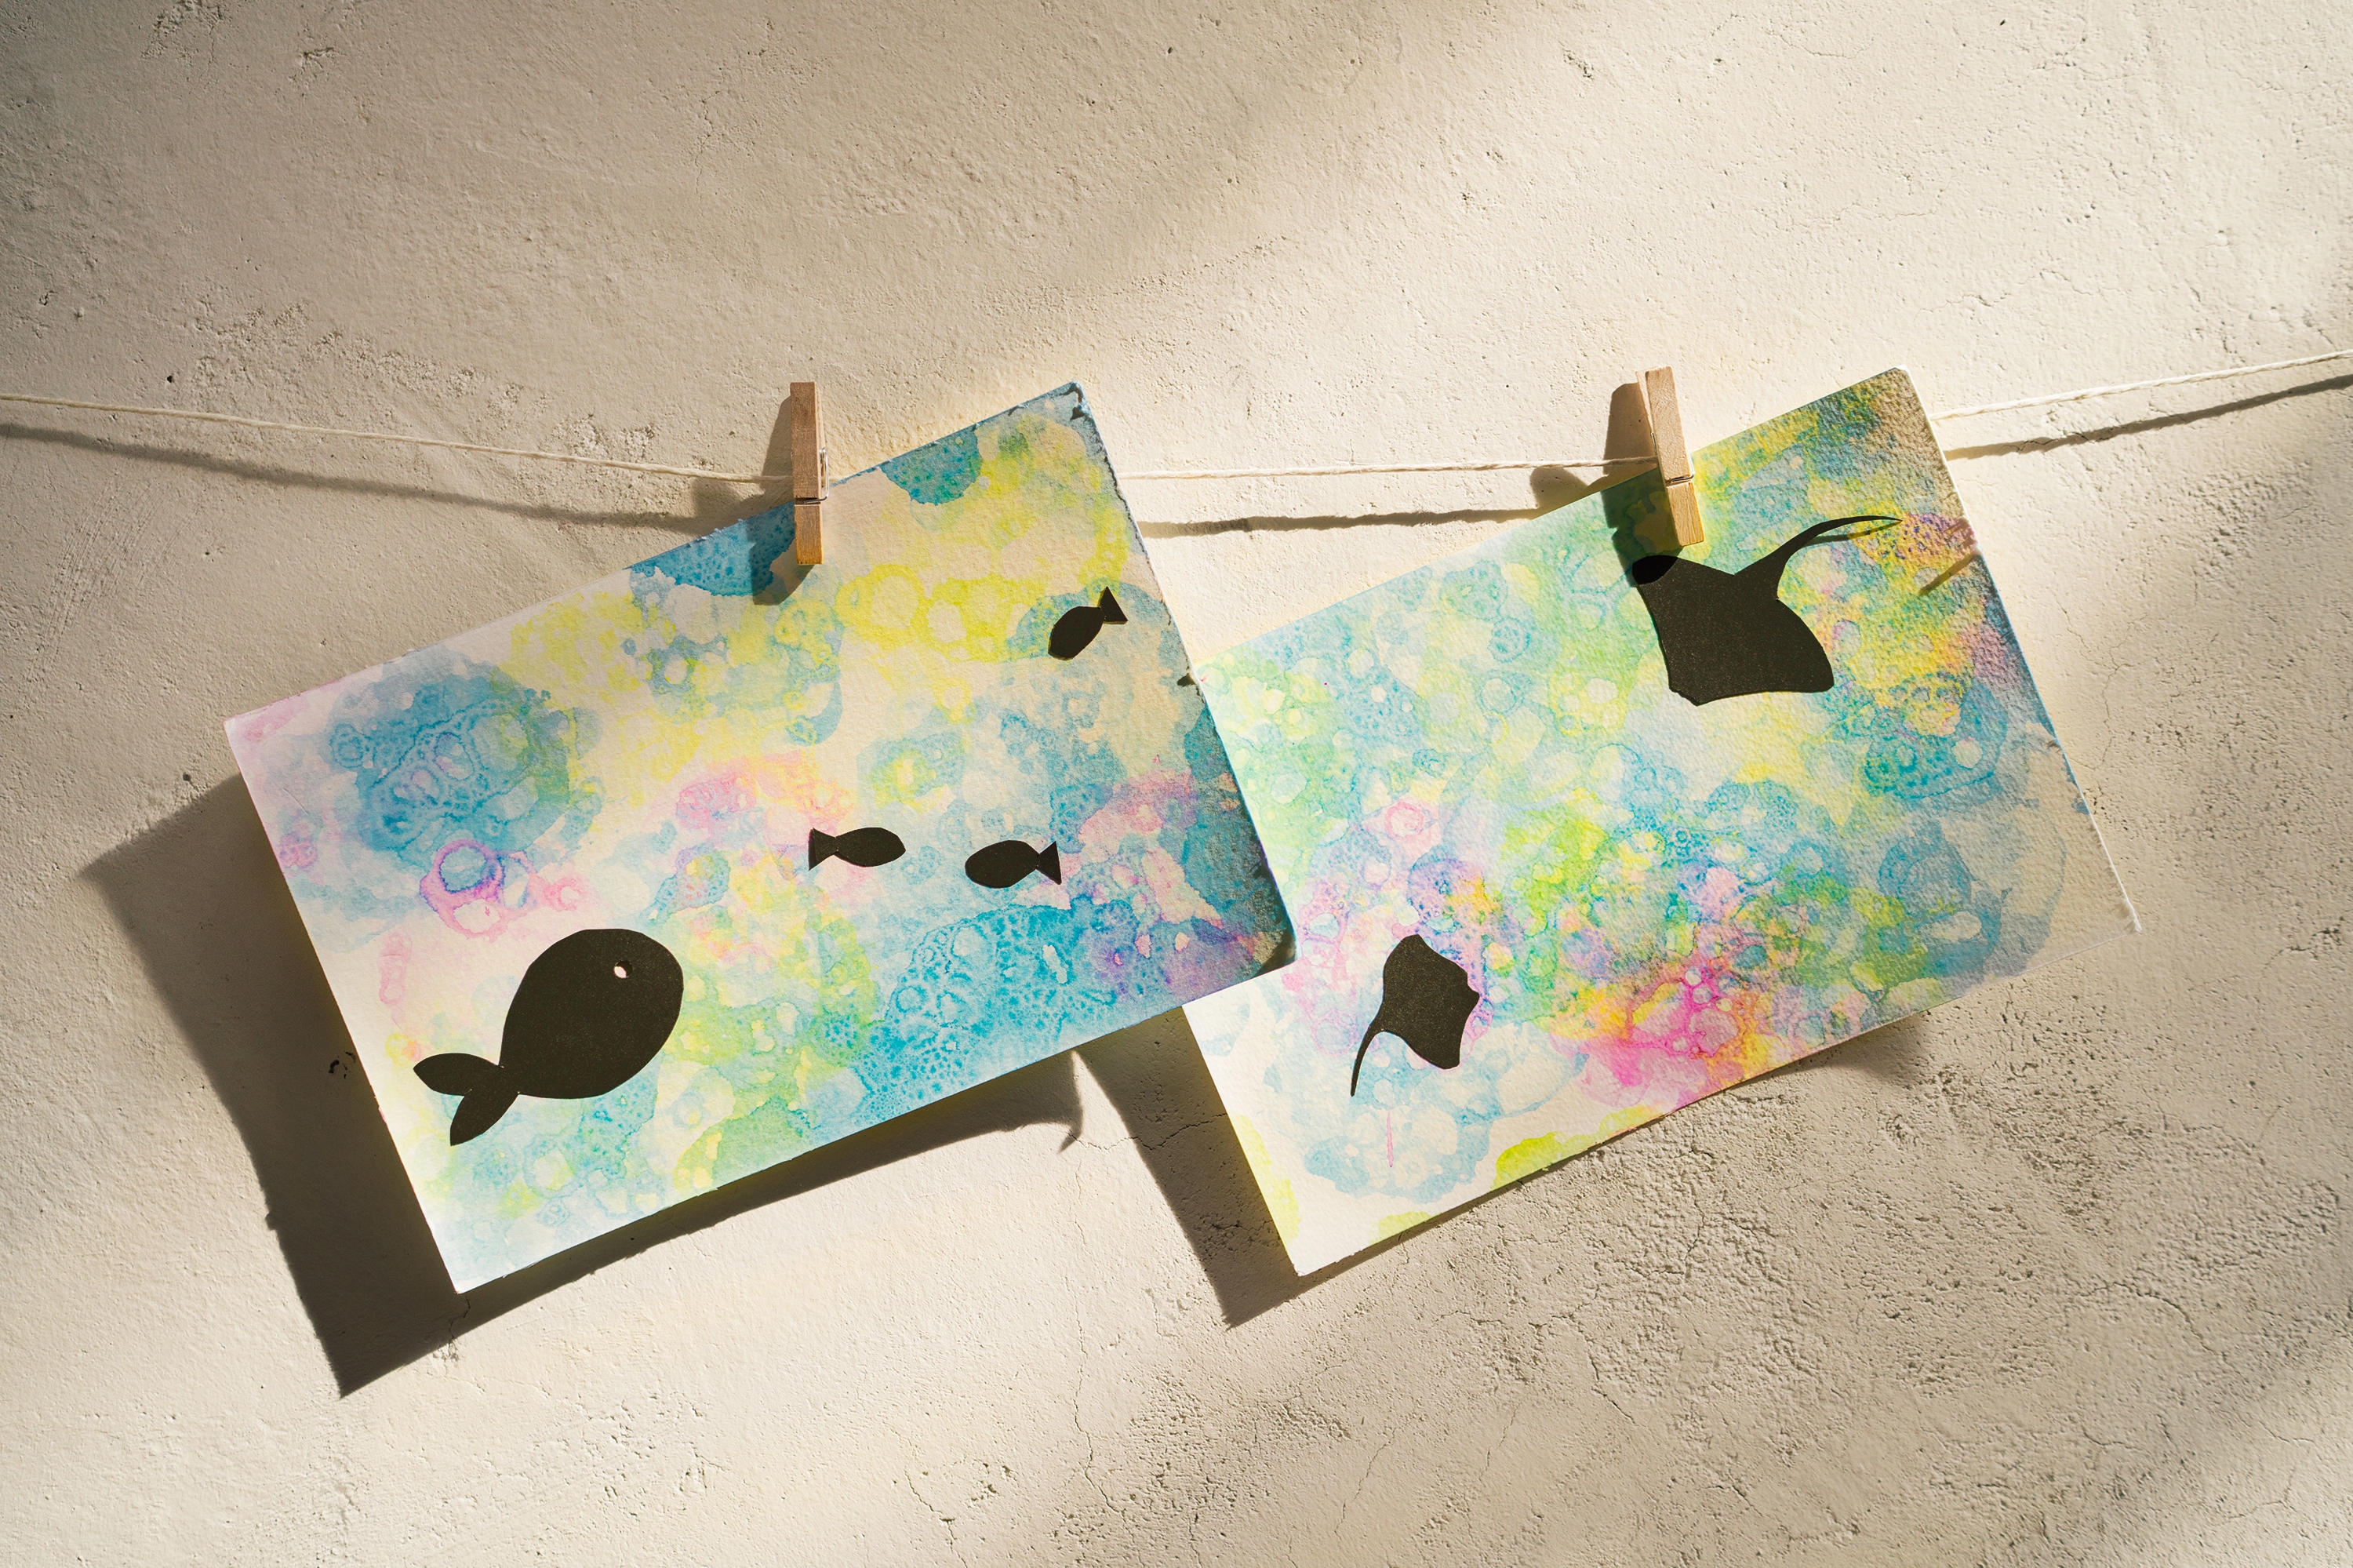
Once your prints are ready, let them dry and see how many different uses you can find for your special prints! You can create cards, bookmarks, gift tags, add paper silhouettes to create underwater scenes, or simply enjoy the prints as they are!