Step-by-step tutorial
Step 1
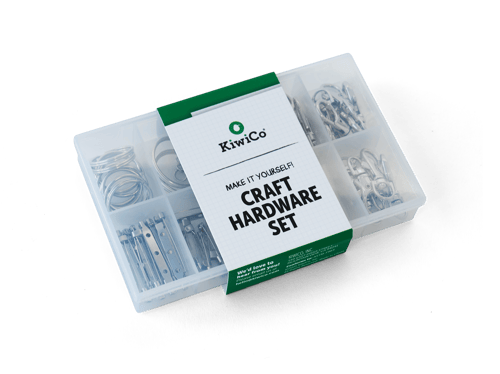
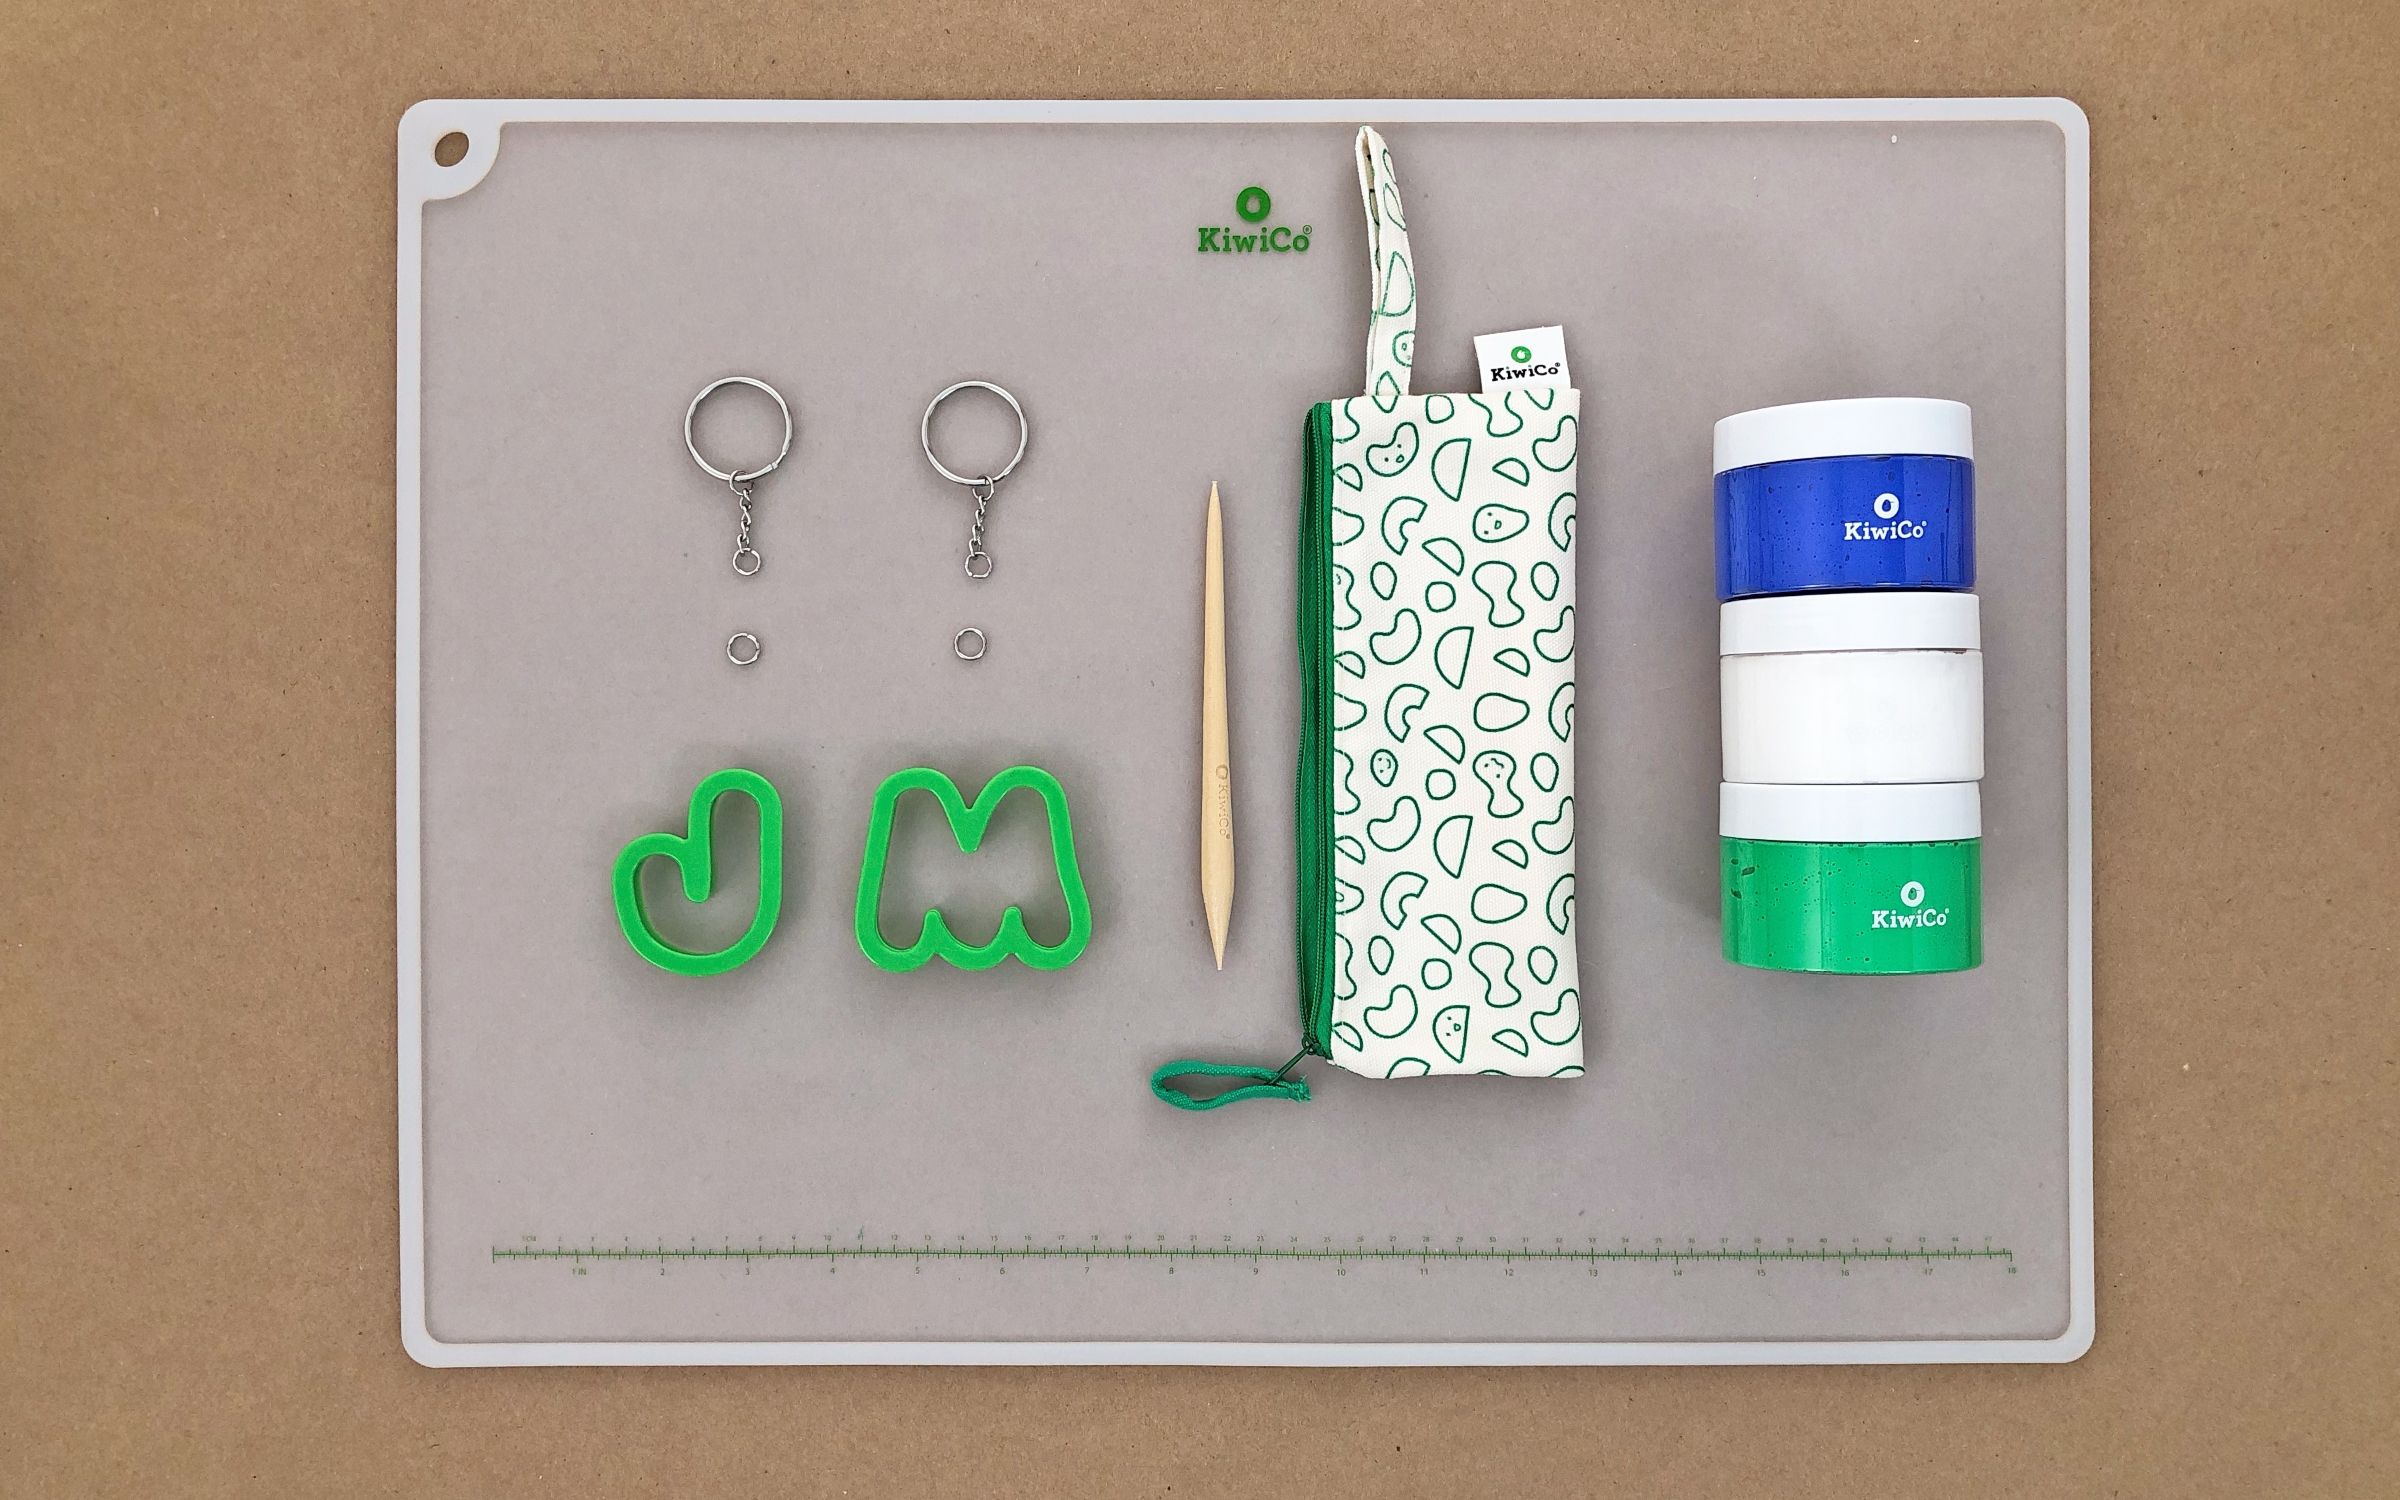
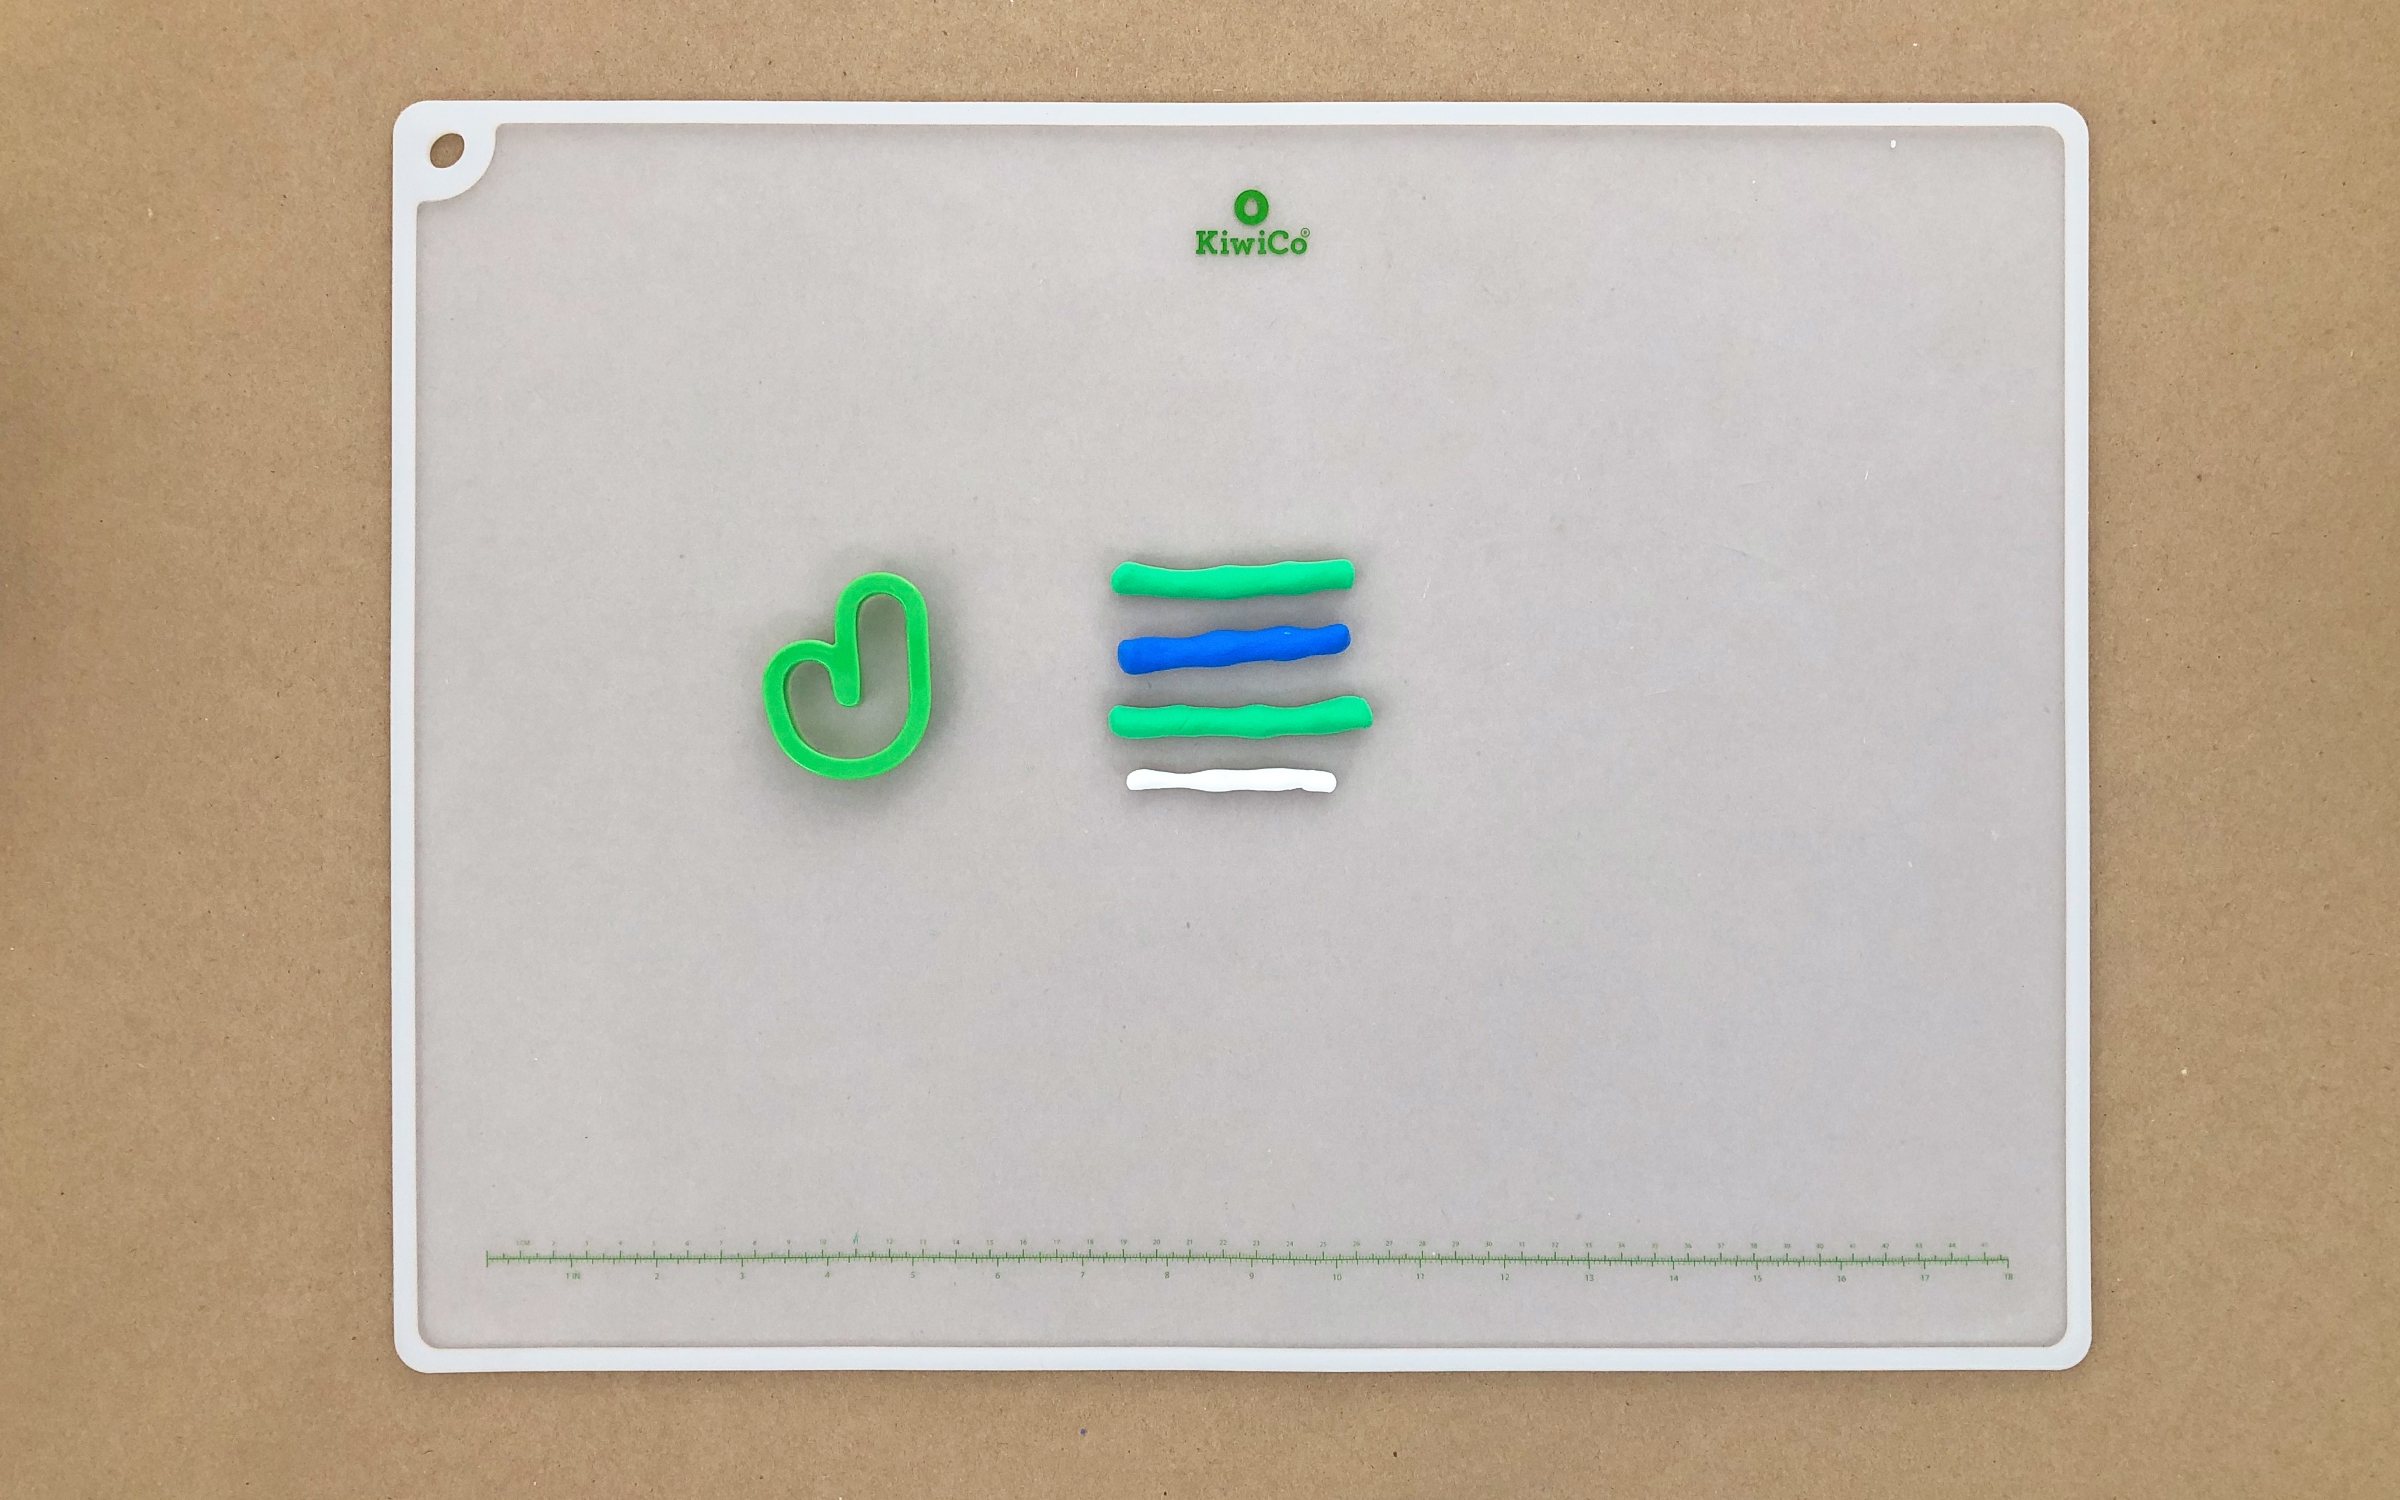
Gather your materials.

Step 2
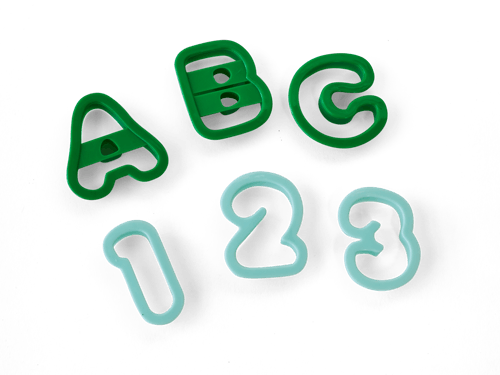
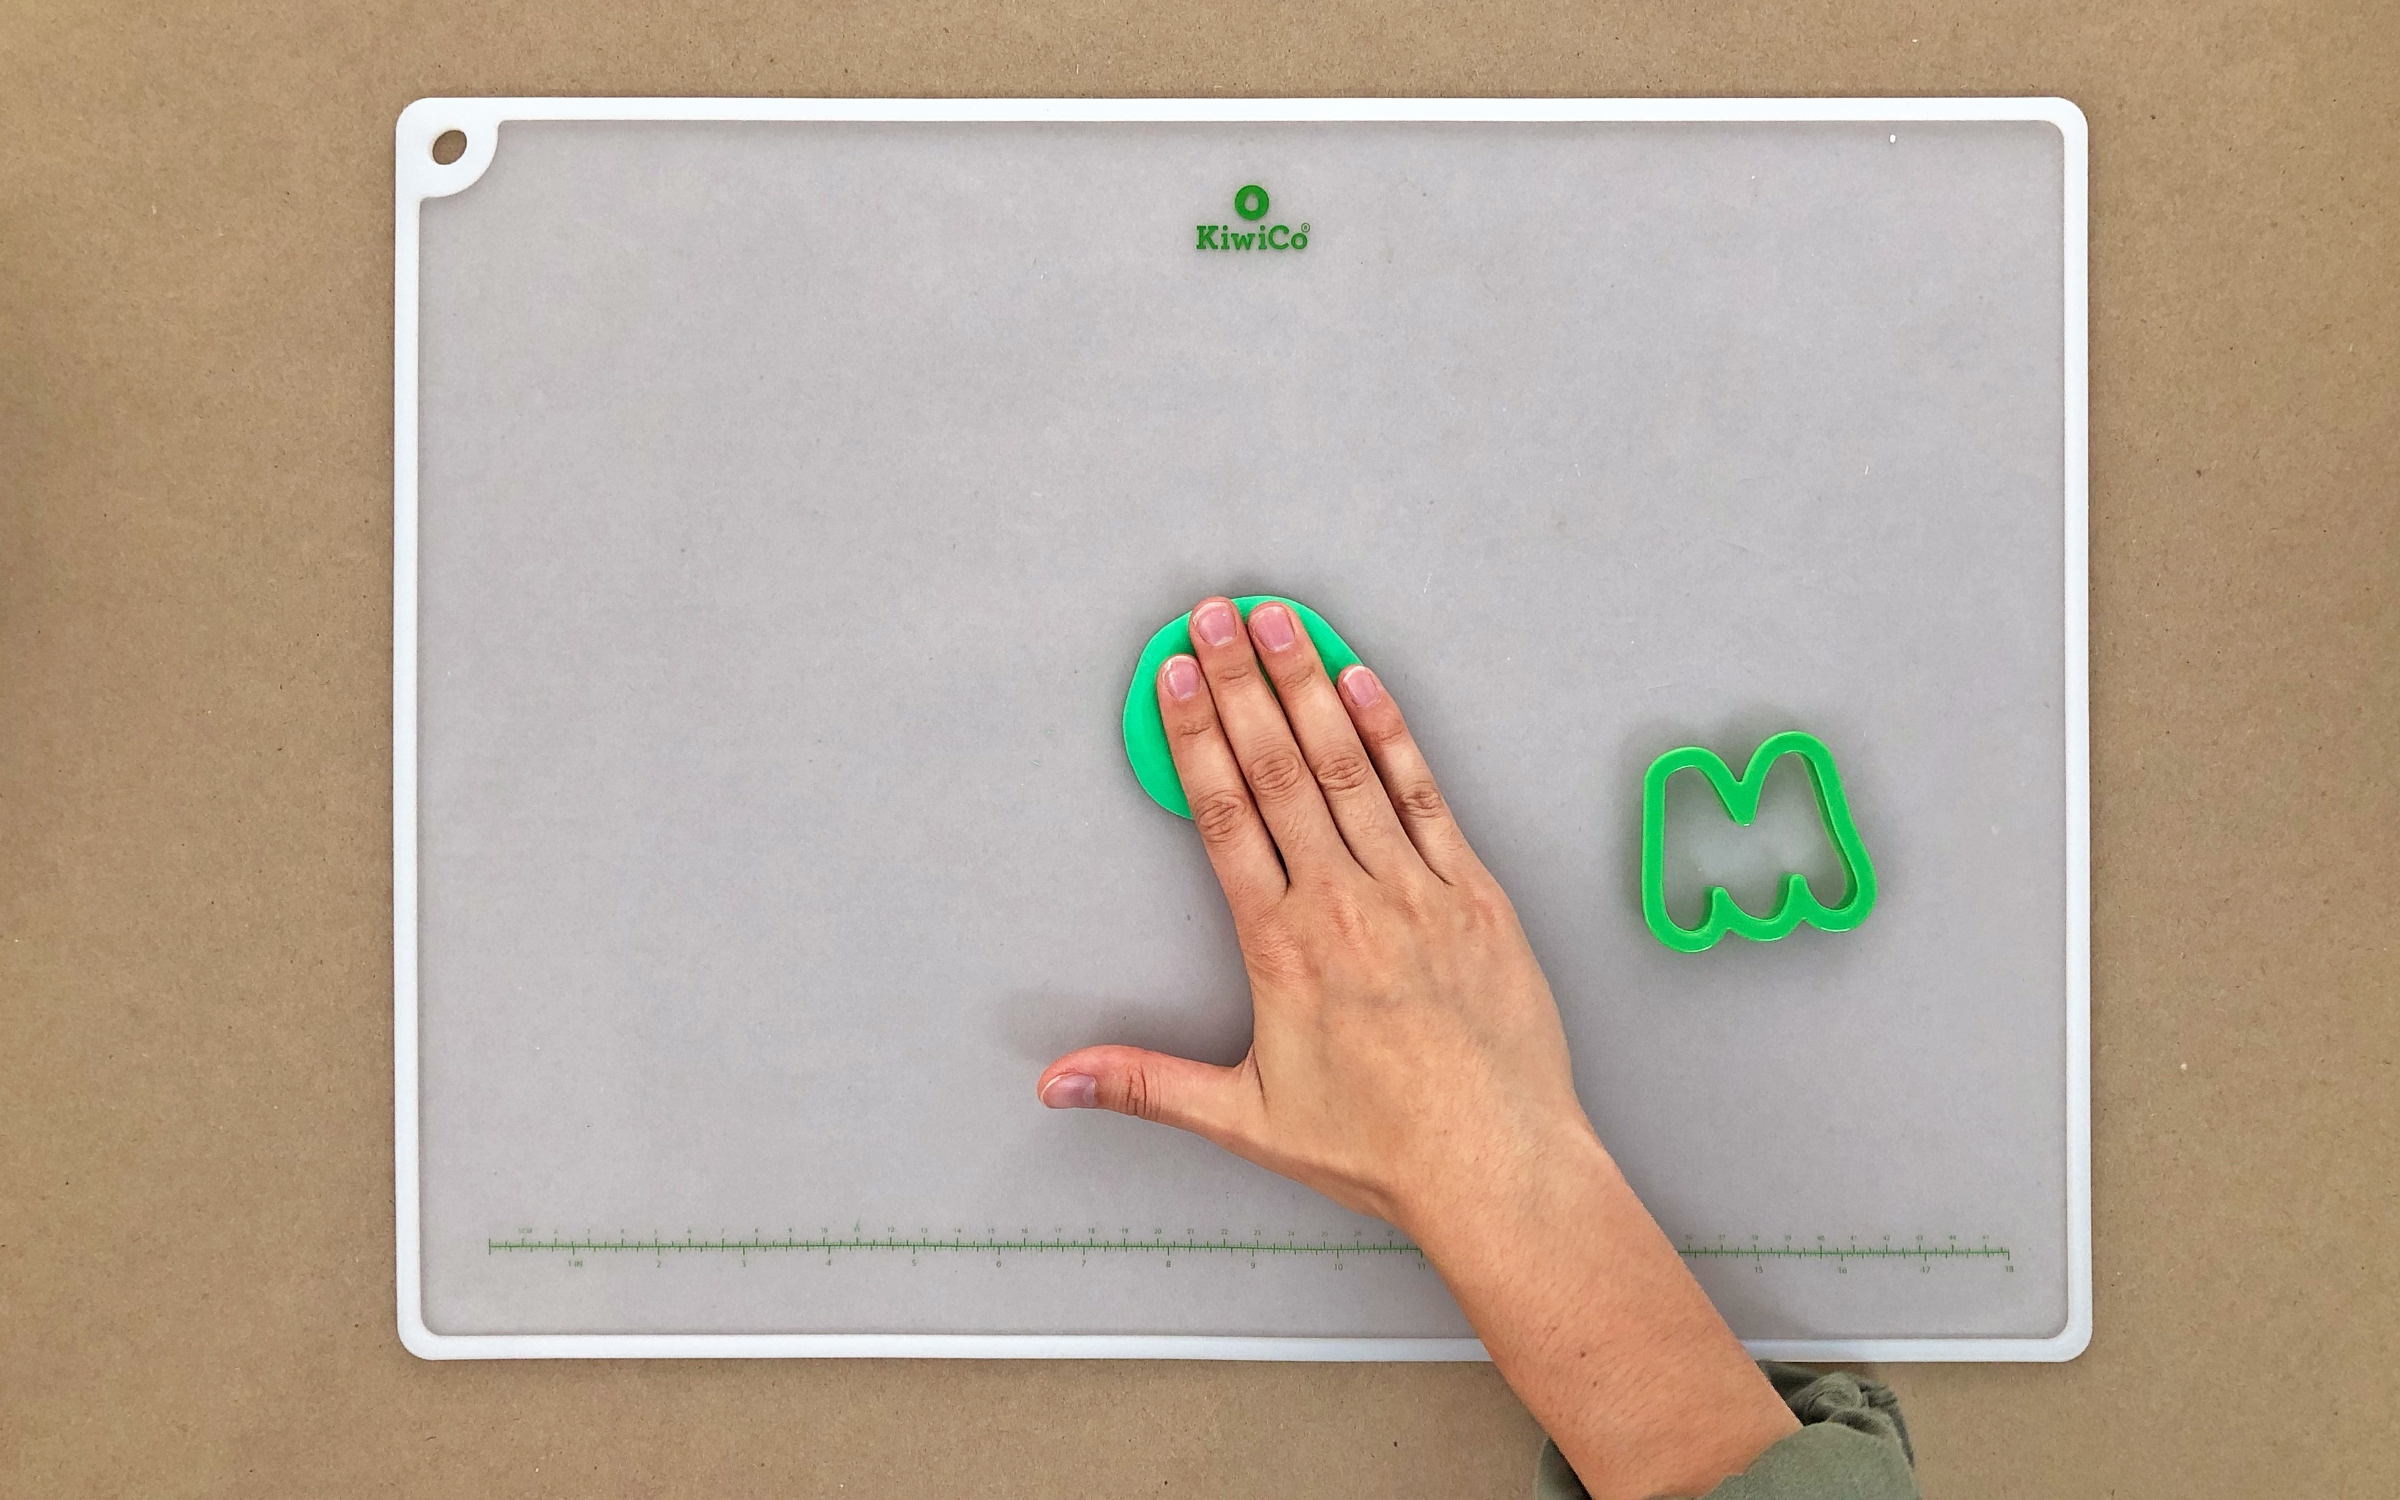
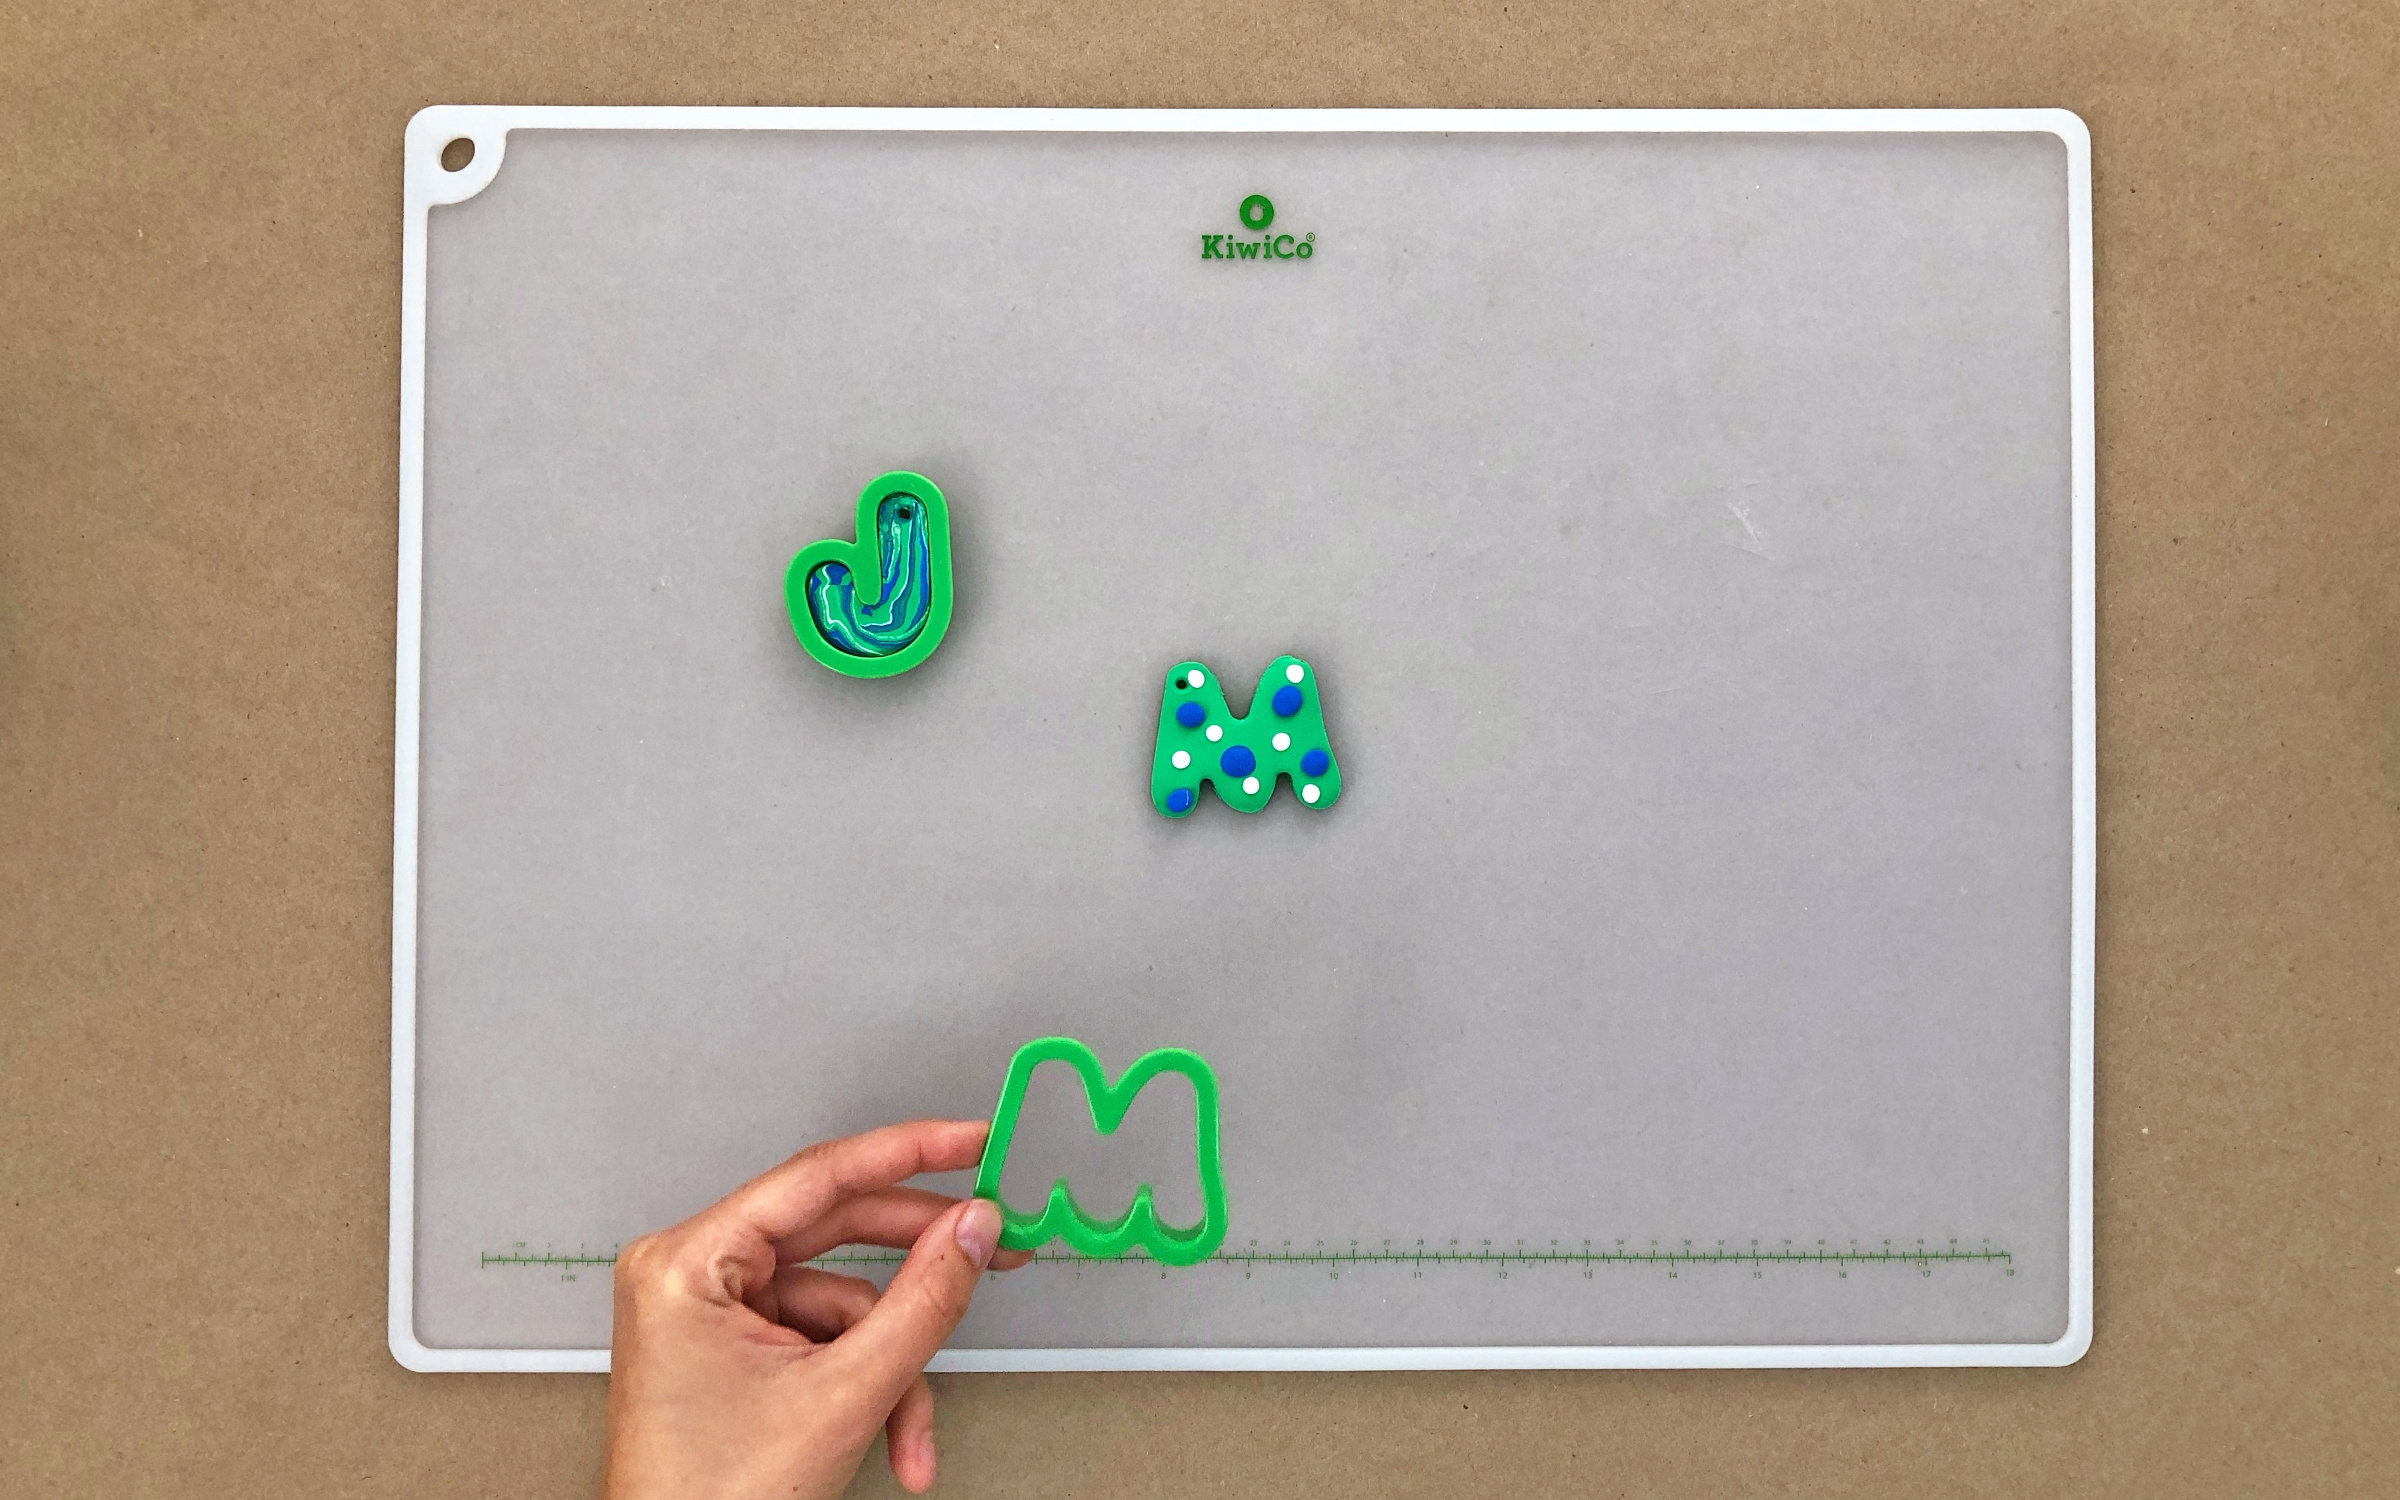
To make a polka dot initial, start by flattening clay in the color of your choice. Use the letter cutter to cut out a letter.

Step 3
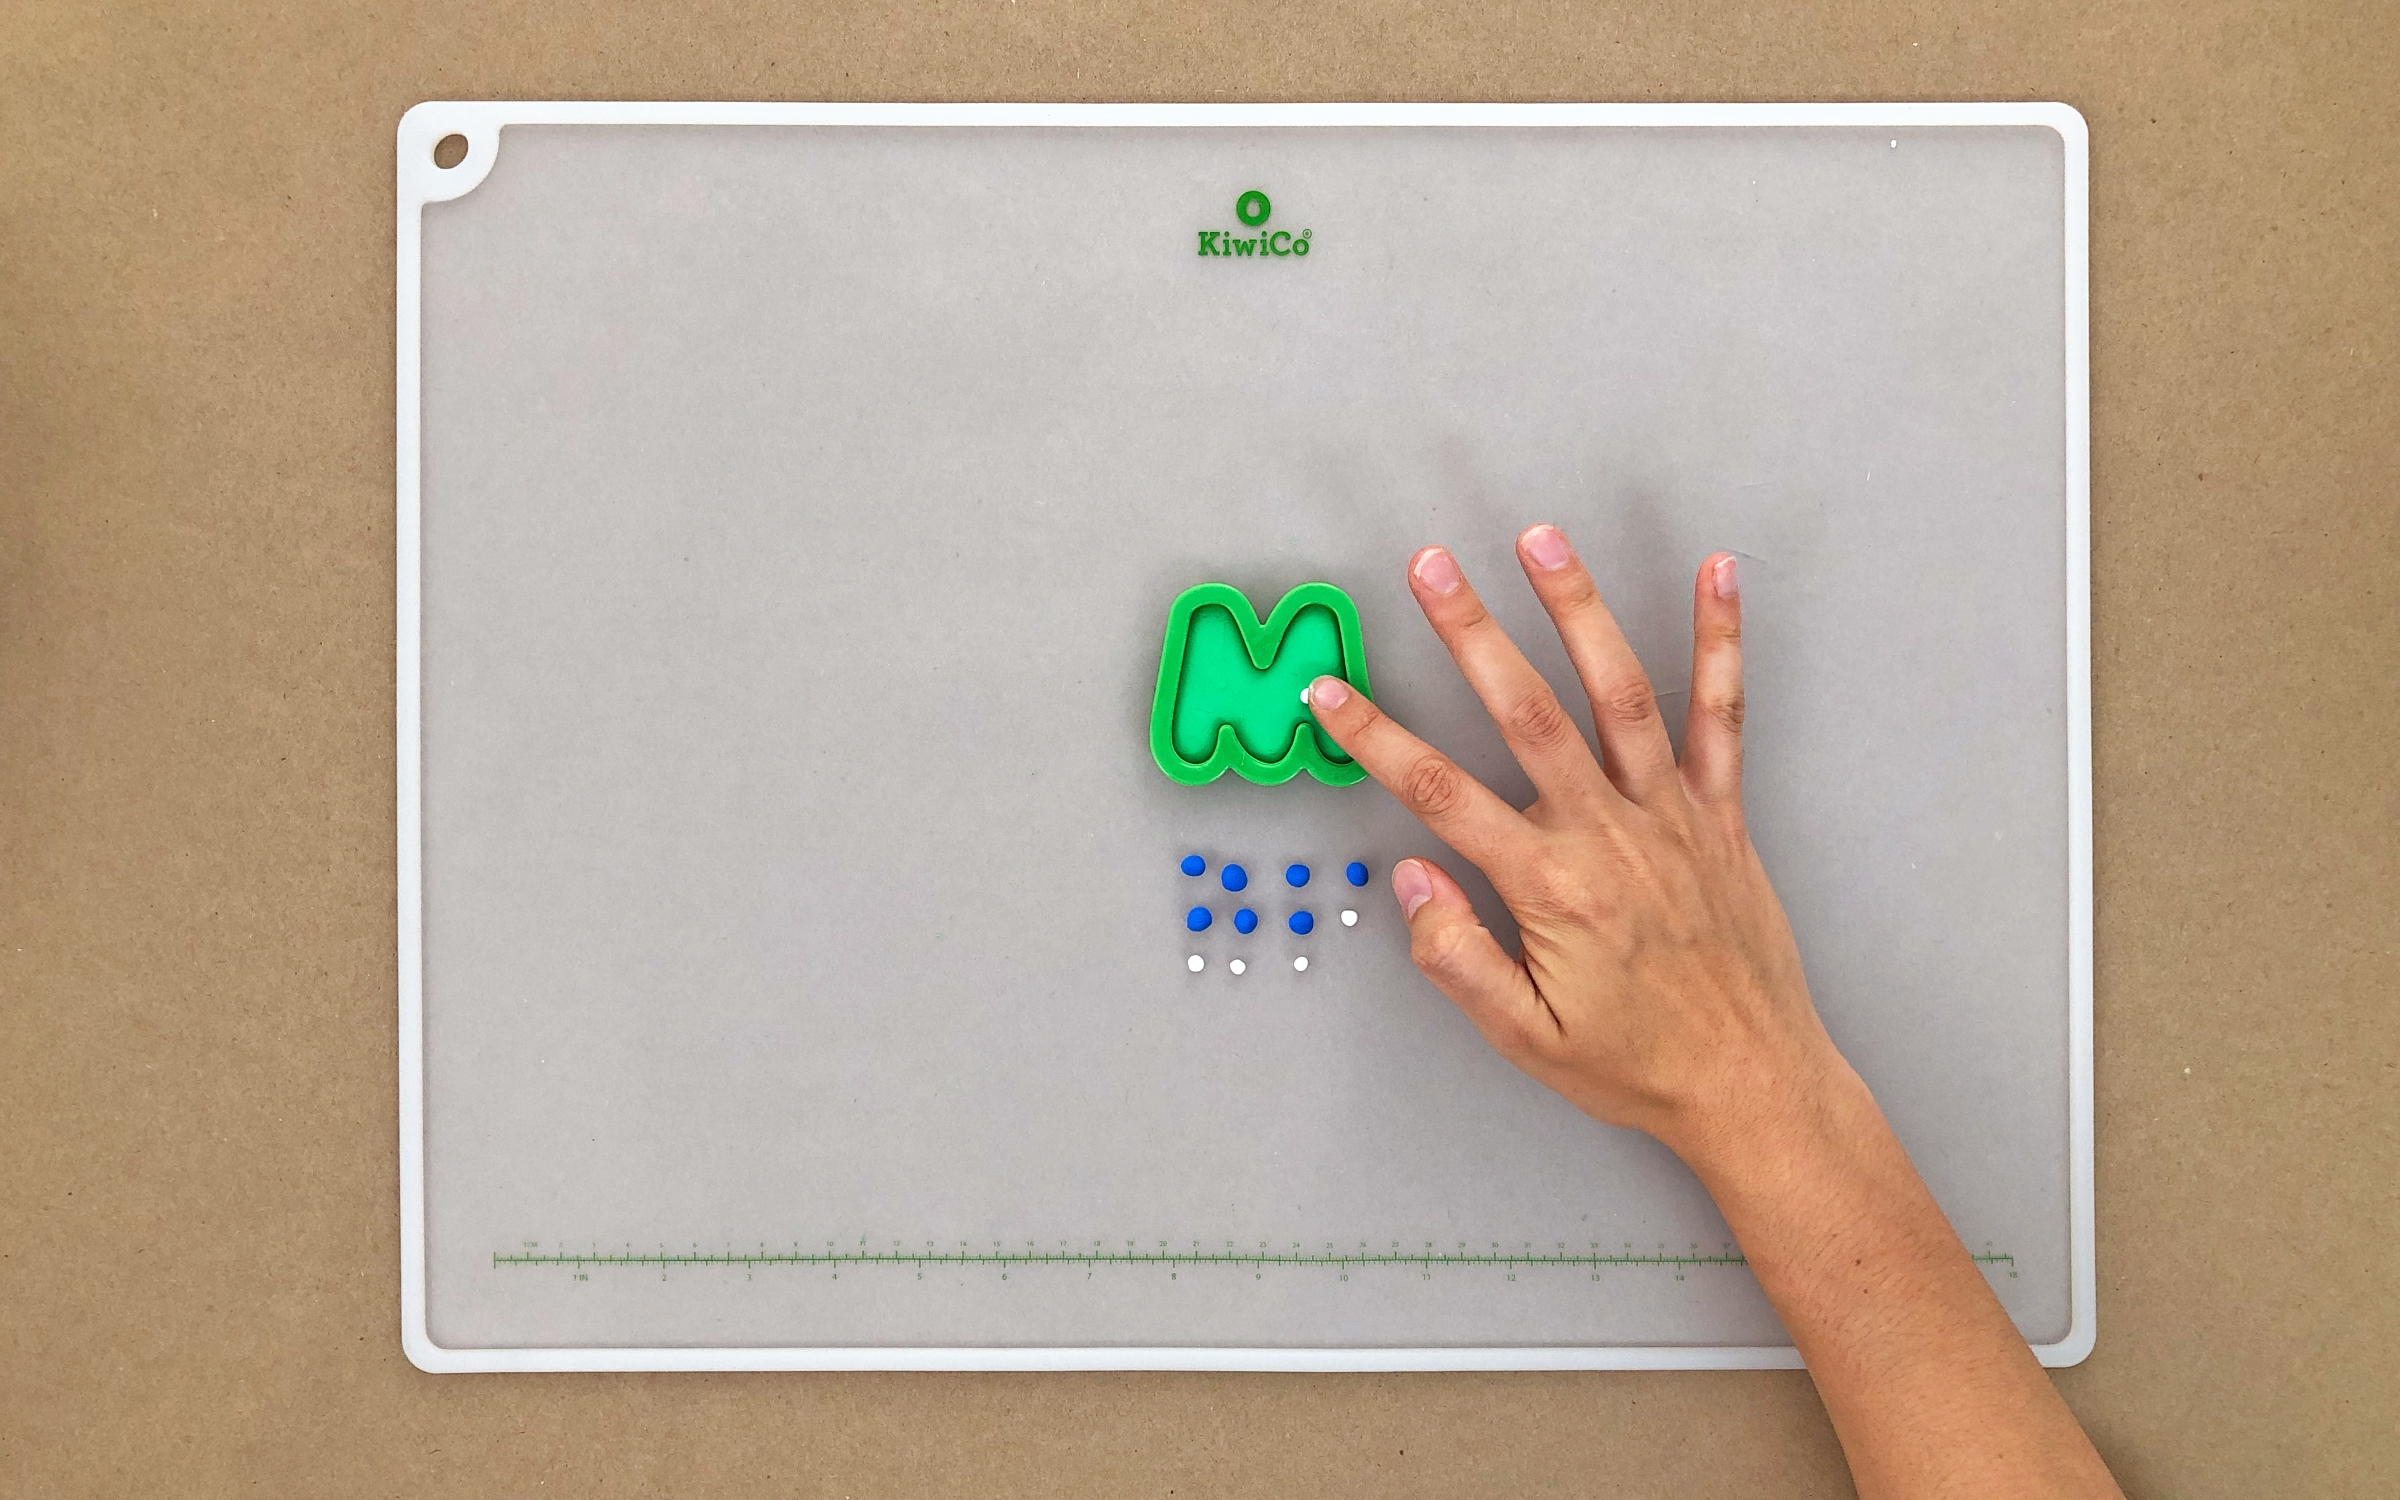
For the polka dots, roll out several small balls in whichever color you choose. Gently press them onto the surface of your letter.
Step 4
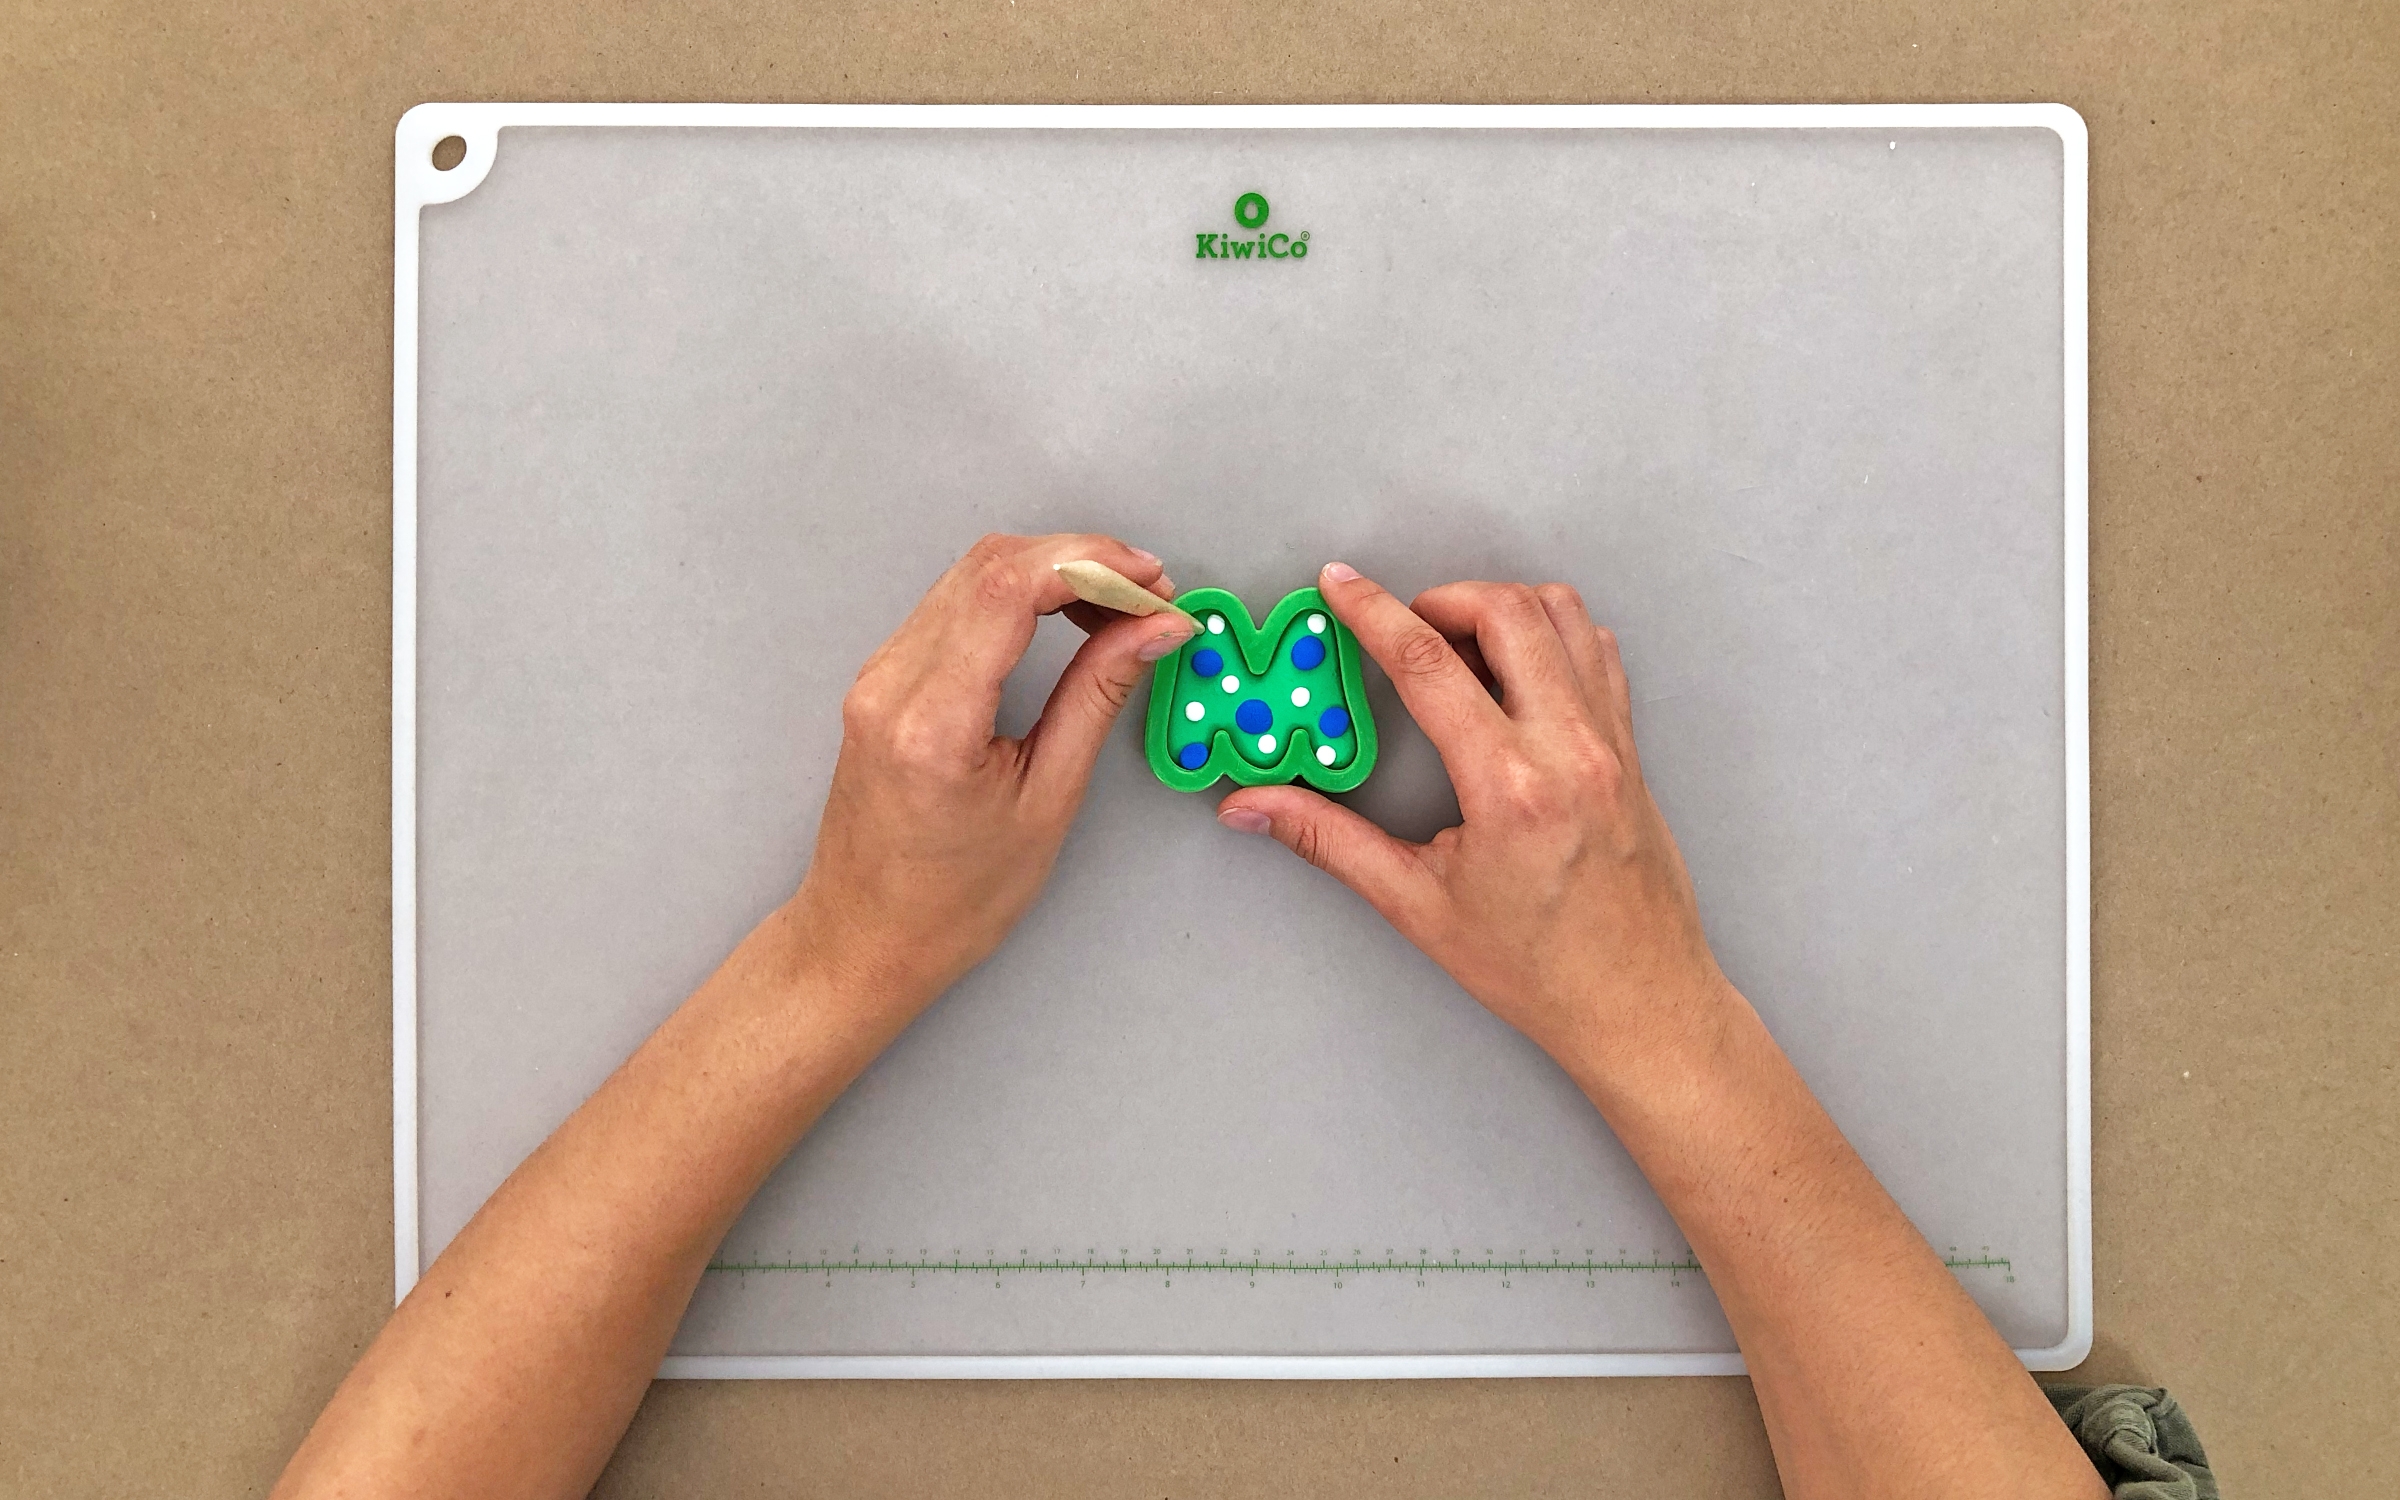
Make a hole with a clay tool or anything pointy. Let dry.
Step 5
To make a marbled letter, roll a few small logs out of the colors that you’d like to marble.
Step 6
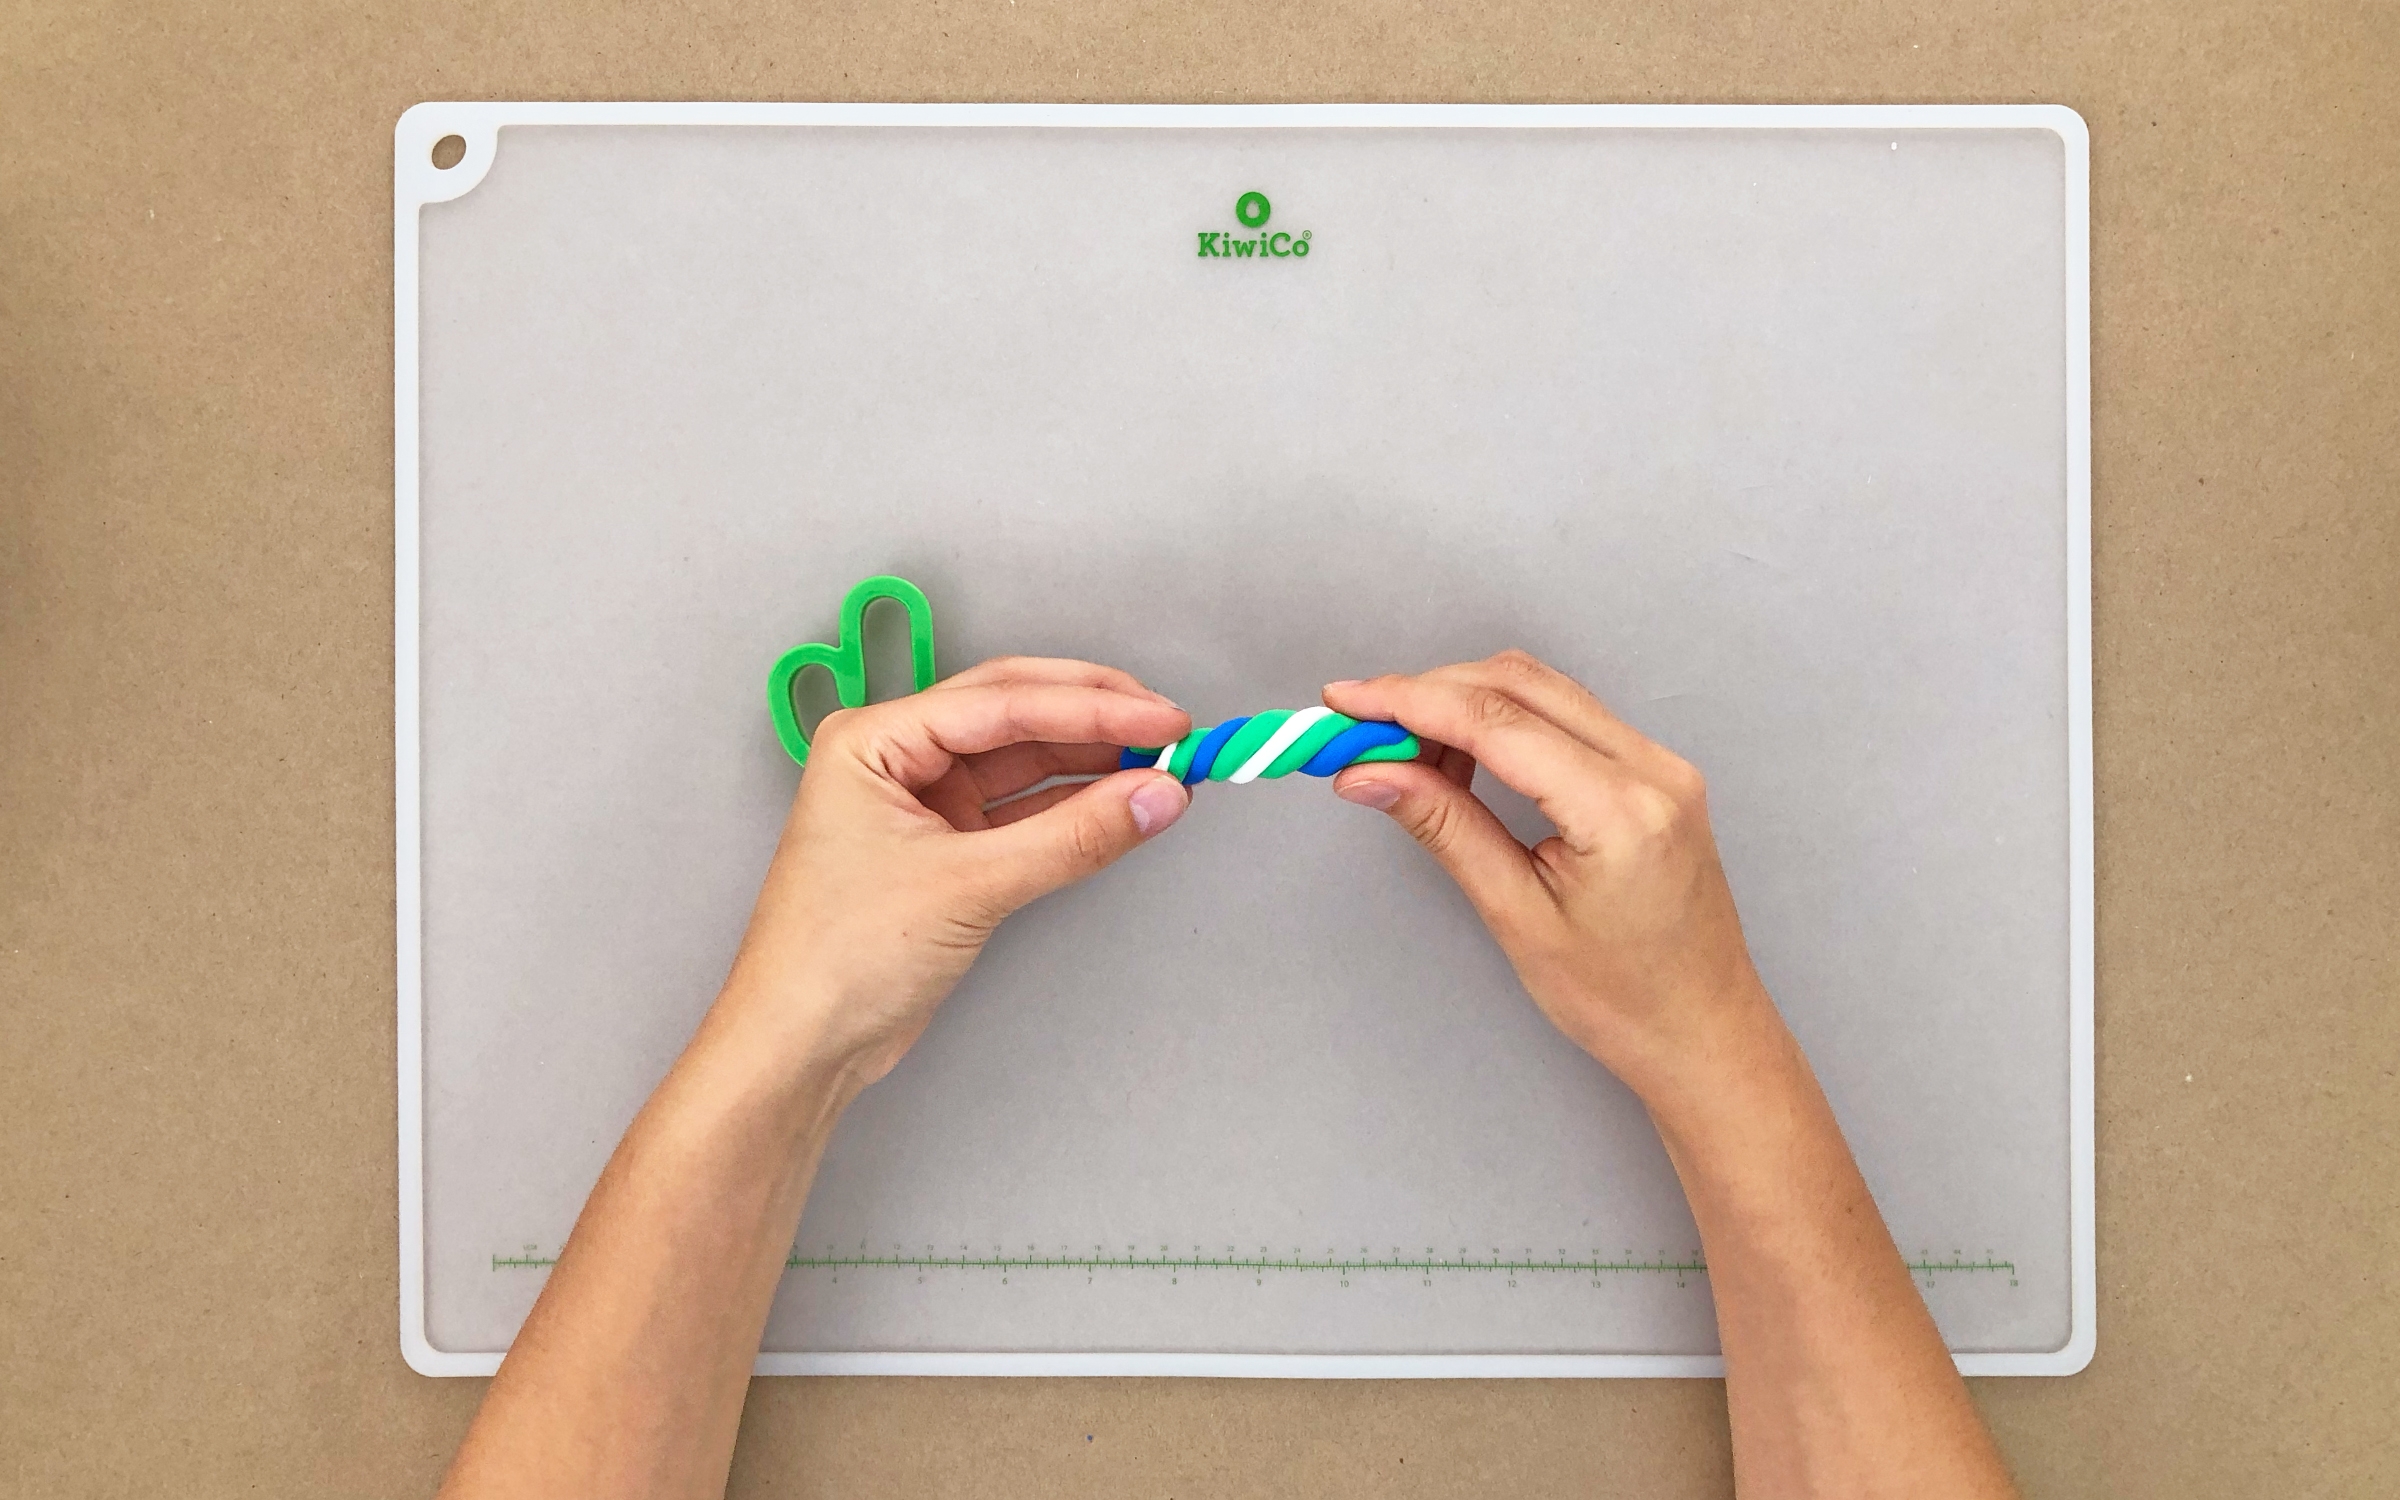
Marble the clay: Twist the colors together. Roll, fold, stretch, and twist the log until it looks marbled.
Step 7
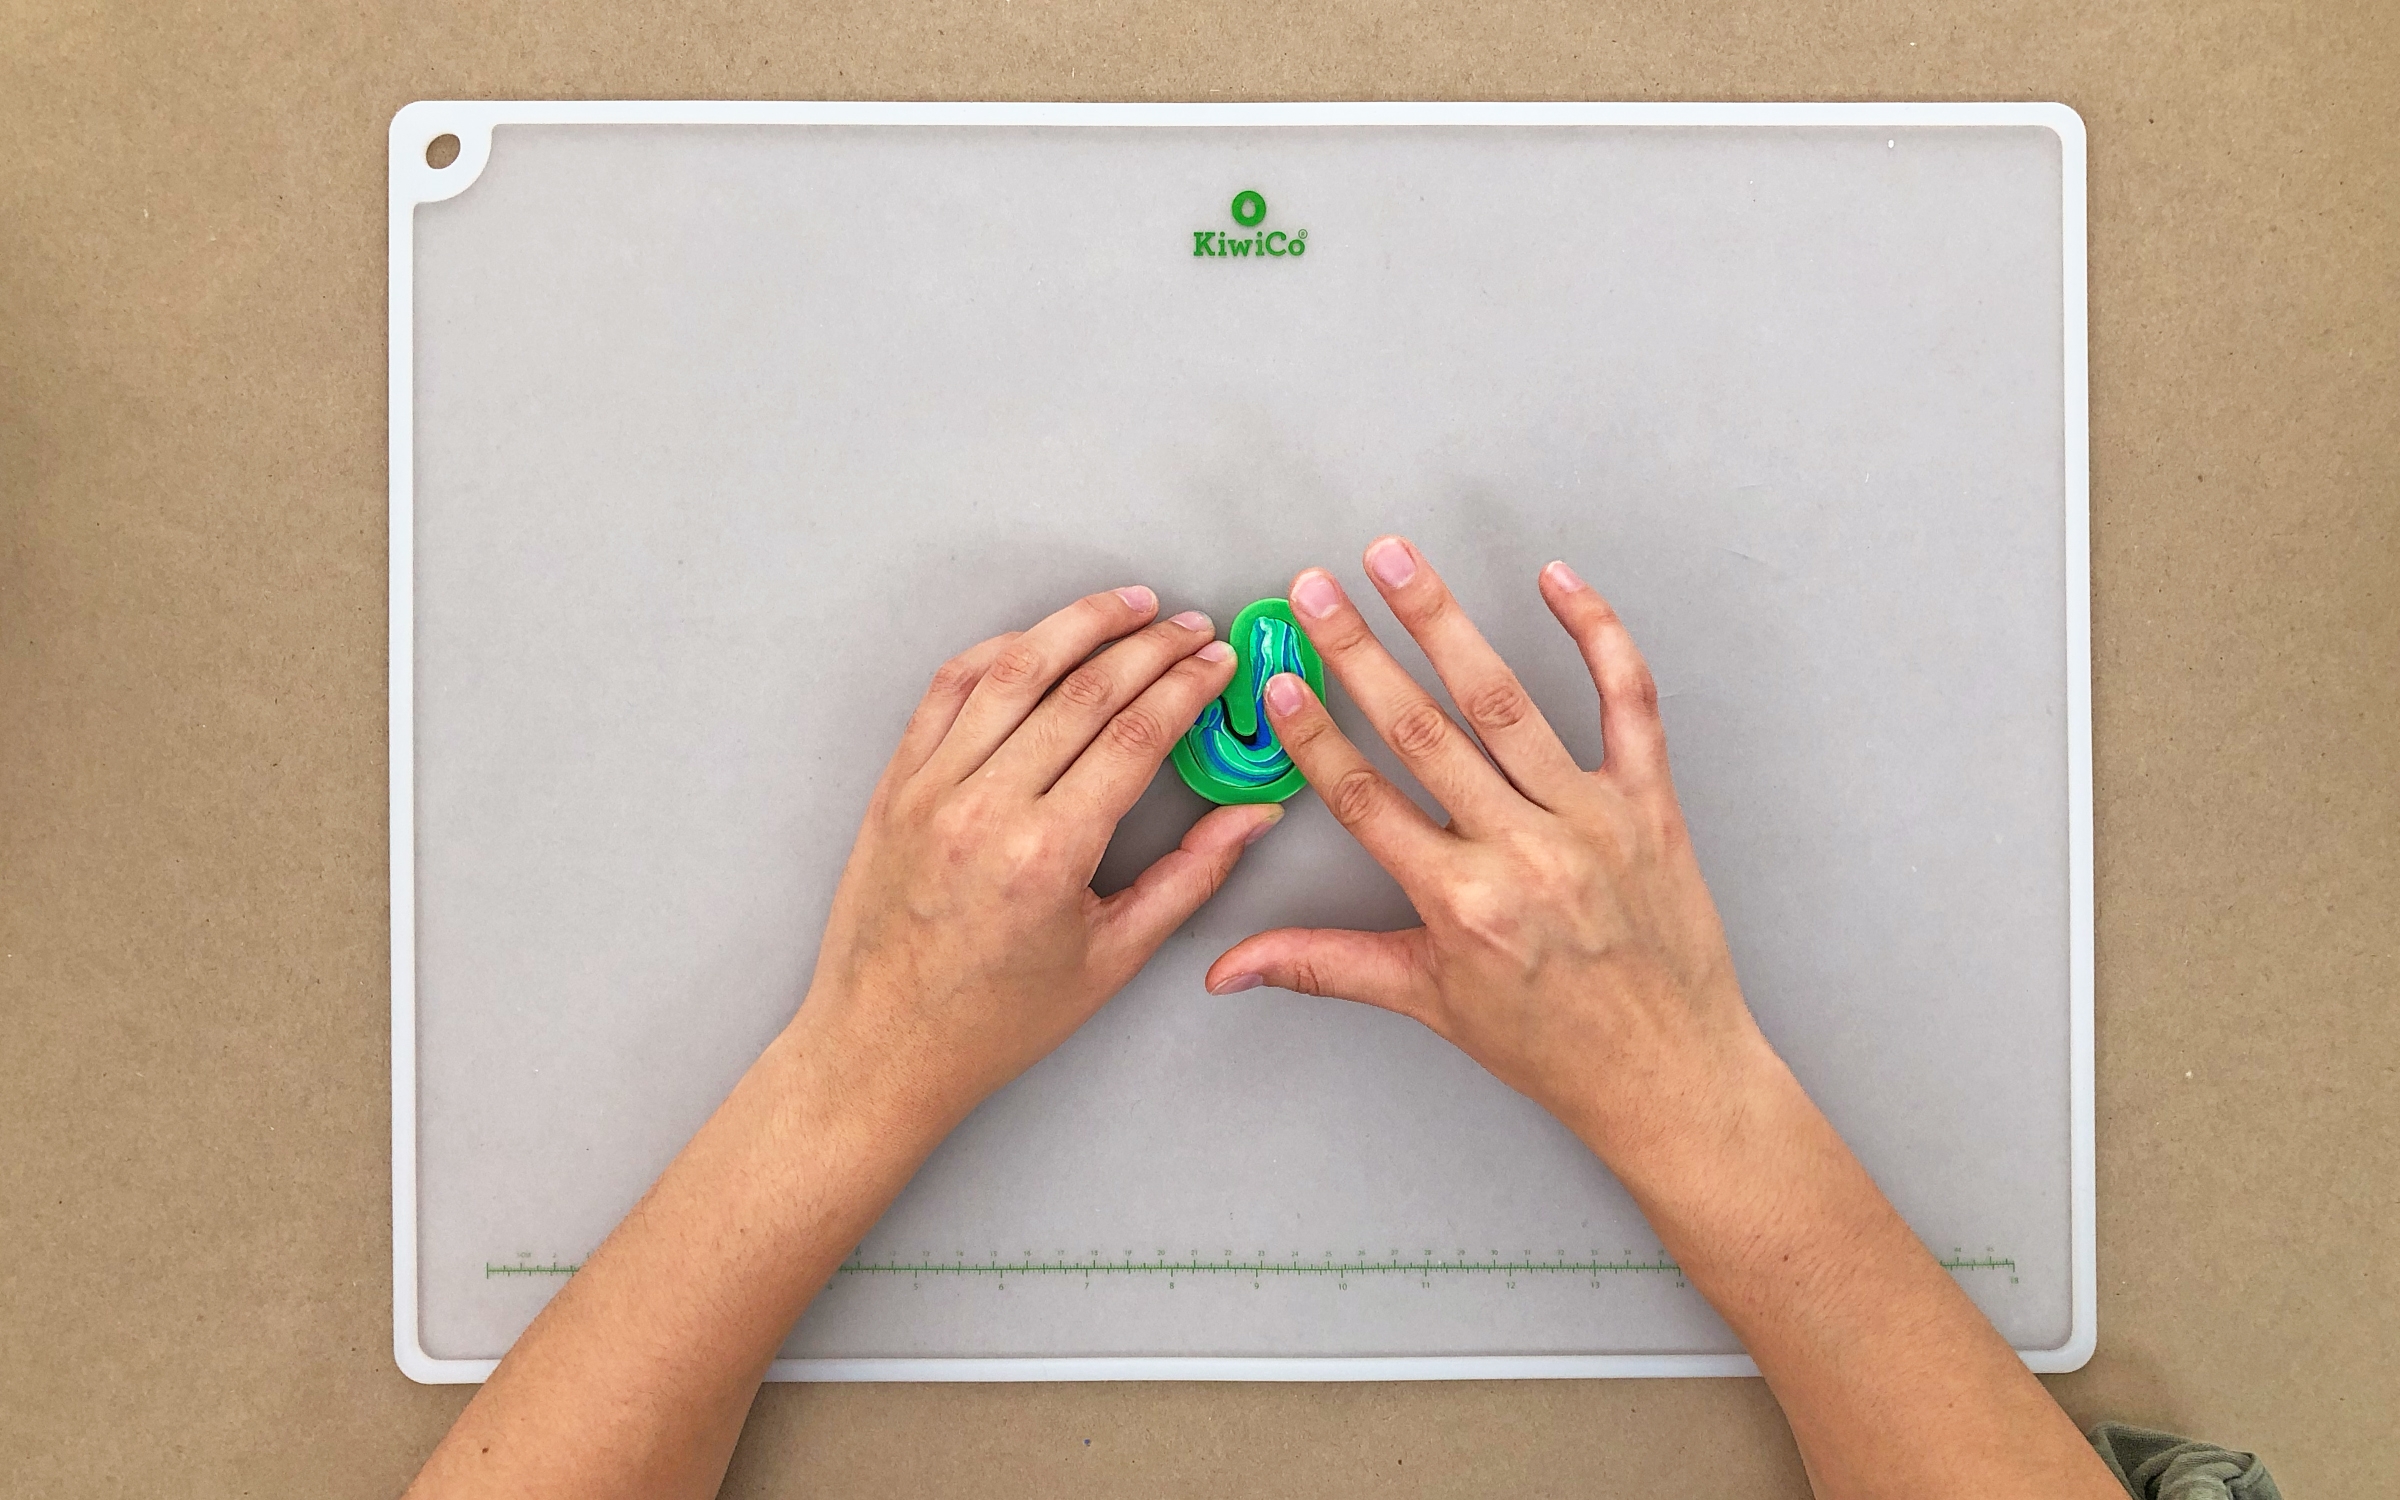
Squish the marbled log into the letter mold.
Step 8
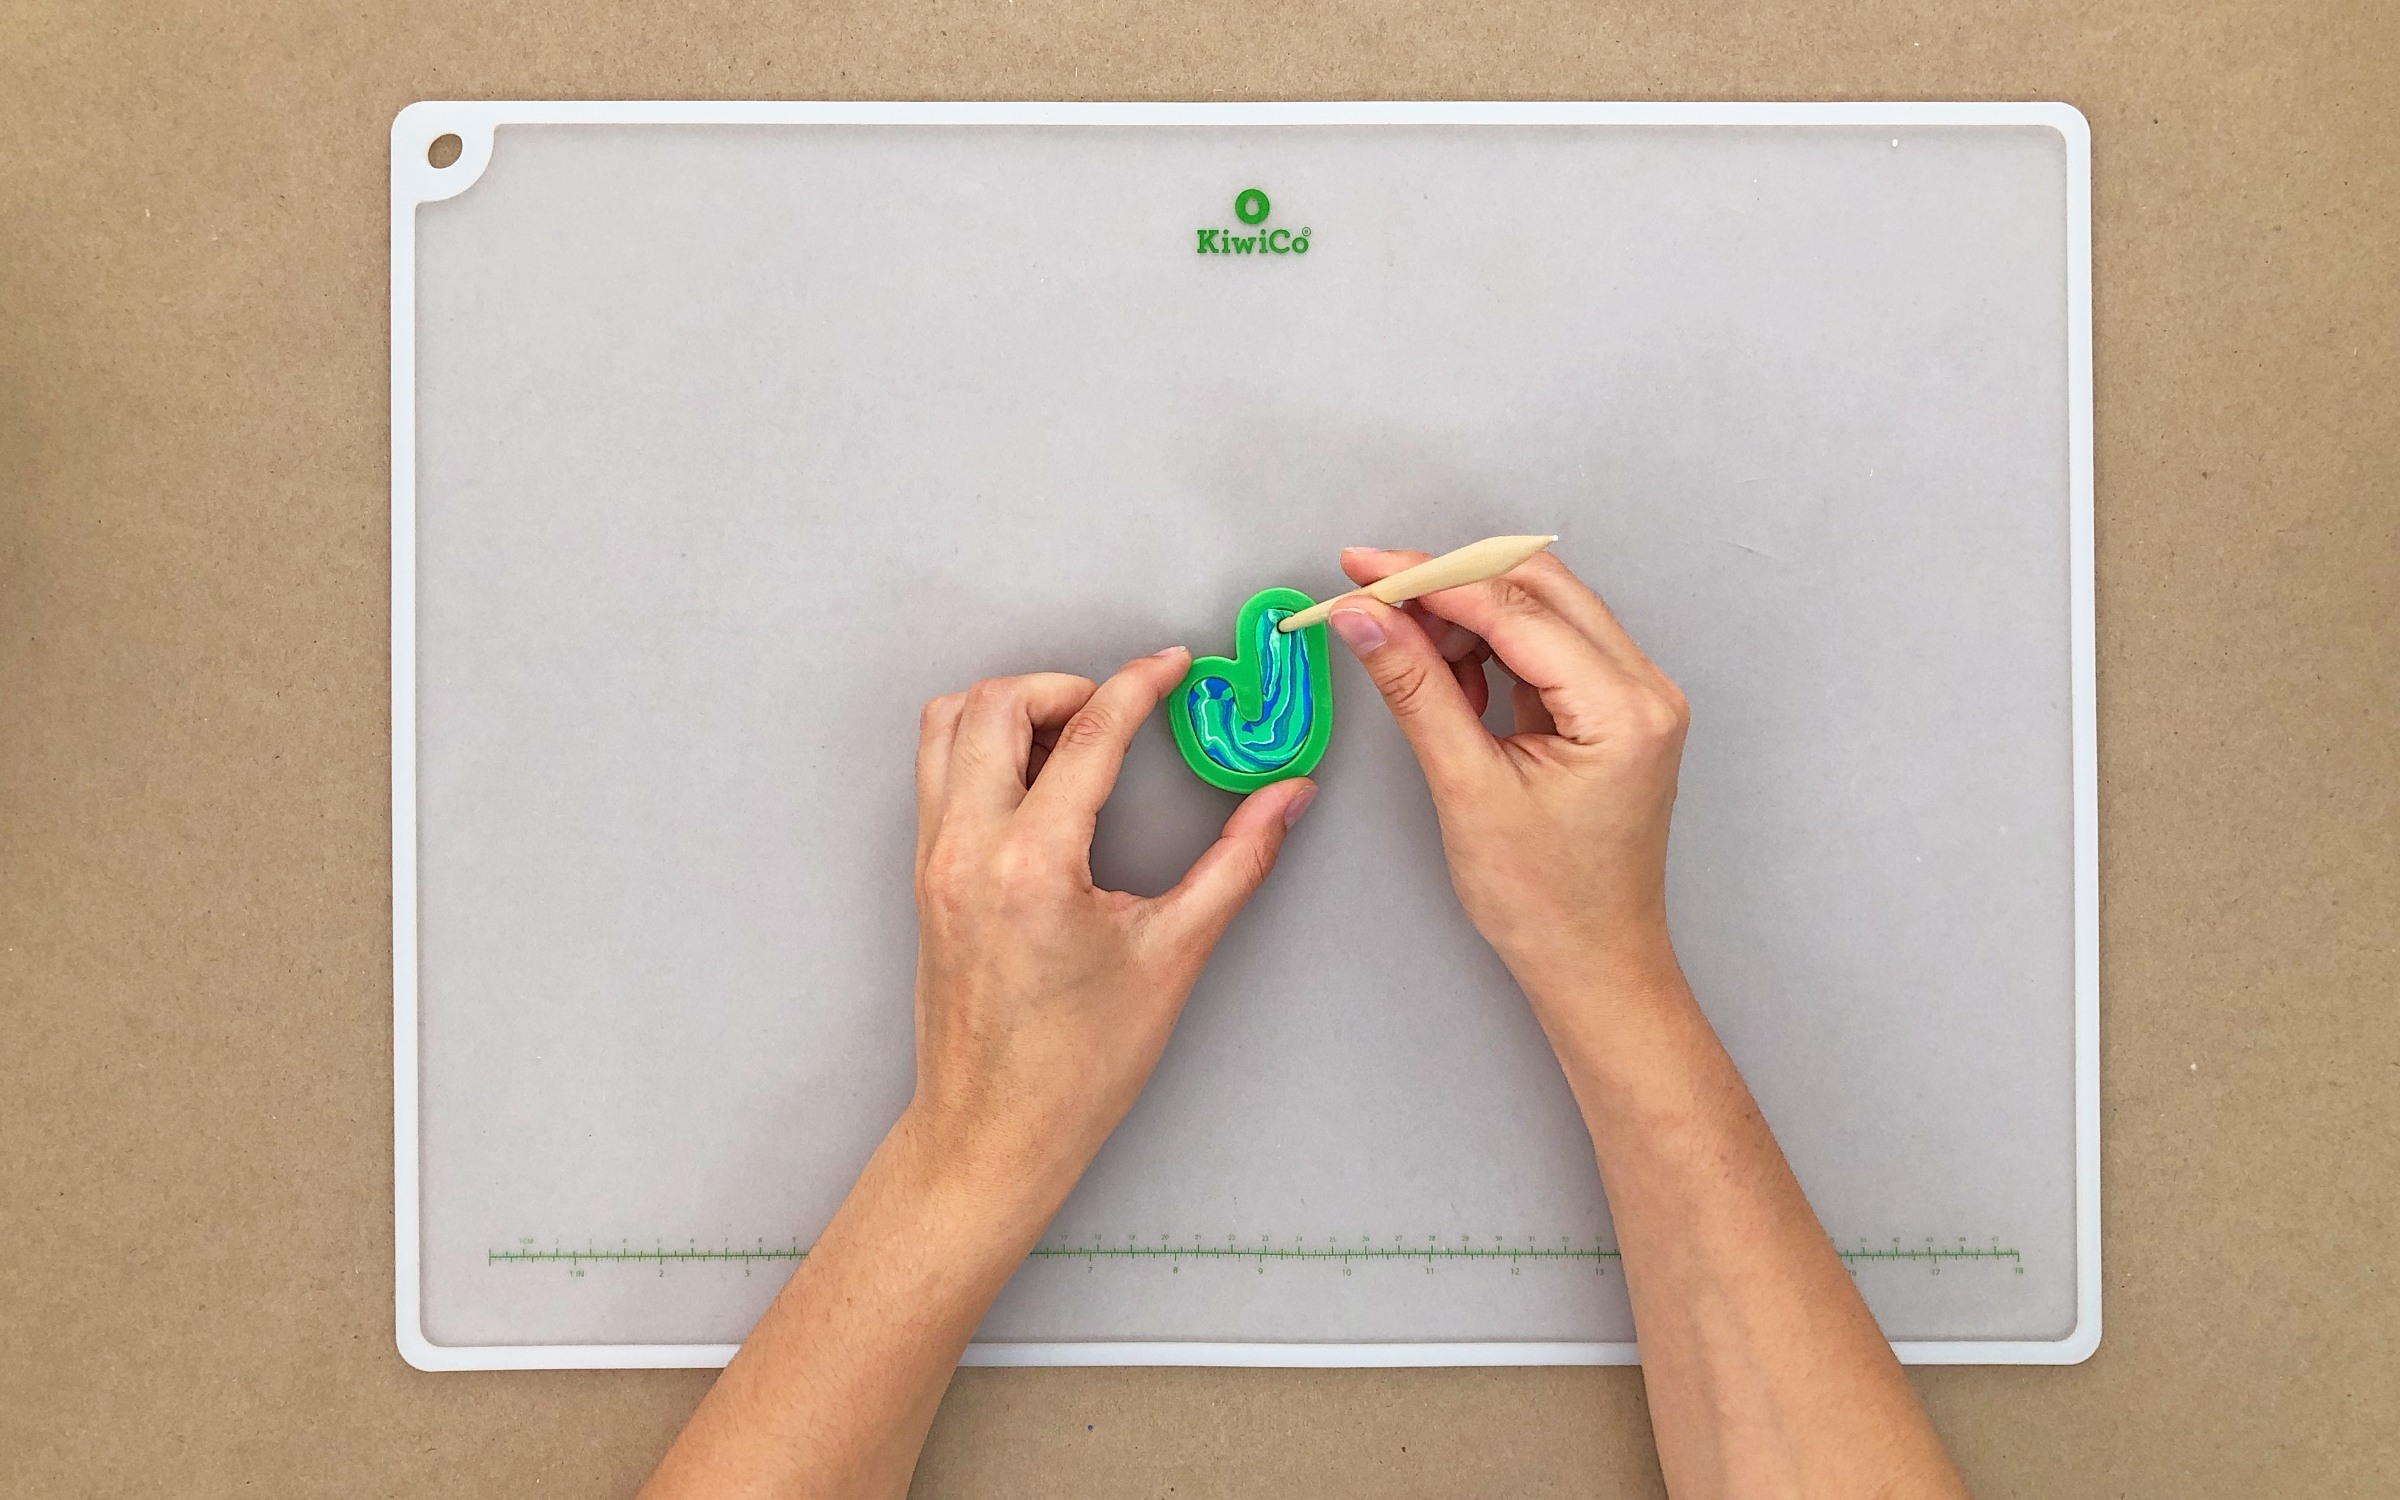
Make a hole with a clay tool or anything pointy.
Step 9
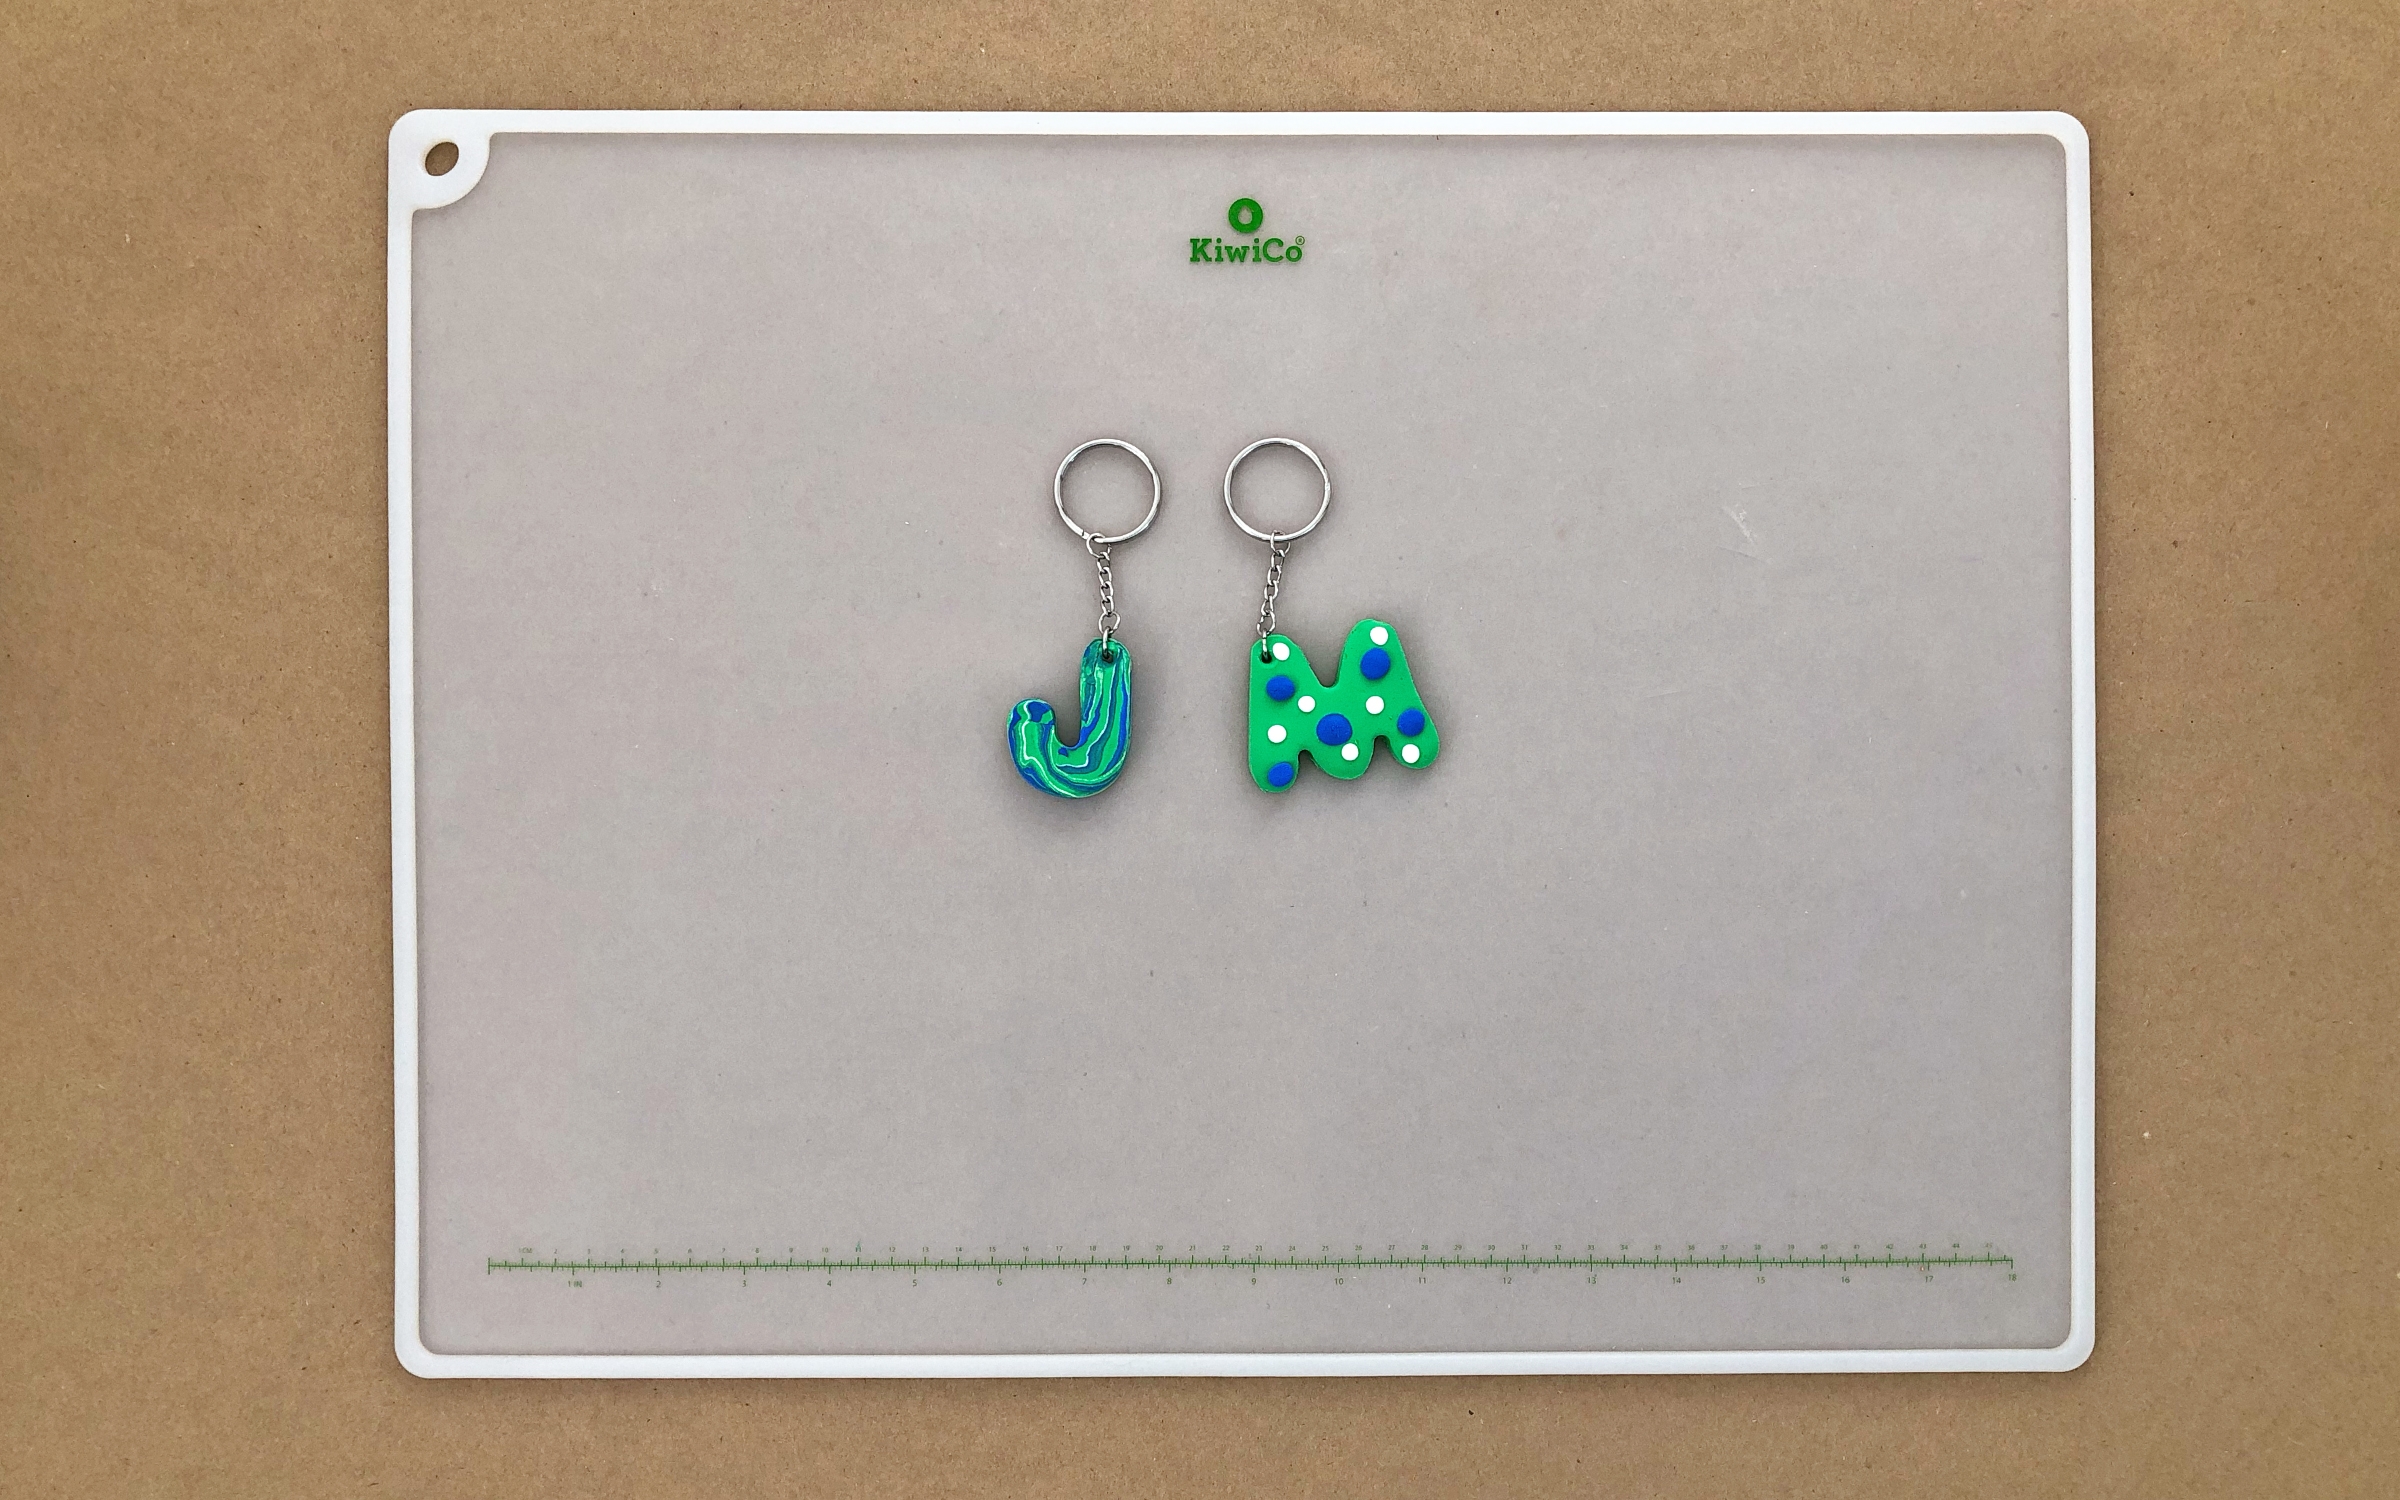
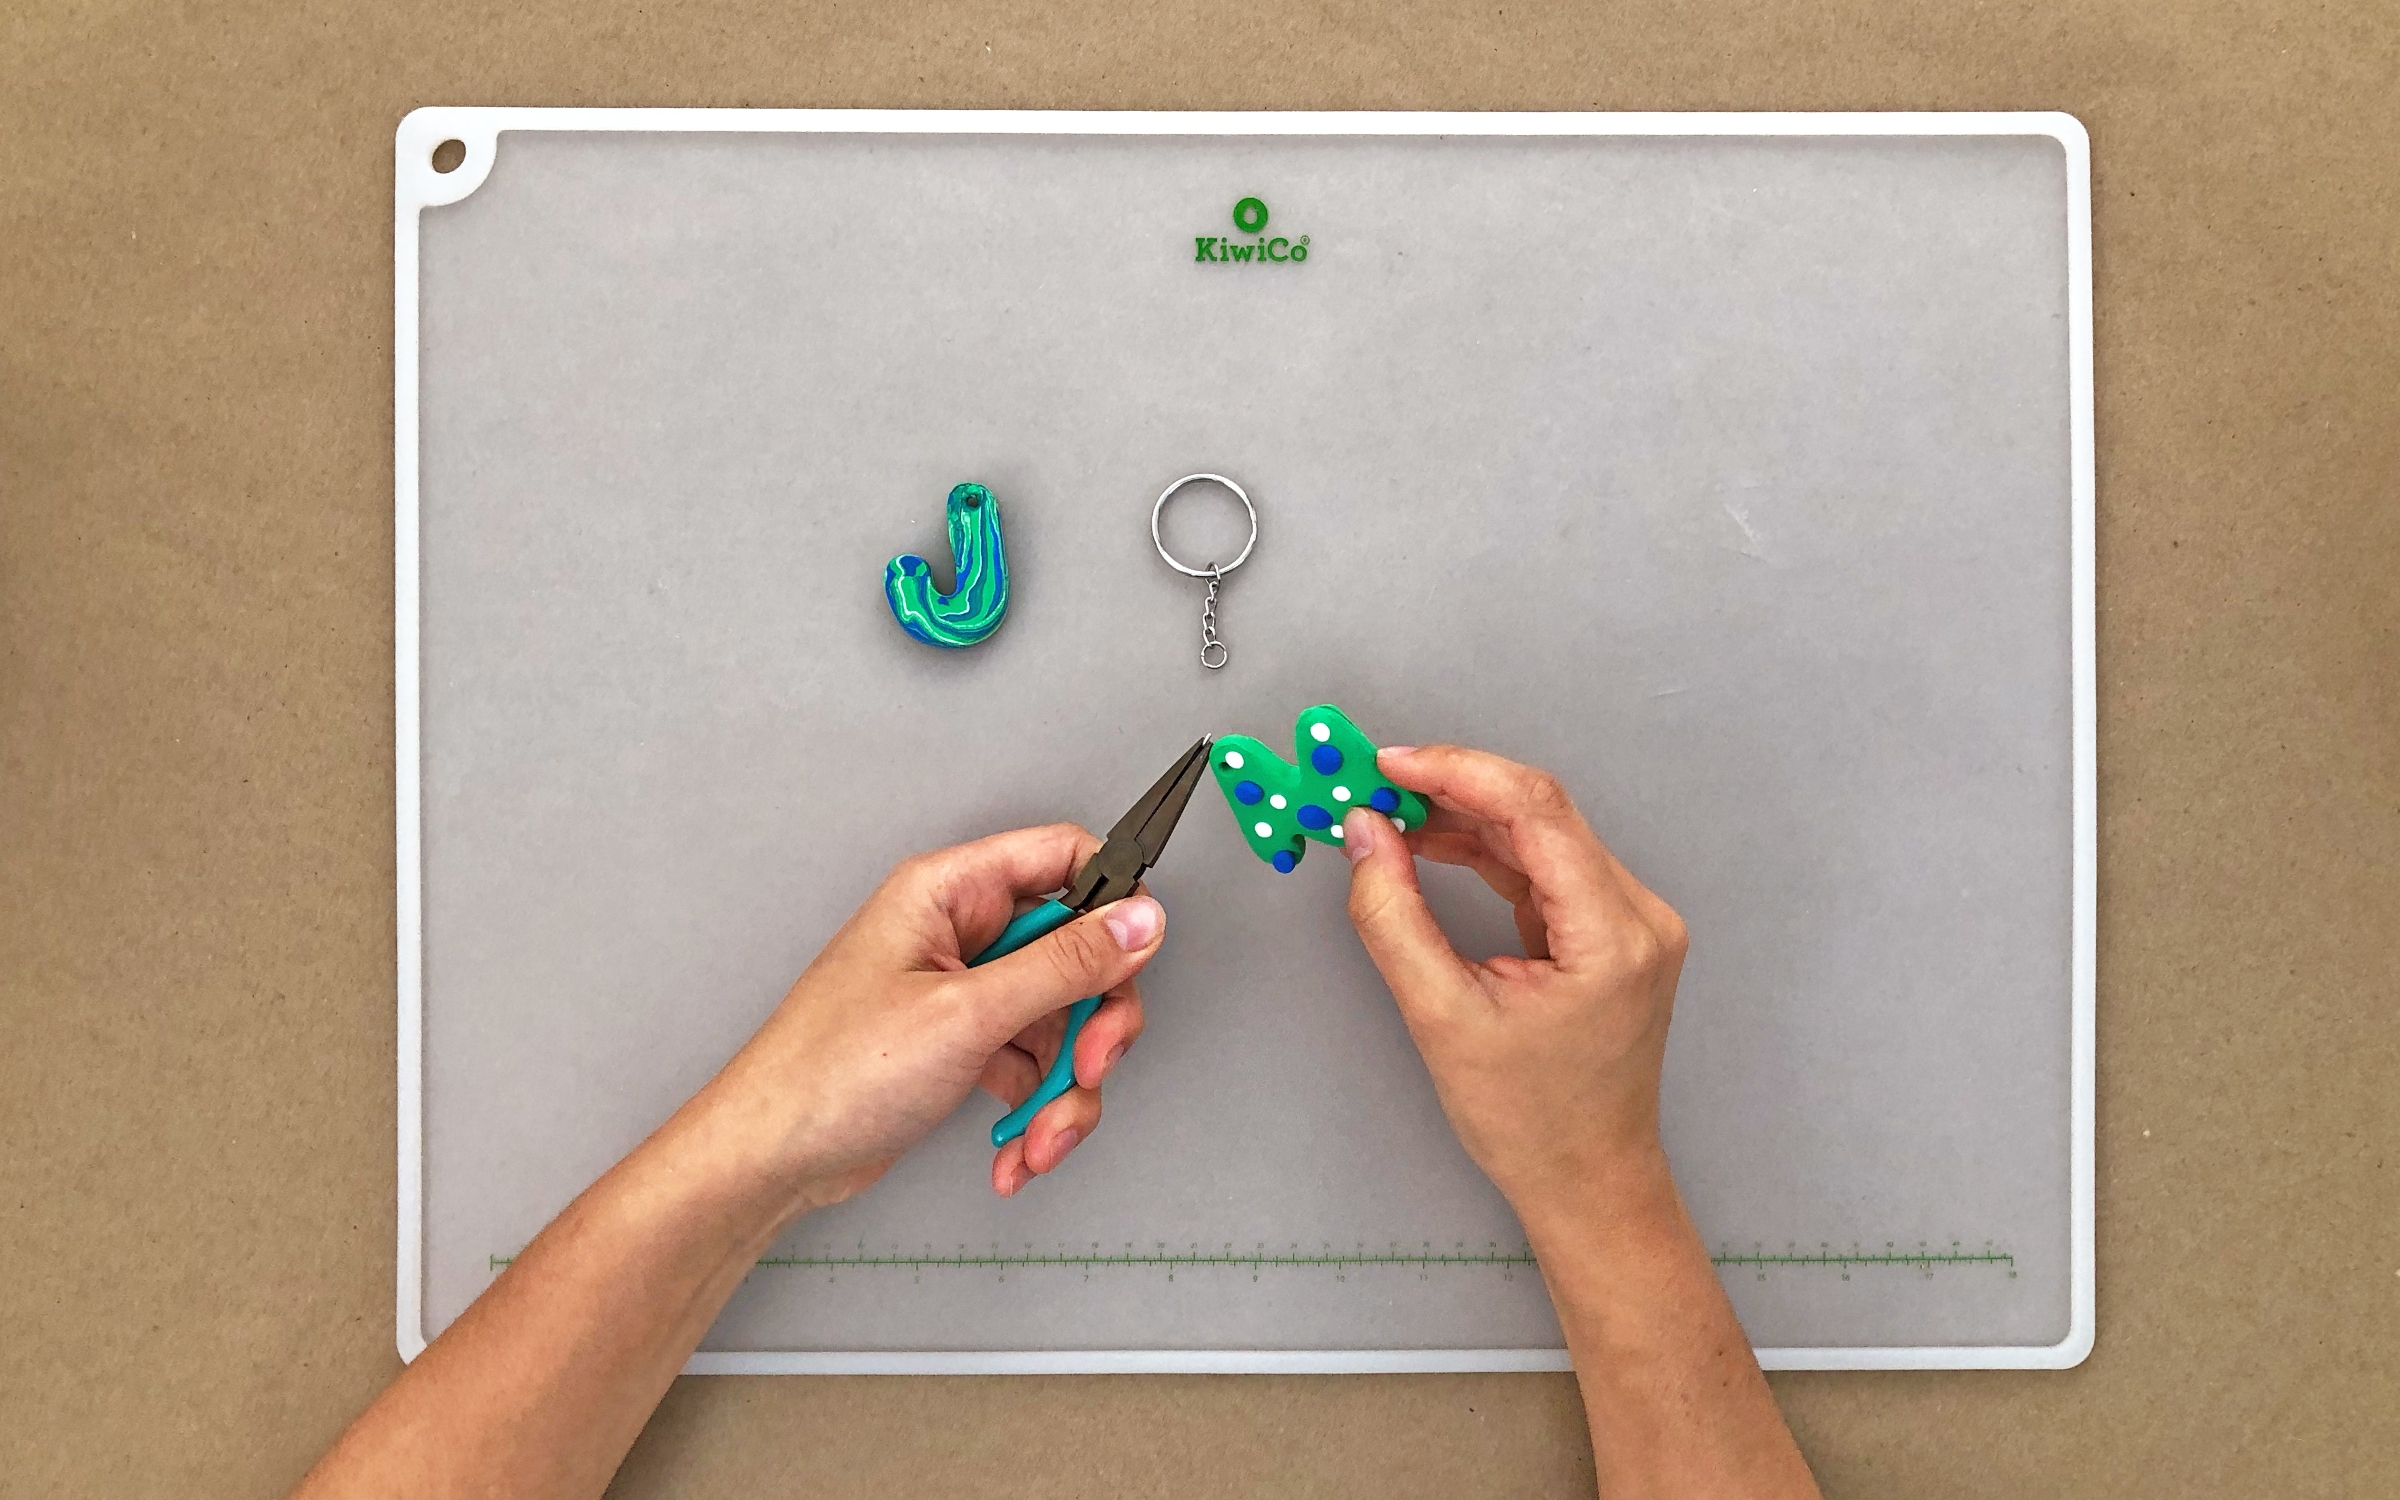
When your clay is dry, unmold the keychains.
Step 10
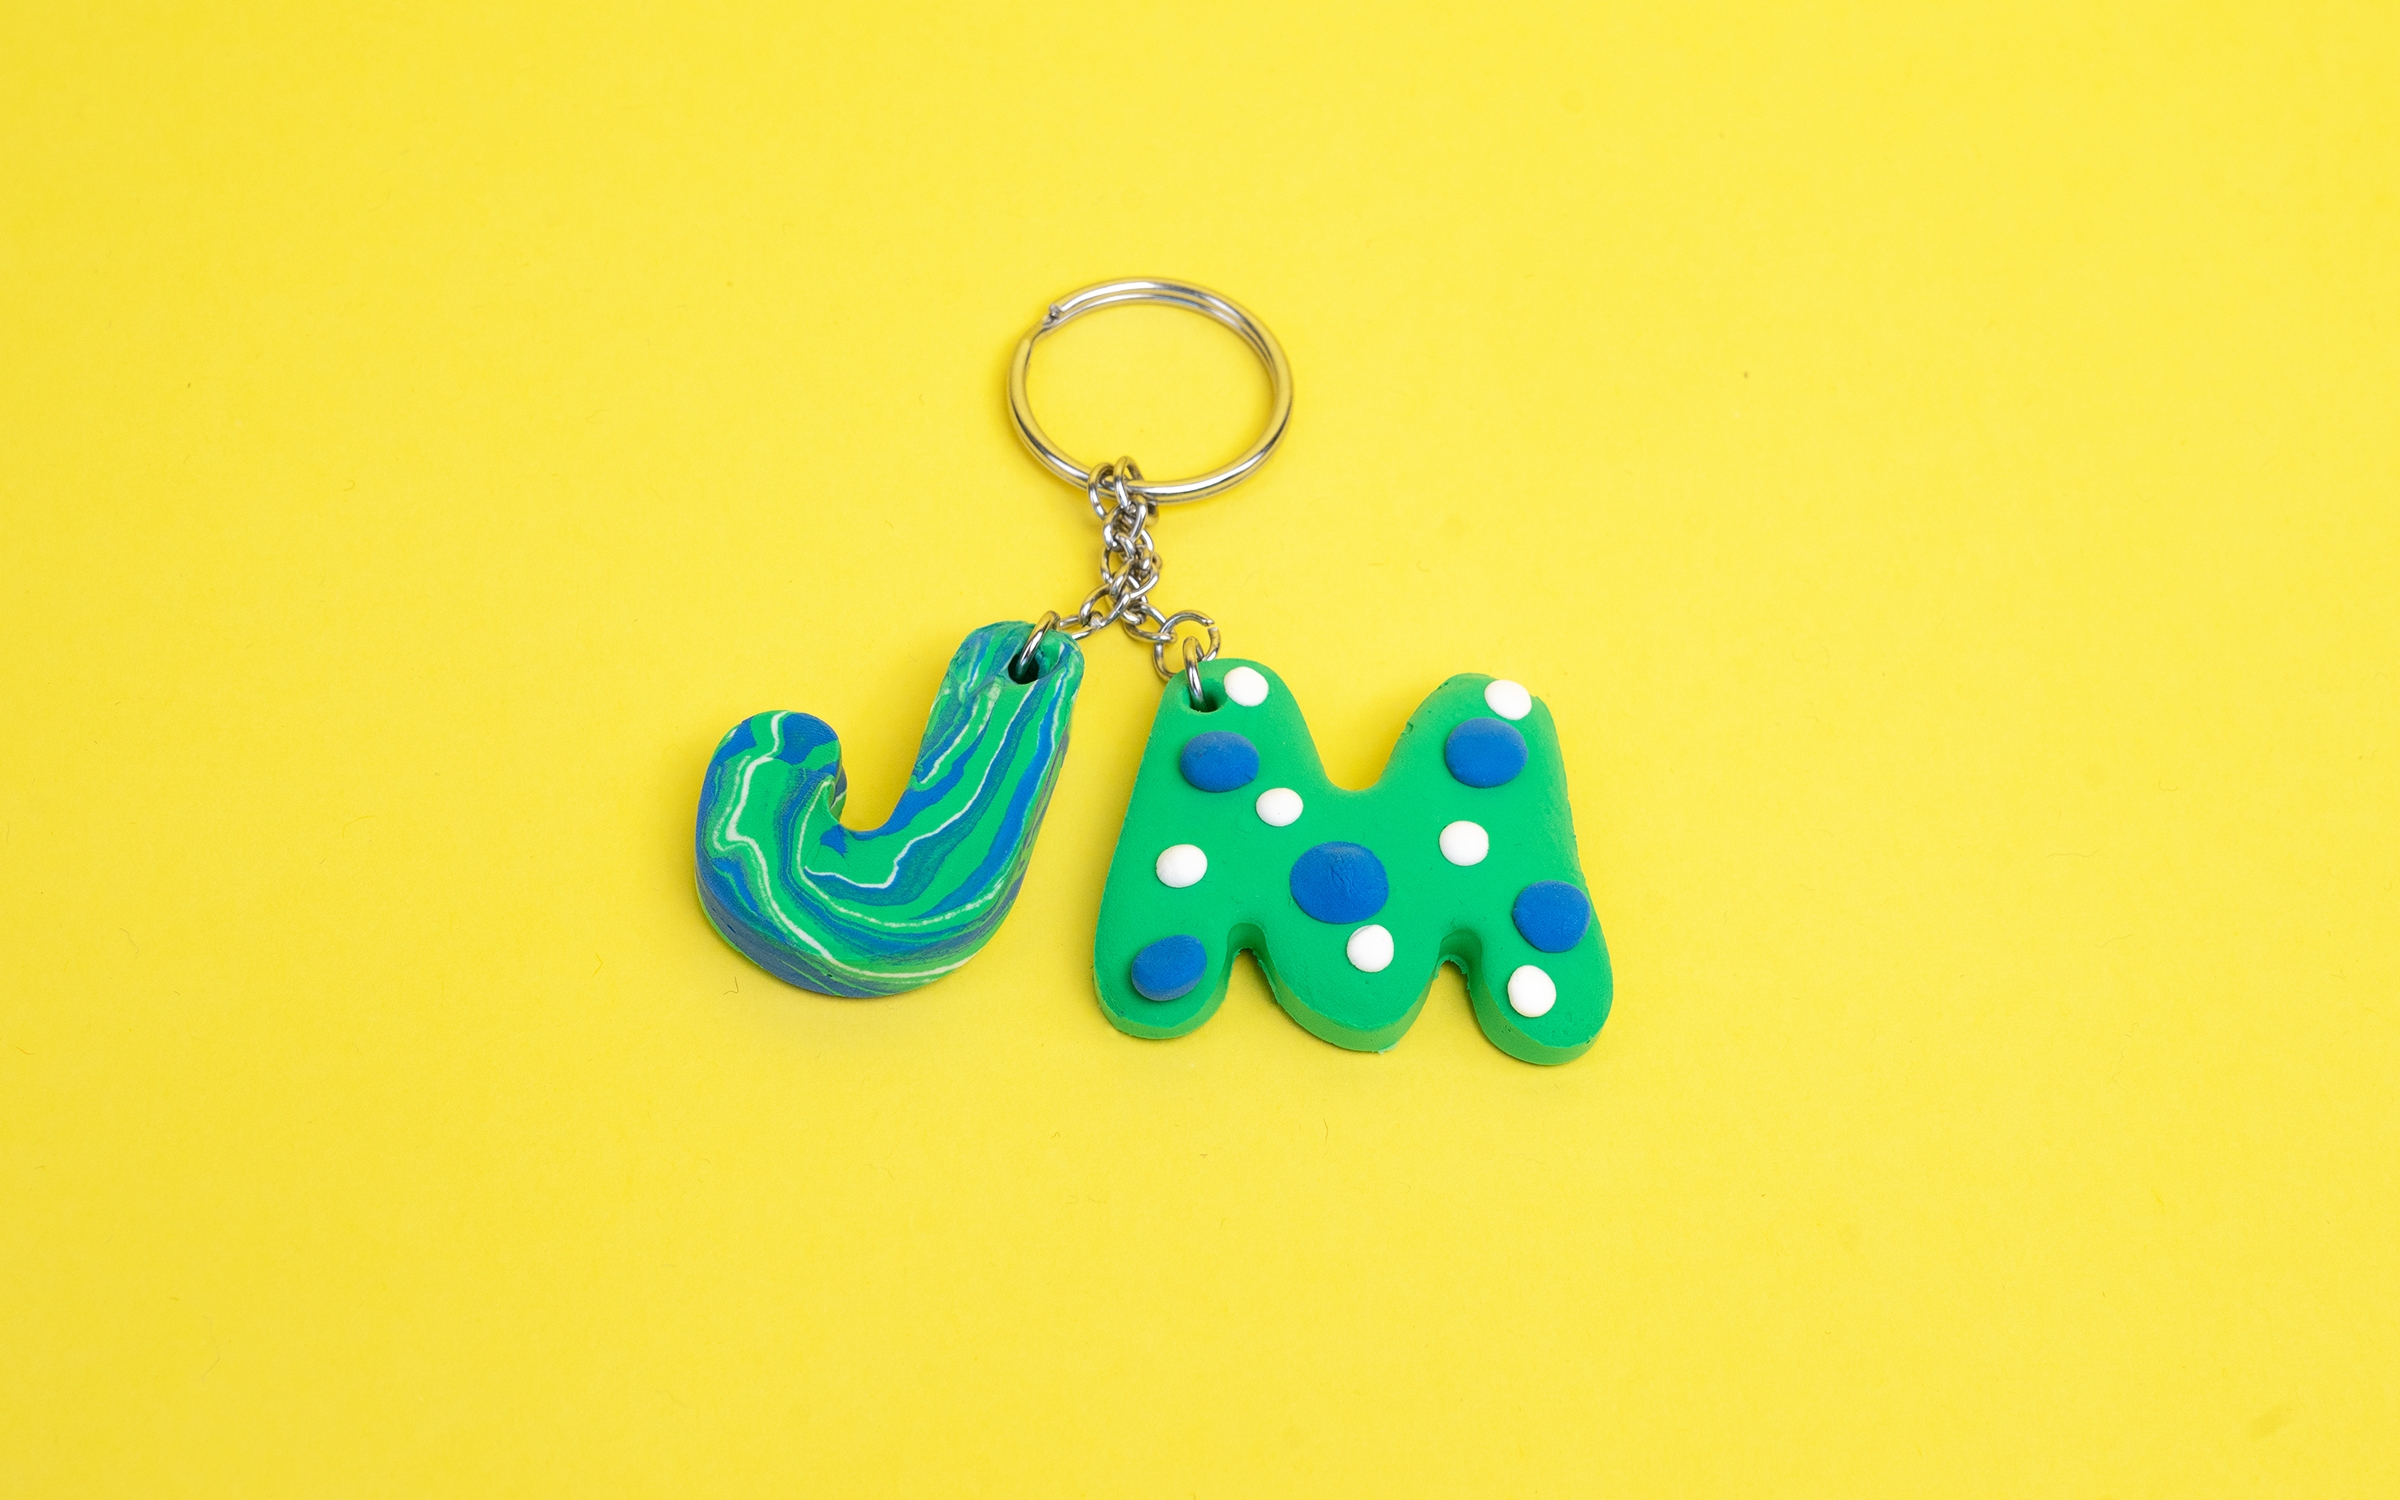
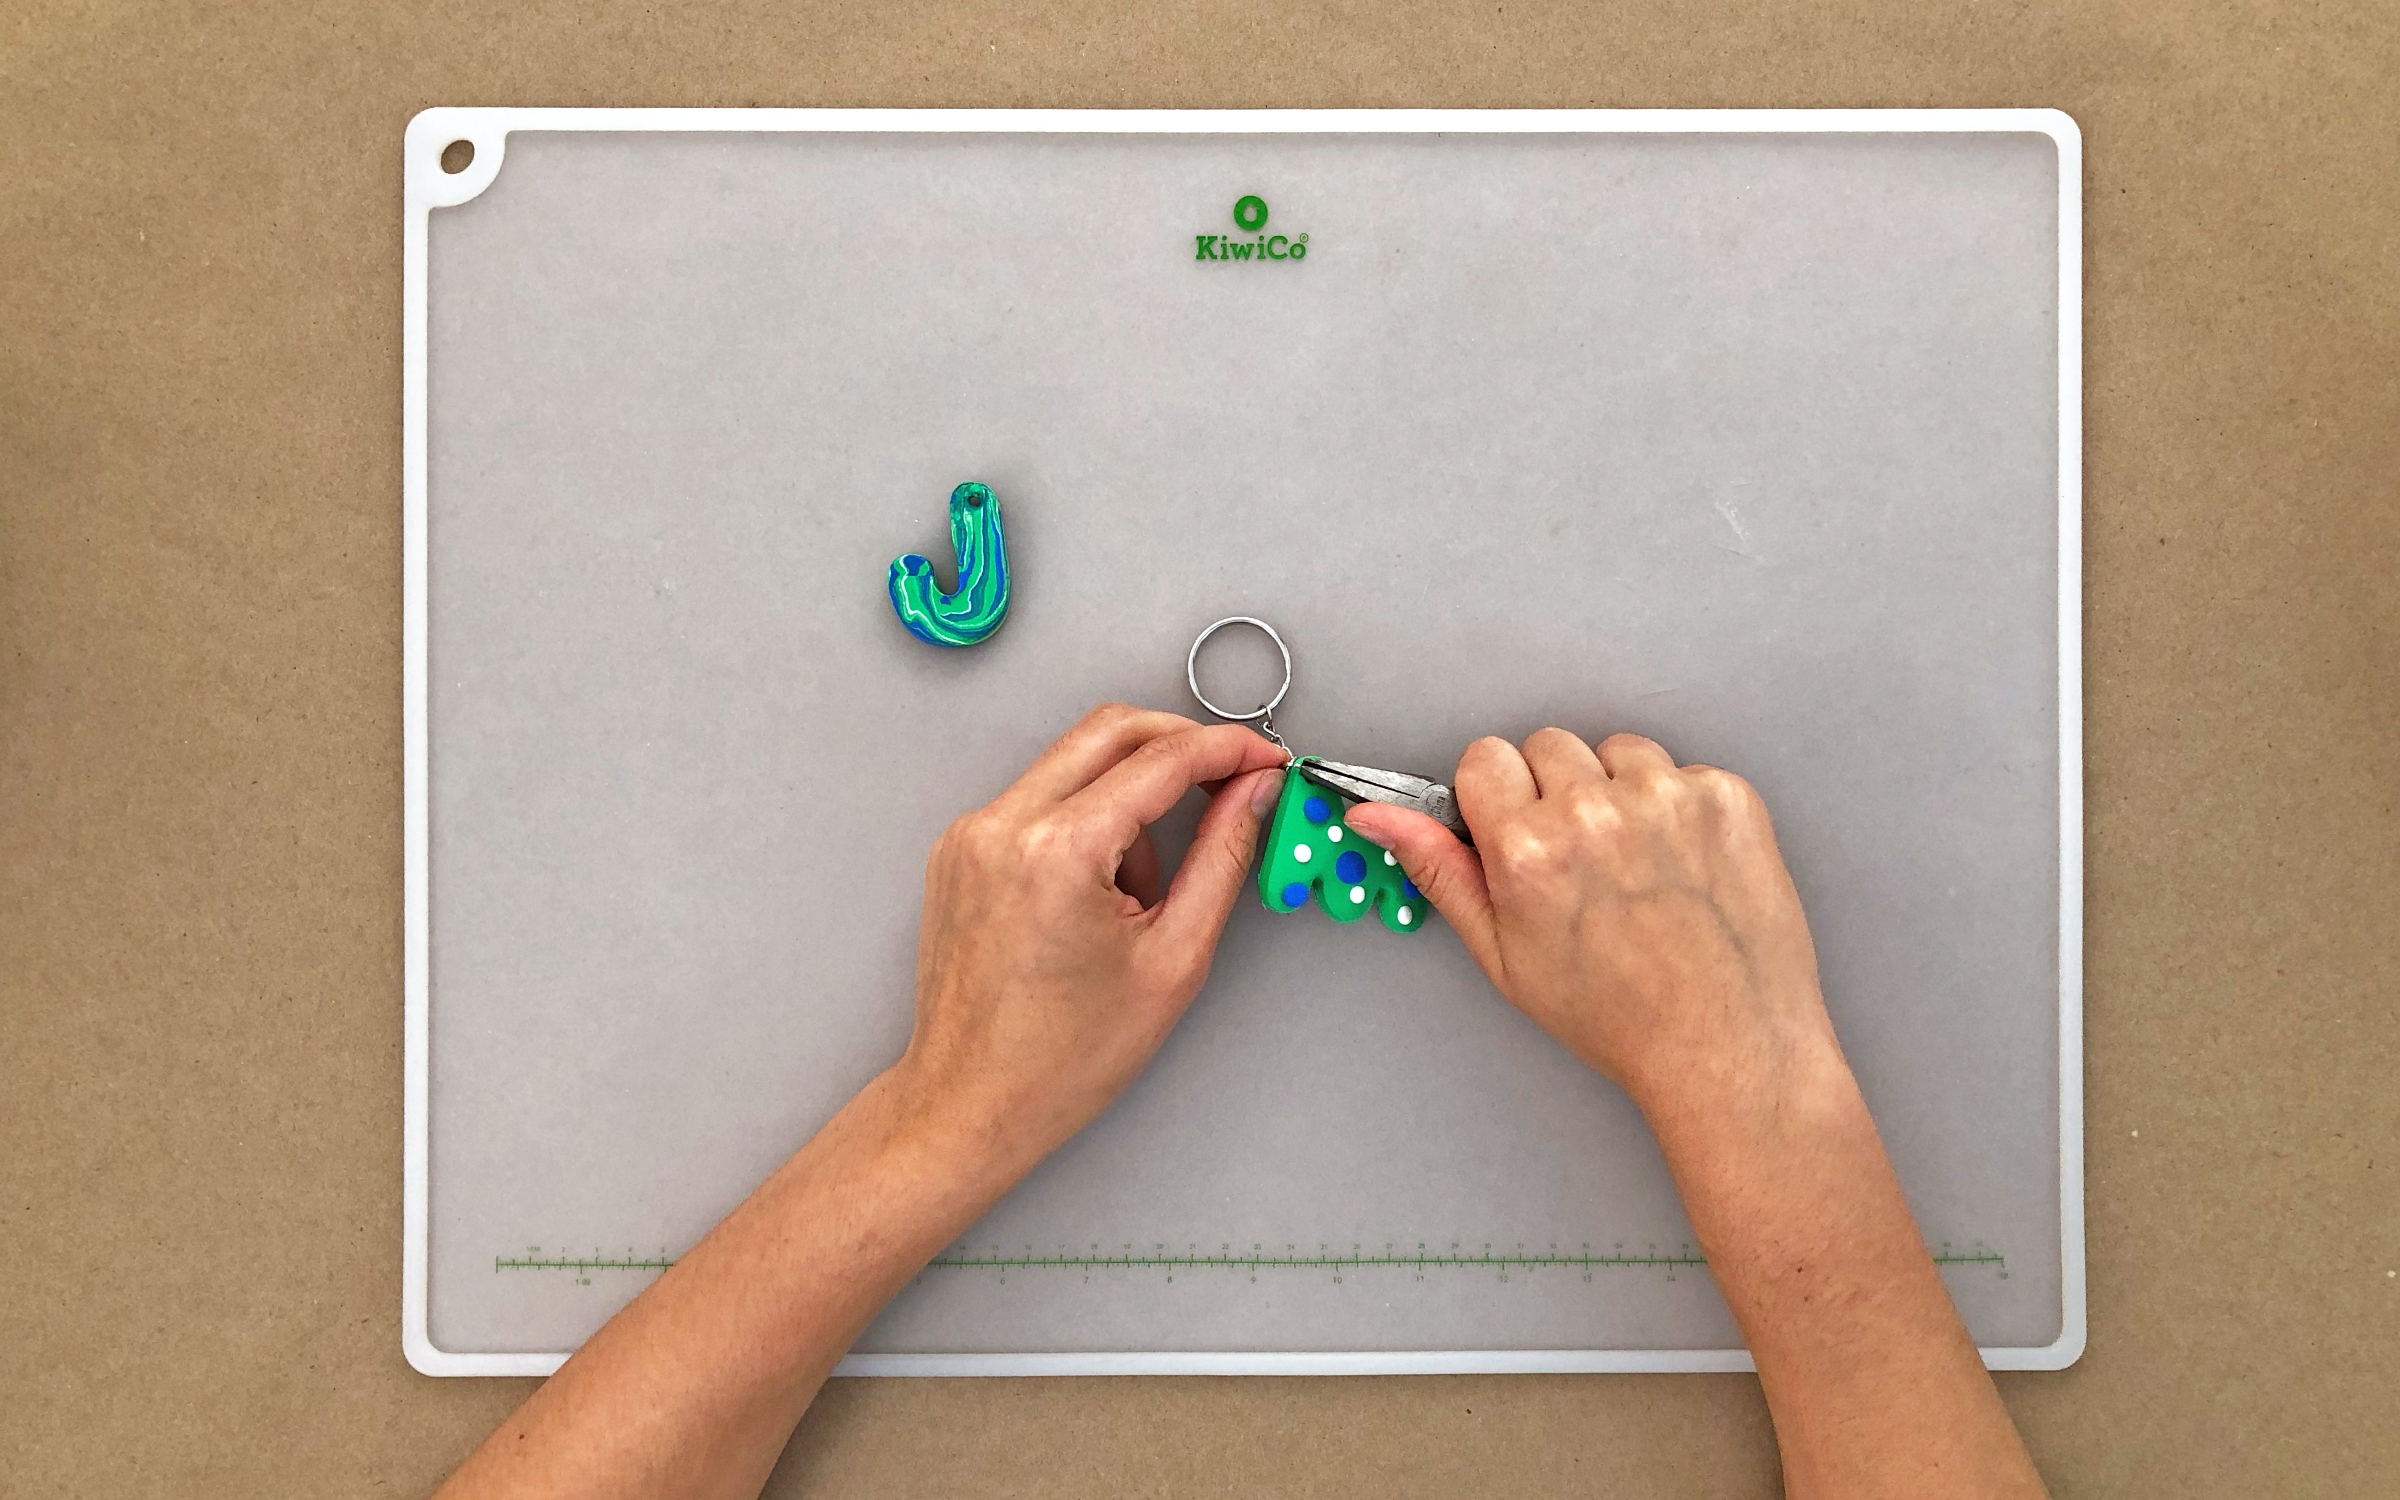
Use pliers to unbend a jump ring. Put it through the hole in your charm, and through the keychain, then use pliers to close the ring again. Repeat with your second letter if you want everything on the same keychain.
Done!