Step-by-step tutorial
Step 1
This is a manageable and esteem-building project for a child who is learning to sew. While it requires adult involvement or supervision, depending on the age of the child, many kids 5 years or older will be able to execute most of this project on their own.

Step 2
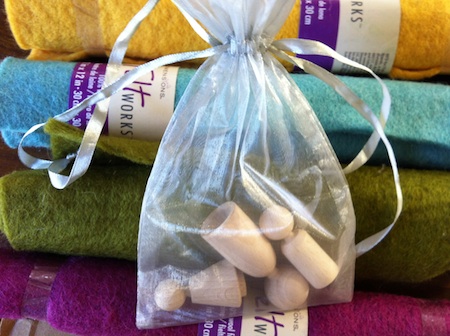
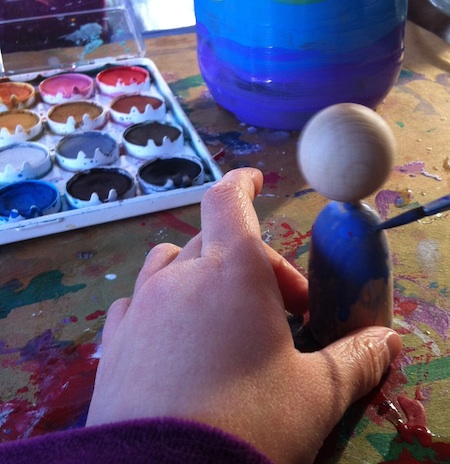
My daughter began by painting the wooden peg bodies with watercolor paints.
Step 3
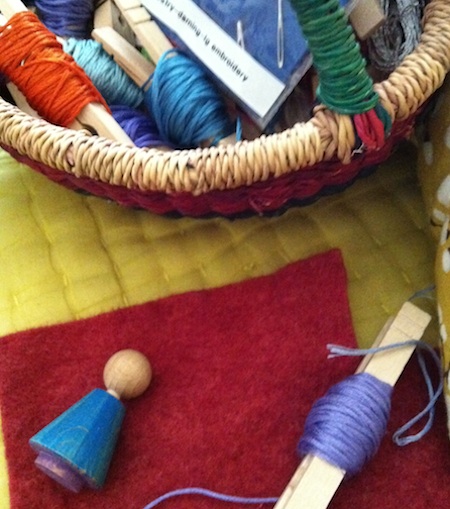
Once the paint was dry, she sealed them so that the paint would not easily rub off. Sealing also gave the colored wood a nice glow. To seal, we used a homemade wood creme created by melting beeswax, olive oil, and tea tree or lavender oil (for naturally antibacterial properties and yummy scent) in a double boiler. You could also seal the paint with plain beeswax (or beeswax-based lip balm in a pinch) by rubbing it over the painted wood surface and wiping it off with a soft cotton rag. Next my daughter carefully selected colors of felt and embroidery thread she wanted to use for gnome hats.
Step 4
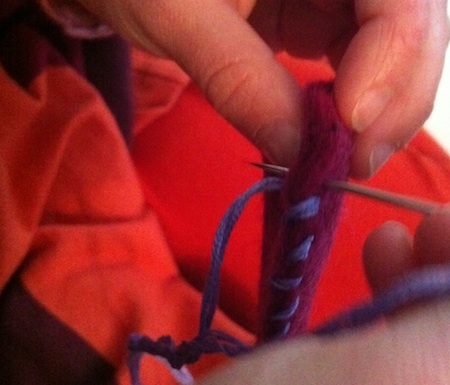
I folded the felt in half and cut a right triangle with a slightly convex, arched, hypotenuse side. (Yes, I had to look that up! Trig refresh: the hypotenuse is the diagonal across from the right angle.) This curved part becomes the edge of the hat the child stitches up. It gives the gnome hat some color and interest in the front, with a cute arched back hat shape. My daughter concentrated intensely while sewing up the hat with embroidery thread and a darning needle using a very basic running stitch.
Step 5
Once she completed the sewing, I tied a knot in the end of the thread for her, using this as a teaching opportunity for knots. (It'll be a little while before she masters this part.) Then I hot glued the hat onto the wooden gnome's head exactly where she wanted it to be.
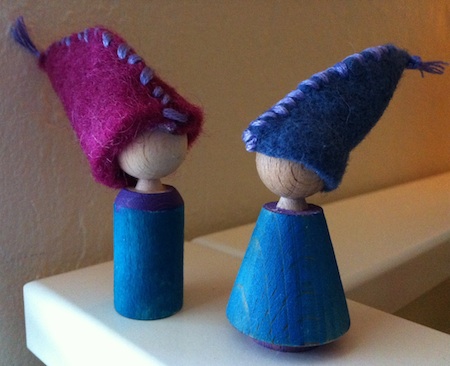
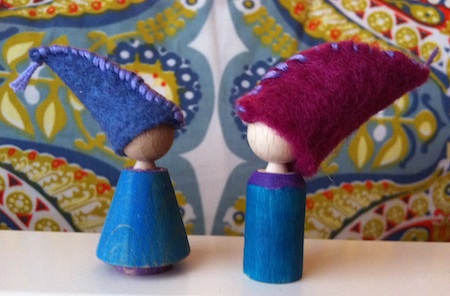
Final result!
She created a few gnomes at once and was so very proud to have created the toys with which she spent the rest of the afternoon playing. She even went on to make more gnomes as gifts for friends. What a confidence-building experience it is for a child to be able to play with something where he or she can say, "I made this!"