Step-by-step tutorial
Step 1
This project can seem really difficult when you're first trying your hand at it, but it very quickly comes together and becomes satisfying and simple.

Step 2
We were going for mid-size hearts, so I cut a template of 3"x9" (7.6x22.86 cm). Another common size for these hearts is 4"x12" (10.2x30.5 cm). They can have anywhere between three and five rows; to keep it easy for Maddie, we kept the craft at three rows.
Step 3
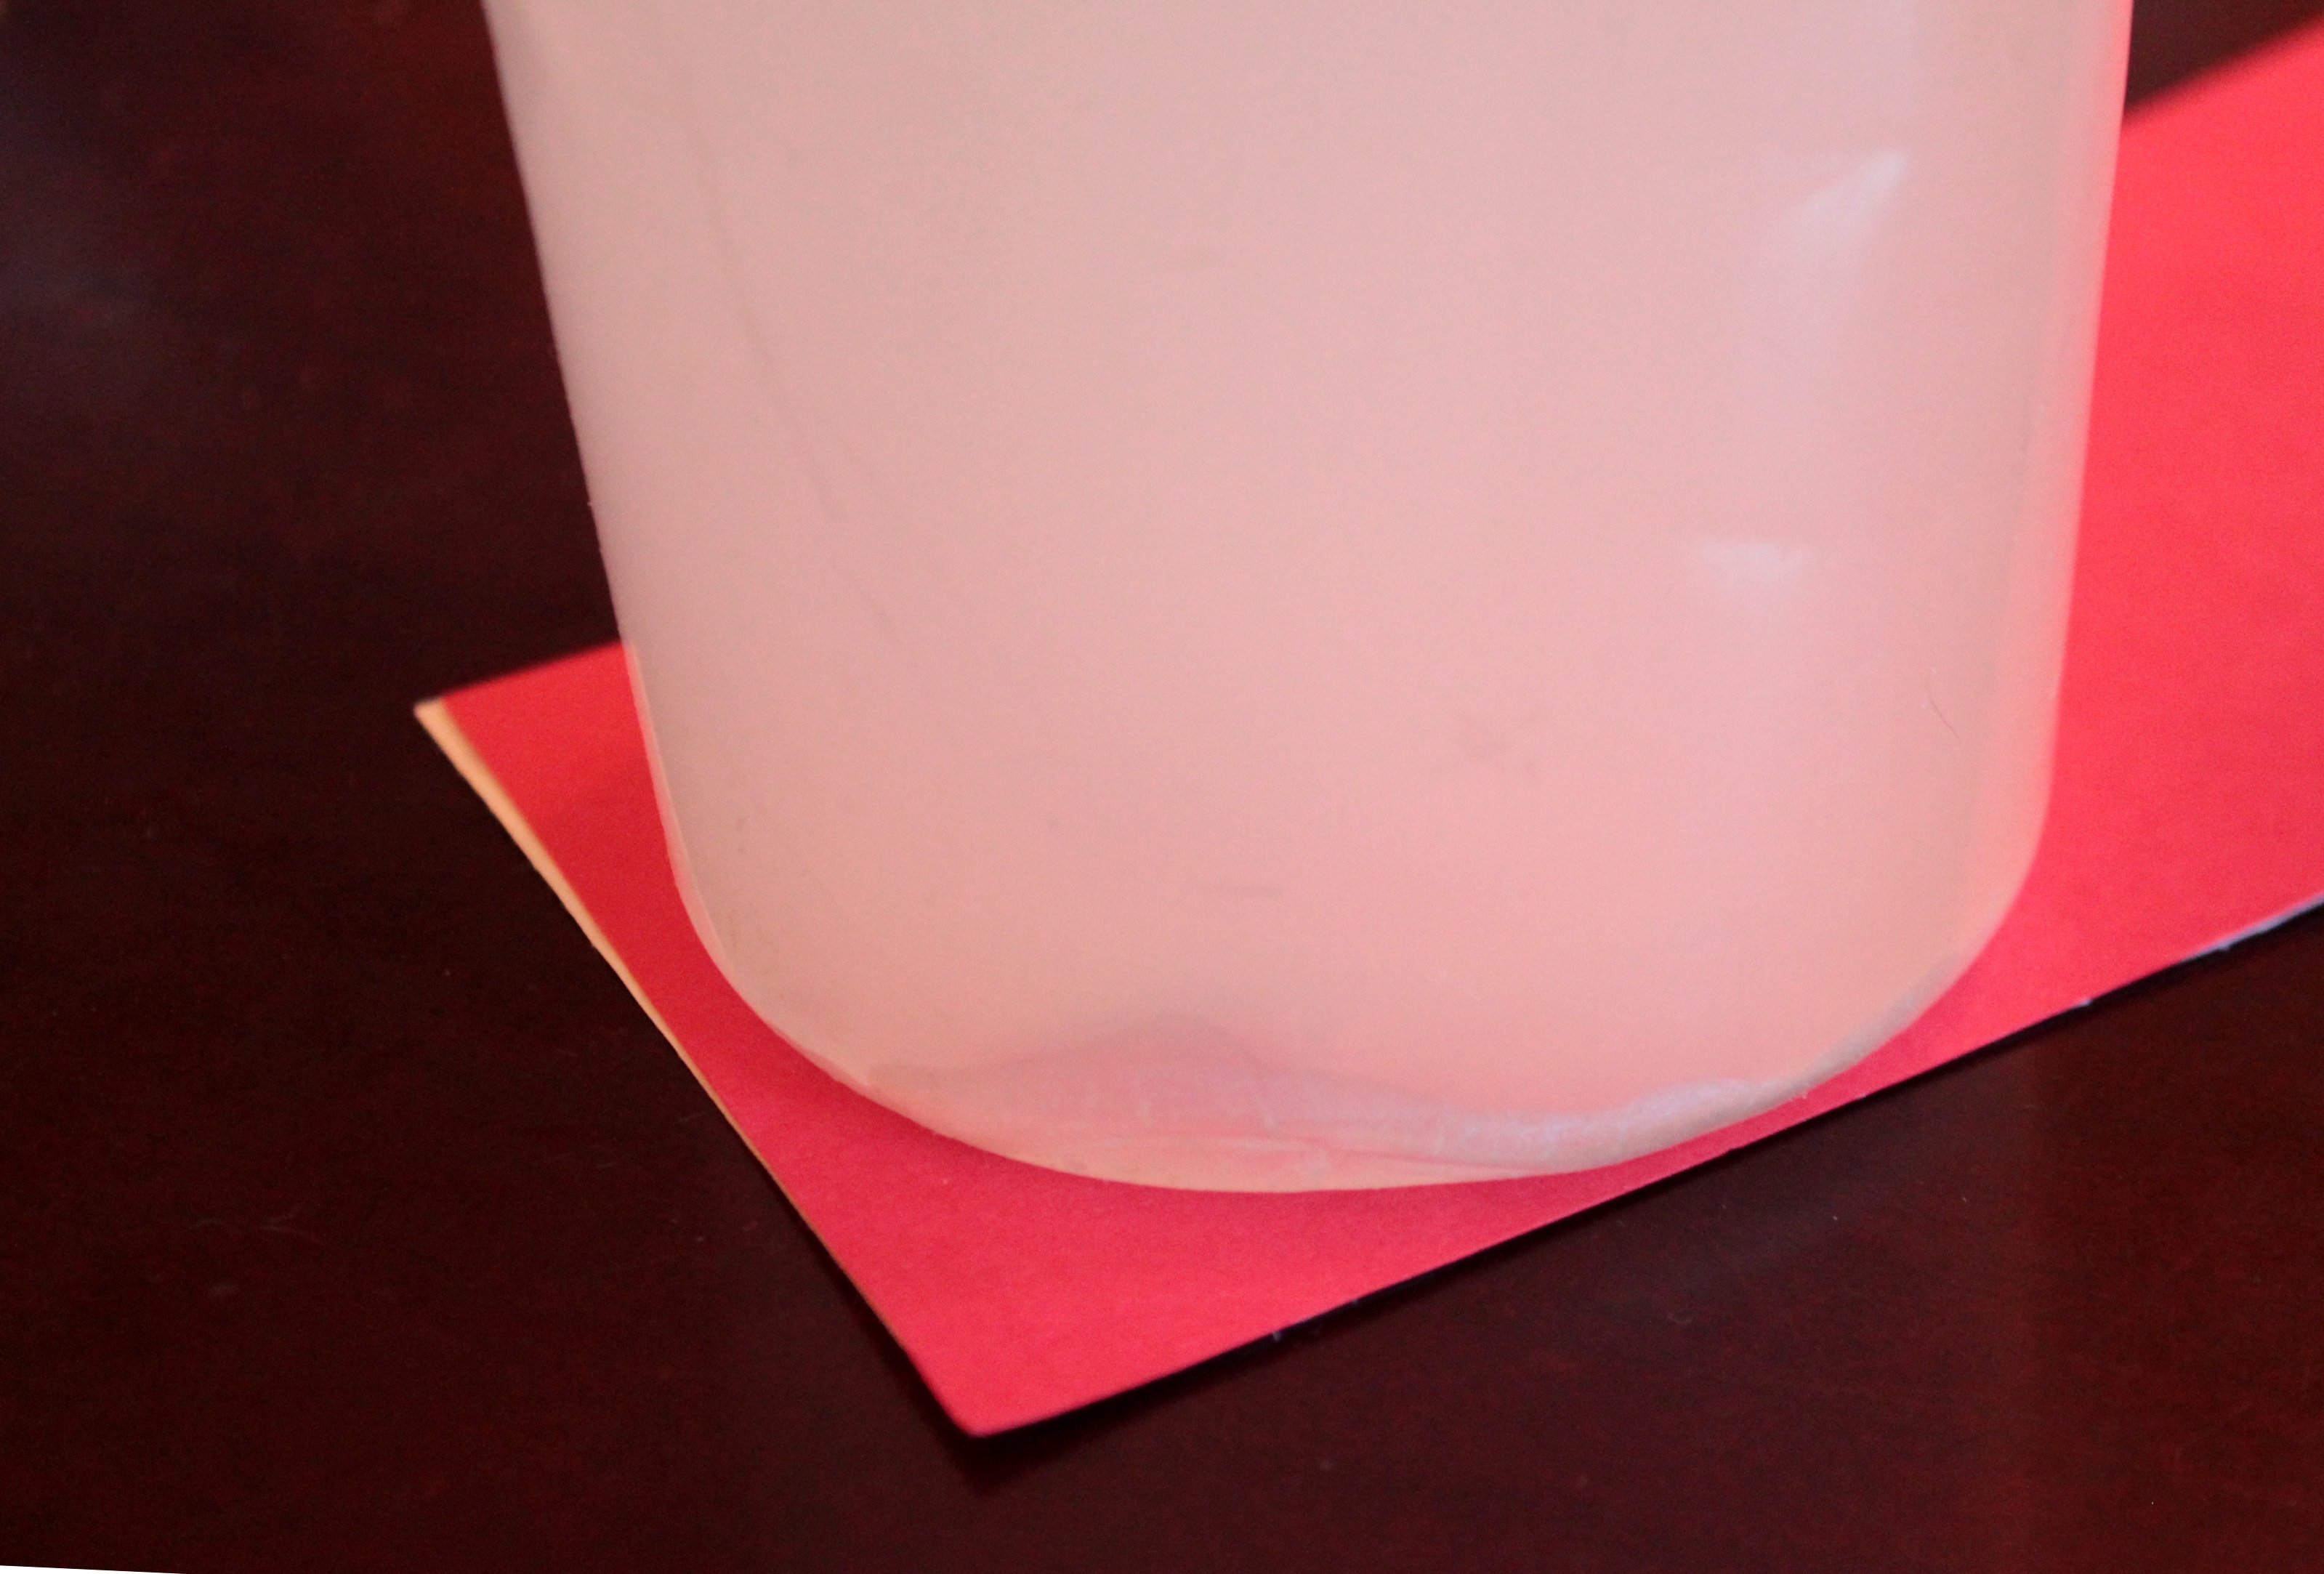
I gave Madeleine the 3"x9"
(7.6x22.86 cm) strip, and she cut her two papers around this pattern. You can either freehand cut to round the papers at both ends, round the template, or use a cup or small bowl that is 3" (7.6 cm)in diameter to trace a semicircle.
Step 4
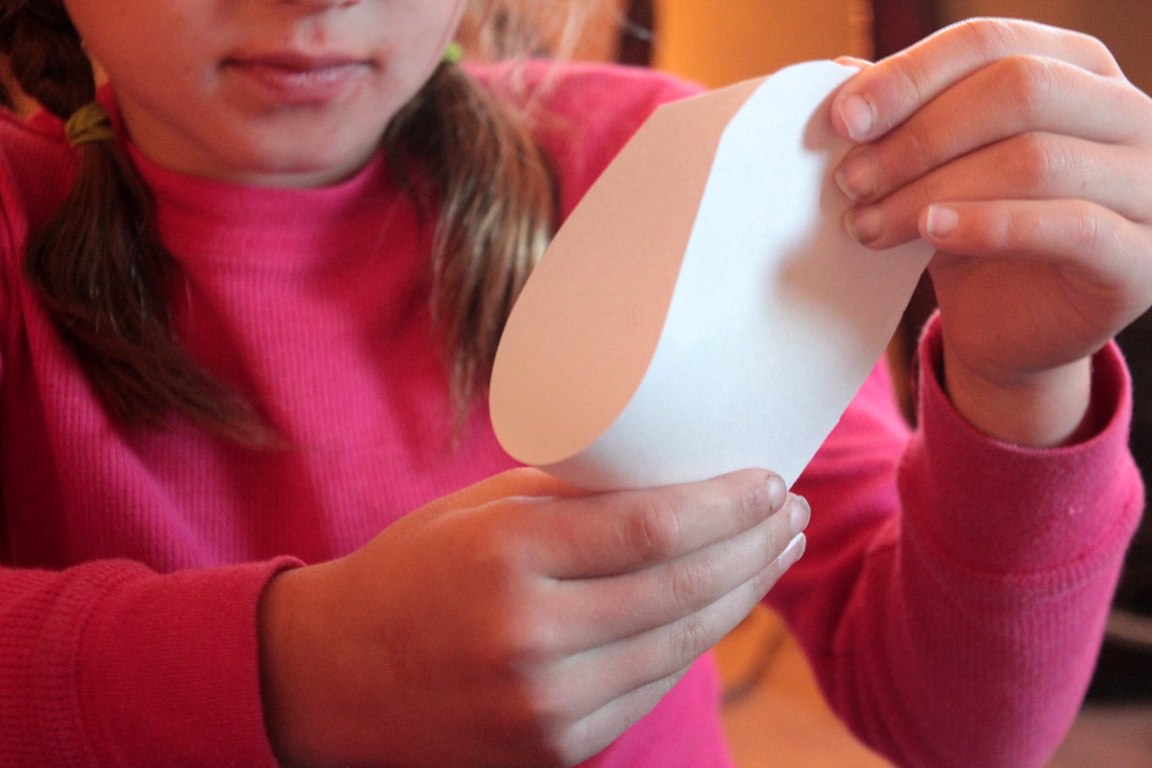
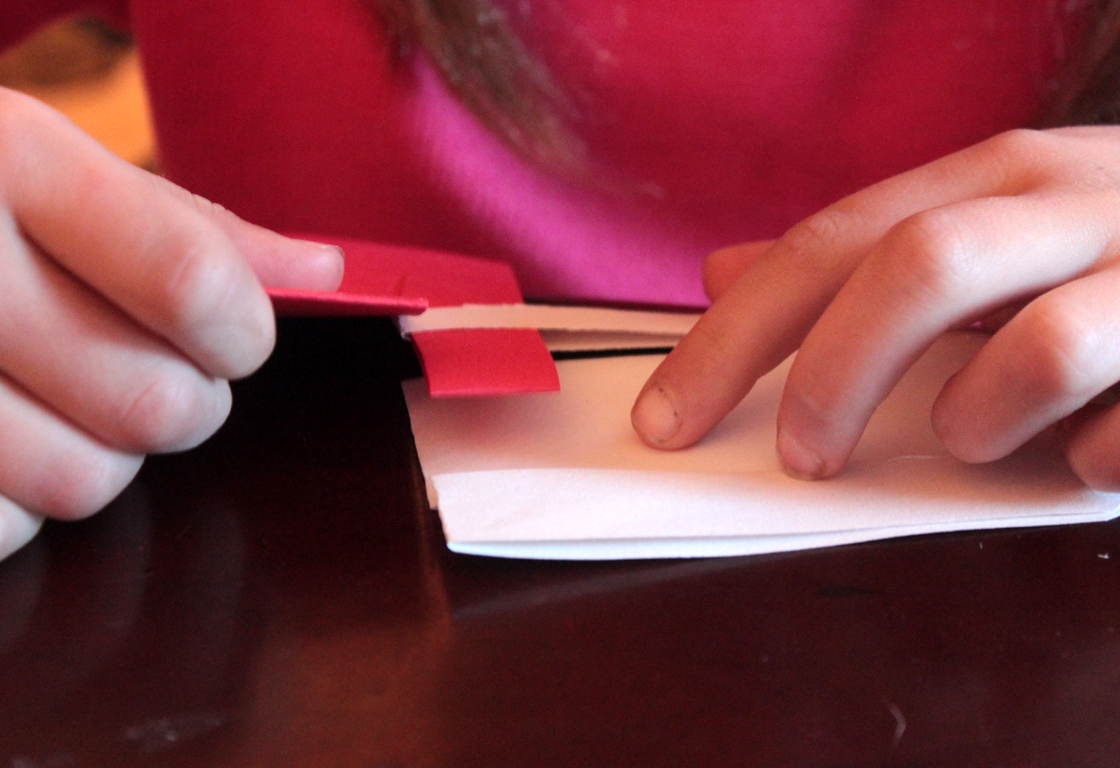
When both ends of both papers are rounded, fold the papers in half.
Step 5
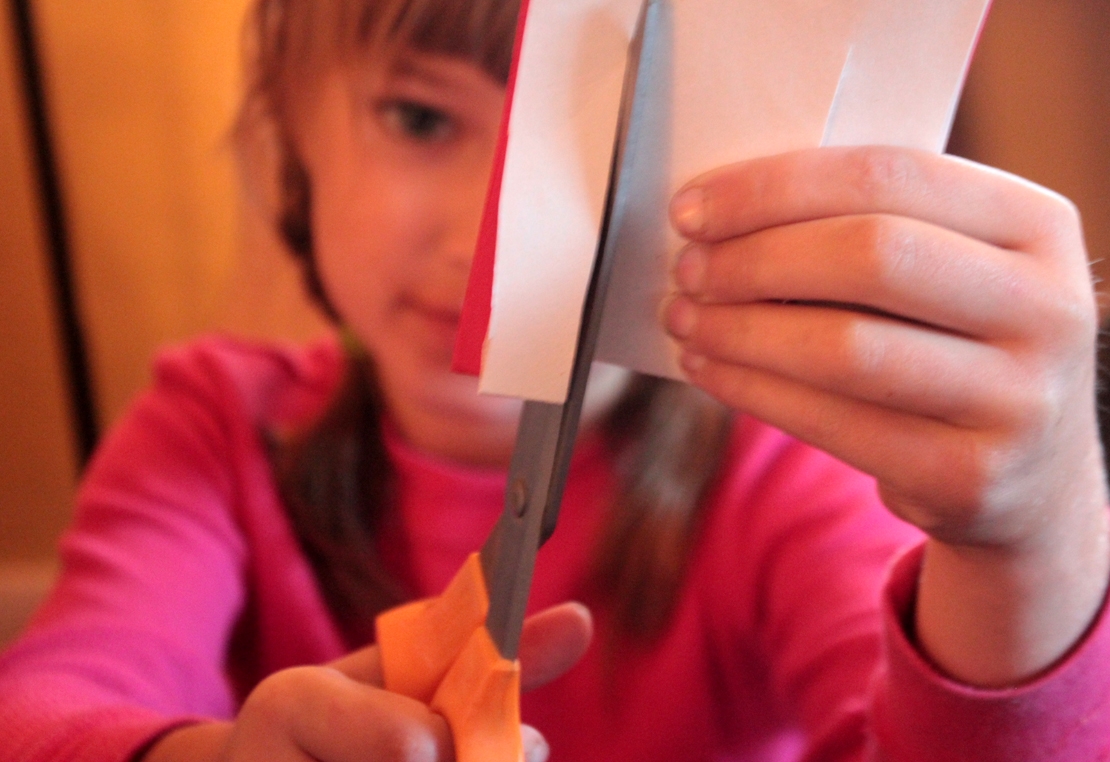
Put your two heart halves together, and make two cuts up the heart, starting at the folded point and ending between 1"-2" (2.5-5.1 cm) from the top of the heart.
Step 6
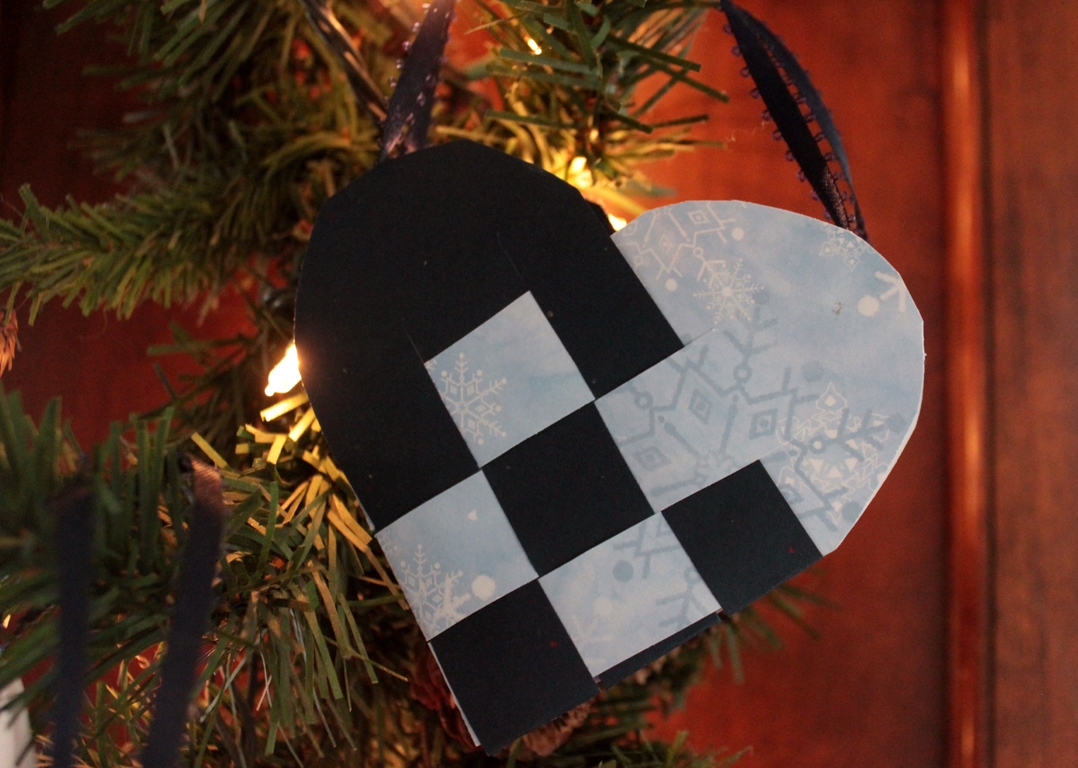
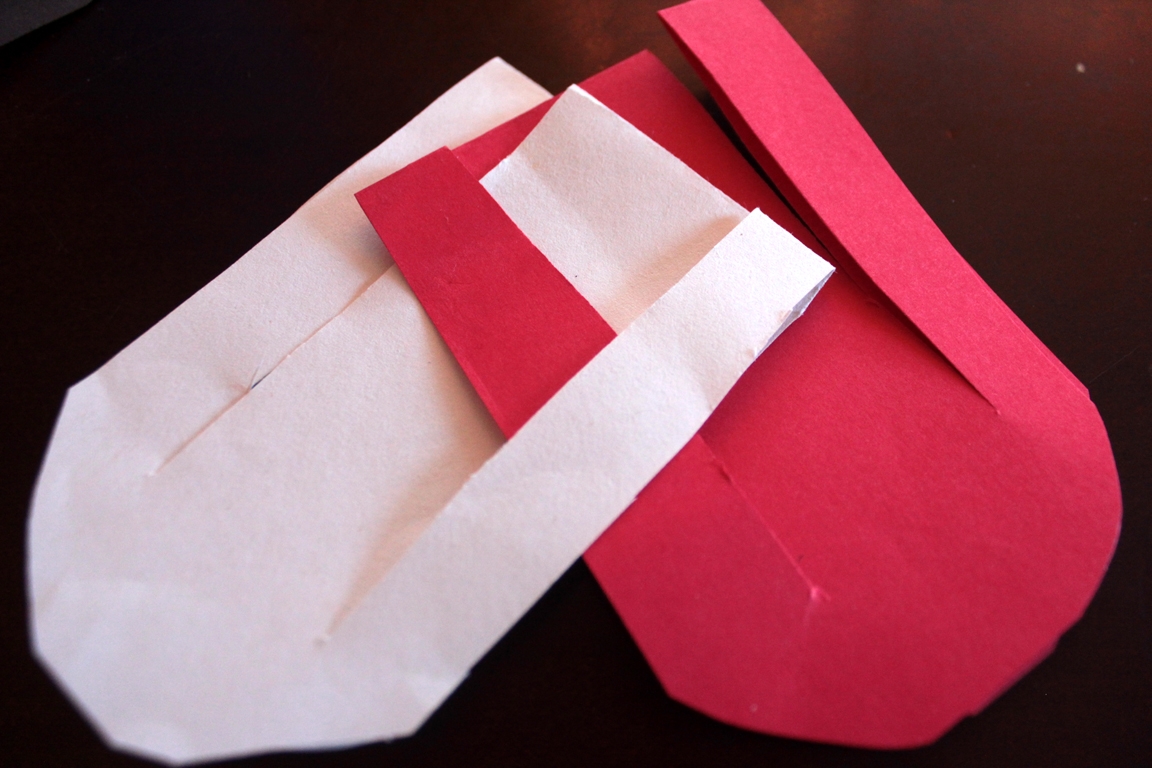
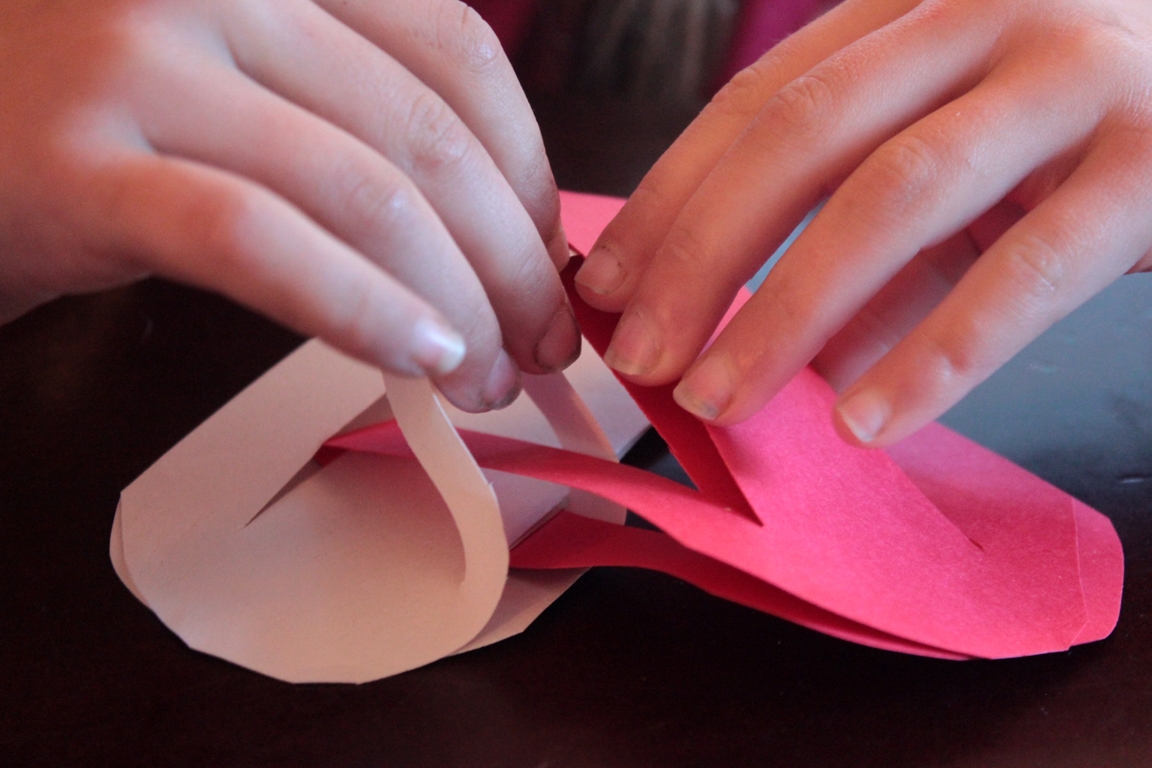
Now we're ready for weaving! It gets confusing if you think of a traditional weave of "over and under," but simple once you realize this process is "inside, outside." Lay your heart halves down, then go for it! Take the inside (first) red strip, and put it inside the first white strip. Then tuck the middle white inside the red. Then tuck the final part of the first red strip inside the white one. The first row is done!
Step 7
Like all weaving, the second row is where it really comes together...
Step 8
Take the second (middle) red strip, open it a bit, and put the inside white strip inside it. Then tuck the second (middle, still) red strip into the middle white strip, then slide the last white strip into the end of the middle red strip.

Step 9
"Inside, outside, inside, outside..."
Step 10
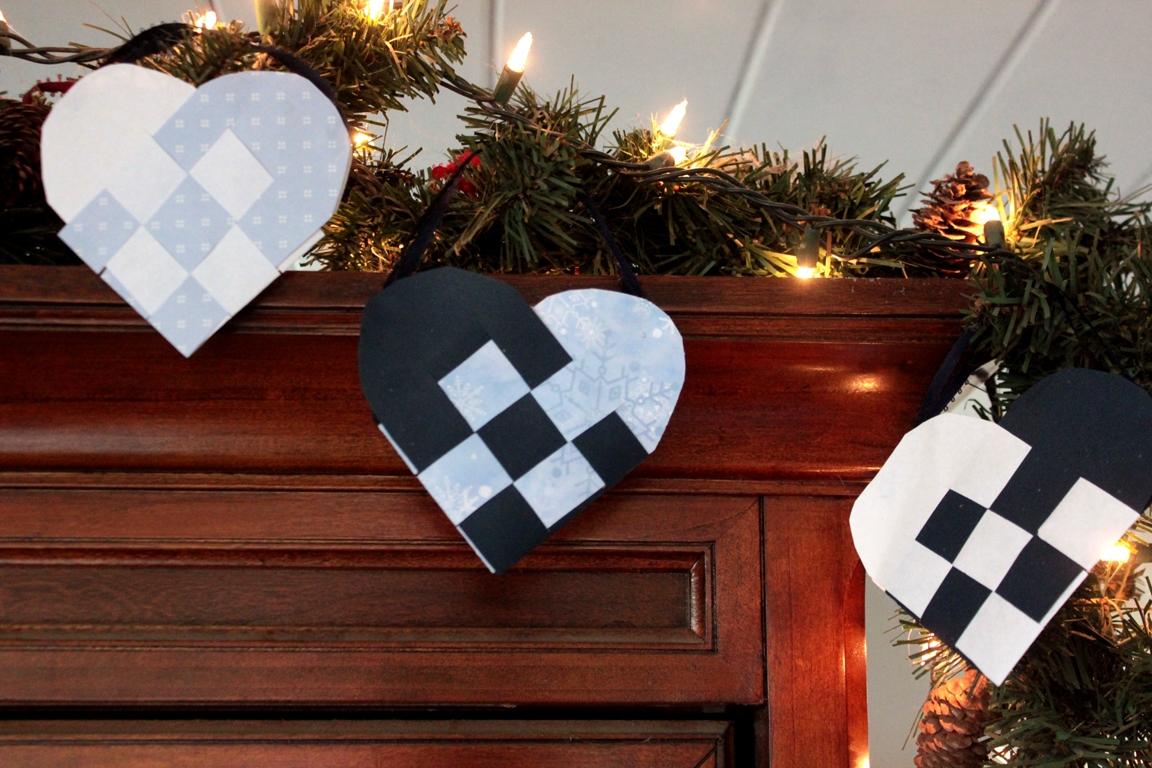
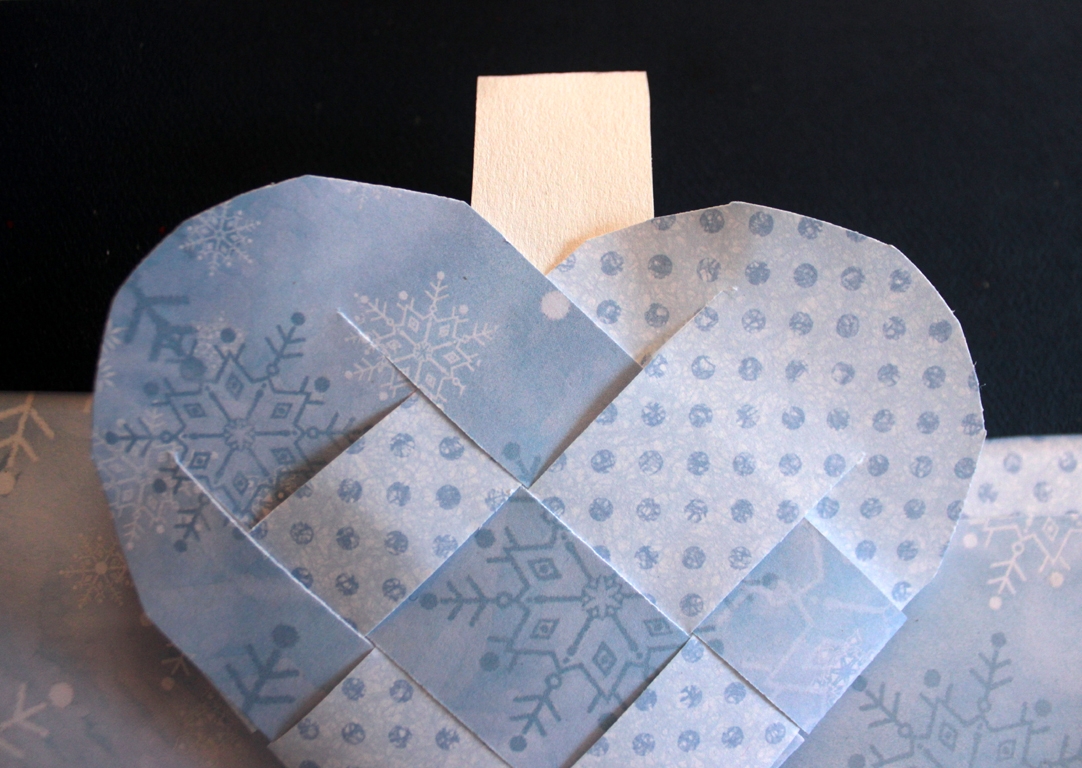
Now do the final row. The whole process takes shifting and wiggling, but once you go with the flow, it's very simple! Now our heart just needs a handle... We chose to put ribbons on most of ours (tied or glued), at the outside edge, so the hearts will hang flat (not sideways) on our holiday tree.
Done!
Madeleine and I are looking forward to stuffing these beautiful gift bags with small presents for friends!