Step-by-step tutorial
Step 1
Decorative washi tape (or duct tape!) would be super cute with these flowers...but we had floral tape, so that is what we used. We needed pieces of fabric, so Maddie chose patterns from a large box of scraps. I cut out petal shapes and larger circles for the flower centers.


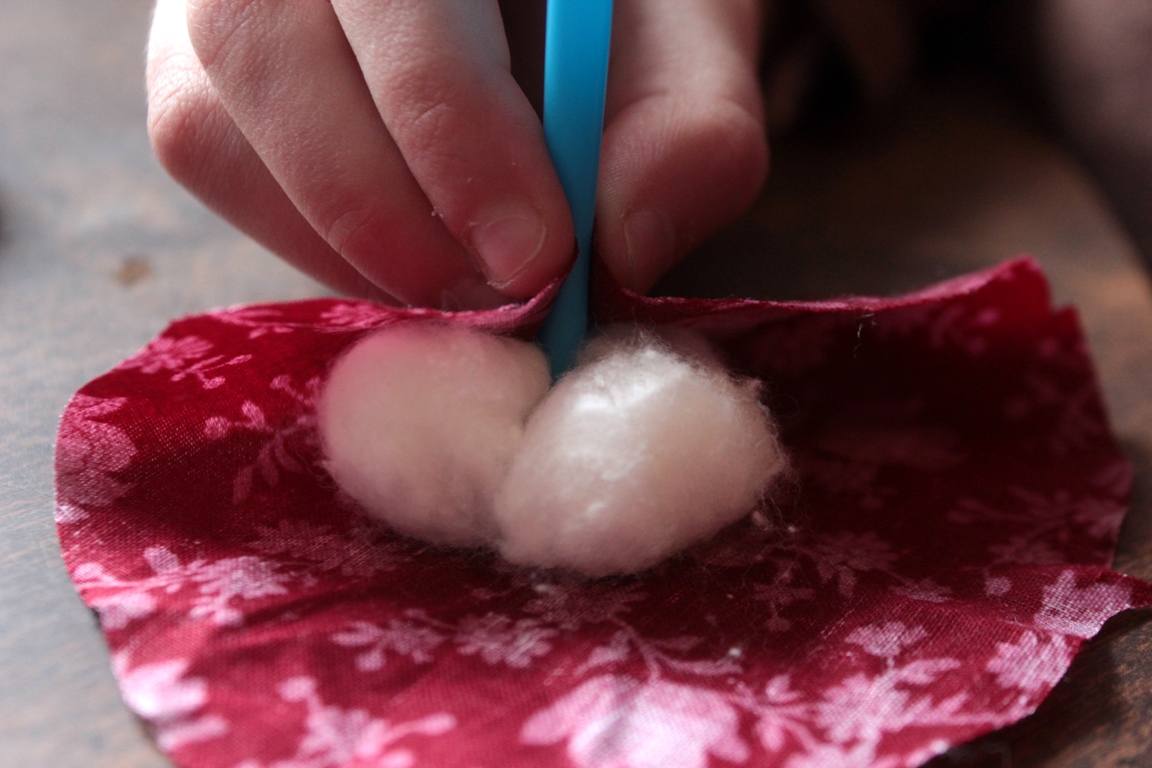
Step 2
She put the cotton in the center of the circle. Then Madeleine grabbed the drinking straw and began gathering the edges of the circle around the straw.
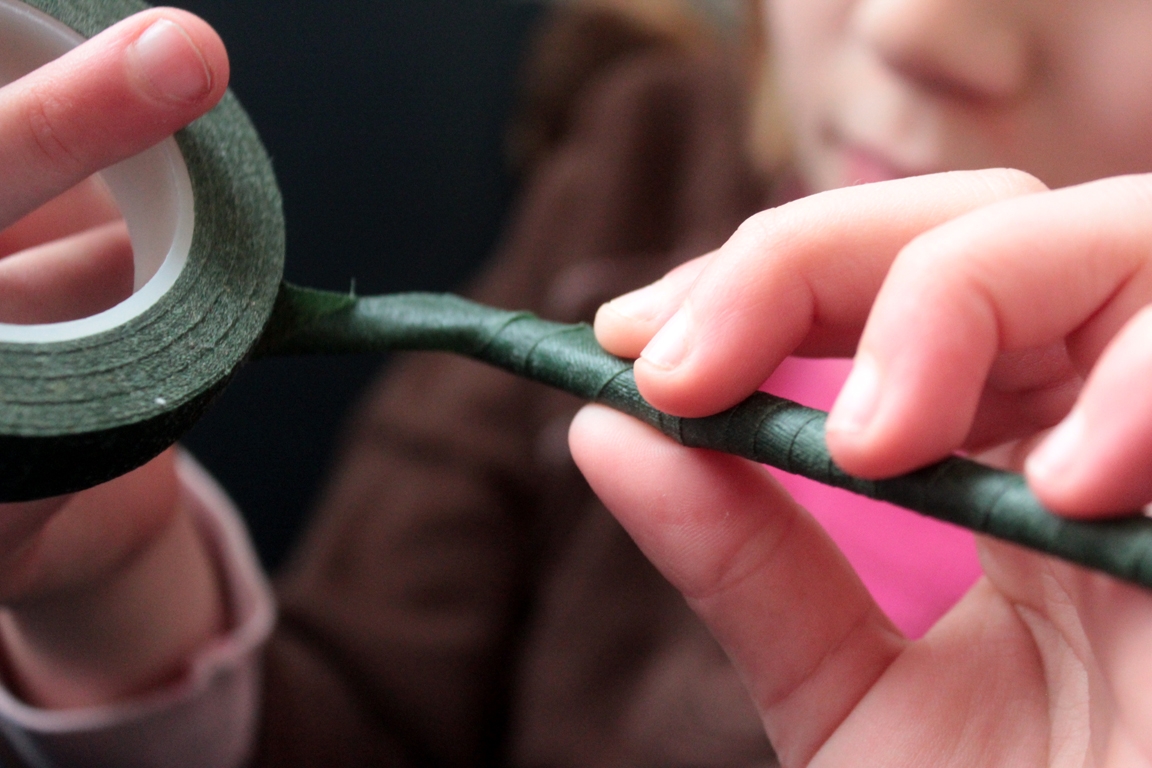
Step 3
She (with my help, at first) wound the tape tightly around the fabric and straw.
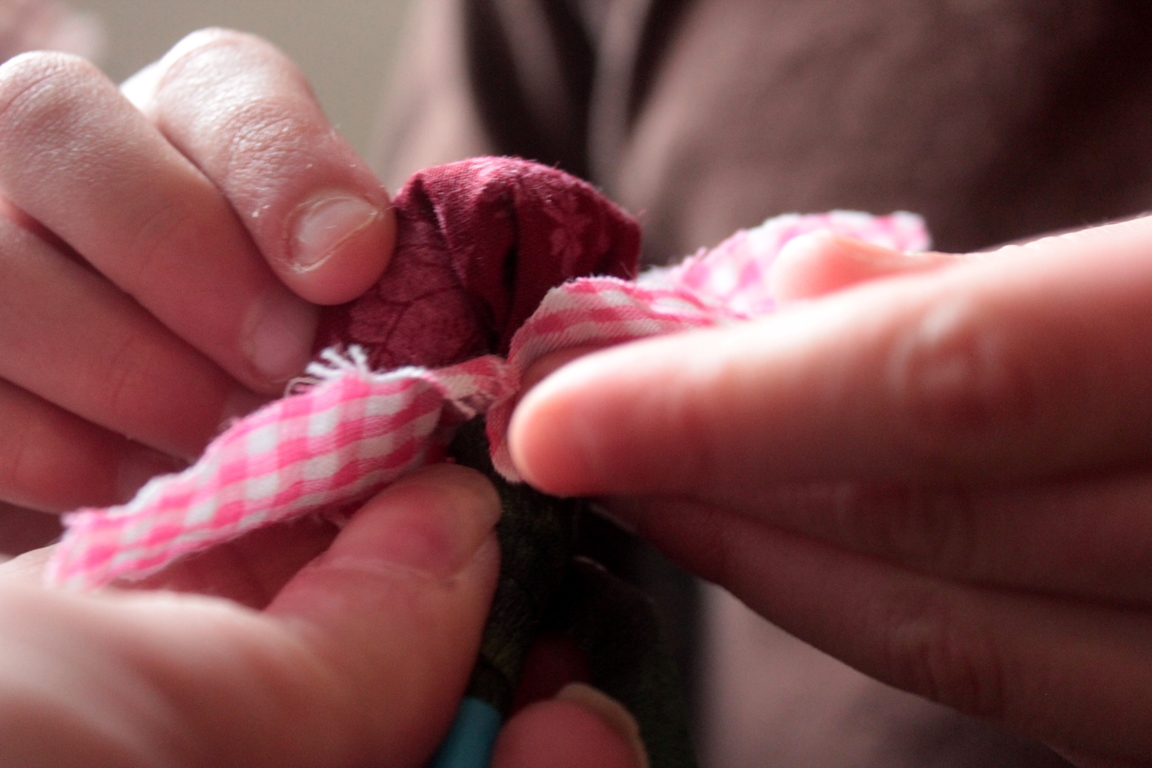
Step 4
Once the flower's center was secure, she added petals, one at a time - borrowing my fingers for holding when they were needed.
Step 5
Around and around she went, putting in petals just so...
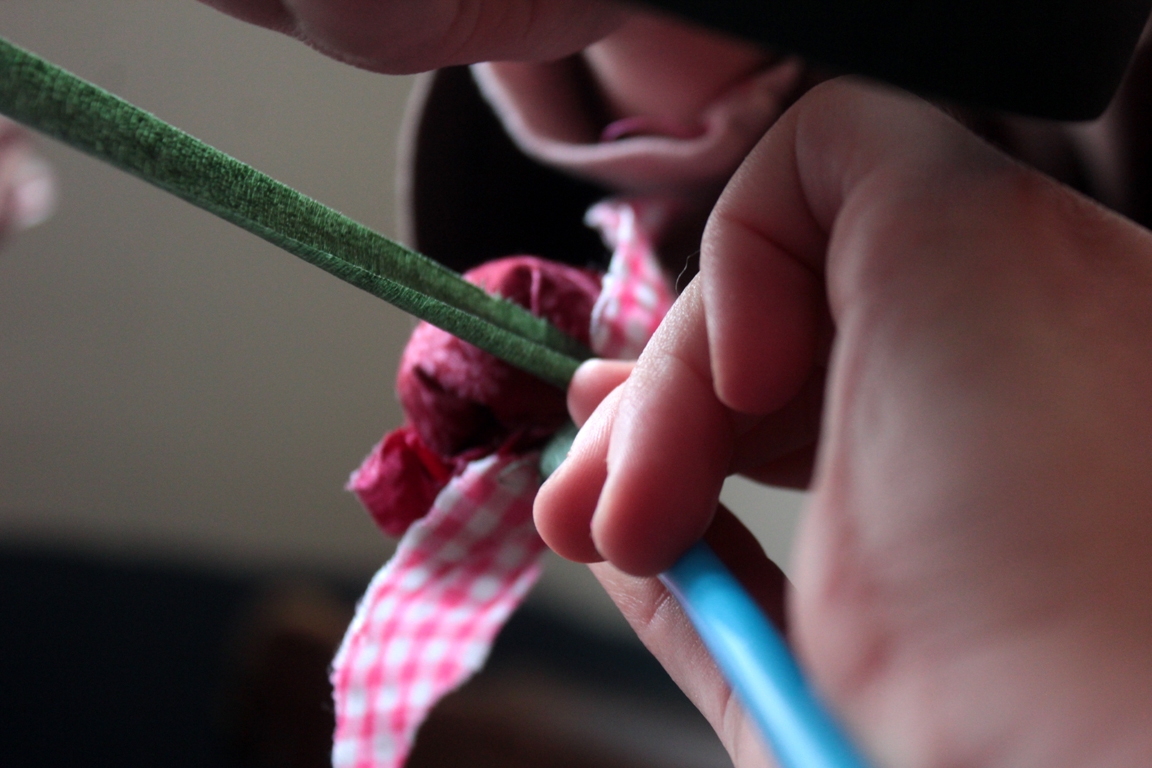
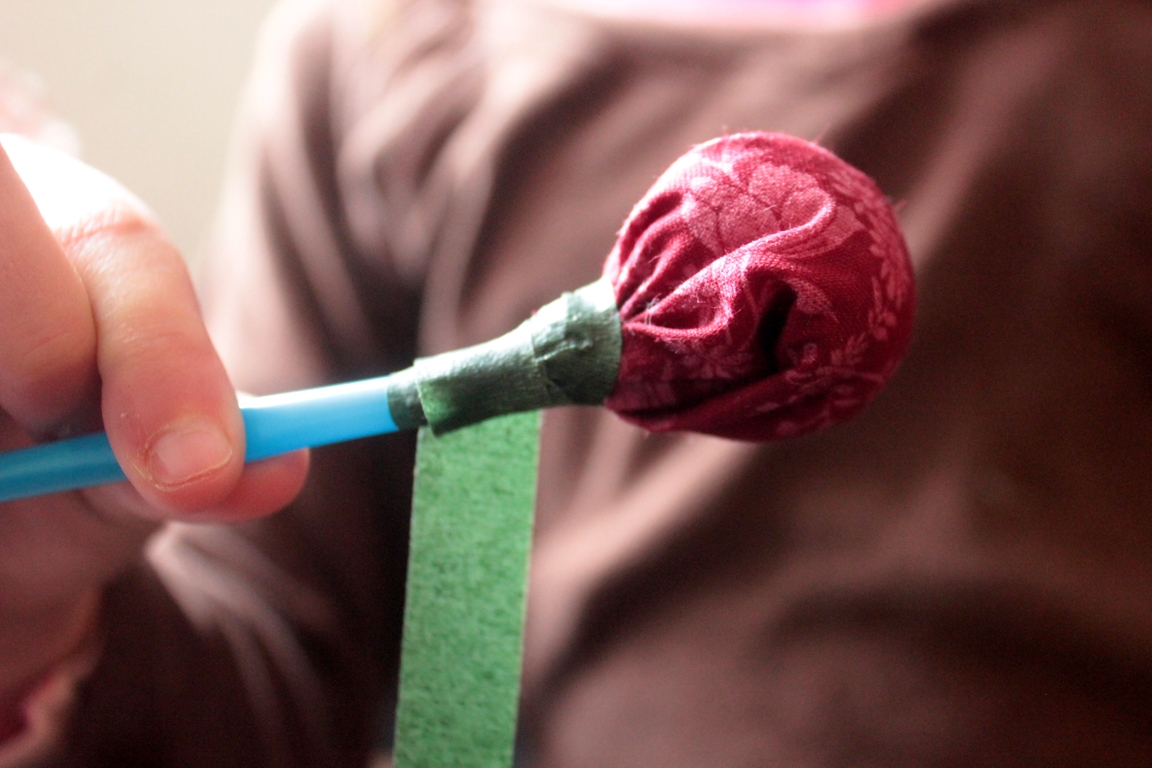
Step 6
until all the petals were just right. Then she started wrapping the straw with the florist tape... around and down.
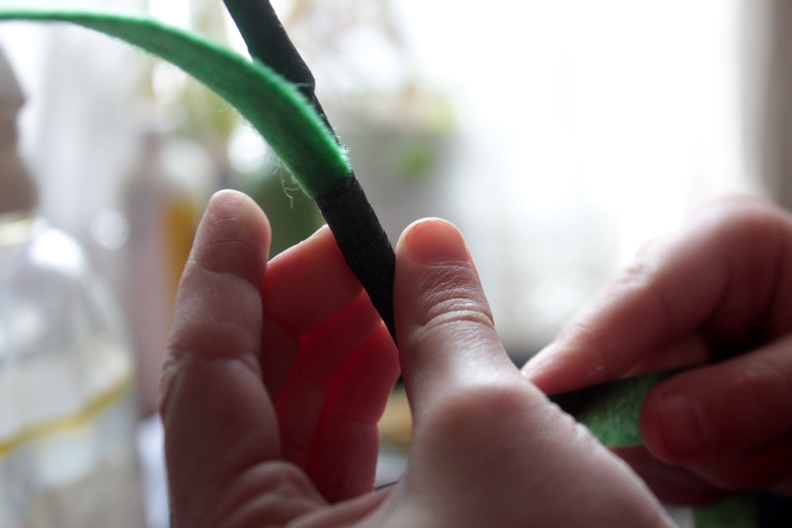
Step 7
When it seemed like the right spot, she chose a shade of green felt, told me what shape it should be (short and round? long and skinny?), and I cut out a leaf shape for her. It was added to the straw, the bottom of the leaf wrapped in tightly.
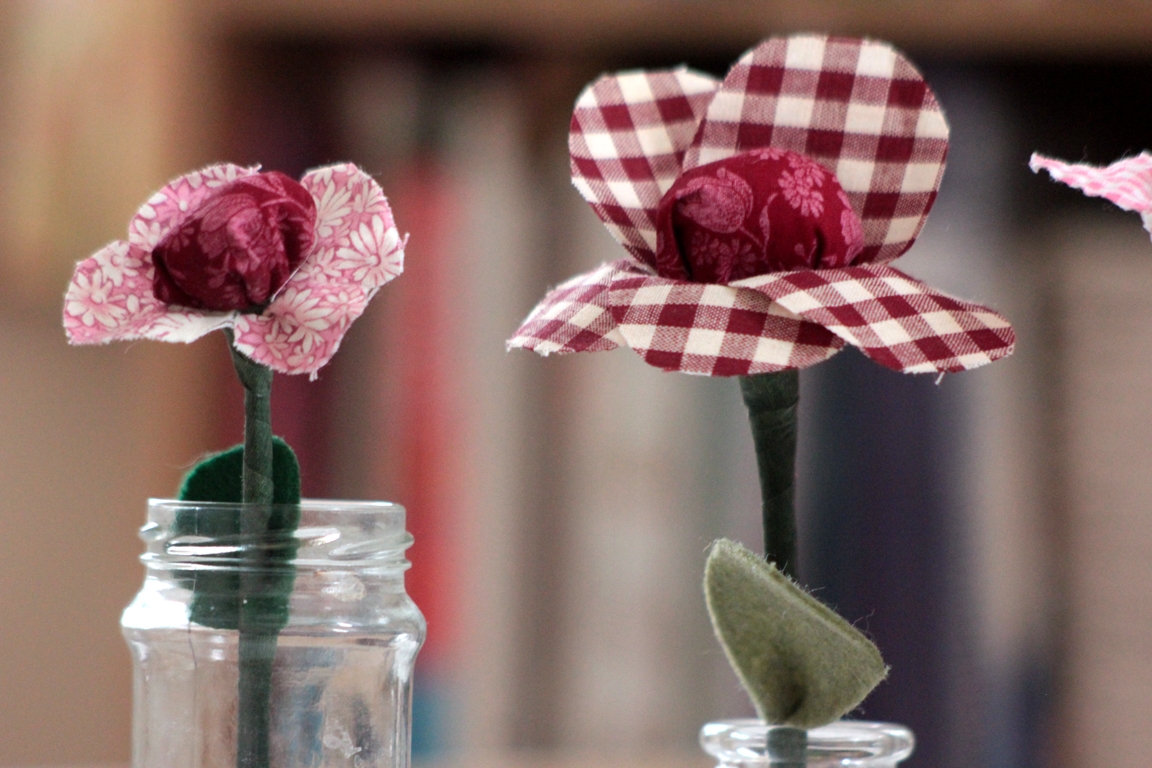
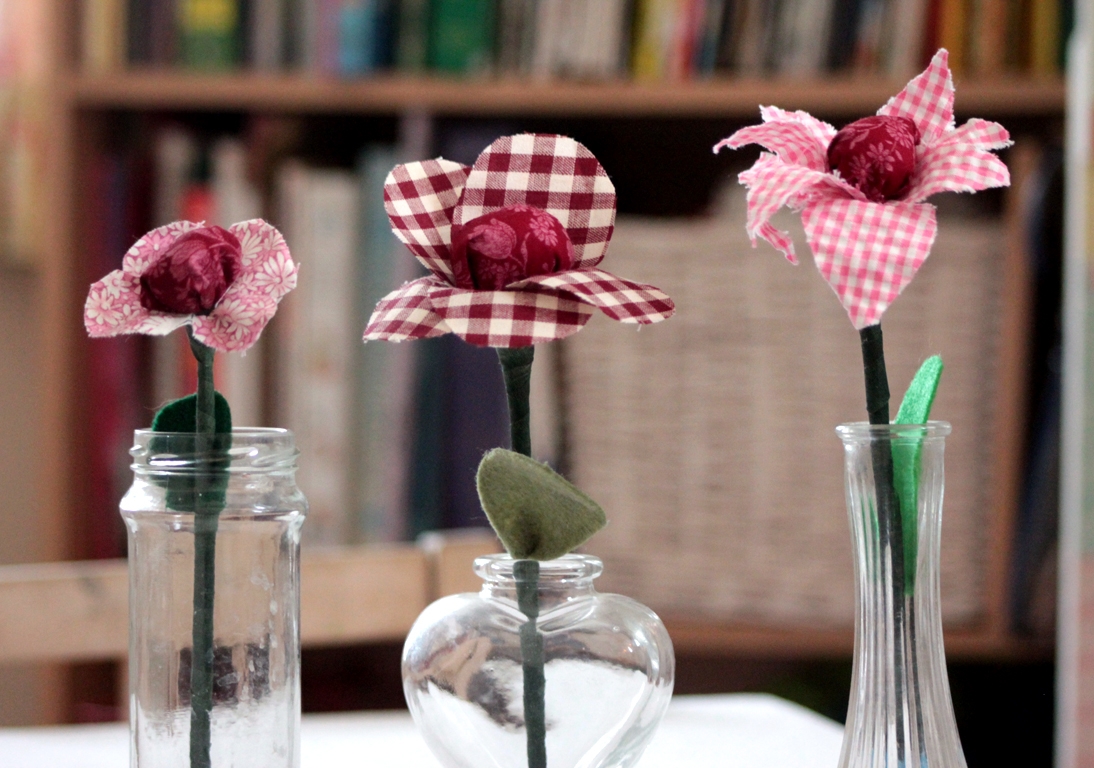
Done!
She continued along to the bottom of the straw, then we secured the tape with a bit of glue, since florist tape isn't very sticky. It was done! She made another, and decided that they'll make a lovely addition to her table for tea!