Step-by-step tutorial
Step 1
Use any color of heavy paper. (You could even use a piece of drawn-on scratch paper if you like!) Alternately, you could use permanent markers instead of watercolor paints.

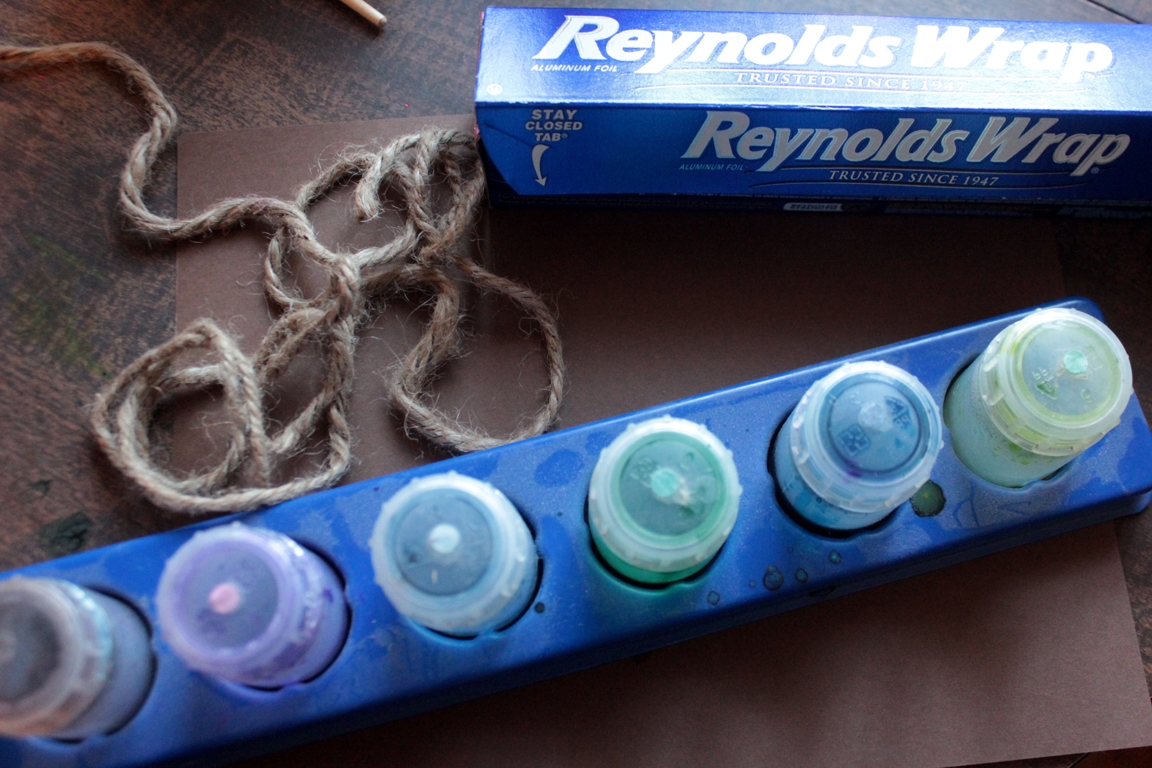
Step 2
My children smeared glue stick all over the page to adhere the string. You could just as easily put a bit of school glue in a small pot and add water, then brush the glue on with a paintbrush.
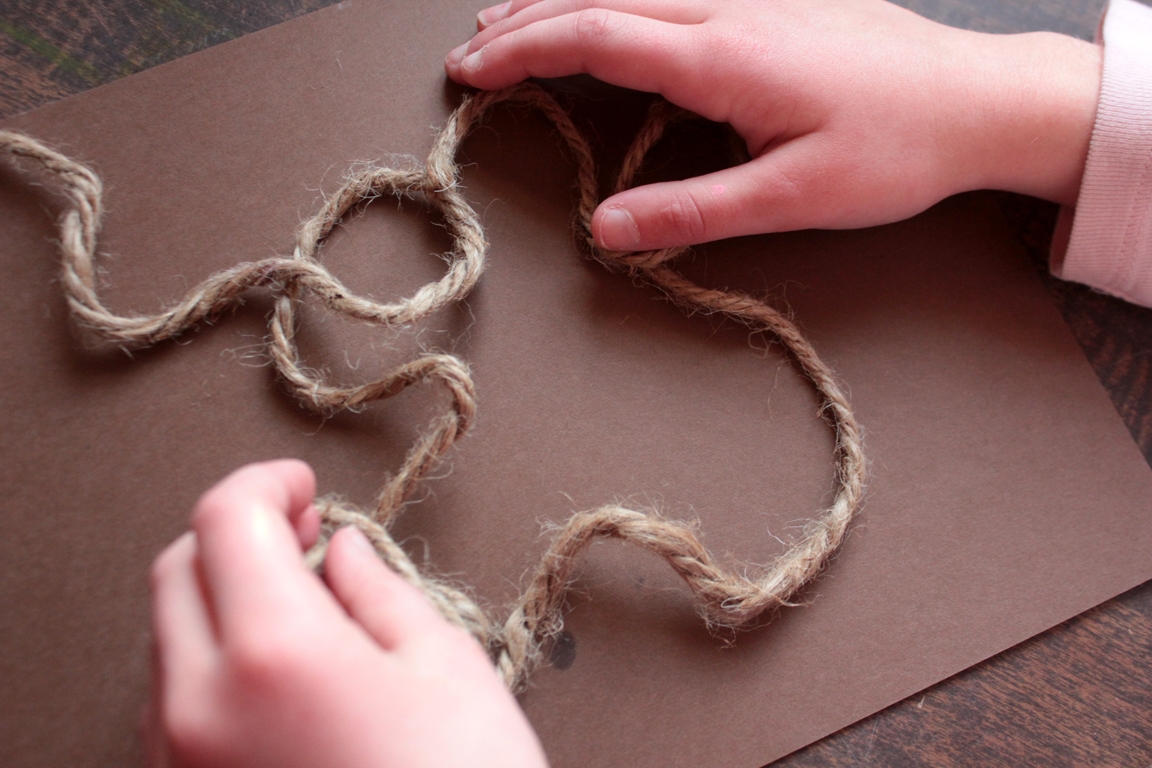
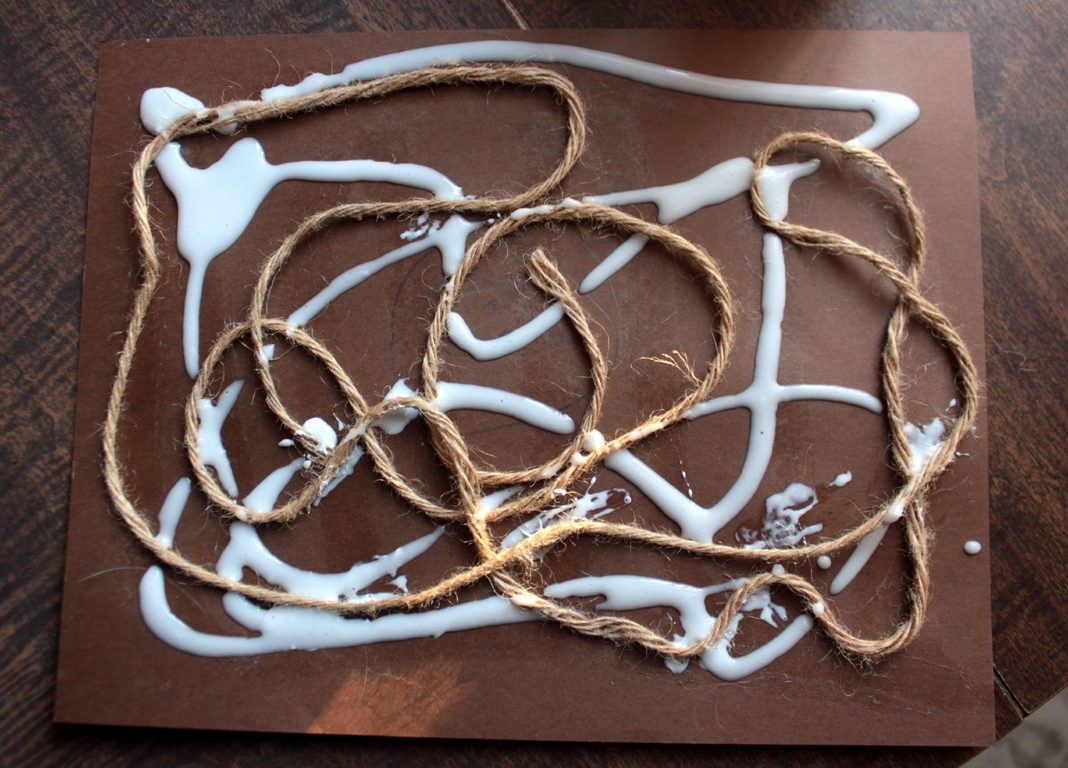
Step 3
When the string was arranged 'just so', gluing down some stray ends and loops as necessary, the children added more glue...
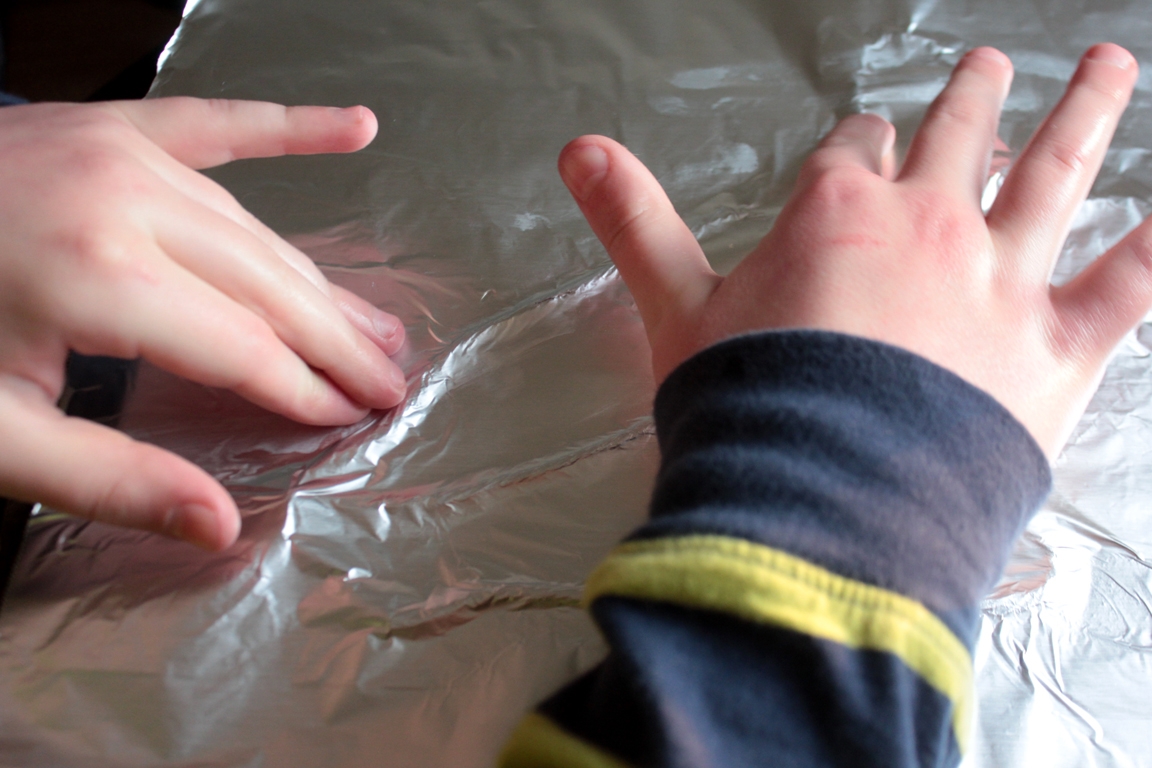
Step 4
...then we pressed foil all over the grooves of the string. Very carefully and firmly, Maddie and Trev pressed and creased their creations... they wanted lots of detail!
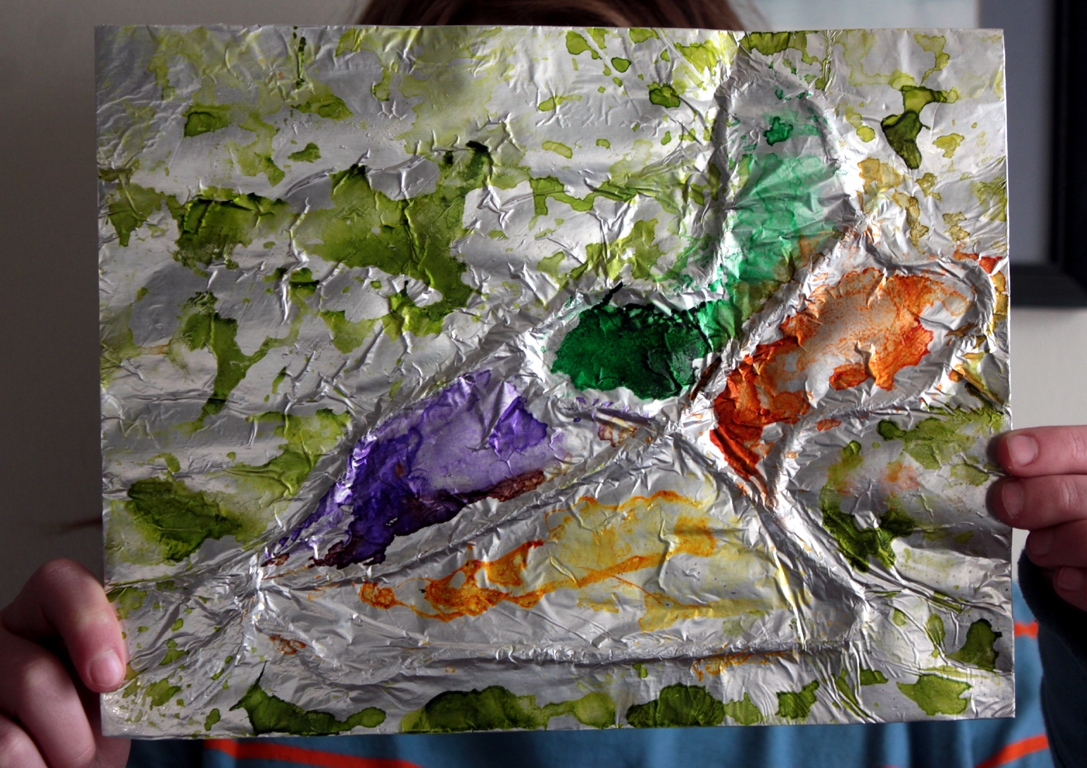
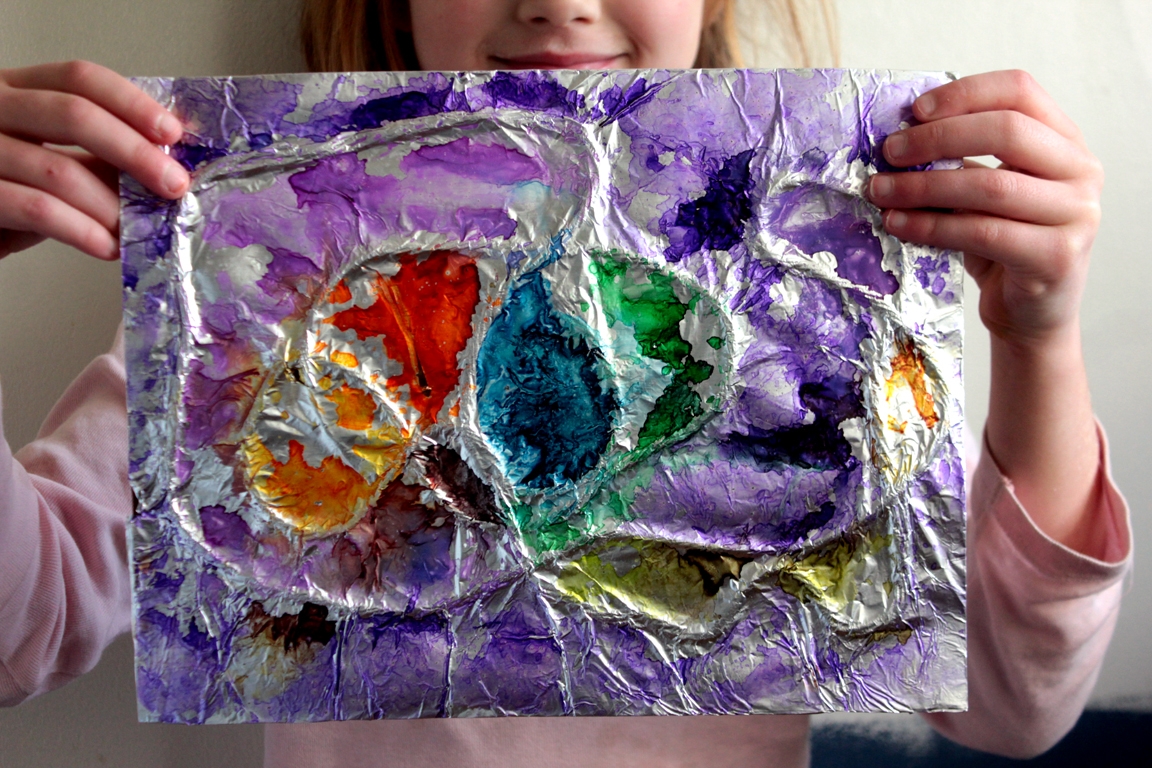
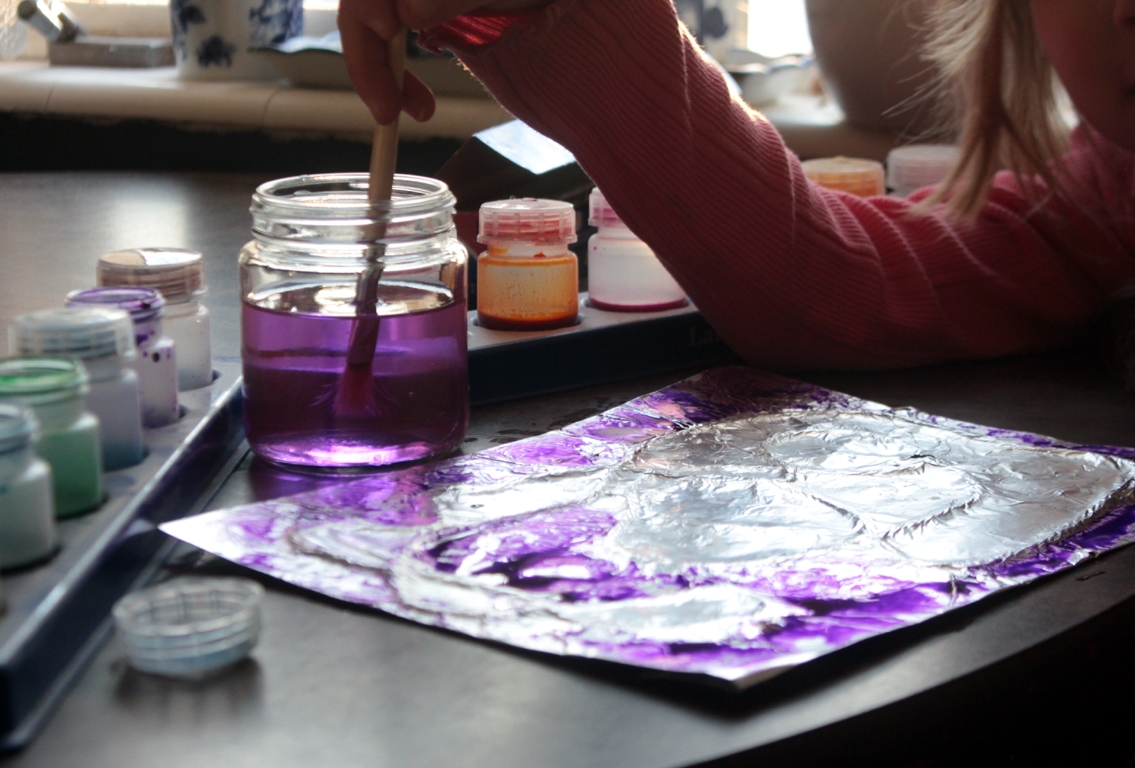
Step 5
We folded the foil around the edges of the paper, then started painting. Since it was foil, and not absorbent, they made little pools and puddles of paint.
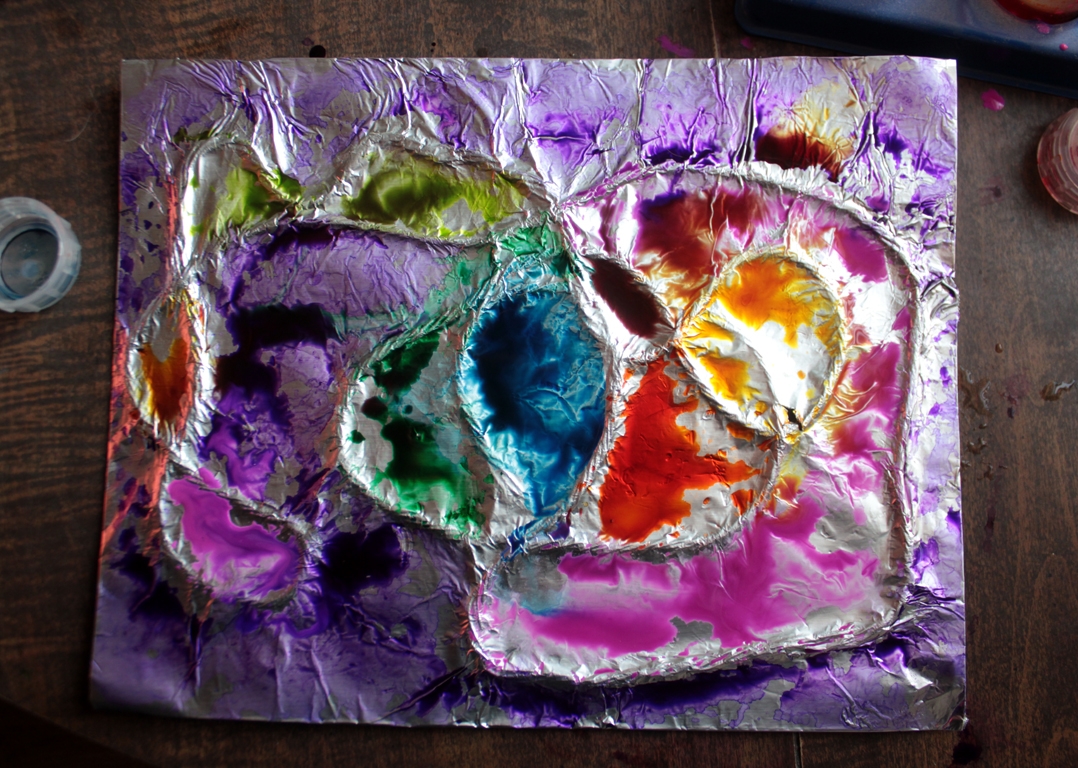
Step 6
When the sections were filled in just as the children liked --"This is such a neat project!" -- we left the paintings alone so that the water could evaporate.
Done!
After an hour or two, they were dry! Wonderful! Fantastic! And so very, very fun.