Step-by-step tutorial
Step 1
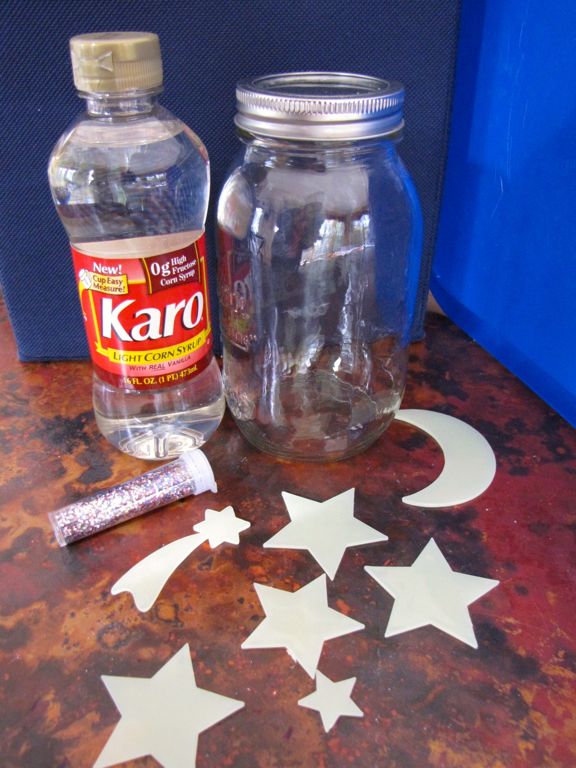
We found our glow-in-the-dark star shapes in the dollar section at a craft store. You can use any type of clear jar. If you are doing this project with a very young child, you may want to use a plastic jar to avoid breakage, and glue the top on after filling the jar.

Step 2
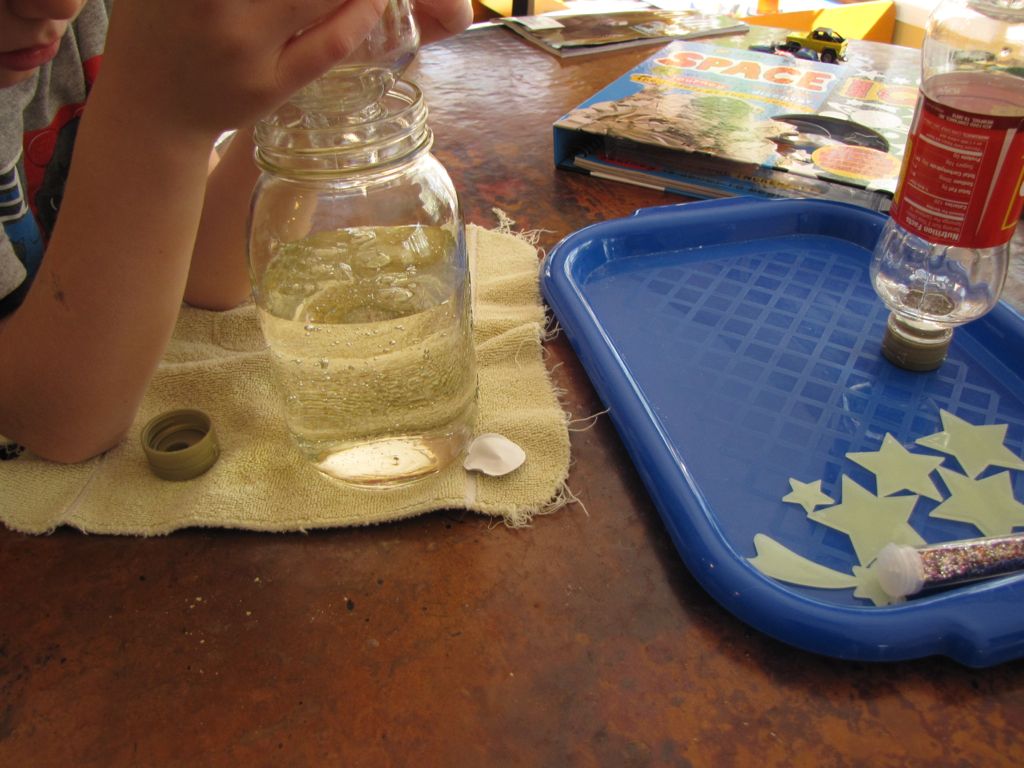
First, we filled our jars with the Karo syrup, leaving about an inch of the jar empty.
Step 3
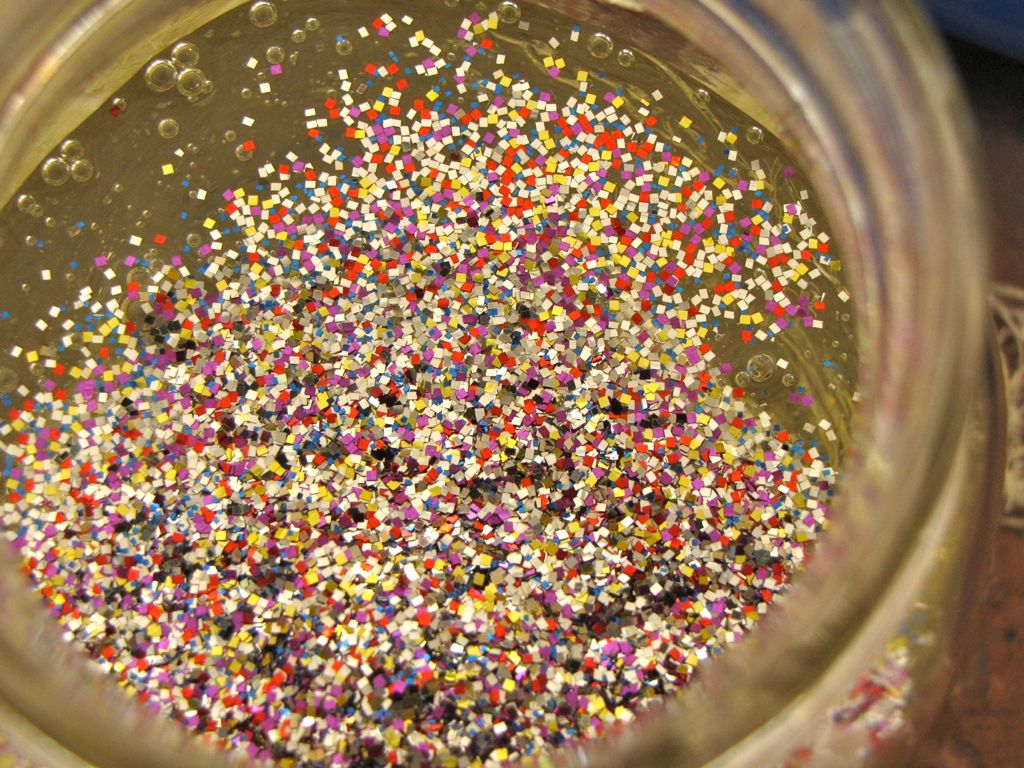
Next, we poured glitter (generously!) into the syrup. It looked so pretty floating on top that we marveled at that for a moment.
Step 4
Next, we stirred the glitter into the syrup with a spoon.

Step 5
We added the glow-in-the-dark stars.
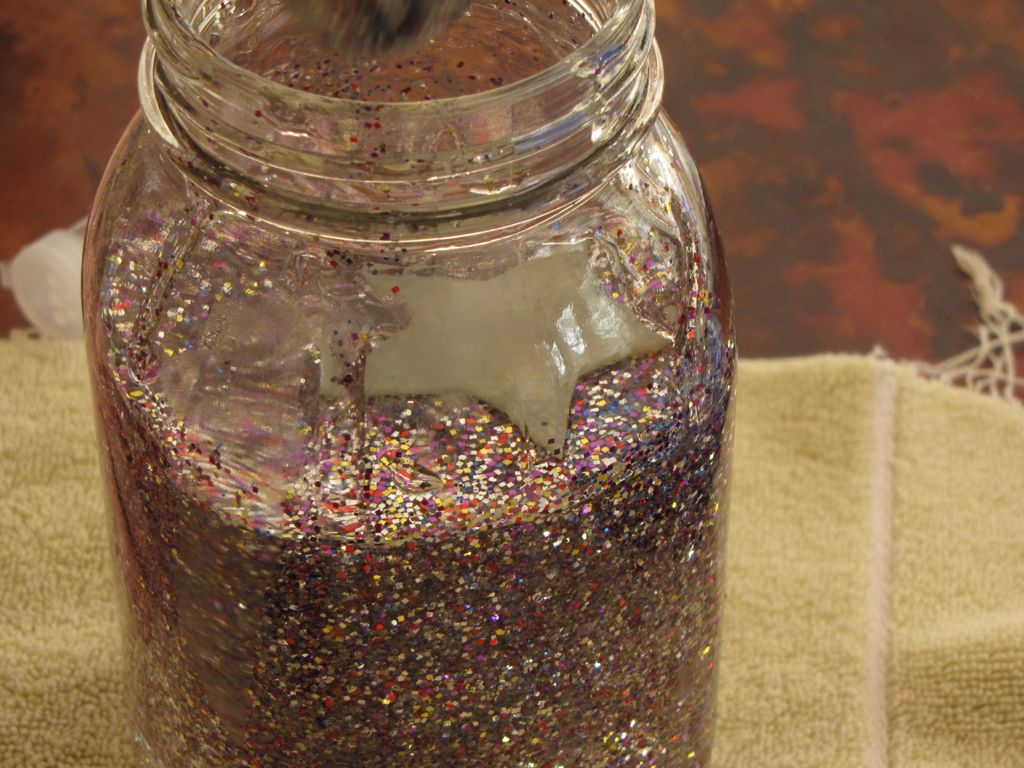
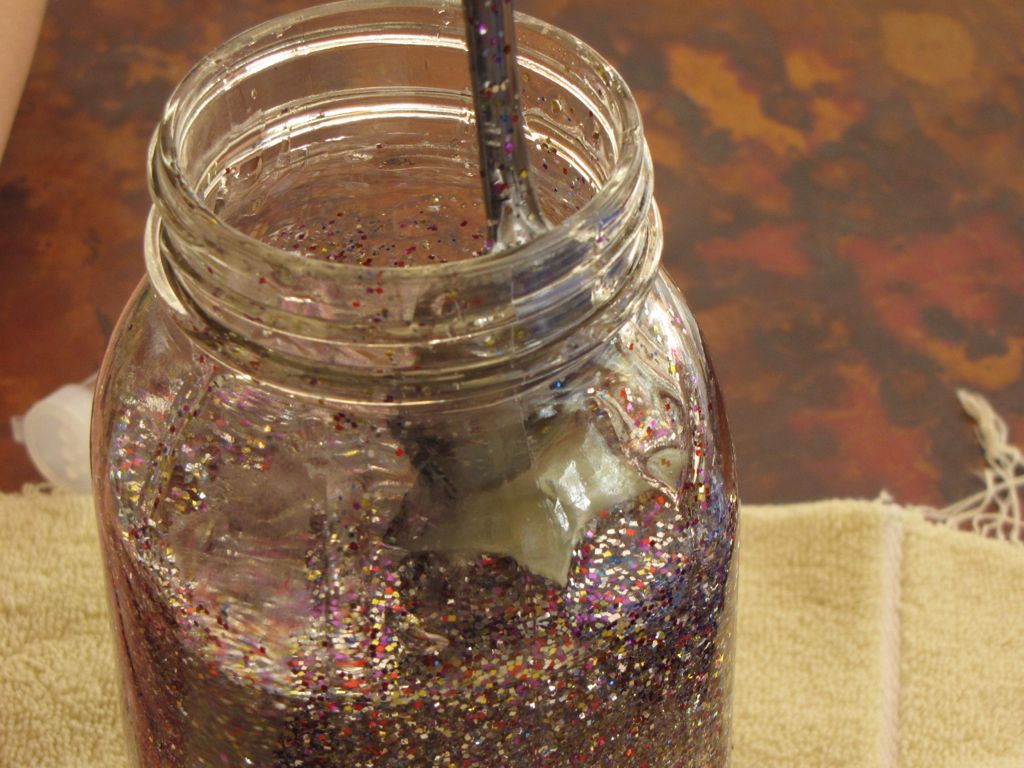
Step 6
We stirred again.
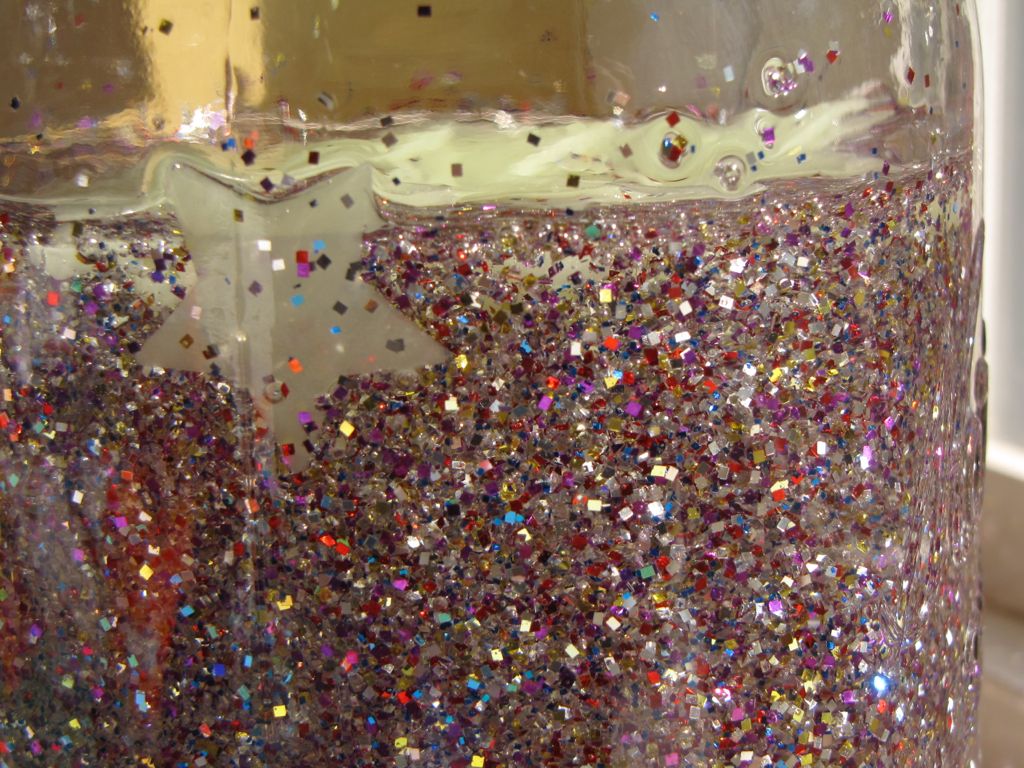
Step 7
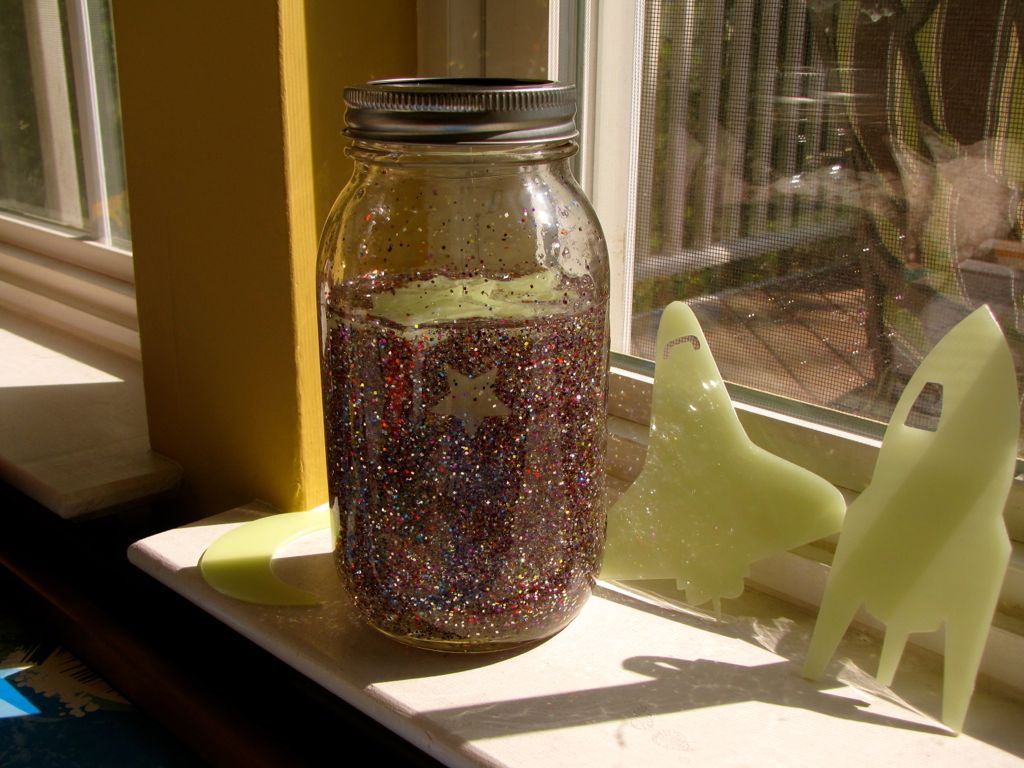
The stars float as if suspended in the liquid Karo syrup, surrounded by the glitter.
Done!
Sitting in the sun, the glitter sparkled and shined during the day. At night, my kids took their Star Jars to bed with them and marveled at their glowing stars. They could gently shake the jars to move the stars around inside. Exposure to light again the next day recharged the stars and they glowed again and again each night.