Step-by-step tutorial
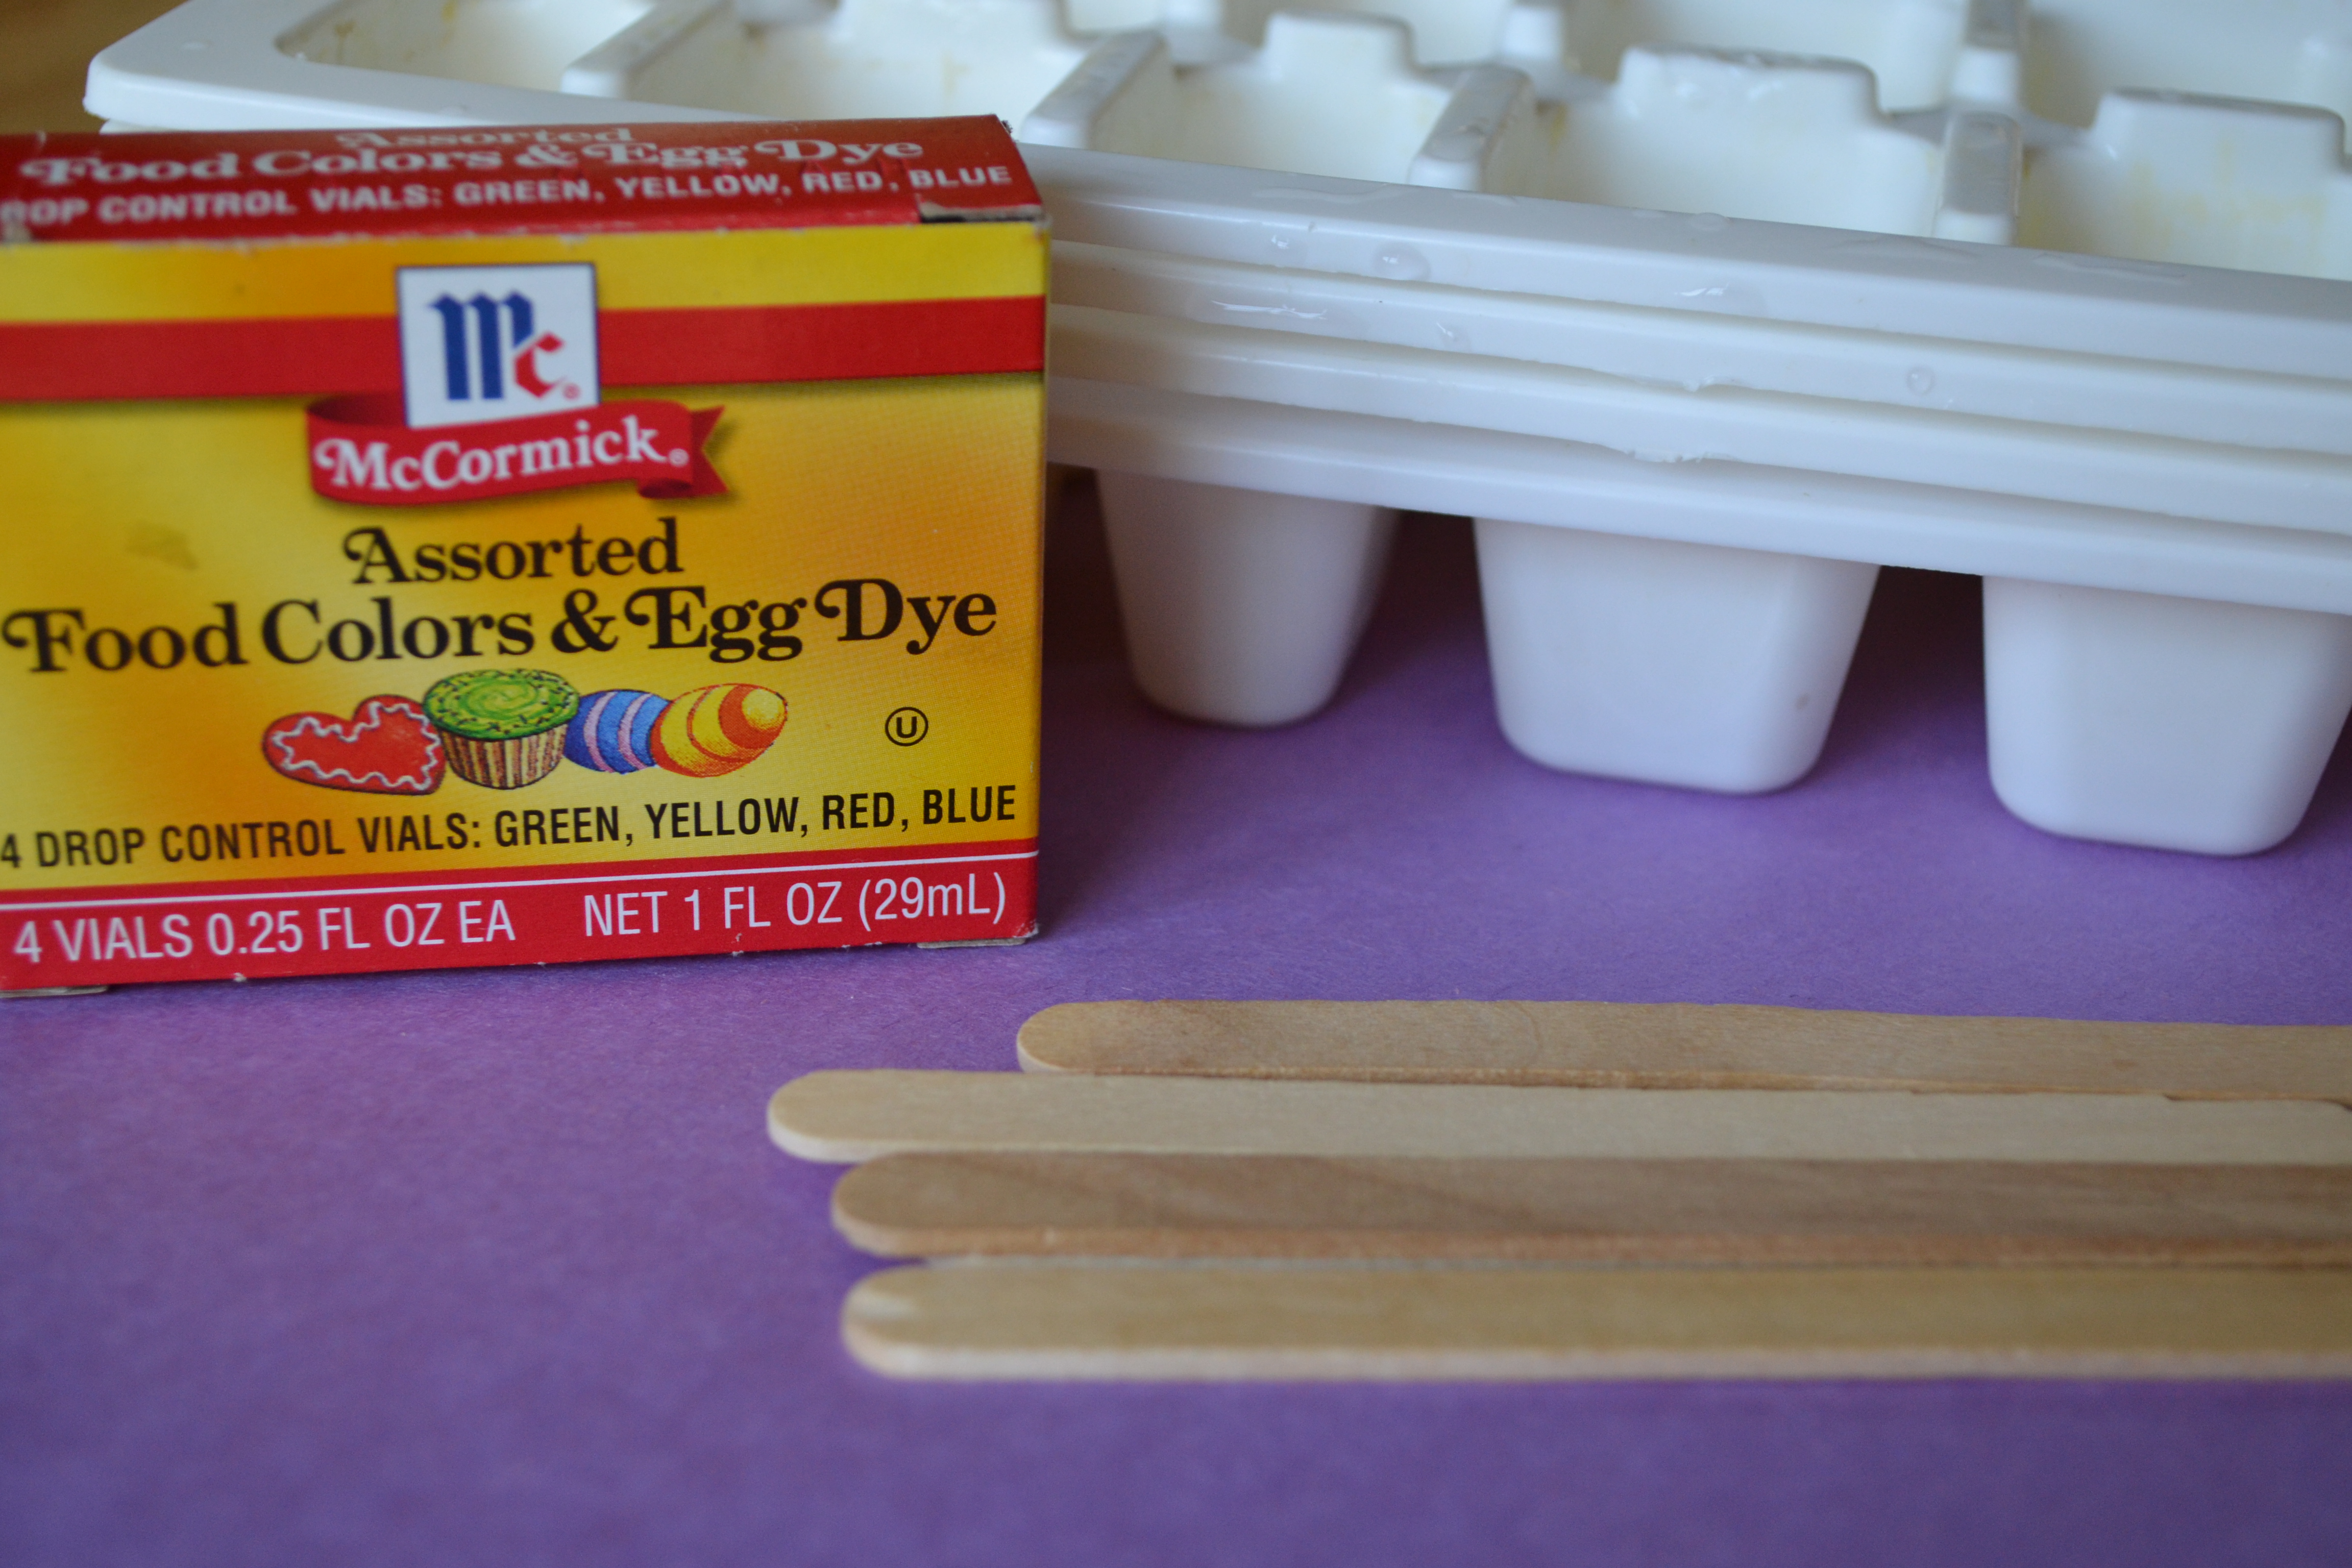
Step 1
Gather all materials. I broke the Popsicle sticks in half to make them easier for the kids to work with. We had to be careful with them because some of them had sharp edges. Make sure to closely monitor any small children.

Step 2
First, we filled the ice cube trays about 3/4 full with water. The first time we filled them too full and the food coloring bled together, so we dumped it and tried again with less water.

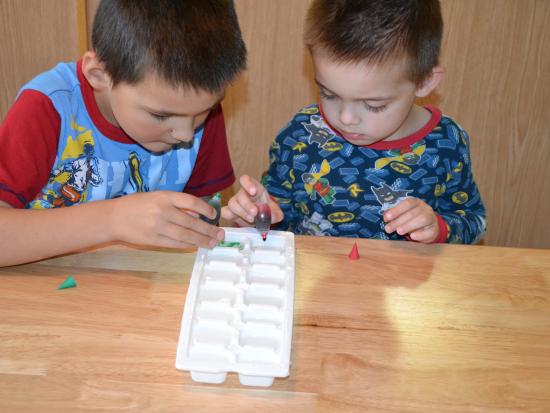
Step 3
Then the kids worked together to make each cube a different color. This was a great time for us to review mixing colors and how using different amounts of food coloring would make the colors lighter or darker. We made these early in the morning so we could go outside that afternoon and use them.
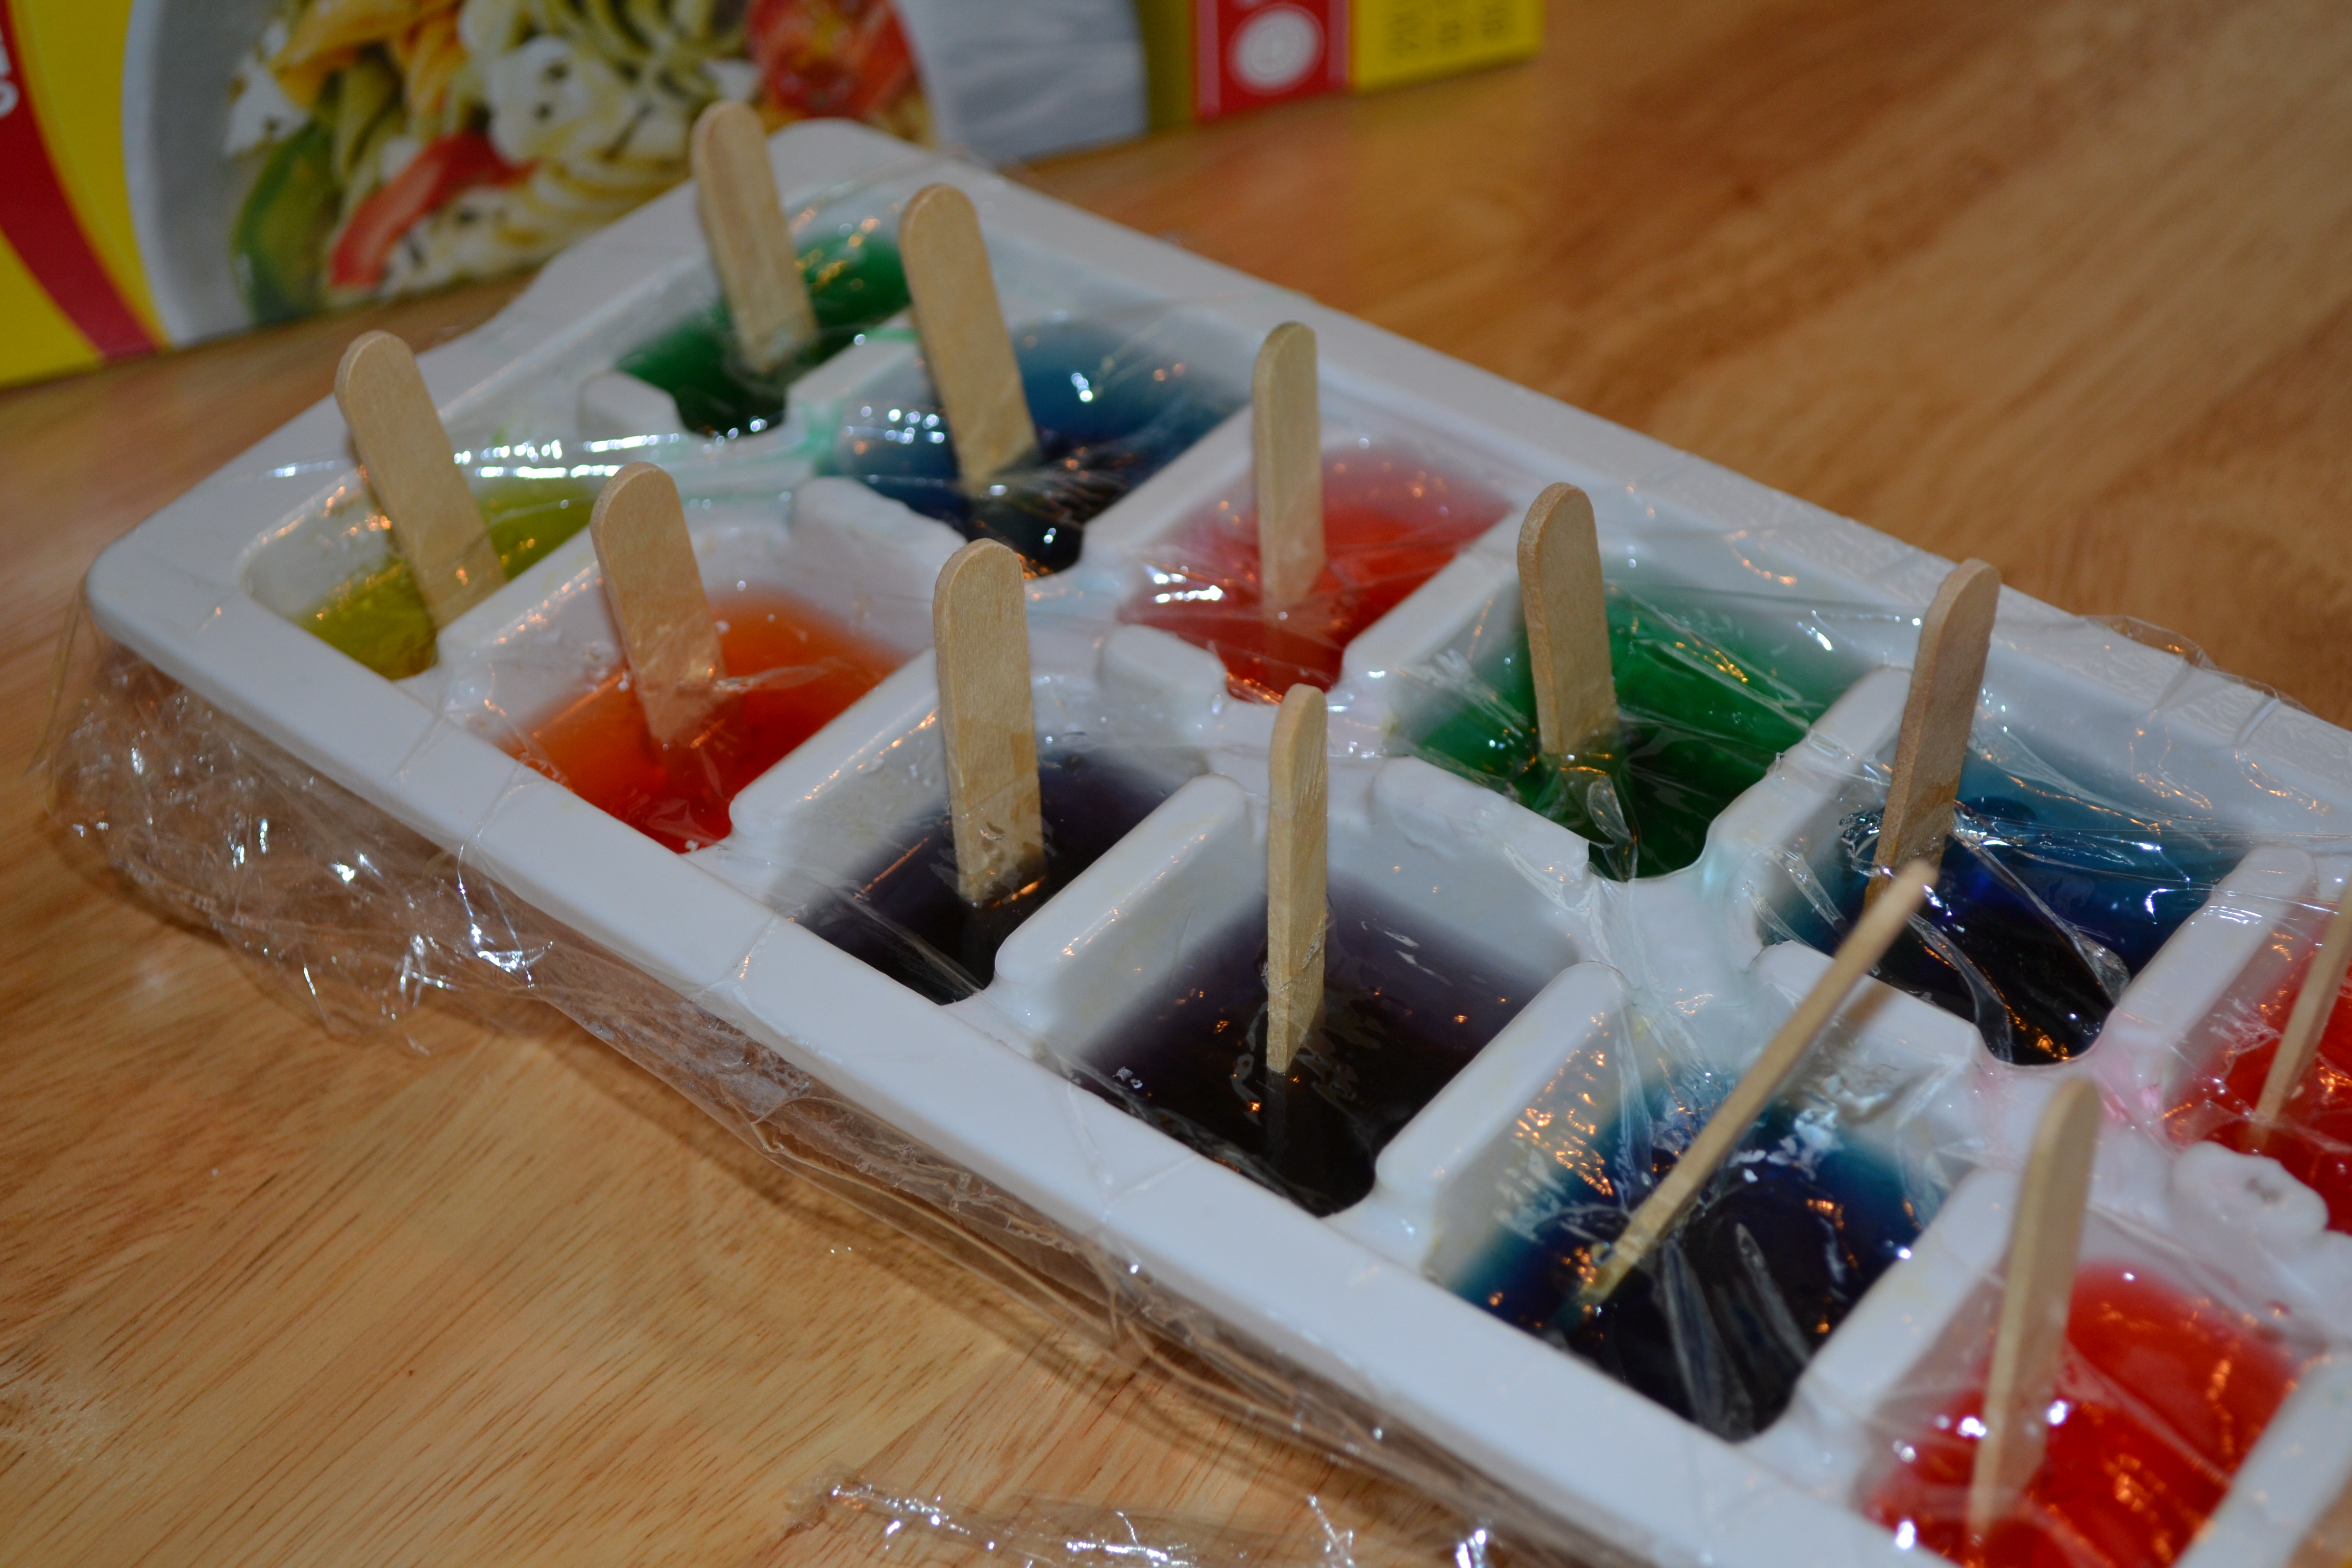
Step 4
After the kids were done making their colors, we covered the tray tightly with plastic wrap. Then, we put half of a Popsicle stick into each cube. Some of the kids had trouble pushing the sticks through the plastic wrap, so I used a knife to make a hole for them.
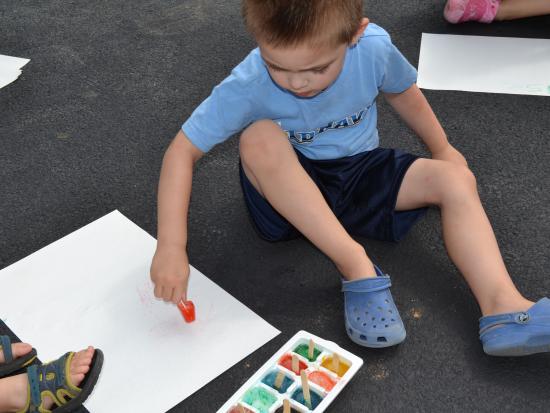
Step 5
We froze our ice paints for several hours and then took them outside to paint. The kids had a blast creating pictures with the ice paints. The youngest kids just liked rubbing the paper with their ice paints and seeing the neat colors and textures from rubbing on the driveway.
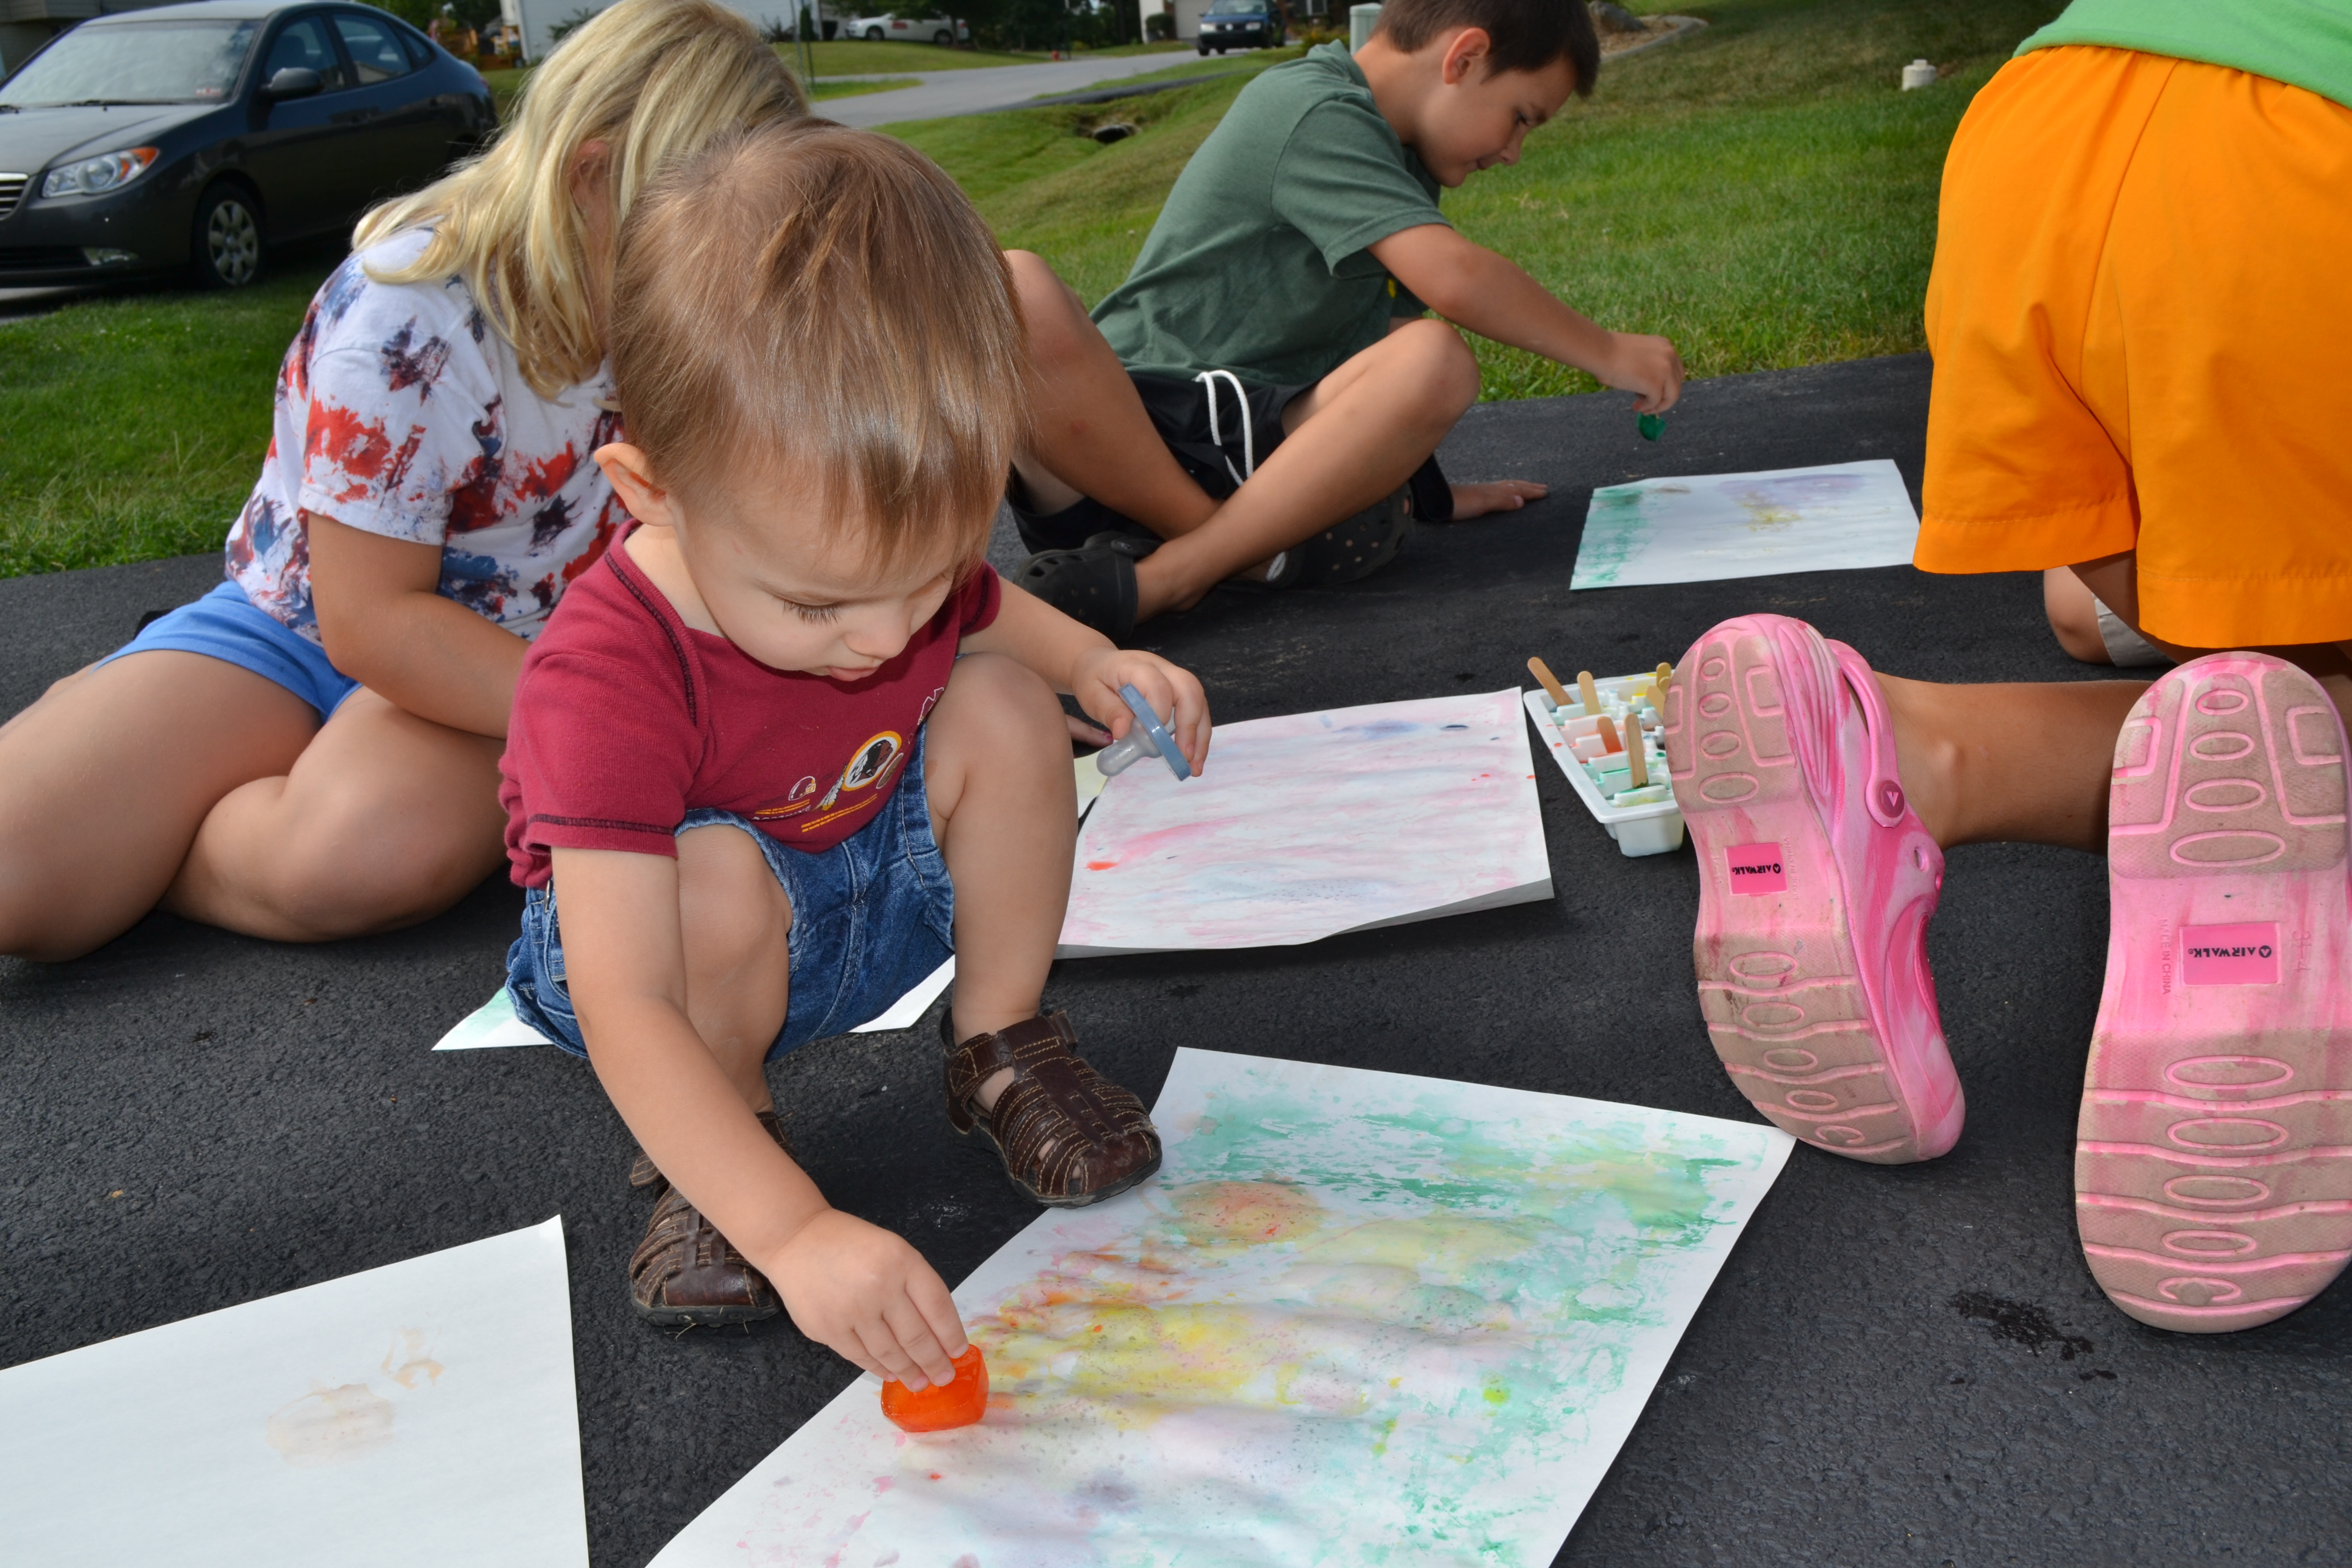
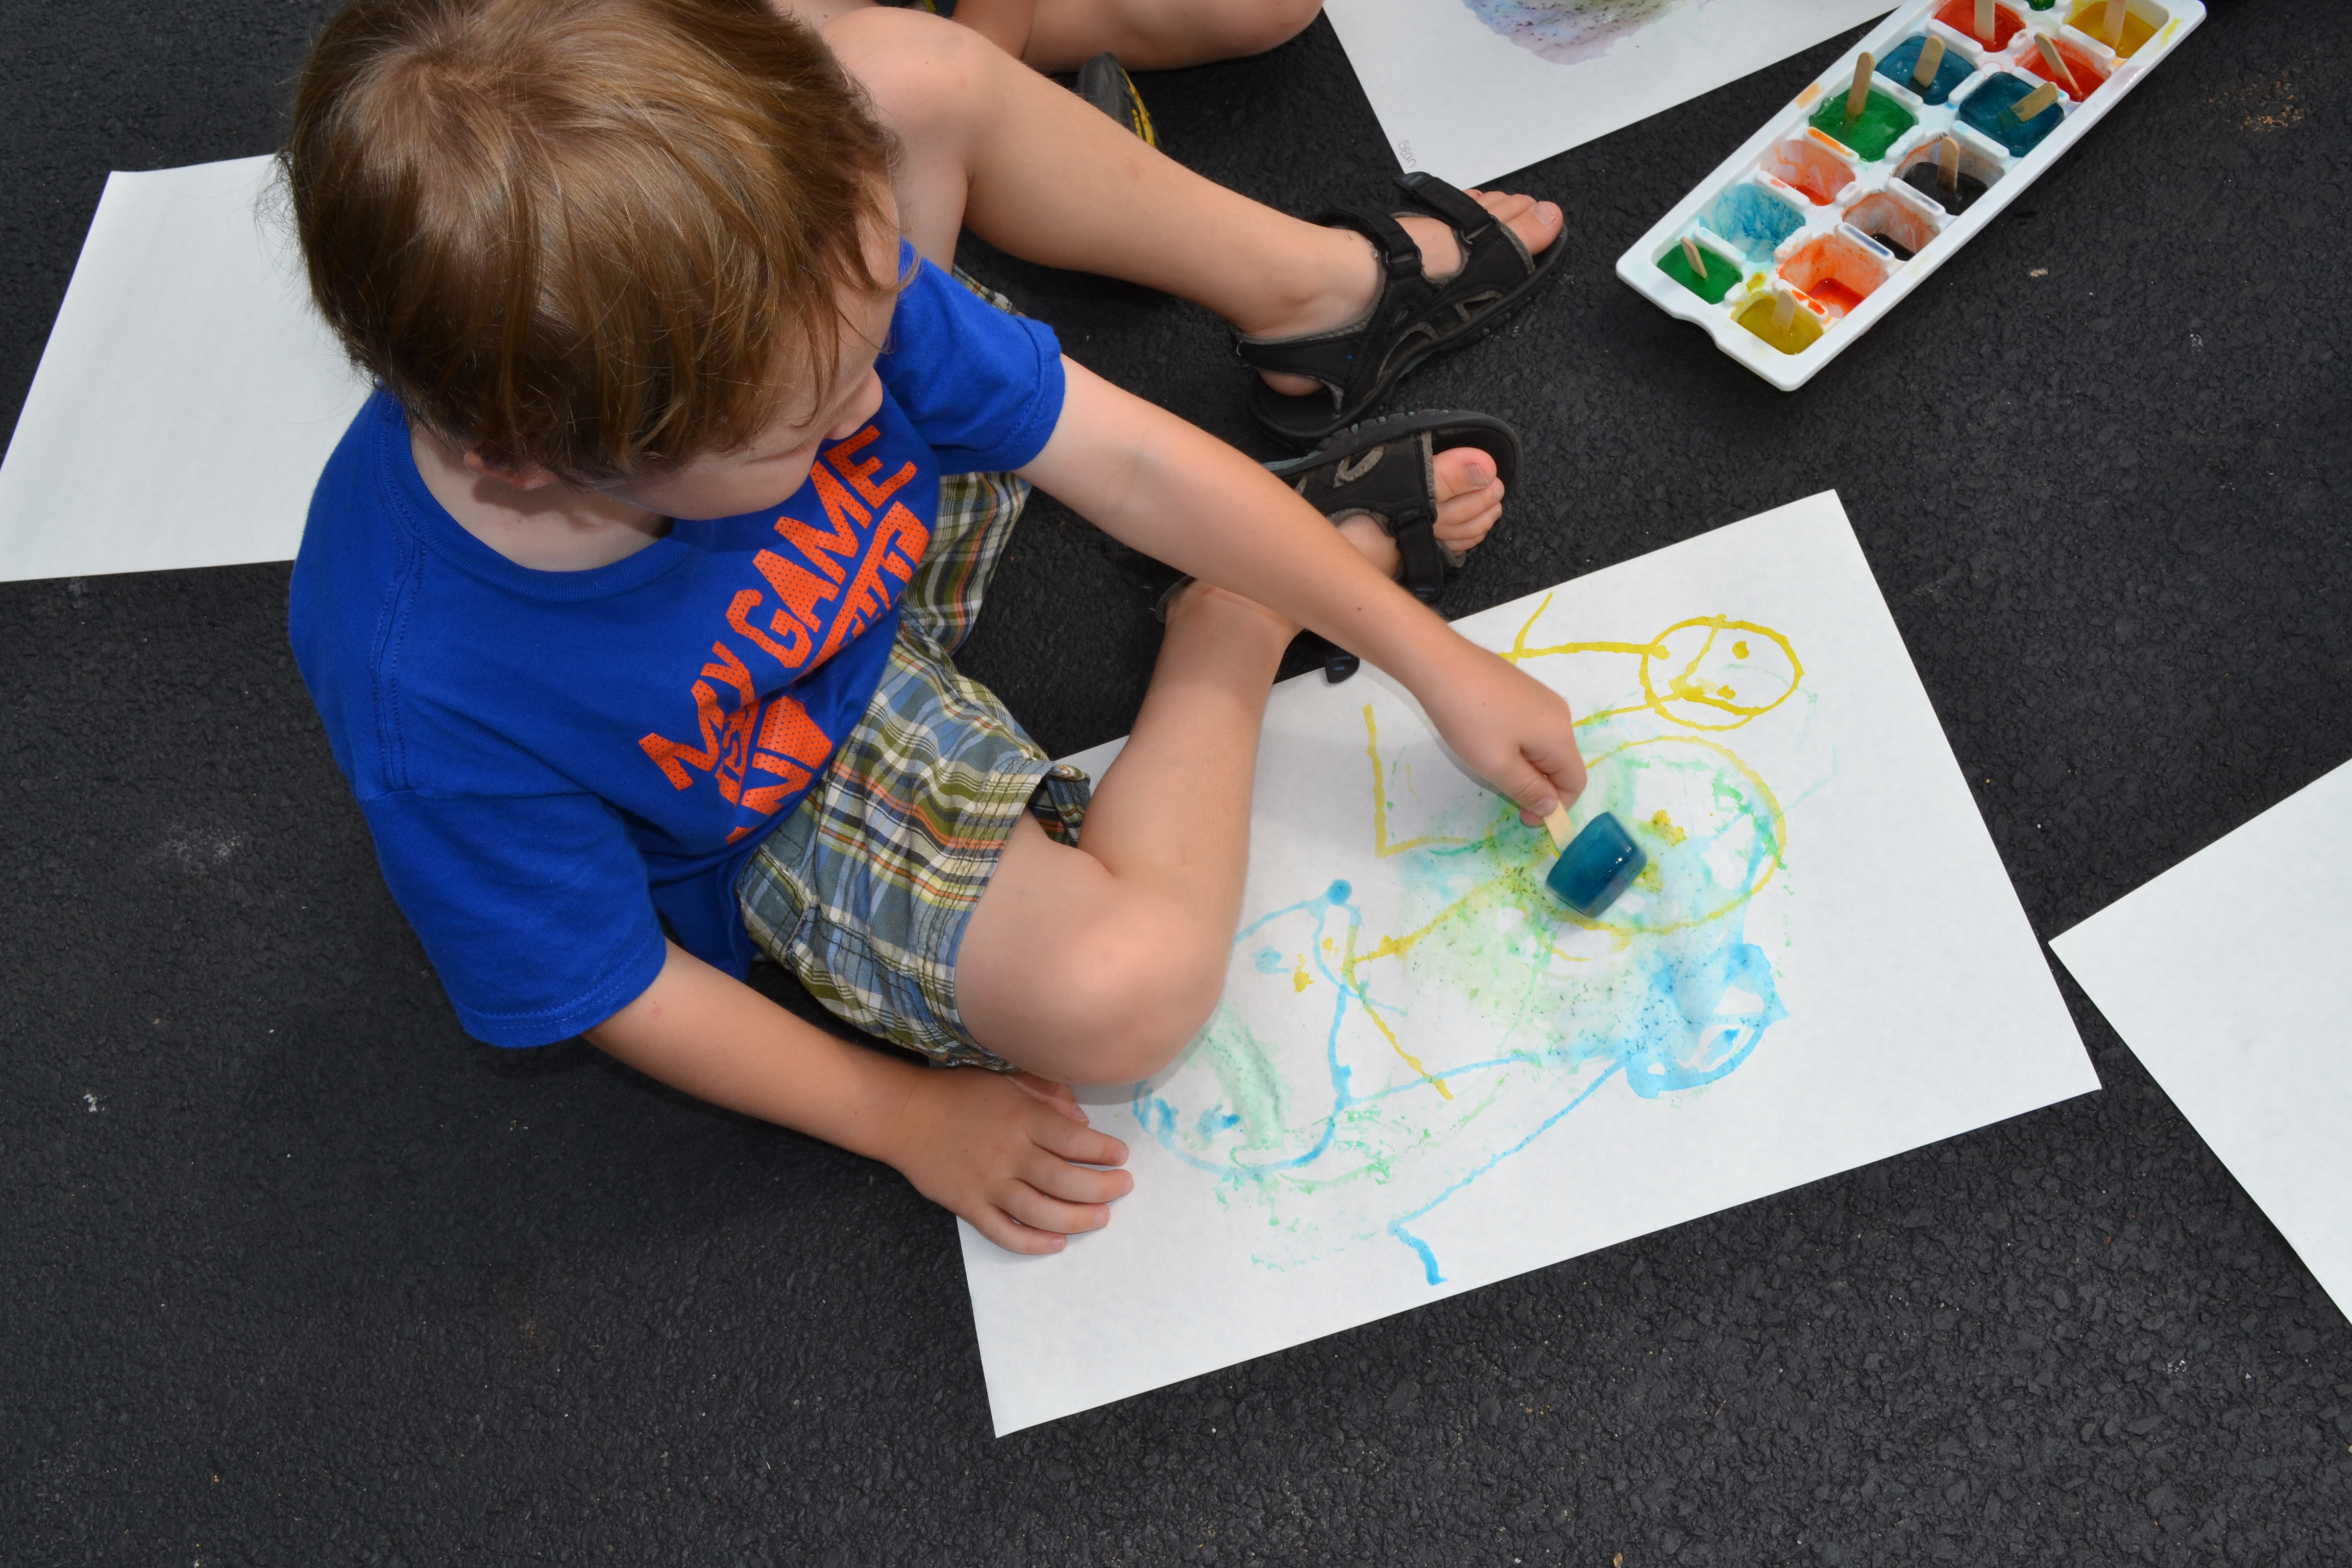
Step 6
My older kids were able to draw pictures with their ice paints and taught the little kids how to splatter the paper and make neat designs with the melting cubes. When we were finished, we just left our paintings to dry in the sun and picked up all the sticks that were left.
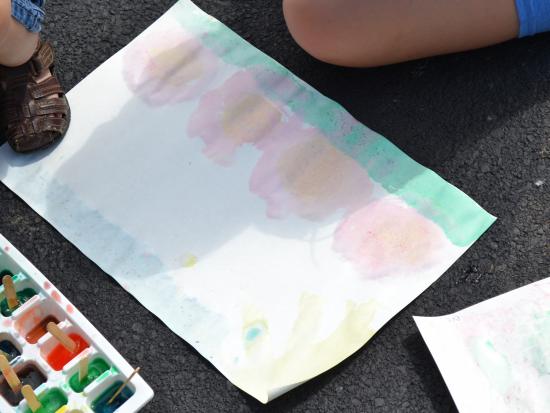
Final result!
It was so neat to see how hard my little guys were concentrating on their paintings! This is definitely a simple activity that is worth breaking out in the warmer weather.