Step-by-step tutorial
Step 1
We serendipitously figured out an easy way to make planets by melting crayons on paper plates. As the crayon bits melt they create swirls, stripes and masses that look a lot like planets, at least to my son it does and that's all that matters, right?

Step 2
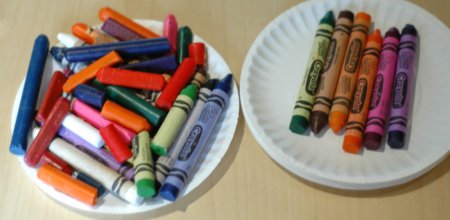
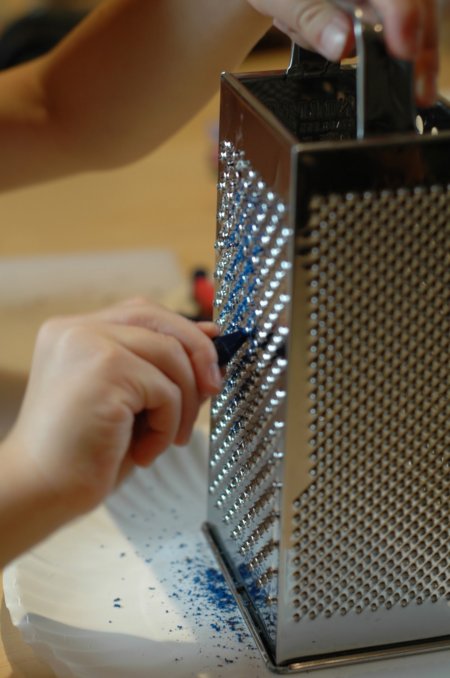
To get started, we first chopped and grated the crayons into smaller pieces. I did the chopping while I supervised my son in the grating, reminding him to take care with his fingers and knuckles! He loved the tactile sensation of grating, particularly the shredding. Though fine shreds of crayon weren't as useful for this project as the slightly larger pieces he created with the larger holes.
Step 3
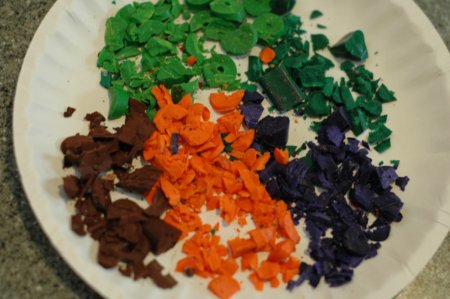
We scattered the crayon bits evenly on the plate, then I put the paper plate in the microwave for 15 seconds at a time, checking to see if the crayons had started melting (I told my son, "This is an adult only step!") .
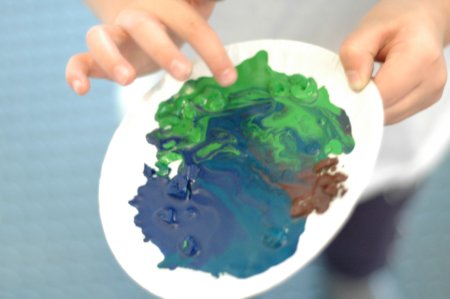
Step 4
Once they had melted a bit, I made sure the crayons weren't too hot to the touch and handed the plate to my son. He began swirling the colors together and covering the plate by tilting it and smashing the melted crayon around with his fingers. He loves a good tactile project, and this one delivers.
Step 5
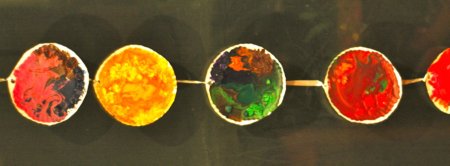
Finally, we cut some of the extra white edges of paper plate away and hung up our constellation in a window against the night sky. "Look mom, we made planets!!" We talked about how planets appear as different colors. Though I was only partly mindful of this fact while we enjoyed the process together, my son was sure we picked blue, green and brown for Earth. To make Mars we mixed reds and browns, and for Venus yellows and reds. Yellows would work for Mercury and Saturn as well. Uranus is green and Neptune is blue.
Done!
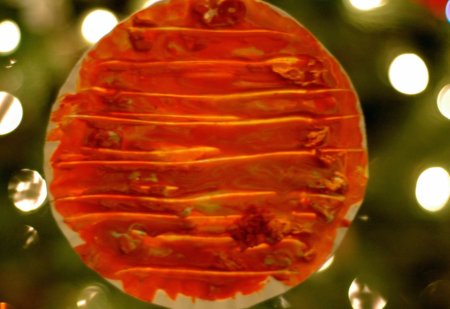
For kicks, I made a special Jupiter with yellow, white, and orange plus the famous red spot! I used a butter knife to get the striped effect and hung it in front of our Christmas tree so the lights look like stars. By this time, my son had already moved on to playing trains in his room, but I was still enjoying exploring the colors and textures! He was pretty interested in my Jupiter the next day at breakfast though, so we explored more. The nice thing about this project is that if you want, you can match the color of each planet, and the relative sizes by using large and small plates and by cutting each accordingly.


