Step-by-step tutorial
Step 1
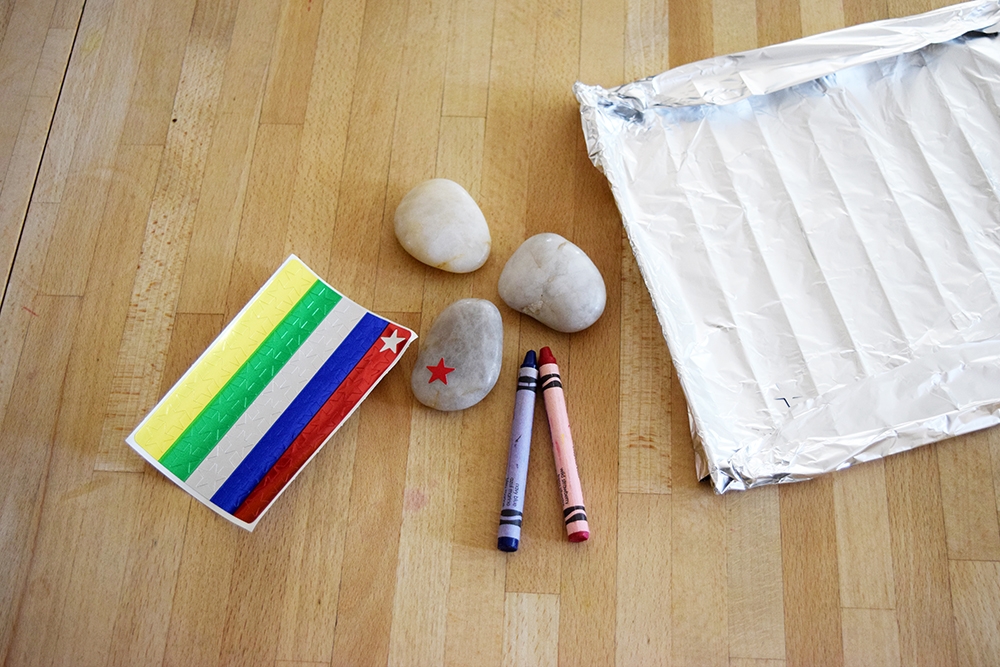
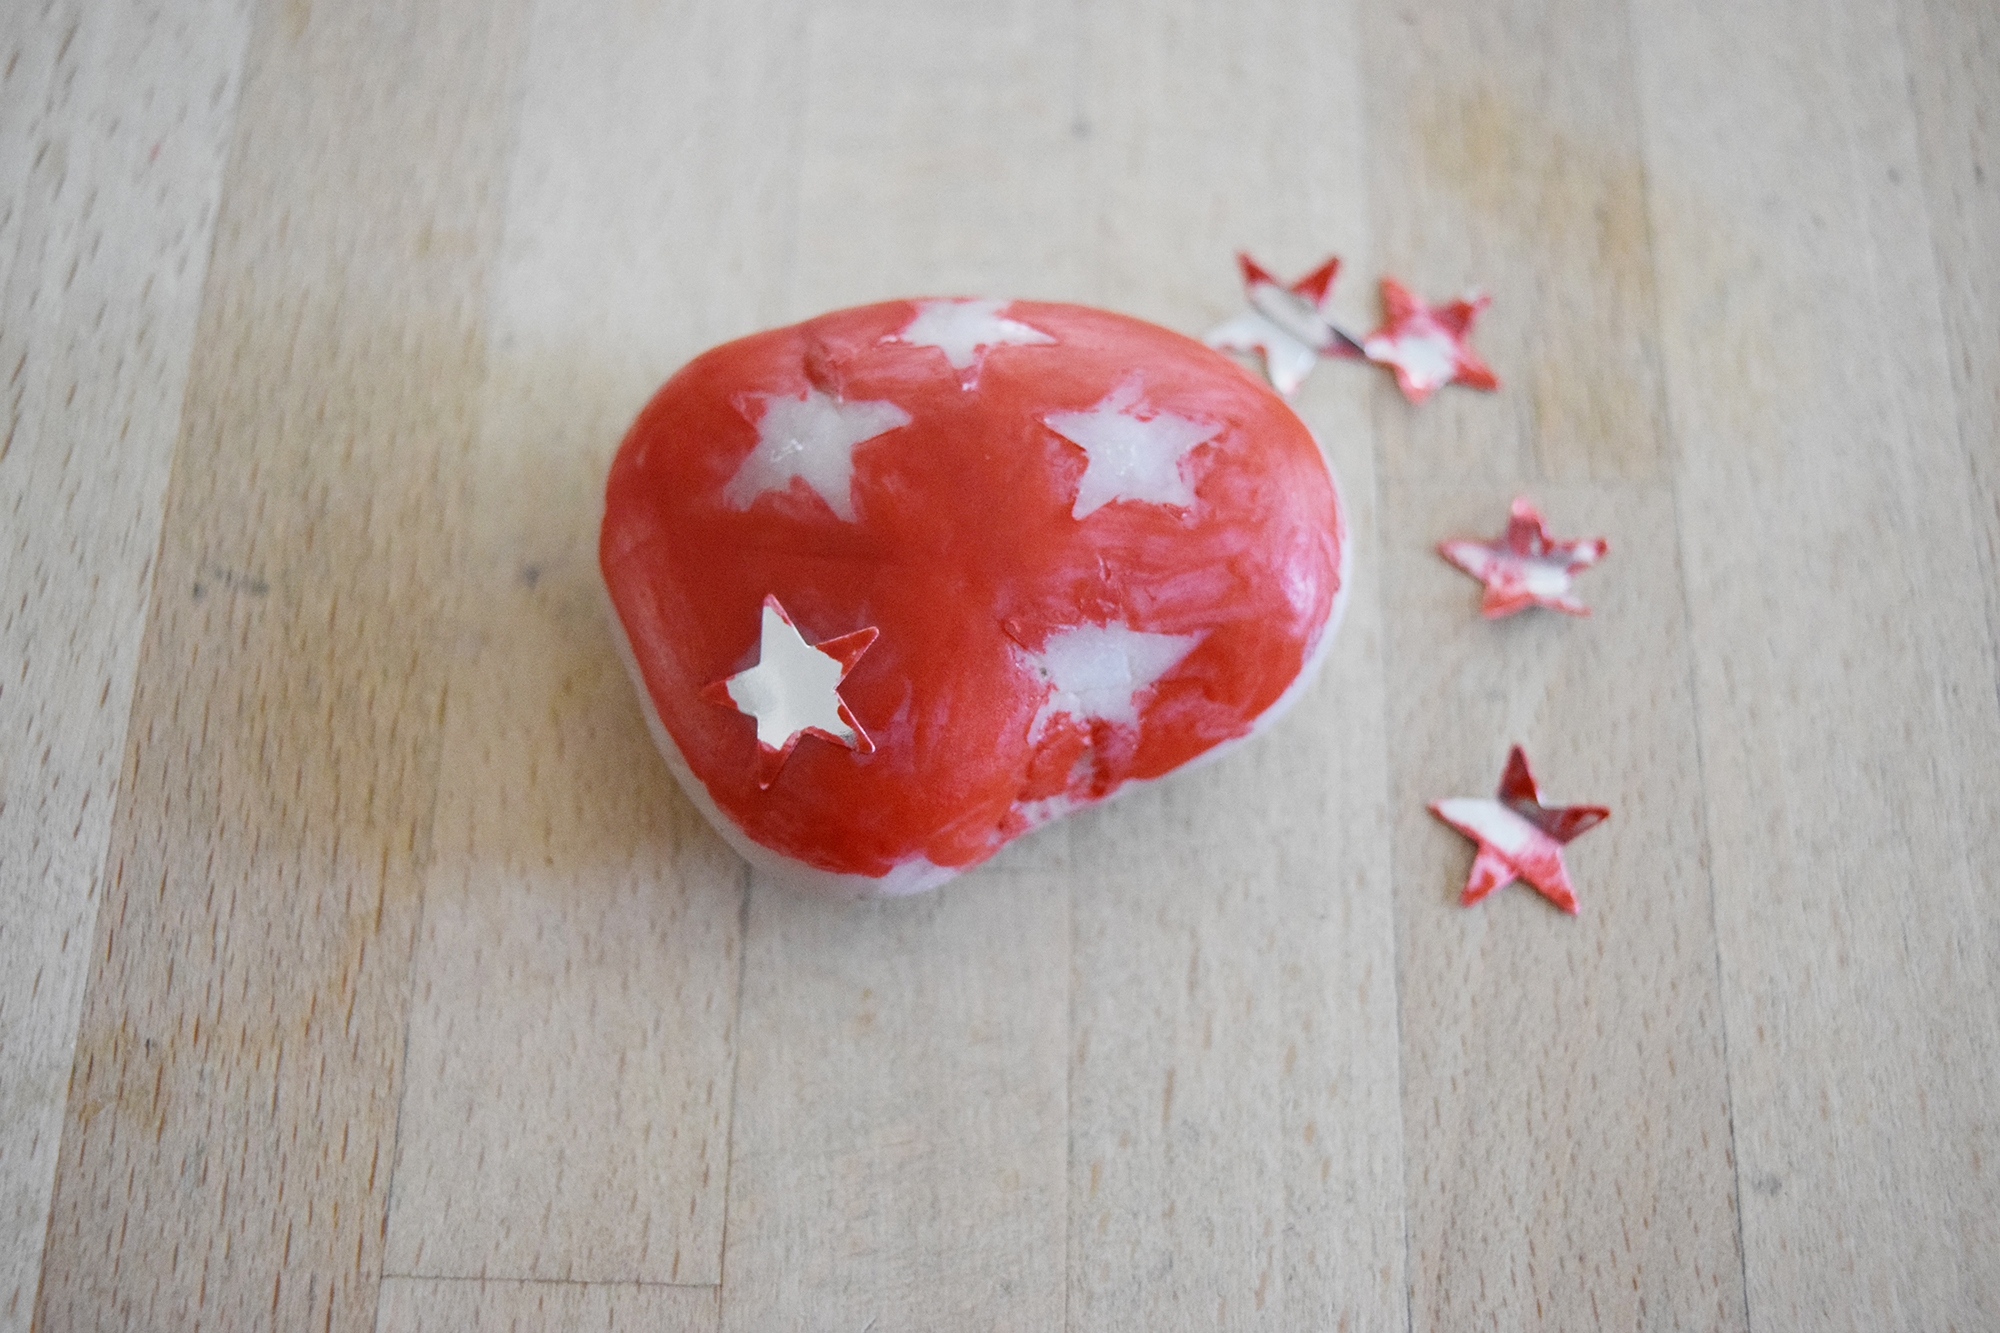
Gather the materials to make your melted crayon art. The stickers aren't necessary, but it looks great to just draw on the rocks with the crayons and allow the colors to melt together. But because these were for Memorial Day, I thought it would be fun to use stickers to create a star pattern.

Step 2
Cover a tray with foil and place the rocks on it. Heat your oven to 250 degrees and pop the tray of rocks into the oven. It'll only take a few minutes for the rocks to heat up, so keep a close eye on them. Turn off the oven when the rocks are hot to the touch.
You can apply the star stickers before or after you heat up the rocks. (Just be careful not to let them get too hot, or the adhesive on the stickers will melt and they'll slide off.)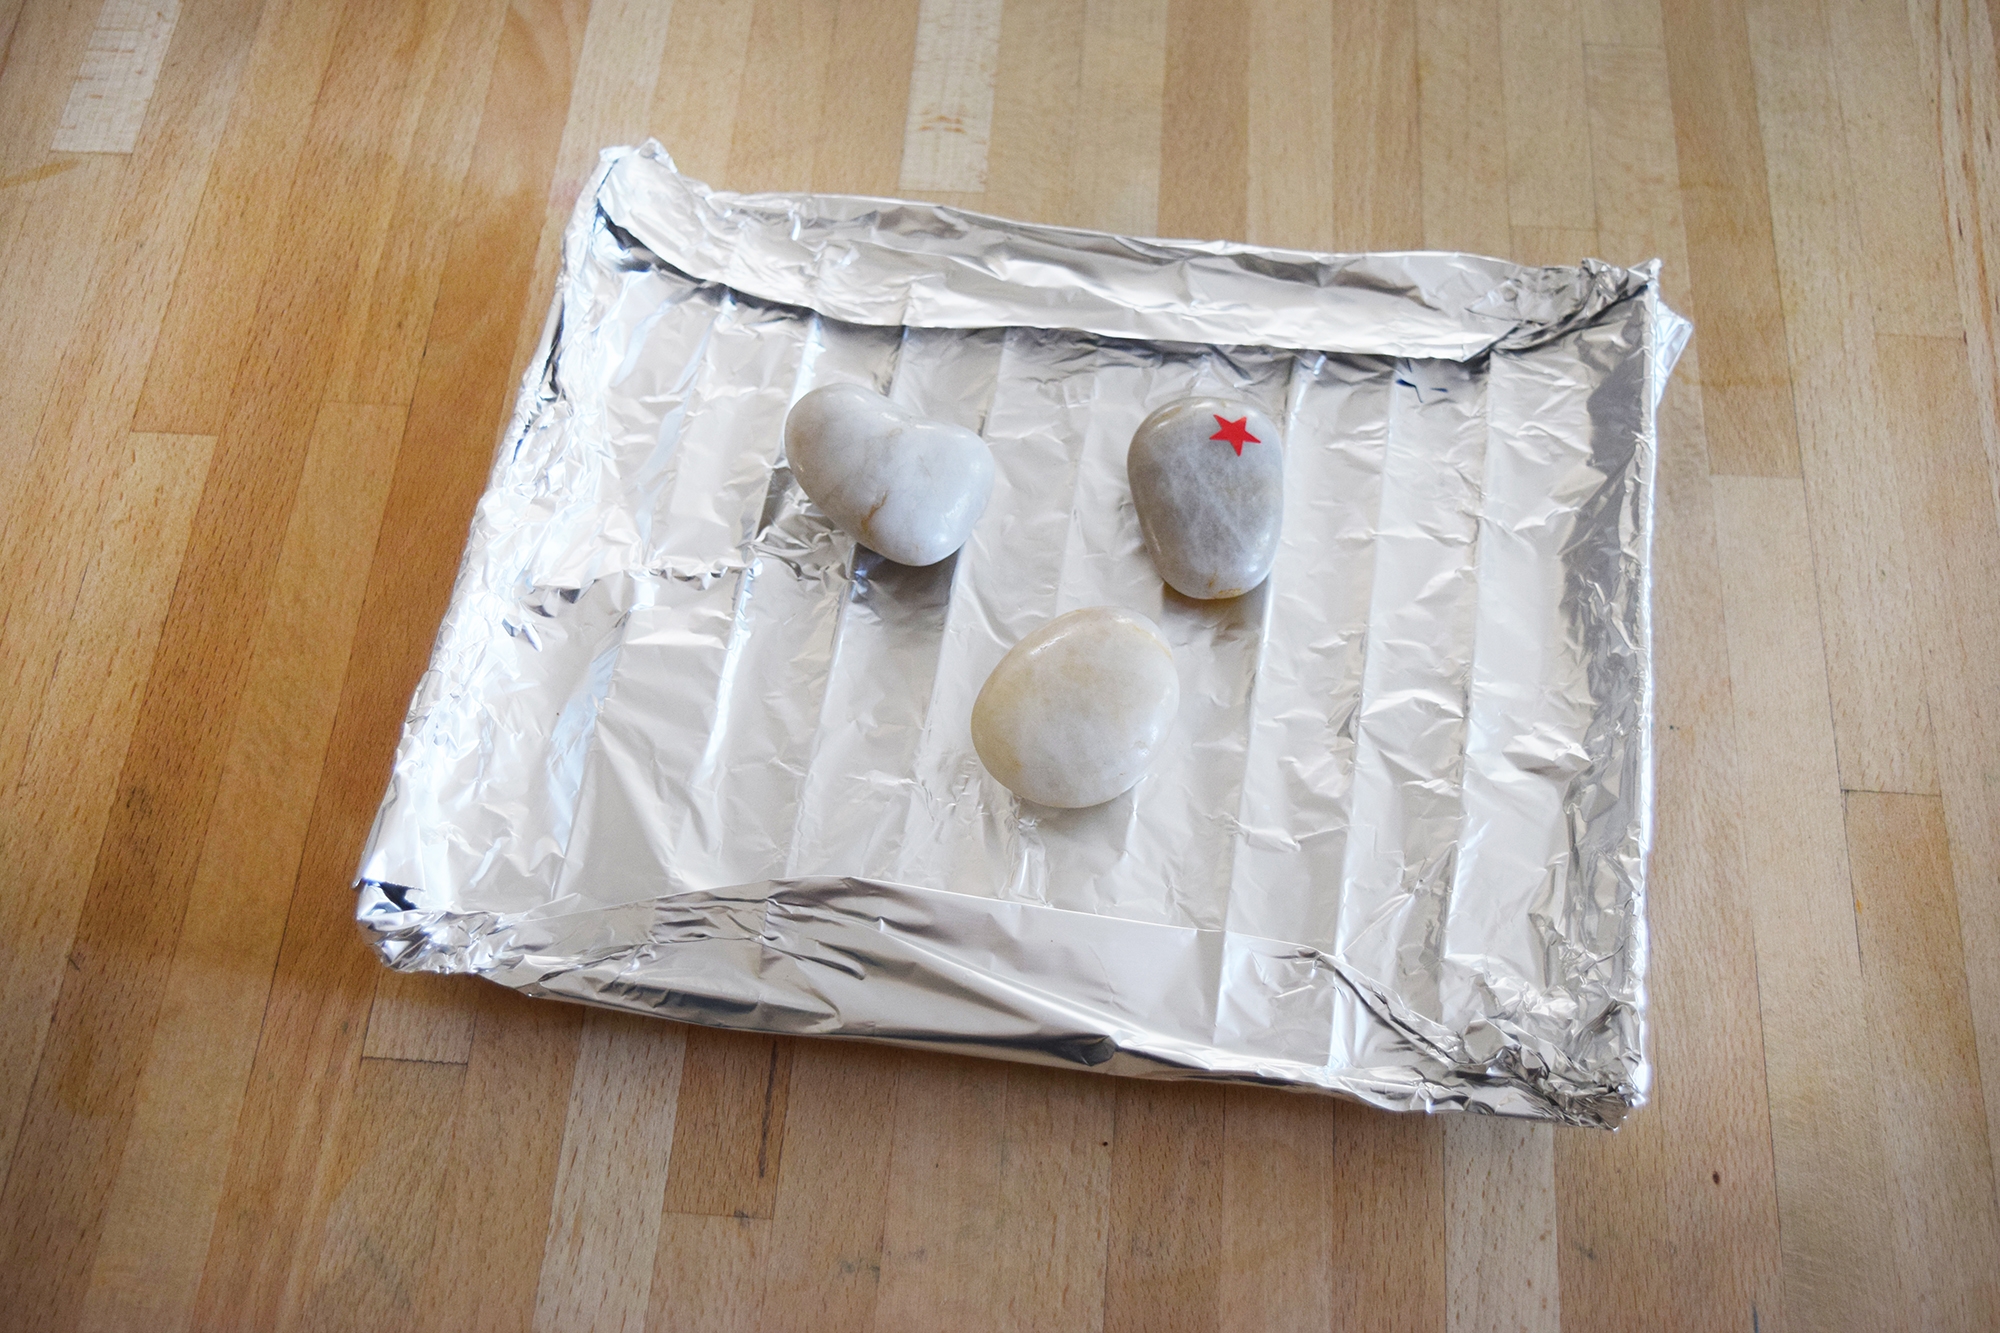
Step 3
I found it worked best to remove one rock at a time. This will prevent the rocks from cooling off too much. Make sure you've turned the oven off, though. If you leave it on, the rocks will get too hot.
Test the rock with your hand before giving it to your child. It should feel very warm, but not uncomfortable to touch. If it's too hot, just give it a minute to cool down.
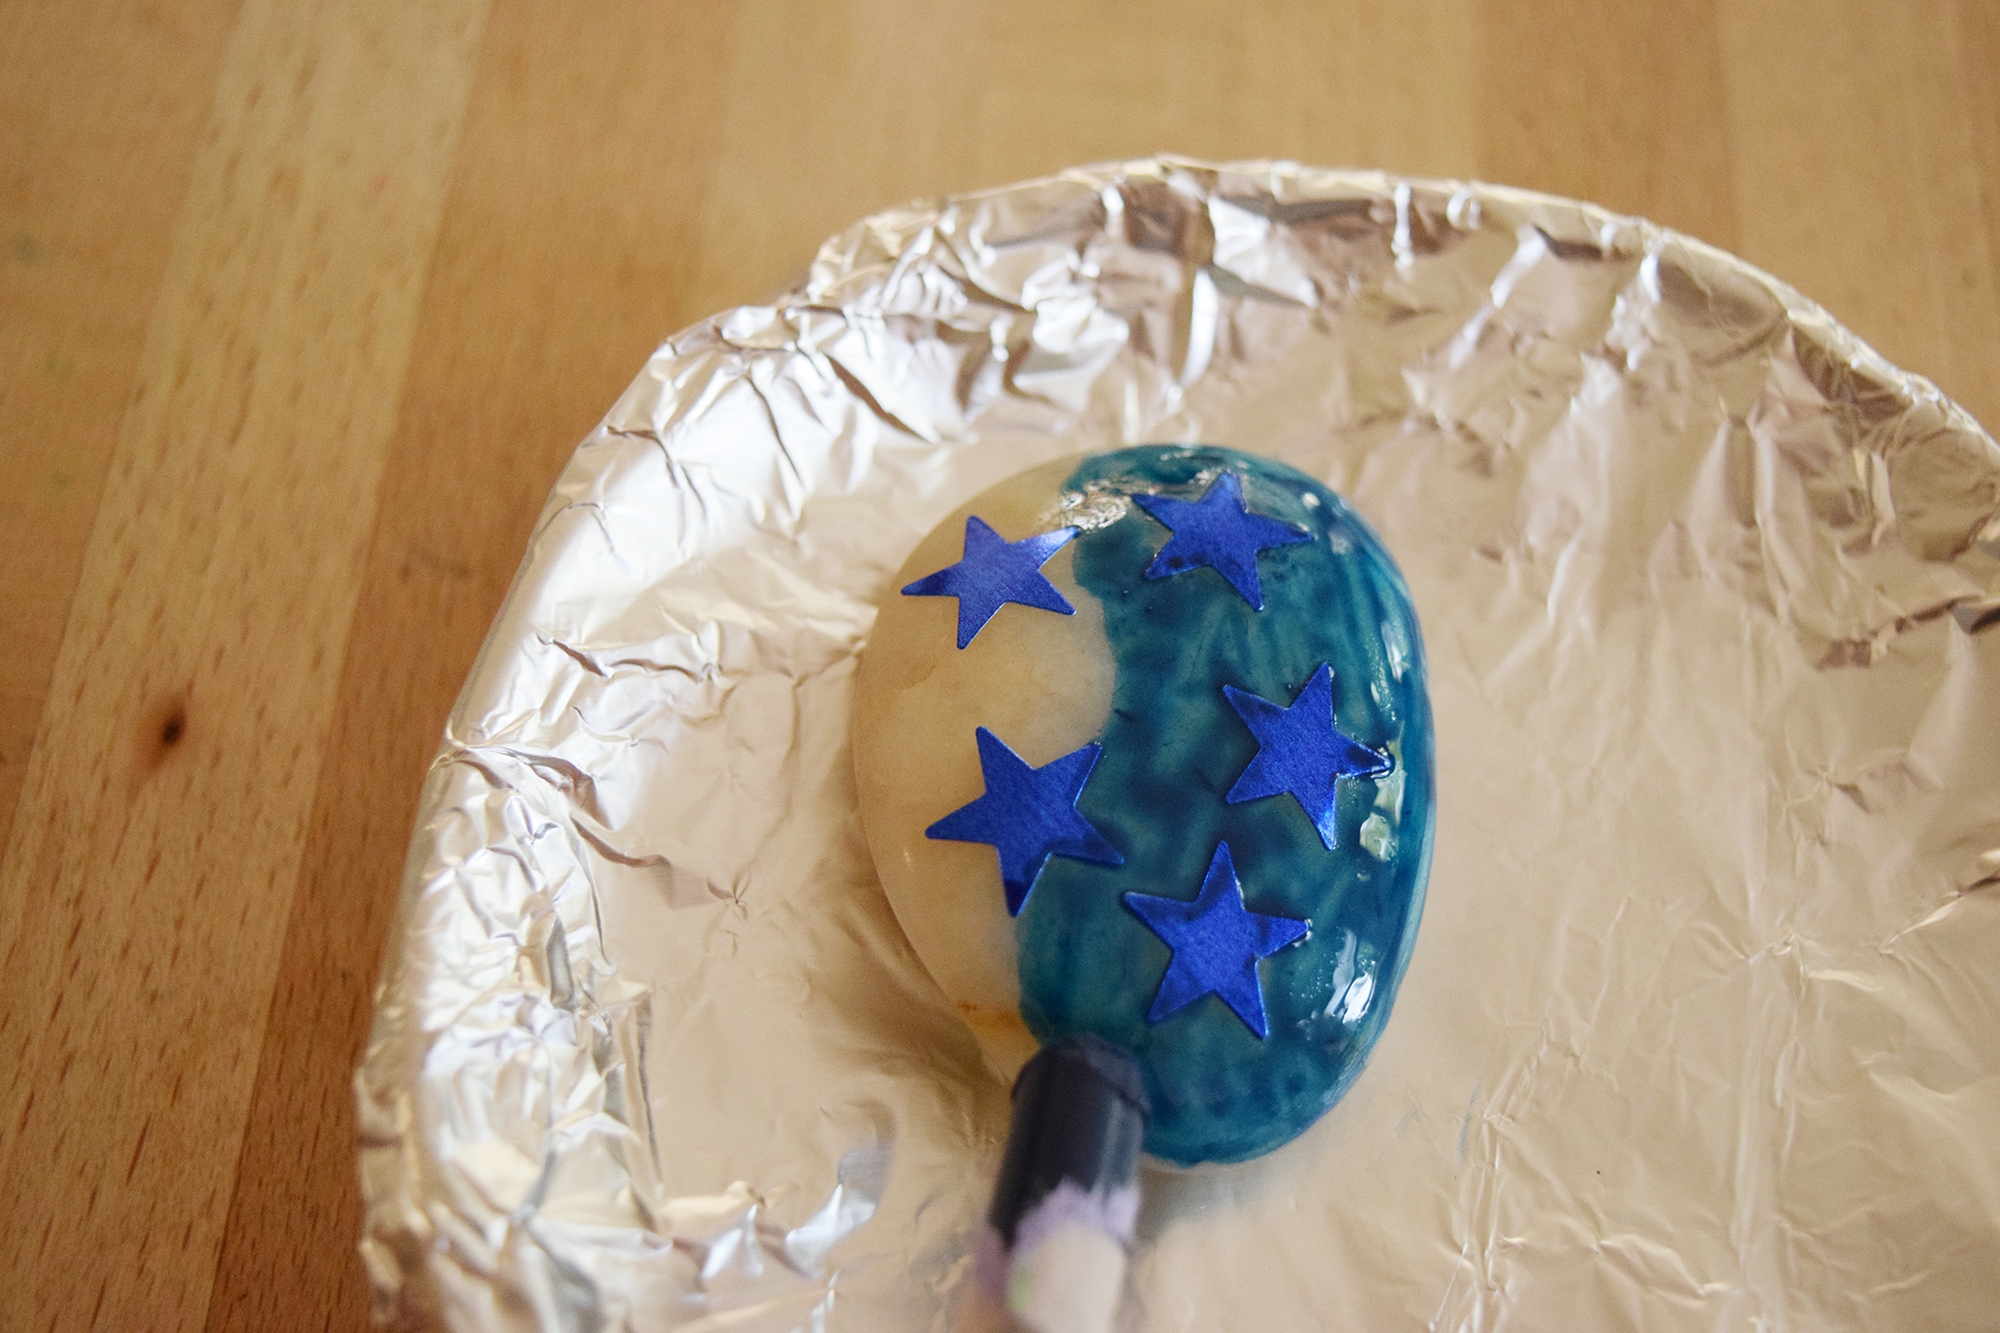
Place the rock on a piece of foil and apply the star stickers. The foil is important to catch any drips from the melted crayons. I wrapped the foil around a small dish to help prevent the rock from sliding around too much.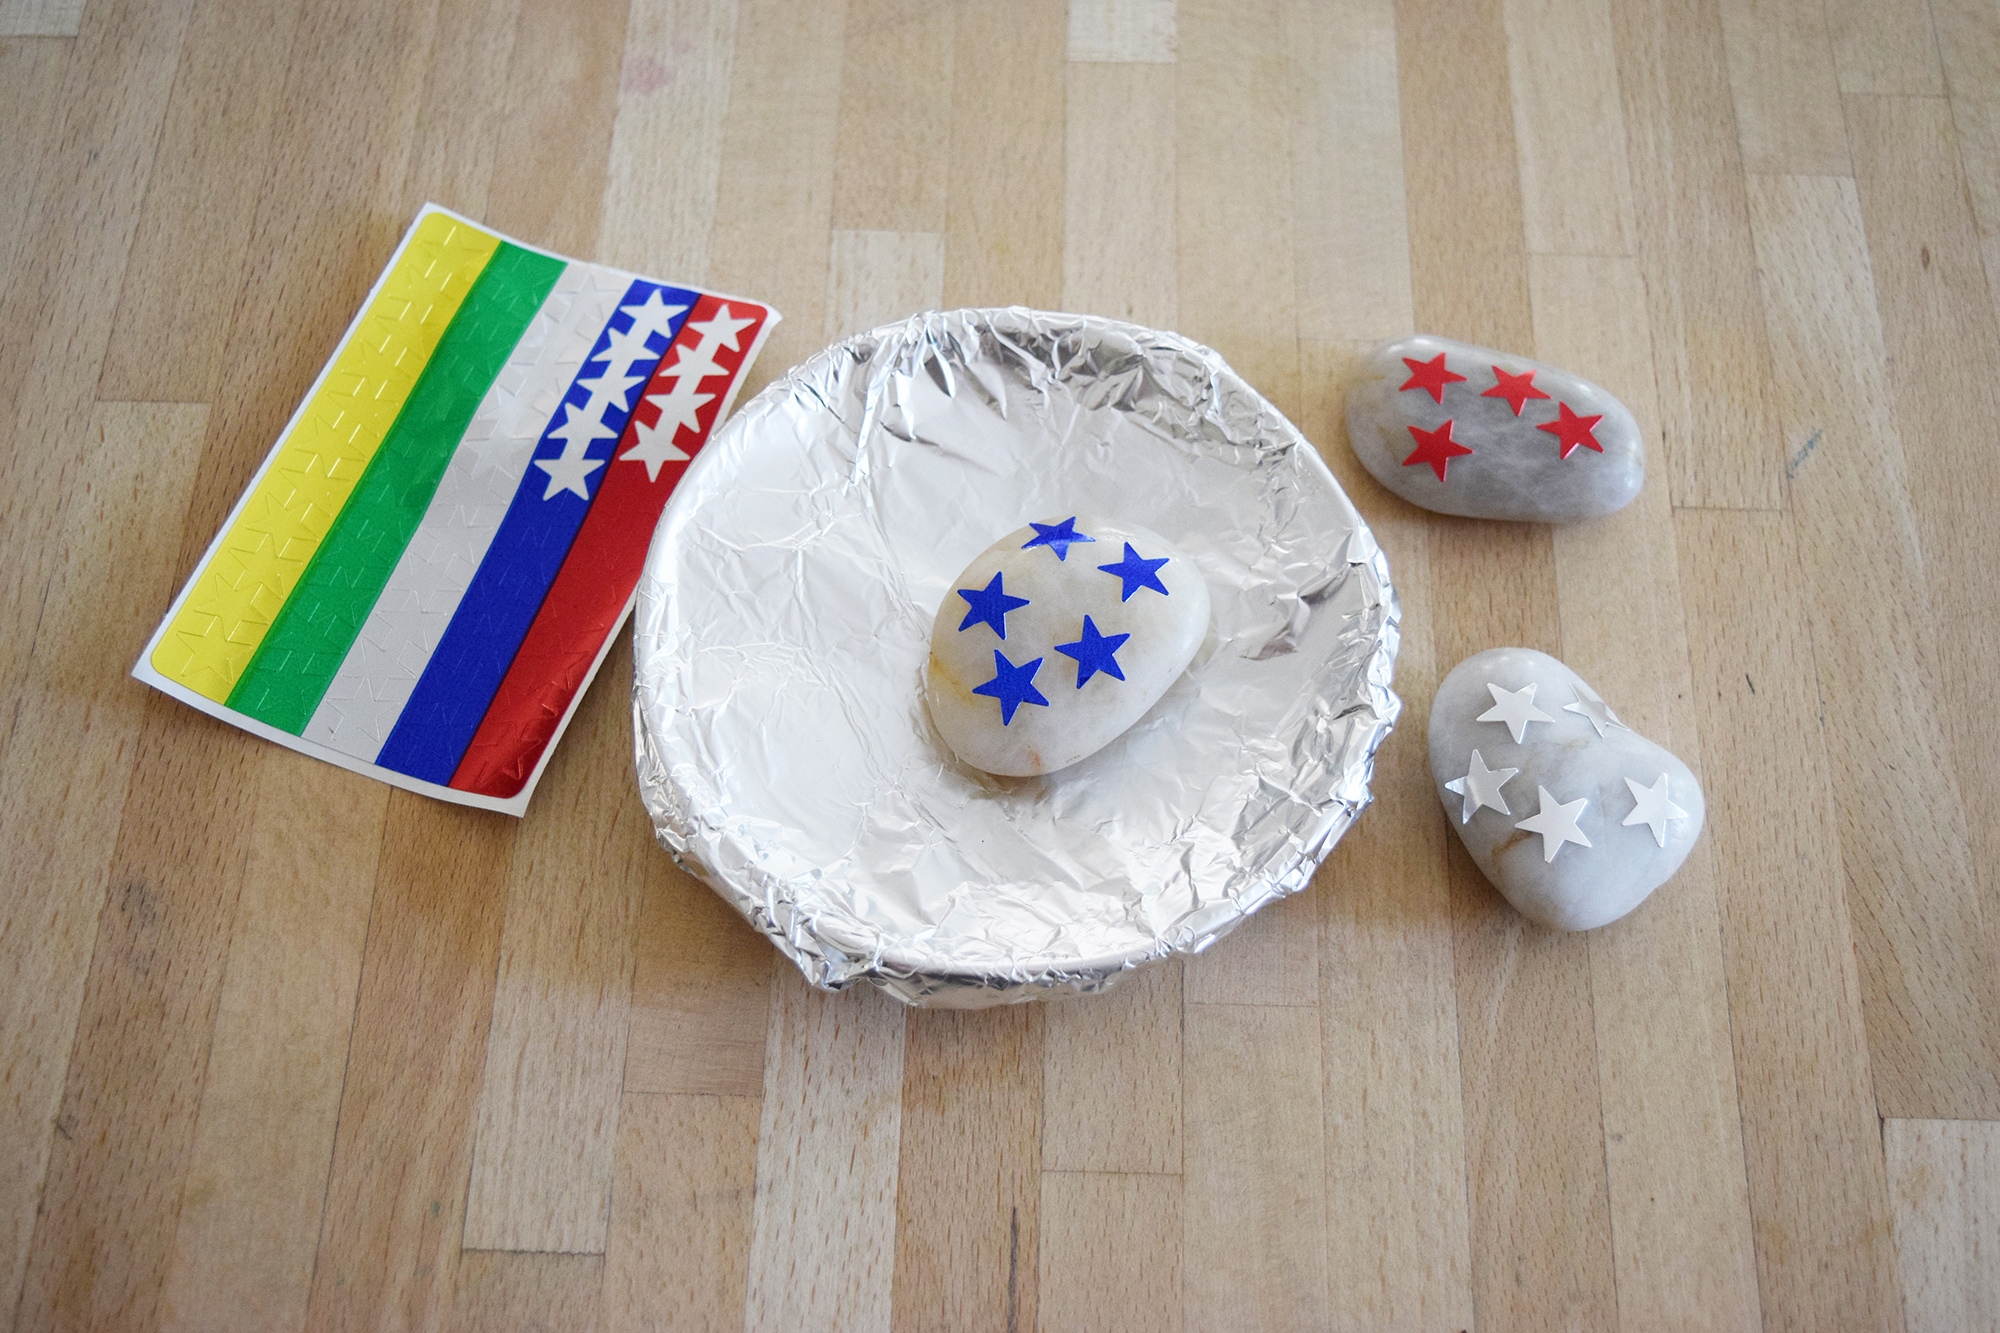
Step 4
Pick a crayon and rub it over the rock. Watch the color melt and spread!
It can take a minute for the wax to heat up enough to melt. If it doesn't melt, the rock has gotten too cool and needs to be heated up again. Just pop it back in the (turned off) oven for a few minutes to heat up.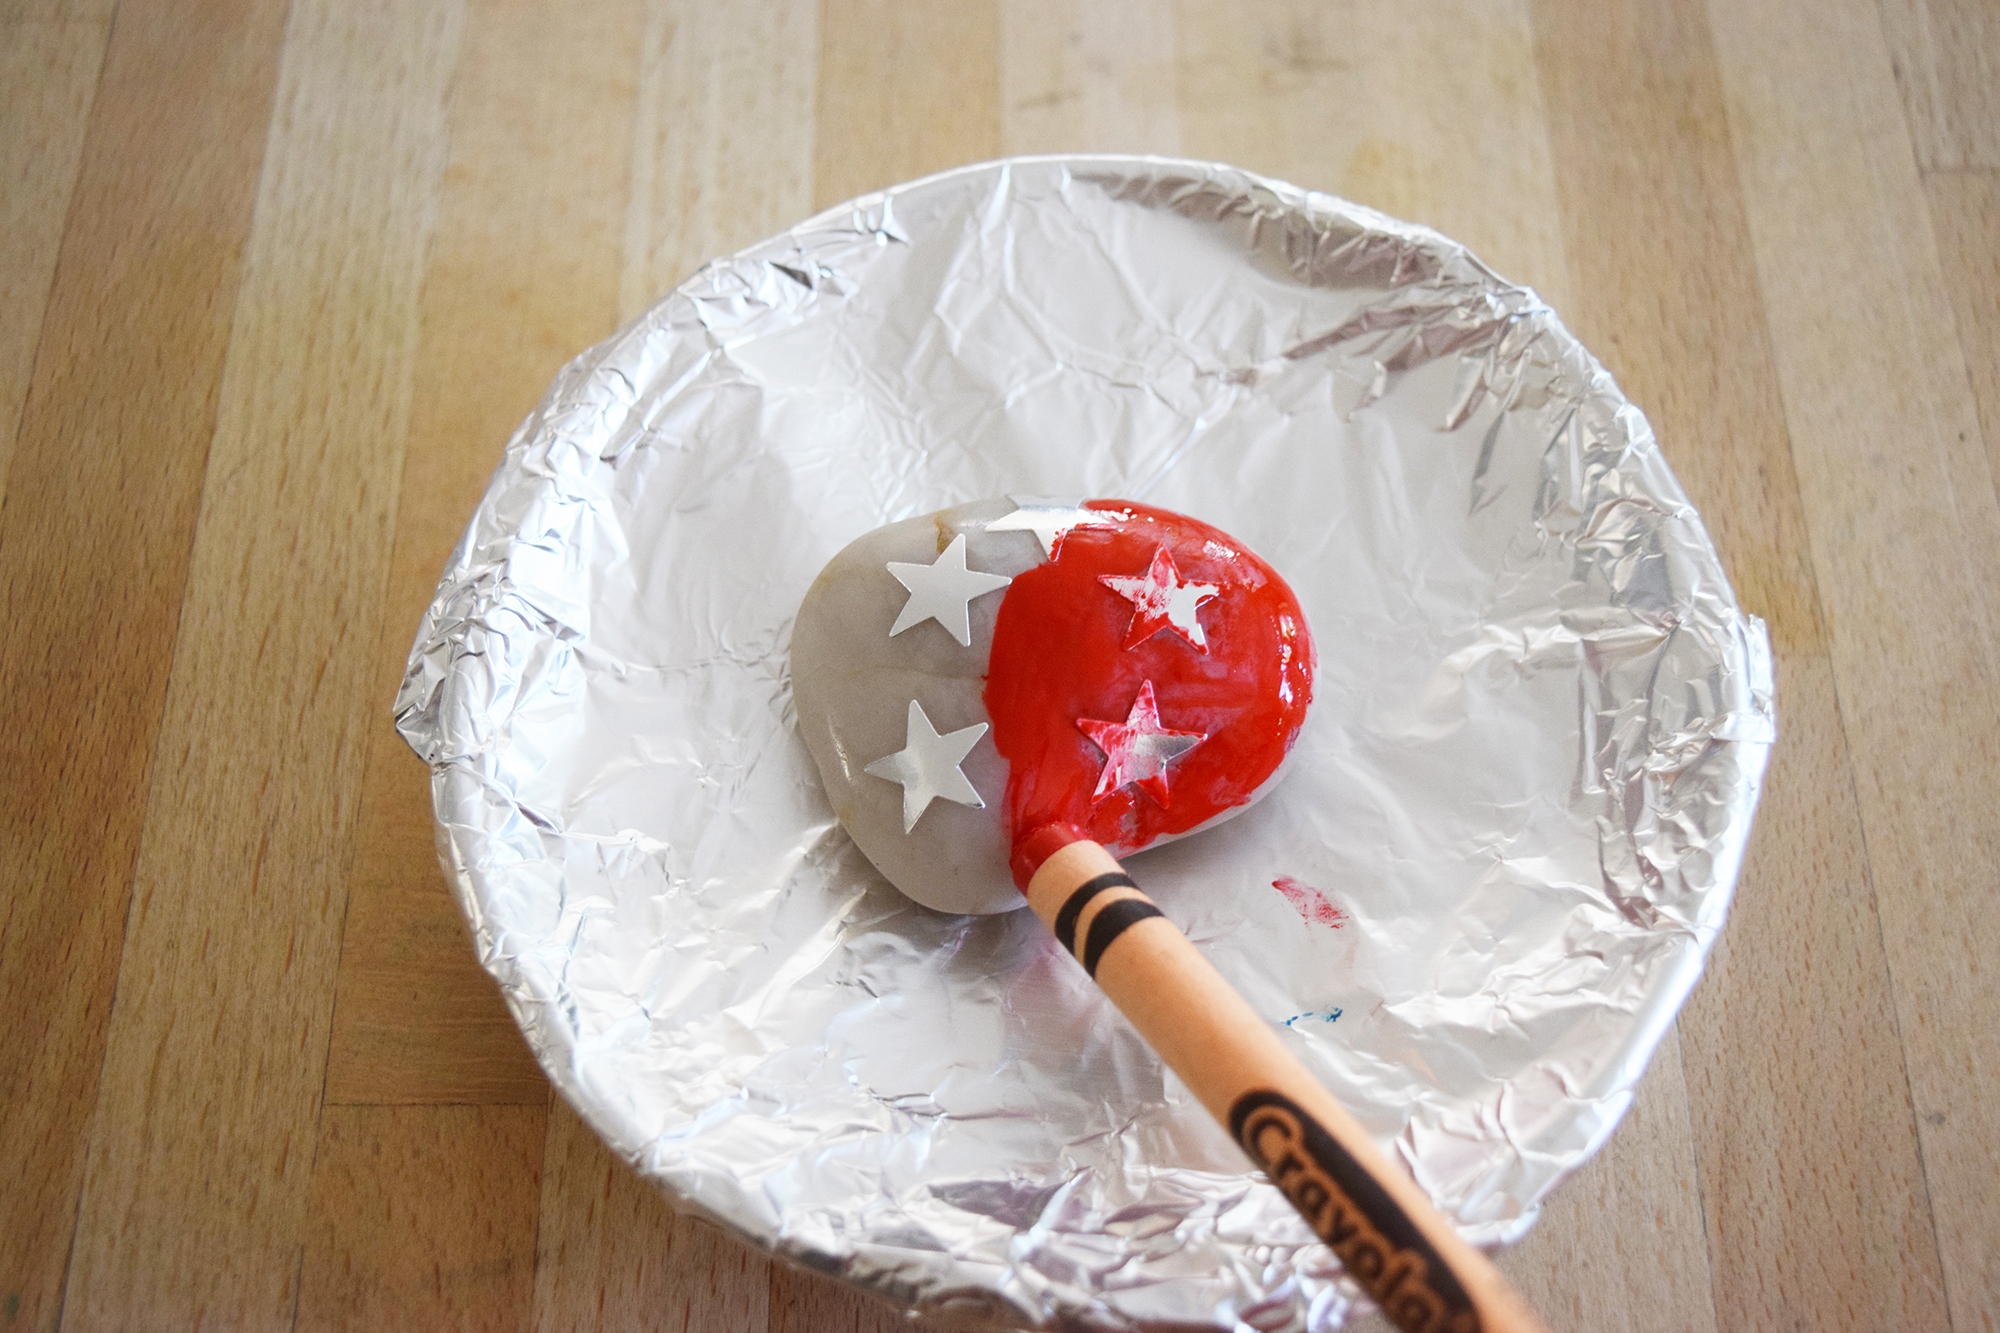
Step 5
The colors are so lovely and vibrant. It was a lot of fun testing out crayons and discovering what color the melting produced. We found that the melted color can look much different than the regular color.
Step 6
Set the completed rock aside to cool, then remove the next rock from the oven to work on.
I also tried a variation where I placed a piece of crayon with the wrapper removed on a rock and placed it in the oven. It worked well, and the crayon melted over the rock in a thick layer. This might be a good option for a very young child, or one who is hesitant to touch the rock.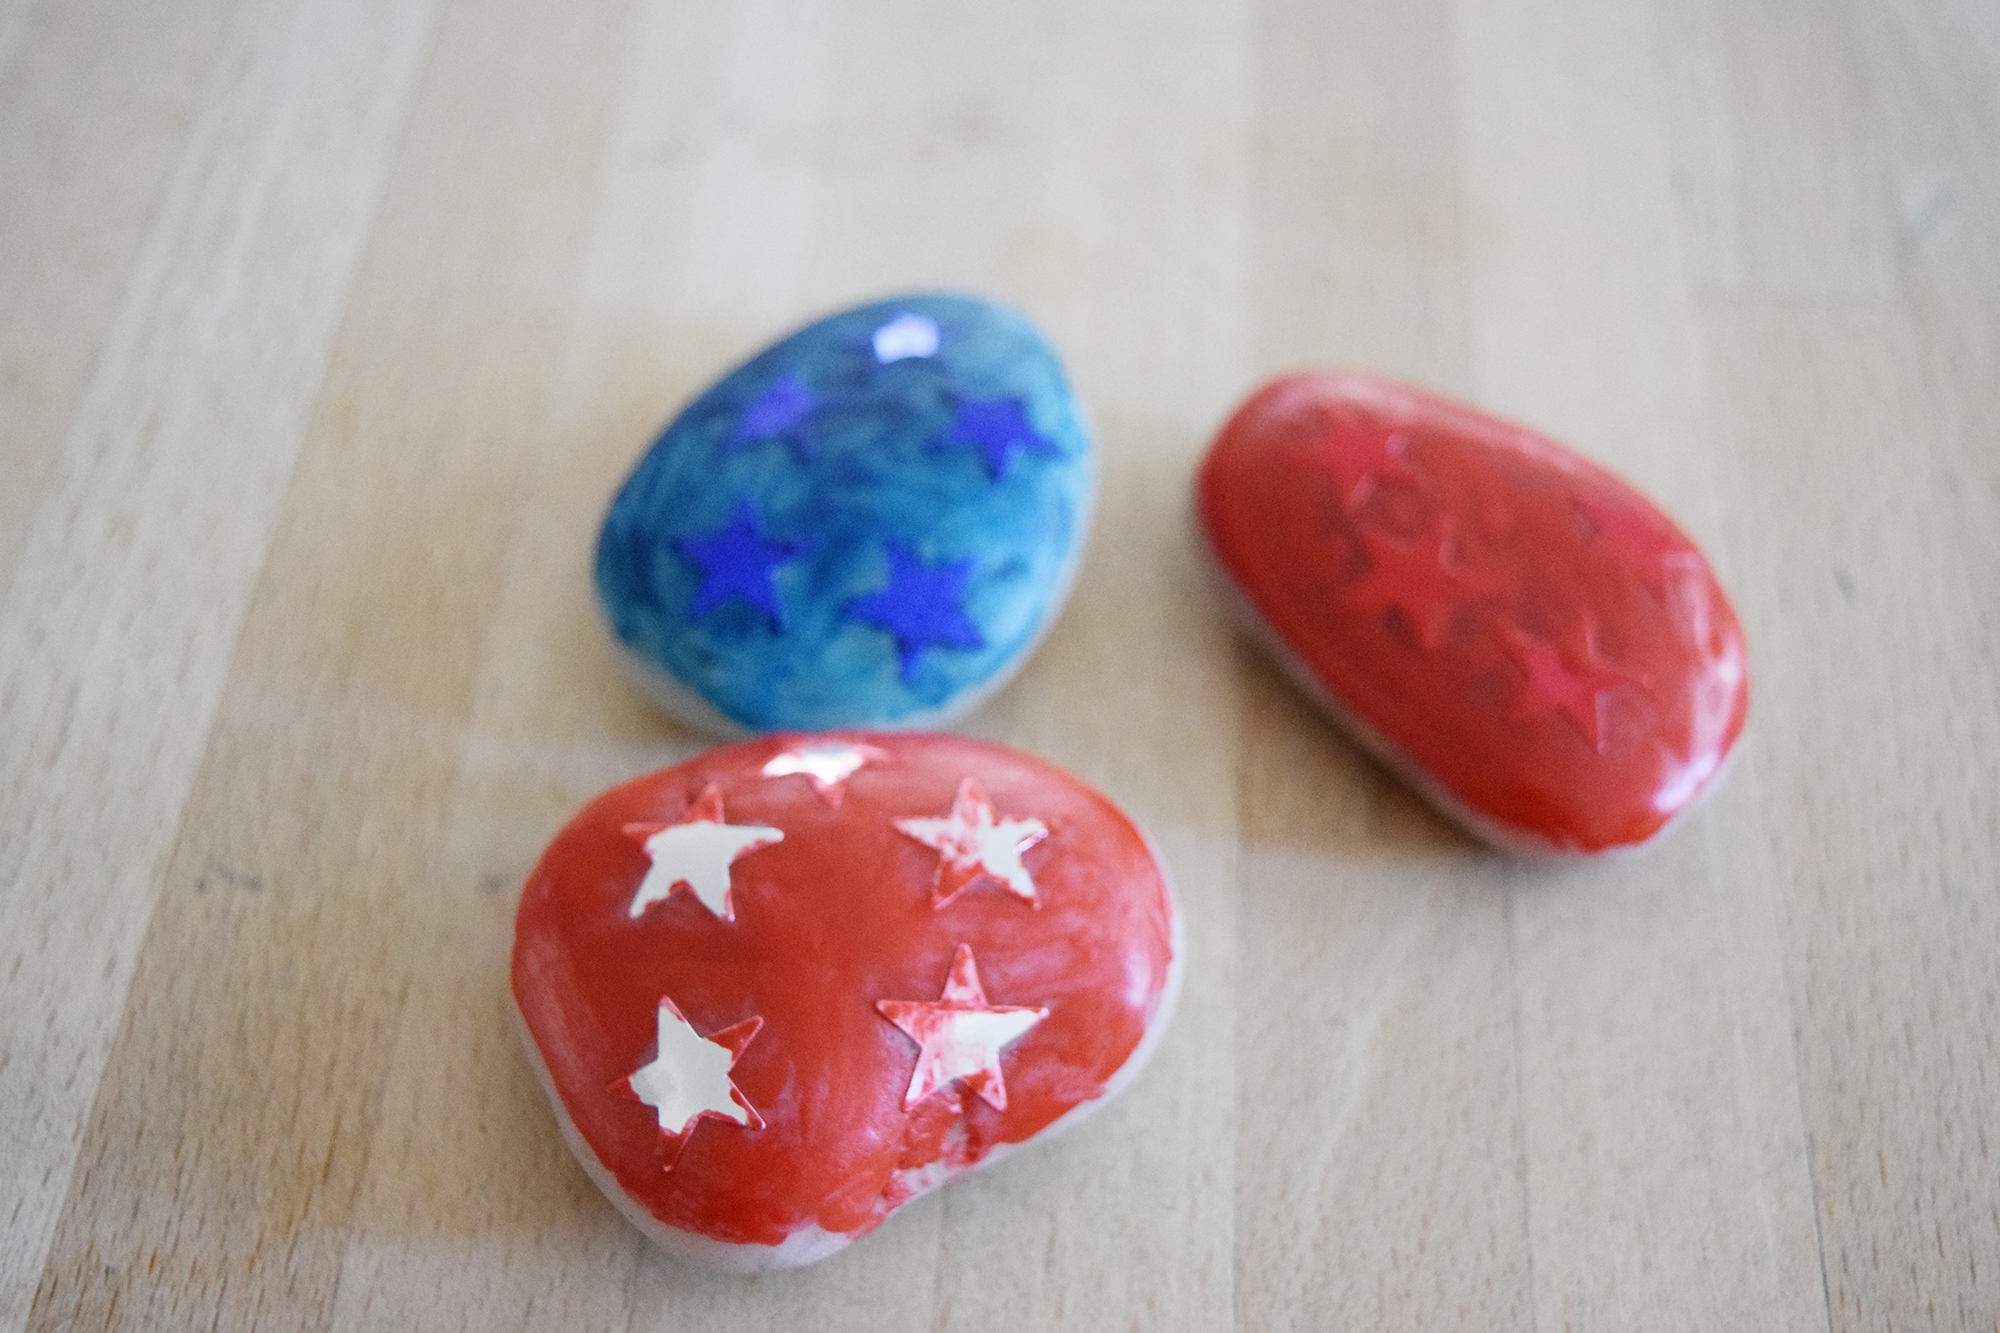
Step 7
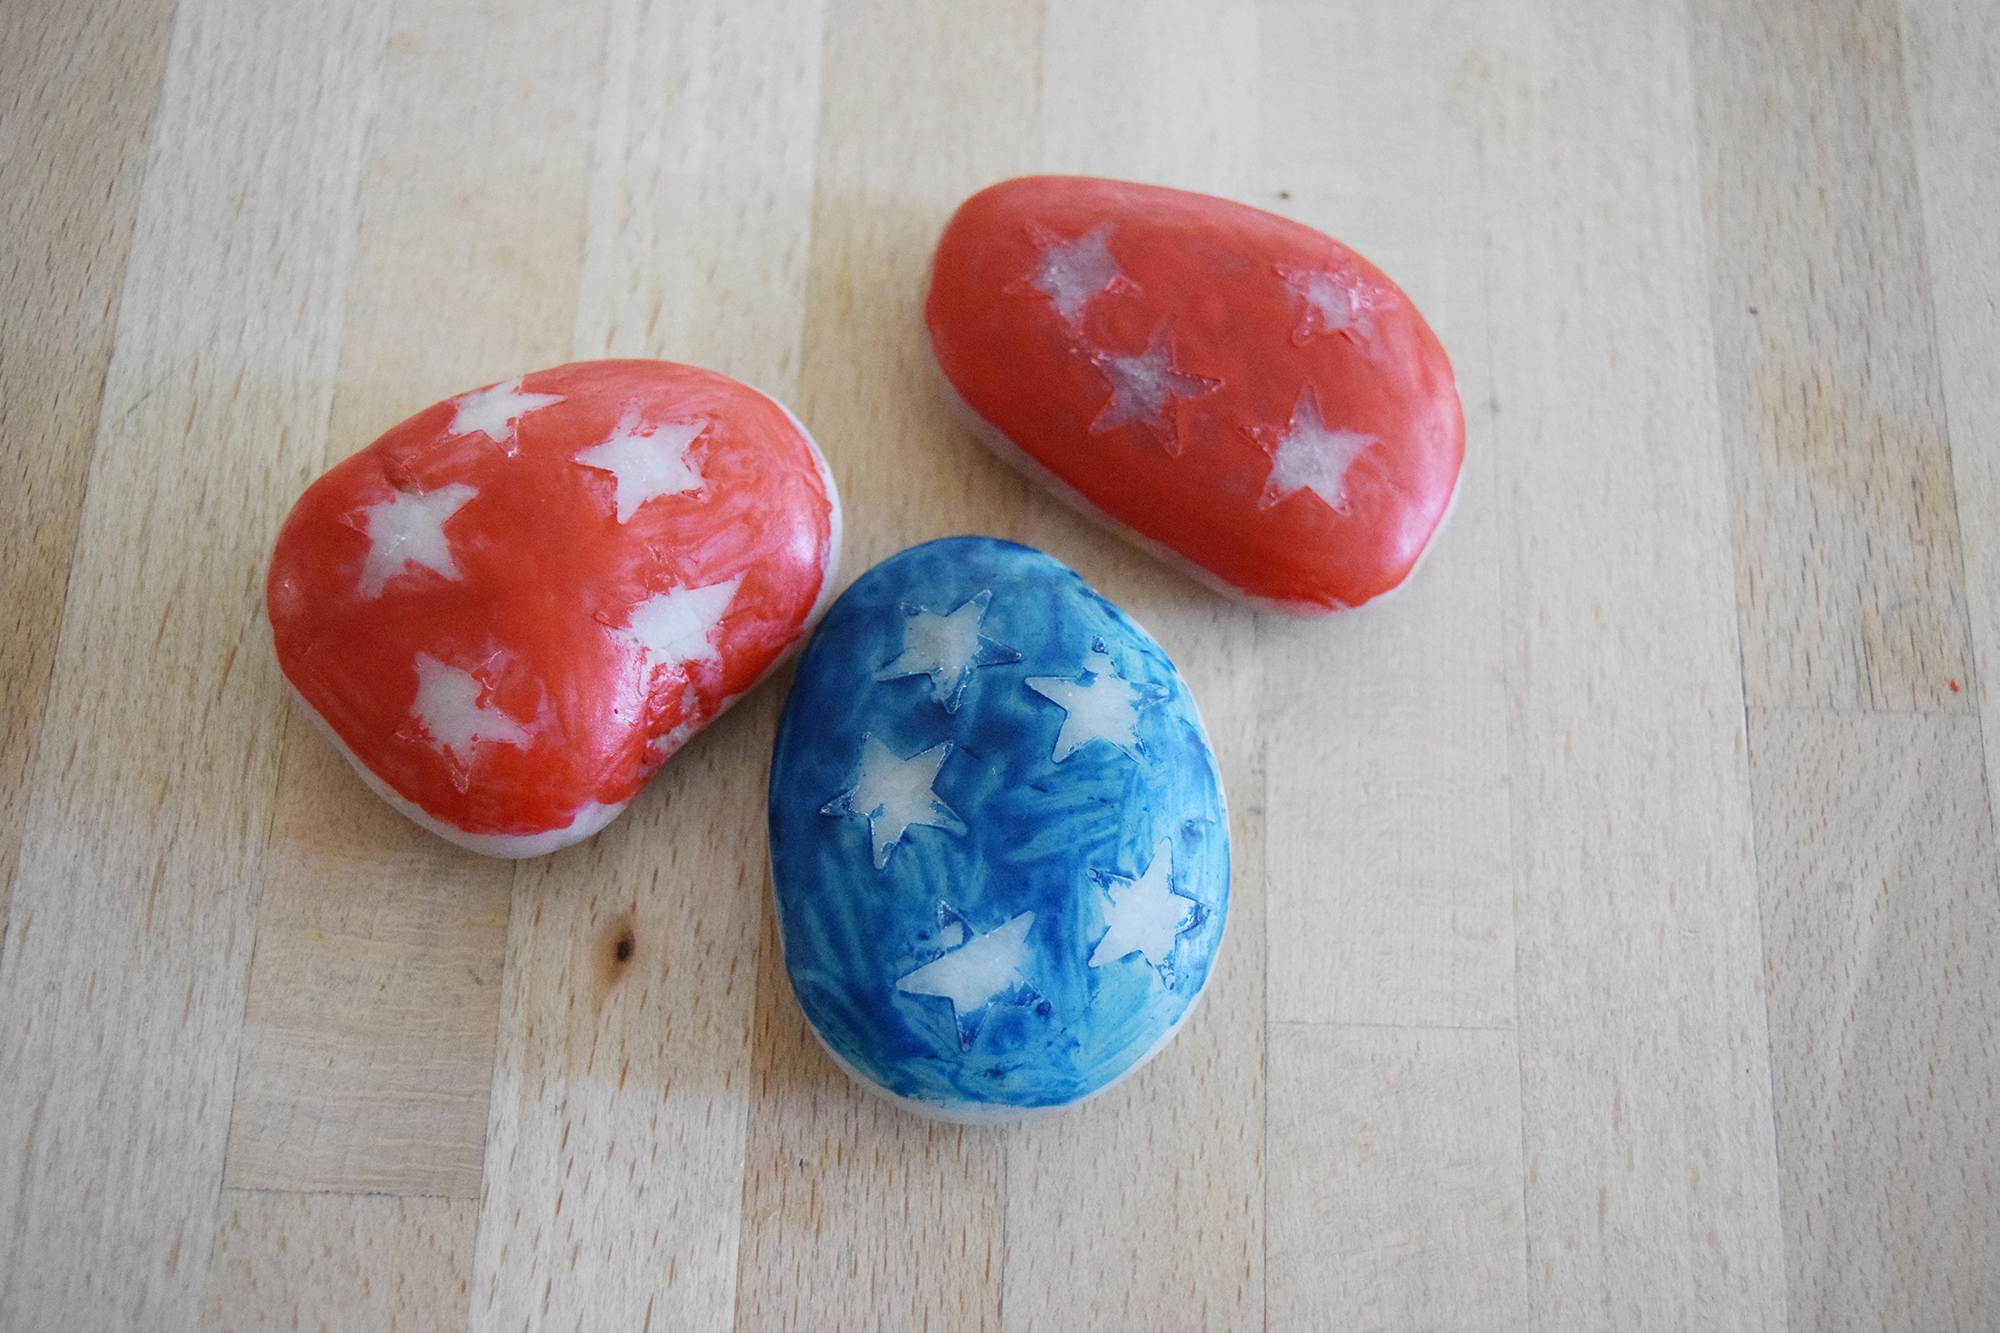
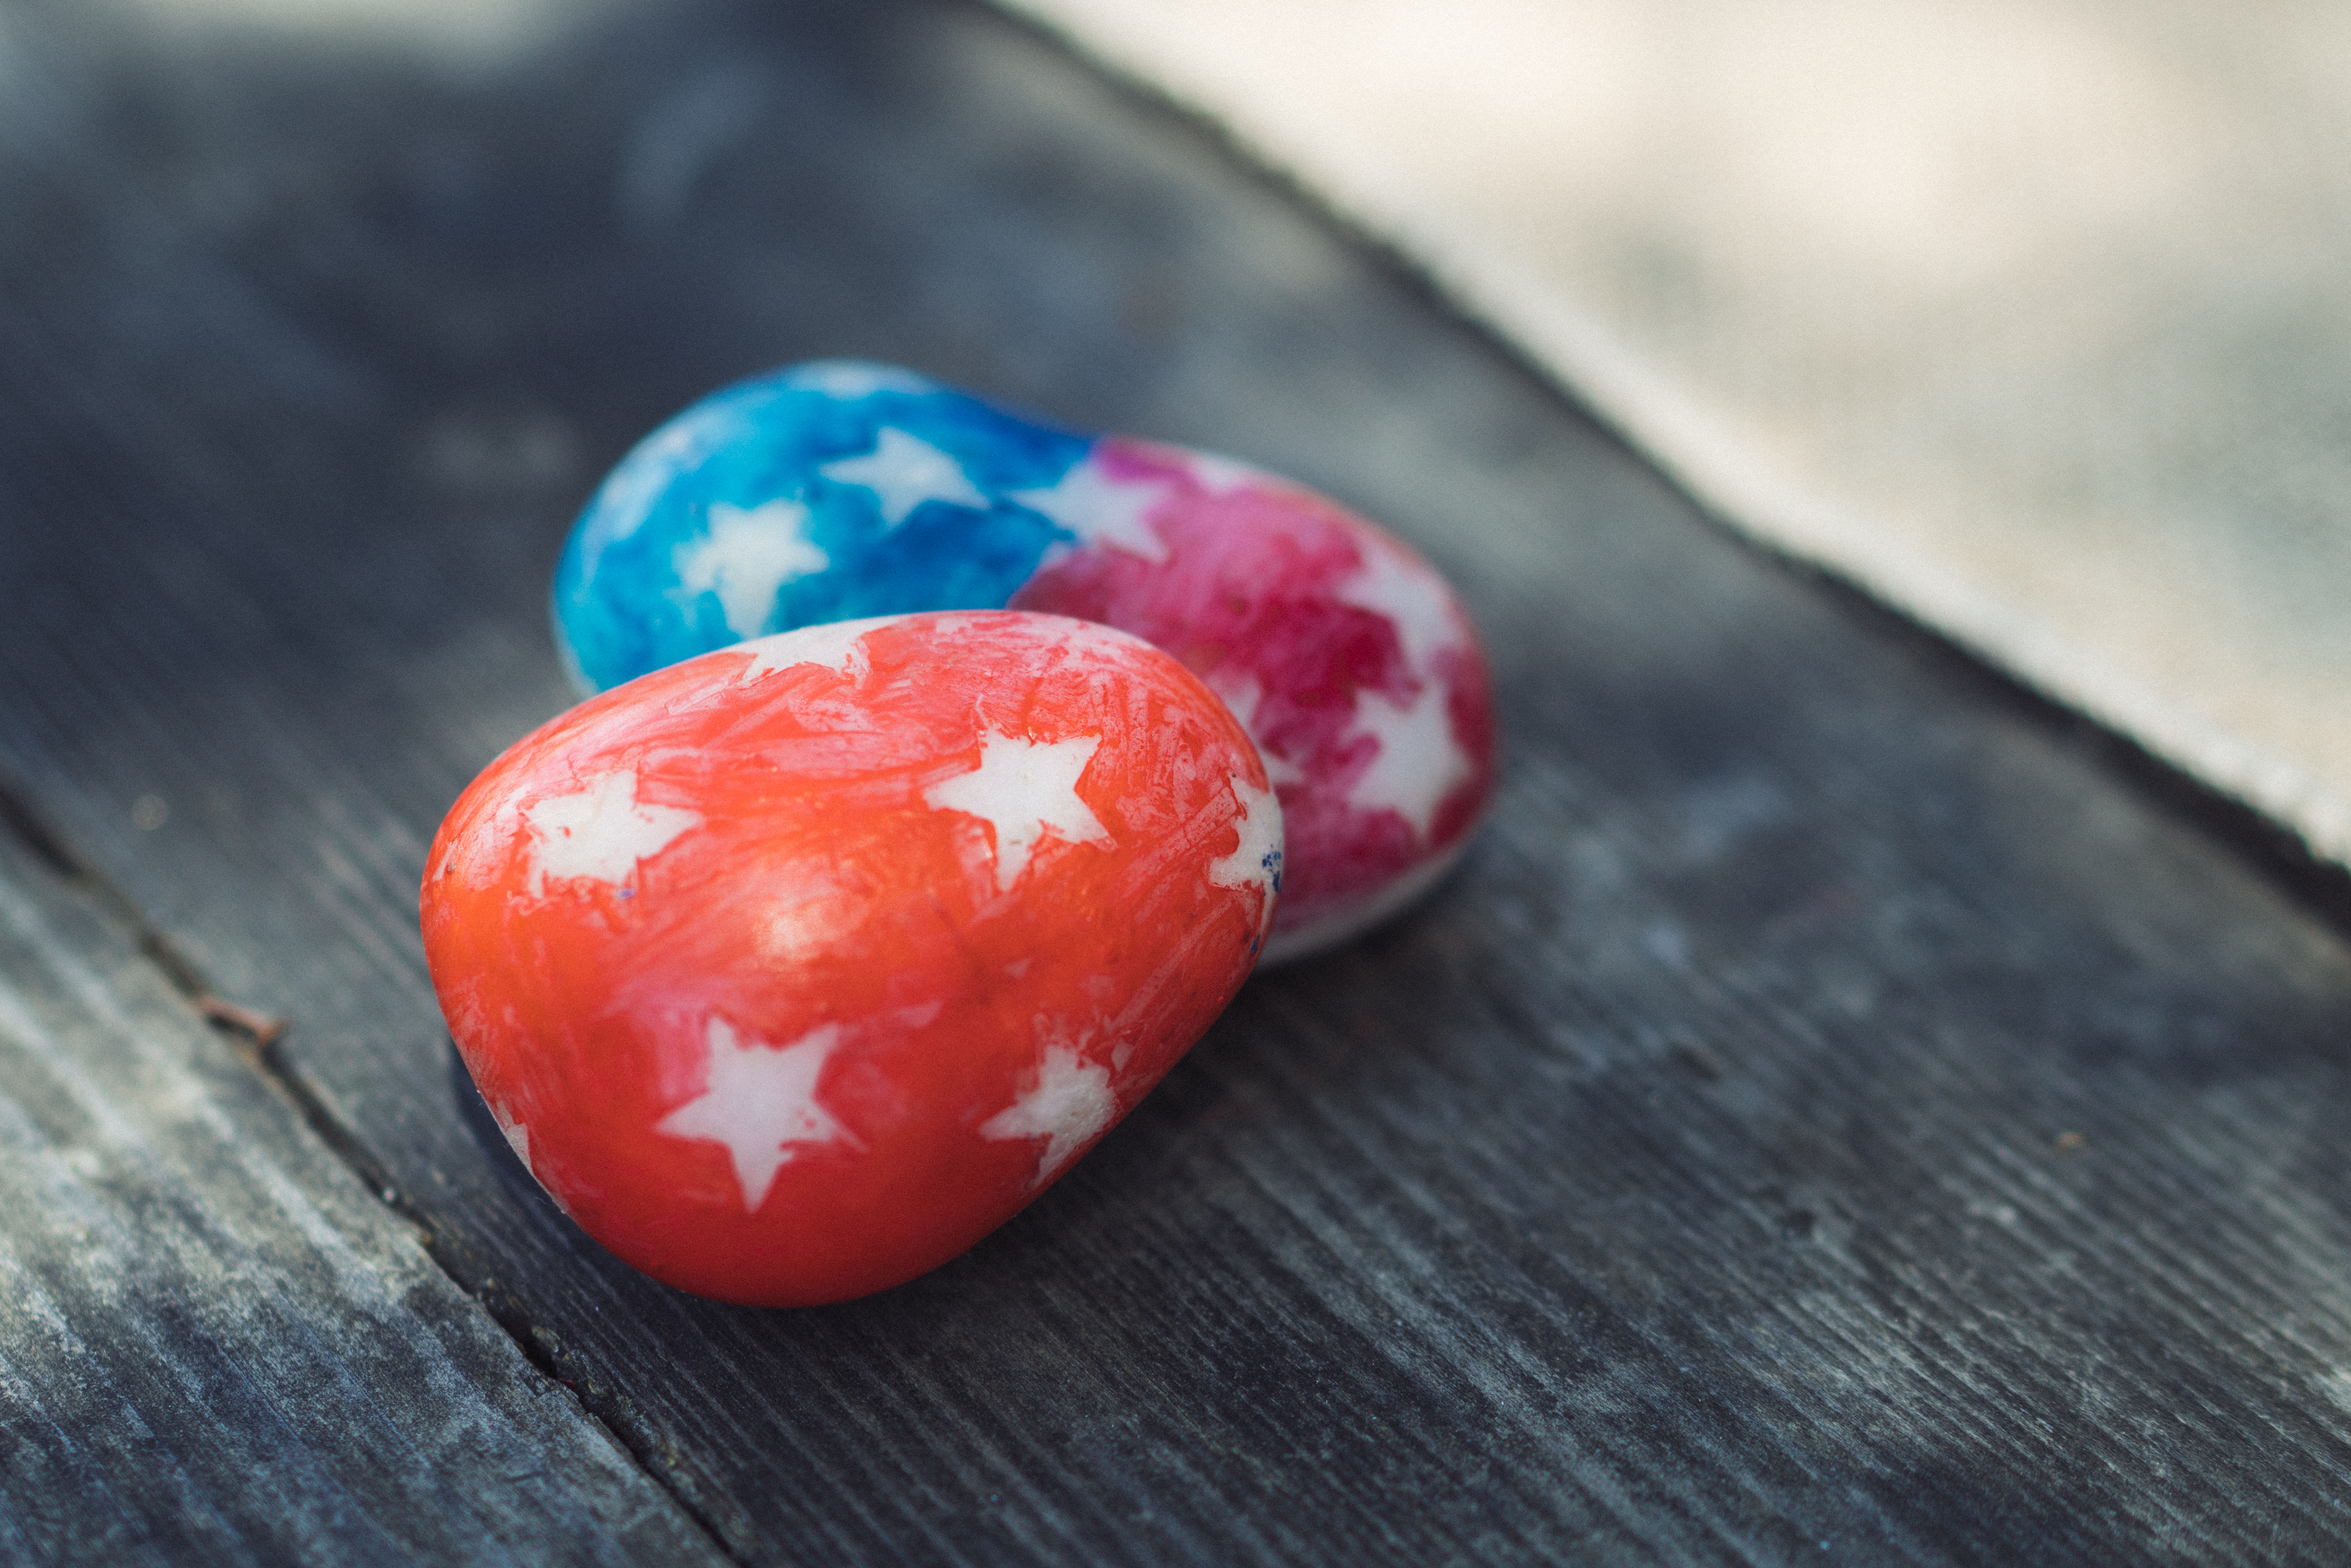
When the rocks are completely cool, gently peel off the star stickers to reveal the rock underneath.
Done!
And that's it! A perfect for table decoration for Memorial Day. I think these would be fun to try to make as teacher gifts or Father's Day gifts as well.