Step-by-step tutorial
Step 1
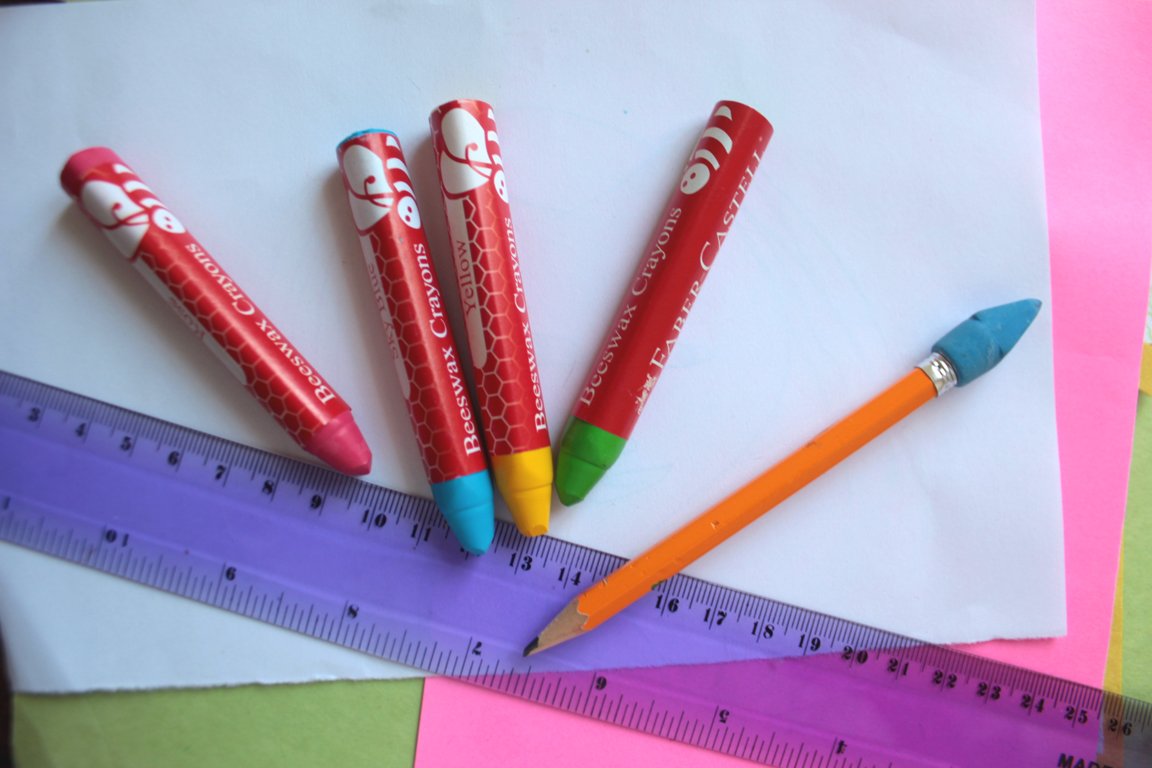
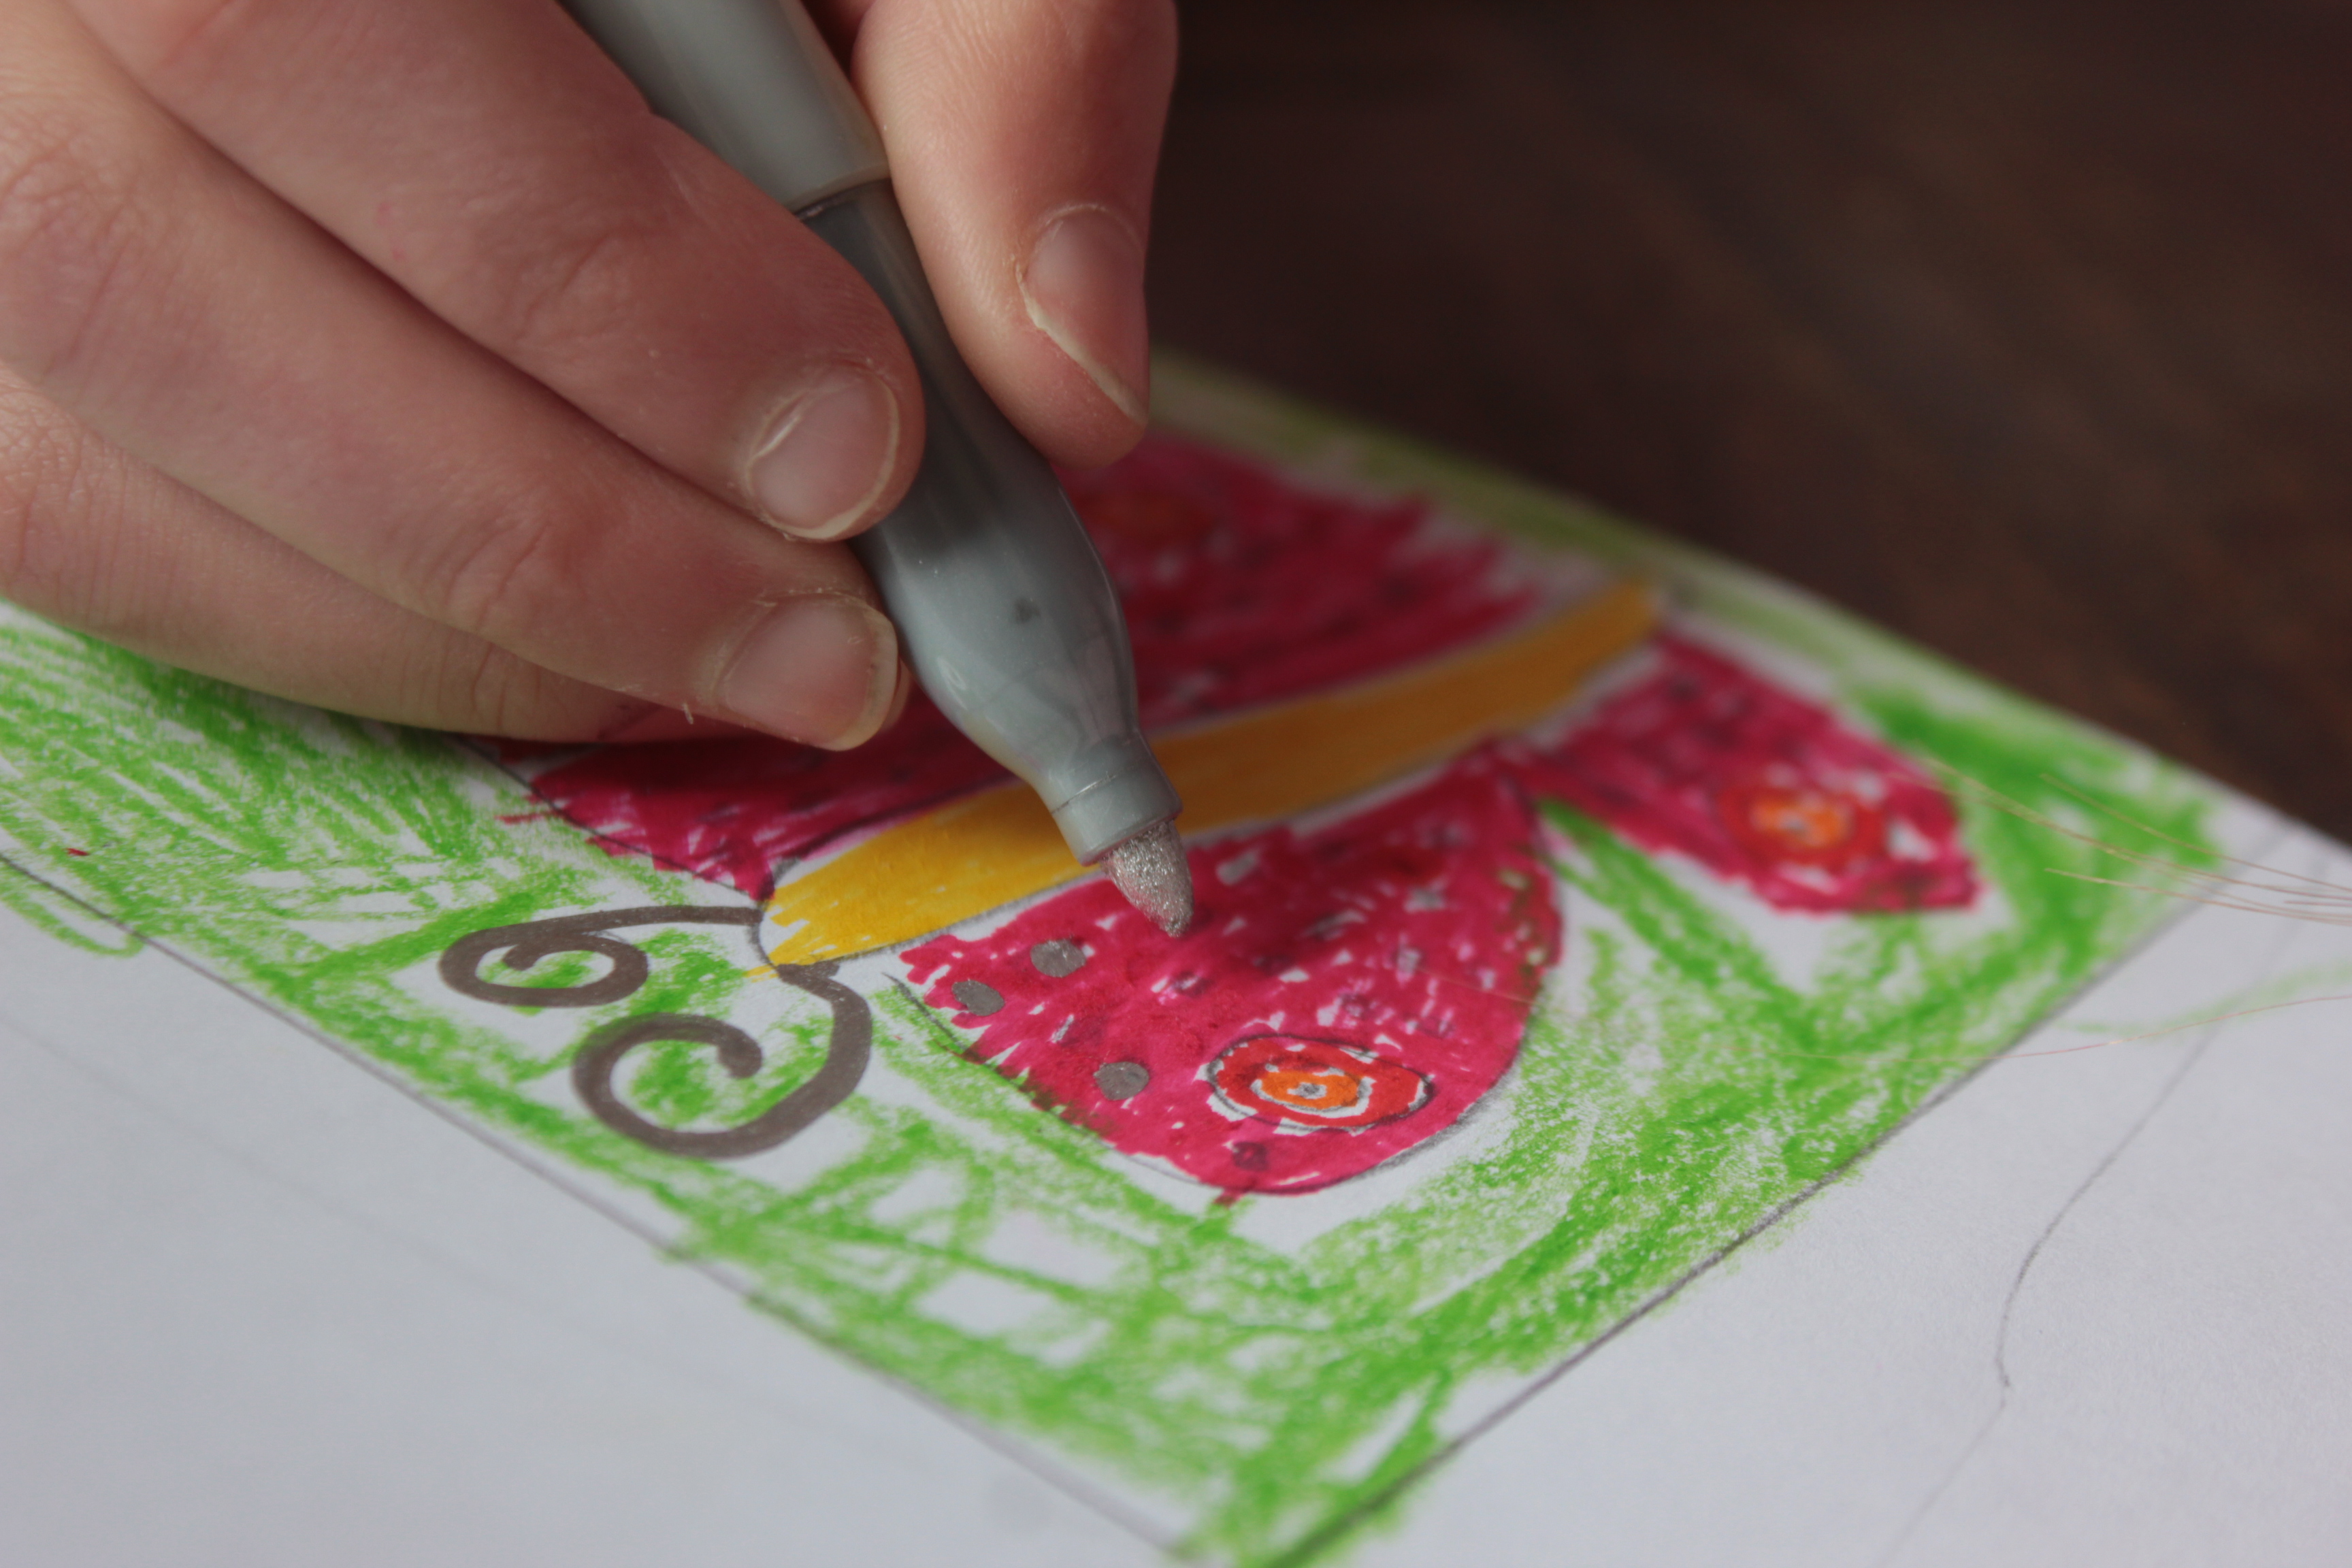
Madeleine used a pencil and crayons for her art, and outlined her drawings with markers. Use whatever you like.

Step 2
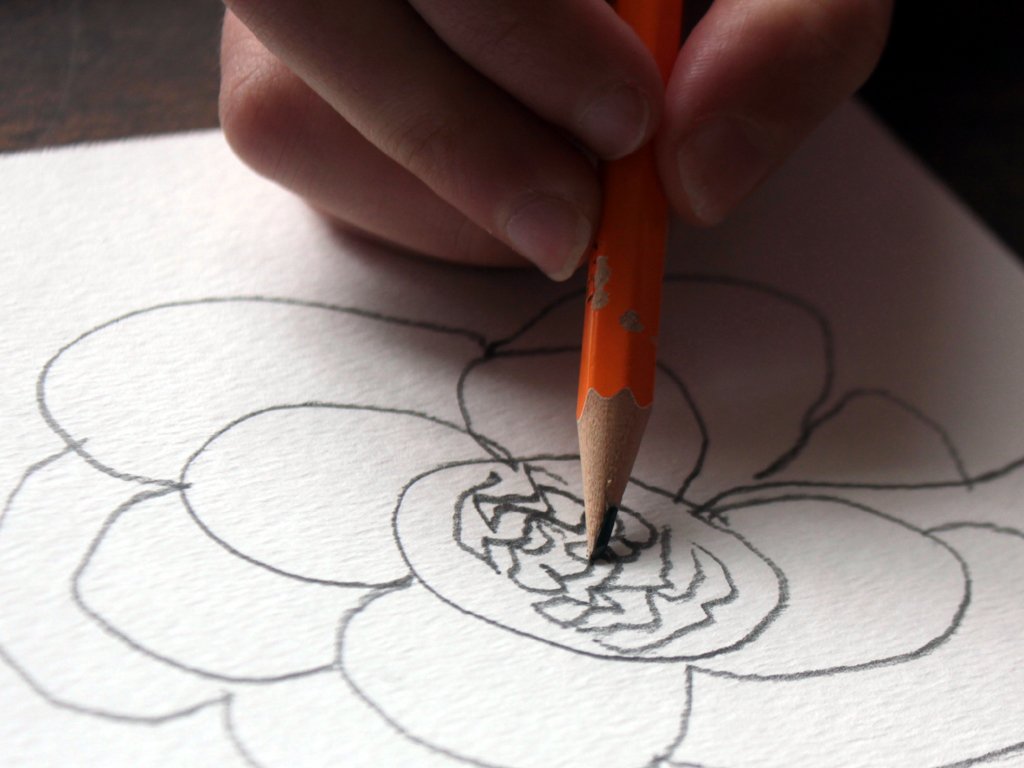
First, we divided a piece of copy paper into fourths. Maddie took one piece and drew flowers on two of them.
Step 3
She colored the whole sheet, including the background. You could put a square or circles around your subject, too! Or designs, or dots...whatever suits you.
Step 4
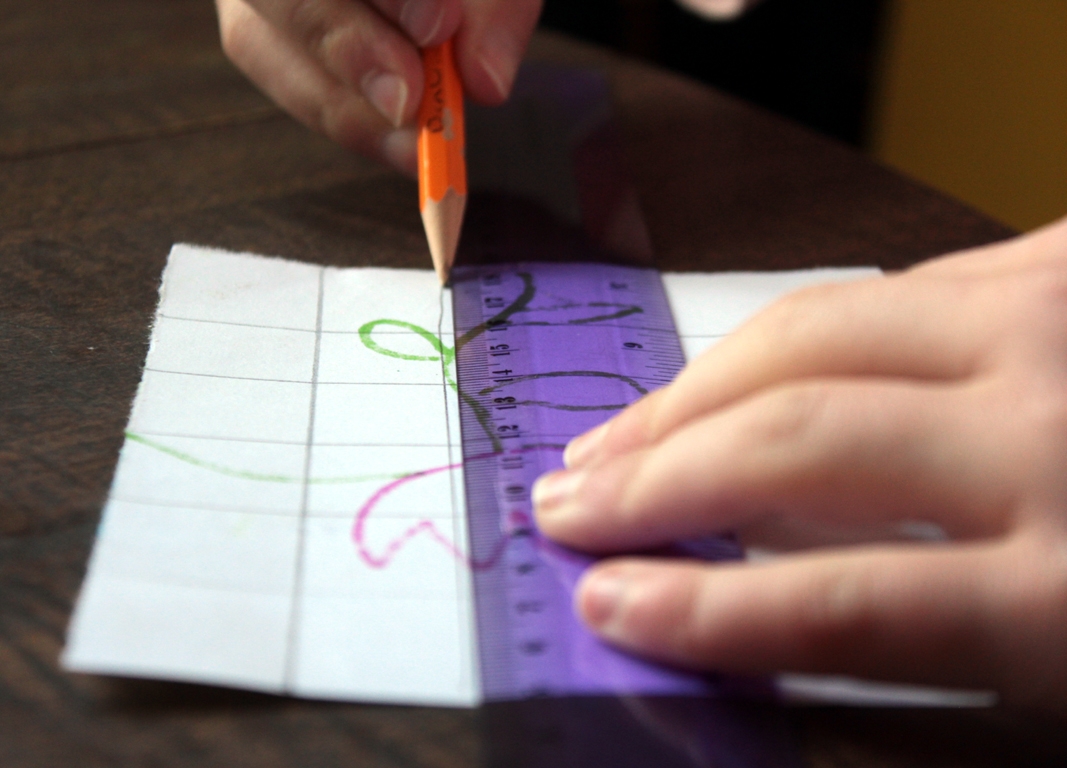
When she was done with her picture, she turned it over and made grid marks for cutting her mosaic squares. Larger ones are much easier to work with, and much less frustrating for young children! (Lesson learned.)
Step 5
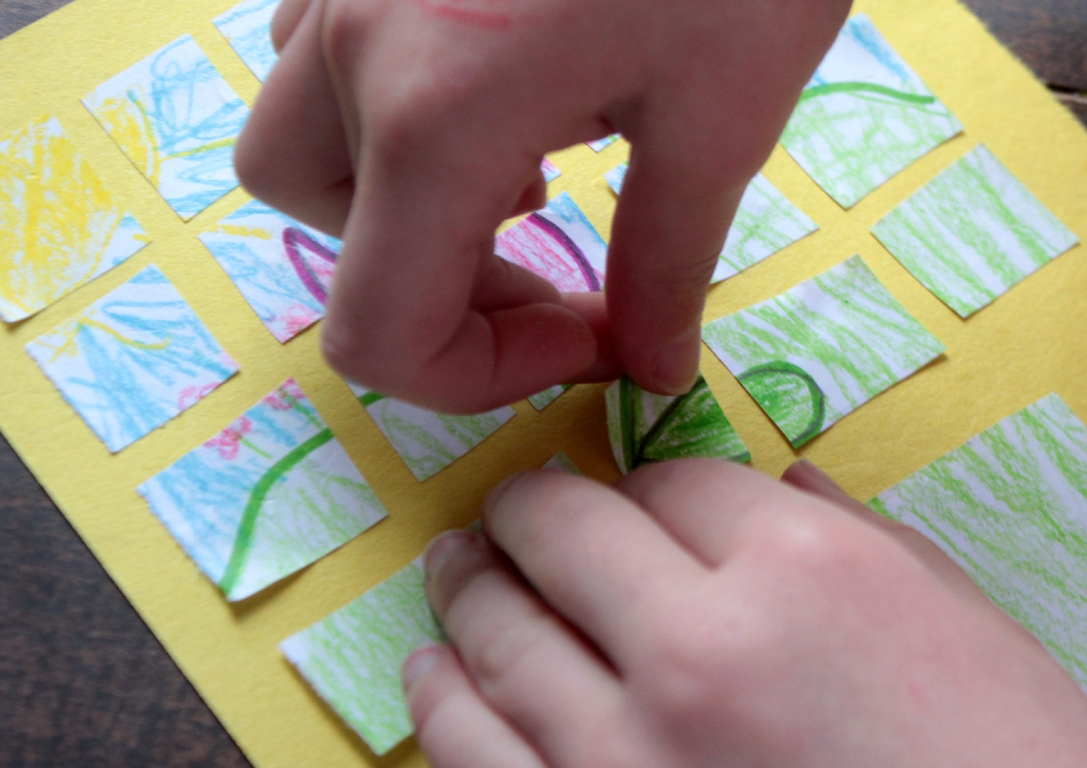
Maddie cut one row at a time (for less confusion)...

Step 6
...and glued the tiles onto a half-sheet of construction paper. She applied the glue to each piece individually by rubbing the piece over the top of the glue stick. That was the easiest way for her.
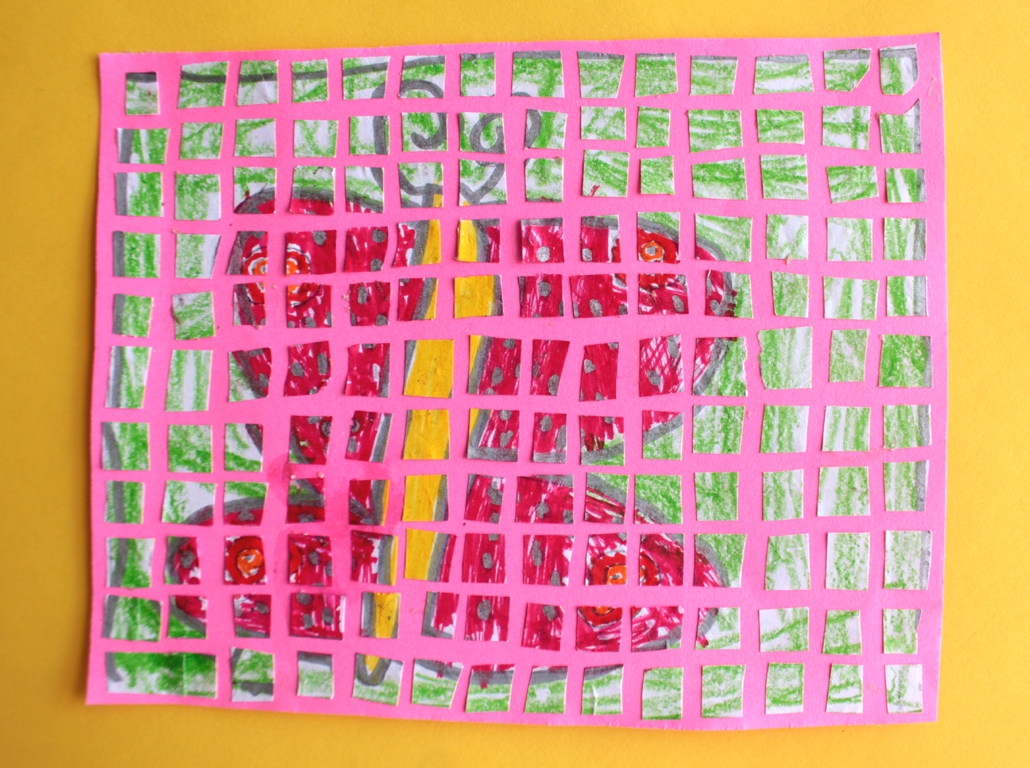
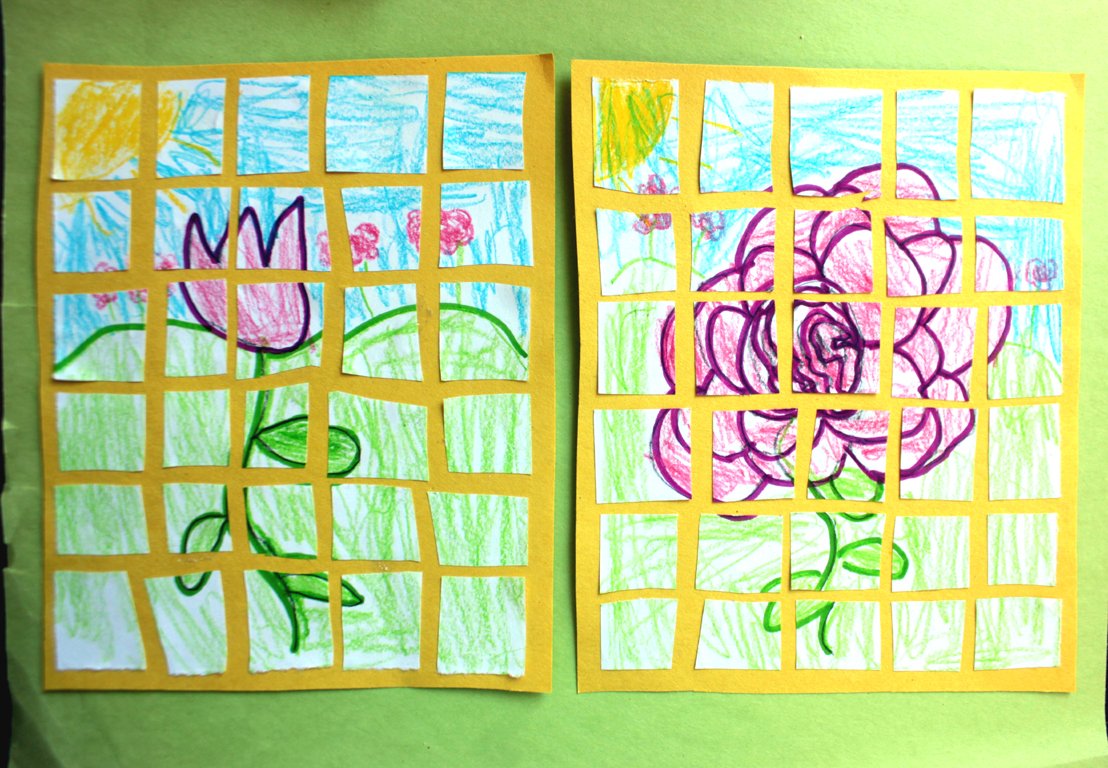
Done!
All finished. "They're really pretty!" is Maddie's opinion. Yes, they are.