Step-by-step tutorial
Step 1
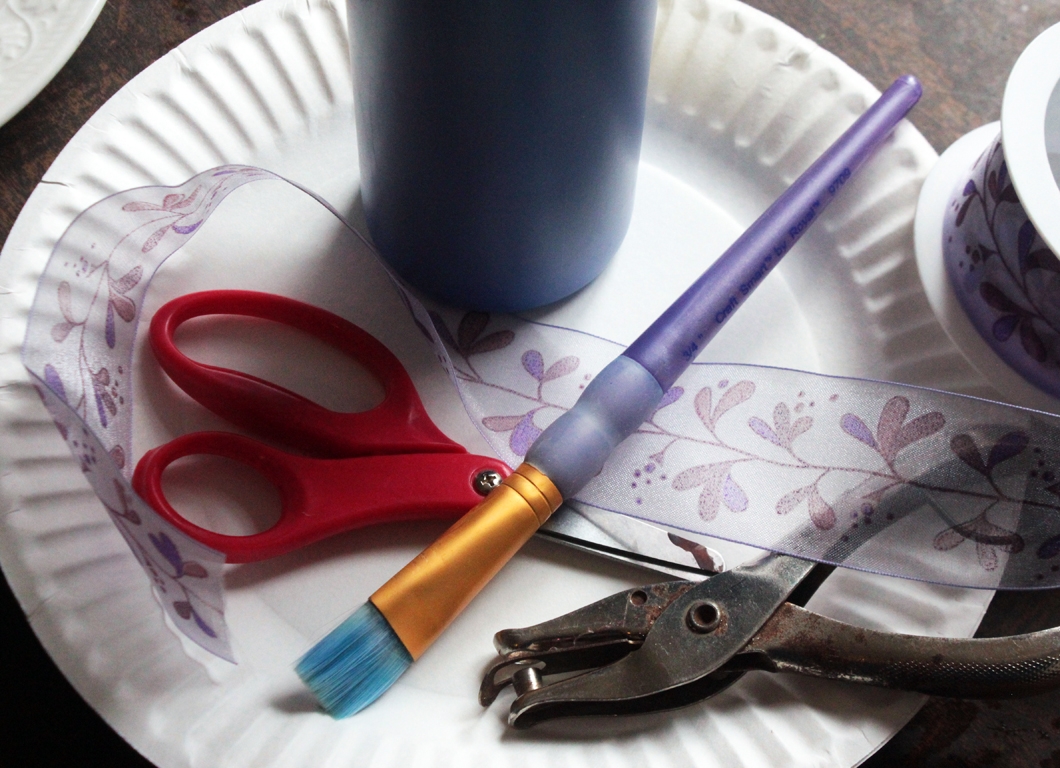
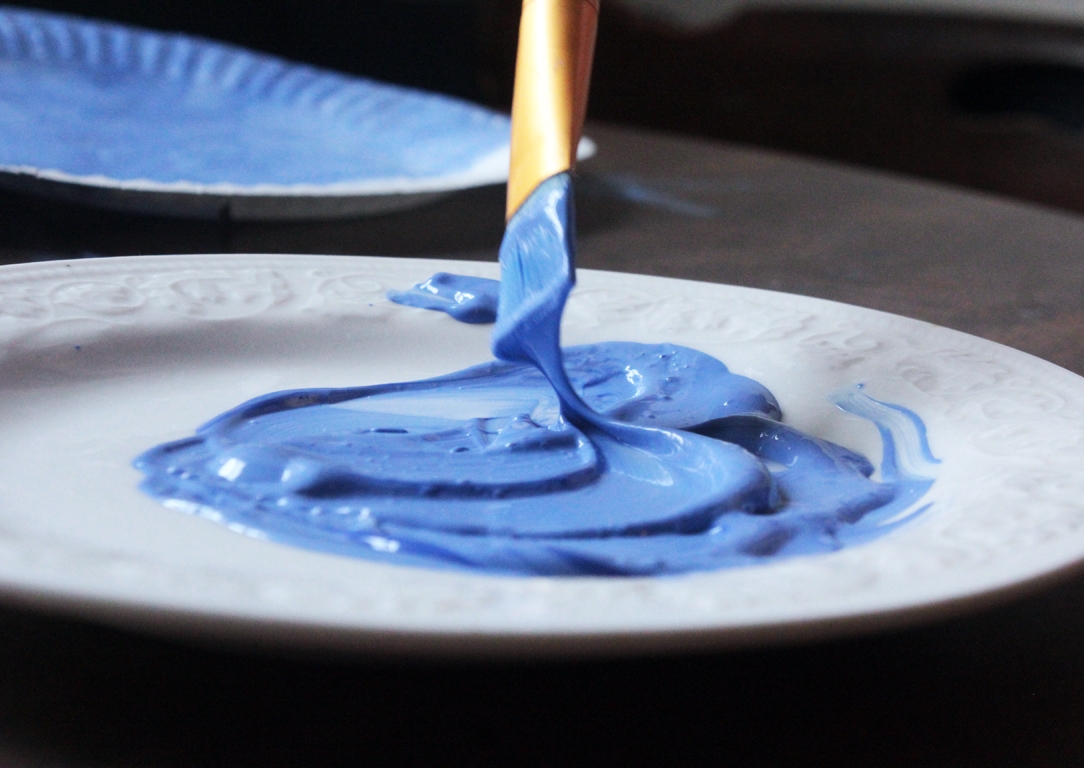
The purple and red baskets were made with paper plates. If you're using paper instead, choose something sturdy.

Step 2
First we needed a round of colored paper, so we painted the paper plates (we chose to paint both sides). For the decorated paper, we just traced around a pasta bowl that was the same size as the paper plate, and cut it out.
Step 3
The remaining steps are the same, whichever paper you're using. First we needed a base, so we took a glass with a wide mouth, and traced around it in the center of the paper.
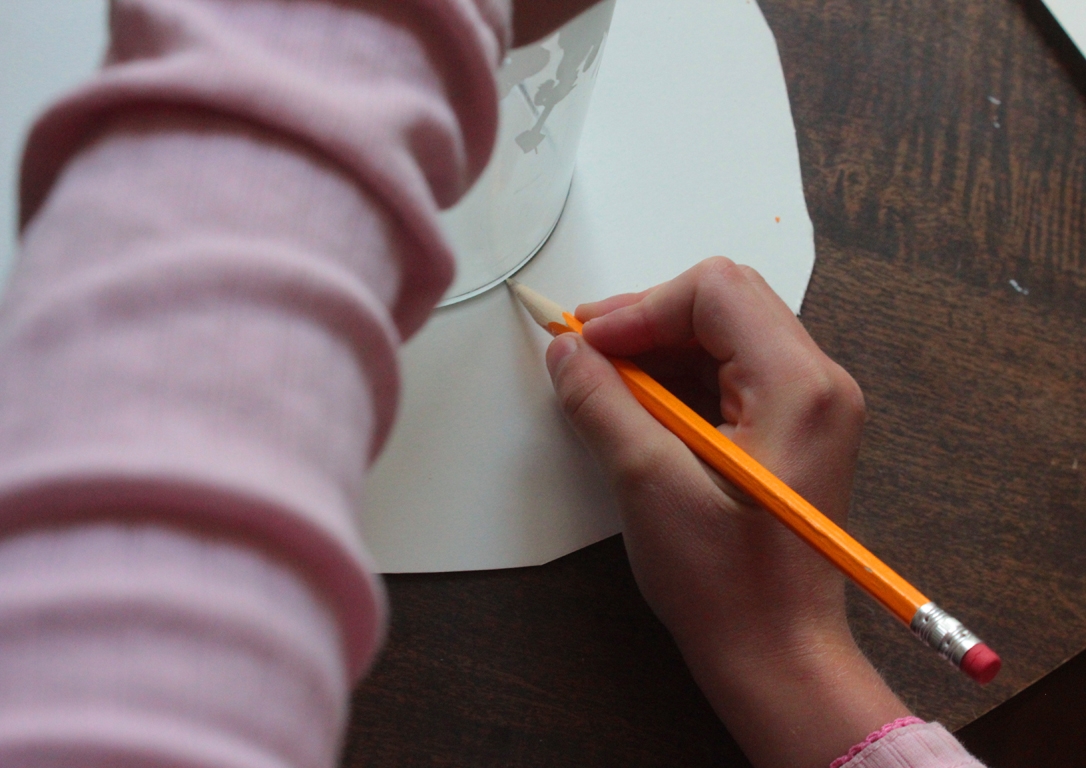
Step 4
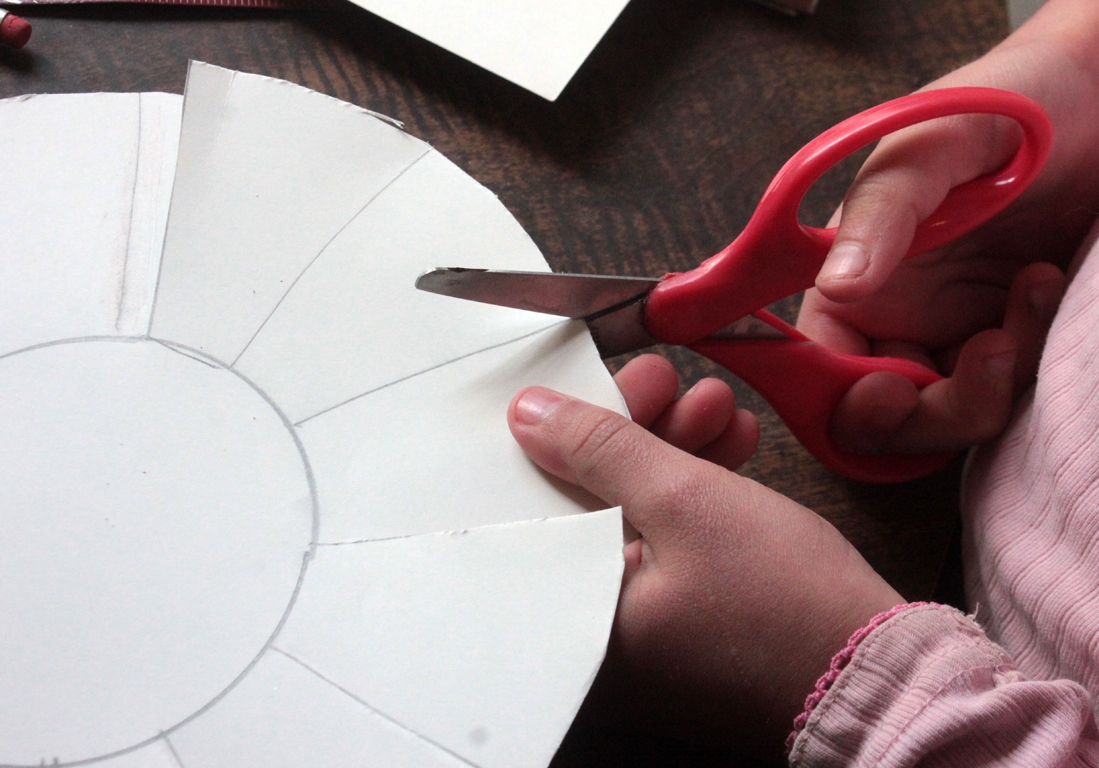
Next, I made a mark dividing the paper in half, taking care not to mark the 'inner circle'. Then I made a mark half across the other way, dividing the paper in quarters. In each quarter, I drew two more lines, dividing it in thirds, and making 12 total sections. Madeleine cut each section to the line of the inner circle.
Step 5
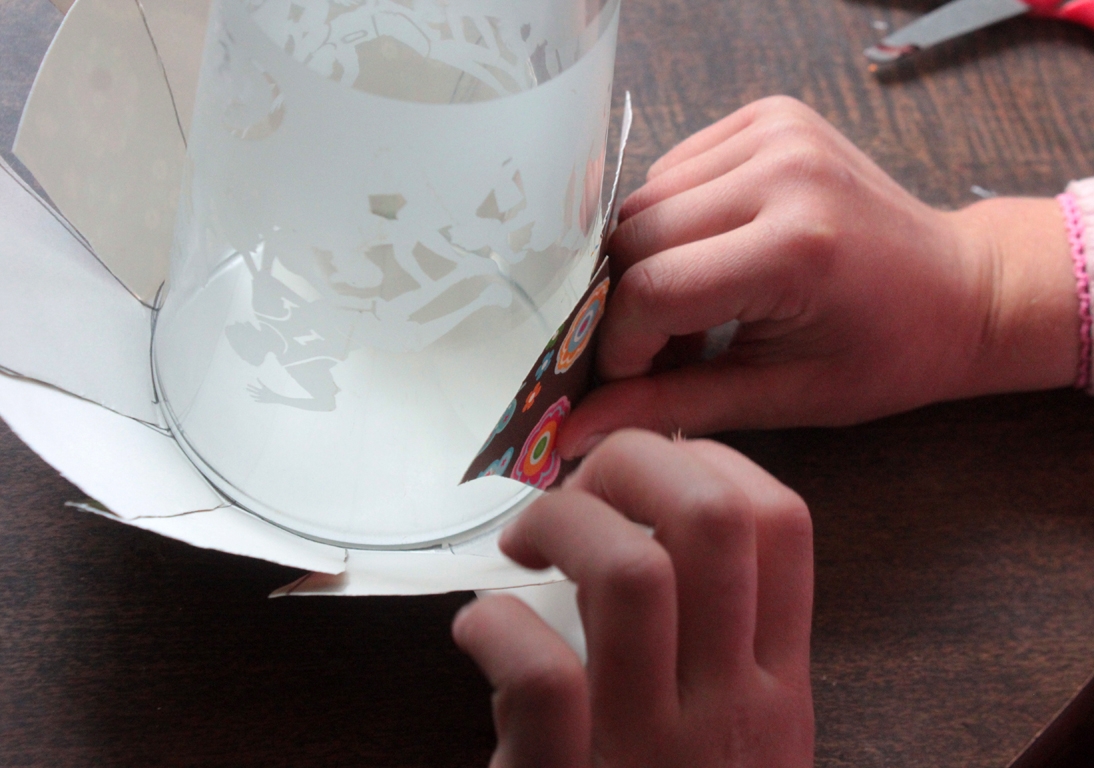
Next we put the glass back on the paper, and while I pressed the top, holding it in place (to make it easier for her), Maddie folded up the tabs, against the glass. (If you prefer, you could just fold up at each line without the glass.)
Step 6
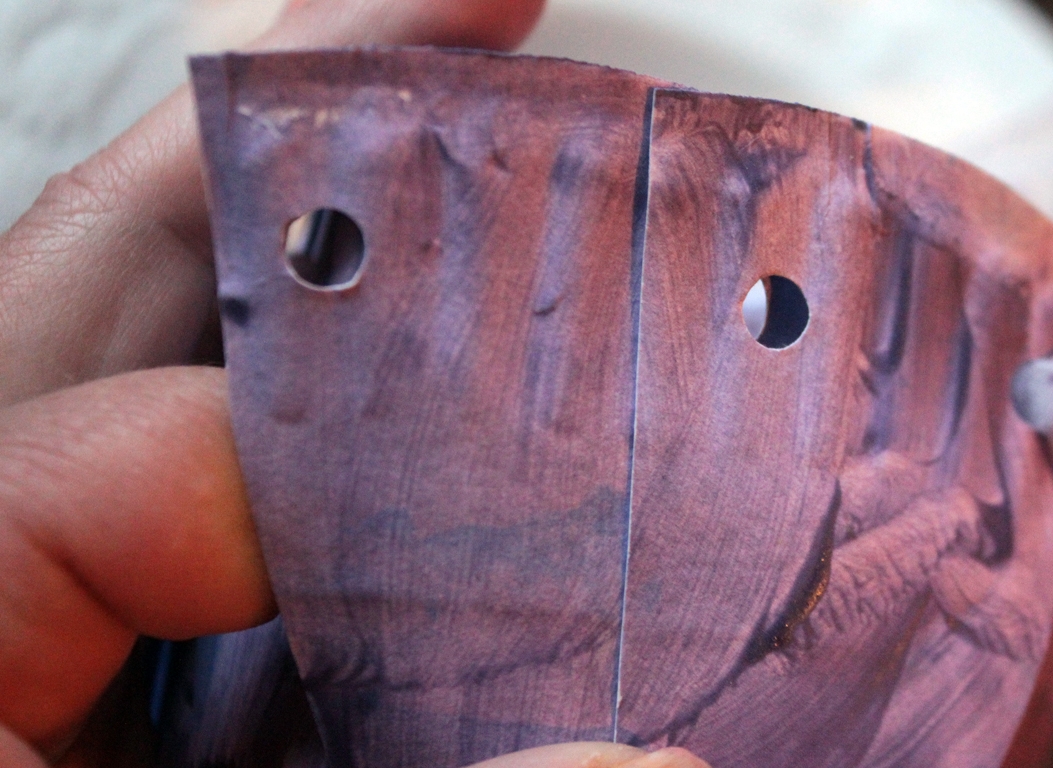
This next part was a collaboration... with Maddie sitting in front of me, on my lap, we moved the glass away, and grabbed the hole punch. We folded up the first two tabs, and bringing one half over the other, we punched a hole at the center point of the overlap. Each single tab will have two holes--one shared with the next on either side.
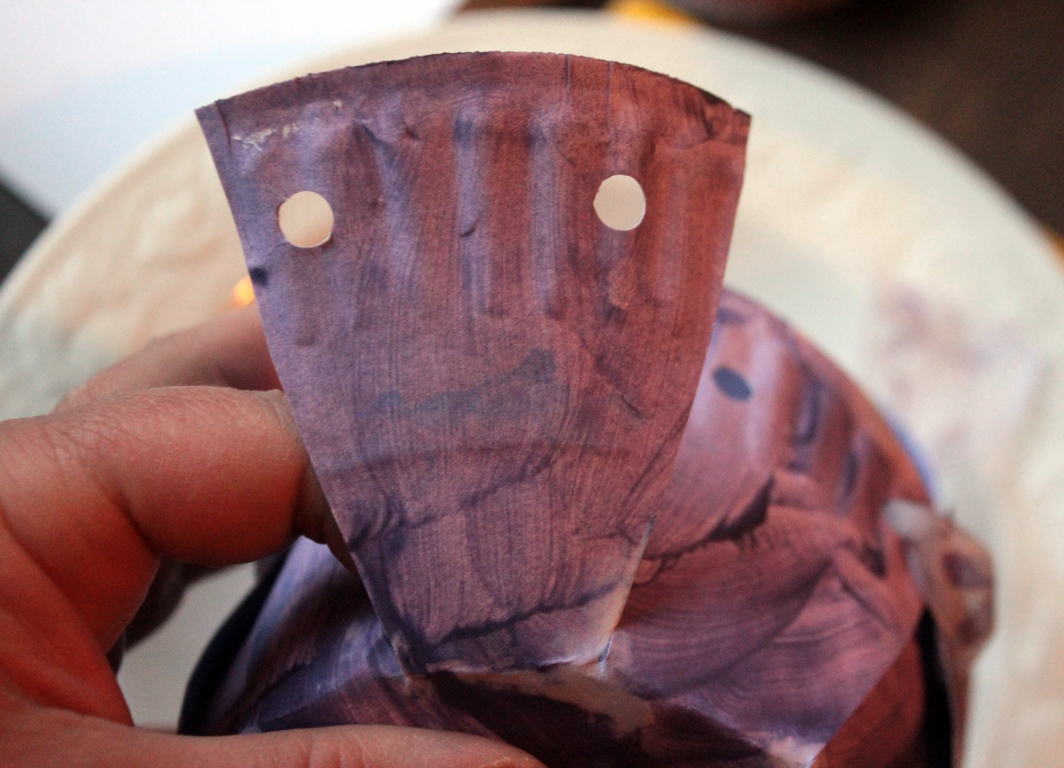
Step 7
Each tab will look like this.
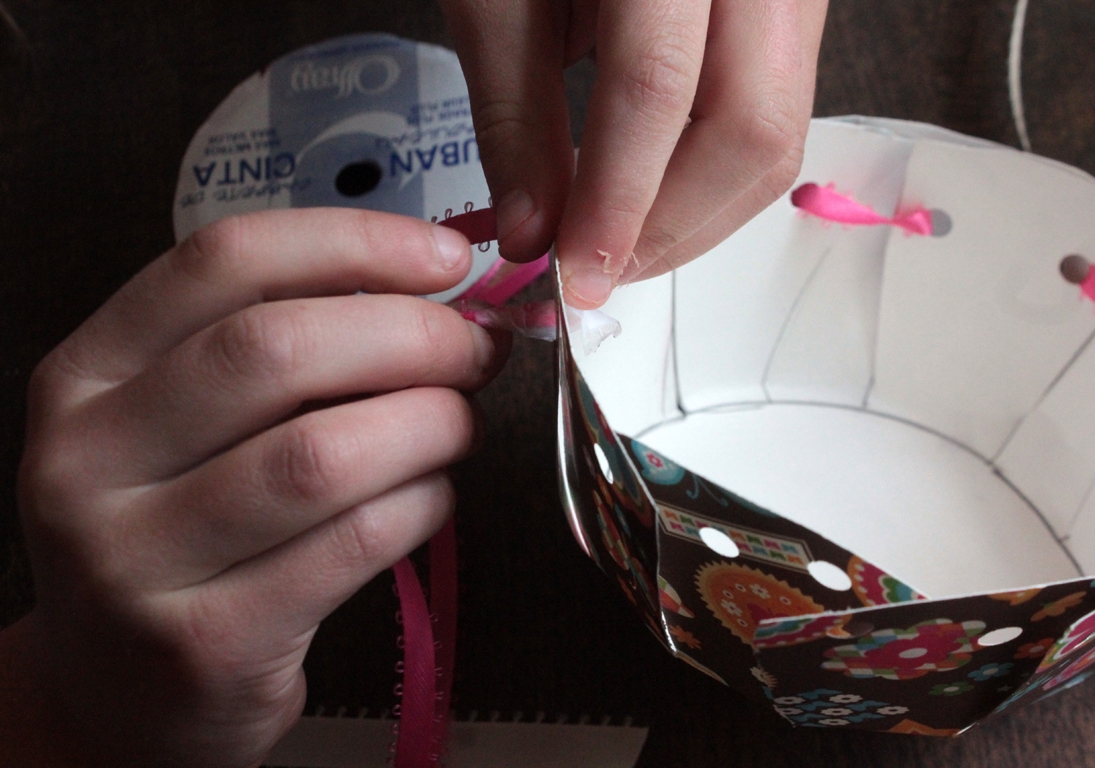
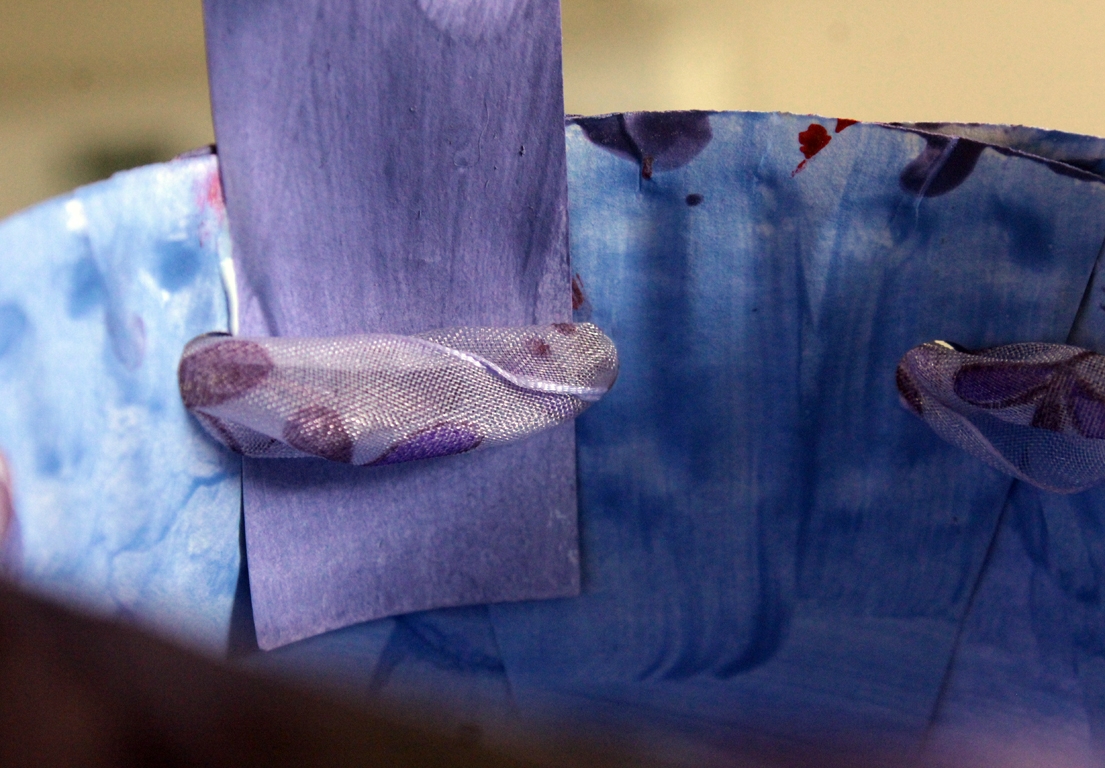
Step 8
Maddie chose a ribbon, and we rolled tape on the end for easy sewing (making it like a shoe lace). I thought Maddie would need help with the sewing, but she understood perfectly how to do it! She pulled up two tabs, one over the other, and began weaving the ribbon in and out. To have the basket consistent and tidy, you can arrange the tabs so that all are either over or under the ones next to them (this one's out, the next one is tucked in). (Not necessary for those who aren't interested, but we liked the pattern it made.) We tied the two ends of the ribbon into a bow.
Step 9
Lastly, we needed a handle. We cut a strip of paper, added glue to each end, and tucked the handle behind the weave, keeping in mind the front of the basket, where the bow was. There will be a place for it on either side.
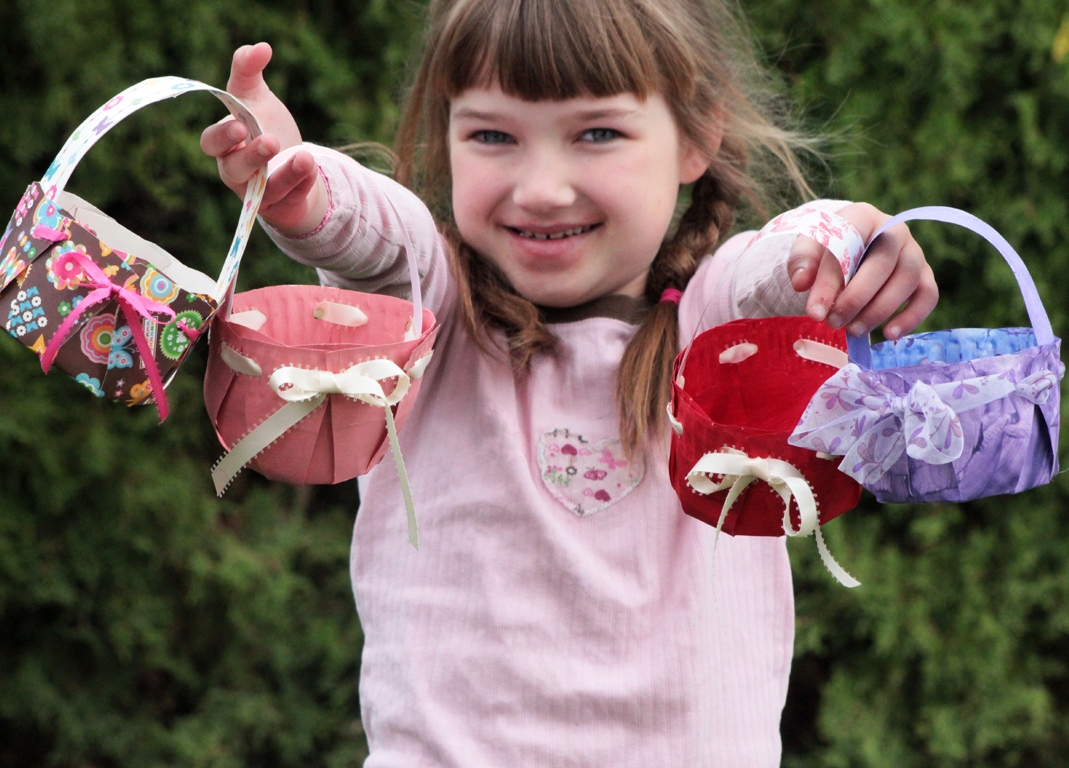
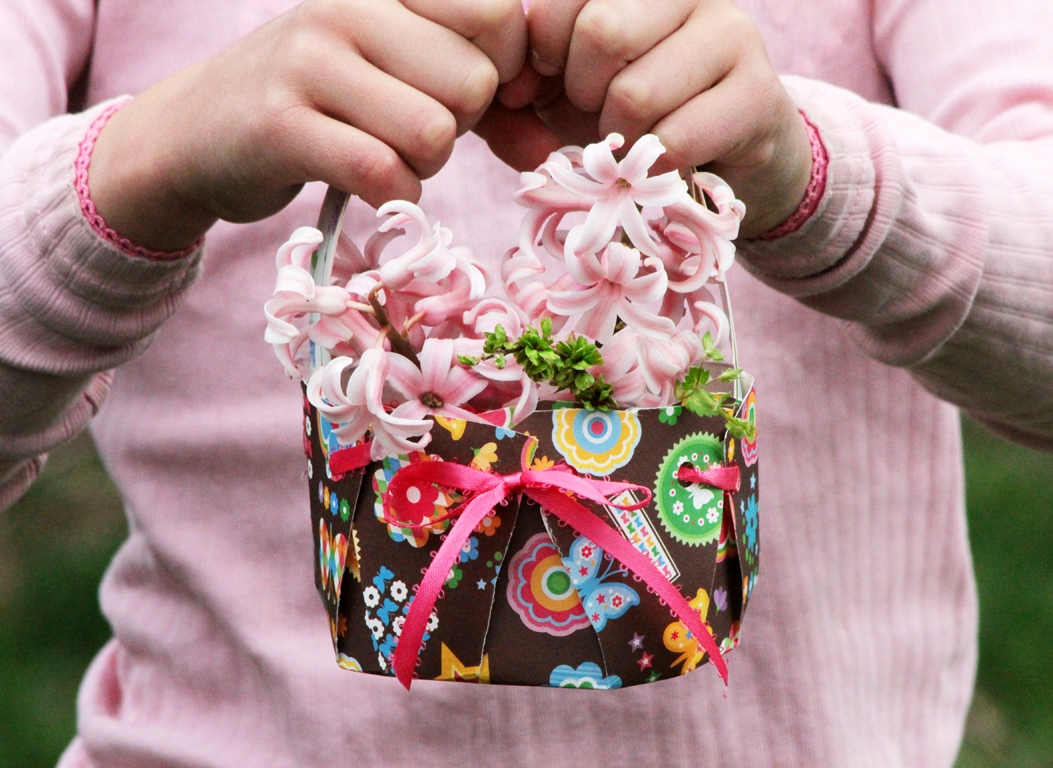
Done!
We're ready for hanging them on doors for May Day! Now we just have to decide who would like which basket best!