Step-by-step tutorial
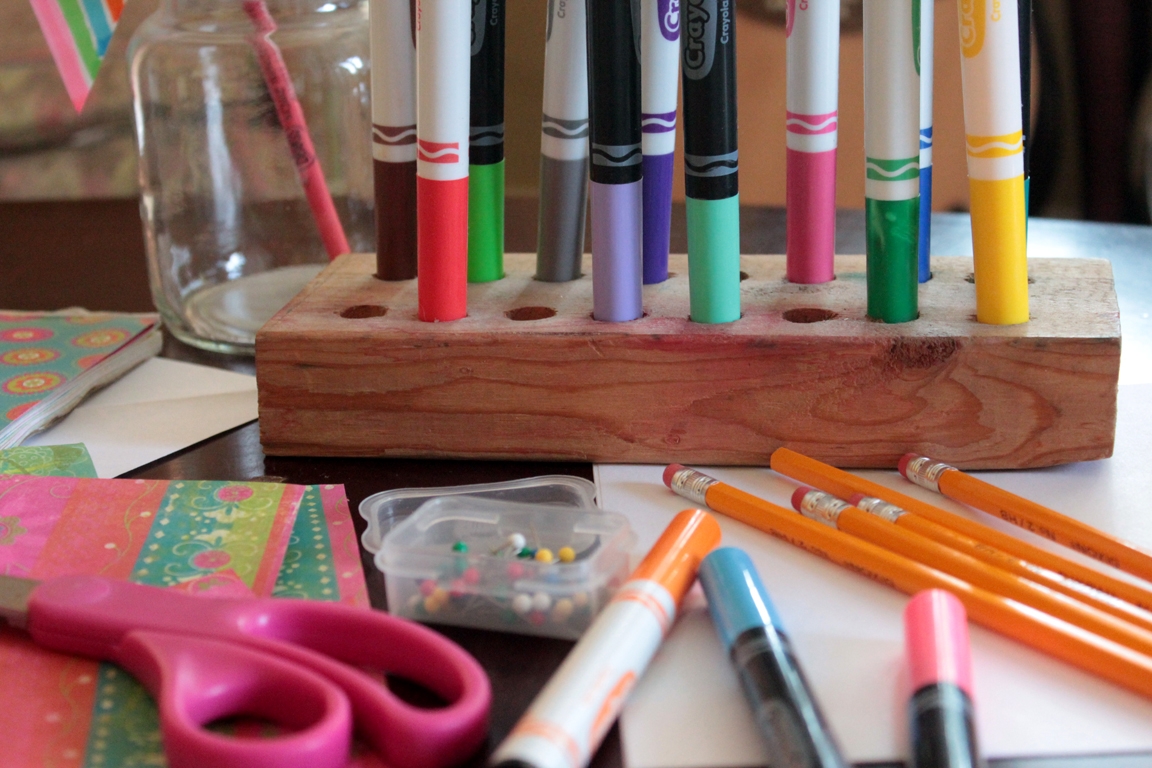
Step 1
Gather the materials for your paper pinwheels.

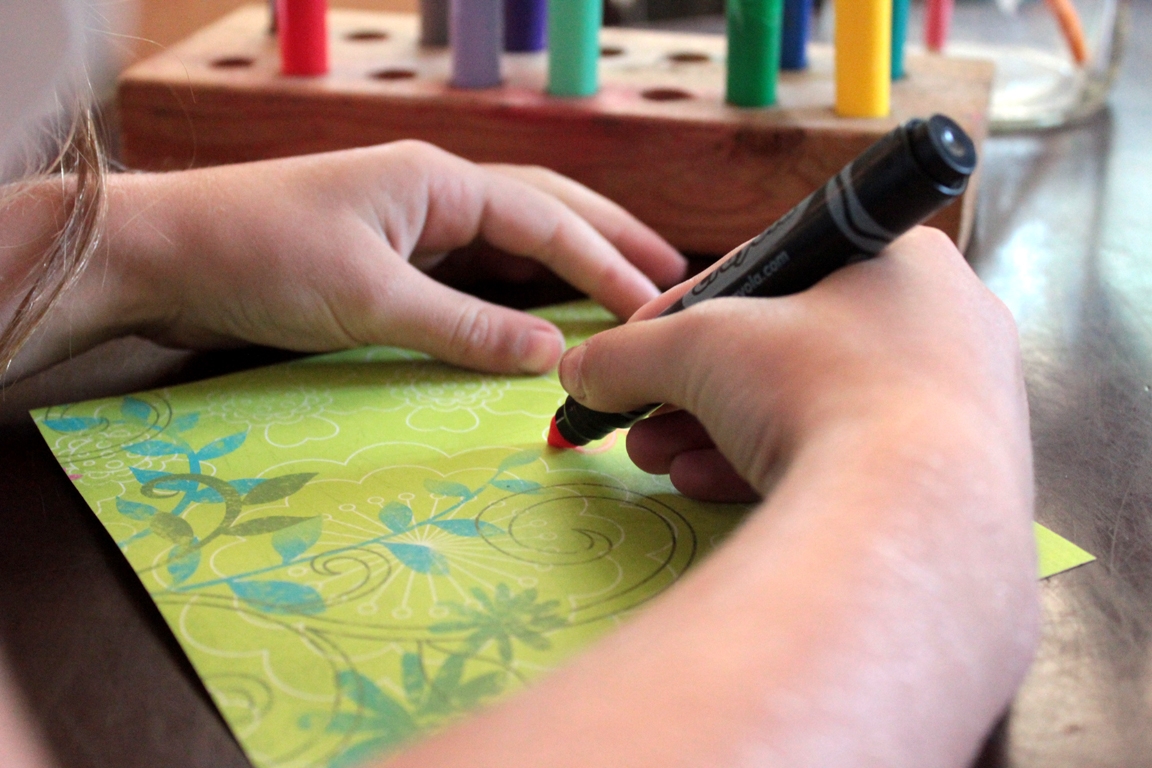
Step 2
Cut your paper into a 6-by-6-inch (15.2-by-15.2 cm) squares. Then, using markers, decorate your paper with shapes, flowers, letters, rainbows... the sky is the limit!
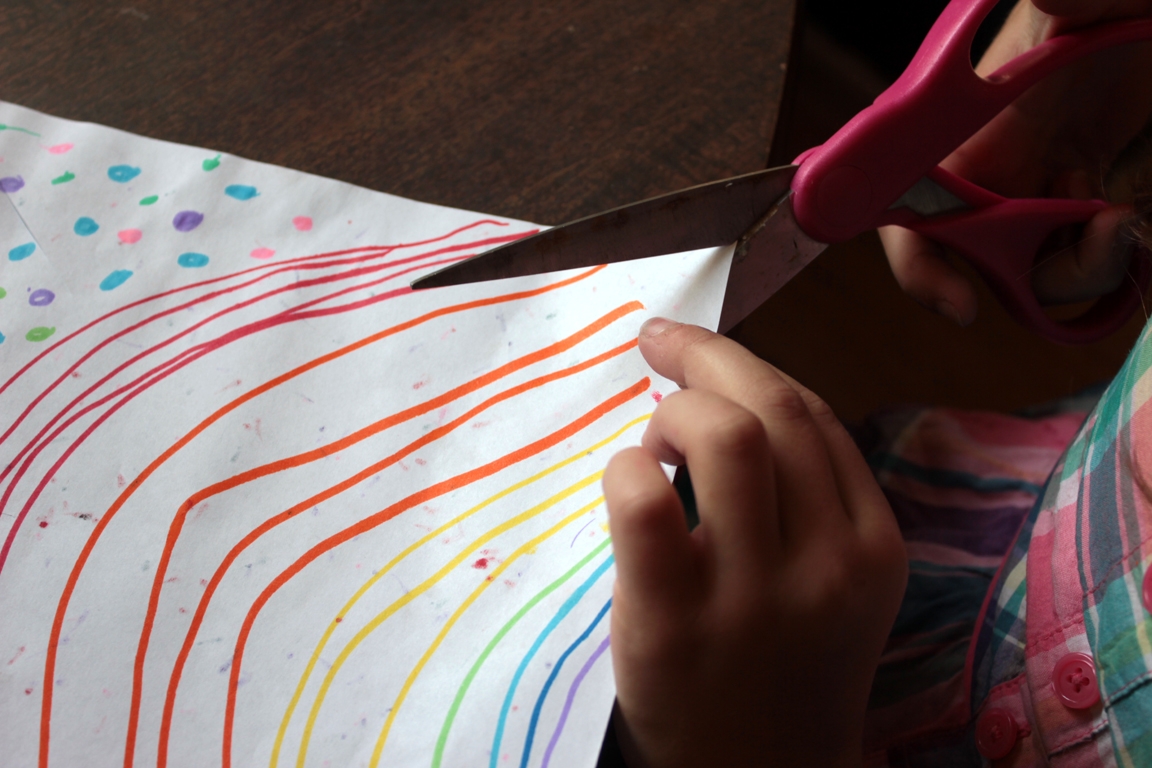
Step 3
When you are done decorating your paper, use scissors to make a small cut at every corner. Make the cut about 3 inches long toward the center of the paper.
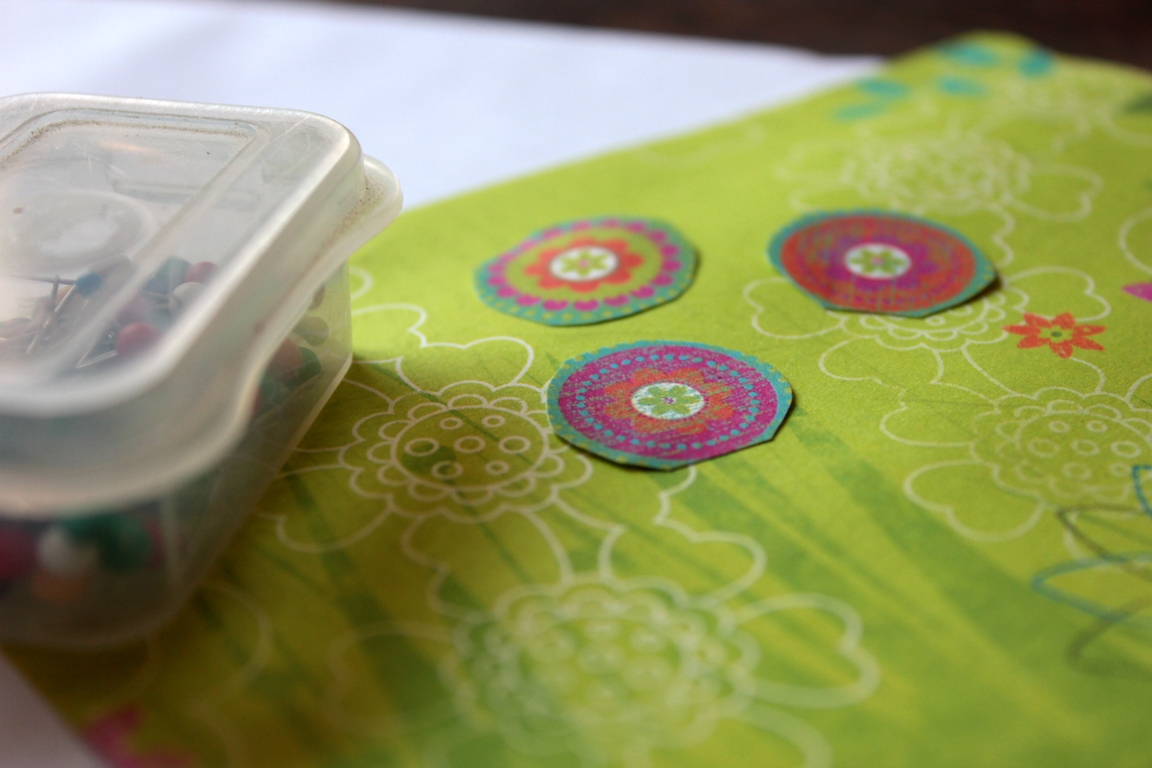
Step 4
If you want to reinforce the strength of the paper, cut a small circle out of the scraps and poke a pin into the center of it.
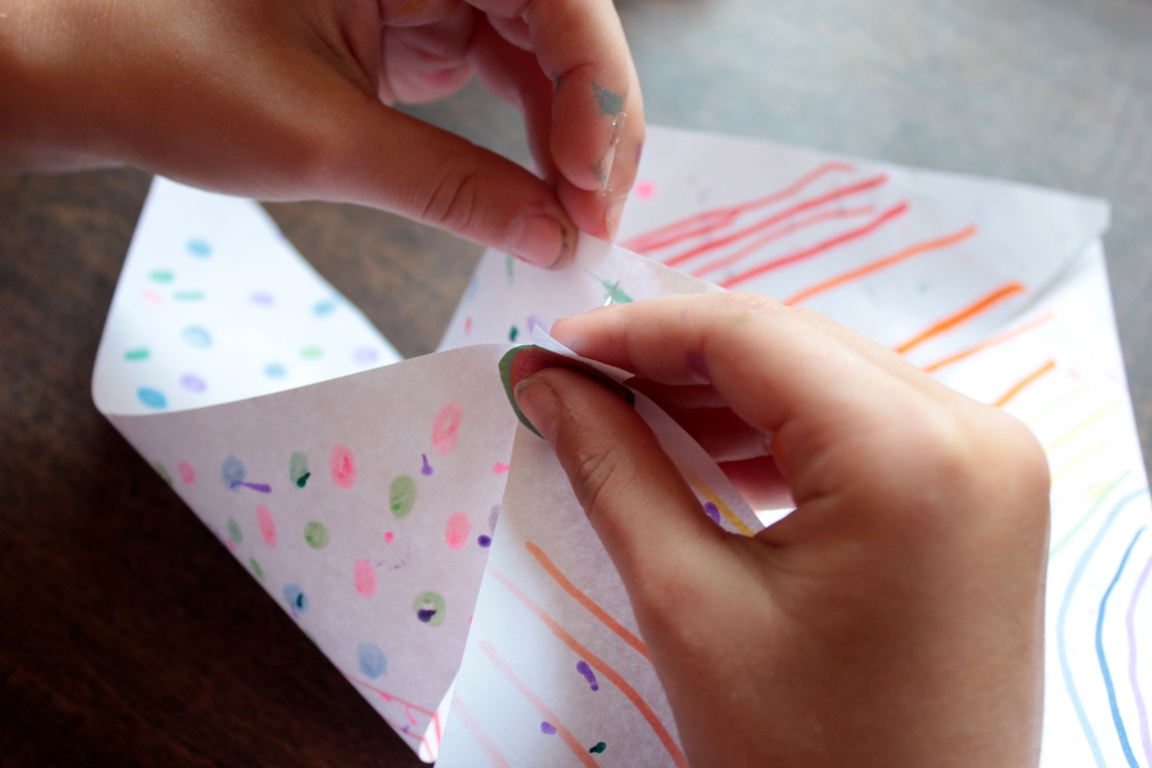
Step 5
Beginning at one corner and alternating at every corner, bend the paper up and carefully poke the pin through underside. (You may need grownup help with this.)
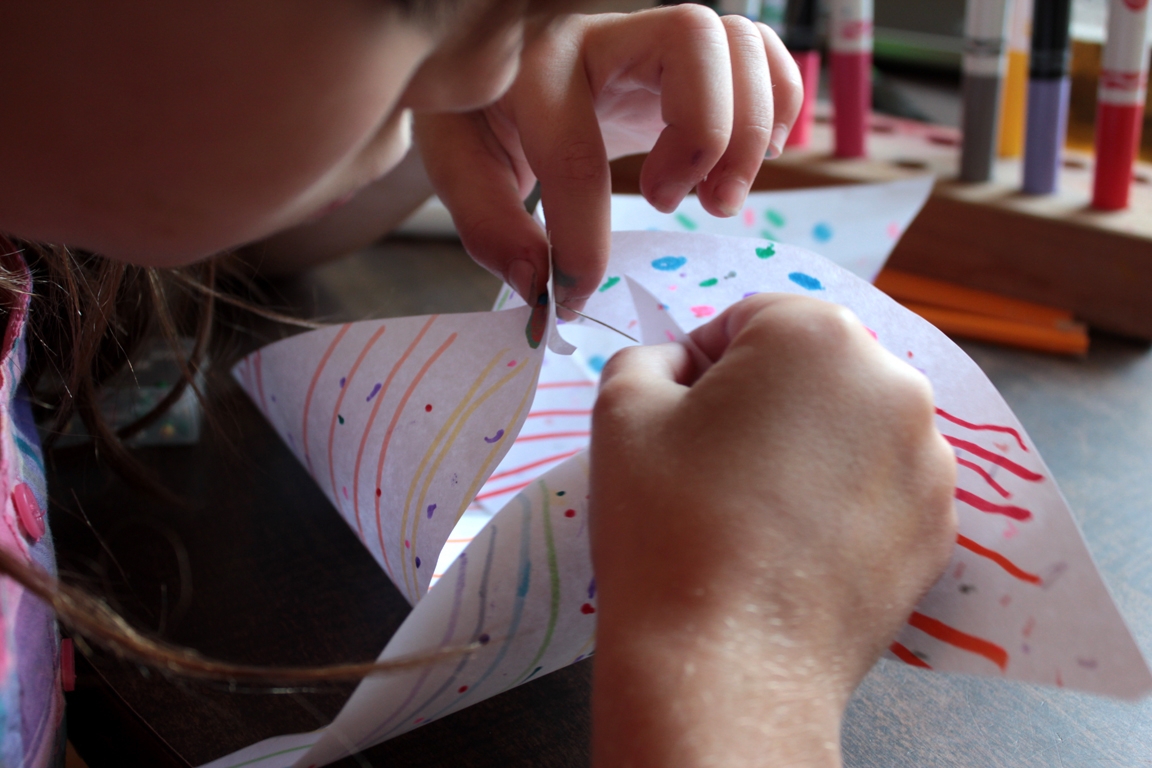
Step 6
When four corners are tucked in the pin, poke the end of the pin through the center of the pinwheel and into the eraser of a pencil.
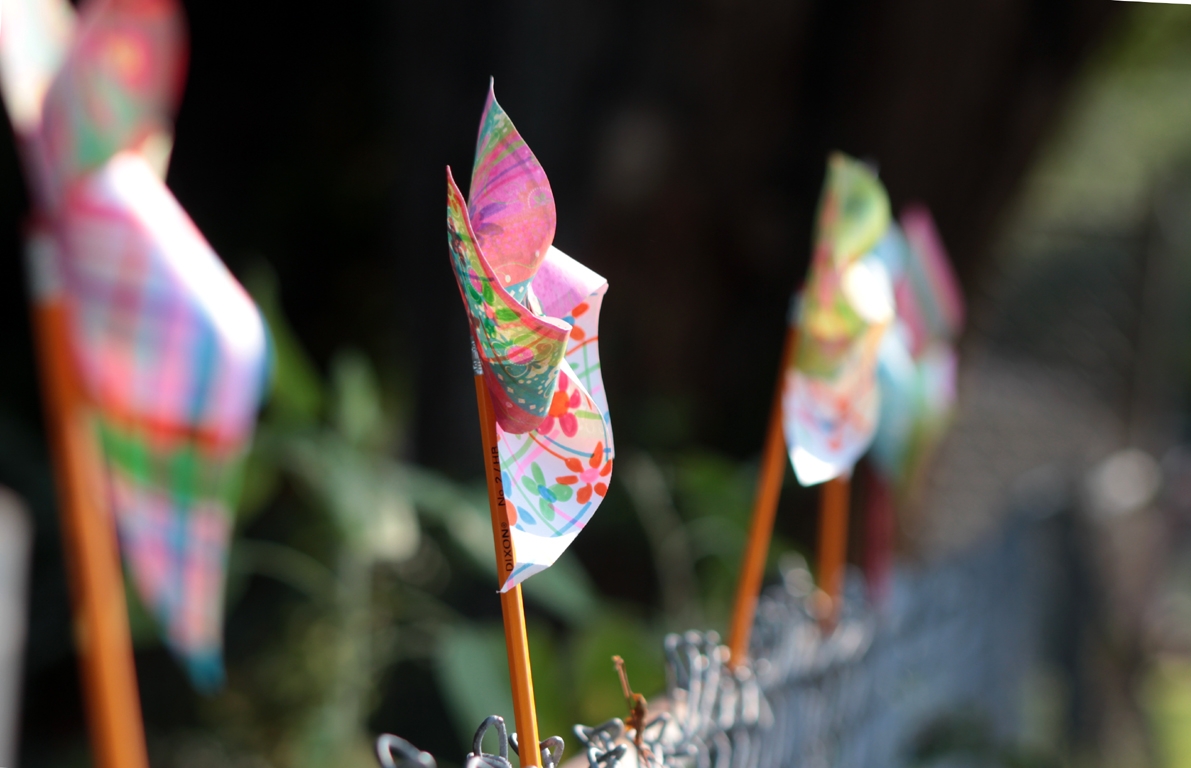
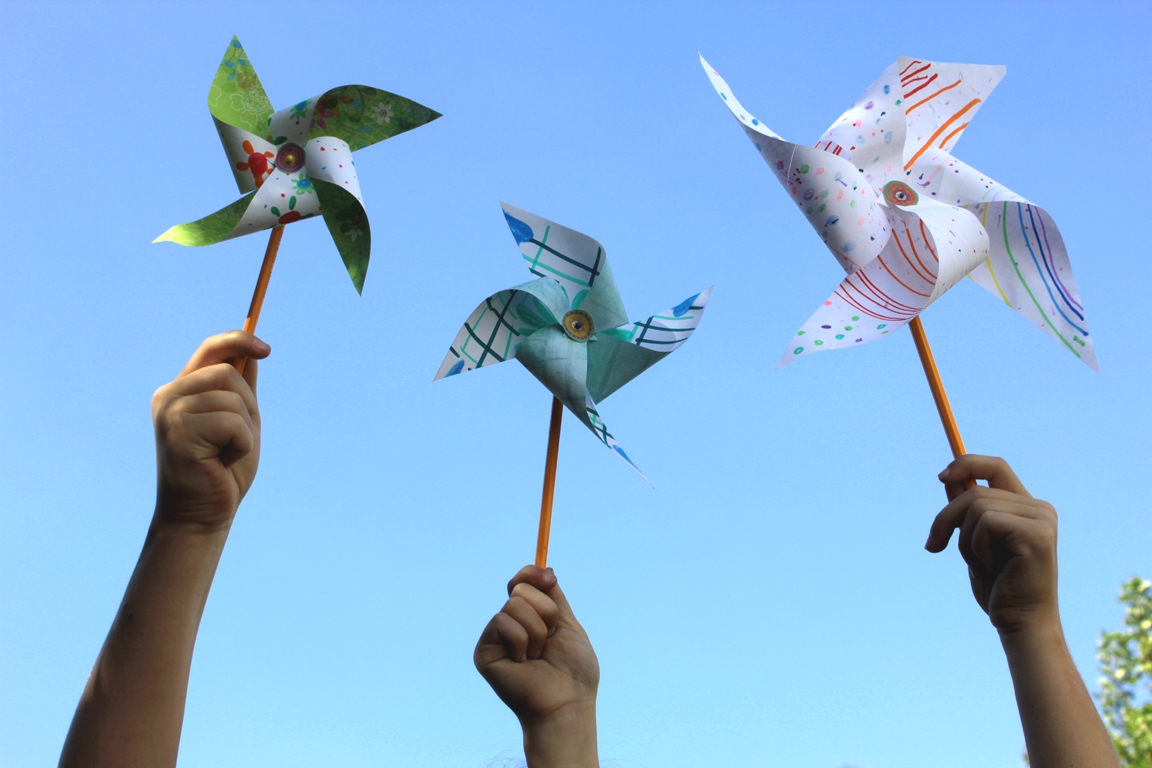
Final result!
Now run with it! And jump with it! And swing it from side to side! Or watch the smallest breeze of air turn it swiftly and easily. Isn't it beautiful!?